
Spooleidoscope- w/Recycled Spools & Filament Poop
Print Profile(2)


Bill of Materials

- Mirror Stickers x 1: Amazon- https://a.co/d/231ZftD
Description
Boost Me (for free)
If you download, print, or collect this free model, I would really appreciate it if you take the time to click the like <3 button (or boost if you see fit) as I put a ton of time, experimentation, and filament into developing, testing, and posting these- and your support helps me continue to do so!
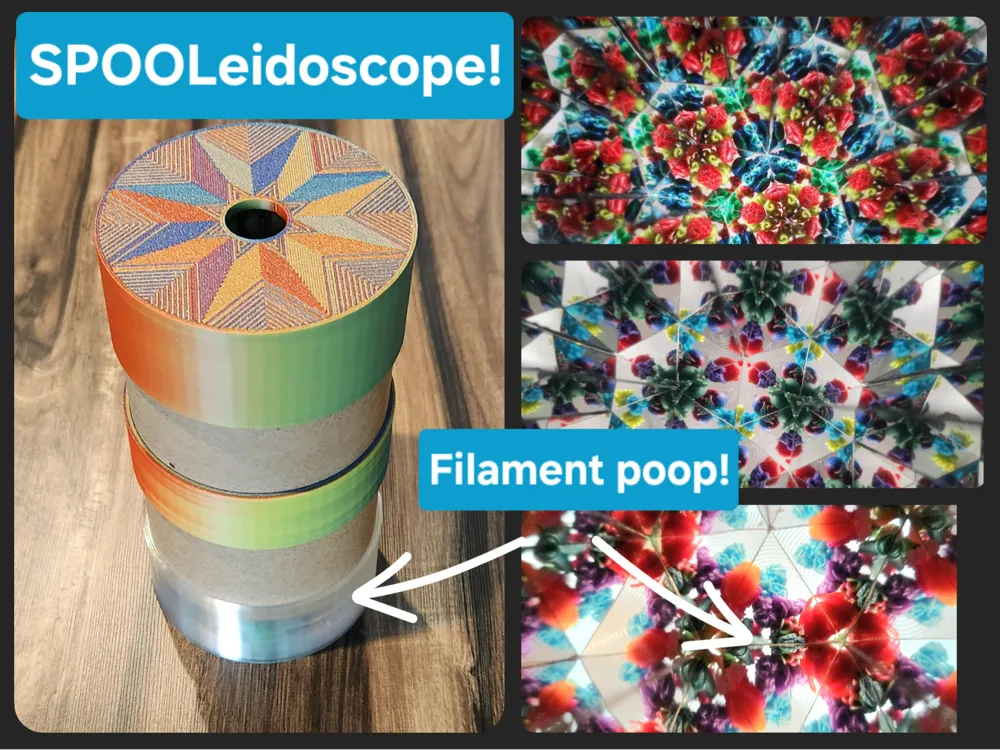
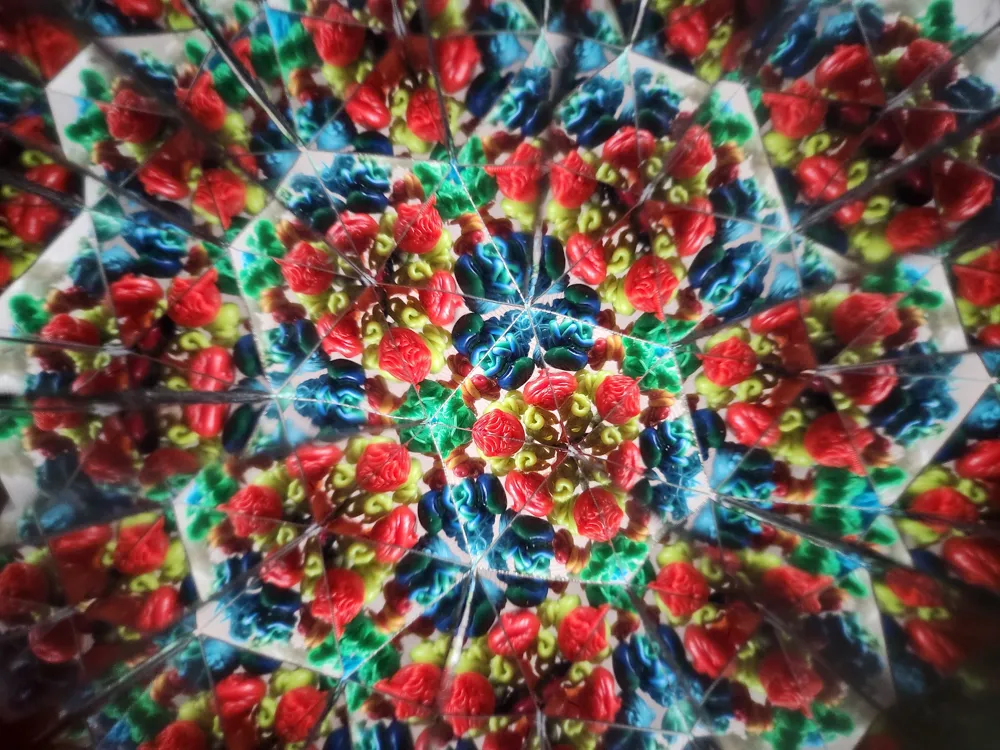
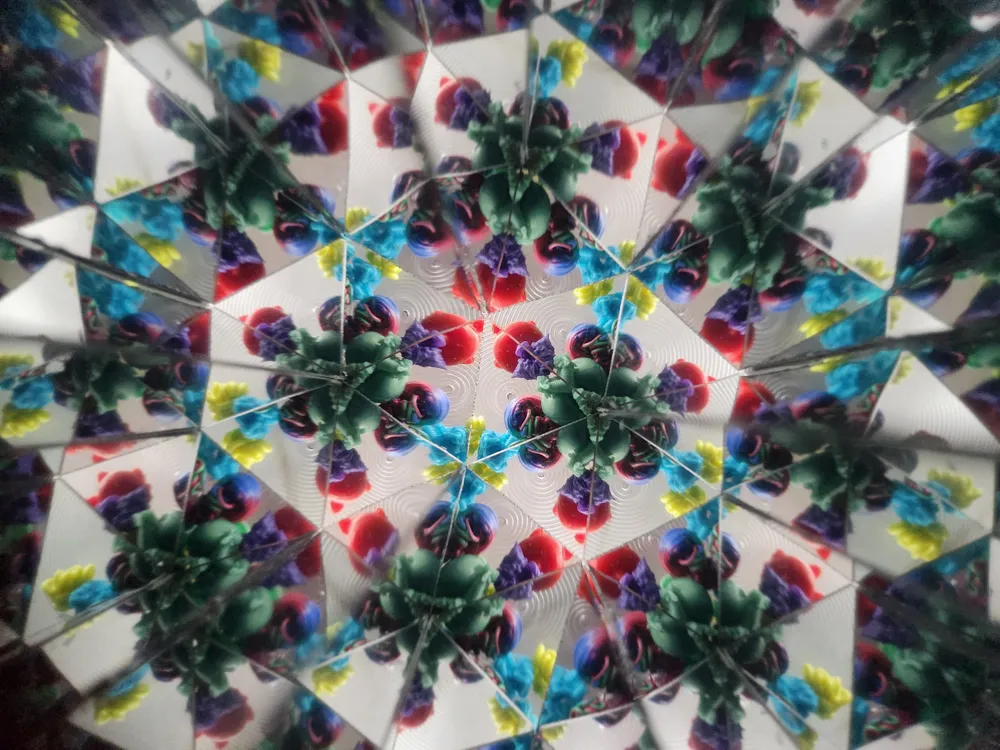
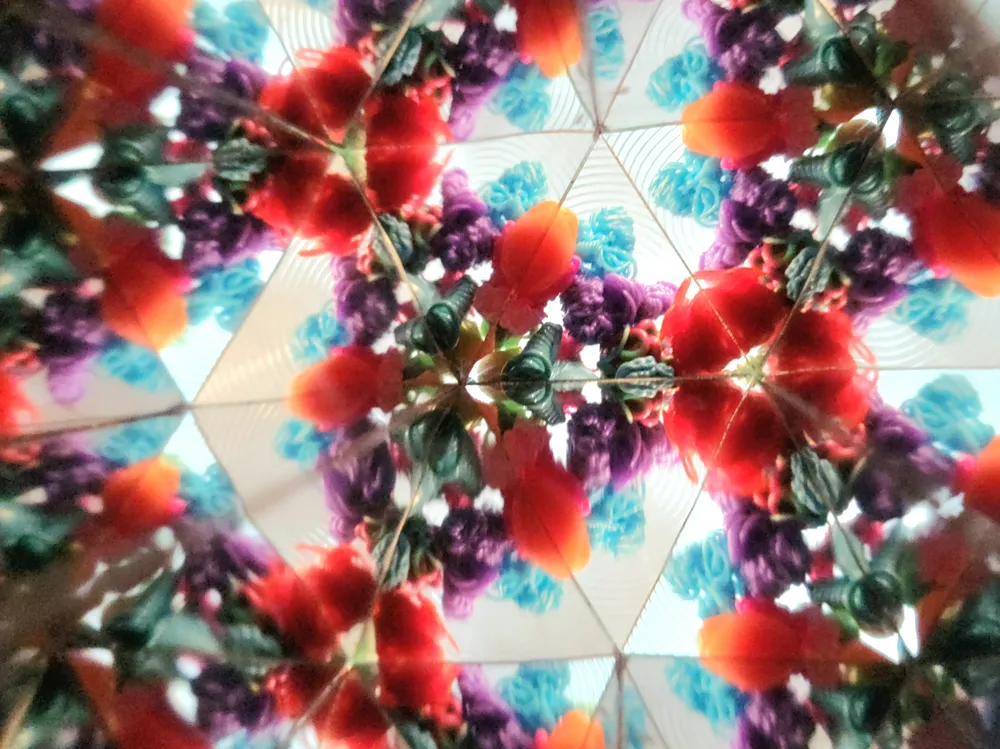
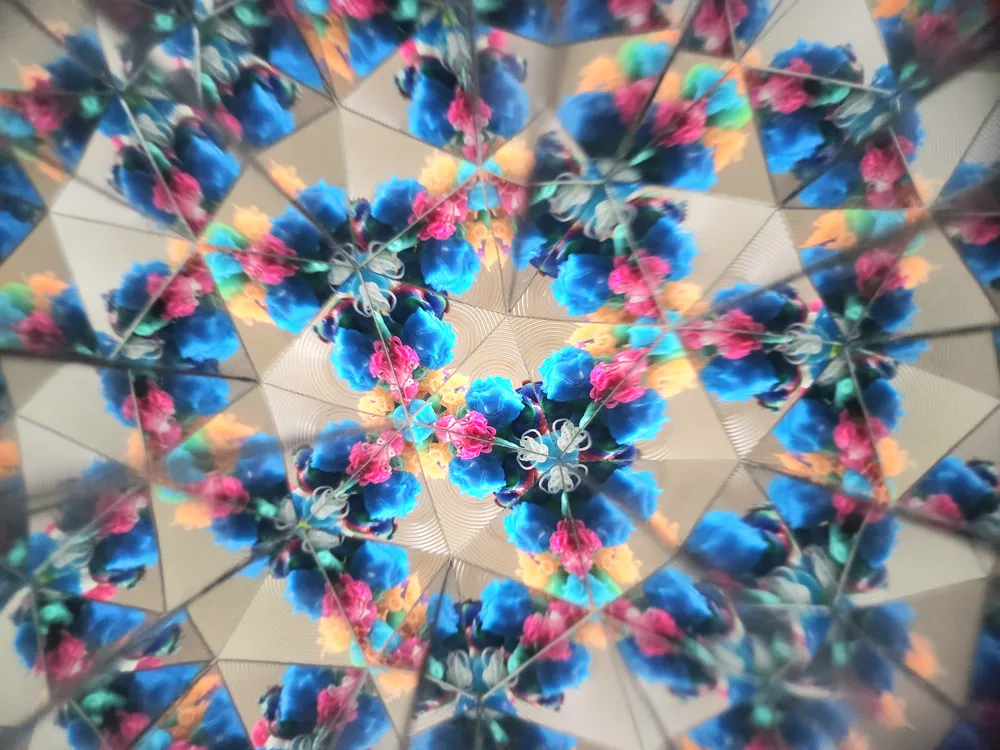
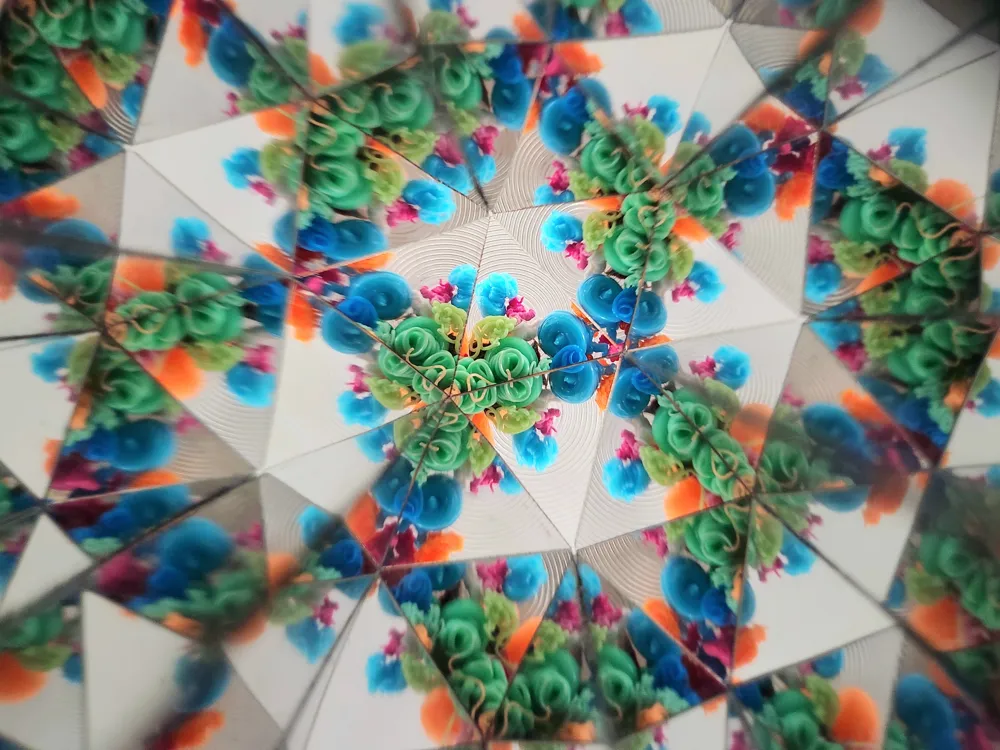
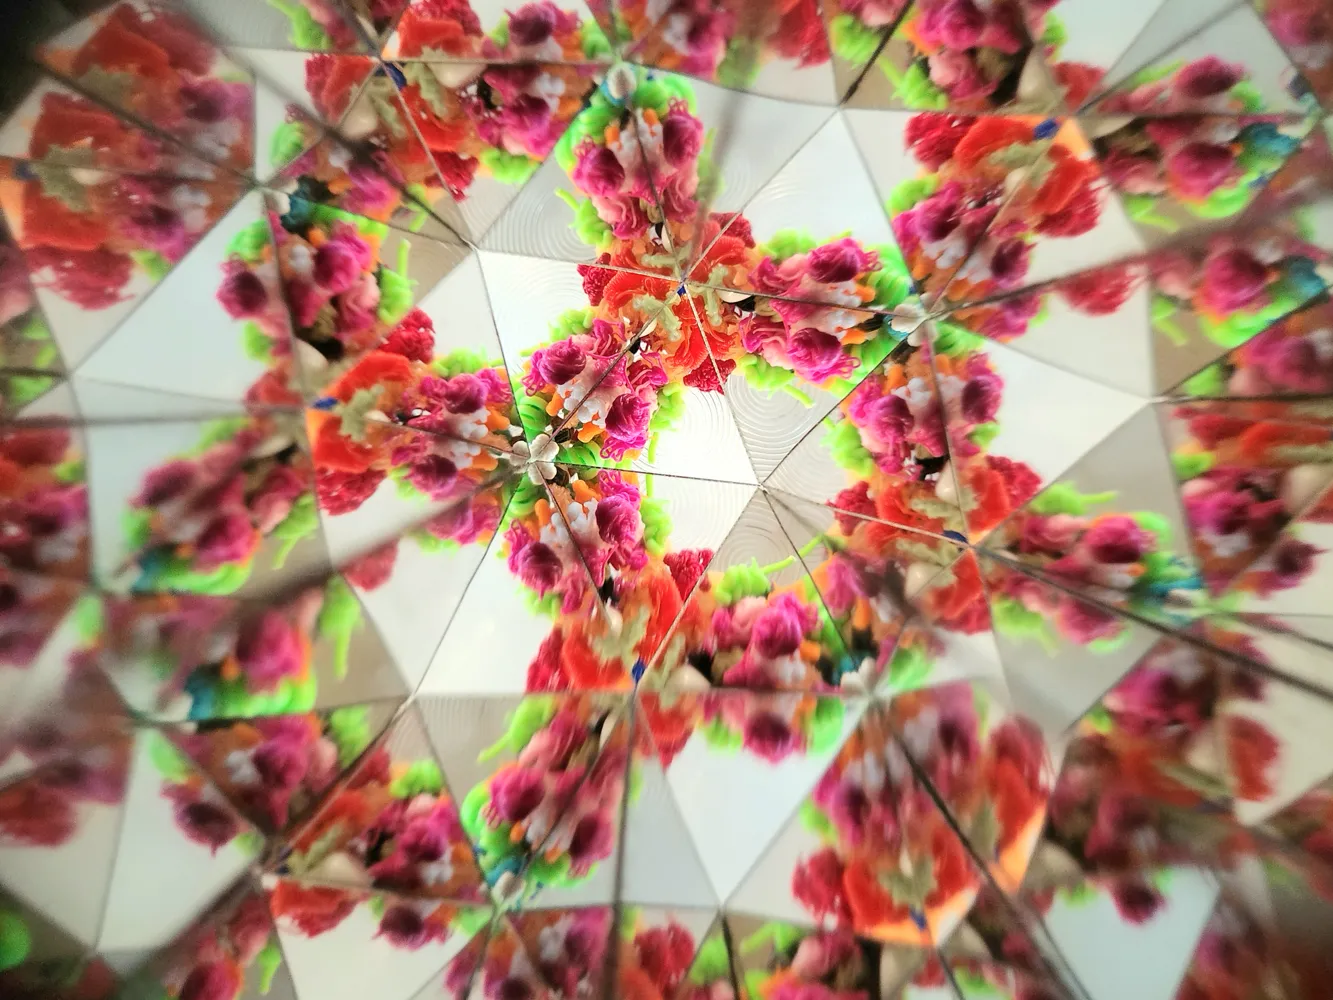
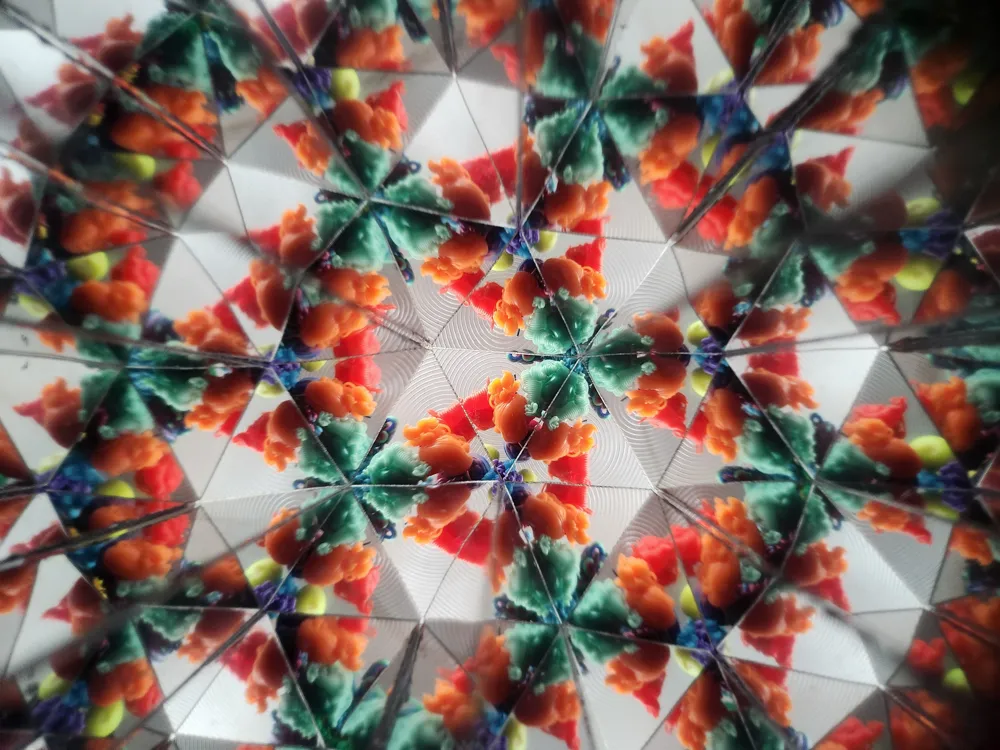
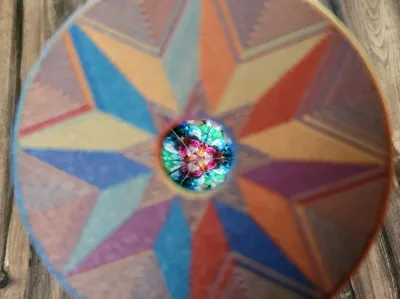
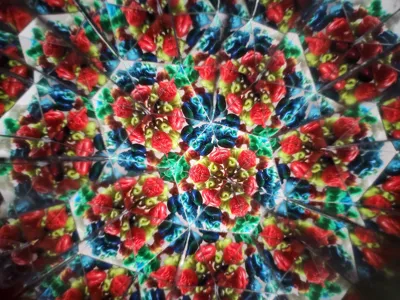
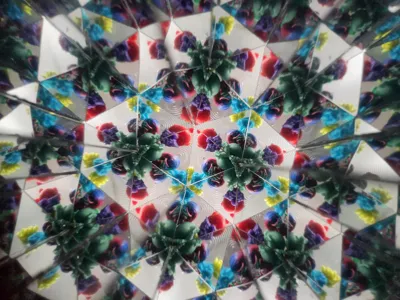
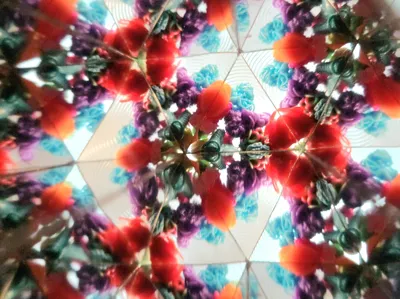
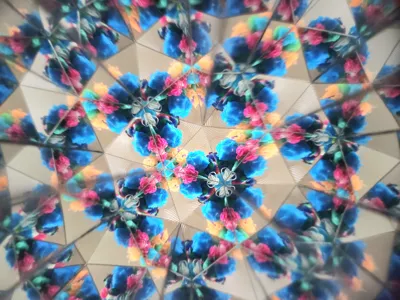
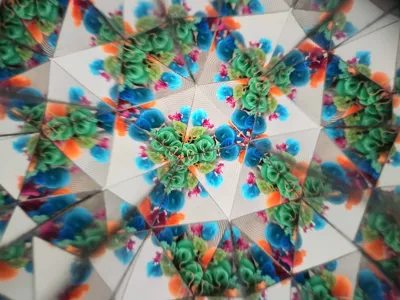
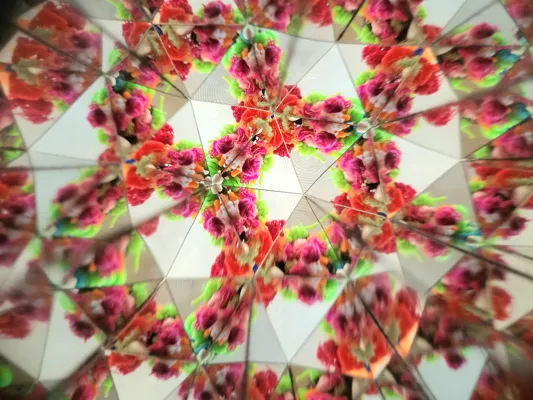
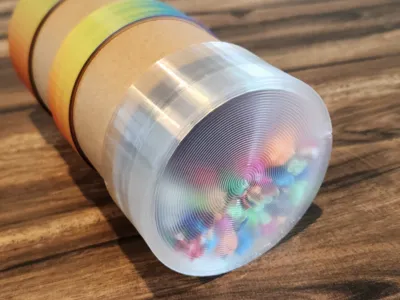
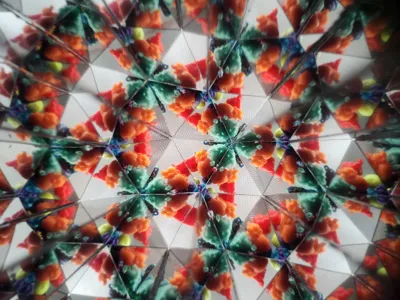
Enjoy endless variations of colorful mesmerizing fractals in the palm of your hand!
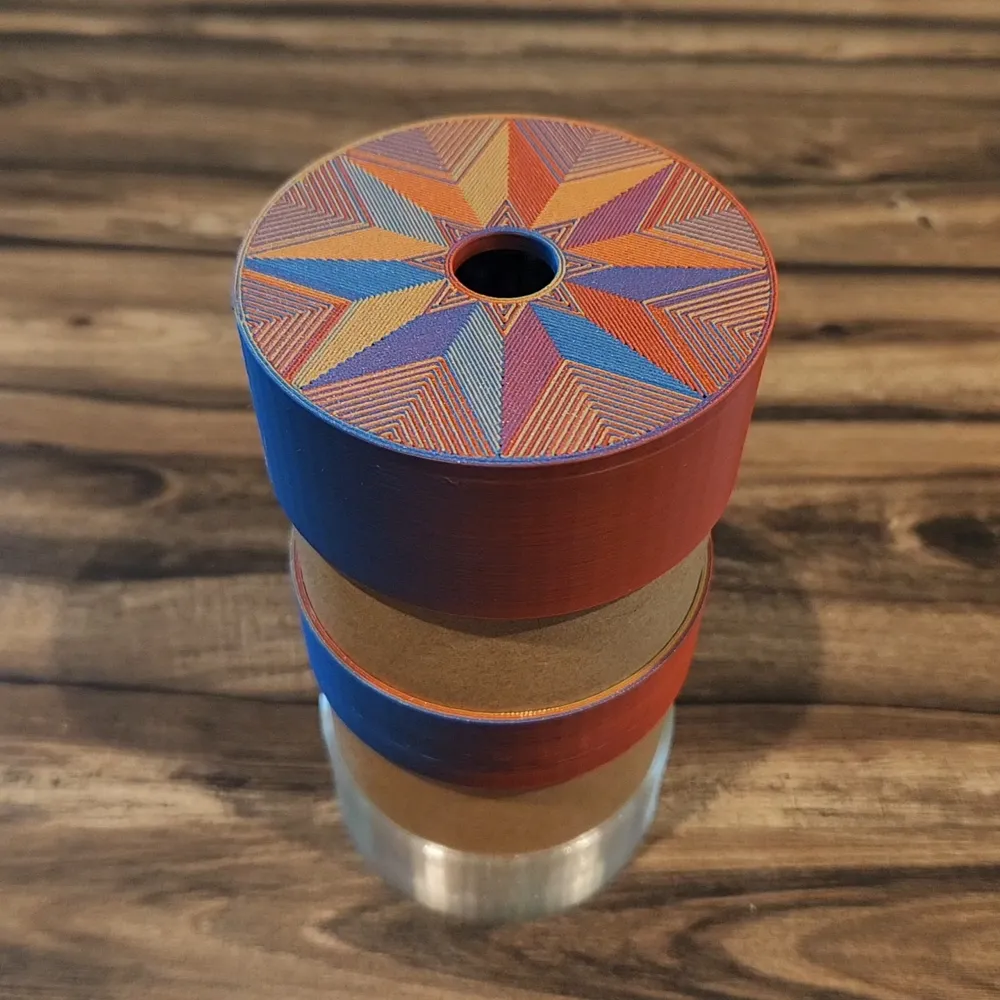
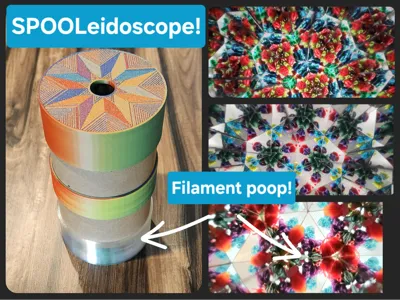
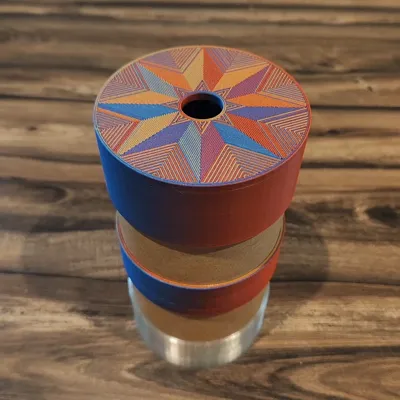
This Spooleidoscope combines a simple mix of filament, recycled Bambu Lab cardboard spools, mirror stickers, and a handful of filament poops to create a fun and crafty interactive art piece; It’s a perfect project to do on your own or with the kids! Check out a short video demonstration of my Spooleidoscope here: https://imgur.com/a/APExmIM
For this project you will need clear/transparent PLA (or PETG if you prefer) for at least one part (the fill cap at the end) but there are a few options for the fill cap lens (described below). The lens part is really important and the clearer the better- so the results differ a bit depending on what you use.
Now for the full HOW TO- yes, I know it looks like a lot to go through but I’d rather give too much detail rather than not enough- and I promise it is easy and worth it!
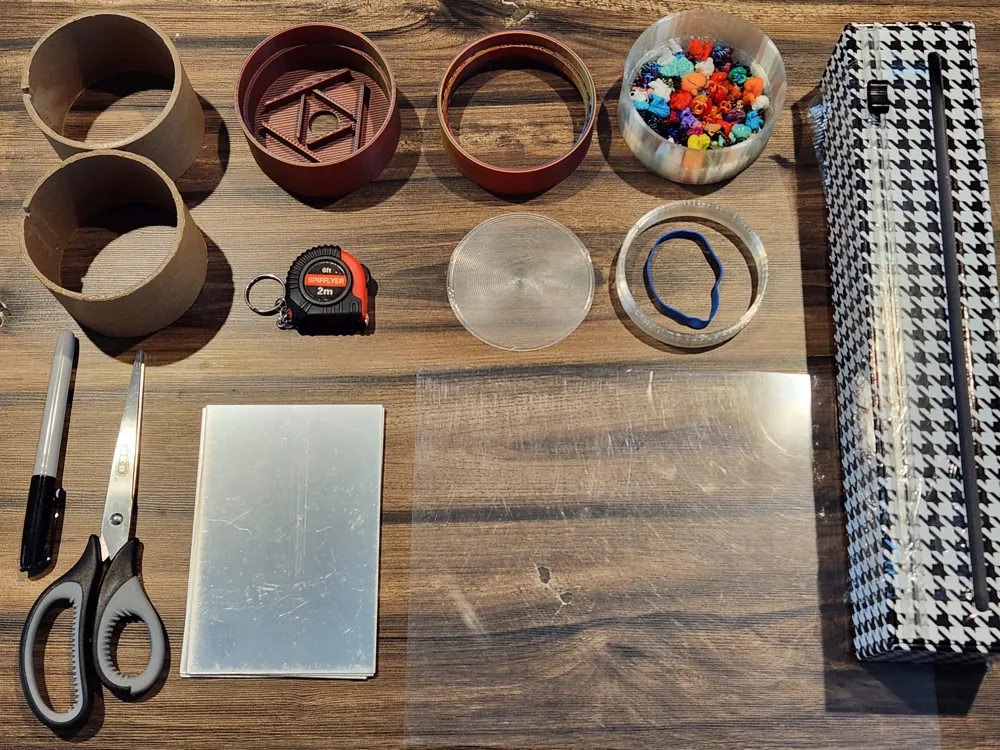
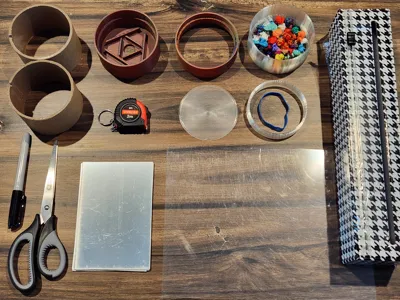
First, to construct this simple version of a kaleidoscope, you will need the following materials:
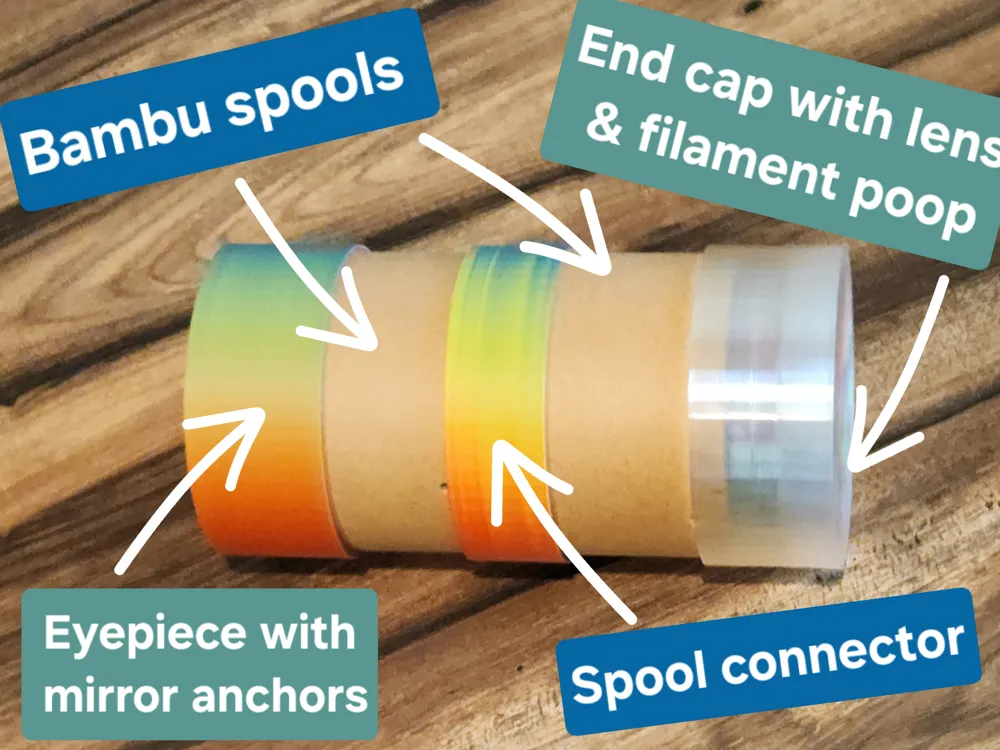
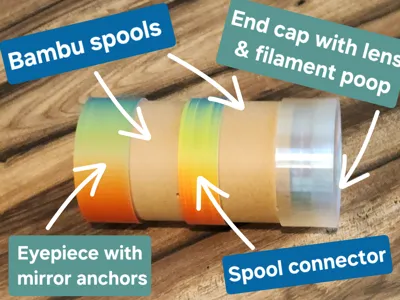
- 2 Bambu Labs cardboard filament spools (these are all supposed to be the same size but some of them are ever so slightly smaller; one of the makers informed me that the smaller ones are from the refill spools)- it's preferred to use the regular ones so that they fit snugly and securely. If you have one that is a bit smaller it will fall out or apart- use at your own risk or with some glue at the end.
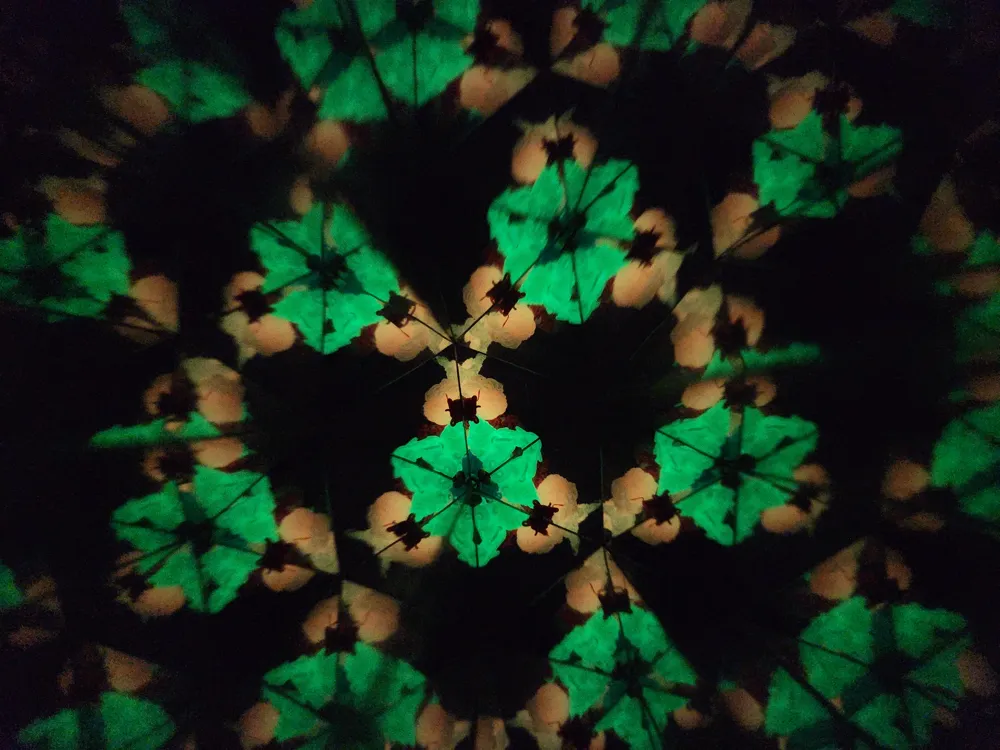
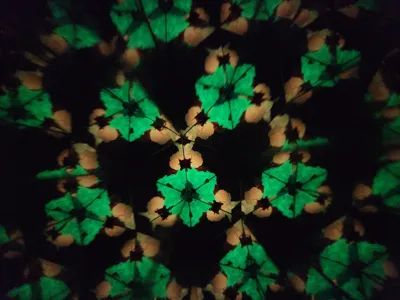
- Handful of colorful filament poops in various sizes. A mix of medium and small poops bits work best- larger spaghetti ones may not fit well unless you break them into smaller pieces. Consider including some glow in the dark poops if you have any- it makes for a neat view in the dark! If you don't have any colorful filament poops, you can also try beads, small glass pieces, or other small colorful items.
- Your choice of PLA filament (for the eyepiece and connector)
- Clear/transparent PLA or PETG filament (the print profile is for PLA so it can be done on non-enclosed printers)
- Six 4 inch x 6 inch mirror sticker strips (https://a.co/d/231ZftD)
- Scotch tape or packaging tape
- Scissors
- Measuring tape/ruler
- Sharpie/permanent marker
These two are the materials needed for making the two non-printed lens options:
- Clear cling wrap and thick rubber band OR
- Sheet of clear acetate (like a hard/rigid document protector-see below)
Lens Options:
- Clear rigid acetate presentation cover/document protector (not frosted or opaque)- you probably have this lying around your house amongst some old school stuff or magazine/card collectibles, but If not, it is cheap and easy to find wherever they have school supplies. You can use the inside of the spool connector to trace a circle onto the sheet with a permanent marker- then trim off the excess as necessary. This option shows a nice clear view like option 2, but is not as sturdy as option 3.
- Plastic/saran wrap and a rubber band. The adapter is in the print file, just stretch the wrap and smooth tightly over the adapter and secure with the rubber band. Then trim off excess material, but leave a little bit for adjusting and tightening the wrap later if need be. This option shows a very clear view but obviously is a bit messier and less durable.
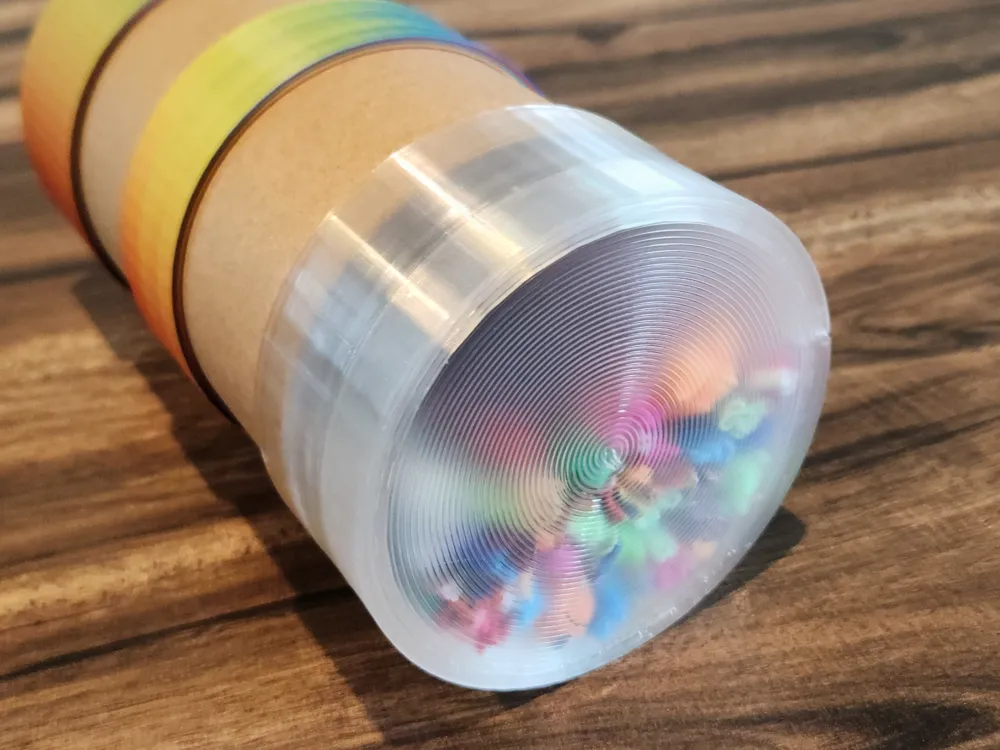
- PLA clear printed lens (included in print files). This option is sturdiest and most durable, but the least clear- you can still see the shapes and colors in good light, but more like through an opaque window.
Assembly Instructions:
Review the print recommendations below and then print the eyepiece cap, spool connector, and transparent fill cap. If you are using the clear lens or saran wrap option, also print the corresponding part (the plates are labeled).
IMPORTANT PRINTING RECOMMENDATIONS/INFO
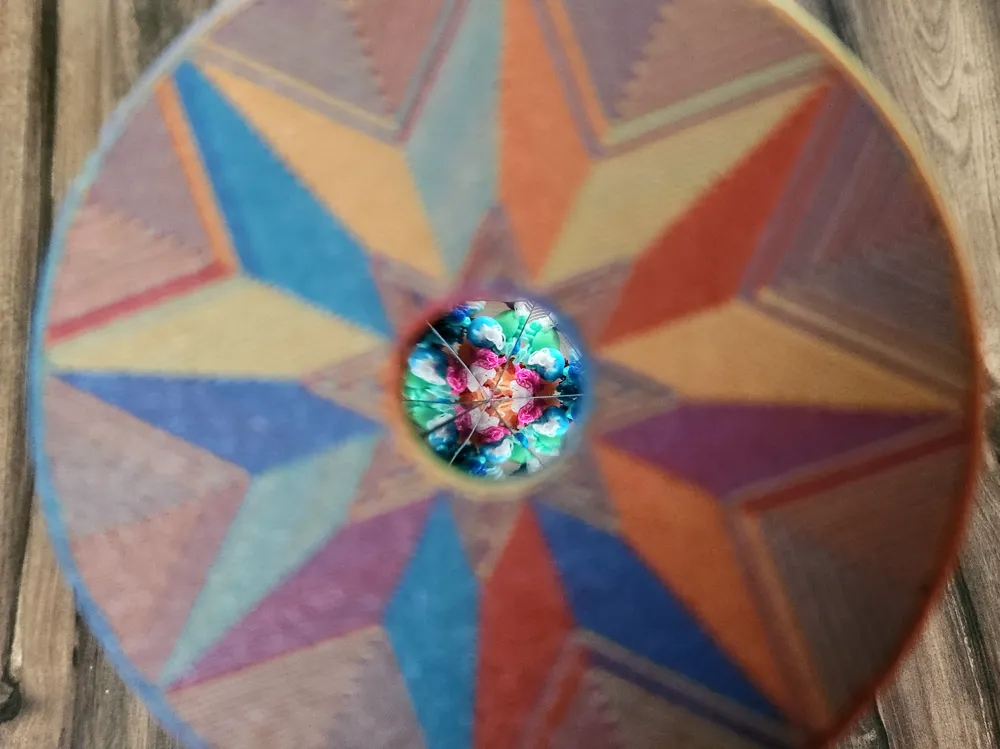
The print profile for the transparent items are set for 0.8mm nozzle and use the smooth PEI plate based on my research and experimentation- these helped produce the clearest results with the transparent PLA I have. You can print the cap and lens with a 0.4 nozzle- but if you do, increase the line widths to .85 or more to help get more transparency from the filament. The eyepiece and spool connectors were printed in dual color PLA filament- so be aware that the star pattern on top of the eyepiece will not be as noticeable using a single color or gradient filament. All settings in the profiles are specifically adjusted in the print profiles to achieve the best results- please do not alter them. If you do, results will vary, and keep in mind that ratings are only meant to evaluate the original unchanged print profiles.
***Do not remove transparent items from the print bed until COMPLETELY cooled- the lens and cap are very thin (to achieve clearer results) and may warp. Very carefully remove these by gently bending the plate in various directions to loosen the edges first.***
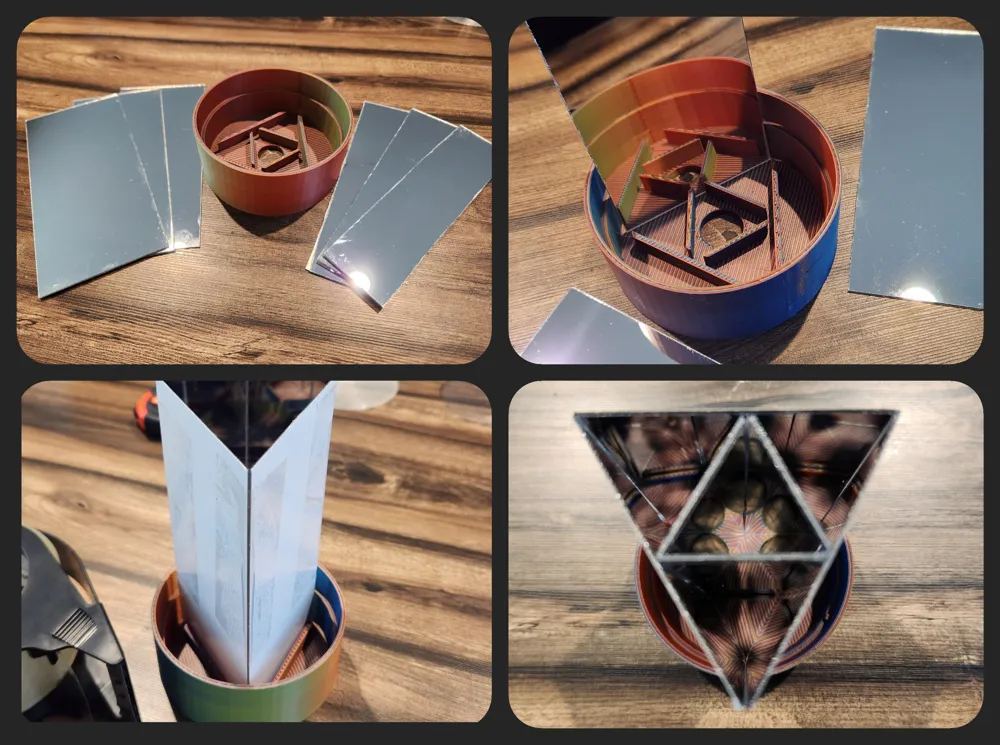
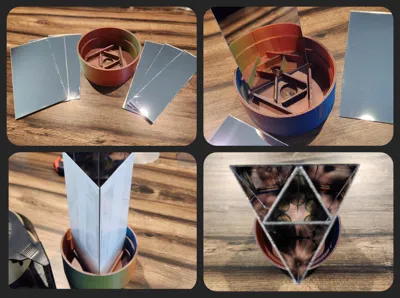
Cut the 4 x 6 inch tall mirror stickers to create 3 strips that measure 2.75 wide by 6 inches long (err on cutting these a teeny smidge wider- we want these to fit snugly later), and 6 strips that measure 1.25 inches wide by 6 inches long. Remove the backing from the 6 smaller strips and stick them together (backing to backing) to create 3 final strips that are mirrored on both sides.
Remove the protective film from all the mirror strips. Fit the three larger mirror strips into the triangular outer guides inside the eyepiece cap vertically- they should hopefully be fairly snug. Use tape to secure the them together along the corner vertices. Carefully take the three smaller strips and slide them into the smaller triangular guides in the middle of the triangle created by the larger mirrors (see photo in gallery for example). They should be snug against each other and against the larger mirrors. Adjust the tops of the small mirrors if needed to create an evenly balanced triangle. Set aside for now, but keep it upright and flat. You can leave these out if you wish, it will work with just the three larger mirrors but is not quite as interesting- the pictured ones have all 6 mirrors. Also, if the mirrors aren't snug, you may want to use a few drops of superglue on the bottoms to secure them to the eyepiece cap.
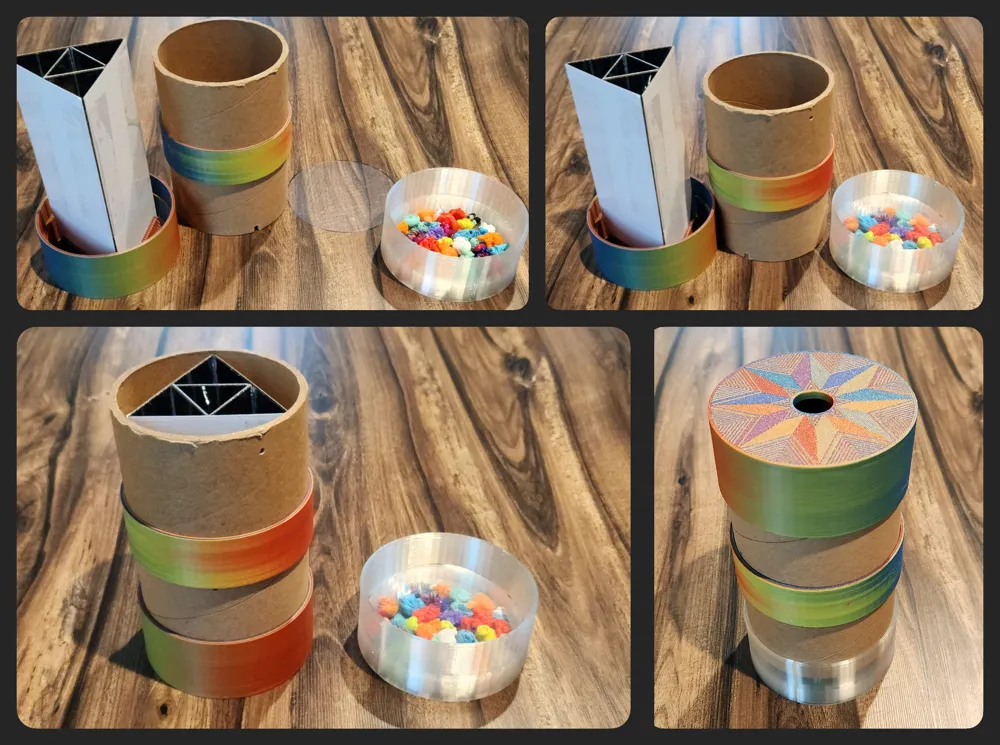
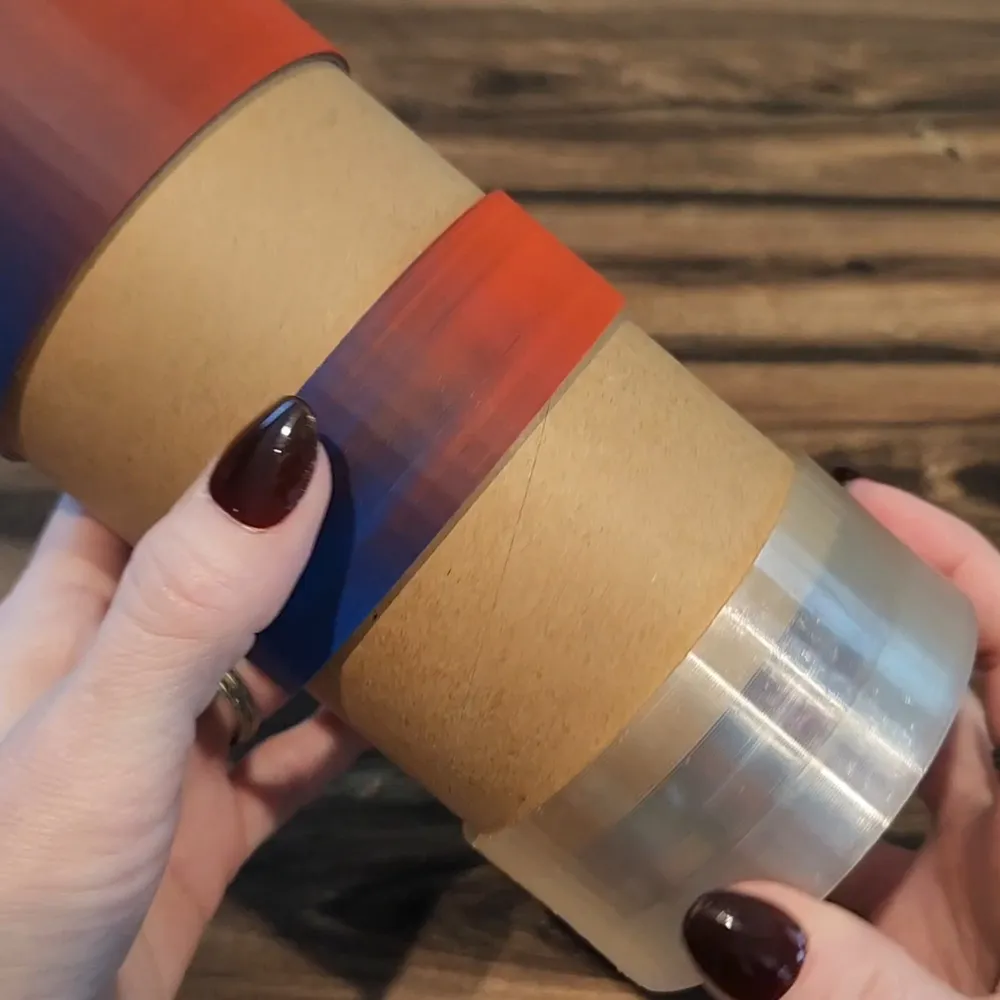
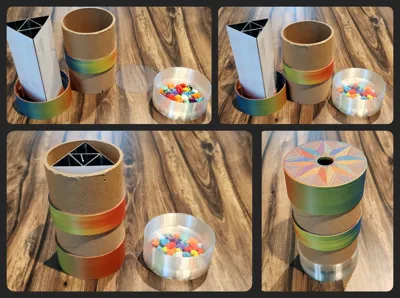
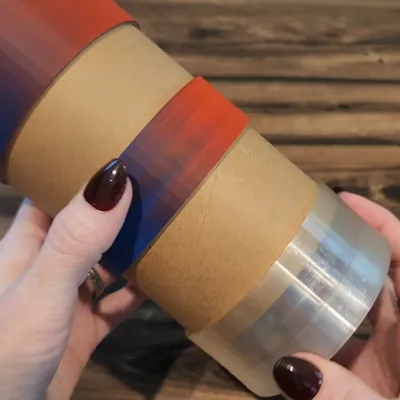
Take the two cardboard spools and fit them into the ends of the spool connector, making sure to line up the notches on one side, and the other should have the notch facing outward from the connector. You should now have a spool cylinder with a notched end and a smooth end.
Take the eyepiece with the mirrors and identify where the notched side is on the lip at the bottom- then align the notch of the spool cylinder and carefully slide it down over the mirrors. Push down on the rim of the cylinder until it is snug into the bottom lip of the eyepiece.
Gather your selection of filament poops and put them into the transparent fill cap. You want to find a balance between too few or too many, they need a little room to move to get the best effects. You don’t want more than one layer of filaments- they can cover the bottom but should have a little breathing room- don’t sardine them.
Select your choice of lens and seat it into the fill cap on top of the filament poops. If you use the cling wrap and adapter option, make sure to seat it with the cling wrap side facing up/on top. If you put it in with the wrap on the bottom right against the filament poops, it can smoosh them and they won’t move as nicely during viewing later.
Carefully lift the assembled spool cylinder (you may want to hold the mirrors in for this part if they aren’t very snug) and carefully place it down on top of the lens/fill cap. Gently but firmly push the entire cylinder down until it fits securely into the fill cap. NOTE: The bottom of the fill cap is very thin to allow a lot of light into the Spooleidoscope- don’t push on the center of it when fitting parts together, always hold it on the outer rim.
- Find a spot with good lighting and enjoy your new Spooleidoscope!
License

You shall not share, sub-license, sell, rent, host, transfer, or distribute in any way the digital or 3D printed versions of this object, nor any other derivative work of this object in its digital or physical format (including - but not limited to - remixes of this object, and hosting on other digital platforms). The objects may not be used without permission in any way whatsoever in which you charge money, or collect fees.


Comment & Rating (33)