
The Yarn Can - Yarn Snack To Go
Print Profile(2)


Description
***please read all the instructions before printing***
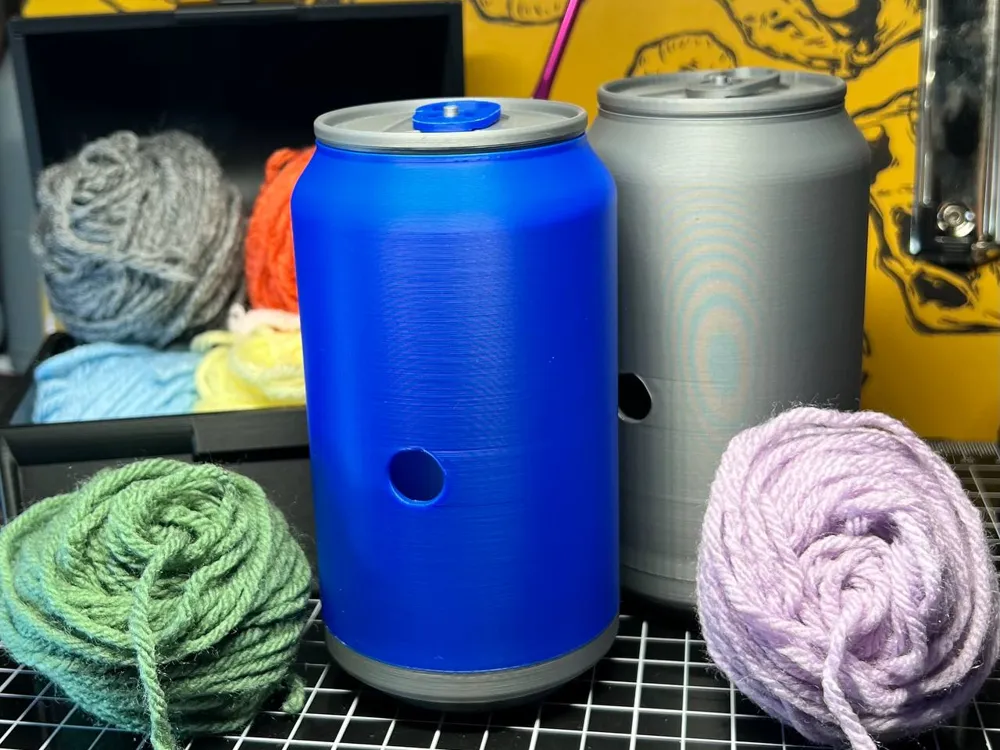
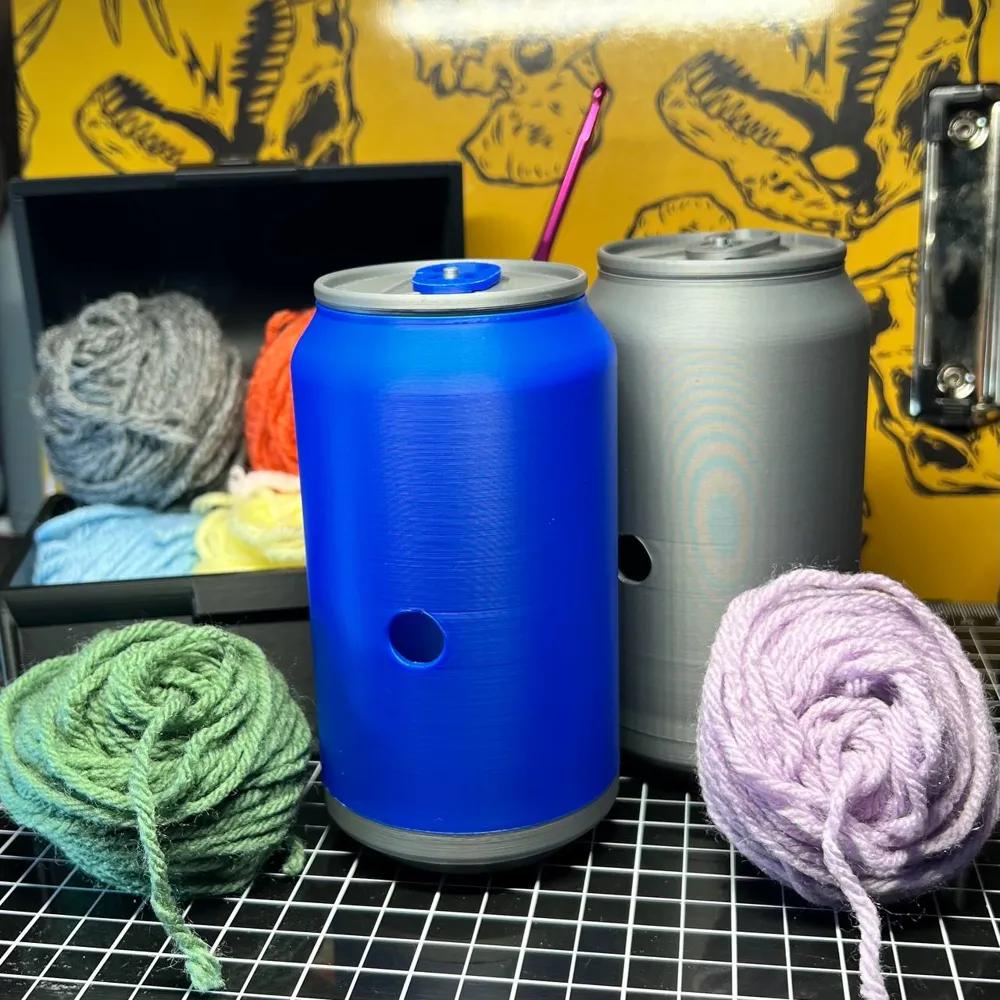
I wanted to create a container to hold a small amount of yarn, for smaller projects or just to have something yarn-related to do when I'm bored, and the shape of a soda can just really called out to me. From there, I realized I basically needed a way to make the balls of yarn for the size of the can, and I thought about including a little hand-powered yarn winder with the can.
I decided to make the winder as simple and small as possible: all the moving components are printed-in-place, there's no real assembly required. Of course this also means the winder is simple and rudimentary. It is by no means a professional-grade yarn winder: the balls aren't super tight, and they don't look as aesthetically pleasing as those made with the a normal winder… However! It's more than good enough to create little balls of yarn that fit perfectly inside the can and, provided you follow the correct procedure, they unwind from the center thread smoothly and without tangles.
At max size, the can can hold up to two balls made with the winder. I recommend using medium/worsted weight (4) yarn.
Of course, if you already have a winder or have smaller skeins that already fit into the can, you're absolutely free to skip printing the winding part, and simply use the can to hold your yarn. And of course of course, you can also simply print out the can because it's neat, and use it as a container for anything else that fits into it.
I designed the parts specifically so they don't need any supports, but I did add a brim to make sure the more complex or thinner pieces have something to hold on to on the plate.
Since this is my first project with a bit of a technique to it, I will include instructions with pictures here in the description of the project.
The print consists of:
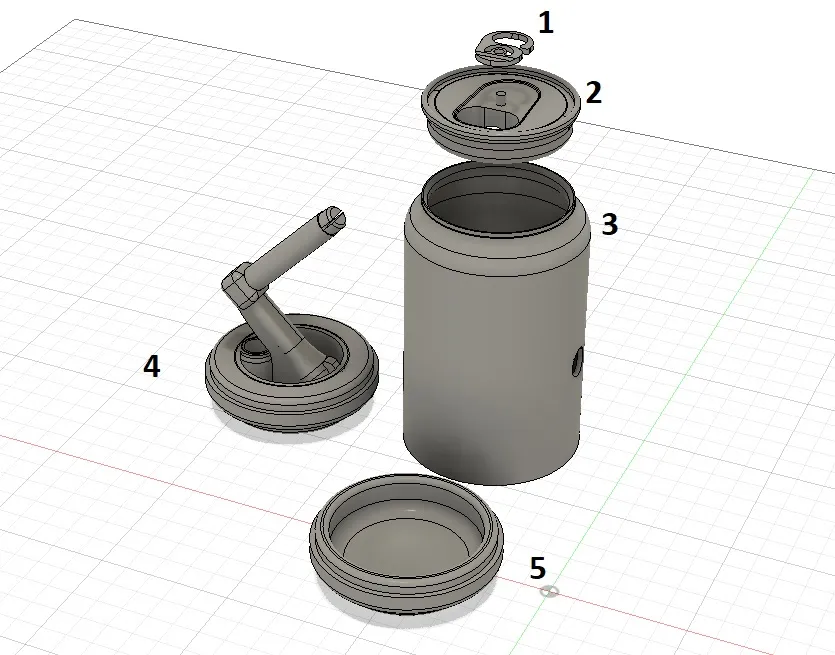
- A tab that attaches to the lid. It has a c-shaped opening to facilitate threading the yarn. It goes printer-side up.
- A lid that slots into the top of the body. It fits snuggly into the can to avoid the yarn from pulling it open.
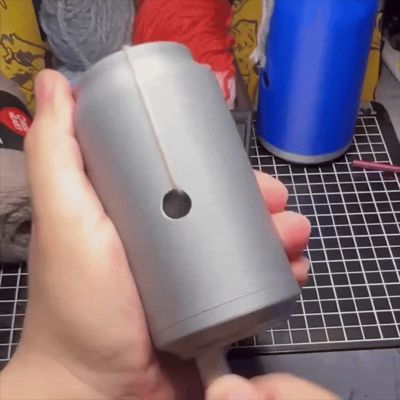
- The center body piece. It has a hole in the center, to thread the yarn through when winding.
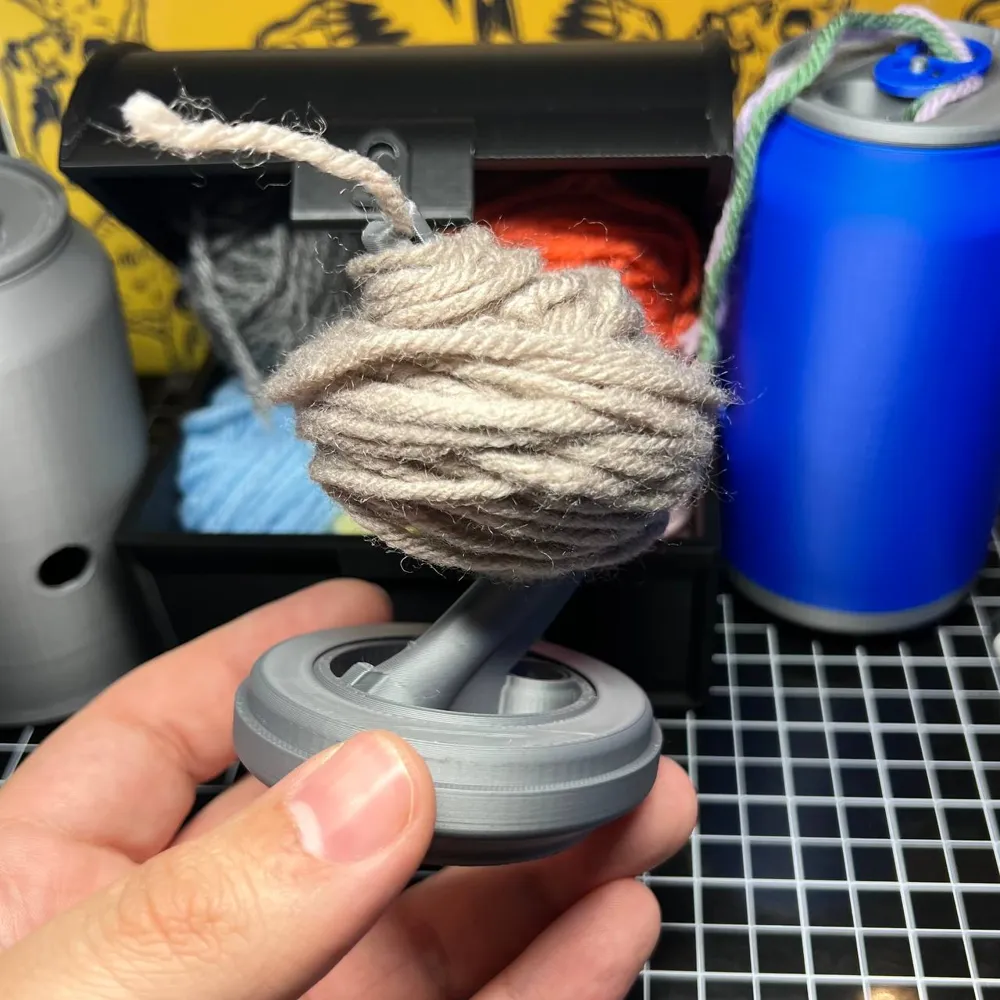
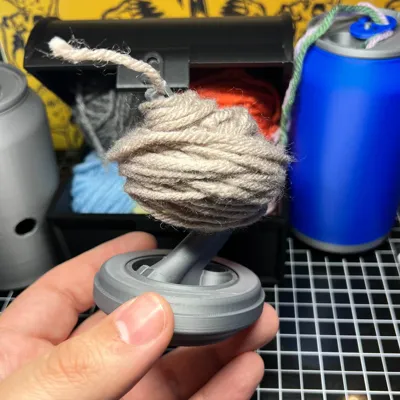
- A spindle attachment that goes into the bottom of the body. It has a print-in-place spinning mechanism.
- A standard bottom without the spindle. To use the can as a container.
These are the basic steps to use the winding function:

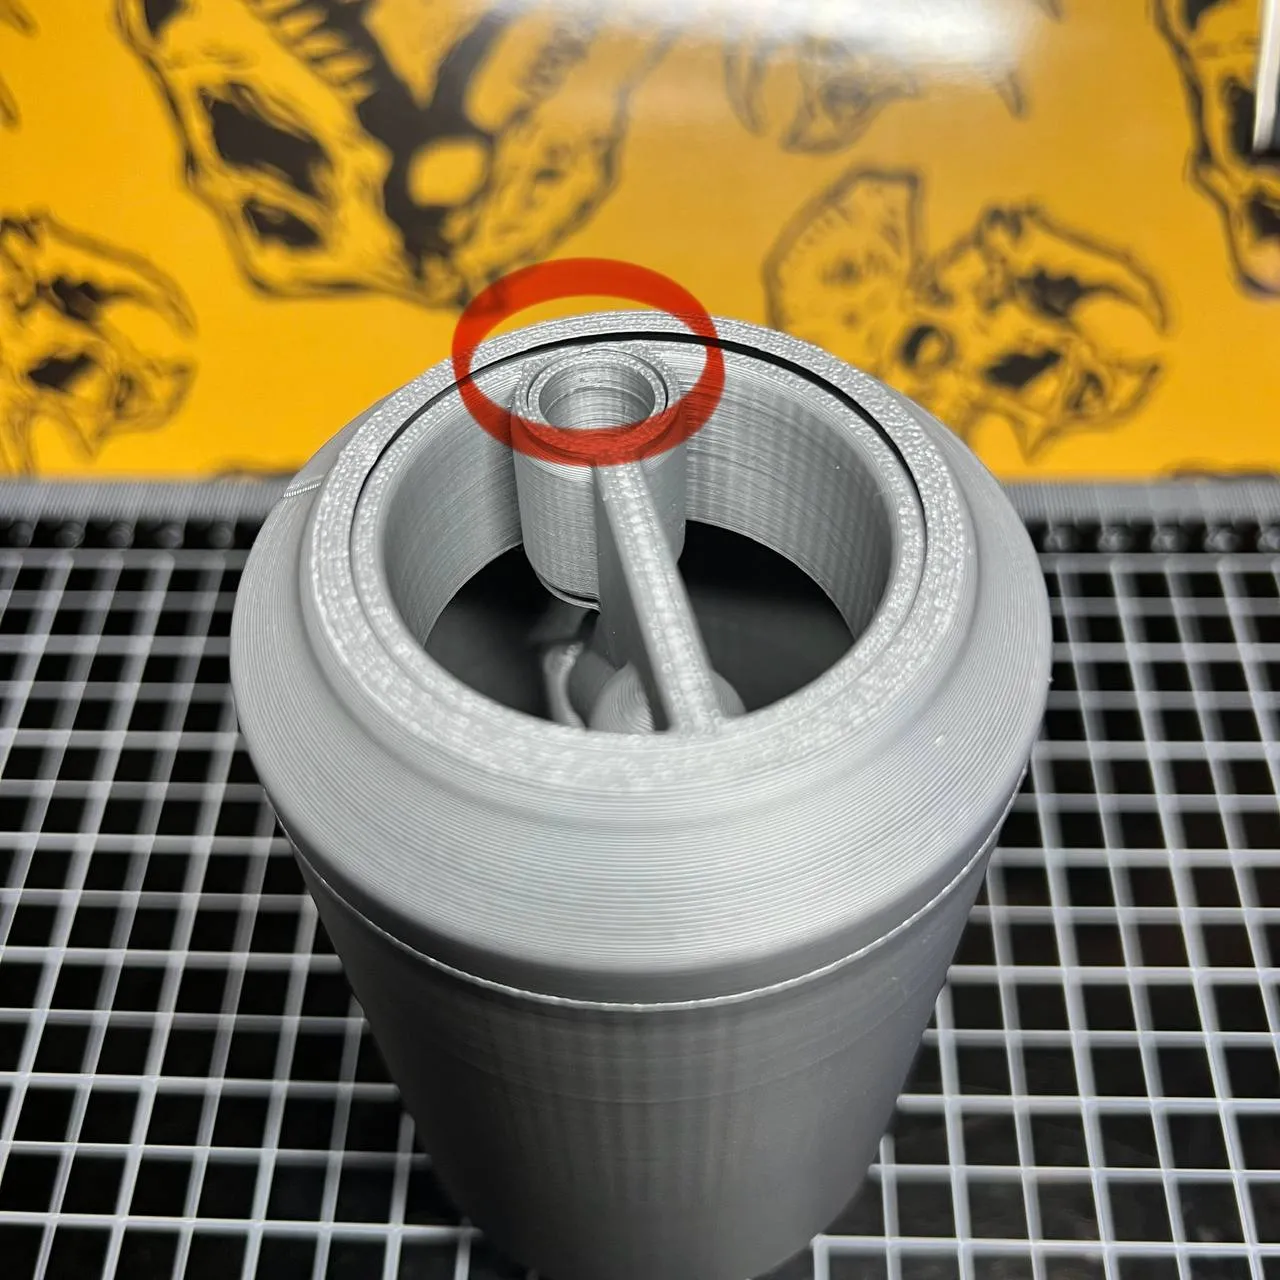
1- The winder works using what's basically a spinner mechanism. For smooth operation, please lubricate the spinner first. You can add a drop or two of lubricant oil in the gap pictured below:
2- Remove the base of the can. Thread your yarn first through the tab (and only the tab, do not thread it into the lid itself), and then insert it into the side hole of the body. Pull it a bit out from the bottom of the body.
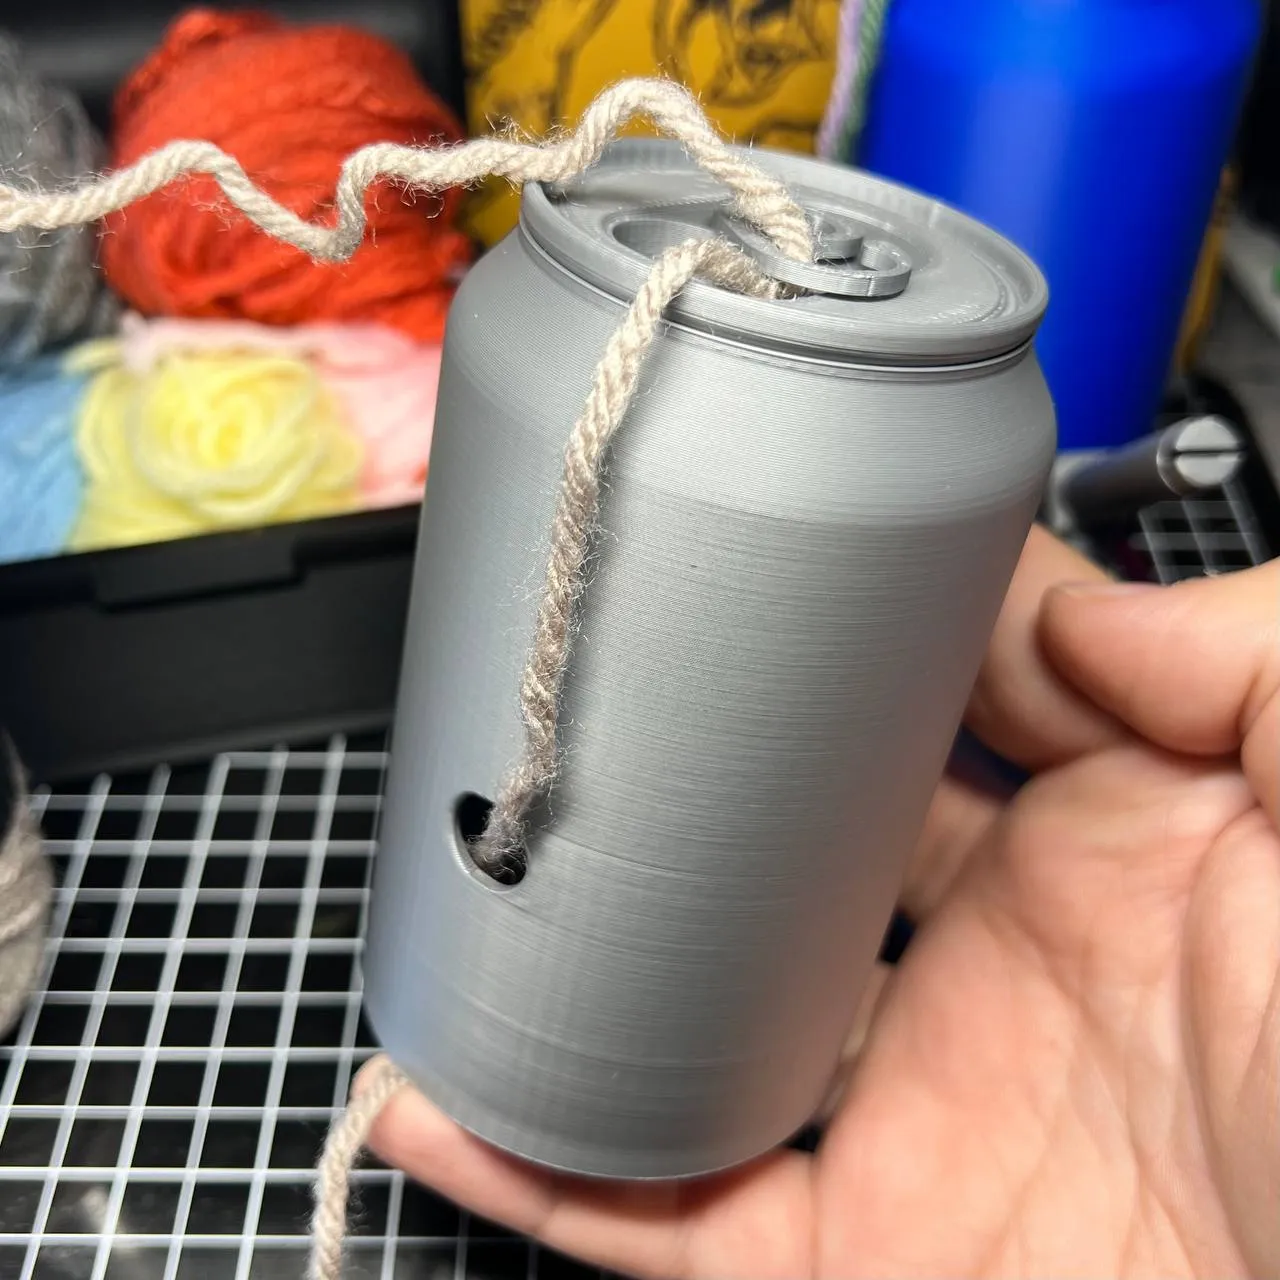
3- Secure the hanging tail of the yarn on the spindle using the notch at the tip, and wrap it around the shaft a few times just to give it a start. Then insert the spindle into the can making sure you keep the yarn a bit tense so the thread doesn't sag. If it's too loose or you give it too much slack, the thread may end up under the elbow bend and it will be more difficult to remove later.
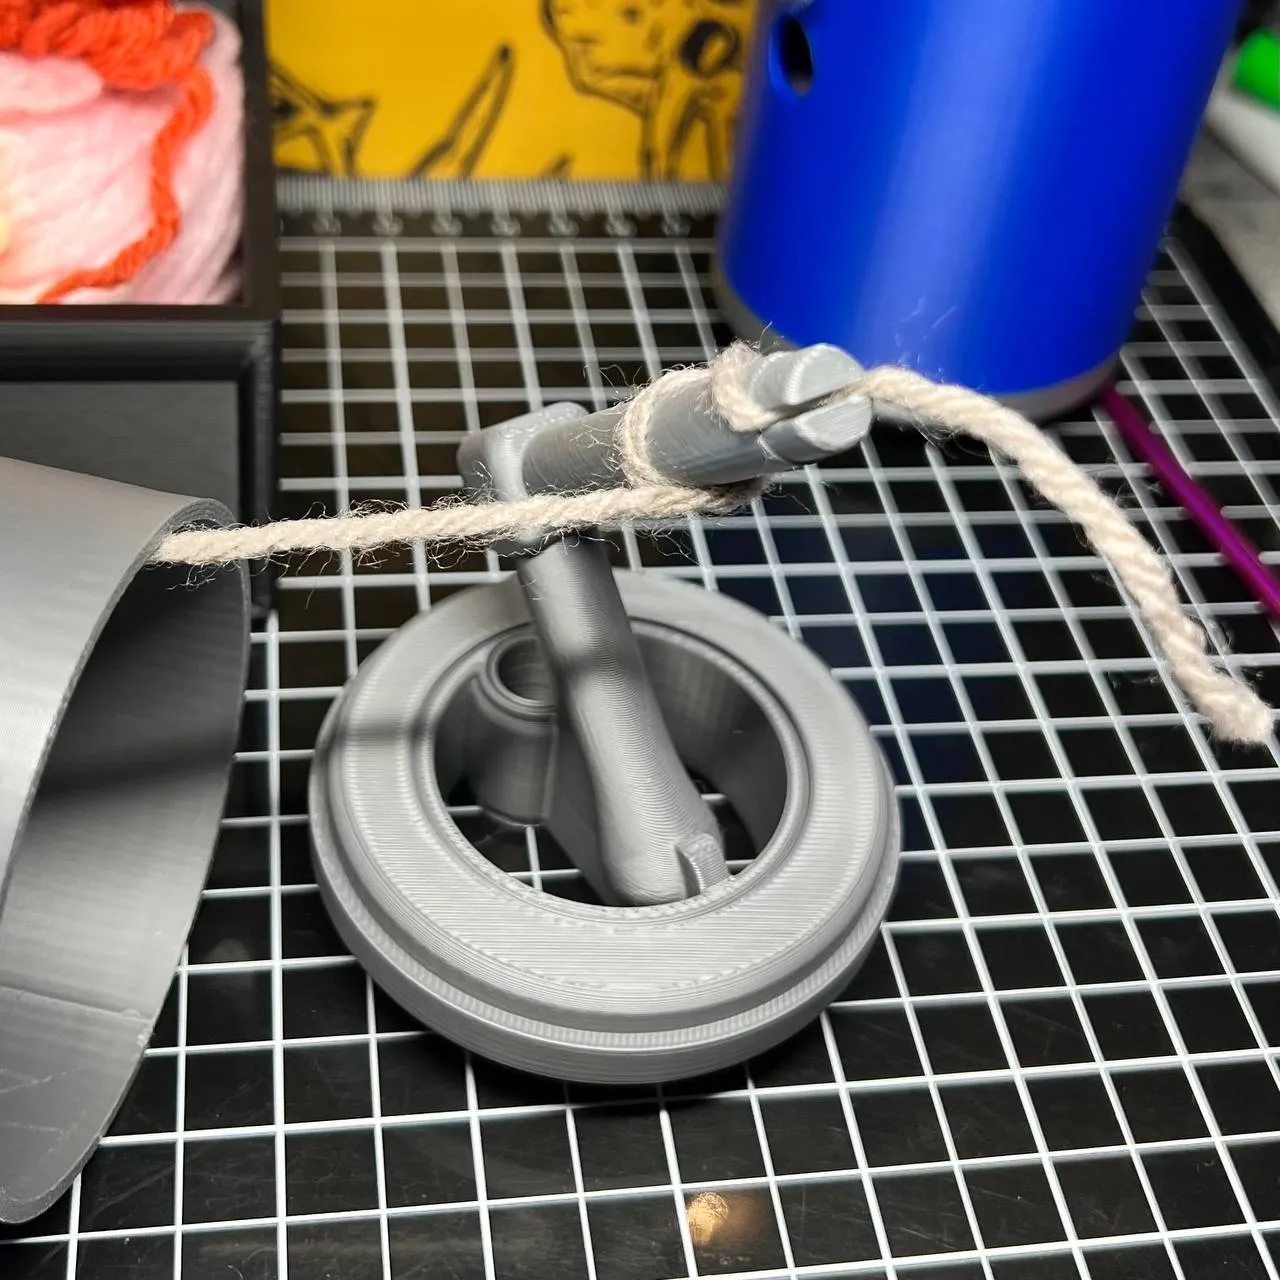
4- Grasp the can firmly with one hand, keeping it mostly horizontal, and with your other hand, use a pen or other similar object to wind the yarn. Do this at a speed you find comfortable, you don't need to be super fast. If the yarn gets too tense the bottom may pop out: release some from the skein to give it some slack and slow down a bit. Avoid letting any tangles enter the can.

5- Once the yarn begins to touch the sides of the can (you'll see it peek out the hole), it will start giving you resistance, so spinning too fast will become hard. You can switch to using your fingers and slowing down. Once you're happy with the amount of yarn, cut the thread and continue winding until it's all gone into the can.

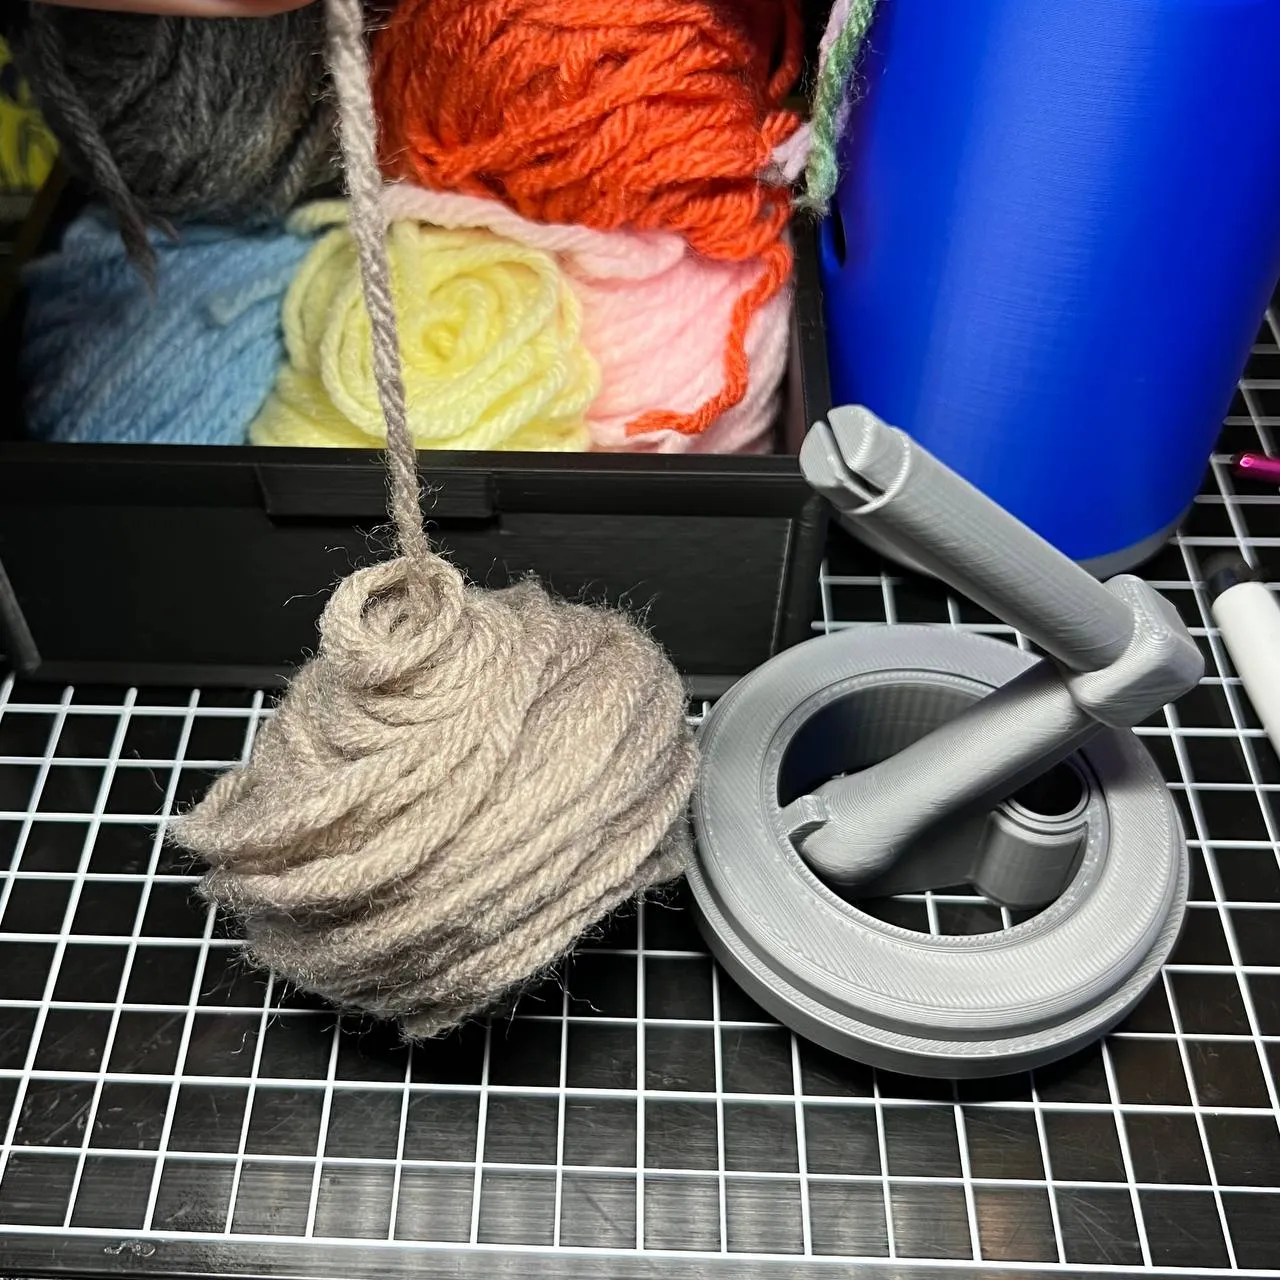
6- Carefully remove the spindle from the body. You can squish the ball to shape it a bit before removing it. Once you're ready to remove it, first release the top tail from the spindle making sure it doesn't get swallowed by the ball, and then carefully remove the yarn ball by pushing it out from the bottom. The ball won't be particularly delicate, but the top and bottom ends will want to unravel if you toss it around- store it somewhere tight and safe.
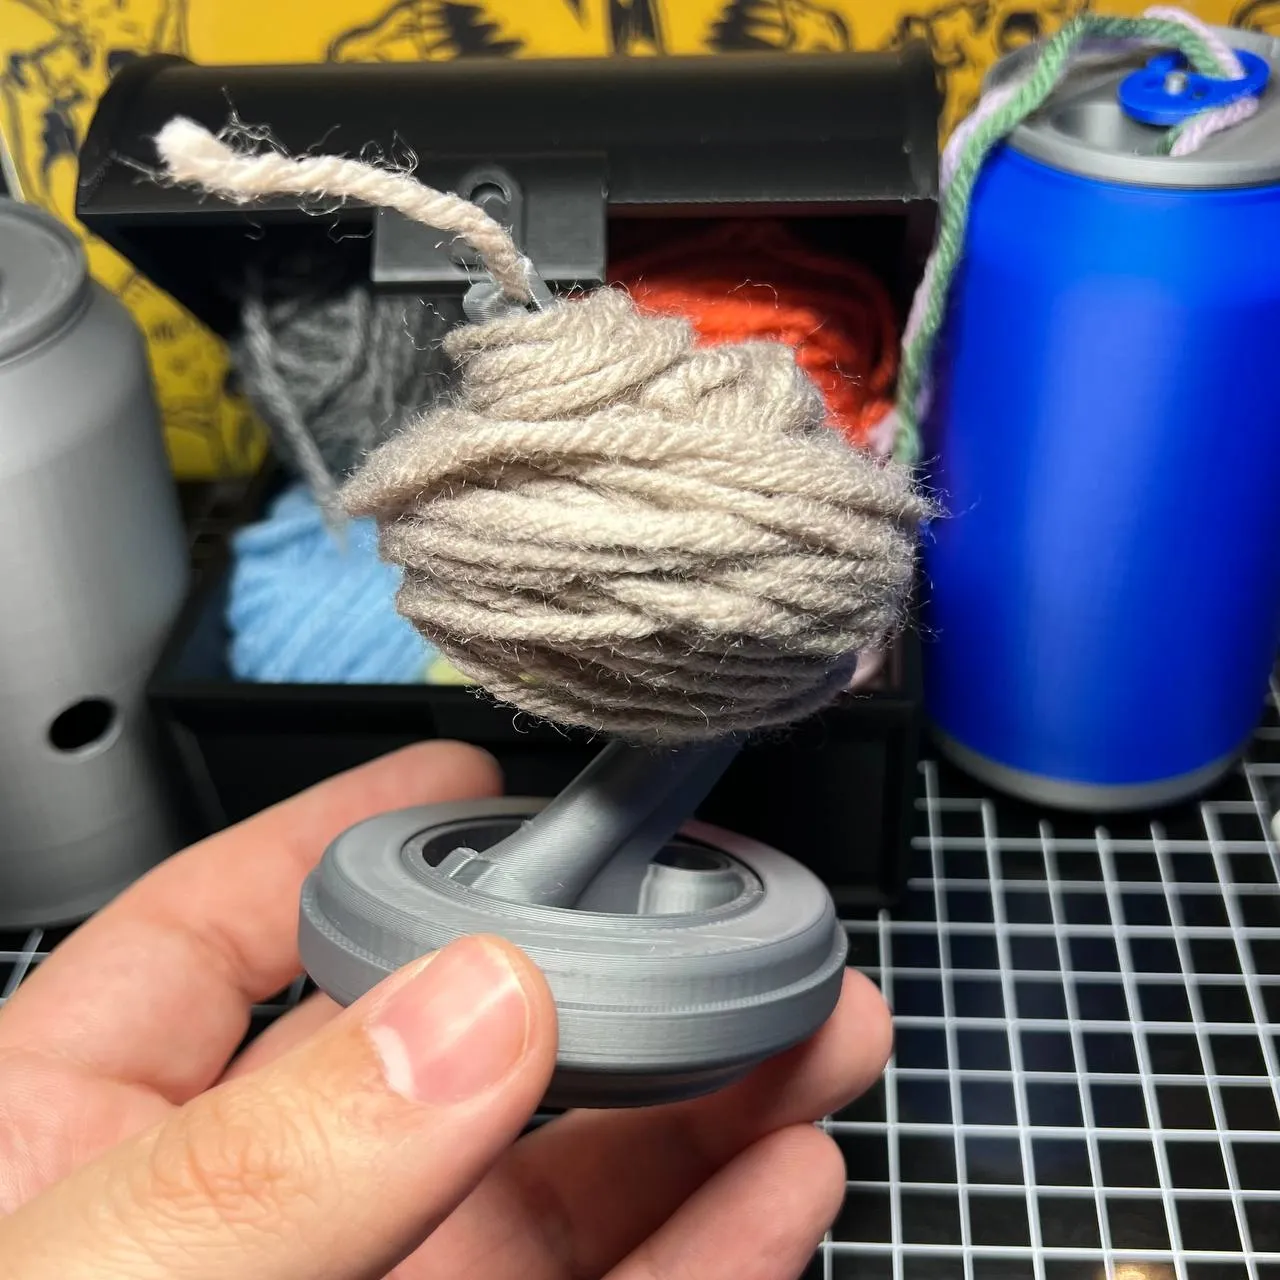
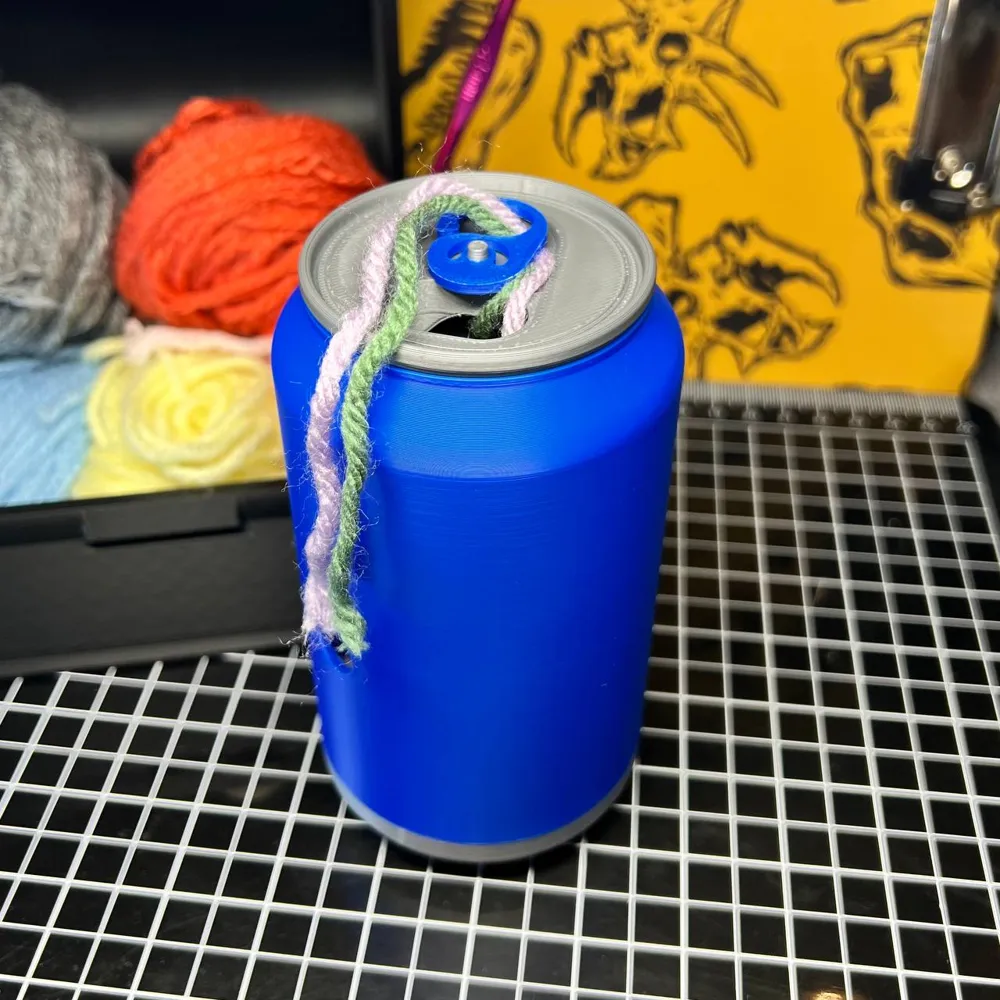
7- You can pull out yarn to use from the middle, using the end that was secured on the spindle.
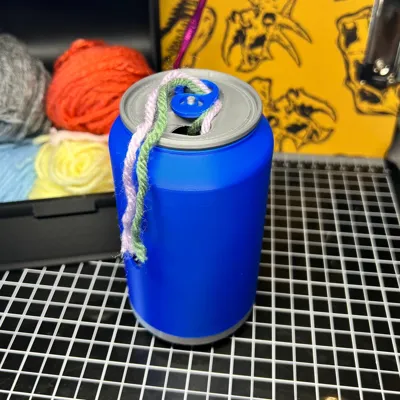
8- If you want to move on to using the can as a container, switch to the other bottom piece. You can fit two full-size balls together, just make sure to pull enough yarn from the center and thread them up and out through the hole on the lid of the can. You can use the tab to secure the yarn when not in use, as pictured.
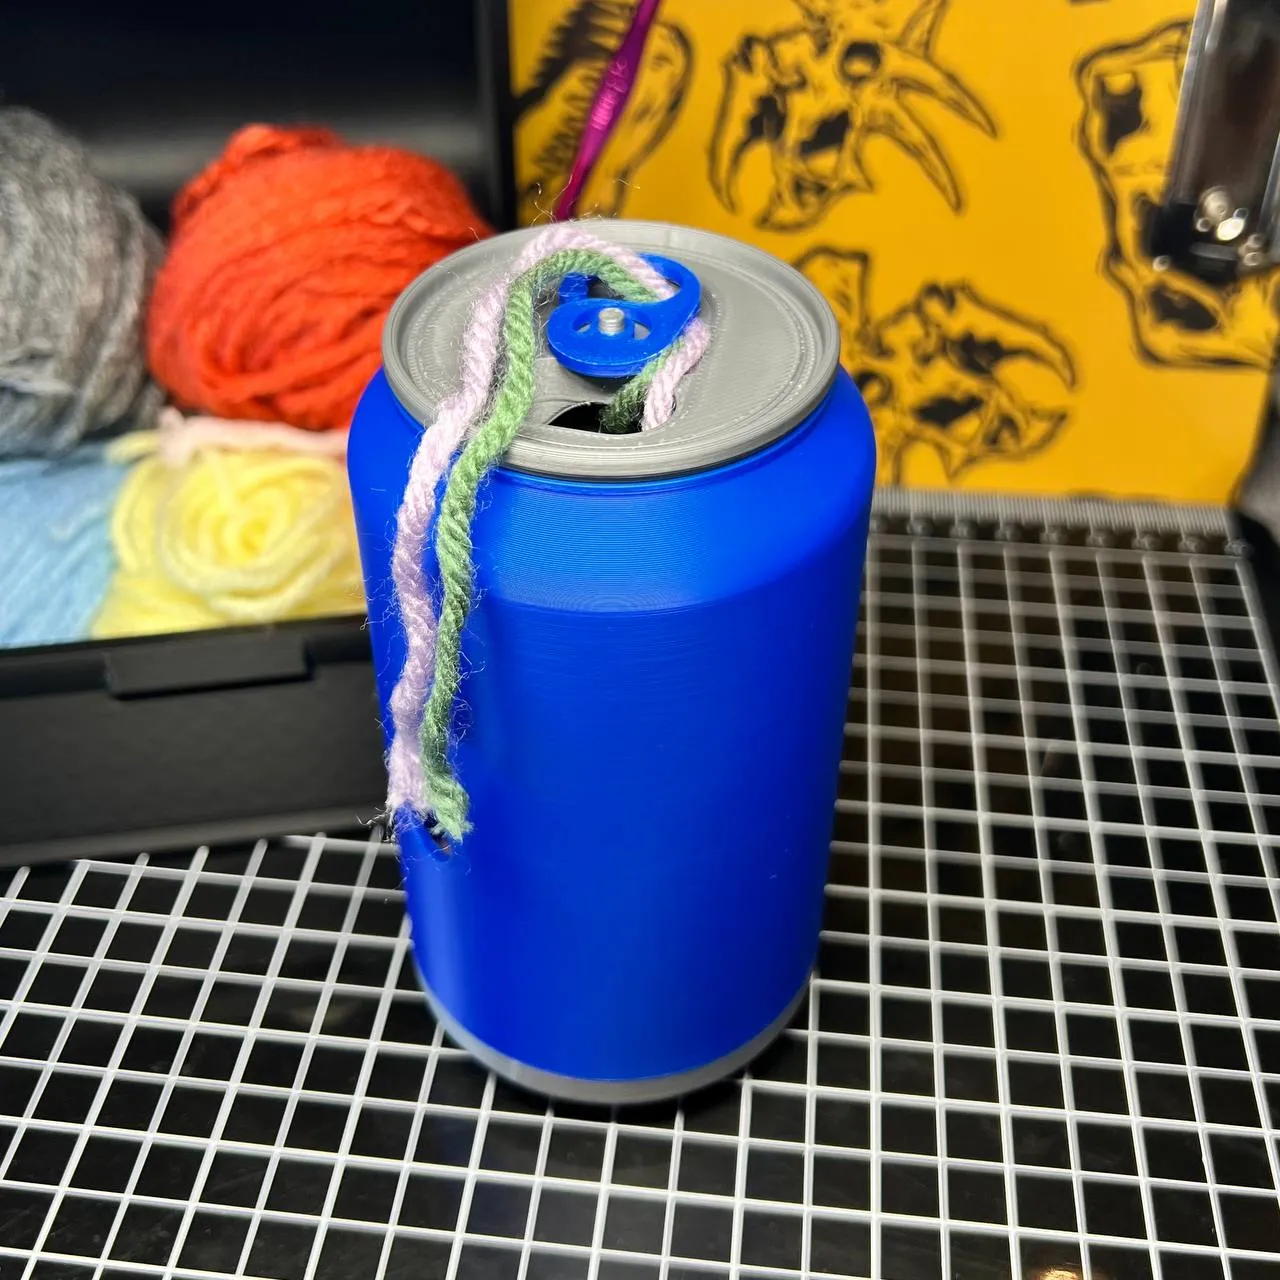
And that's it! You can now put the can in a backpack, purse, or anything with a drink holder to carry around with you for a quick yarn fix.
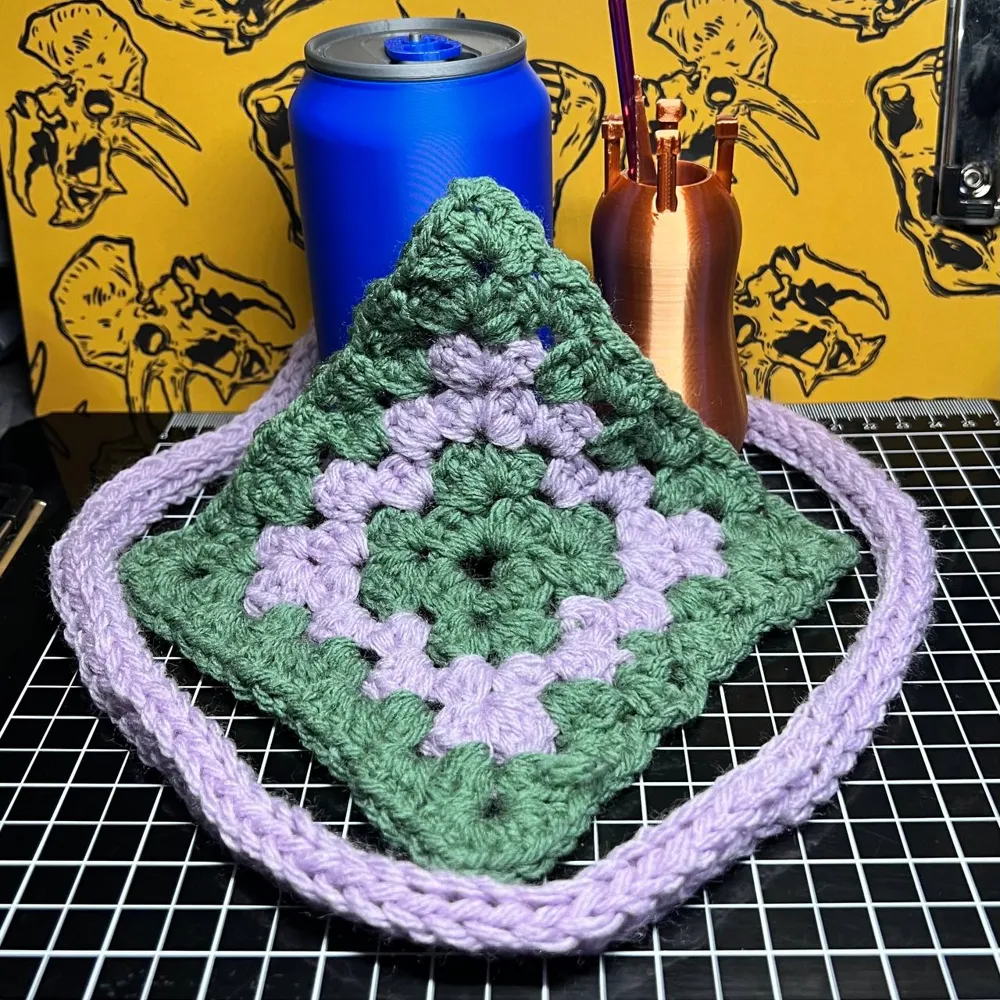
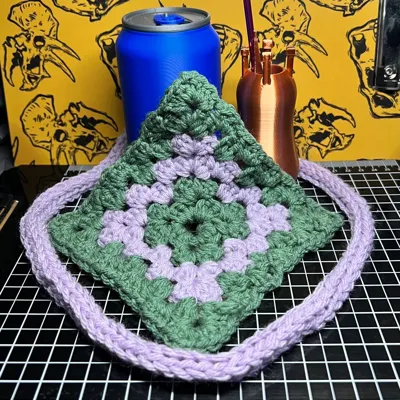
A fully loaded Yarn Can should have enough (medium weight) yarn for a big six-row granny square, and then some.
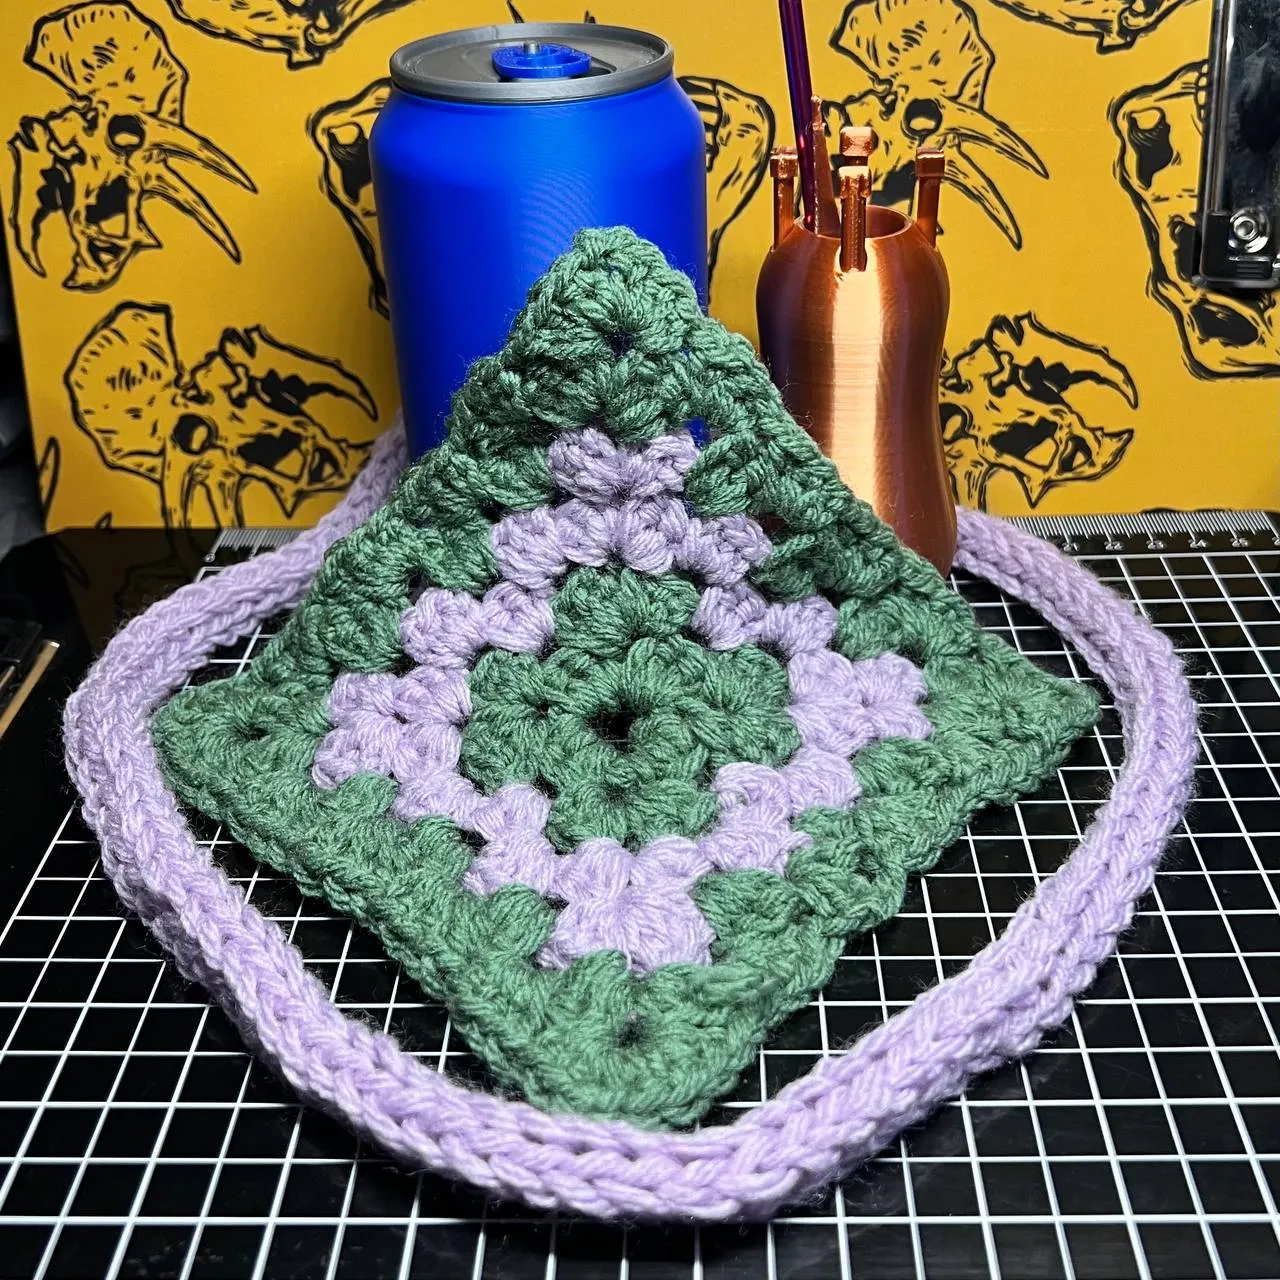
Update 04/18/25:
Added a new print profile that distributes the pieces into more bedplates, and uses settings to create a sturdier version of the Yarn Can compared to the classic profile.
The added internal bulk makes it slightly harder to remove the lid and bottom pieces, but that will become easier with use.
Update 04/09/25:
Updated the model of the standard bottom piece, to raise the internal lip. This is because the original version was a bit too easy to pop open.
License



Comment & Rating (11)