
Print Profile(1)

Description
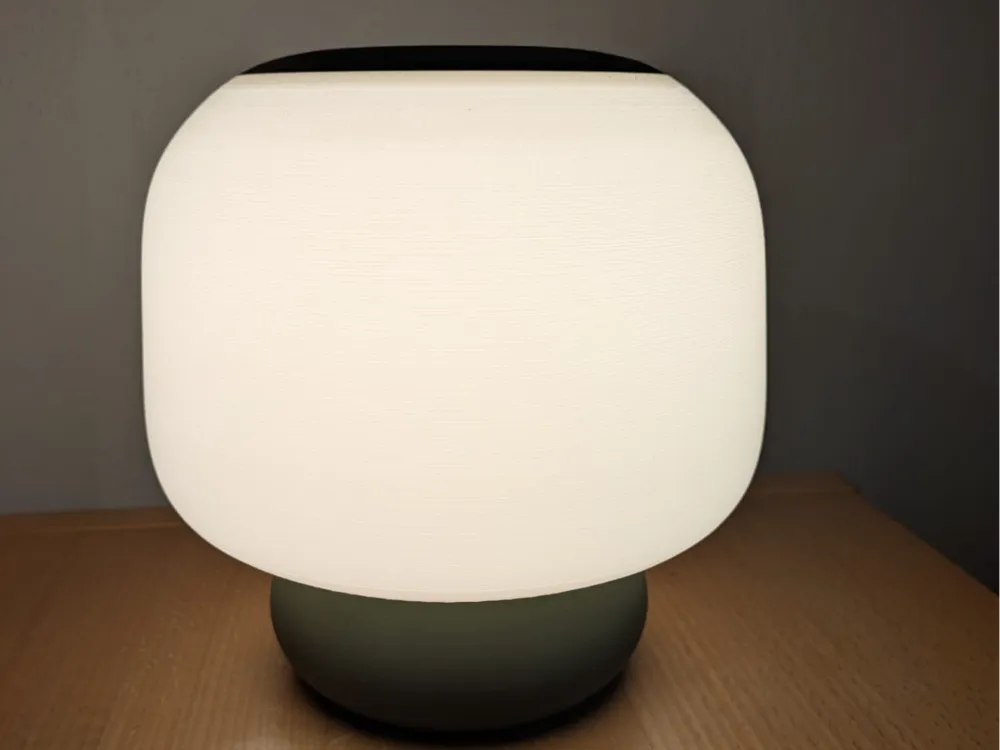
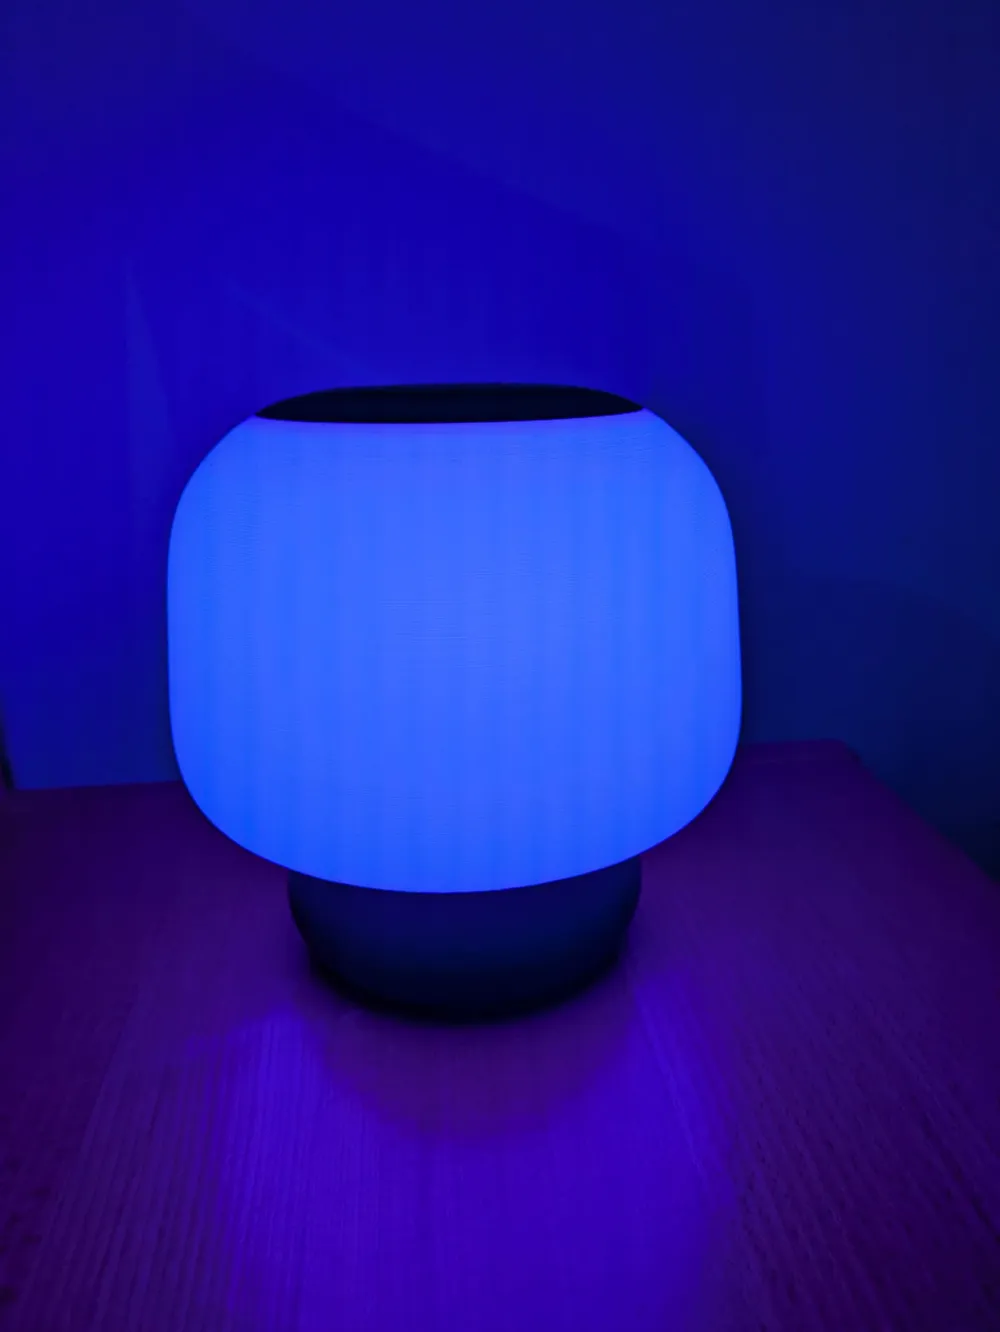
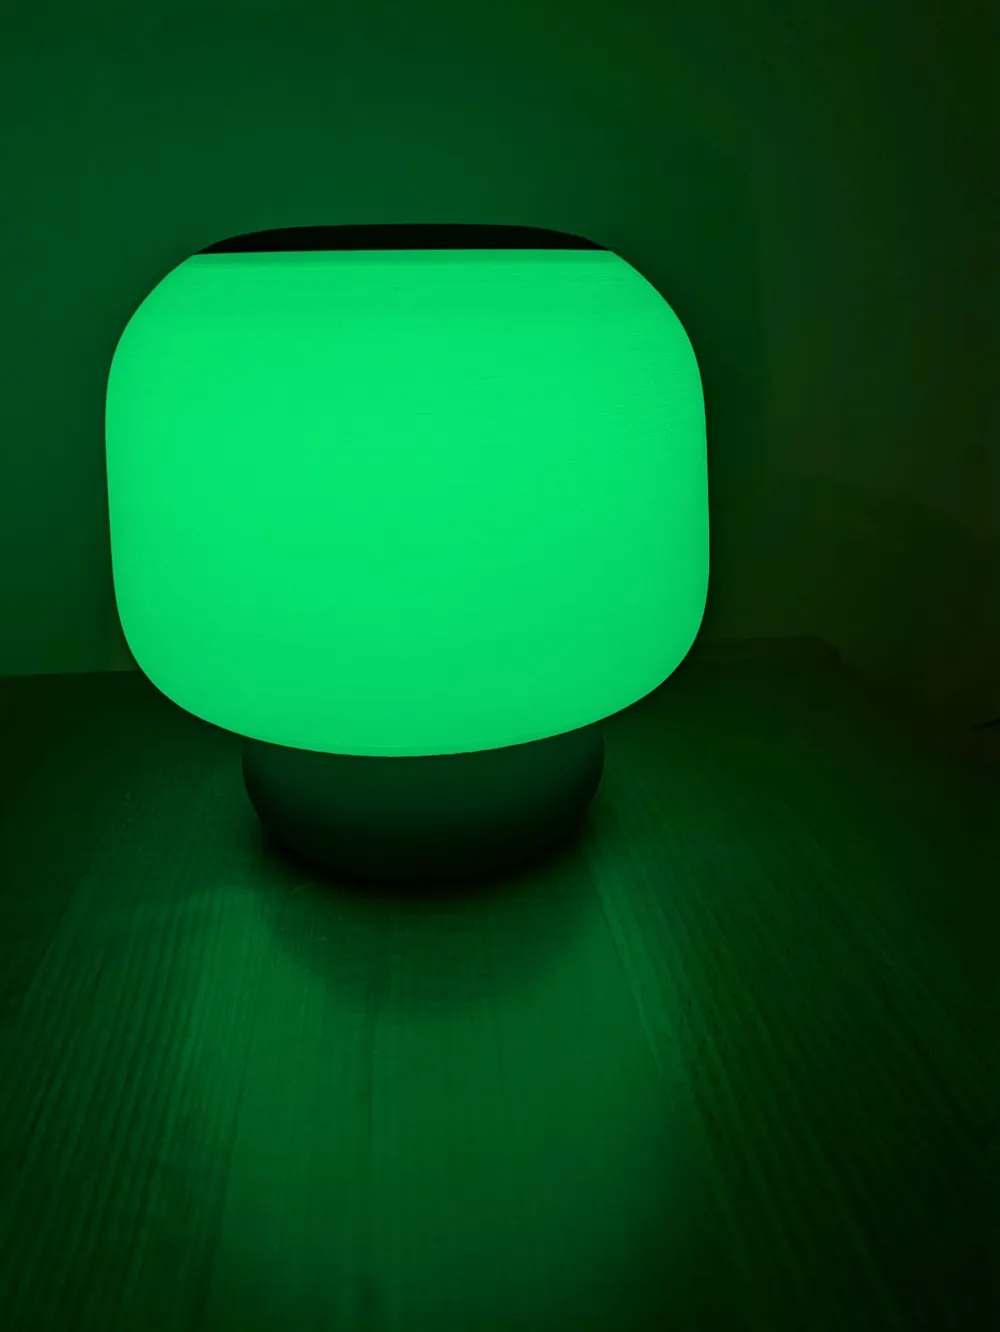
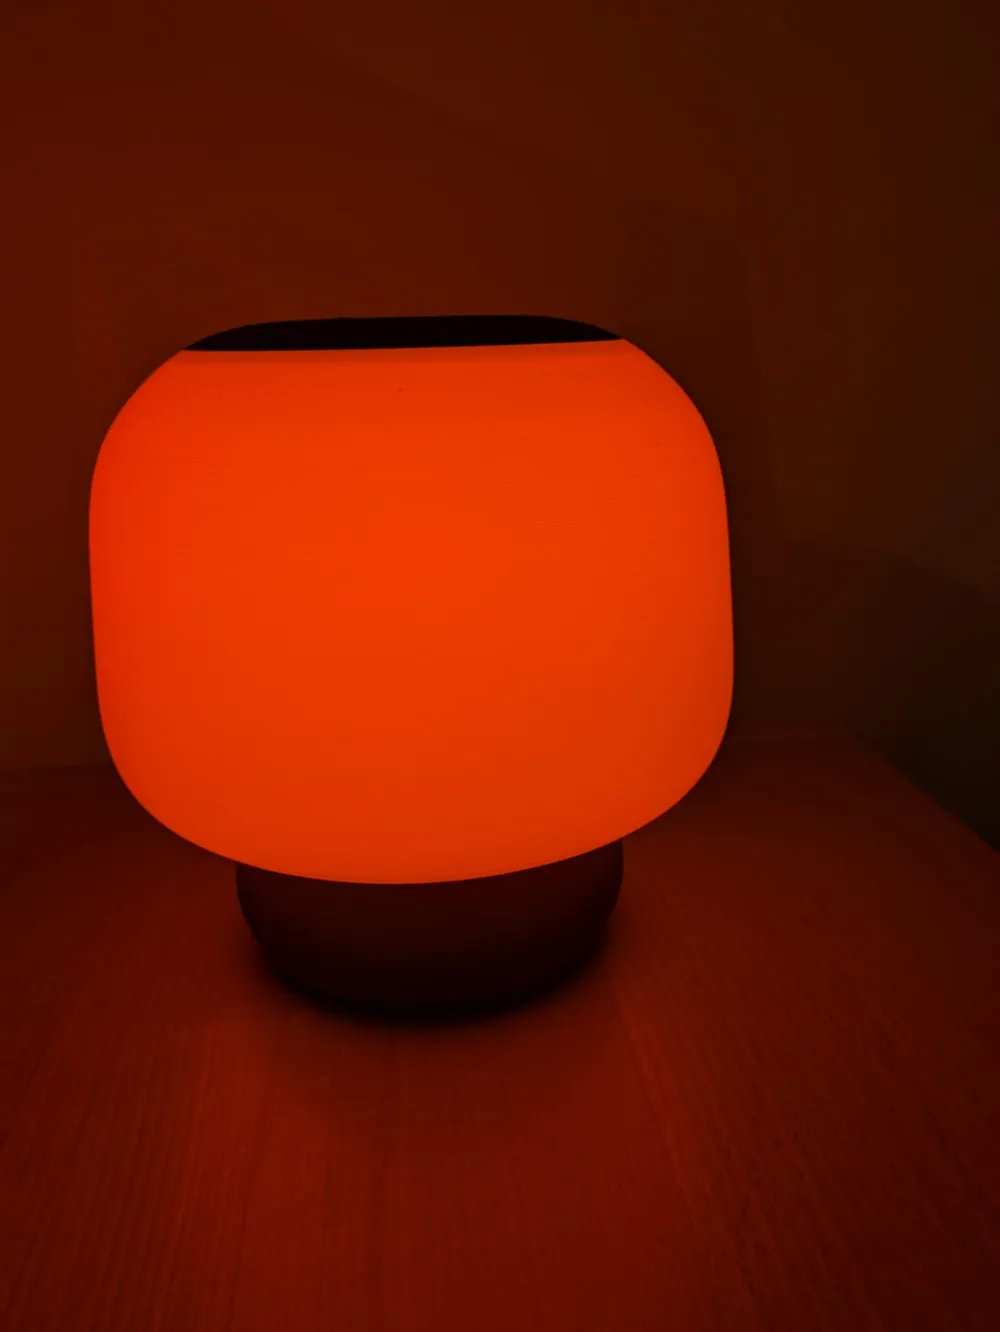
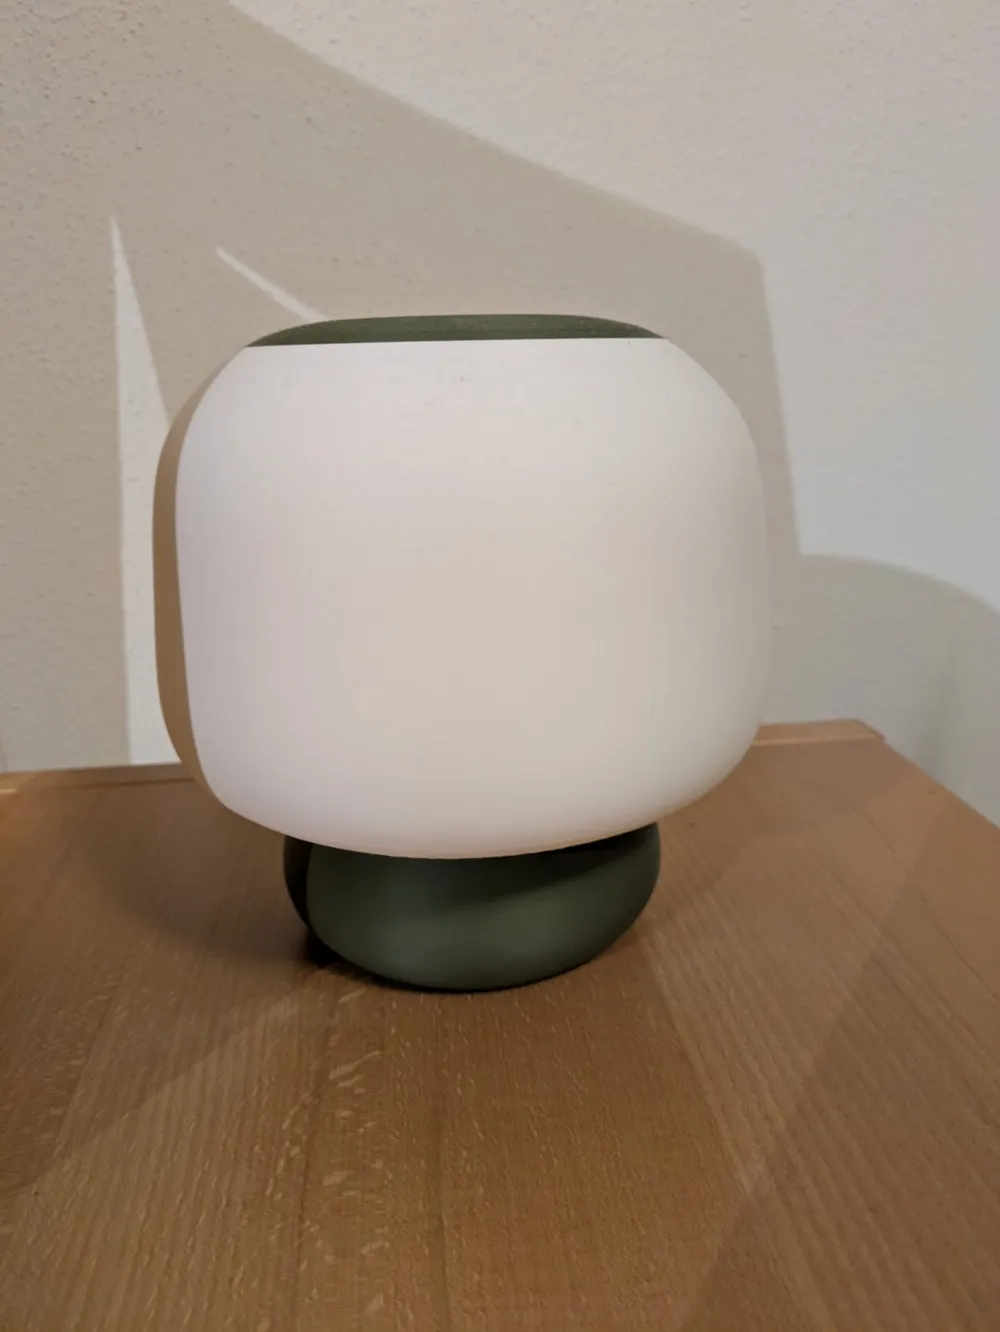
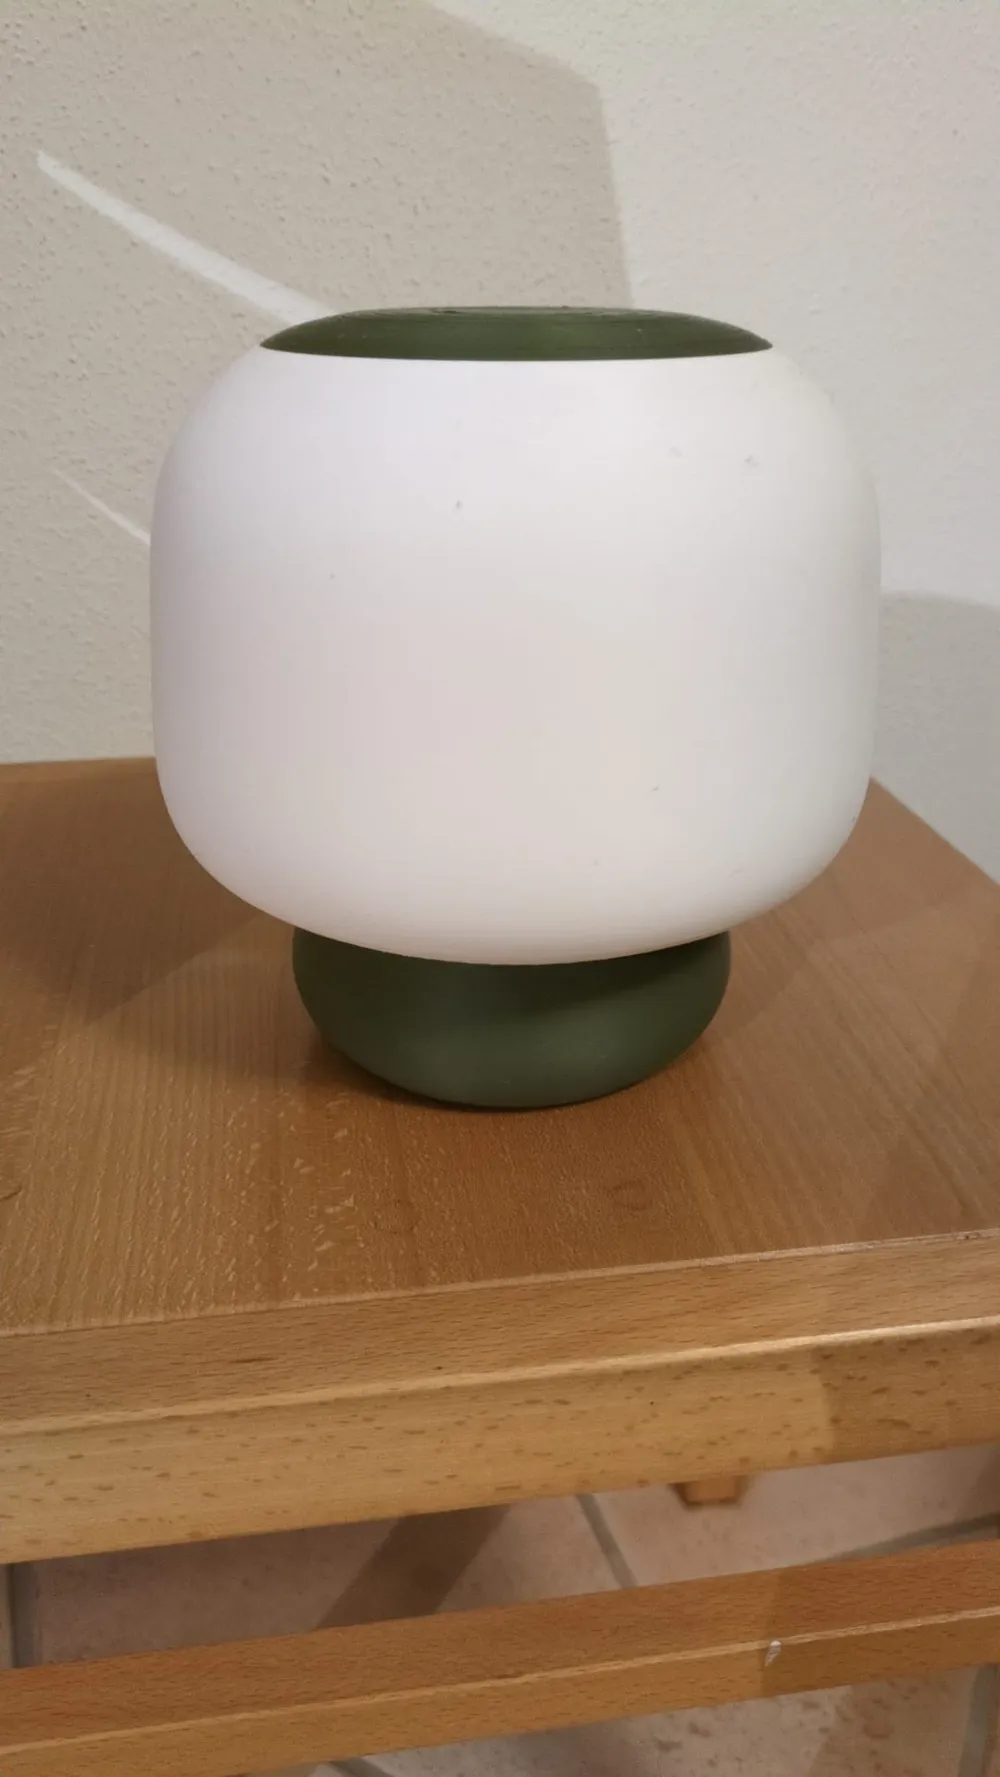
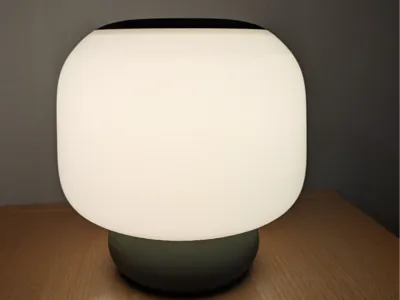
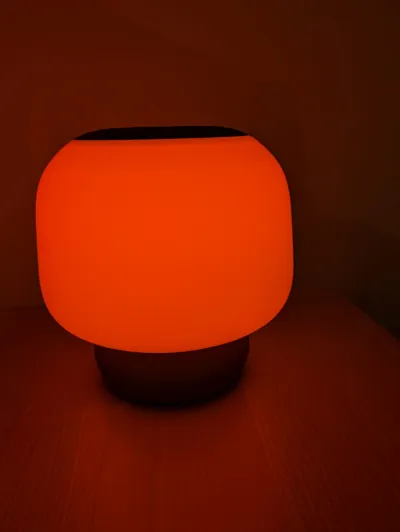
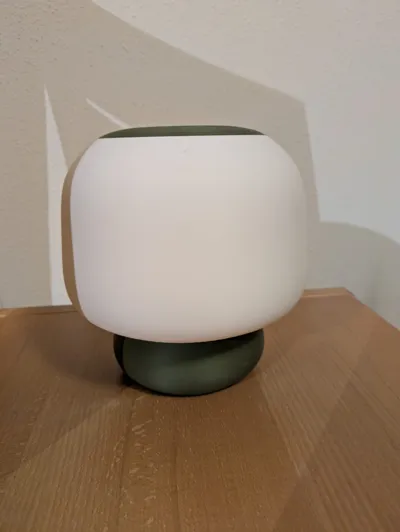
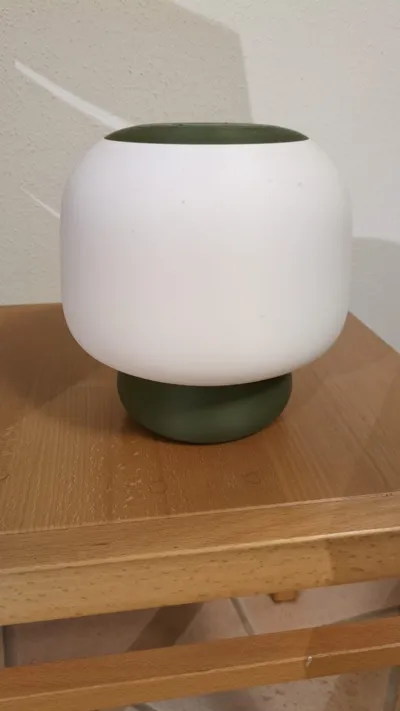
Add a touch of modern elegance to your space with this 3D printable bedside/table lamp. Its minimalist design features a smooth, rounded lampshade that casts a warm, diffused glow, perfect for creating a relaxing ambiance in any bedroom, living room, or office.
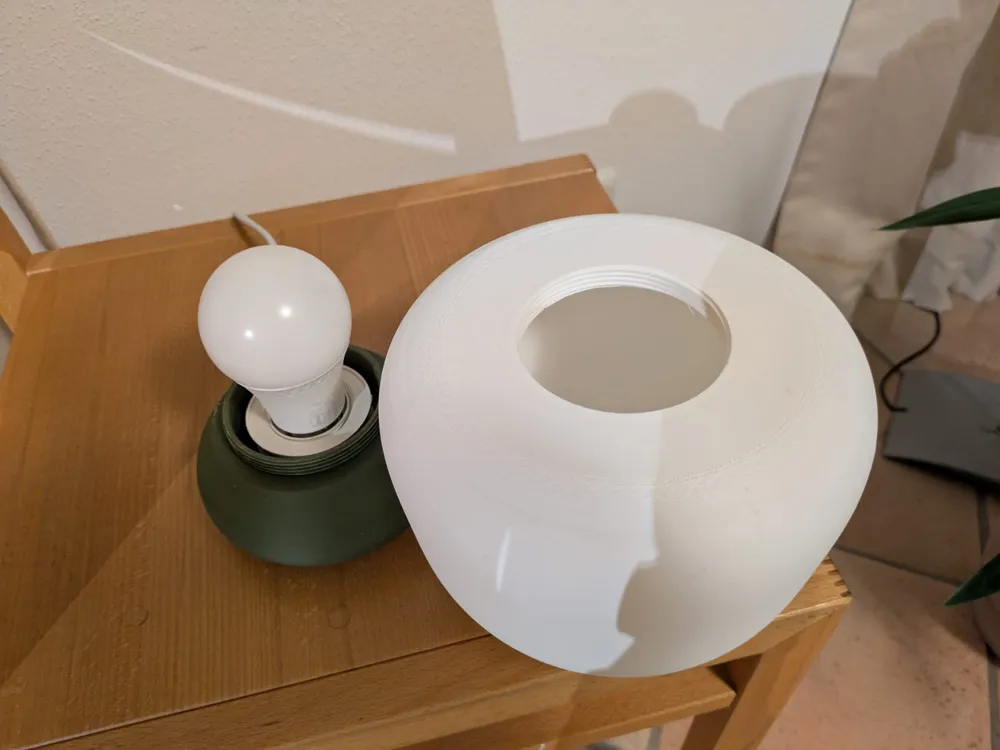
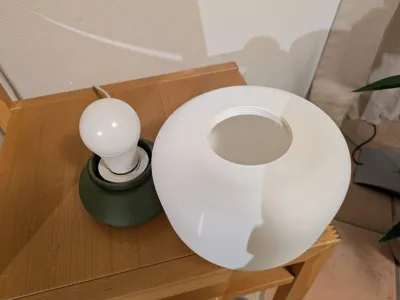
This model consists of two main parts: the base and the lampshade, designed for easy printing.
Important: This listing is for the 3D model files ONLY. You will need to supply your own electrical components.
Required Non-Printed Parts:
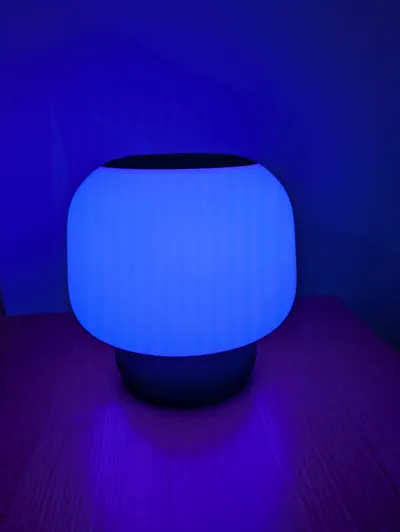
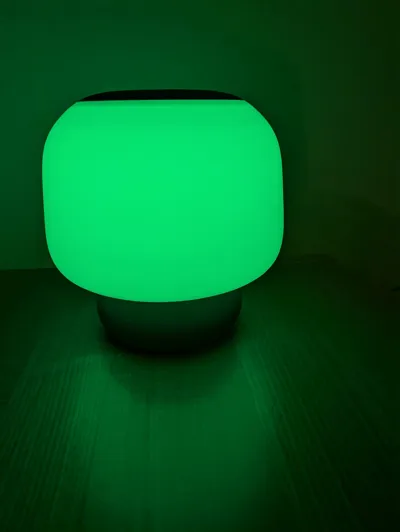
- Light Bulb: An E14 or E27 base bulb (LED recommended to minimize heat). A WiFi-enabled smart bulb is highly recommended for convenient control!
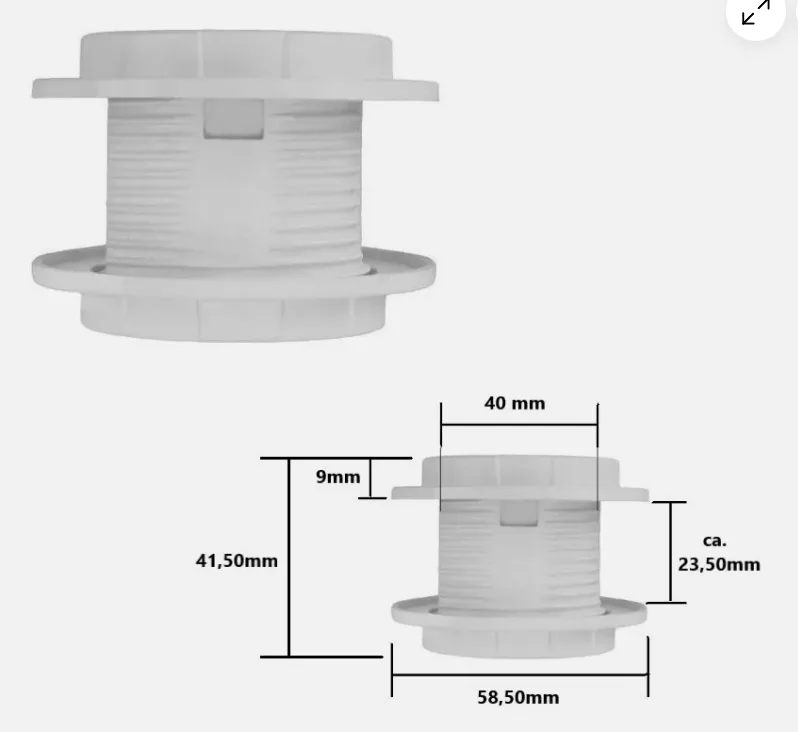
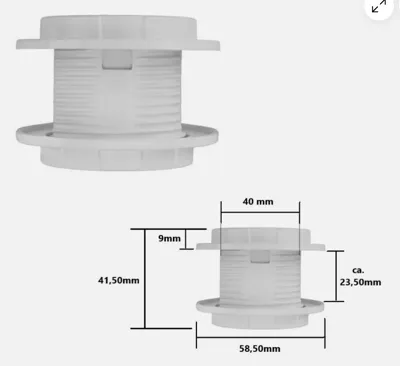
Lamp Socket: An E14 or E27 flush-mount style socket. Look for sockets described as "Einbaufassung" or "flush mount lamp holder" (similar to the type often found on eBay/Amazon).
Einbau Fassung E14 E27 Lampenfassung Sockel LED Kunststoff Einbaufassung | eBay
- Crucial: Measure the diameter of the mounting hole in the printed base before purchasing your socket to ensure a proper fit. The socket screws into place.
- Power Cable: A standard lamp power cord with an appropriate plug for your region and preferably an inline switch.
- (Optional) Rubber Feet: 4 small self-adhesive rubber feet for the bottom of the base to prevent slipping and protect surfaces.
Assembly Instructions (General Guide):
- Print the lamp base and the lampshade using your preferred settings.
- Thread the cable through the hole in the bottom of the lamp stand and attach it to the socket.
- Carefully and securely install your chosen E14/E27 flush-mount socket into the lamp base. Ensure it fits snugly.
- Wire the lamp socket to your power cable. Safety First: Follow the instructions provided with your socket and cable. If you are uncomfortable or unsure about electrical wiring, please consult a qualified electrician.
- Screw your light bulb into the socket.
- Place the lampshade onto the base.
- (Optional) Attach the self-adhesive rubber feet to the underside of the base.
- Plug in and enjoy your new lamp!
Enjoy creating your own stylish lamp! We'd love to see photos of your makes – please share them!
License



Comment & Rating (3)