Modular Insulated Cooler Camp Seat


Print Profile(3)


Description
Membership
Want to support me or buy a commercial license? Click Here!
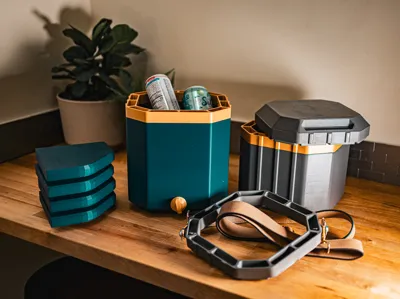
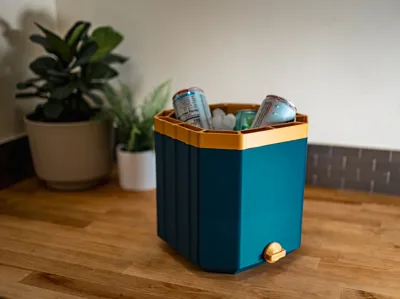
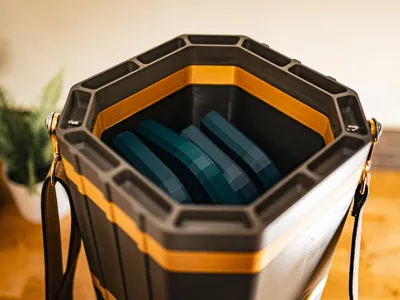
A stackable cooler and seat combo! Configure your cooler by adding or removing different sections to optimize it for your use. Pick and choose between the seat lid, cooler lid, extension, and carry strap module to customize your cooler the way you want to! In the low configuration, the cooler is perfect for around 6 beverage cans. By adding the second section, a wine bottle or two can be cooled!
The air gap in the modules may be left open, filled with foam, or you can utilize AMS waste as insulation to trap air. With the modules left open, ice was retained for about 12 hours (tested indoors) - Perfect for picnics and tailgates!
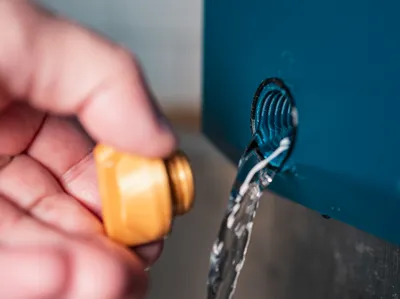
The print profile was tested to a distributed 200 lbs (90kg) using all modules and seat lid - you may need more or less walls depending on the weight capacity you expect to use. The plug seal was printed in TPU and is *almost* water tight - you may want to use a purchased 1" o-ring to seal the plug or threads fully.
Seat Lid - For a dedicated seat
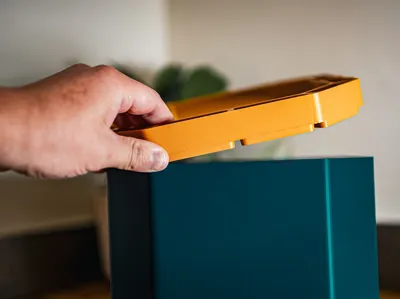
Cooler Lid - For a more sleek look
Extension - For more beverages
Locking Plates - To lock in insulation
Added Recently:
Latching Lid and Ring - For a more secure lid (Need #6 x 2.75" Hardware)
Handle Ring - For additional grab handles
Sealed Base - For a base without drain hole
Assembly:
Print pieces you'll need for your cooler/seat configuration. At minimum you'll need the cooler base, locking plate or strap locking plate, plug, o-ring, and lid or seat tops. Press the o-ring into the recess in the cooler base, then screw in the plug. Fill the cooler base and extension with your choice of insulation and glue on the locking plate to seal the insulation in. Glue modules together until the right configuration is achieved and then set the lid on top!
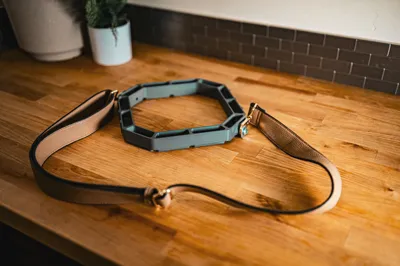
If using the strap locking plate, you'll need 6mm or ¼ in hardware and a shoulder strap:
https://a.co/d/9mWAZ28 - Shoulder Strap
https://a.co/d/7GKSymv - ¼ Eye Nut
https://a.co/d/hzhtUvT - ¼-20 x 1.5in Bolt
Happy Printing!
License
You shall not share, sub-license, sell, rent, host, transfer, or distribute in any way the digital or 3D printed versions of this object, nor any other derivative work of this object in its digital or physical format (including - but not limited to - remixes of this object, and hosting on other digital platforms). The objects may not be used without permission in any way whatsoever in which you charge money, or collect fees.
Comment & Rating (57)