
Retractable Bed Scraper
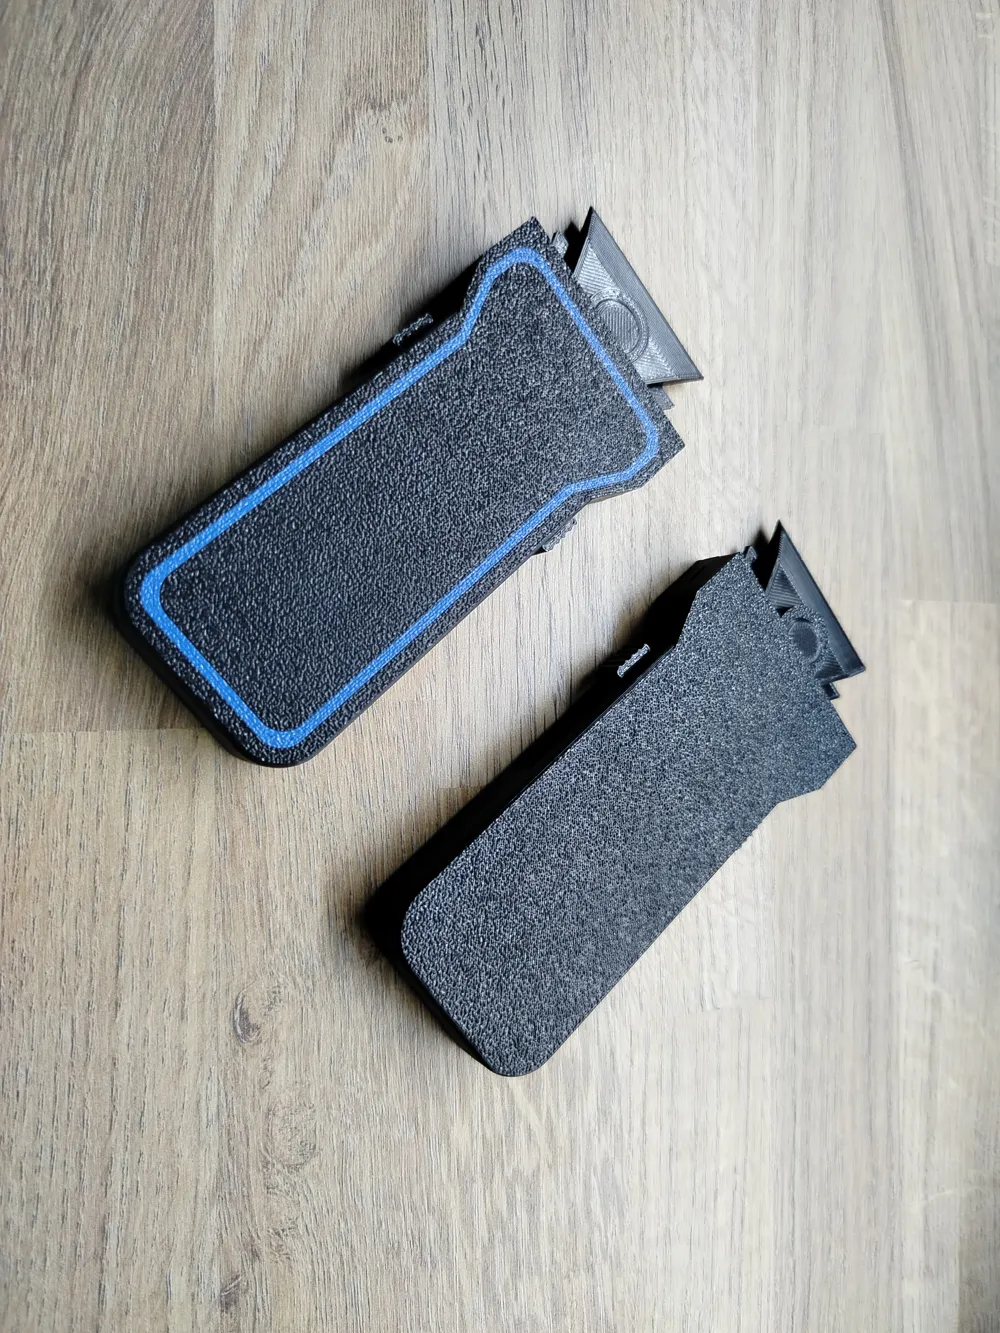
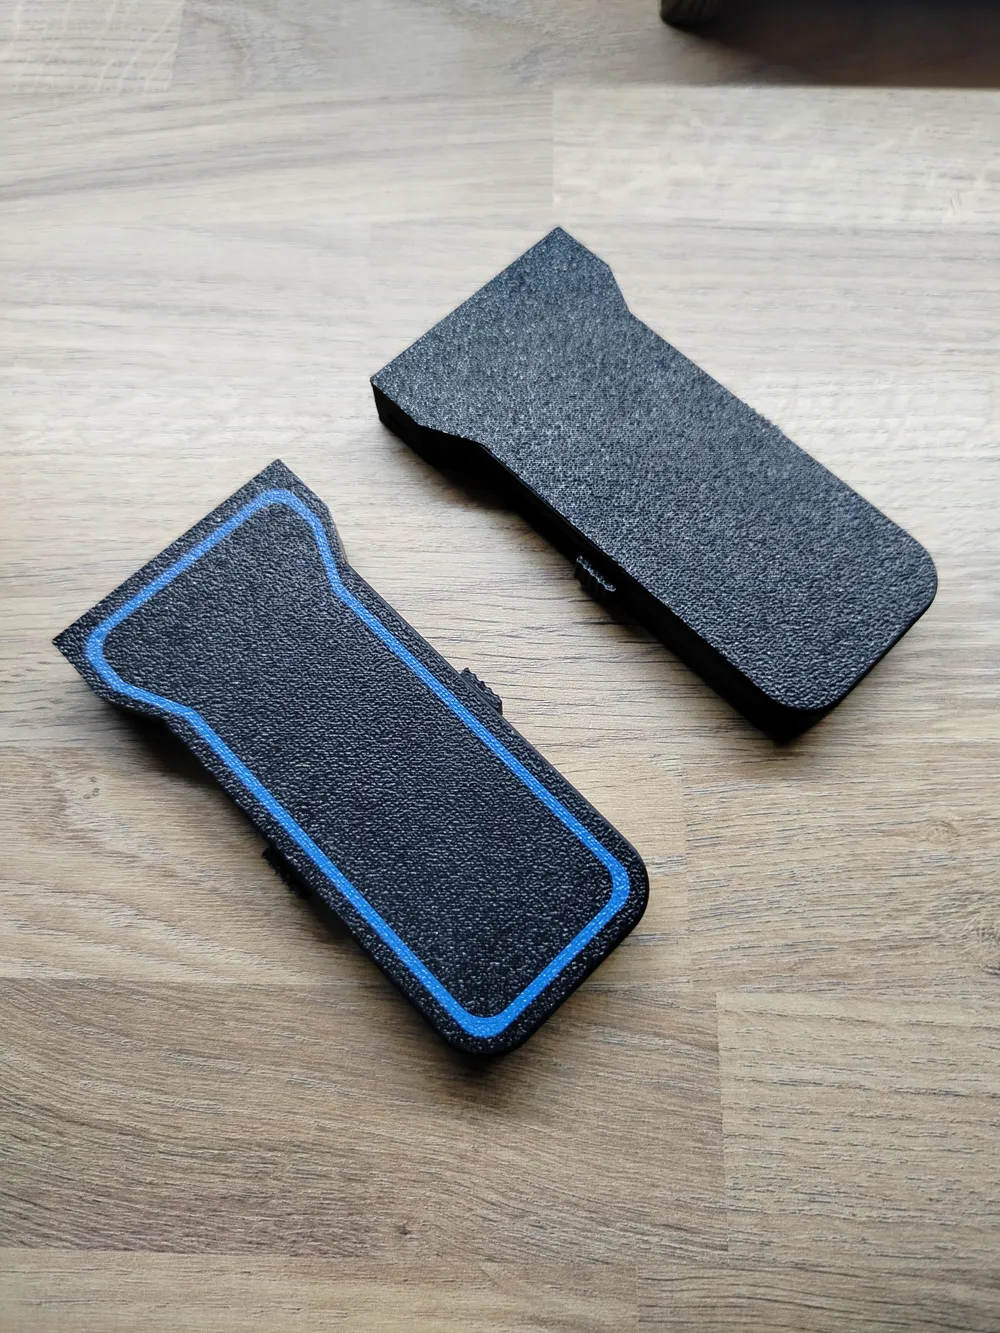
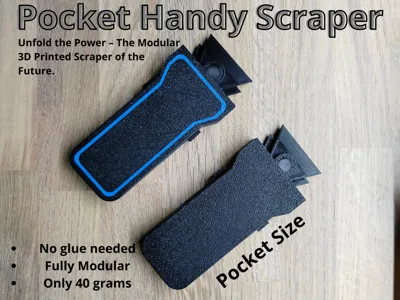
Print Profile(3)


Description
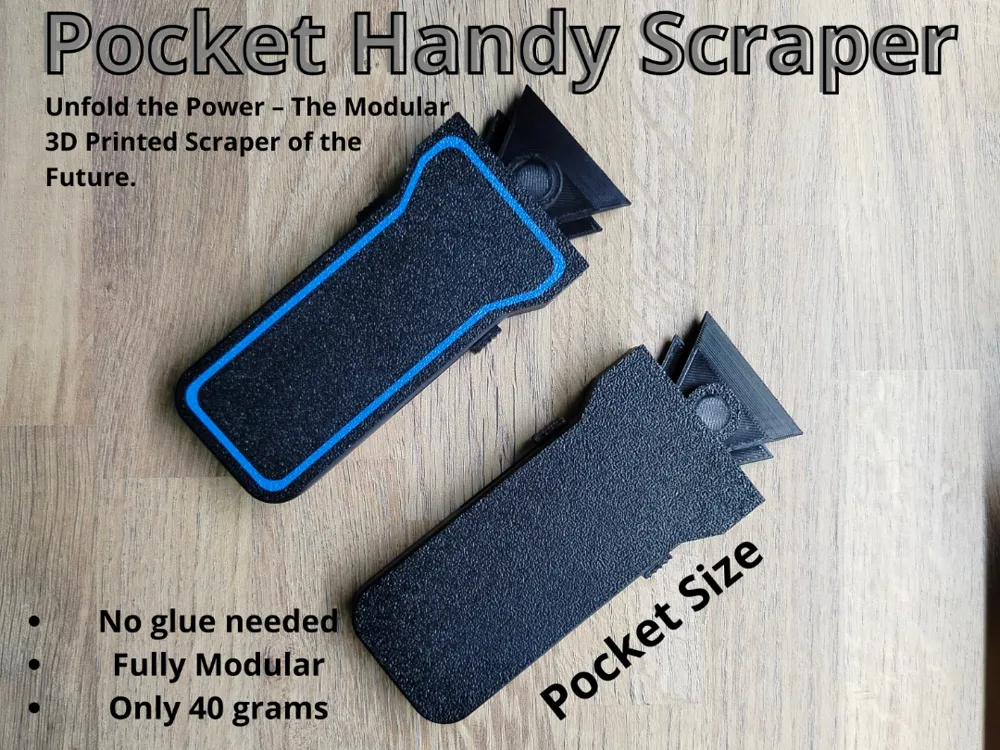
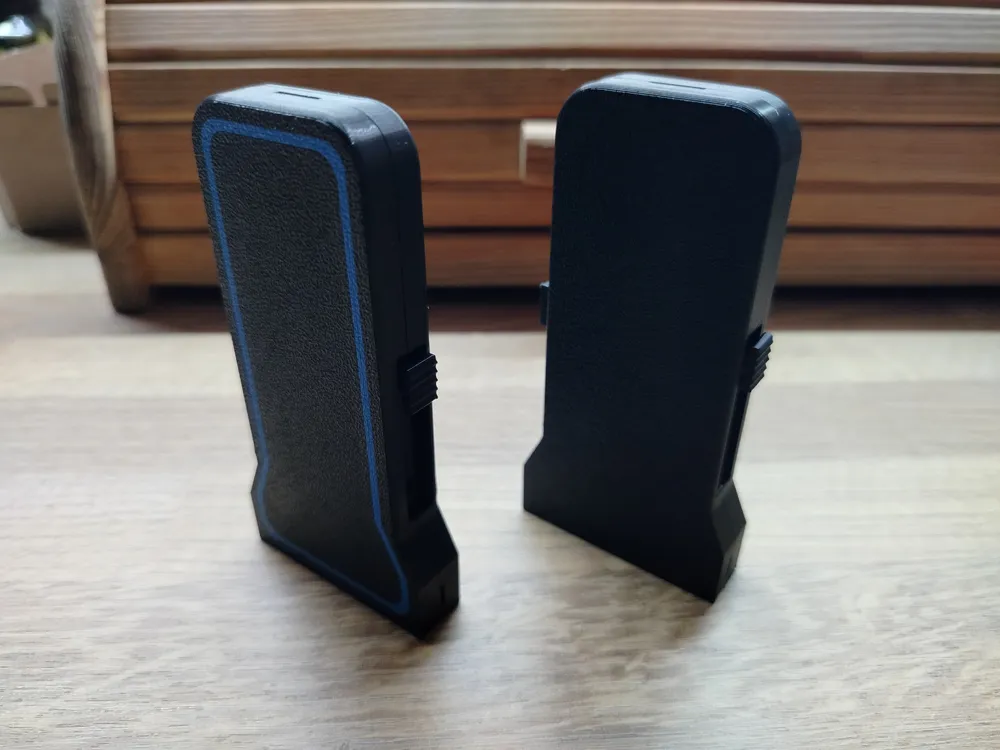
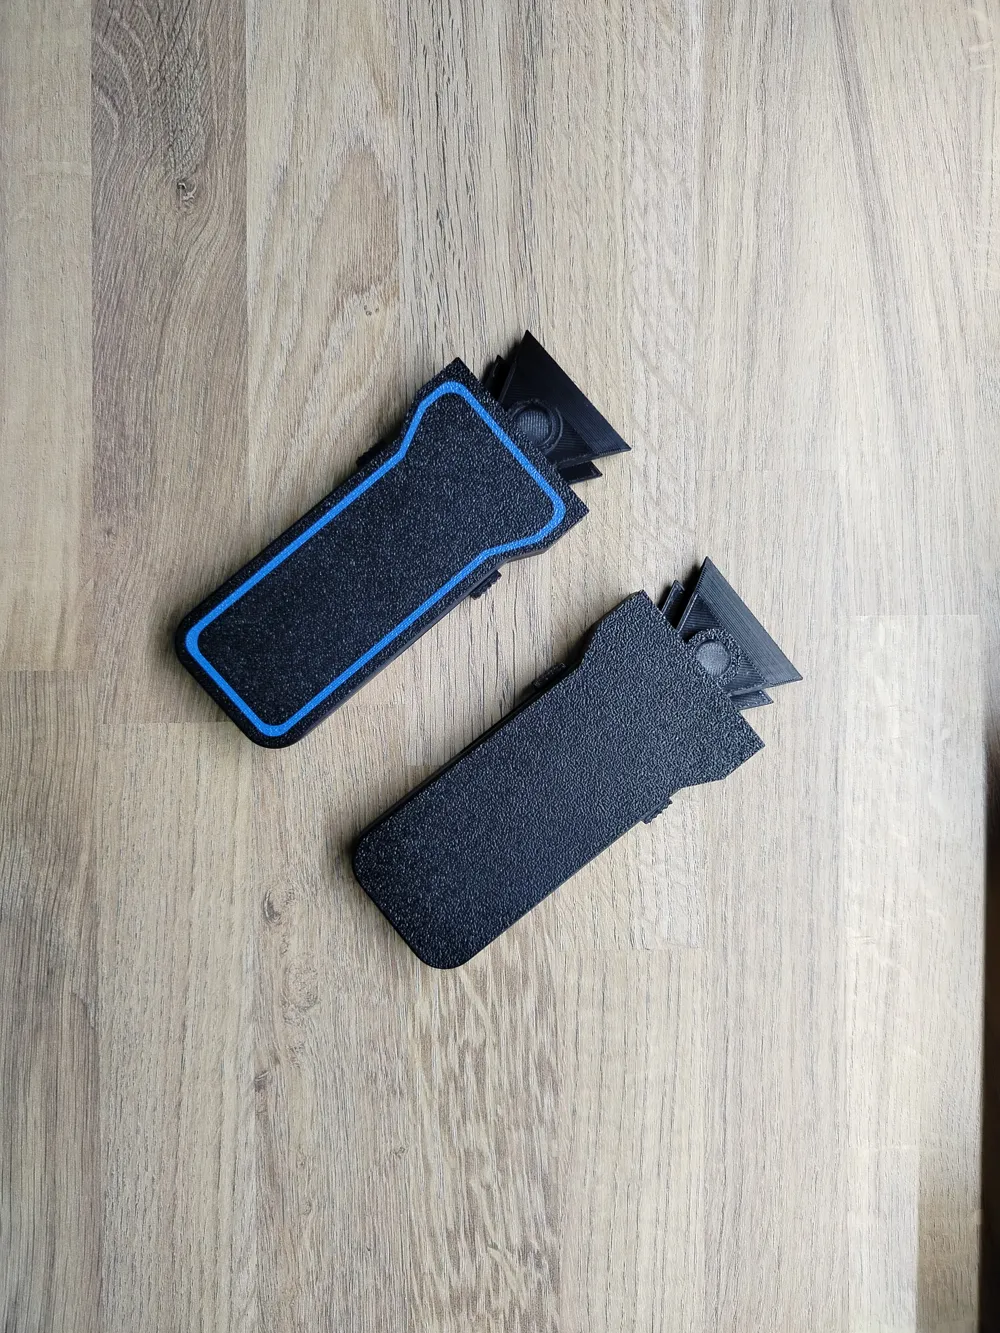
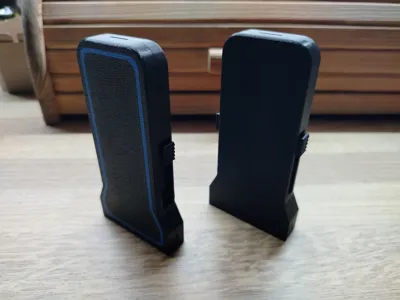
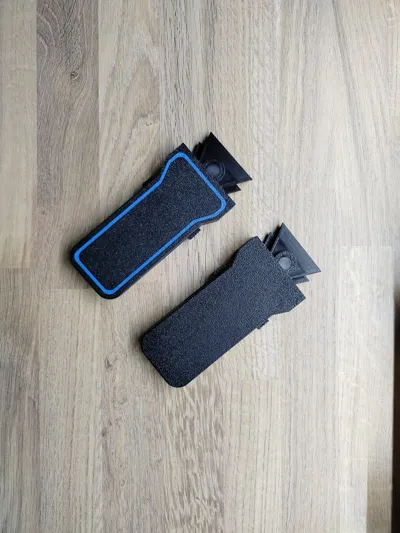
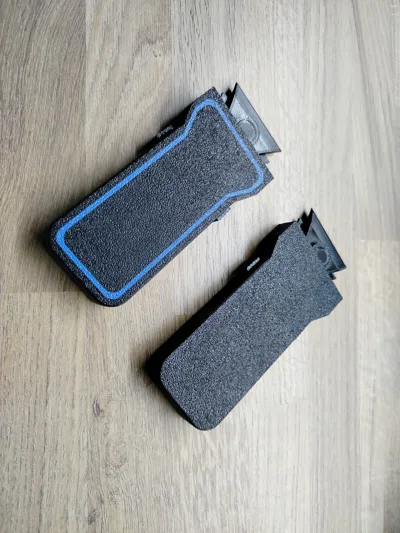
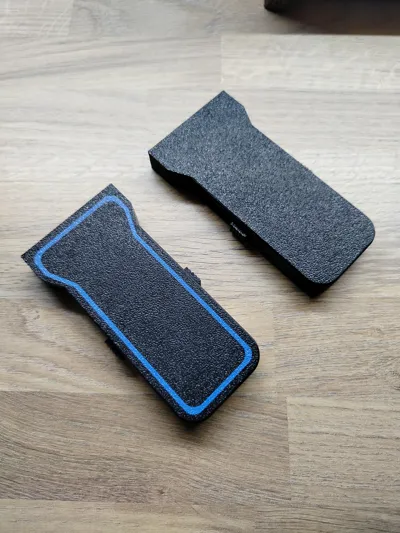
Modular Retractable Scraper – Compact, Customizable, and Built to Work
This isn’t just another scraper – it’s a full-blown pocket-sized powerhouse of modular engineering. Designed to be printed in just 1 hour and 50 minutes, this tool transforms from a compact carry to a fully functional scraper in seconds, ready to tackle just about anything.
Whether you're clearing debris from your 3D printer bed, scraping grime off workbenches, handling stubborn ice, or cleaning up whatever mess life throws your way – this scraper is built for it.
But what makes it stand out?
1.Modular Design:
Every part of this tool can be disassembled, replaced, or completely customized. Want to design your own tip? Modify the handle? Invent a whole new accessory? Do it.
2.Swappable Tips & Tools:
Thanks to the mechanism, changing out blades or tool ends is seamless. All while keeping things compact enough to slide right into your toolkit.
3.Material Recommendations:
Strongly recommend printing the mechanism component with PLA+ or PETG to ensure strength and reliability.
4.Perfect for:
- 3D printer accessory
- Cleaning
- Removing ice, dirt, and other grime
- Custom use cases
5.Fully Hackable:
It's not just a tool - it's a starting point. Remix it, rebuild it. I designed it to encourage creativity. Whether you're a hands-on tinkerer or a tool maker.
6.Assembly Instruction:
Push this little connectors to the holes of the one half of the case
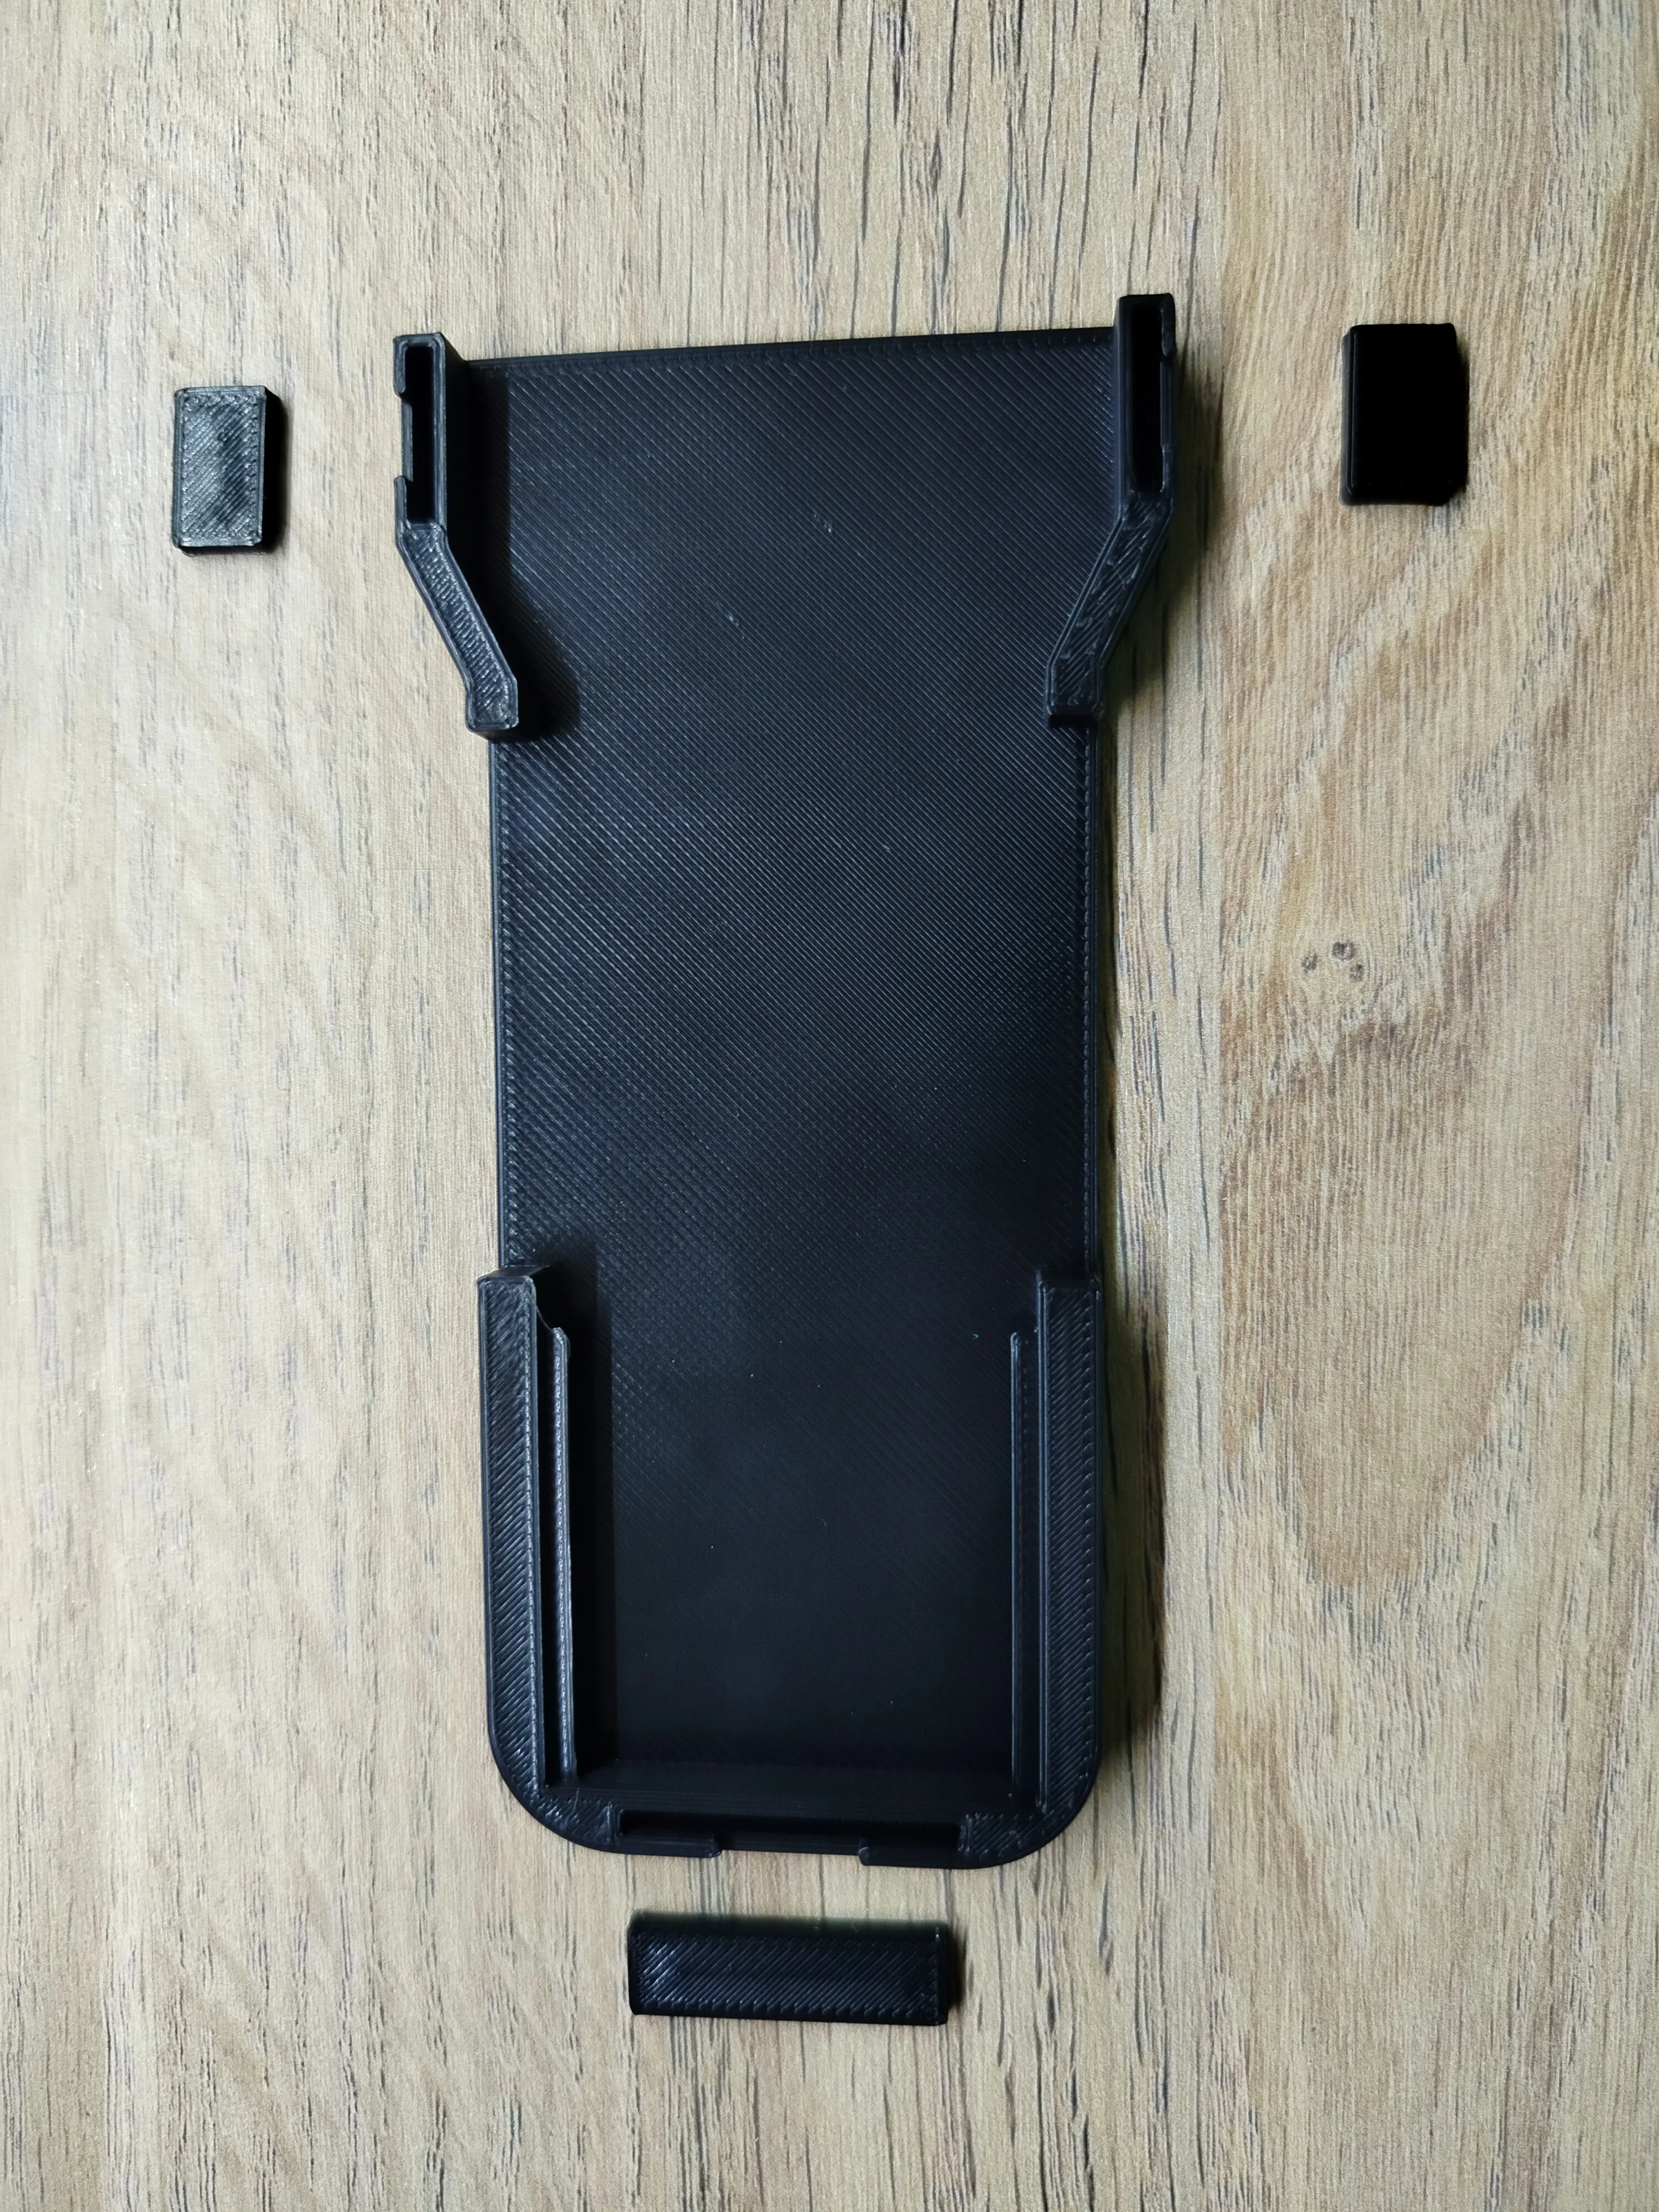
Slide the mechanism in to rails of the bottom half of the case like this
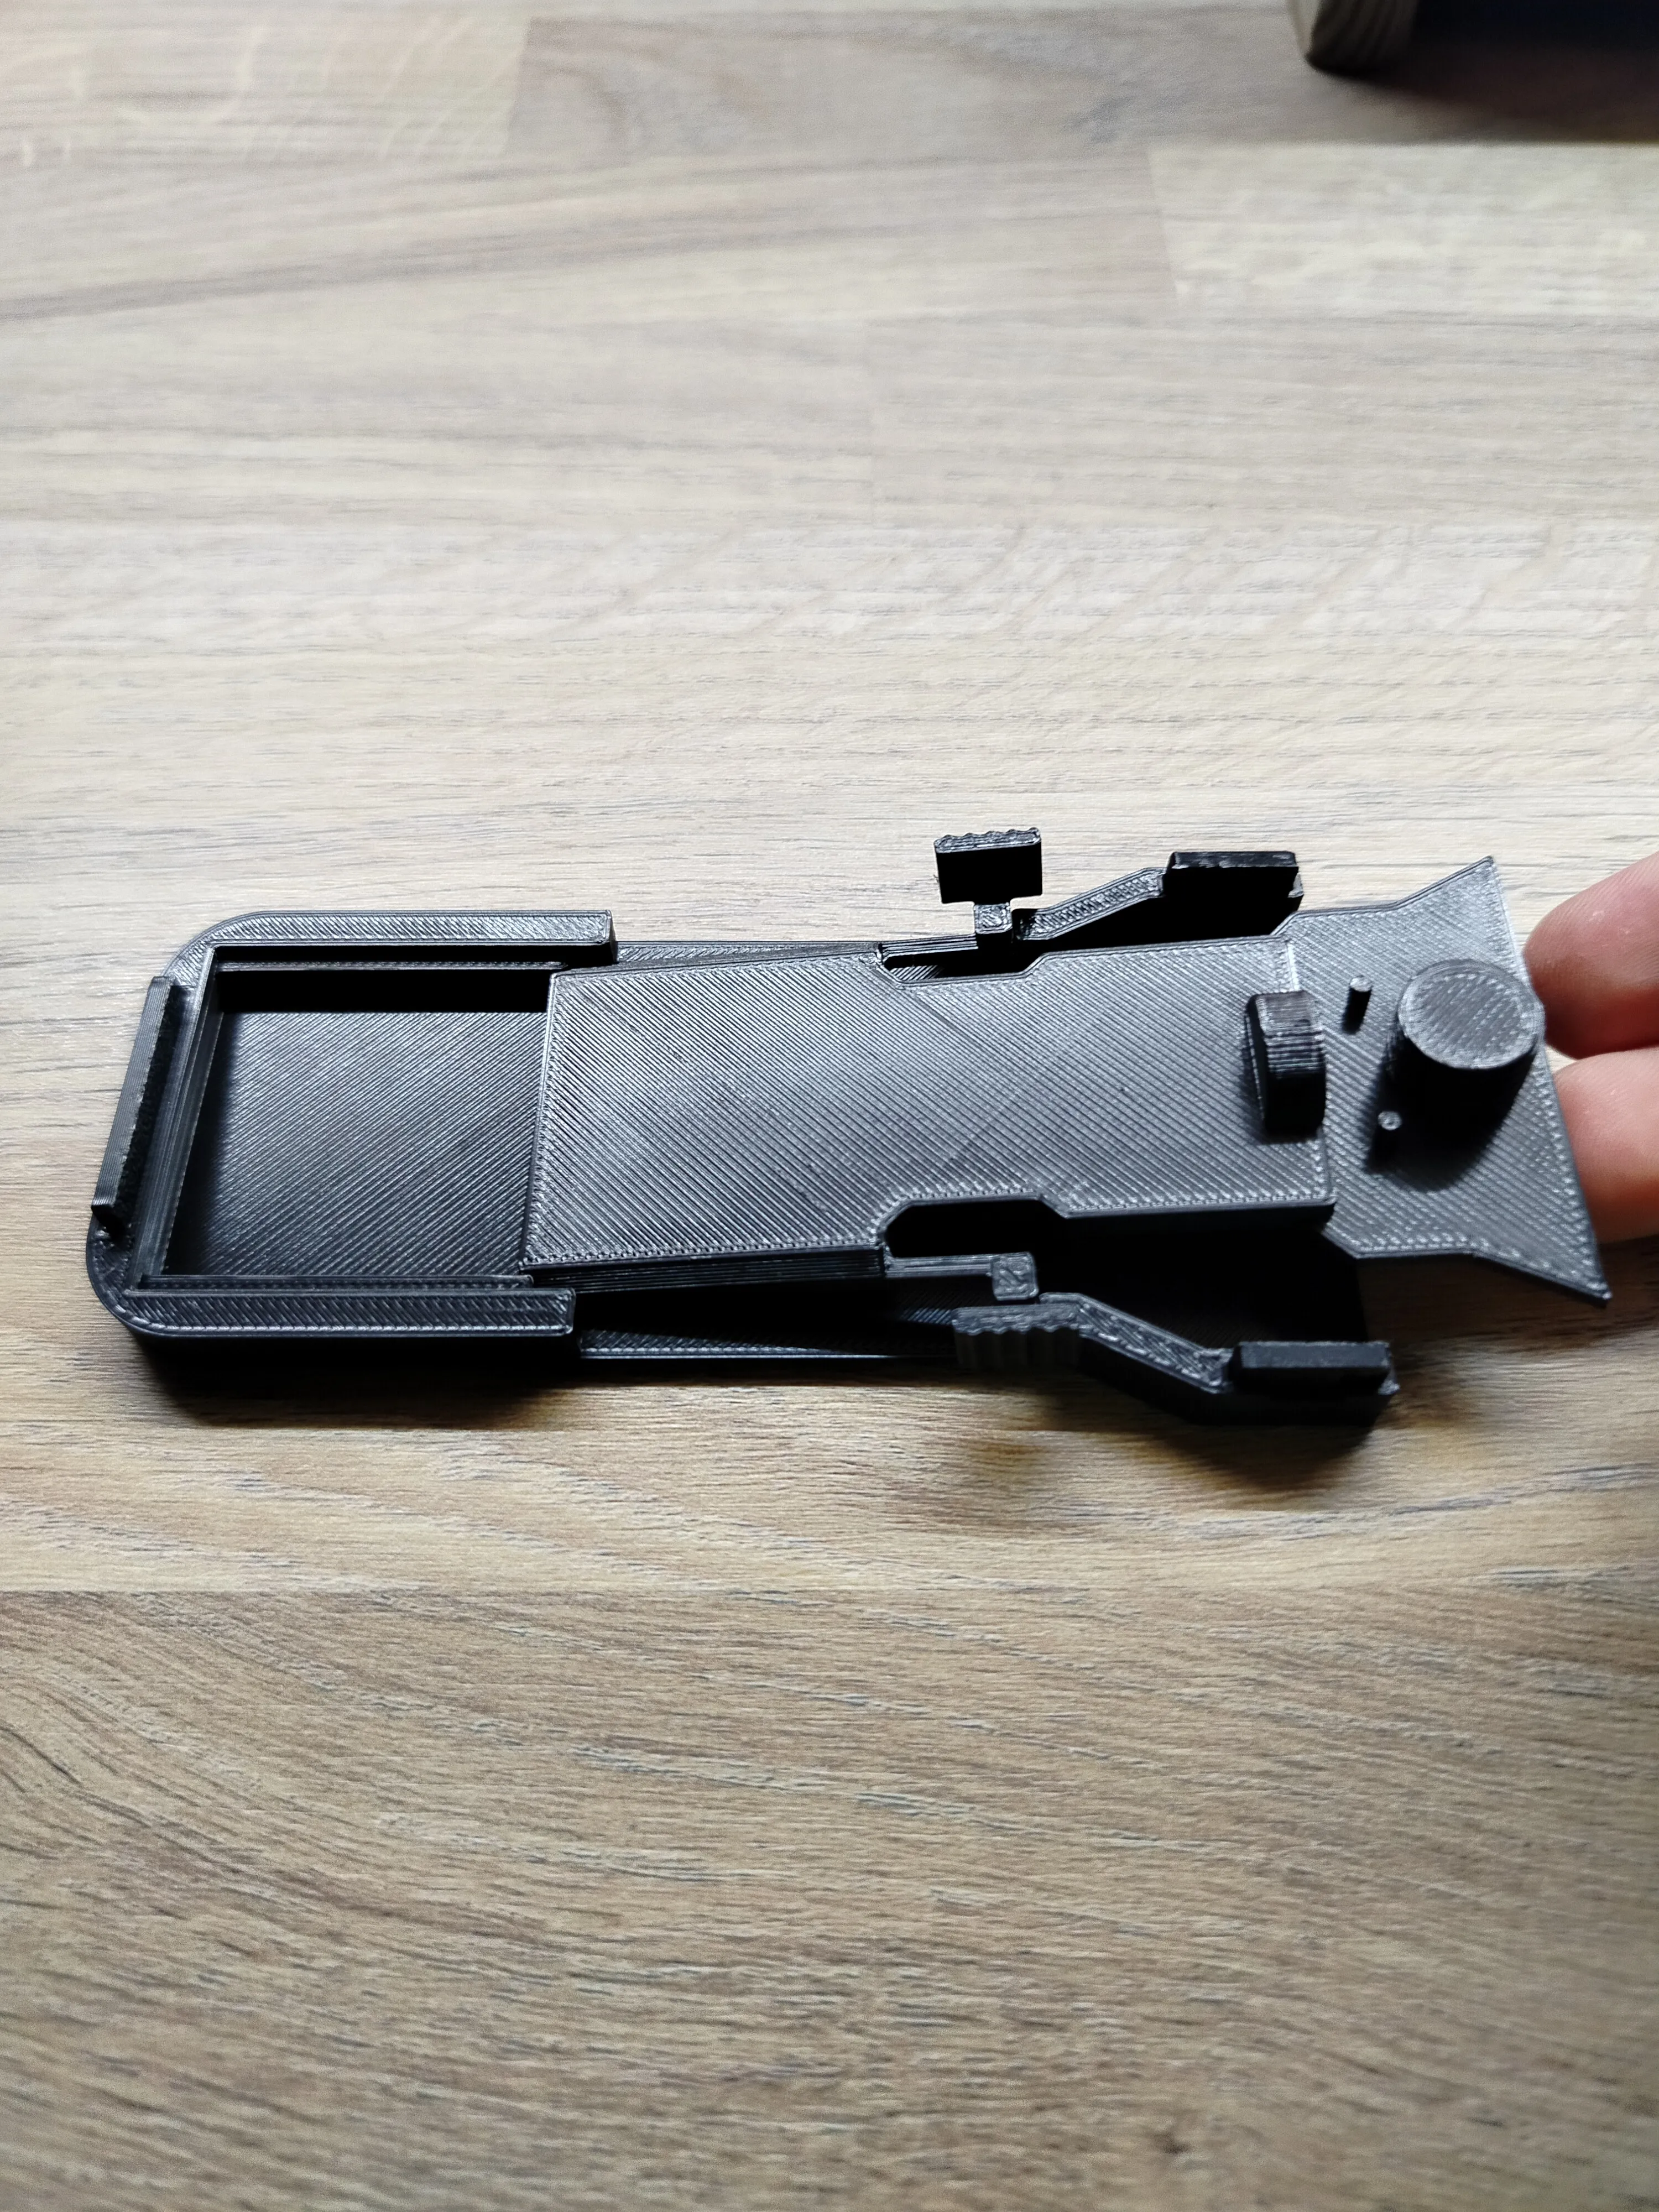
Align the blade with these two pins and thread into these holes as in the picture and screw it with the nut
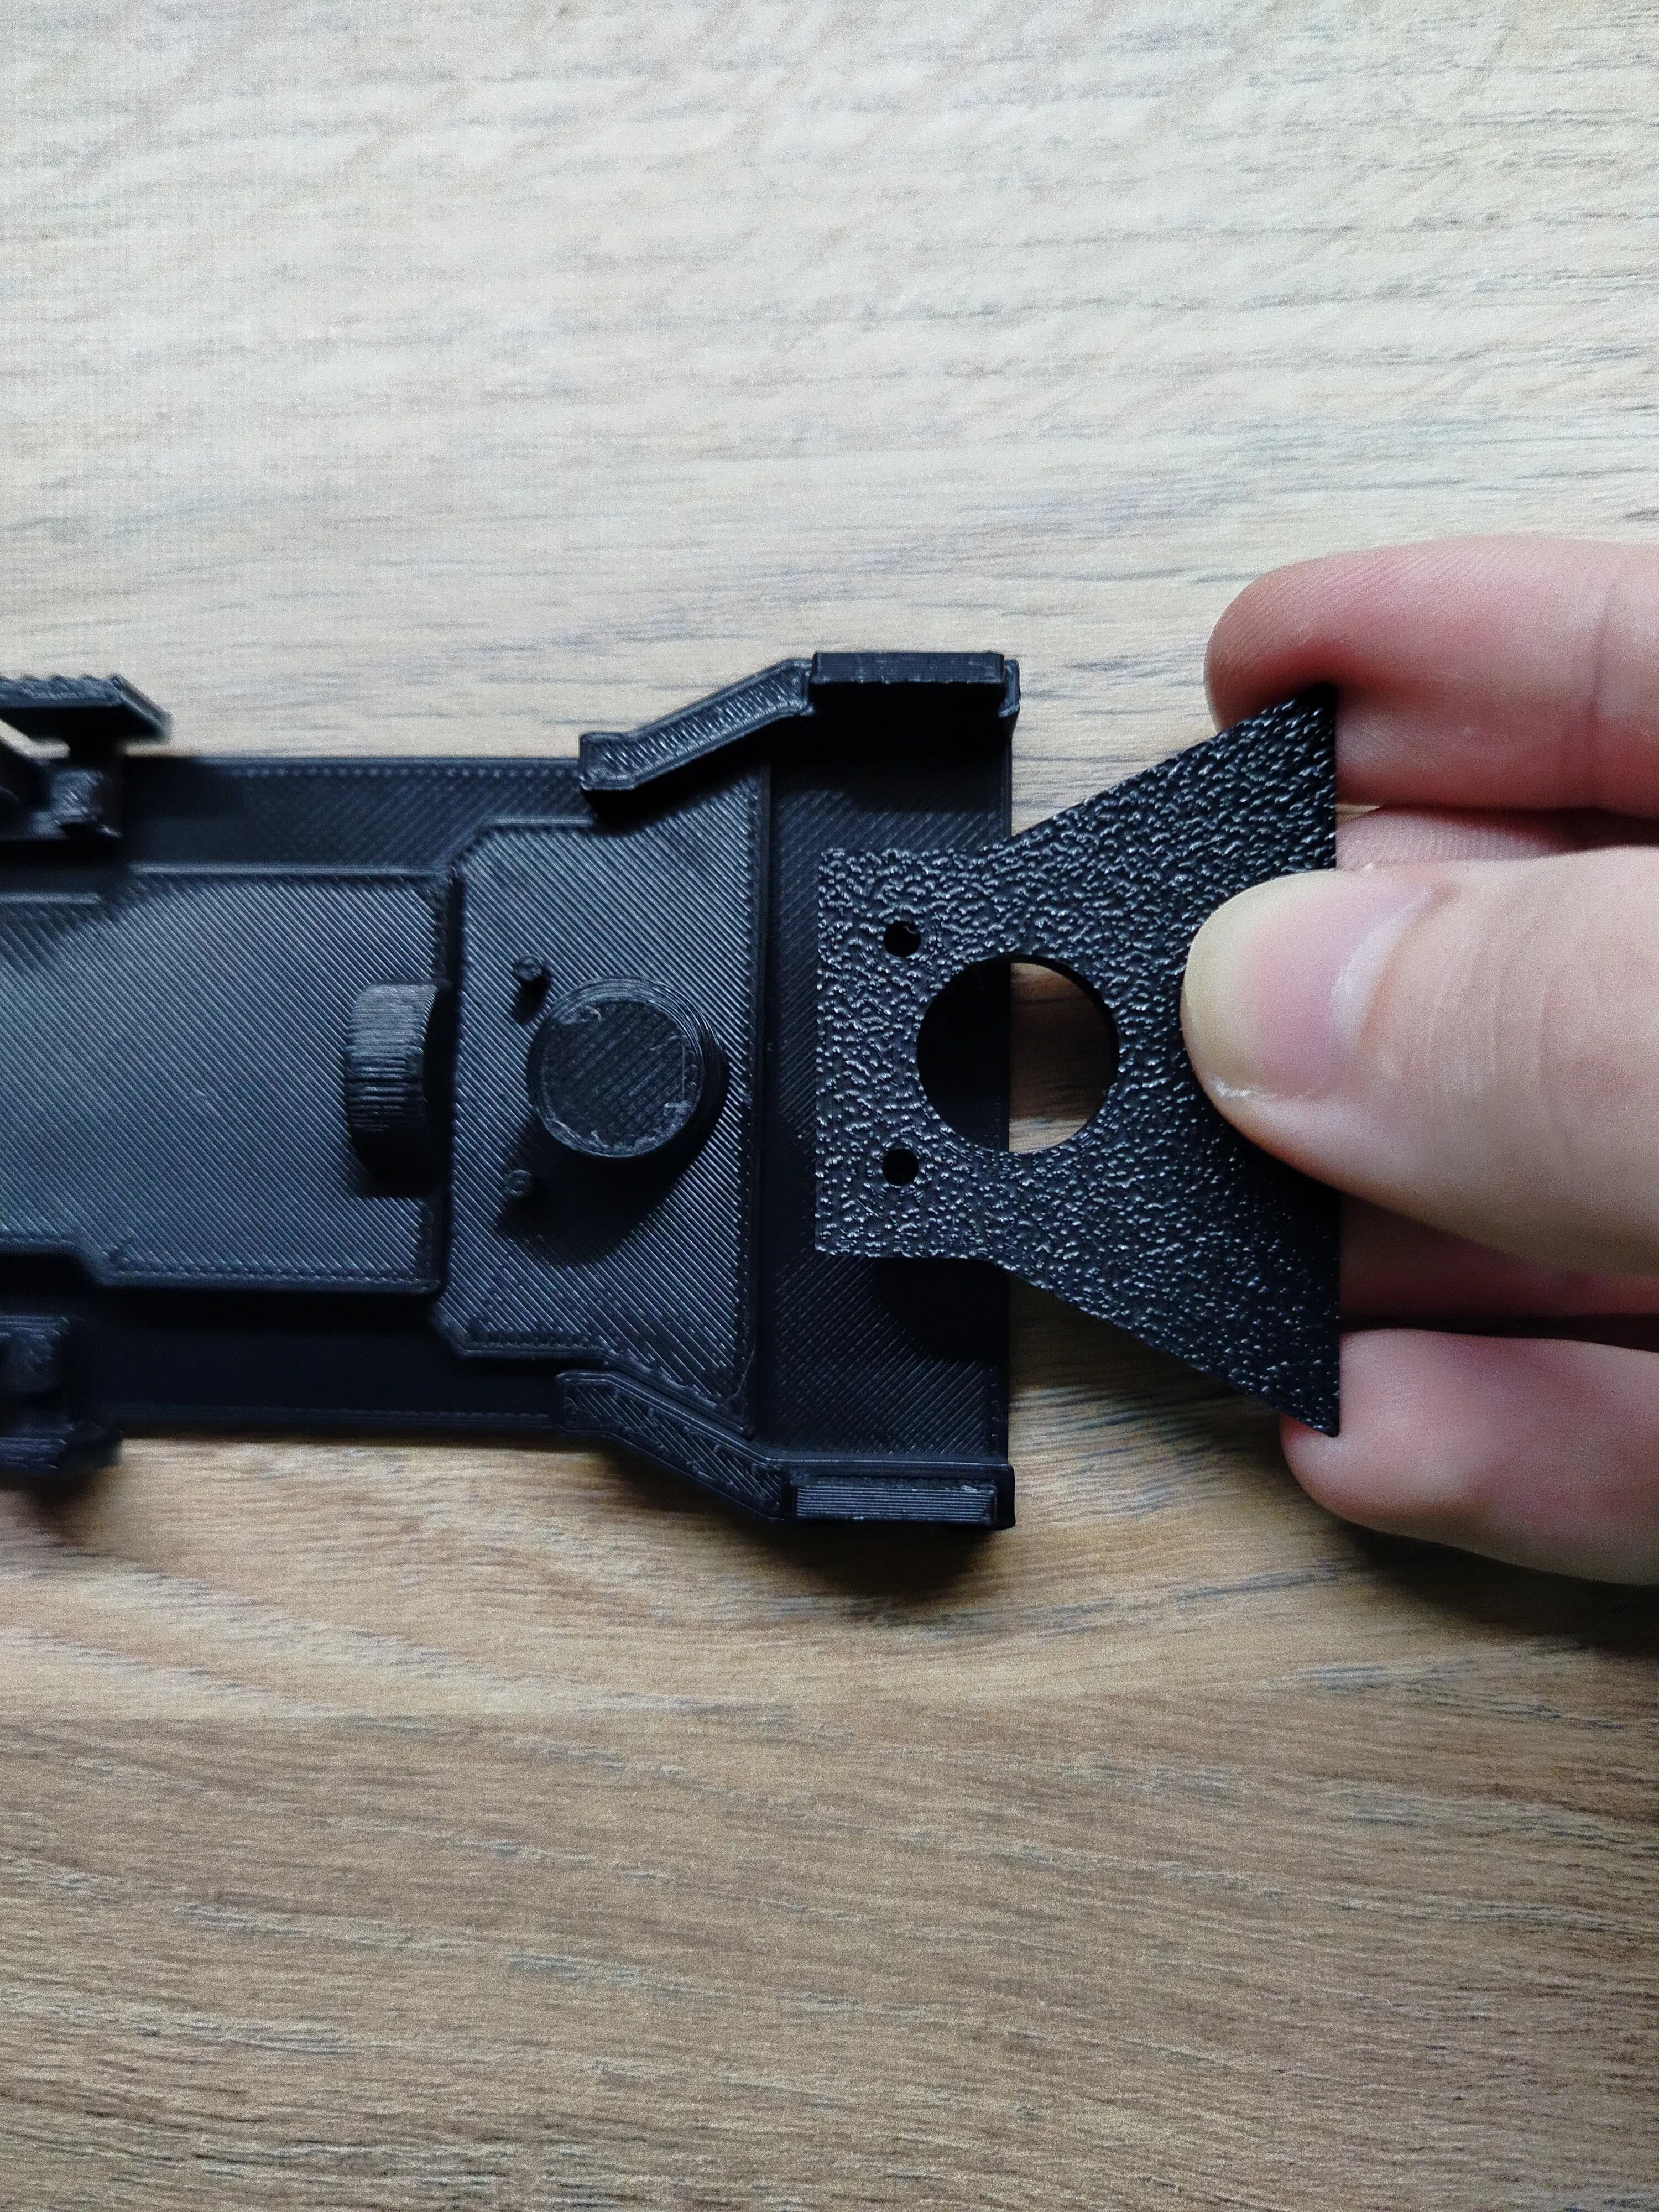
Lastly align the top half with the mechanism latches and housing fasteners and snap the two halves together
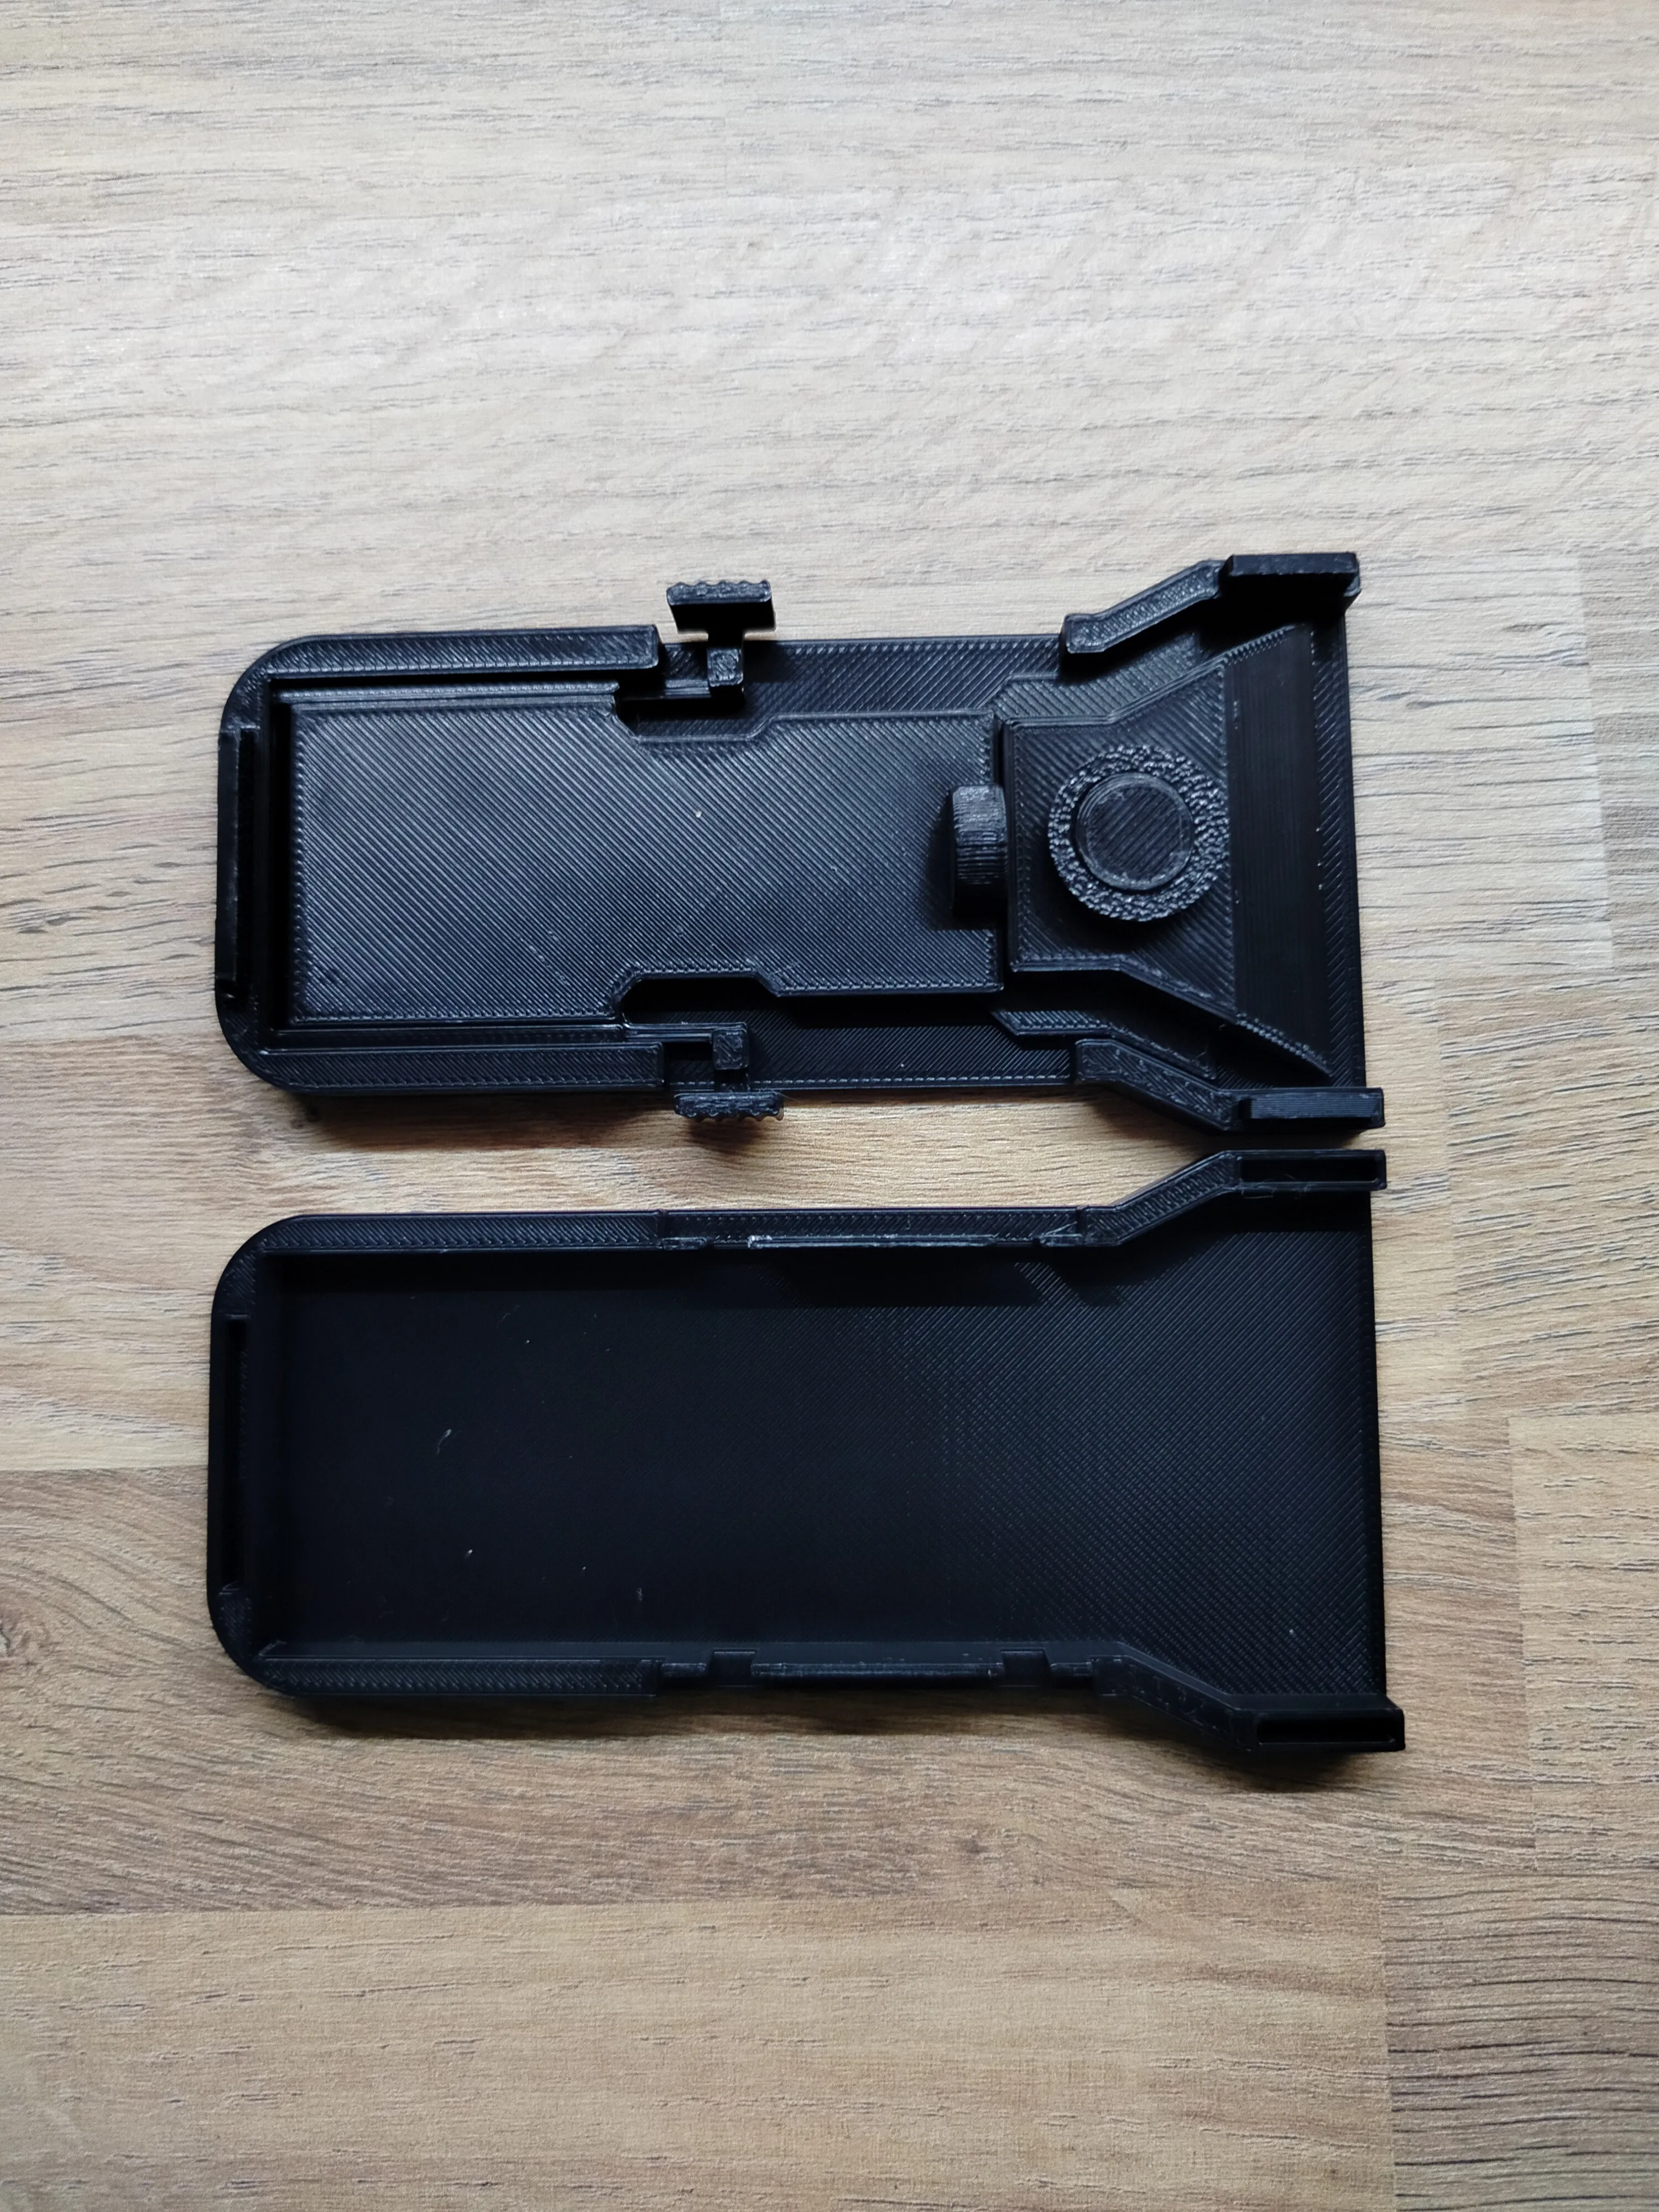
7.How to use:
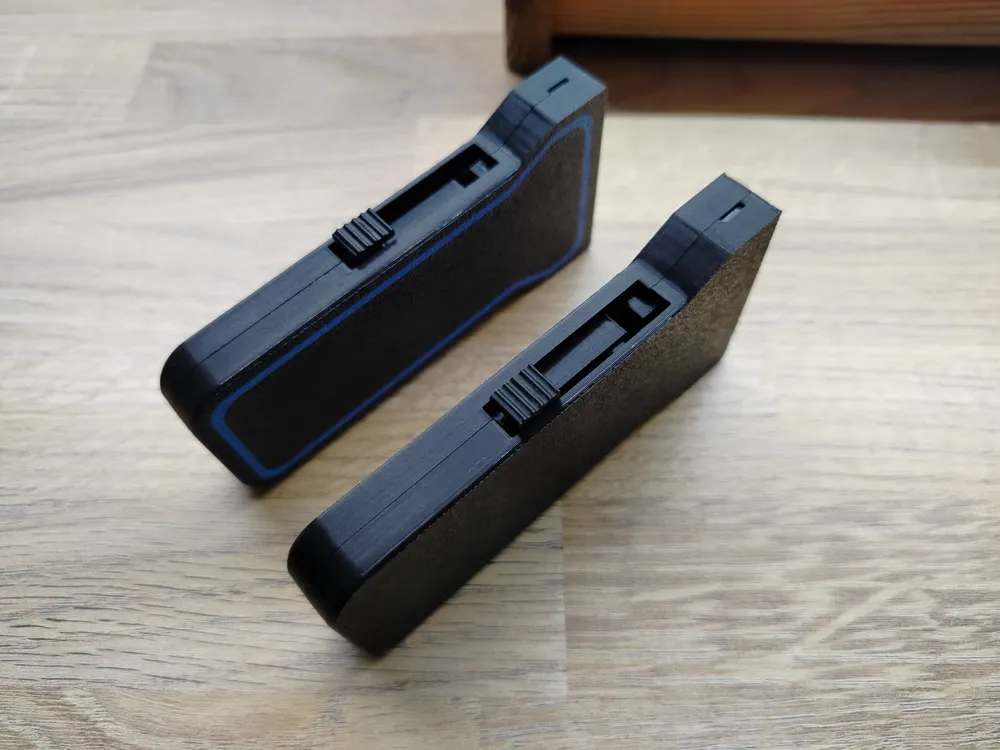
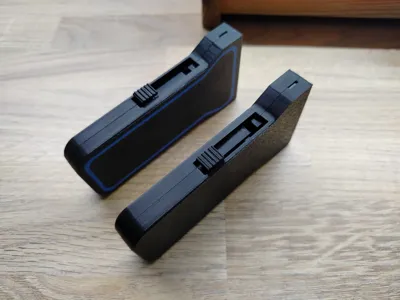
Simply press the two buttons on the side and hold, pull forward until you hear a click, and to close the mechanism, do the same and just pull backwards.
If you enjoy this model and find it useful, I’d be incredibly grateful for your support. Every download, like, or comment helps keep the passion alive and fuels the creation of more unique, functional tools like this one.
Boost Me (for free)
Thank you for appreciating my support, it drives me to act and funds my further activity
License

You shall not share, sub-license, sell, rent, host, transfer, or distribute in any way the digital or 3D printed versions of this object, nor any other derivative work of this object in its digital or physical format (including - but not limited to - remixes of this object, and hosting on other digital platforms). The objects may not be used without permission in any way whatsoever in which you charge money, or collect fees.


Comment & Rating (10)