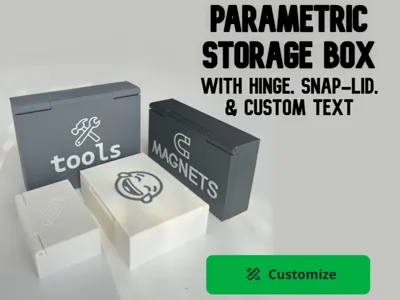
Parametric Storage Box | Hinge | Snap-Lid Magnets


Print Profile(1)

Bill of Materials


Description
A fully parametric, customizable storage box designed for everyday utility and high personalization! This model is ideal for labeling, organizing, gifting, or just keeping your desk clean — and it's optimized for magnet-based snapping and multi-color printing (optional).
🎨 Multi-color printing is not required — the model prints perfectly without an AMS. Text and decorative elements can also be emphasized using filament swaps or printed as single-color features.
This design is powered by OpenSCAD and easily configurable via the Parametric Model Maker on MakerWorld.
🔔 IMPORTANT: This model includes embedded magnets. You must manually add a pause in your slicer to insert them during printing.
In Bambu Studio, move the layer slider to the first layer after the top of the magnet hole, right-click the slider, and select "Add Pause", then re-slice the model.
🖼️ Detailed description with step-by-step screenshots is provided below.

Boost Me (for free)
If you liked this model, give me a boost!
Key Features
✅ Parametric Design
- Adjust box width, height, depth, and wall thickness to fit your exact storage needs.
- Fully designed in OpenSCAD — users can generate ready-to-print 3MF files directly from the script.
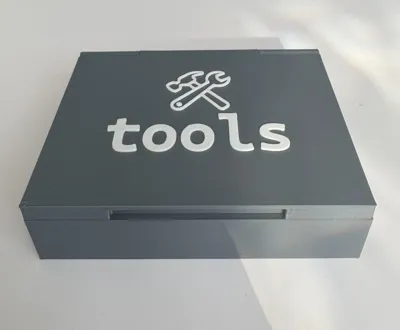
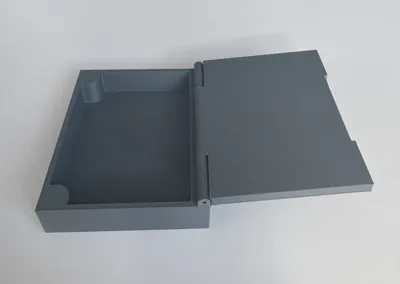
🔐 Hinged Lid with Embedded Axle
- Built-in hinge on one side of the lid.
- Uses a piece of 1.75mm of PETG filament (recommended) as a hinge axle — the model includes a 1.96mm hole for easy fitting with printing tolerances considered.
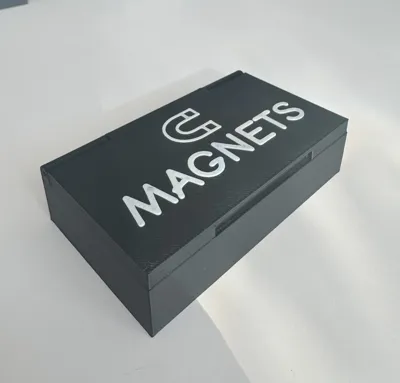
🧲 Magnetic Snap Closure
- The lid snaps shut using embedded round magnets.
- Designed for easy insertion during print, by using a pause-at-layer feature in the slicer.
- Simply insert the magnets into the print at the prompted pause and resume printing — they’ll be locked in securely inside the model.
- Customizable parameters for:
- Magnet size
- Snap depth (set to embed magnets 3 layers deep by default, but fully adjustable). Don't forget to enter a layer height!
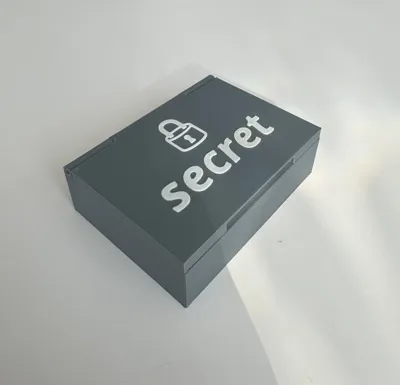
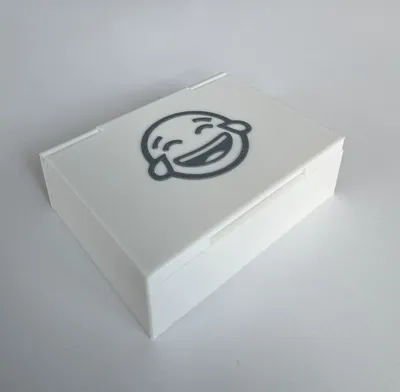
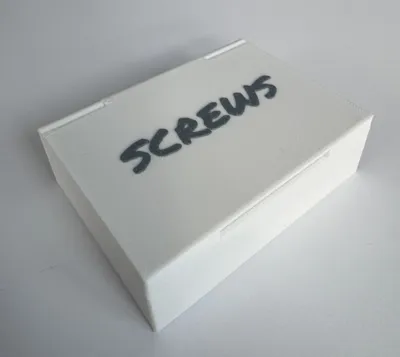
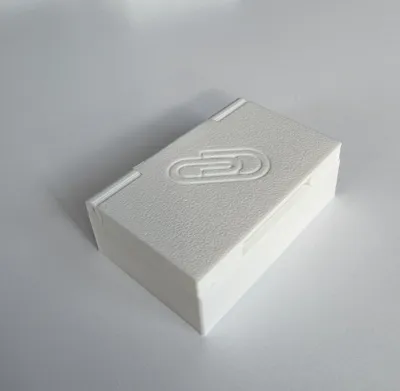
🎨 Custom Lid Text & Emojis
- Add up to 2 rows of text or emojis to the lid — great for personalization, labeling, or fun.
- Each row can be:
- Custom text or emoji
- Individually styled: choose from multiple fonts, sizes, and extrusion depths
- Rendered as either Hollowed (engraved) or Embossed (raised)
- Optionally printed in a different filament color
- If hollowed + color swap = a recessed look with contrast
🛠 Assembly Notes
Hinge: Cut a piece of 1.75mm filament (preferably PETG for durability) and push it through the hinge holes after printing.
- The default hinge hole is sized at 1.96mm to accommodate common filament tolerances.
- You can adjust this hole diameter in the parametric settings if your filament is slightly thicker/thinner or your printer's tolerances differ.- Minor plastic buildup or stringing during printing may require a quick cleanup with a needle or drill bit to ensure smooth axle insertion.


- Magnets: During print, the printer will pause (see below!) at the specified layer. Place your magnets then resume printing. They’ll be captured inside the part.
- Text Setup: Configure text, font, emoji, and color options in Parametric Model Maker. A live preview helps you get it right before downloading.
❗ How to Insert Magnets – Step-by-Step (Bambu Studio)
To ensure your magnets are embedded properly during printing, follow these steps to manually add a pause in the slicer:
Step 1: Find the Correct LayerMove the layer slider until you're on the first layer above the top of the magnet hole. |  |
Step 2: Right Click the SliderWith the correct layer selected, right-click on the layer slider. |  |
Step 3: Select "Add Pause"From the right-click menu, choose "Add Pause". |  |
Step 4: Re-slice the ModelClick “Slice” again to update the print file with the pause inserted. | |
Step 5: Insert Magnets and Continue PrintWhen your printer pauses during the print:
|   |
🎞️ Demonstration GIFs
 |  |
License
You shall not share, sub-license, sell, rent, host, transfer, or distribute in any way the digital or 3D printed versions of this object, nor any other derivative work of this object in its digital or physical format (including - but not limited to - remixes of this object, and hosting on other digital platforms). The objects may not be used without permission in any way whatsoever in which you charge money, or collect fees.
Comment & Rating (14)