Miniature 1/6 Scale VHS Cassette Tape with Cover


Print Profile(3)


Description
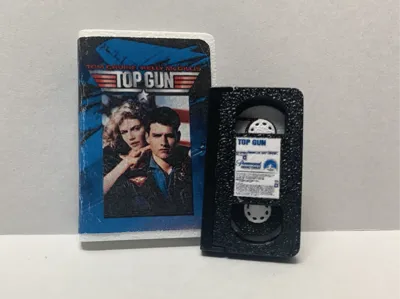
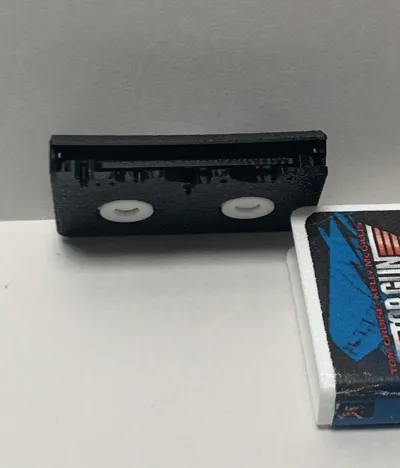
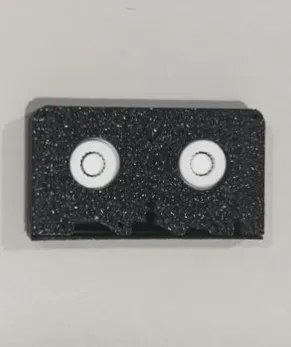
Here is my version of a miniature VHS cassette with a flip up lid. It consists of several parts including a top and bottom cover, gears that rotate, a flip-up lid, and a tape that shows both inside the cassette and underneath the lid when flipped open. White and black parts are separated and grouped so that they print by object to save on filament waste.
It is 1/6 scale and fits into it's own case, in my mini VHS player model, and on my movie shelves.
Blockbuster Shelf: https://makerworld.com/en/models/1295043-blockbuster-vhs-tape-shelf#profileId-1326120
Hollywood Video Shelf: https://makerworld.com/en/models/1661840-miniature-hollywood-video-vhs-shelf-customizable#profileId-1758110
** Note: It was designed and tested by printing with a 0.2mm nozzle and a layer height of .08mm (high-quality). If you plan to print with a 0.4 nozzle at .2 mm layer height, I recommend using the 150% profile as that was tested successfully at .4.
For my extra small 1/12 scale version click here: https://makerworld.com/en/models/1507817-miniature-vhs-cassette-tape-w-cover-1-12-scale#profileId-1578216
VHS movie tape label recommended size: ~ 11.5mm x 8mm
VHS movie case label recommended size: ~ 59mm x 40mm
VHS ¼ (150%) scale movie tape label recommended size: ~ 17.25mm x 12mm
VHS ¼ (150%) scale movie case label recommended size: ~ 88.5mm x 60mm
Assembly Instructions:
- Place bottom face up
- Place large white gears face down into holes on bottom
- Place black tape on top of gears where it fits in channels on tape bottom
- Place small white gears face down over gear holes through the tape
- Snap tape top cover over all pieces
- Carefully snap tape flip lid on nubs on each side of the tape
- Glue tape label to center of top (optional)
Many more models to come, and as always, thanks for your support!
-Rolls
License
You shall not share, sub-license, sell, rent, host, transfer, or distribute in any way the digital or 3D printed versions of this object, nor any other derivative work of this object in its digital or physical format (including - but not limited to - remixes of this object, and hosting on other digital platforms). The objects may not be used without permission in any way whatsoever in which you charge money, or collect fees.
Comment & Rating (76)