Foxy Dummy 13


Print Profile(4)


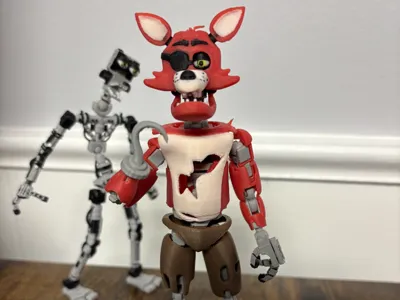
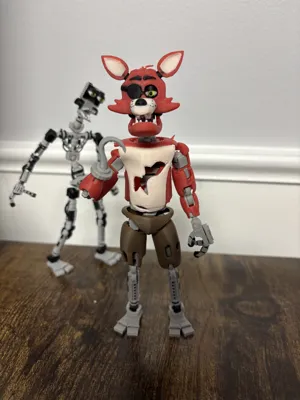
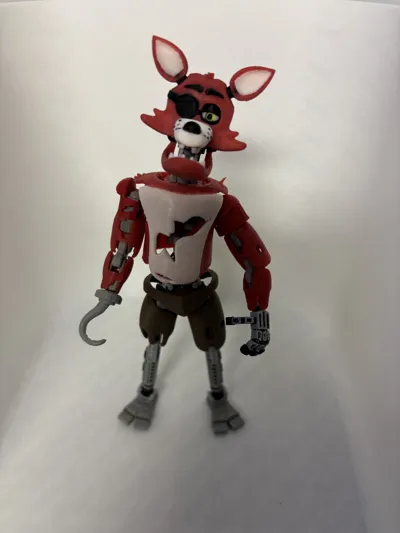
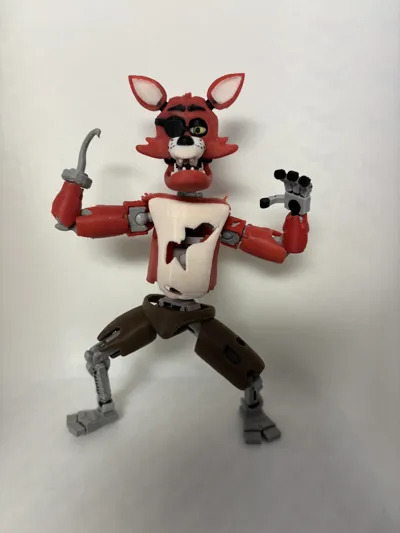
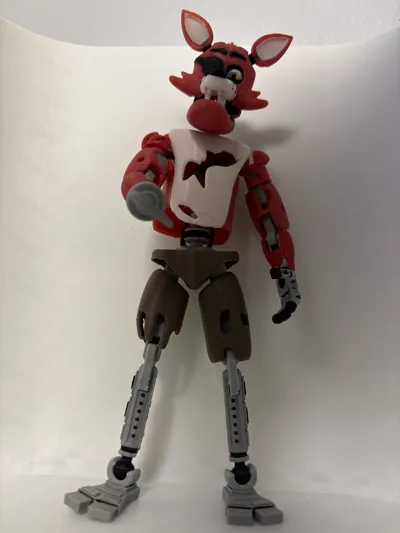
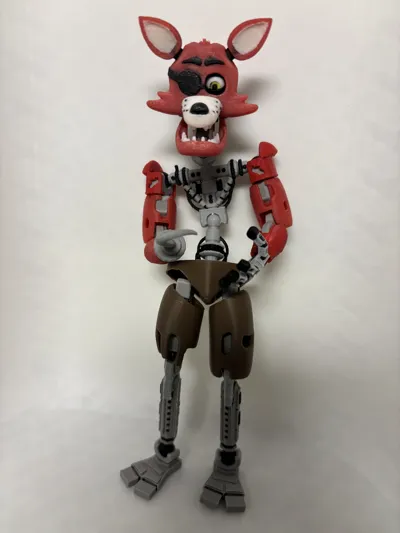
Description
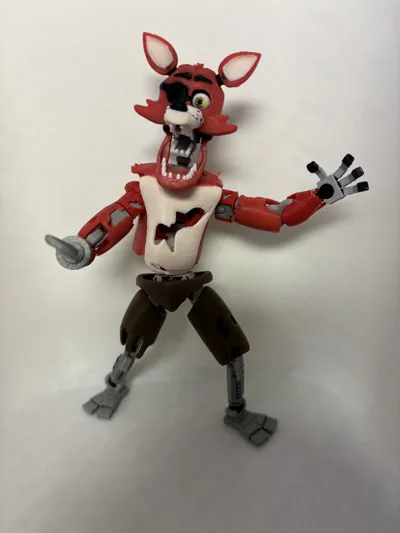
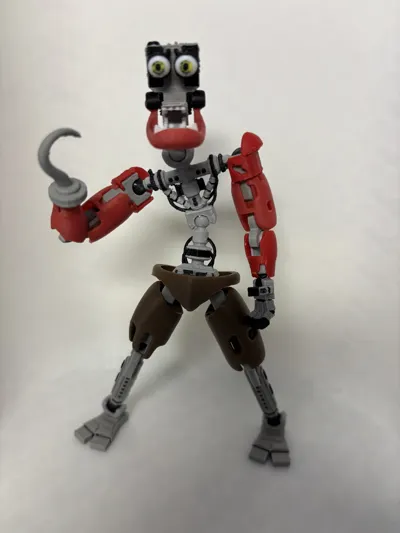
Foxy 2.0 update
- Head - there's been obvious update to Foxy's head. He now has an endo head insert instead of just the plain old Dummy13 insert. His jaw is also movable now for added articulation. I had to separate the joint from the endo head so that it could print horizontally and have enough durability to not snap when inserting the jaw. There are some square pegs that you can use as guides, but you'll still want to super glue them on to prevent them from falling out.
- Hand - added more details.
- Legs - added more details.
- Endo - removed Dummy13 frame pieces from the torso and hips and used pieces from the endo model. This way his model is more true to the video game.
- Shoulders - upgraded to be more durable
There are now two different Foxy heads included in the main print profile. One is for the old style and better for younger fans since it's more durable.
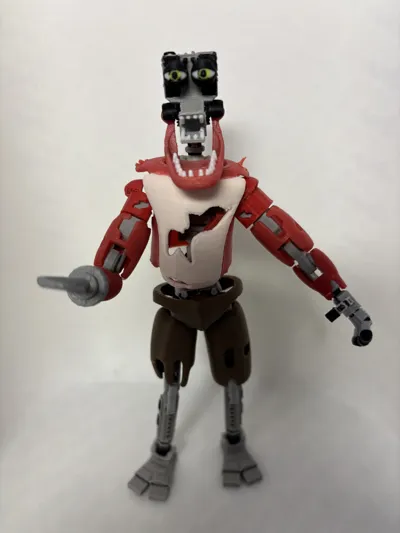
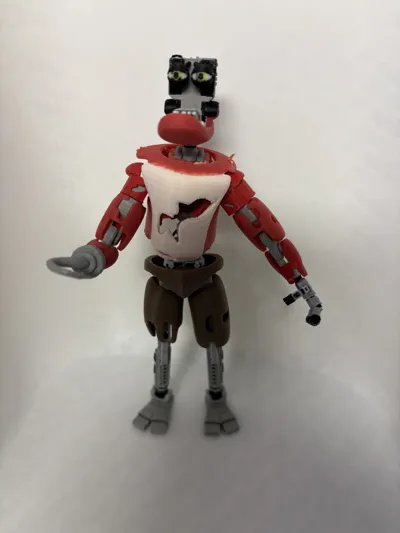
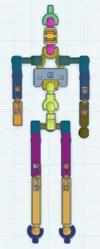
There are also two different torso's. One is the usual Foxy torso and the other is the endo torso. The endo torso is NOT mean to be used with Foxy's torso. It's a secondary model so that you can switch between torso's and make him more or less withered. Here's an image of the endo torso:

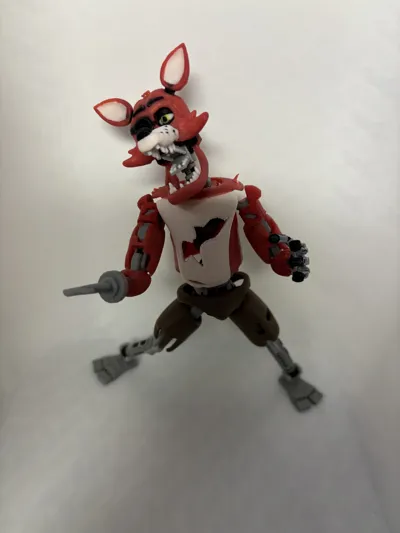
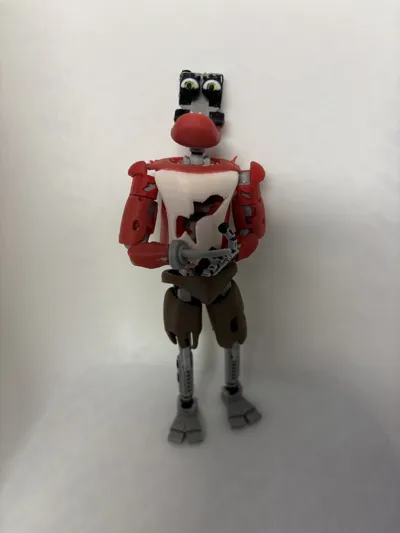
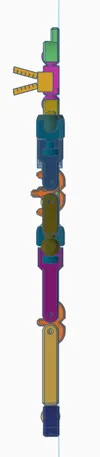
The following piece is the one intended to be used with Foxy's torso:

When assembling the endo head(s) make sure you pay attention to the orientation of the joint for the jaw. If the joint doesn't sit flush with the endo head, then it's on the wrong side. All the joints facing to the right when looking at the build plate belong on the left side and all the joints facing left on the build plate are for the right side.


Here's a short video showing how to insert the endo hip frame into Foxy's hips.
I'll be uploading an assembly video once I have all the new parts printed out.
Documentation (2)
License
You may create derivative works based on this object, provided that all such derivative works are published exclusively on the MakerWorld platform and include proper attribution to the original creator. You may not share, upload, host, distribute, or publish this object—or any derivative work of this object—on any other digital platform, marketplace, or distribution channel. Commercial use of this object and any derivative works is strictly prohibited. This includes, but is not limited to, selling, renting, sublicensing, or using the object in any context in which you receive monetary compensation or other financial benefits.
Comment & Rating (568)