Wind-up flying "HeliEgg Mini"


Print Profile(2)

Bill of Materials

Description
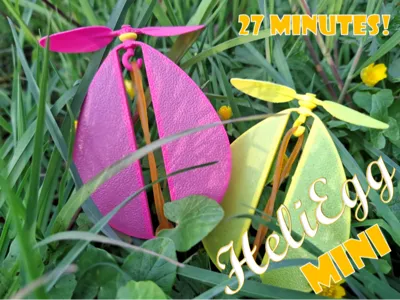
SIMPLE. FLYING. FUN.
Anticipating the Easter holidays, we decided to get creative with the Easter Egg Contest! 🎉 Searching for Easter eggs is always exciting, but what if these eggs aren’t quite what we expect? And what if they… fly? 🚁✨
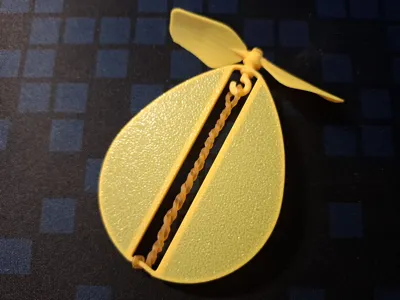
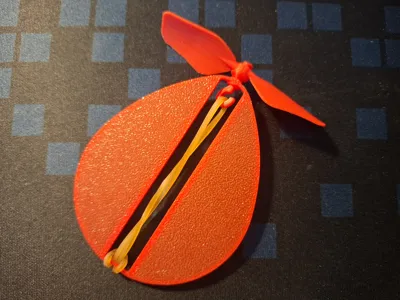
Meet HeliEgg mini!
A smaller, faster, and even more playful version of the original HeliEgg 🐣🚁
It prints quicker, flies snappier — and it's just as fun to launch. Perfect for Easter (and beyond)!
To assemble, follow 8 simple steps below:

Step 1 - Before assembly check that all parts are printed correctly. Carefully remove brims from axle and supports from propeller.
Pay attention on special “dot” markings on Propeller. During assembly they must face the flight direction.

Step 2 - Assemble the axle and spacing washer. The washer's chamfer should face the axle bush.

Step 3 - Apply simultaneously the slight pressure and twist to mount the propeller on the axle. Pay attention to the correct direction of the blades! Sufficient gaps (0.5-1 mm) between the washer, axle hub, and propeller are to be presented. The propeller should be able to rotate without excessive friction. The length of the axle pin should be approx. 2-3 mm.
Step 4 - If necessary, cut excessive length of axle, keep only 1.5-2 mm.

Step 5 - Heat the exposed tip of the axle with a lighter flame for 1–2 seconds.
Step 6 - Press the melted tip of the axle with the side of the lighter and hold for 3–4 seconds. The plastic will solidify and securely lock the propeller onto the axle.

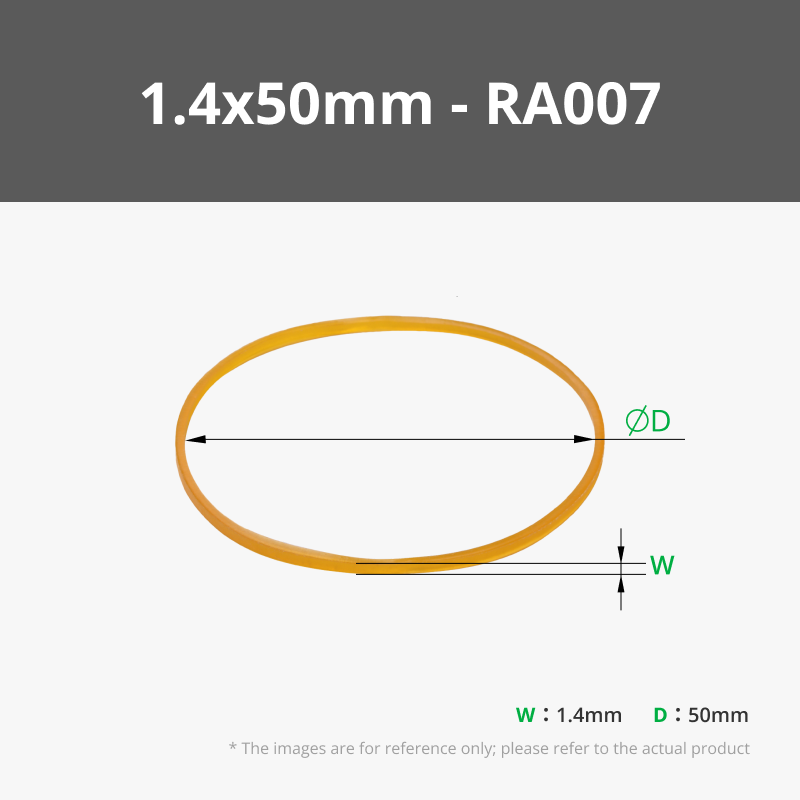
Step 7 - Install one rubber ring 1.4x50mm (RA007, https://eu.store.bambulab.com/products/rubber-bands?id=48947671728476&modelId=1450616 ) or any other suitable rubber ring.
Step 8 - Wind the rubber motor clockwise (as shown in the illustration) 120-150 turns (for one rubber ring 1.4x50 mm).
If any, the slight friction in the axis bushing will disappear after 3-5 launches.
Happy Flights and Smooth Landings!
Boost Me (for free)
If you like my models, hit that Boost button like it's a launch switch! 🚀
License
You shall not share, sub-license, sell, rent, host, transfer, or distribute in any way the digital or 3D printed versions of this object, nor any other derivative work of this object in its digital or physical format (including - but not limited to - remixes of this object, and hosting on other digital platforms). The objects may not be used without permission in any way whatsoever in which you charge money, or collect fees.
Comment & Rating (231)