
Wugtrio Multi-Part Model
Print Profile(1)

Description
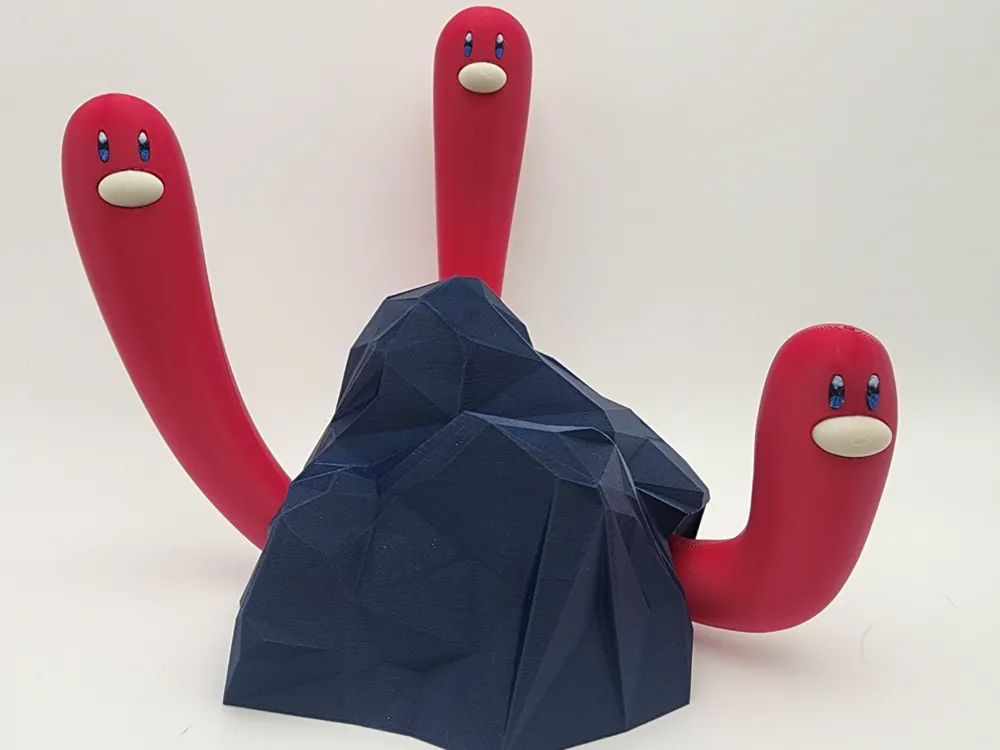
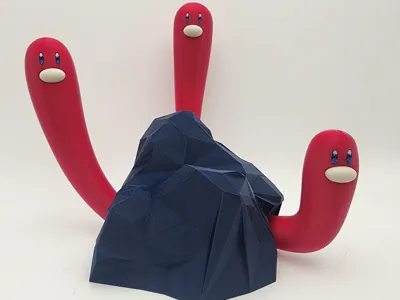
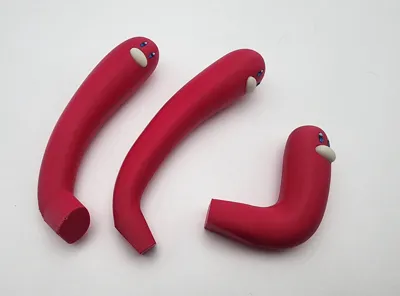
Here is my latest creation, a multi-part model that doesn't require an AMS. That being said, the eyes are quite small so I have included 3 separate types depending on what you would like to use. For the eyes, I would suggest printing at .12mm for the cleanest look. Currently the model is set to .2mm.
1 set that uses the AMS and prints a 3 colour eye (the ones shown on the cover photo)
1 set that is 1 piece and all white, which can be easily painted.
1 set that is a 2 piece eye, with an all white backing and a 2nd piece that is blue and sits on top of it. If you use this option, it will be necessary to use a small amount of glue to hold the pieces in place.
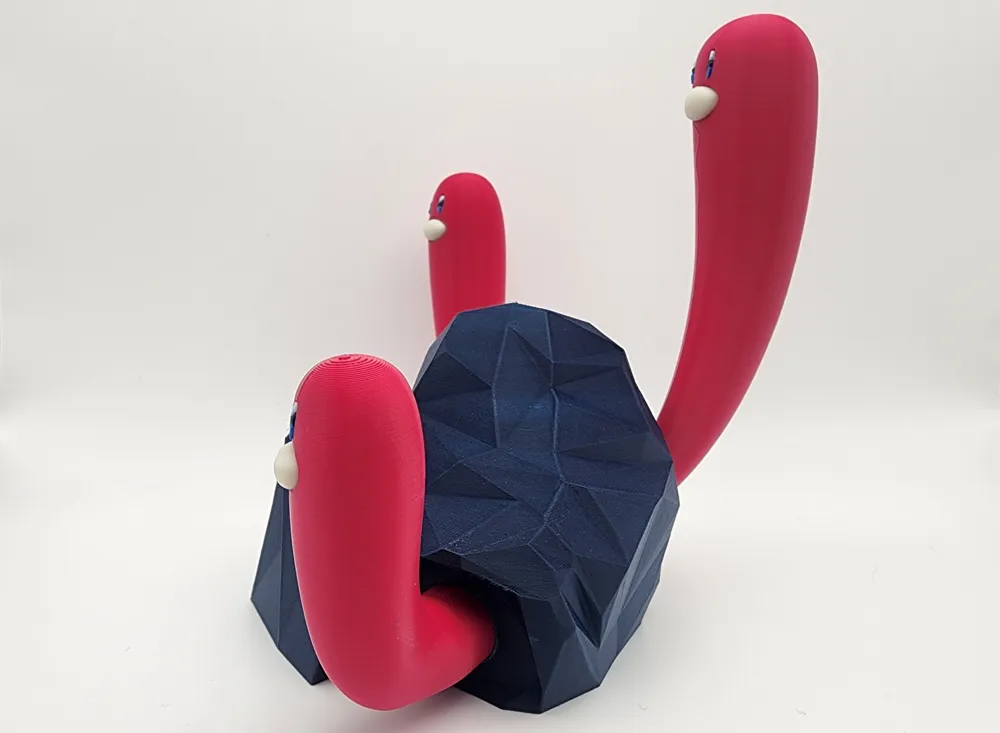
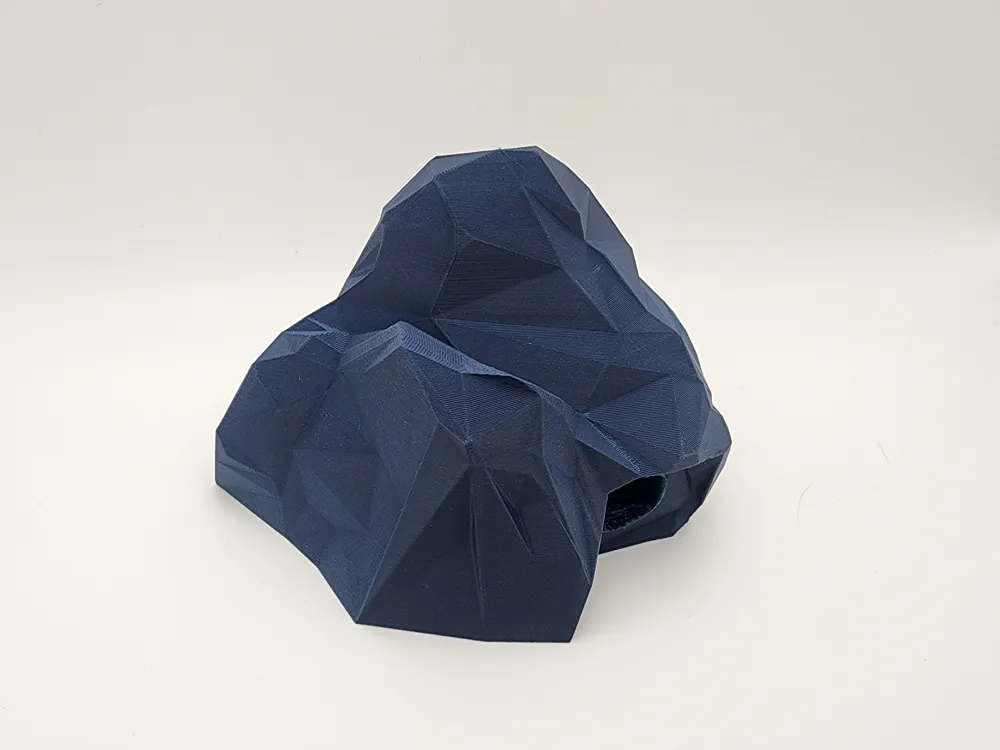
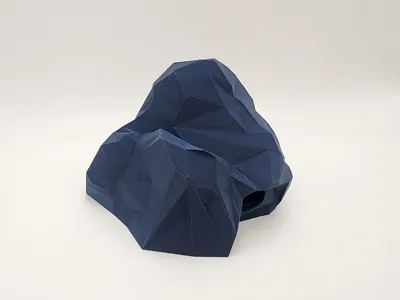
For the colours, I used Bambu Matte Dark Blue ( as I didn't have a dark gray that I liked). The Wugs were printed with Esun Magenta, but Im sure any red/pink would look good. For the 3 part eyes I used matte white, matte dark blue and a basic blue filament (something a little brighter to make it stand out).
Assembly
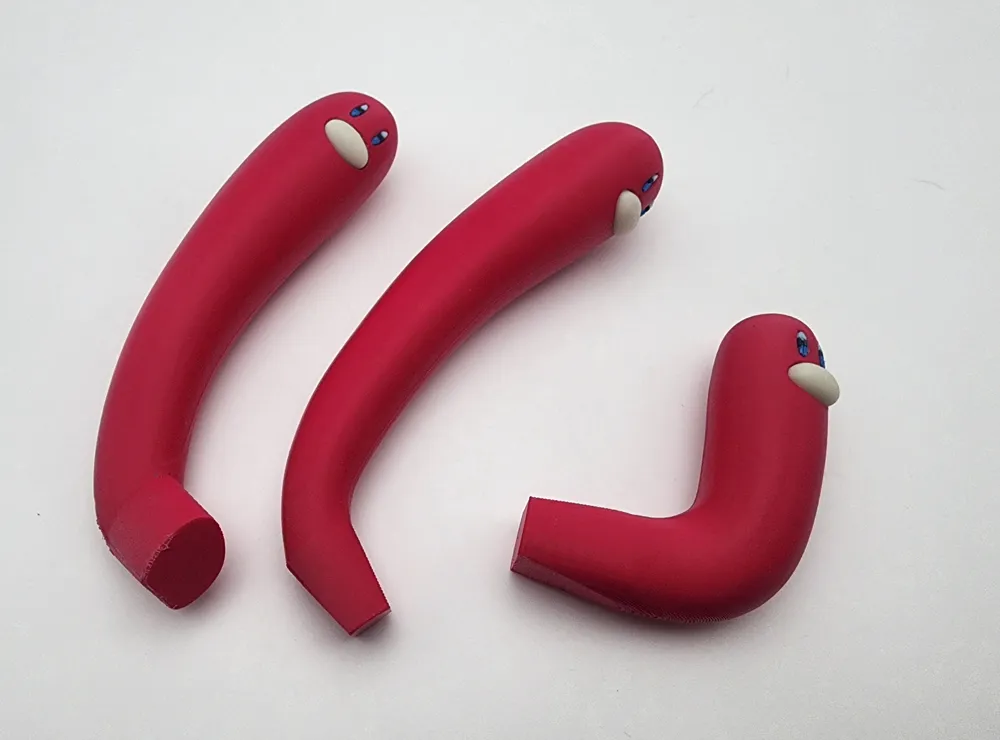
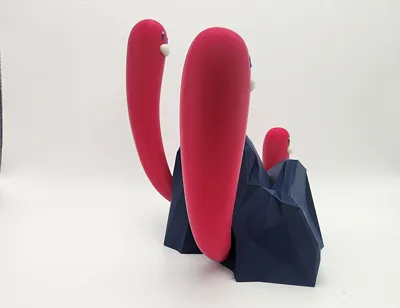
- Be sure to keep all the parts laid out after in the same order once removed from the build plate. I have arranged the bodies and eyes from left to right (Wugs 1 through 3 if you are reading the object names in the file)
- Before inserting the noses, be sure to check for any burrs or support pieces remaining on the Wugs. The noses fit snug and shouldnt require any glue. If you find they are too snug, try rotating them 180 degrees and check to ensure the base layer of the nose doesn't have any parts overhanging the nose itself.
- Print the eyes of your choice and insert them into the heads, again checking to make sure that there is no supports remaining, as they eyes are quite small. The 1 piece eyes didn't require any glue for me but the 2 piece eyes will require some to hold them in place.
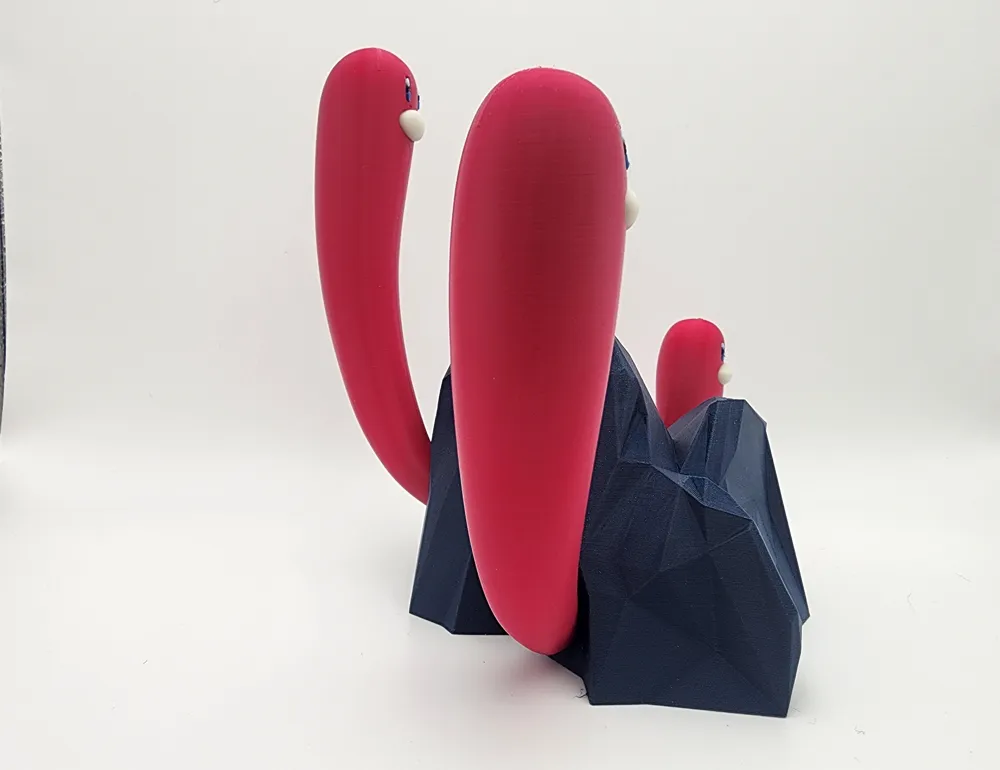
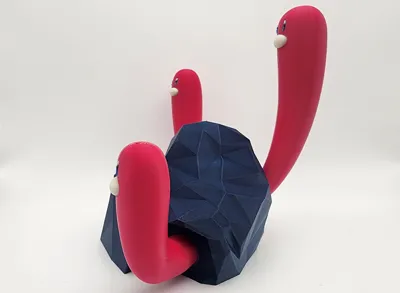
- Make sure that you have thoroughly cleaned out the leftover supports from the holes in the sides of the rock. Due to the Wugs being printed vertical for the best quality, it makes them weak on the horizontal axis. Take care to only press them in by the very bottom of the figures to prevent any damage. They should fit nice and snug, but you may require a small amount of glue if they feel a bit loose.
That's about it, a fun little build for any Pokemon fan. I hope you enjoy it! Also I wanted to give you all a big thanks for all of your support and interests in my models so far, I appreciate it all! If you feel like leaving a review or adding a picture, that would be awesome. It's cool to see the different filaments used and the finished project.
Boost Me (for free)
Boosts are certainly never expected but always appreciated! I hope you enjoy the model, thanks for checking it out.
License

You shall not share, sub-license, sell, rent, host, transfer, or distribute in any way the digital or 3D printed versions of this object, nor any other derivative work of this object in its digital or physical format (including - but not limited to - remixes of this object, and hosting on other digital platforms). The objects may not be used without permission in any way whatsoever in which you charge money, or collect fees.


Comment & Rating (0)