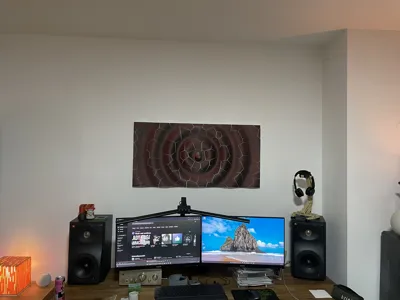
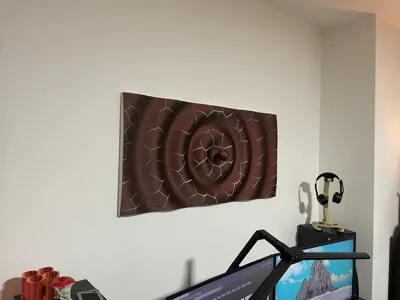
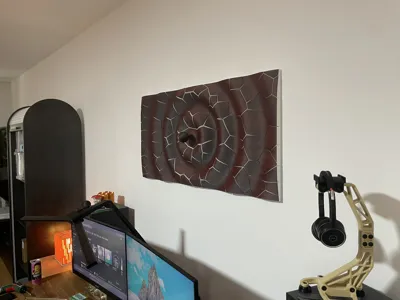
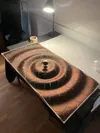
Desert Droplet 3D Wallart XXL (1000x500mm)


Print Profile(2)

Bill of Materials
Description
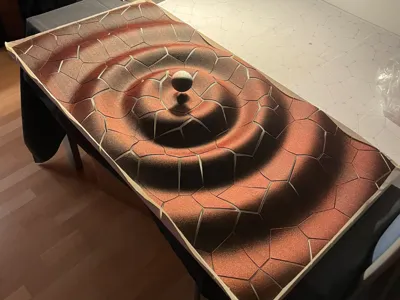
DESERT DROPLET
A poetic fusion of water and earth for your wall
This artwork blends two opposing forces: the smooth, flowing shape of a water droplet, set against the cracked, textured surface of dried soil. Designed as a calming-yet-complex centerpiece above my desk, it’s now ready for other makers to bring to life.
WHAT TO EXPECT ?
This is a bold build—but it’s totally worth it.
Facts & Figures:
• ⏱️ 156 hours of raw print time
• 🧩 21 build plates
• ⚖️ Up to 2.5 kg of filament
• 🧠 200+ parts to puzzle together
• 🧷 400+ glued joints
• 🪵 Needs a baseplate (1000×500×5 mm)
YOU’LL NEED:
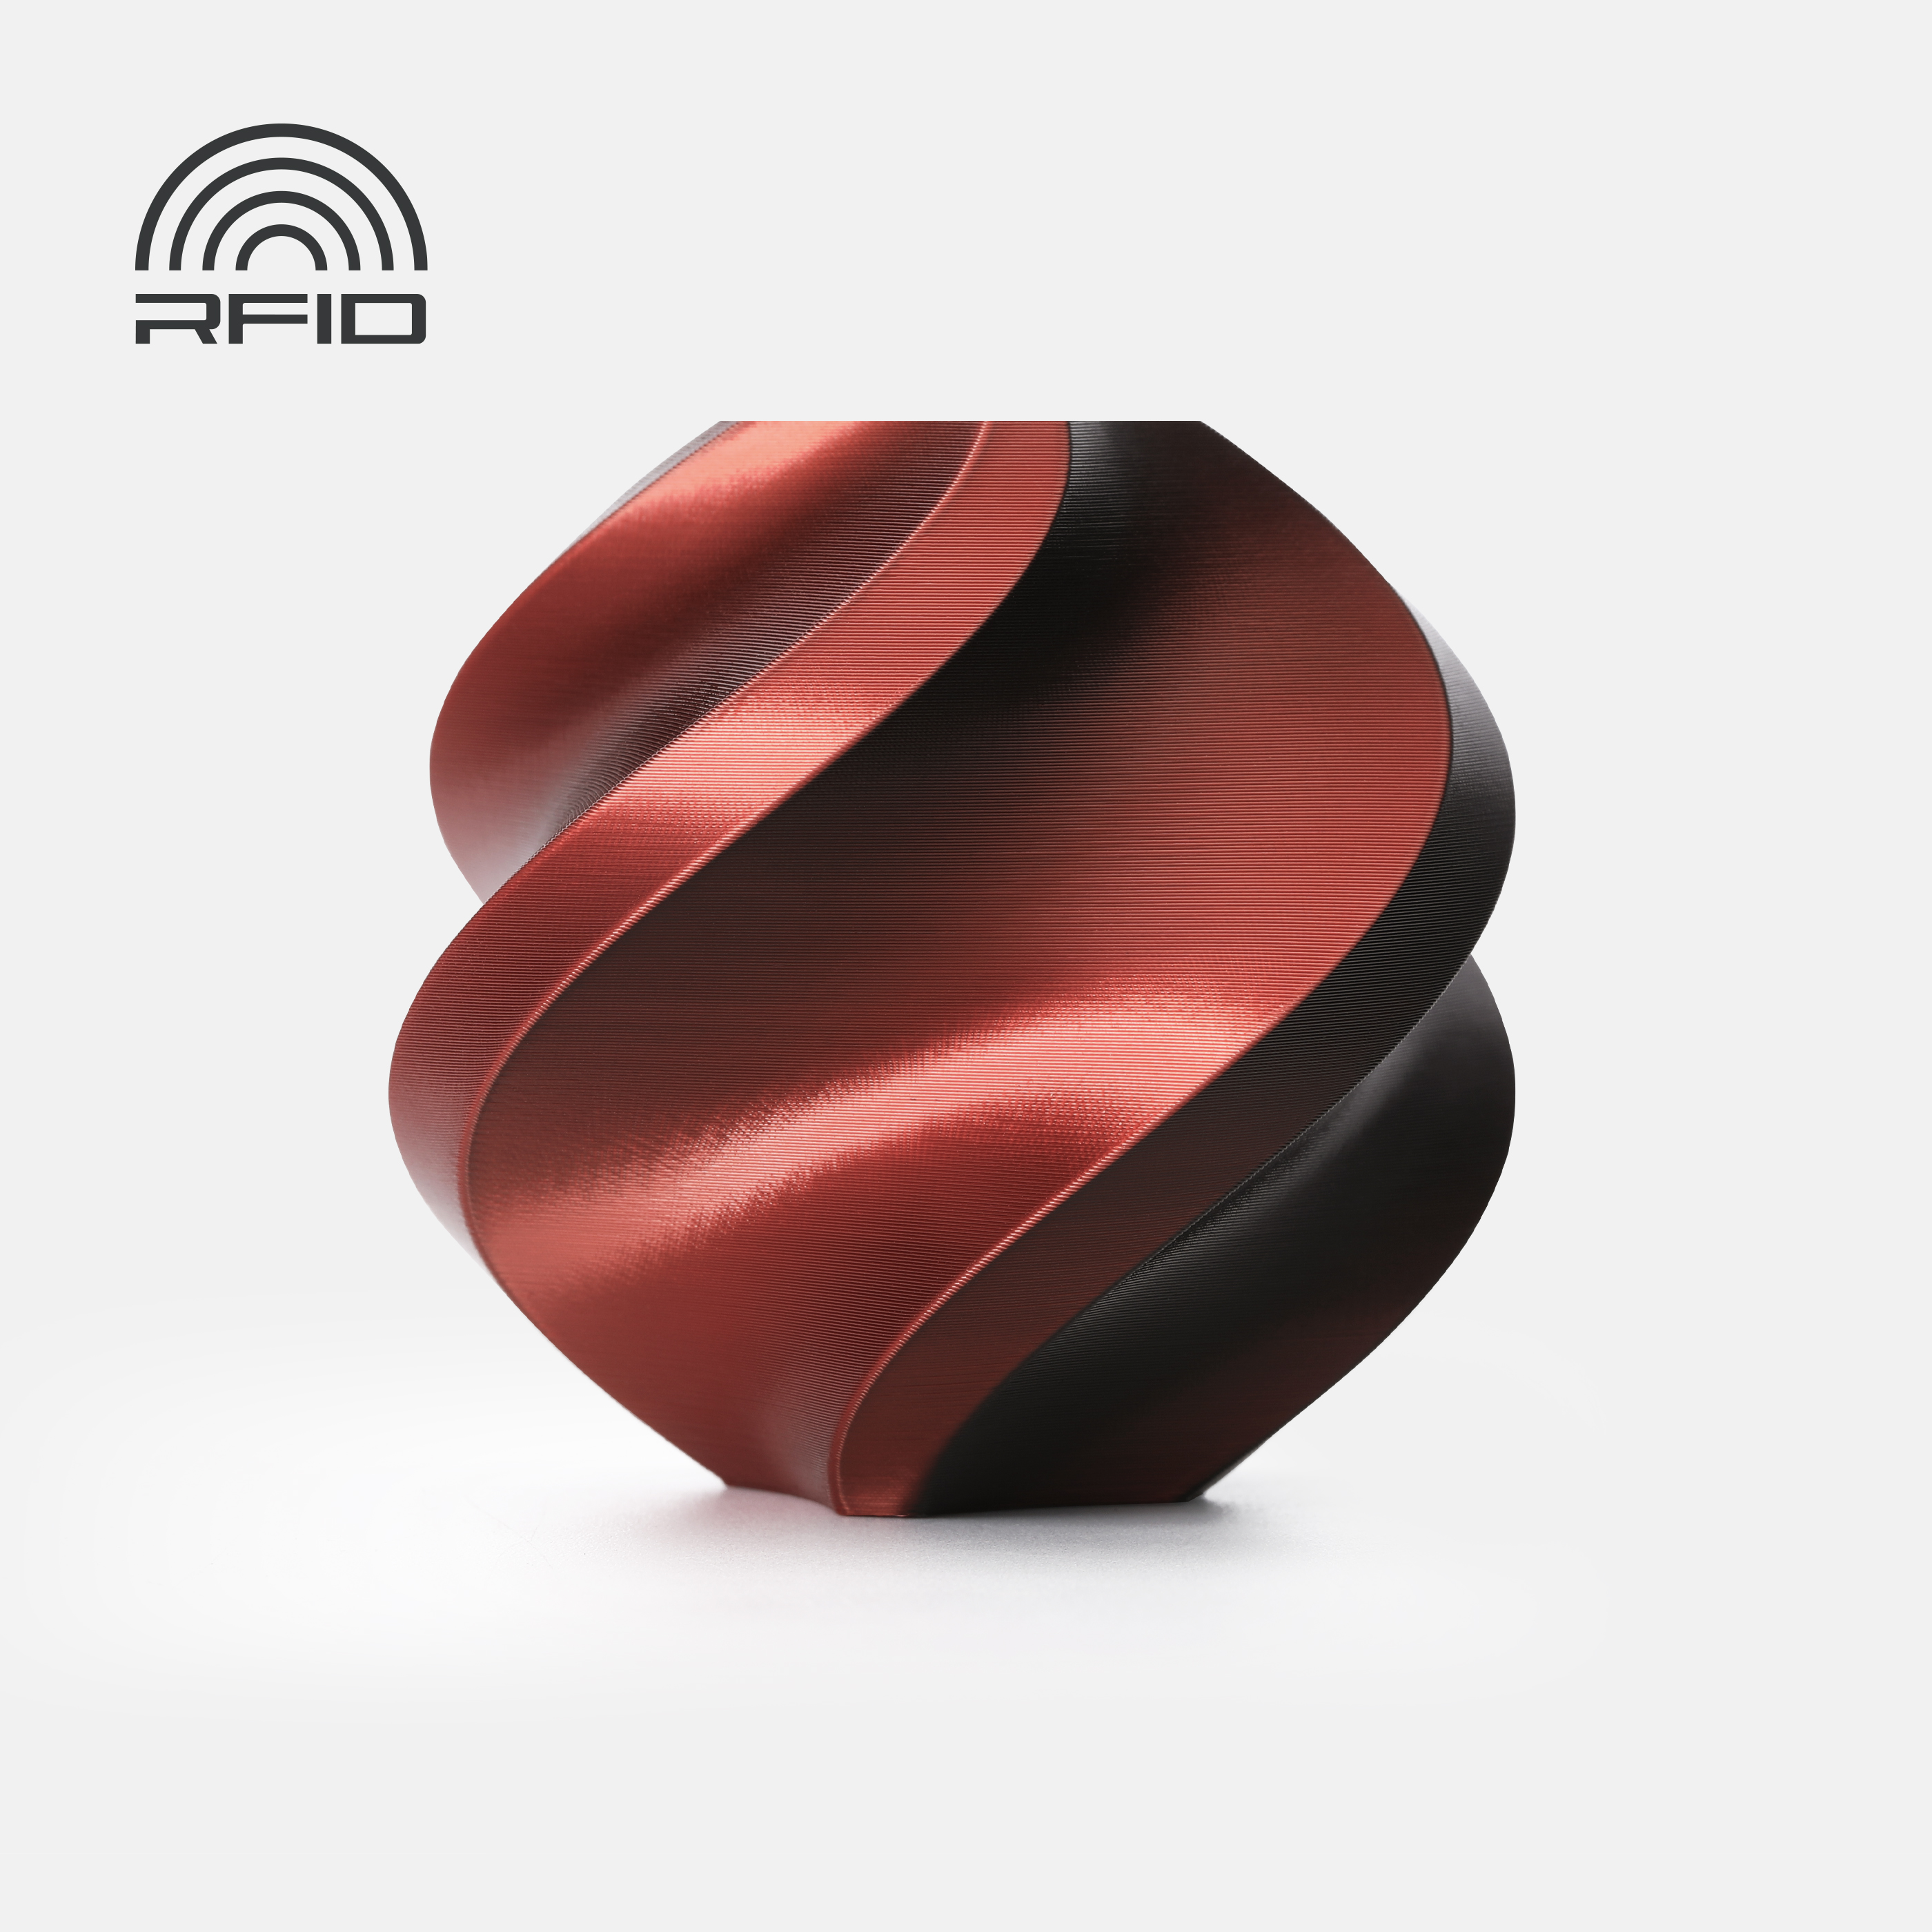
• 🖨️ PLA Silk Dual Colour (Velvet Eclipse looks stunning)
• 📄 Printed paper template (12-page PDF included below)
• 🛠️ 2mm drill
• 🧵 2mm acrylic rod (80mm length)
• 🧱 Baseplate (Acrylic, PVC, plywood — your choice!)
Important Note on Dual-Color Filament
When using dual-color or silk filament, please be aware that the visible color depends on the internal orientation of the filament. This orientation is defined by the manufacturer and can vary between brands and even batches.
Before printing the full model, it is highly recommended to print 1-2 test pieces to verify the visible color on the front side.
If the colors appear incorrect (e.g. darker front, brighter back), simply rotate the parts by 90° in the slicer and reprint the test piece.
HOW TO BUILD IT
STEP 1 – TEMPLATE TIME!
Print all 12 pages of the PDF and tape them together to form your full layout. Trim the borders for a clean fit.
This will be your assembly map.
(See layout on image below)

STEP 2 – DRILL BEFORE YOU BUILD!
Use the template to mark where your hanging holes will go on the baseplate. (You want to aim for a hollow space)
Then drill them out using a drill depending on your available screws or hooks—do this before you glue anything!
STEP 3 – FRAME IT UP
Start with printing the tile frames.
Place each frame onto your template—don’t glue anything yet!
(should look something like this)

STEP 4 – ADD THE SURFACE TEXTURE
Print the surface parts and glue them onto their matching tile frames.
Important: Before gluing the three central connector pieces, pre-drill the 2mm holes needed for the acrylic rod (see Step 6). It’s much easier now than after assembly!
Place each finished tile back onto the template.
Repeat until all 103 tiles are complete.

STEP 5 – FINAL ASSEMBLY
Carefully move all finished tiles to your baseplate.
Masking tape around the plate’s edge helps keep things straight.
Glue everything down—tile by tile.
(Like shown in the image, neat alignment is everything)

STEP 6 – PLUG IN THE DROP
Use the pre-drilled holes in the 3 center parts from Step 4.
Cut your acrylic rod to 80mm and connect the sphere into place.
(see cross section)

MAKER NOTES:
• Take your time. This is meditative making at its best.
• Perfect for adding a meaningful design to creative spaces.
• Try alternate colors for different moods: earthy, icy, metallic, etc.
RESULT:
A striking wall piece that balances tension and flow—symbolizing nature’s fragility and beauty in every curve and crack.
Want to show off your version? I’d love to see it—post your make!

Boost Me (for free)
Enjoyed this model? Give it a little BOOST boost! Your support helps more makers find my designs—and keeps the ideas flowing (and the filament melting)! Thanks for helping this project shine.
Membership
If you plan to sell prints made from this model, please make sure you have an active Commercial Membership.
Documentation (2)

License
You shall not share, sub-license, sell, rent, host, transfer, or distribute in any way the digital or 3D printed versions of this object, nor any other derivative work of this object in its digital or physical format (including - but not limited to - remixes of this object, and hosting on other digital platforms). The objects may not be used without permission in any way whatsoever in which you charge money, or collect fees.
Comment & Rating (86)