
Knitting Loom Duo: 6+12 & 24 pegs
Print Profile(2)


Description
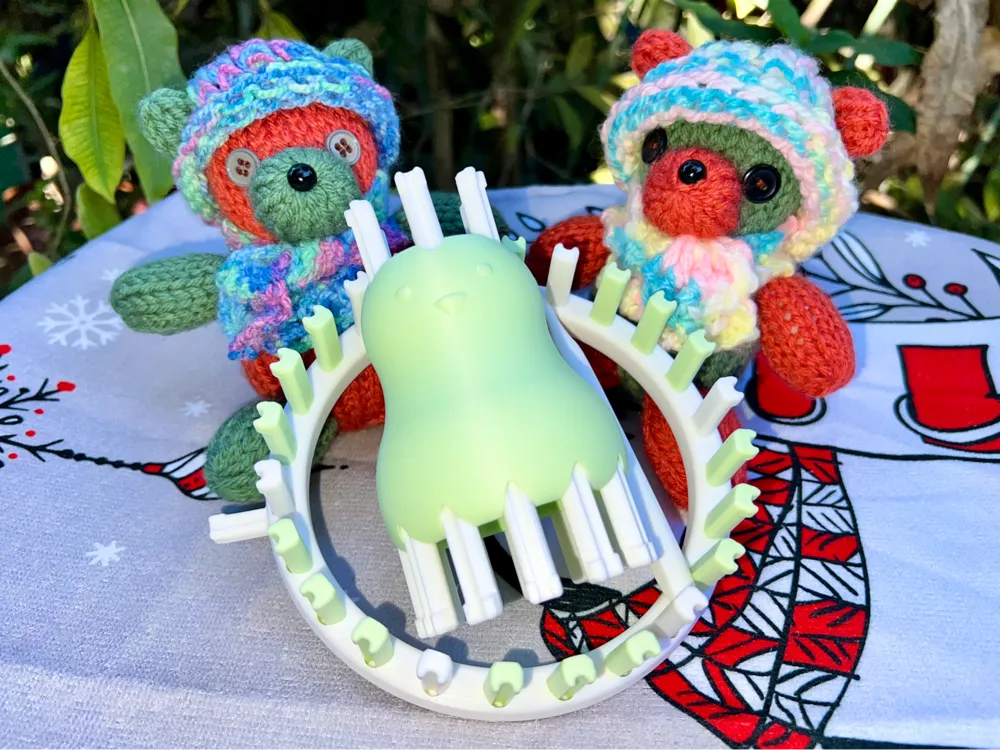
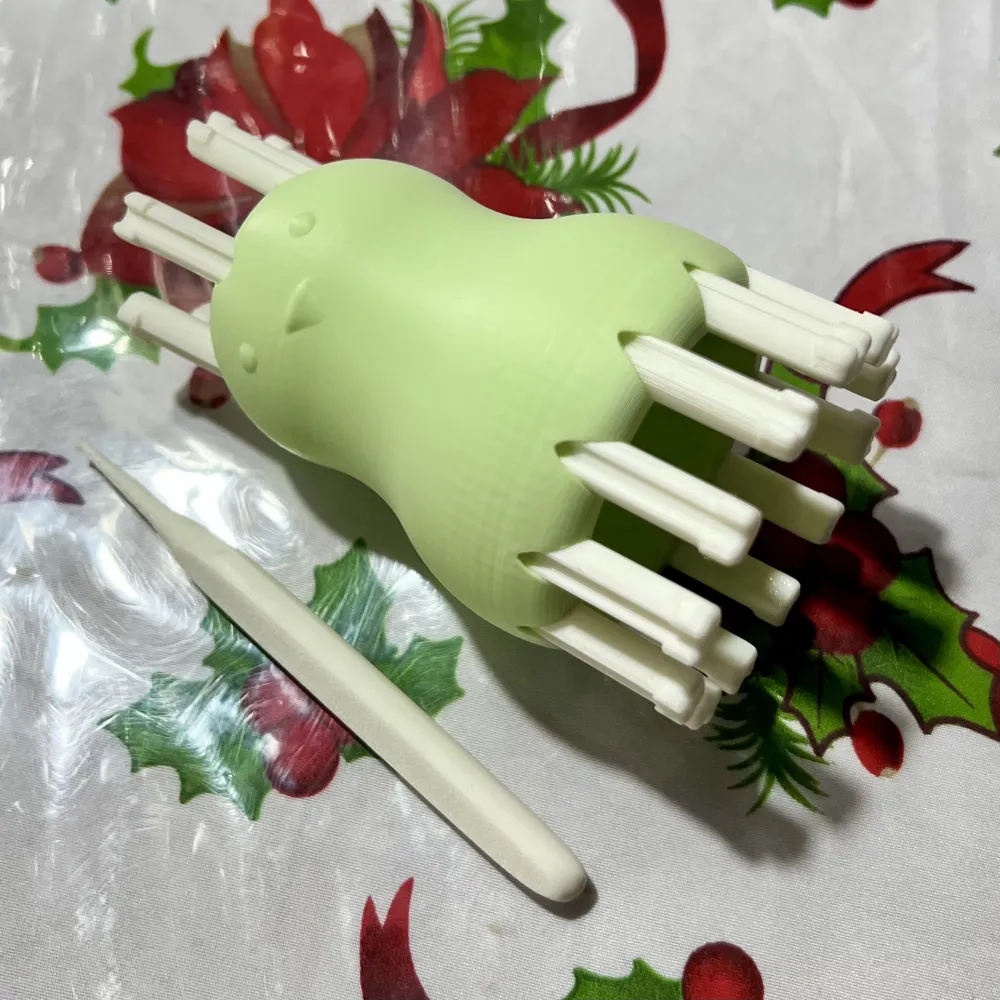
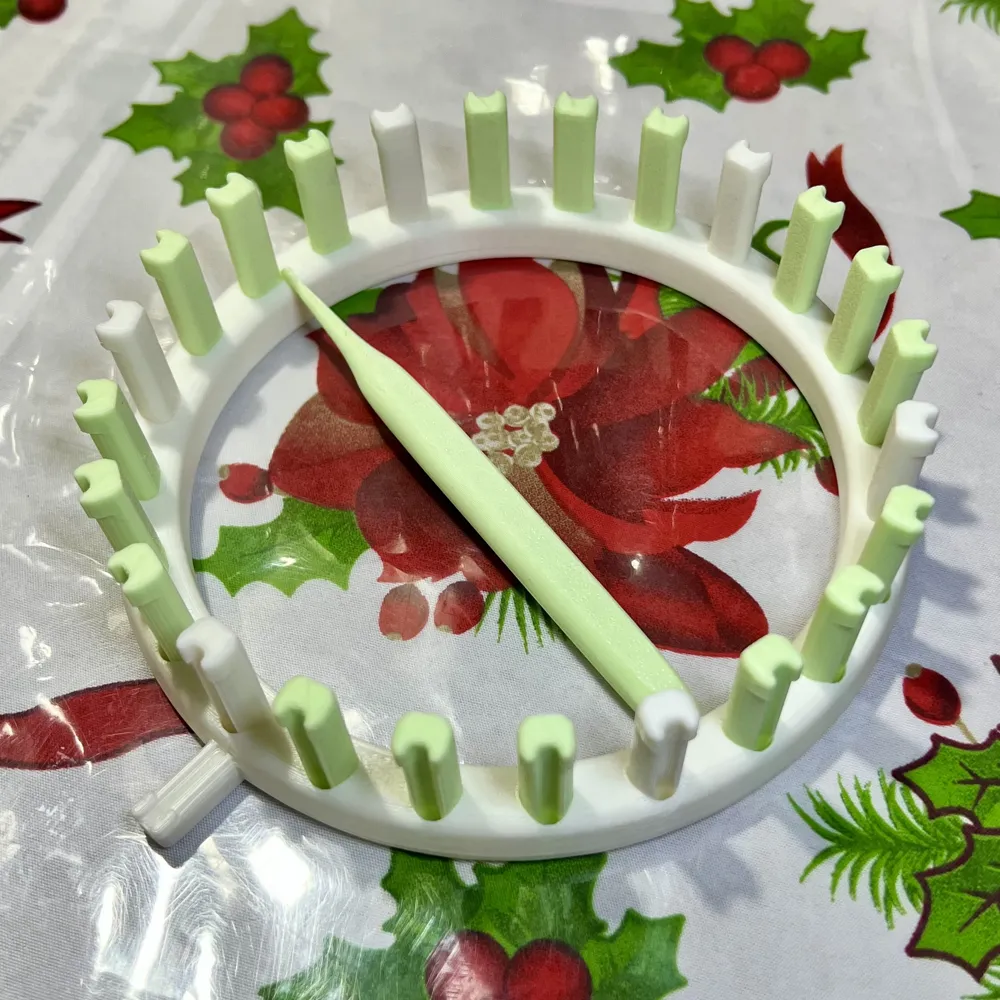
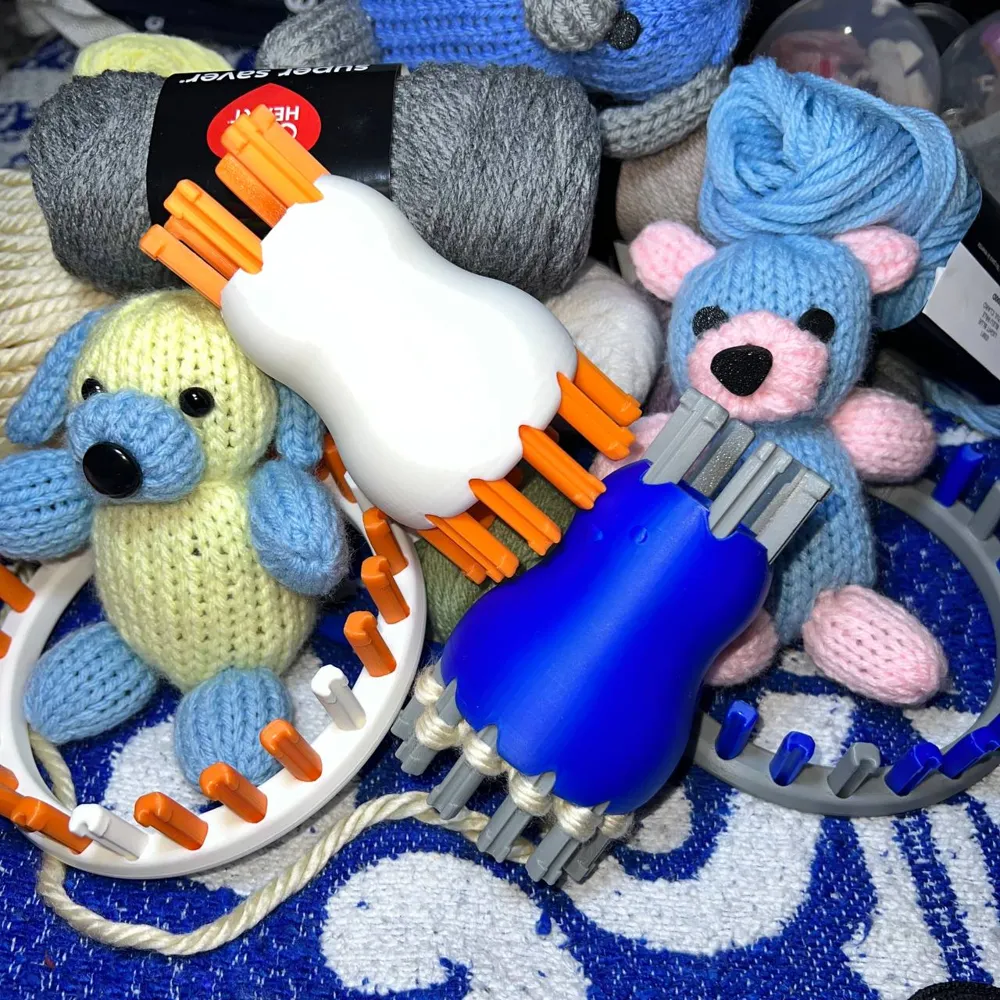
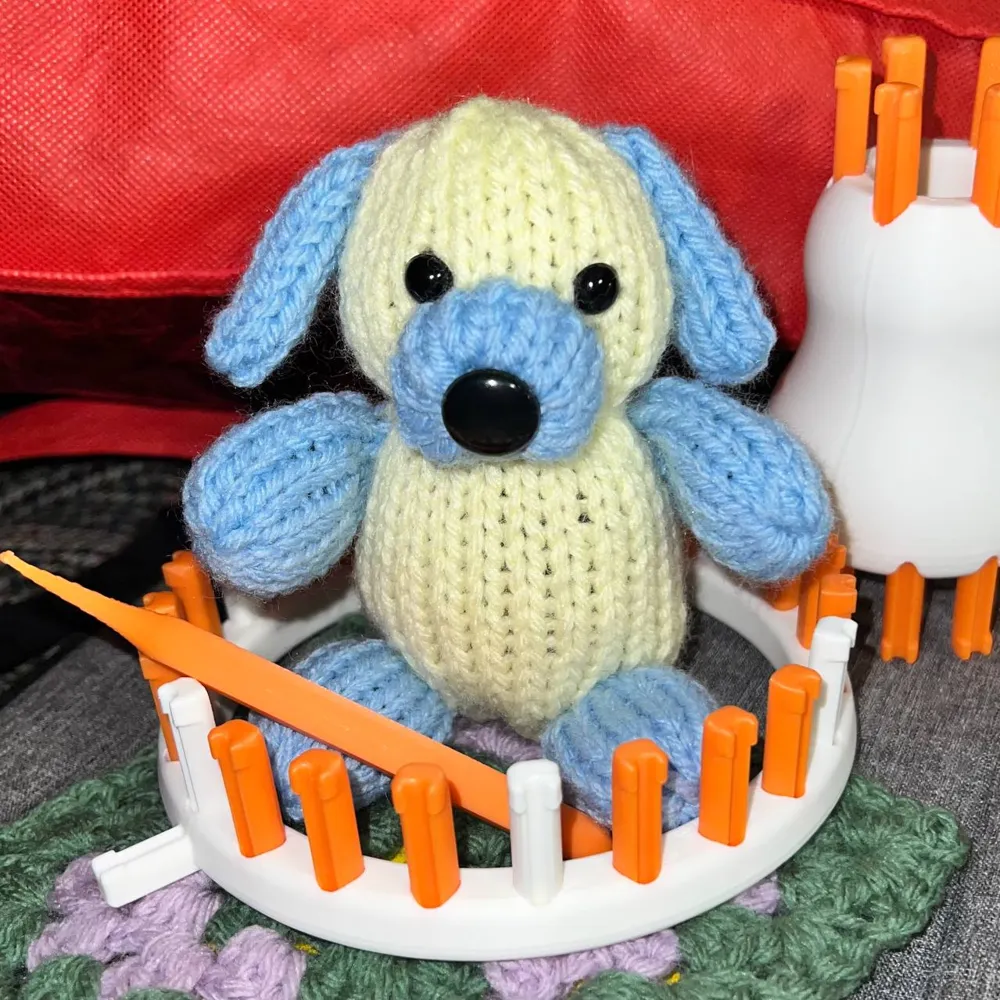
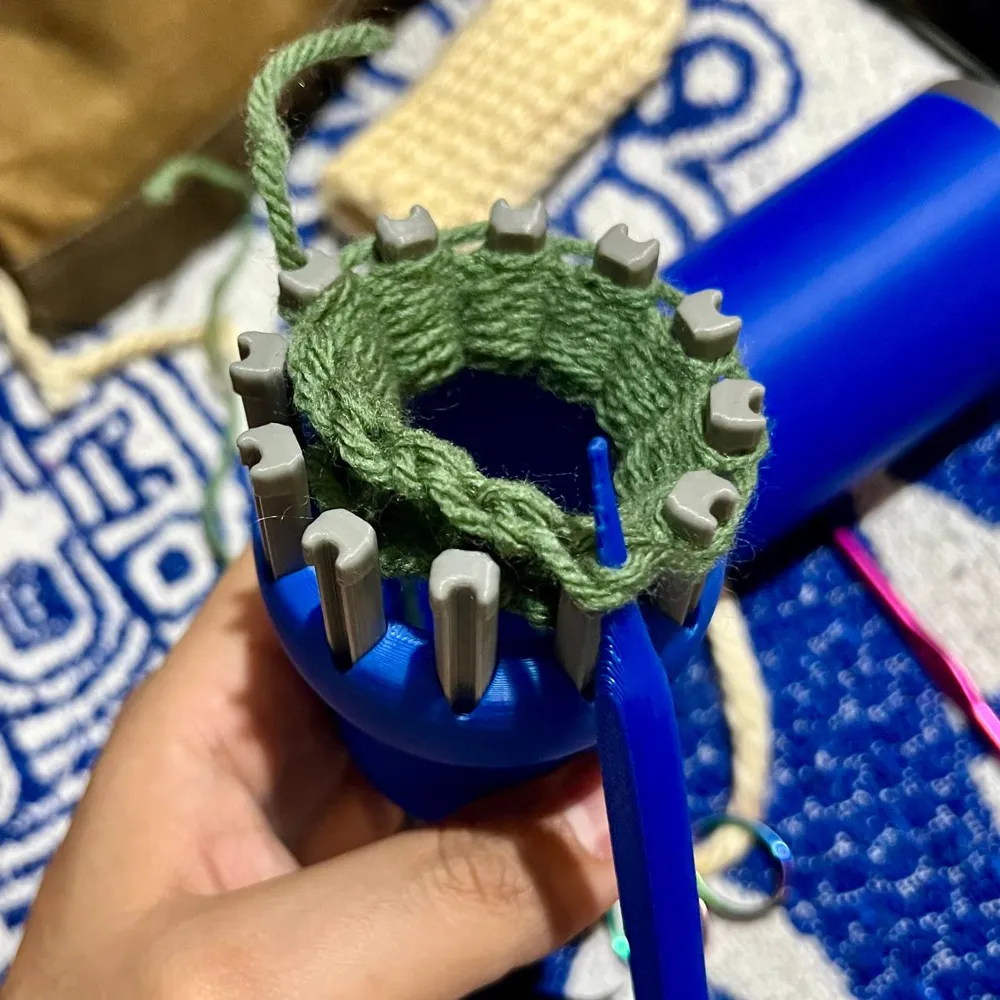
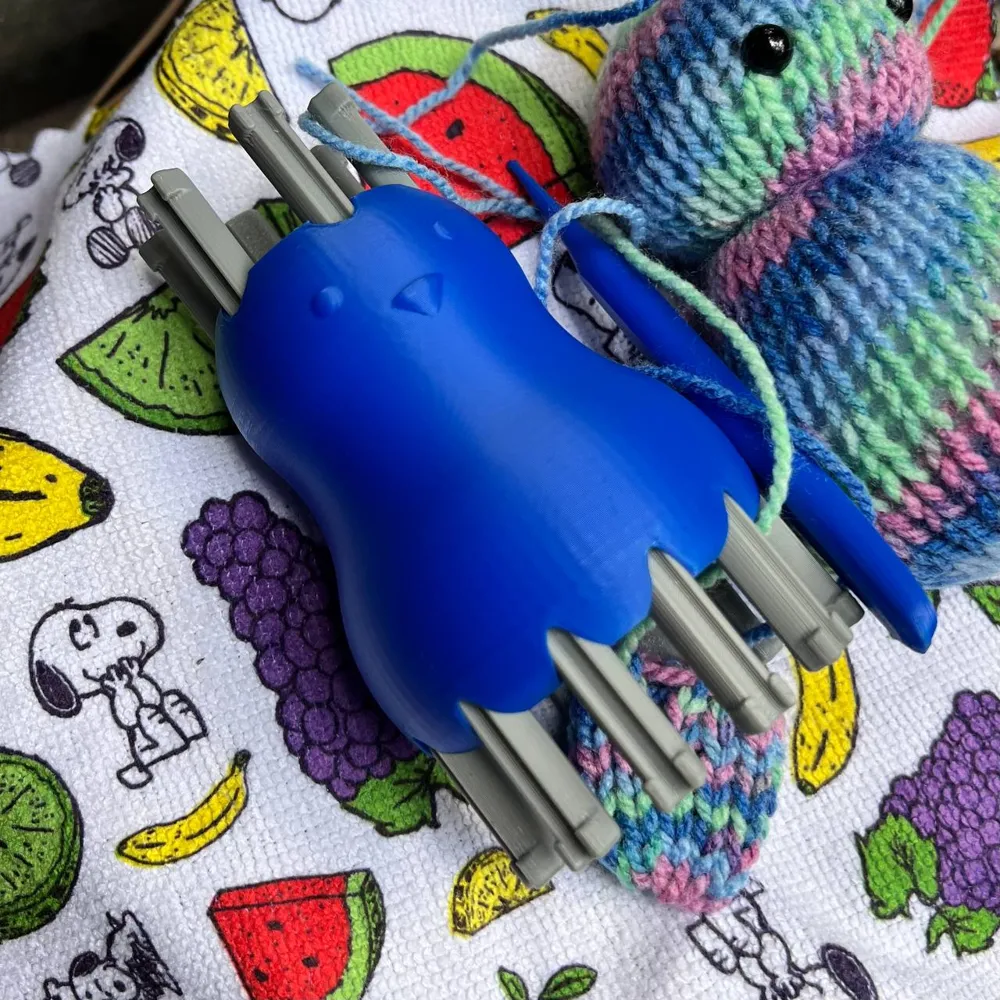
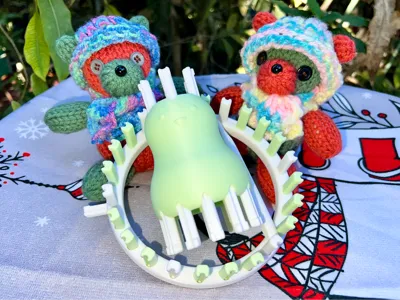
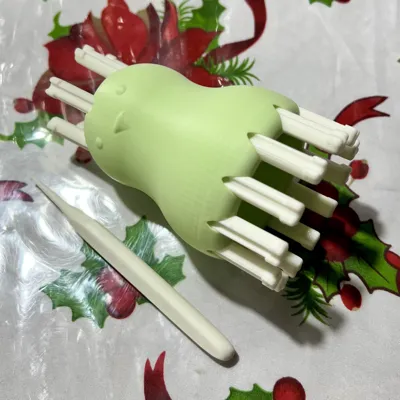
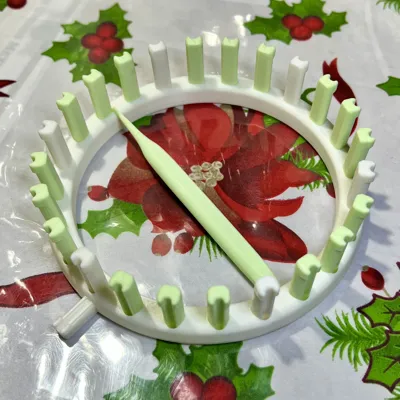
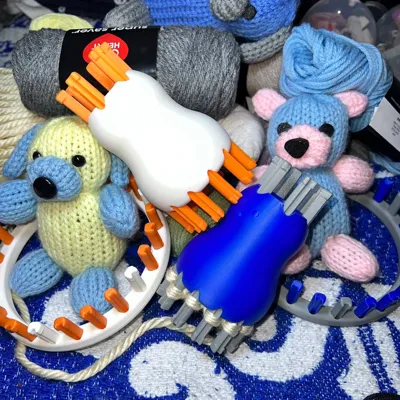
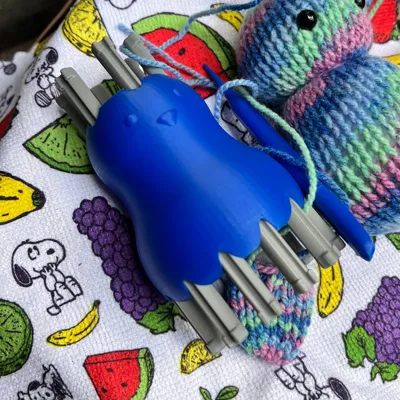
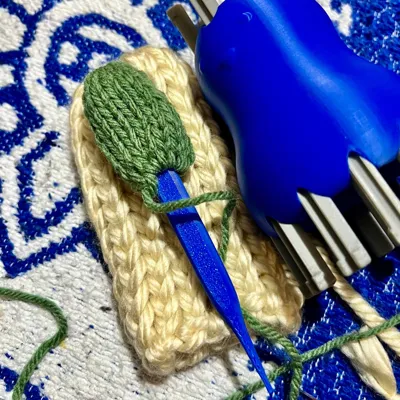
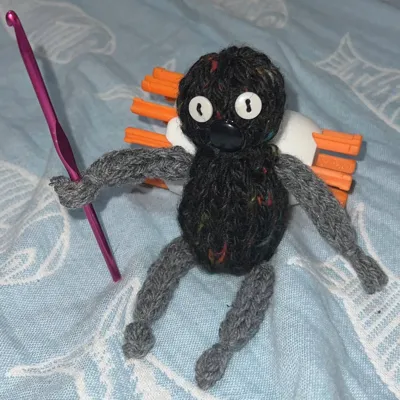
My knitting spree continues. This time, I'm sharing further sizes of knitting looms: 6, 12, and 24 pegs. The 6 and 12 peg looms share a single body, so it's more like a big knitting doll, while the 24 peg loom is a lot more conventional in shape.
It's a bit hard to see in the pics, but the 6+12 kitting loom has a little face; mainly because I thought it was cuter that way, but it also has the double purpose of letting you know the location of the “first peg” to keep track of your rows, since it'll align with the nose of the face… Although the printer seam also works fairly well for that purpose. The 24 loom doesn't need a fancy face for that, because it has an anchor peg.
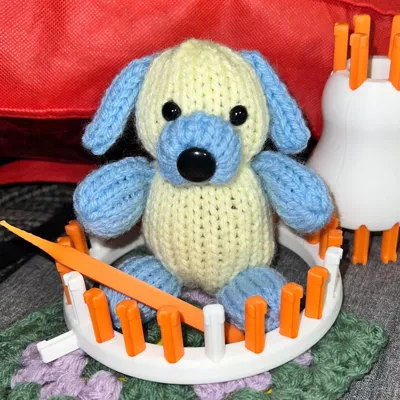
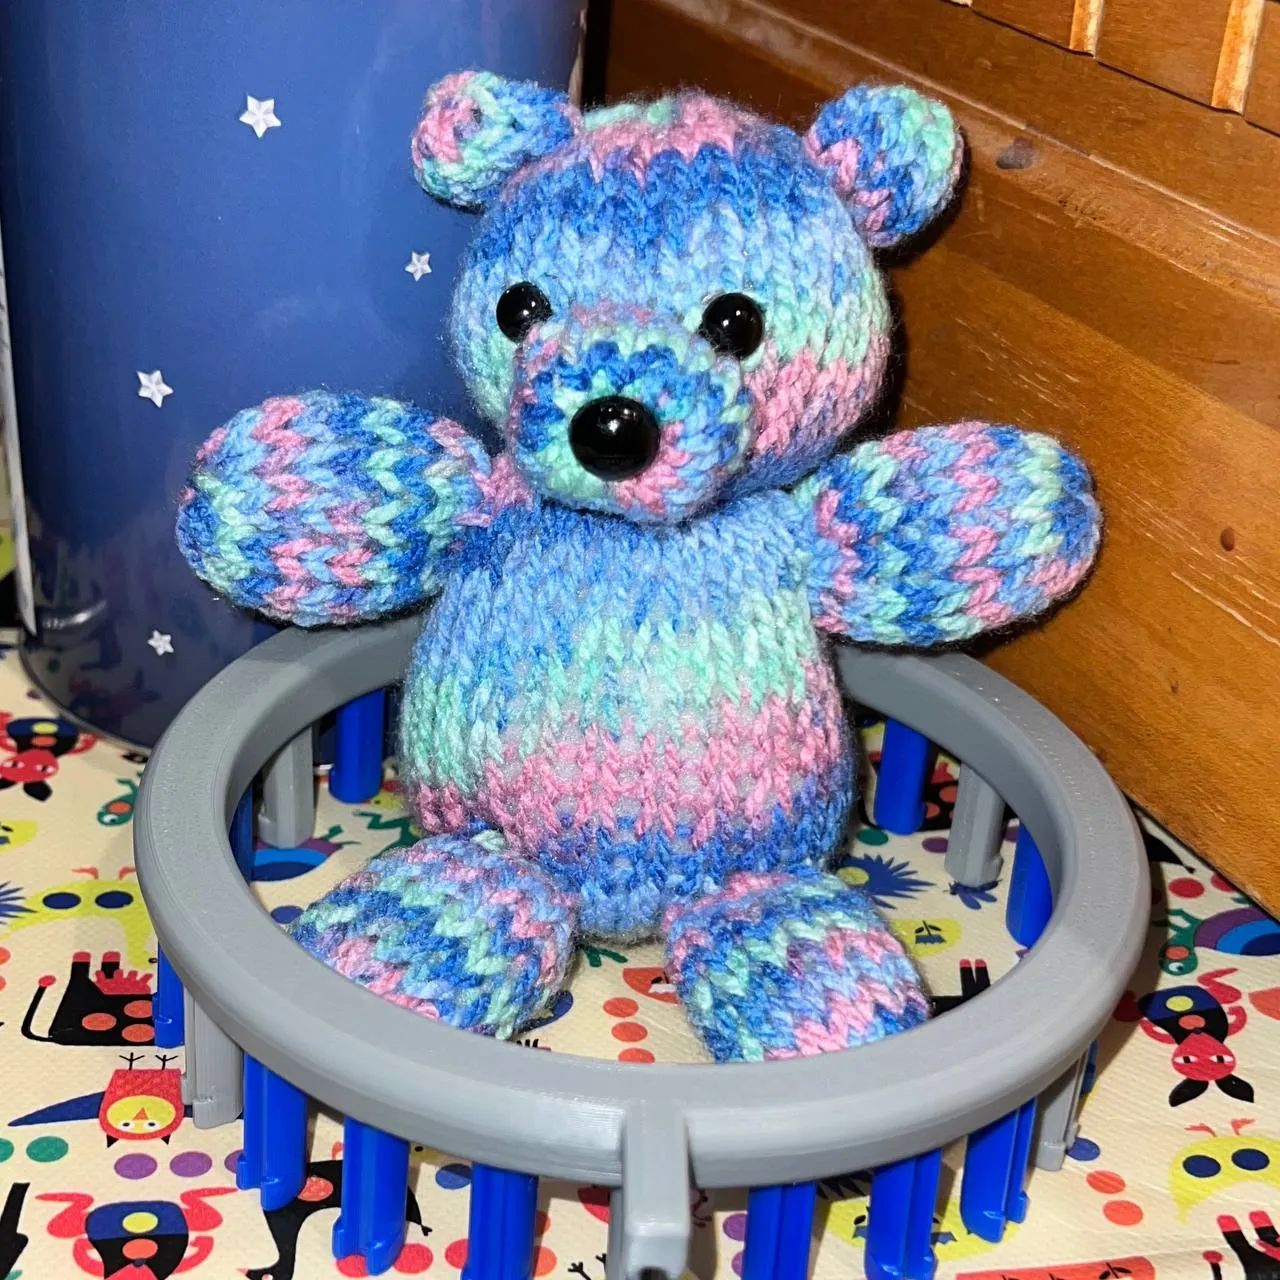
I decided to offer them as part of the same bundle, because I use them in conjunction to make little teddy bears (if you're interested in the pattern, I'll share it down below).
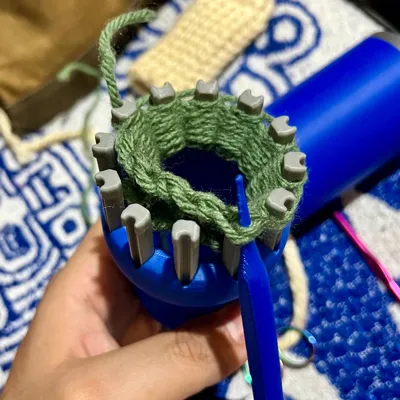
While the design is largely based on what I learned from making my original Knitting Doll, these models feature revamped pegs that are easier to print, and shaped to conform to the shape of the knitting wand I provide: it's really easy to pick and pull the yarn over! They're also somewhat easier to install and replace- but I haven't had any issues with them coming off on their own.
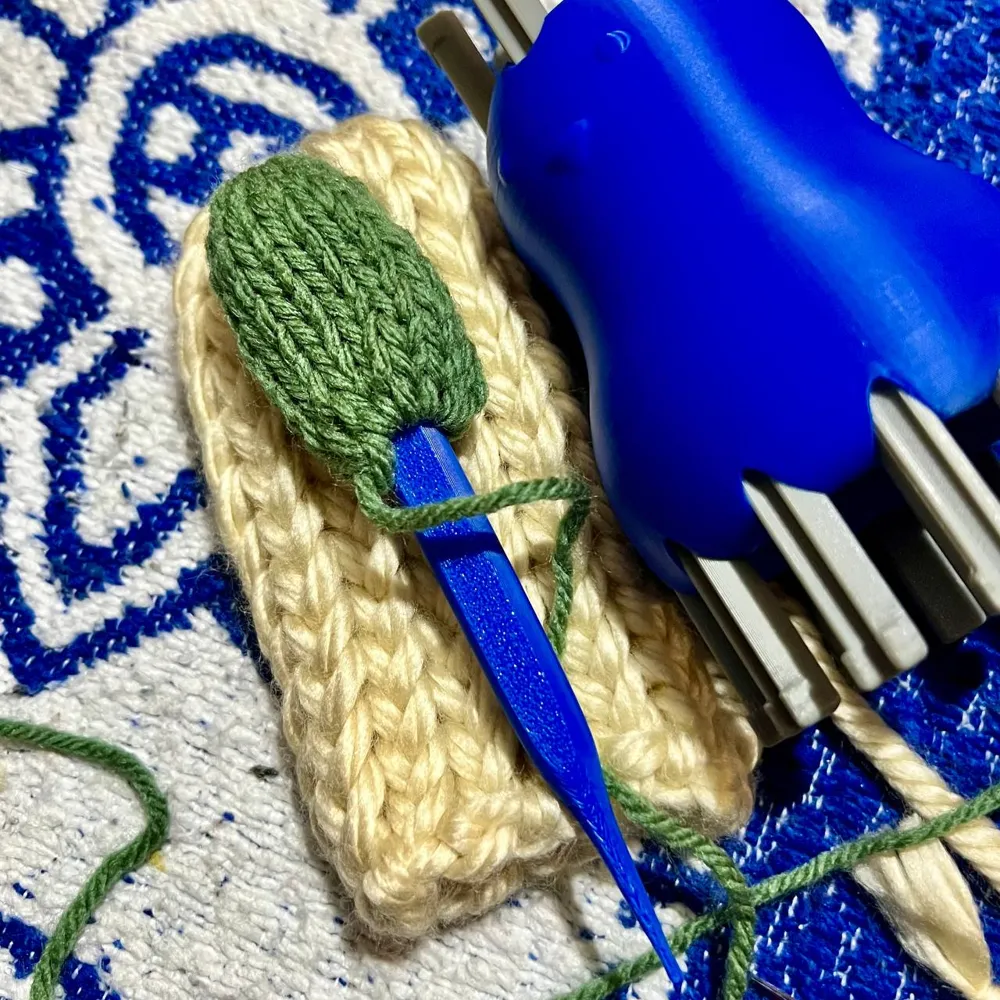
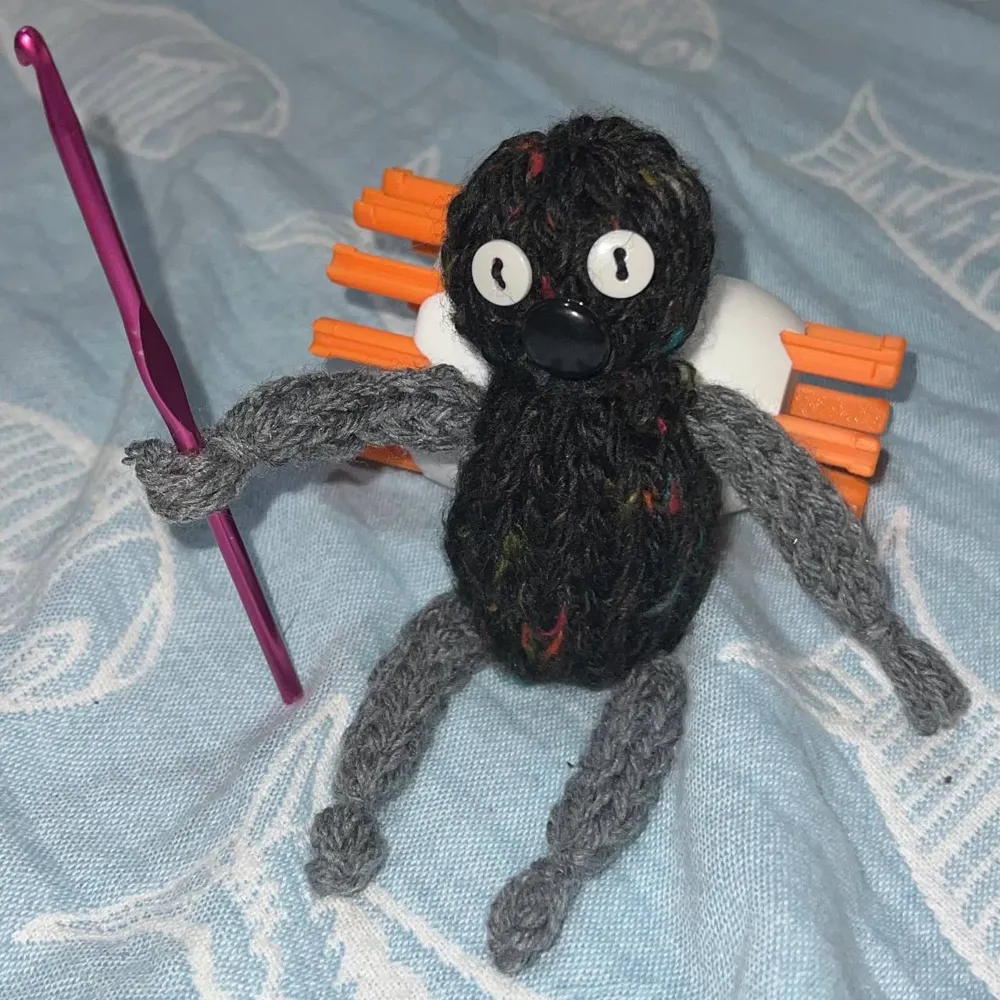
In terms of what these looms can provide, compared to a 4-peg loom, we're now getting into some “real knitting” territory. The 24 peg loom in particular can even be used to make a full-sized adult scarf and other more complex creations! The 6 and 12 peg looms can be used to create a great assortment of patterns as well, though I personally use them mostly to make limbs for my plush dolls. In combination, you can use them to create a great variety of items.
The knitting “wand” I provide with the looms is more than good enough to get you started. However remember it's a printed piece and it will deteriorate quickly if you knit with high tension- so I don't recommend going too tight. If you already have a metal loom knitting hook, then you can remove it from the print profile. I recommend giving it a quick torch to smoothen out the tip before using it, since the rough printed texture can catch on the yarn.
Update 04/17/25
Updated the .step file to include the knitting wand and the correct model for the pegs, since the original version had an earlier one.
---------------
If you wish to create a little teddy like the ones in the pictures, here's the pattern.
Techniques you need to know:
Materials you'll need:
- Medium/Worsted/4 Weight Yarn
- Safety Eyes and Nose, or Buttons
- Yarn Needle or Crochet Hook (for sewing the pieces)
- Stuffing
The teddy is made using a series of simple tubes of yarn:
To make the body, use the 24 peg loom.
- Drawstring cast on.
- At least 31 full rows of u-wrap.
- Drawstring cast off.
- Pull and sew one of the ends shut with a tail of yarn. Stretch the piece well to make the stitches slide into place.
- The body will be divided into a torso and a head in step 7, place the safety eyes now in an appropriate spot (if you're sewing buttons instead, you can wait until later).
- Stuff the body and sew it shut, cut and save the tail of yarn.
- Using leftover yarn from step 6, tie it around the body to make a neck; to separate the head from the torso. You can experiment with ratios, but ideally the head should be smaller than the body.
To make the snout, use the 12 peg loom.
- Drawstring cast on.
- 9 full rows of u-wrap.
- Drawstring cast off.
- Pull both of the ends shut with the tails of yarn- no need for stuffing. Keep one of the tails out of the tube, we'll use it for sewing.
- Stretch the piece well to make the stitches slide into place. You can use the knitting wand or a pencil to stretch it from the inside.
- Fold the tube of yarn into itself, like you're making a bowl with it.
- Attach the nose piece into the middle of the “bowl”, through both ends of the tube.
- Sew it into the face. You can use some yarn to give the upside down V shape under the nose.
To make limbs, use the 12 peg loom. It's basically the same as the snout but the piece is stuffed and used without folding.
- Drawstring cast on.
- At least 9 full rows of u-wrap.
- Drawstring cast off.
- Pull and sew one of the ends shut with a tail of yarn.
- Stretch the piece well to make the stitches slide into place. You can use the knitting wand or a pencil to stretch it from the inside.
- Stuff the limb and close it off without cutting off the tail of yarn.
- Using the tail of yarn, sew it onto the torso in an appropriate place.
- Repeat at least three more times for the rest of the limbs.
To make ears and a tail, use the 6 peg loom.
- Drawstring cast on.
- For short pieces (bear-like), do at least 4 rows of u-wrap. For Longer pieces (dog-like), do at least 9 rows of u-wrap.
- Drawstring cast off.
- Pull and sew one of the ends shut with a tail of yarn.
- Stretch the piece well to make the stitches slide into place. You can use the knitting wand or a pencil to stretch it from the inside.
- Stuff the piece if necessary, and close it off without cutting off the tail of yarn.
- Using the tail of yarn, sew it onto the body in an appropriate place.
- Repeat at least two more times for the rest of the decorations (Ideally it should have two ears and one tail!).
And there you have, your very own mini teddy.
If you wish to use Chunky yarn, then you can make the body using e-wrap stitches on the 12-peg loom (around 15 rows should be enough), and a 4-peg loom to make the limbs. It's fun for making little lanky creatures!
License



Comment & Rating (25)