
TMNT - Leg Lamp
Print Profile(1)
Bill of Materials


- Urbanest Silk Bell Lamp Shade, 5-inch by 9-inch by 7-inch, Gold with Black Fringe, Spider-Fitter x 1: https://www.amazon.com/dp/B01KP8GAFU?ref=ppx_yo2ov_dt_b_fed_asin_title&th=1 ($20)
- B&P Lamp® Antique Brass Finish Table Lamp Wiring Kit with a 6 Inch Harp and Push-Thru Socket x 1: https://www.amazon.com/dp/B01LZ1UR8R?ref=ppx_yo2ov_dt_b_fed_asin_title&th=1 ($20)
Description
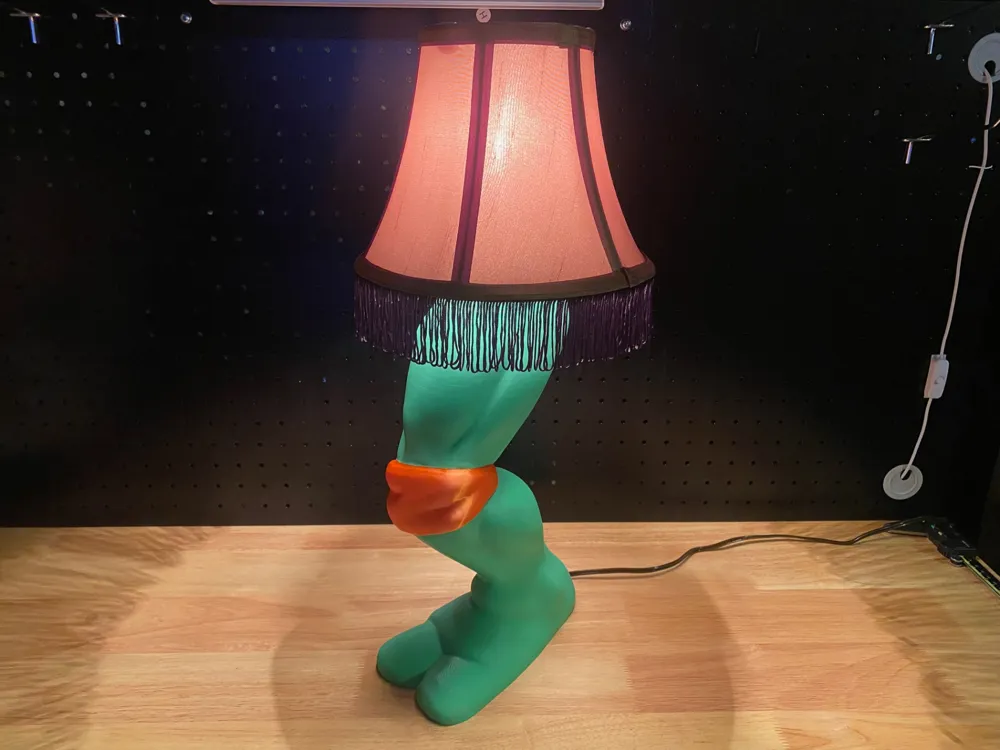
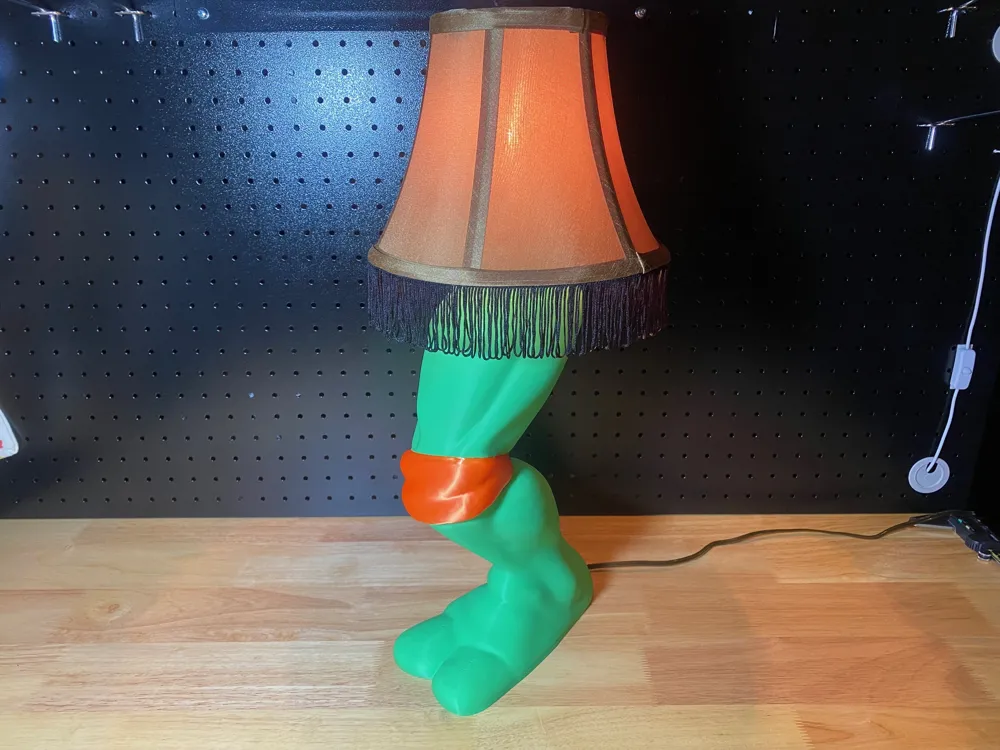
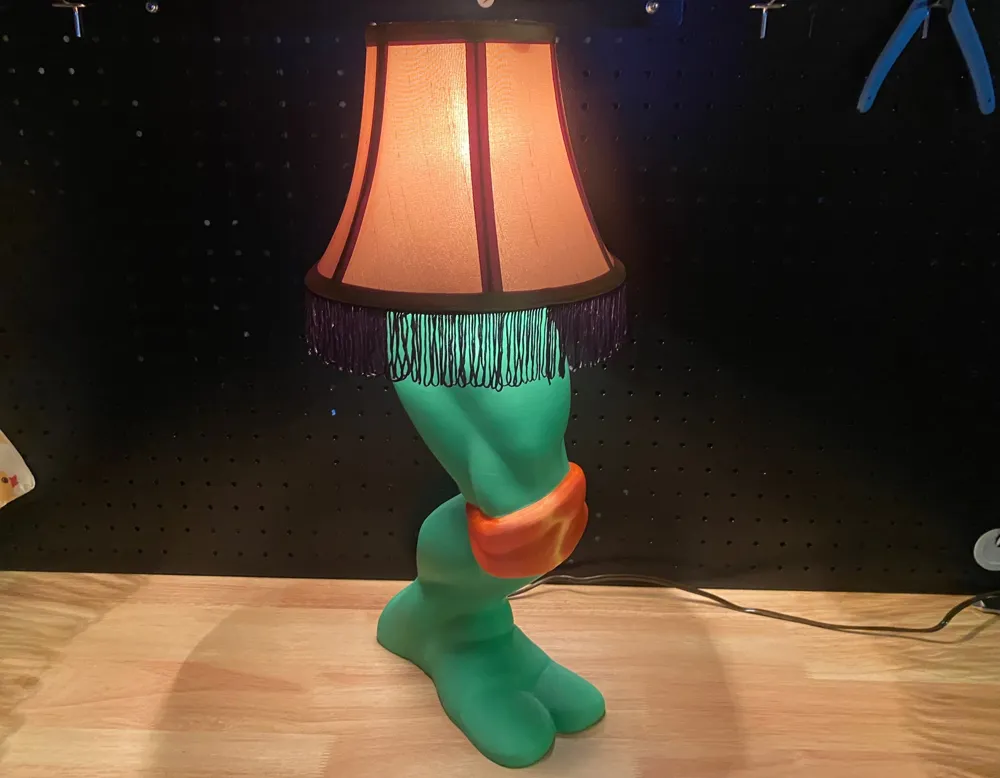
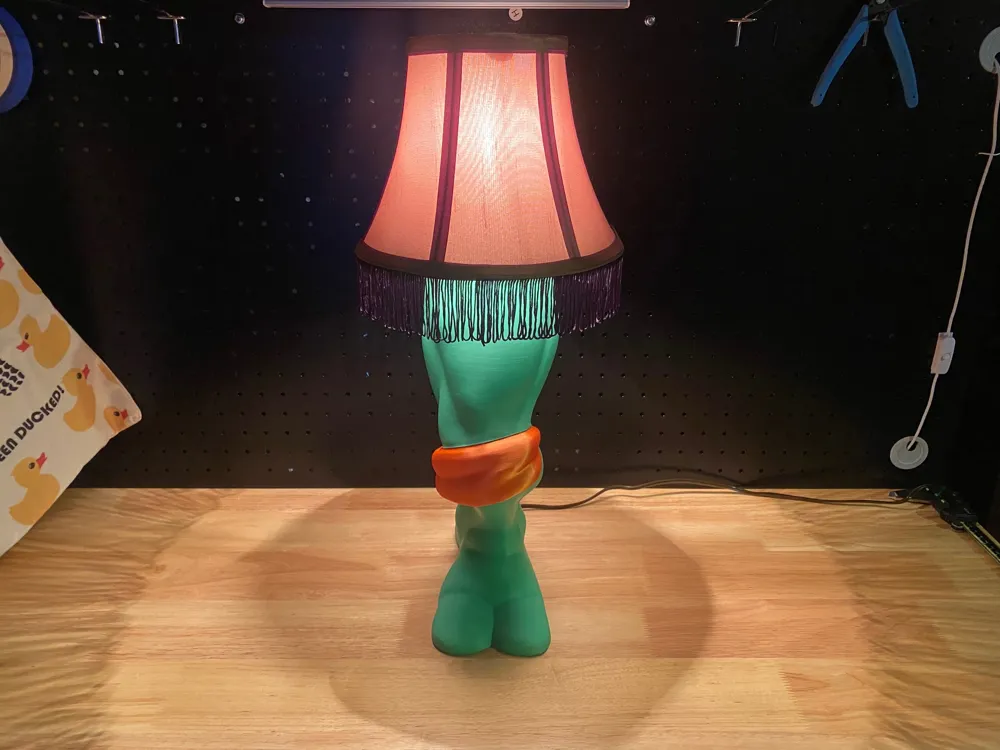
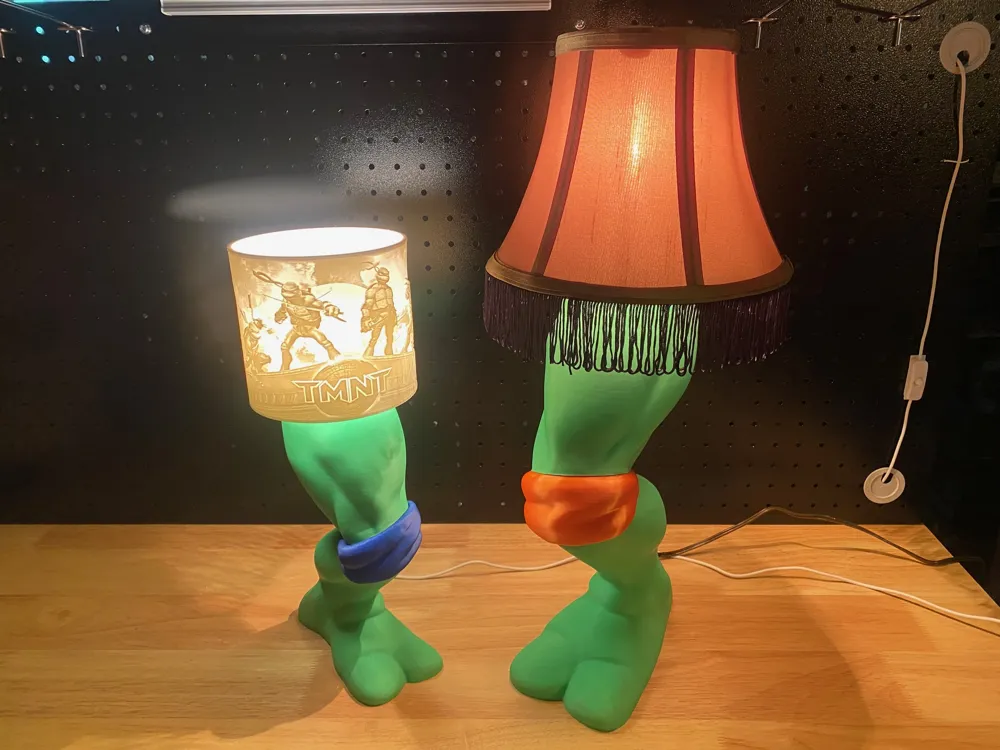
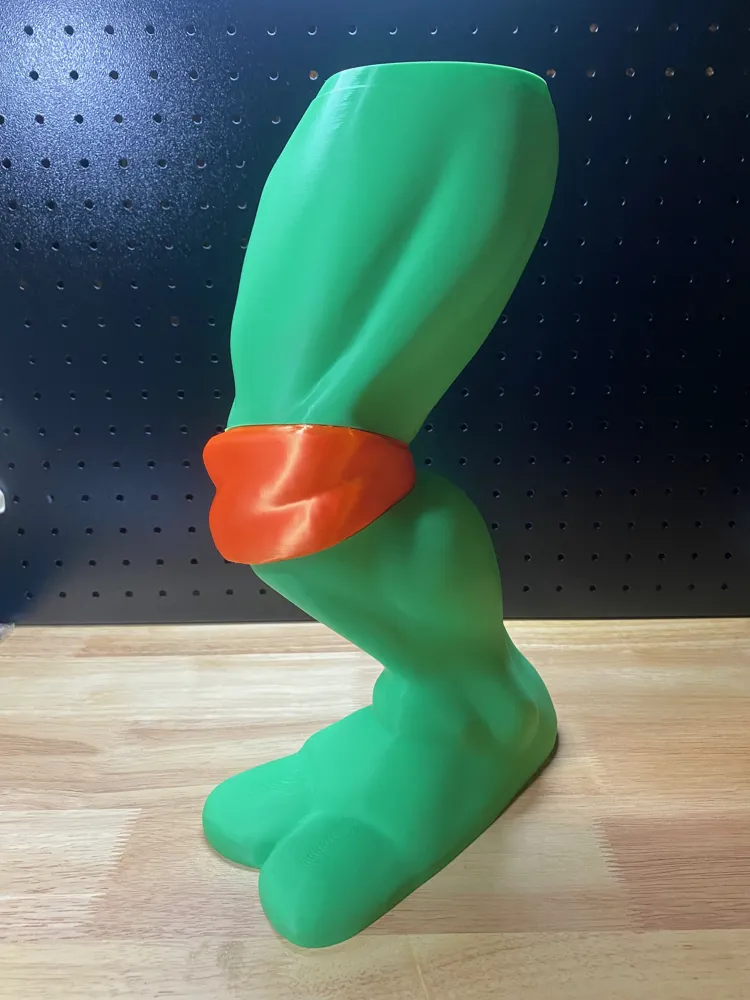
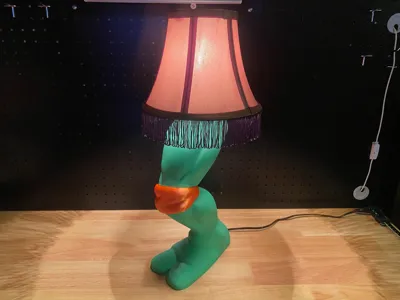
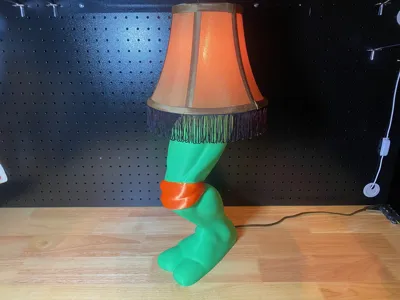
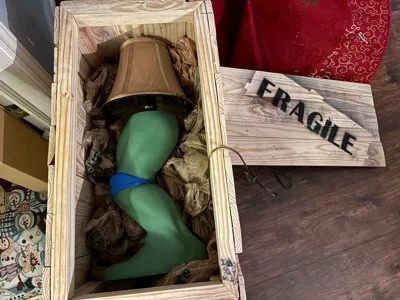
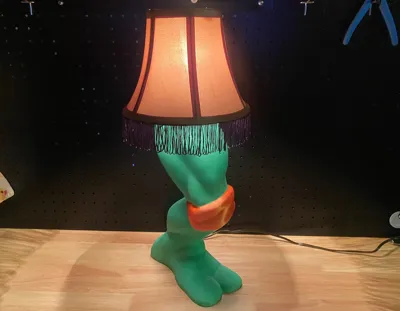
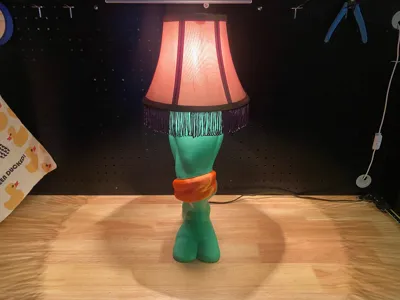
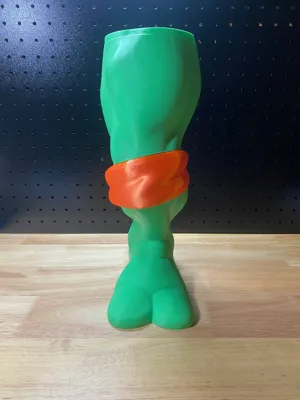
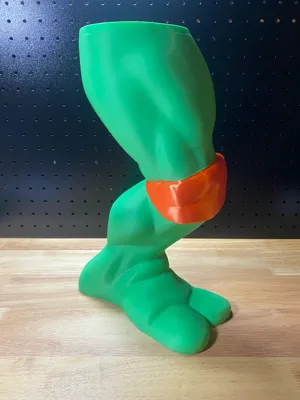
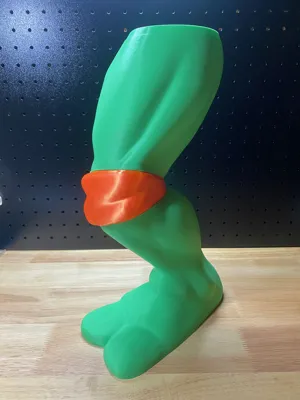
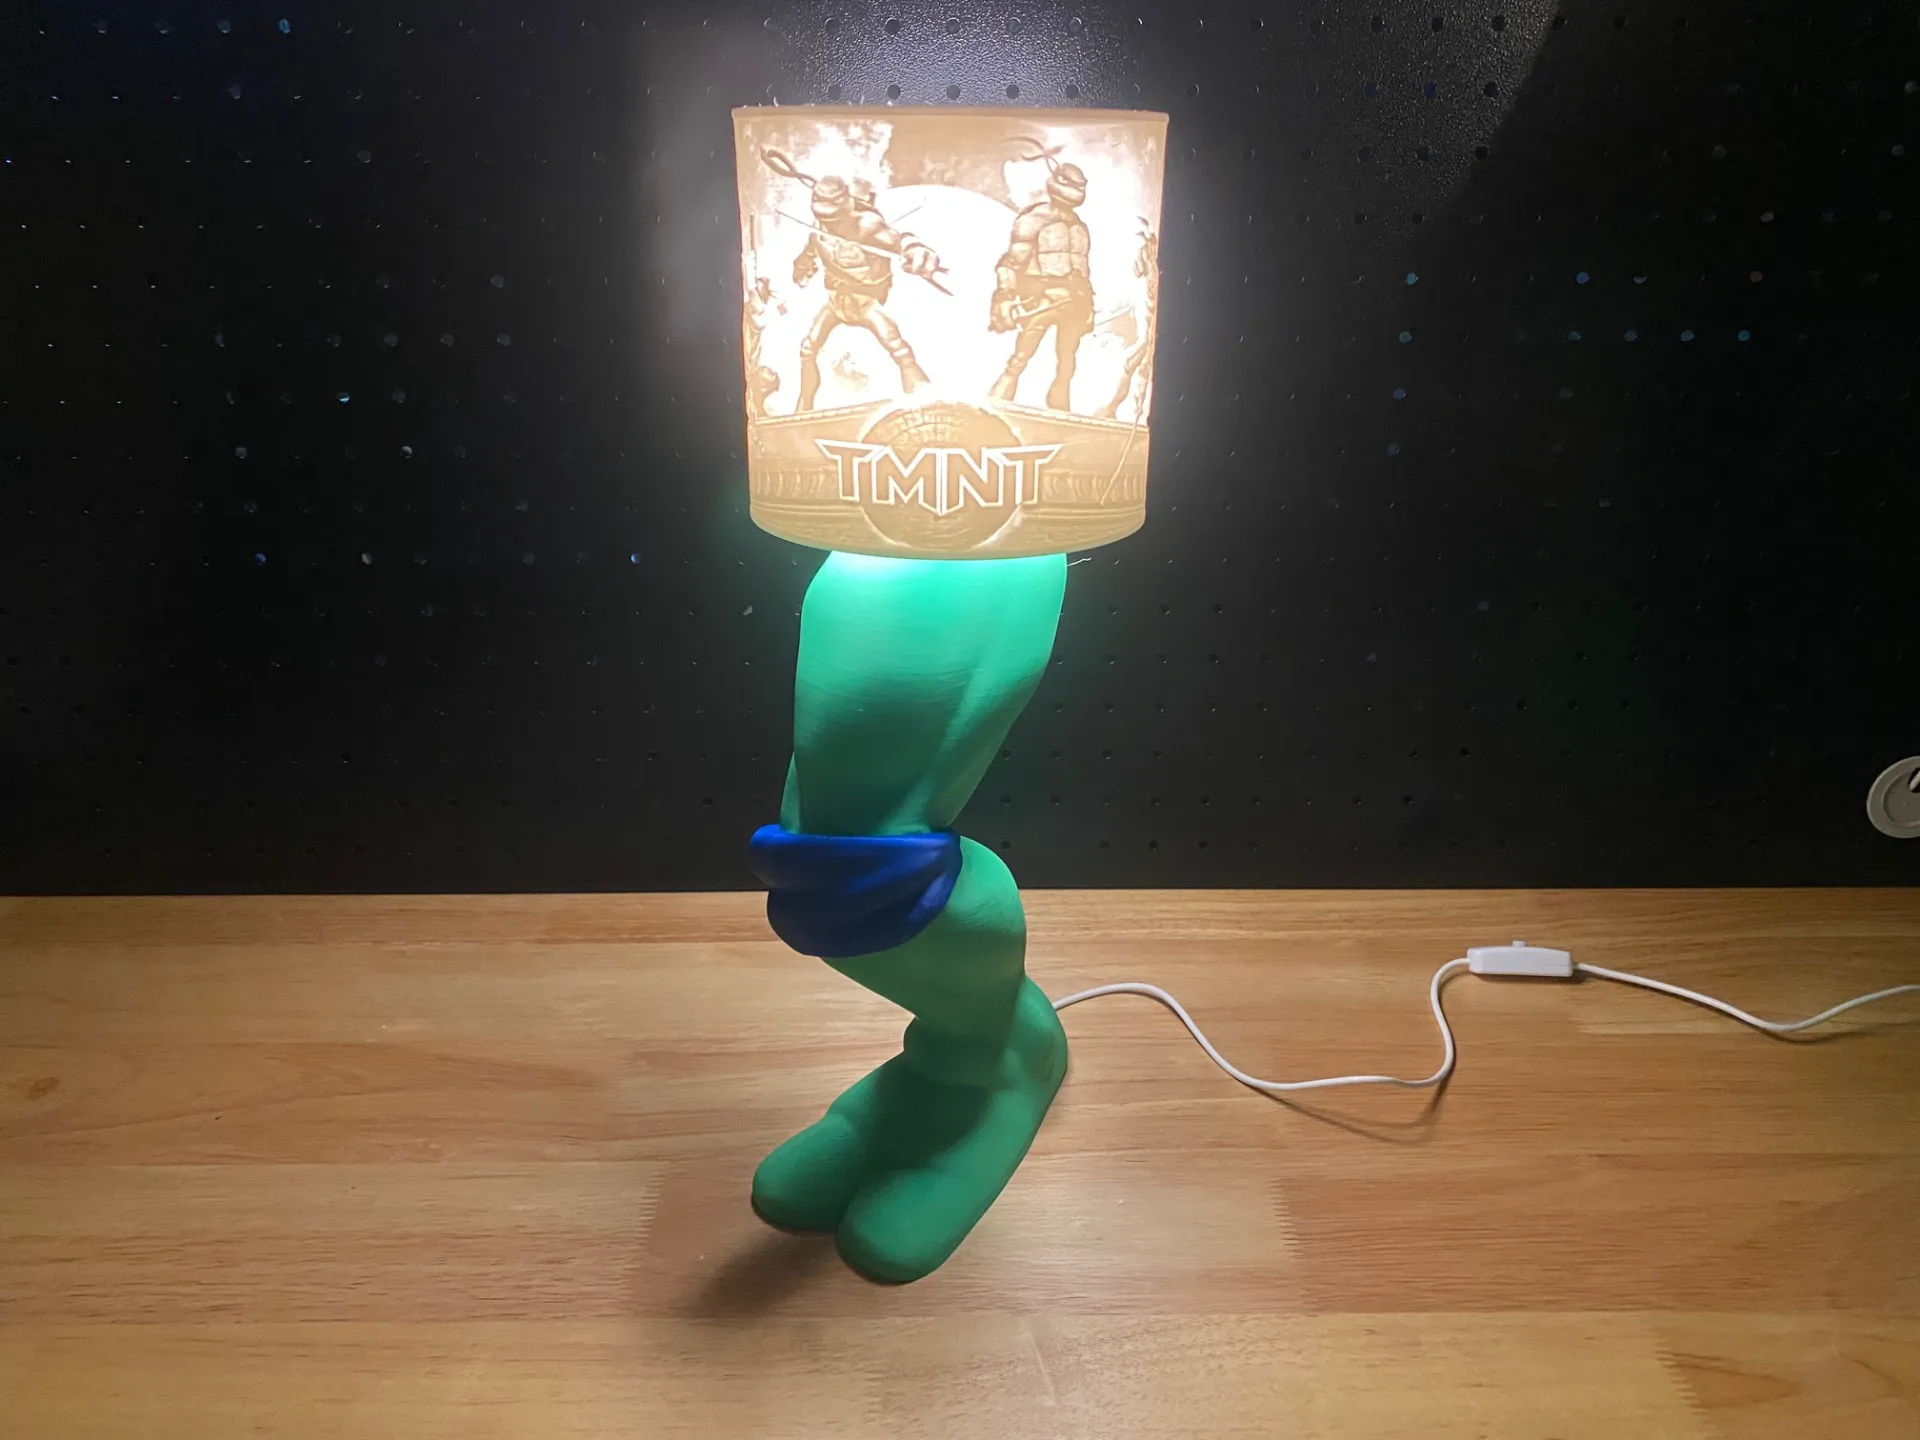
The Ninja Turtle Leg Lamp! It's like a major award dude!
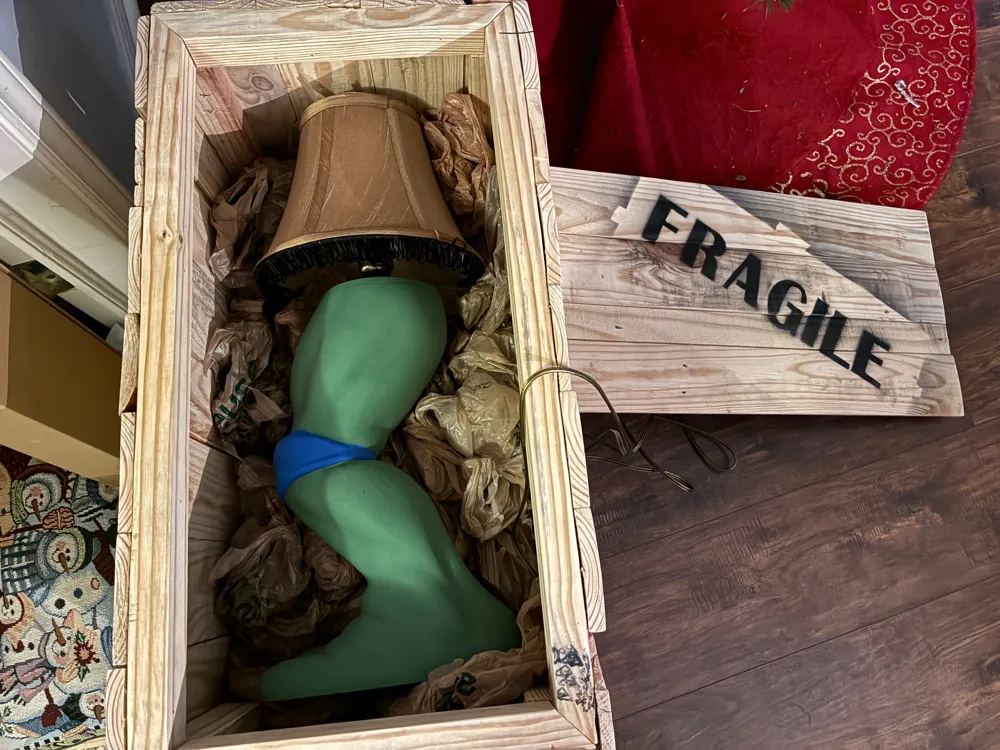
This here is the love child between A Christmas Story and the Ninja Turtles… 🤪
My buddy asked if I could design one of these so here's my version - I've seen a few out there but not available to everybody on Makerworld so here you go.
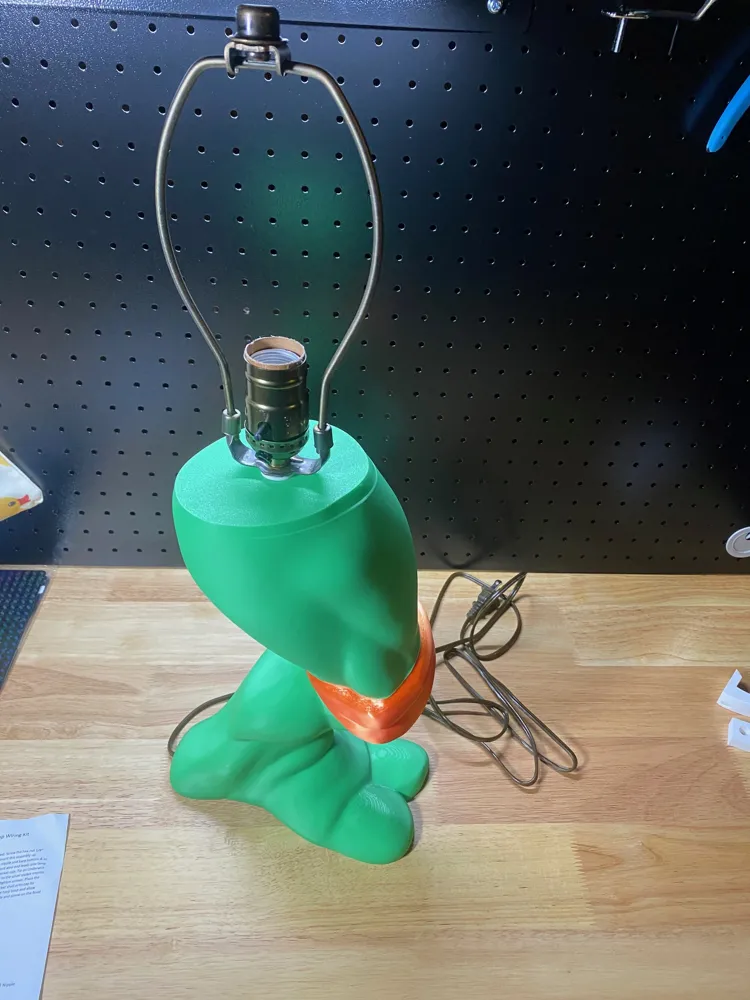
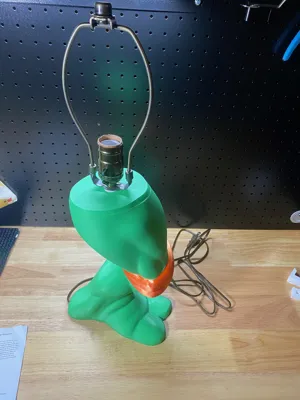
This uses a standard lamp kit with a 6" harp lamp shade holder.
- Urbanest Silk Bell Lamp Shade, 5-inch by 9-inch by 7-inch, Gold with Black Fringe, Spider-Fitter x 1:
- B&P Lamp® Antique Brass Finish Table Lamp Wiring Kit with a 6 Inch Harp and Push-Thru Socket x 1:
The Leg Lamp is 20" tall fully assembled.
Printing Tips:
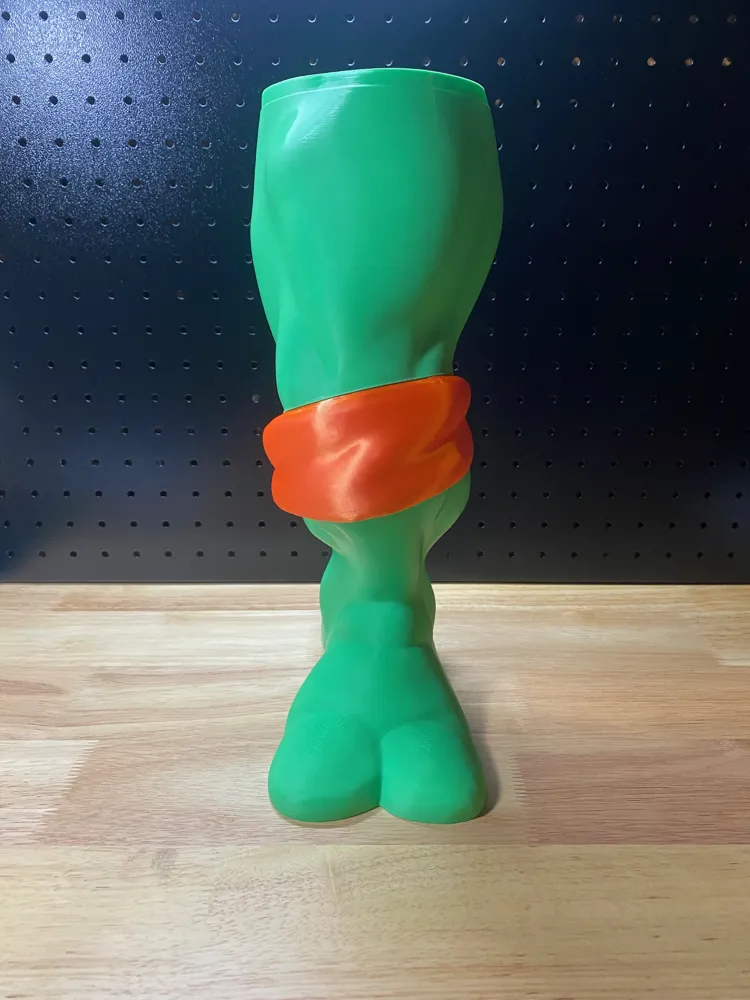
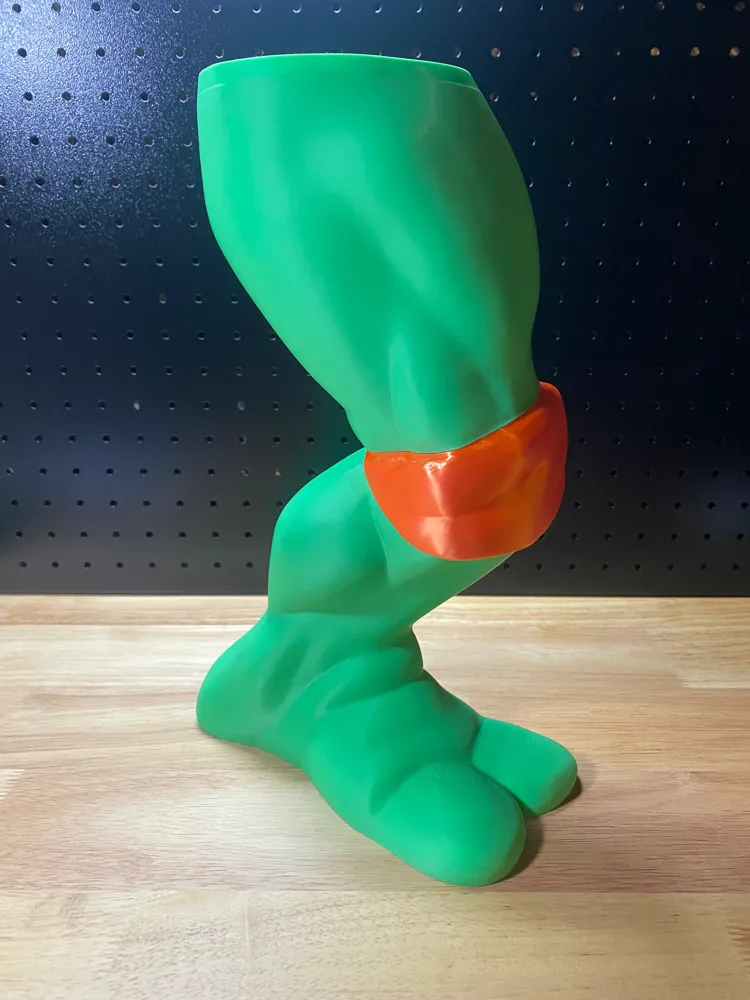
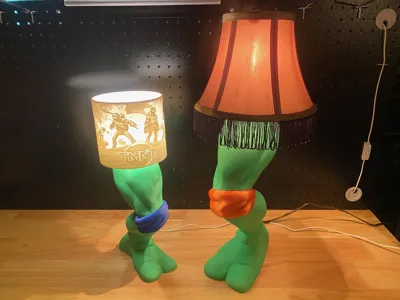
- I split this into top, knee and bottom parts to be able to print as separate colors.
- I left the holes for the lamp cord and Lamp threads as negative parts - this will allow you to scale the lamp up or down. Or in case you use a different size lamp kit wire than mine, you'll be able to adjust the negative parts to fit however you need to scale.
Assembly Steps:
First - Eat some PIZZA dudes!!!!

Then, insert Lamp cord into bottom of foot and pull out through the top connector
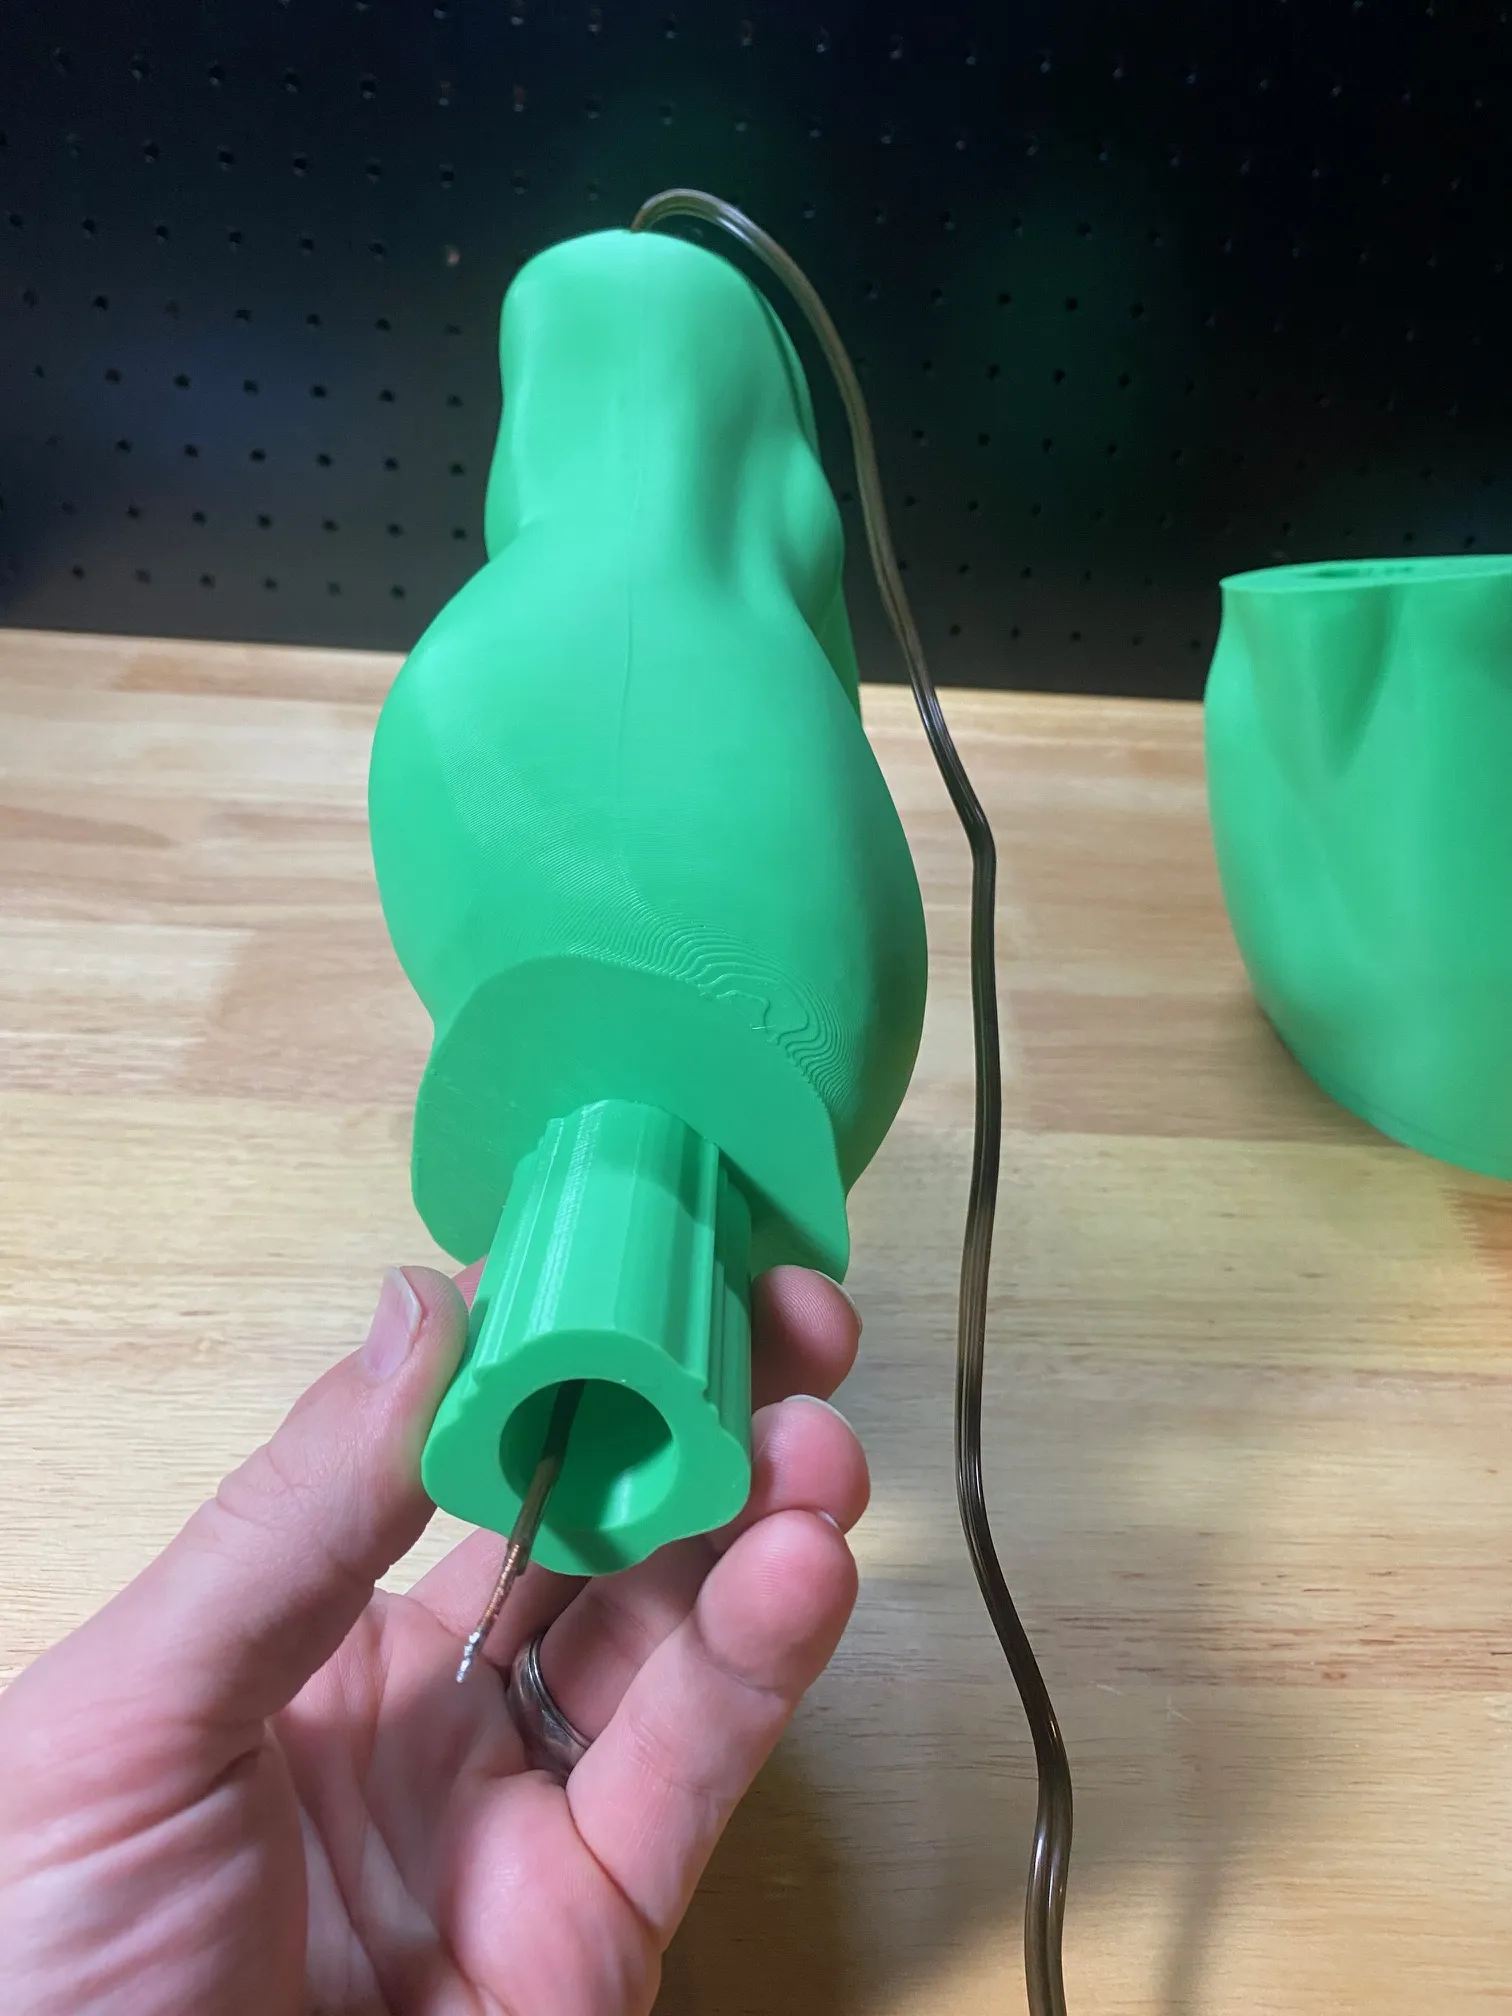
- Position Knee cap in place
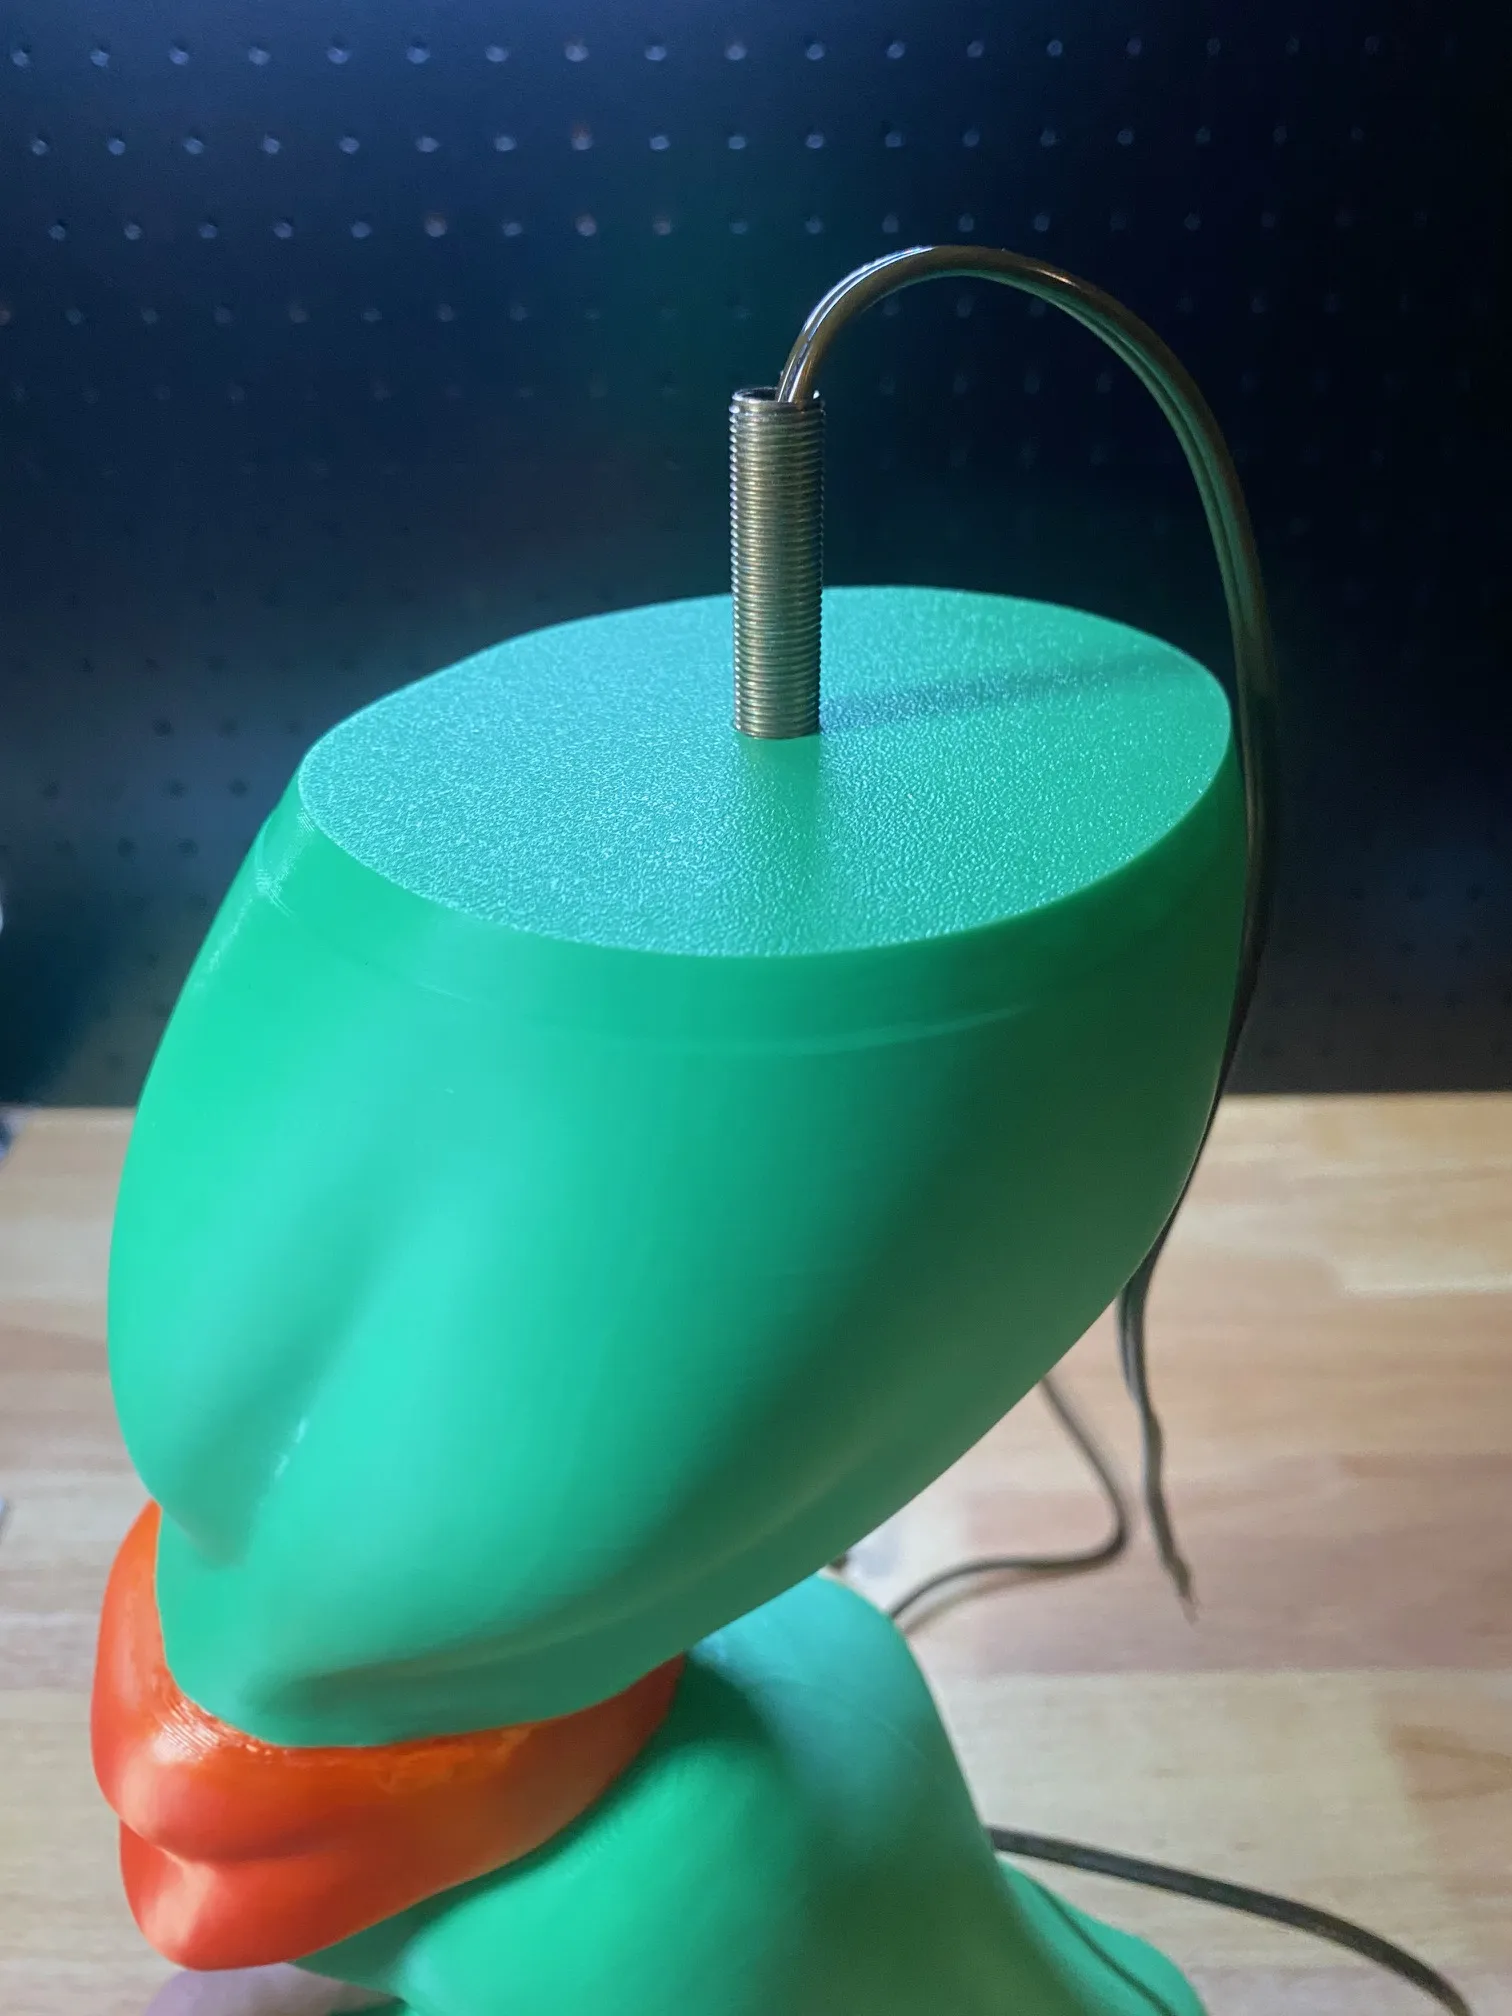
Push Lamp cord up through the top Leg, then slide the threaded Lamp connector onto the wire and thread into top of the lamp. (Thread the lamp connector about half way down)
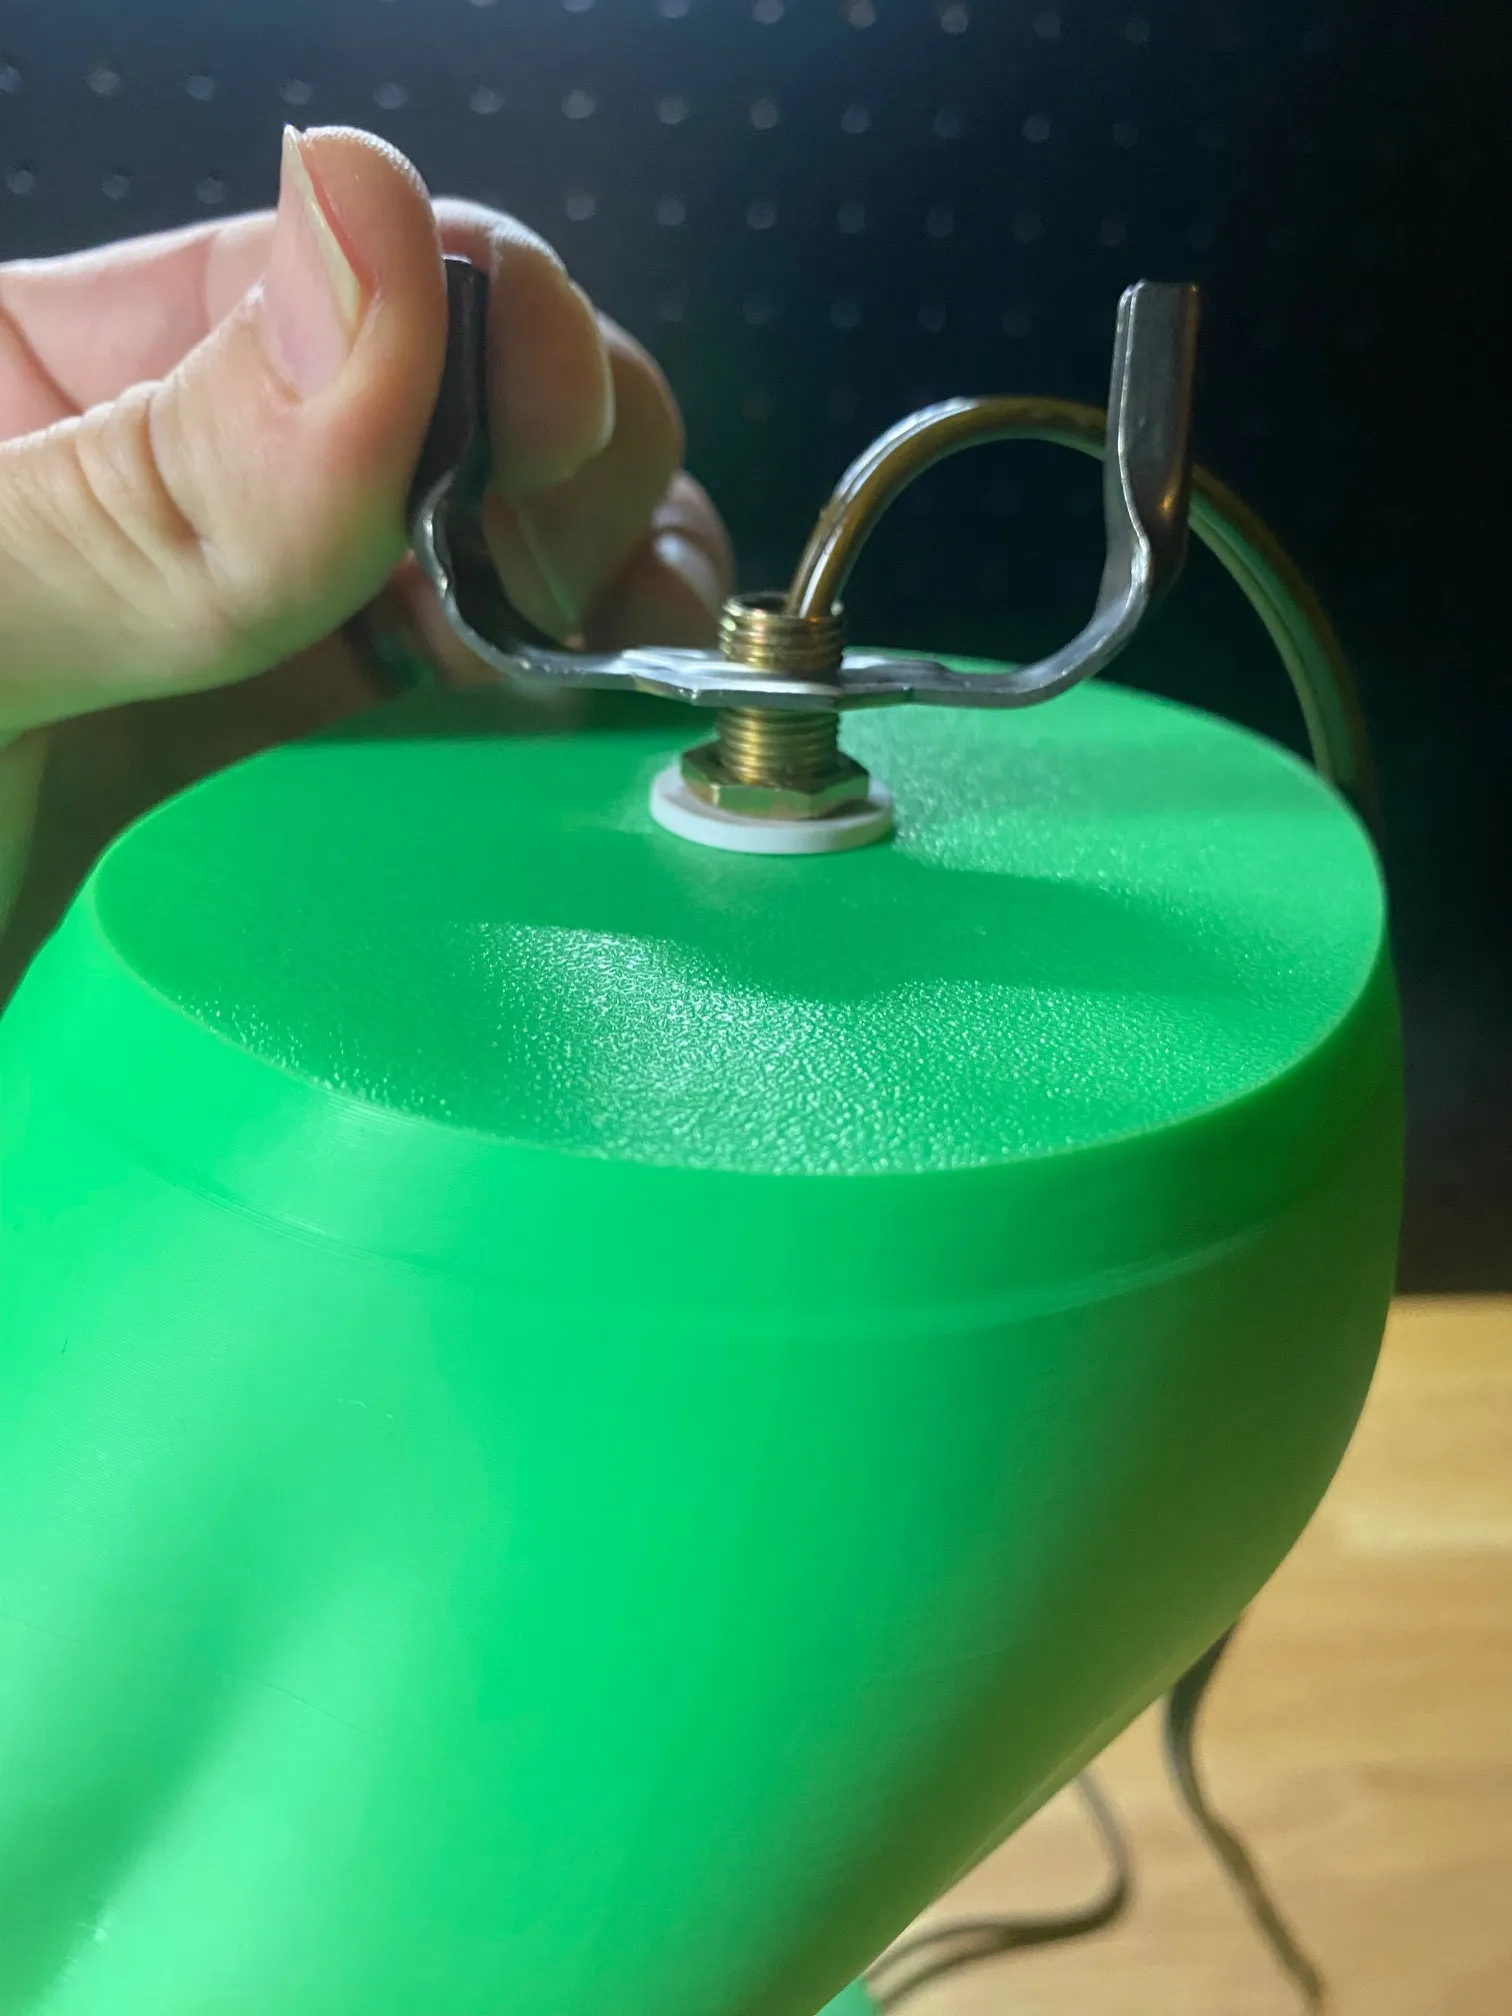
Attached Rubber gasket, then locking nut, then Lamp Shade Holder
Slide Bulb base on and tie the cord as shown(this protects the cord from getting pulled out):
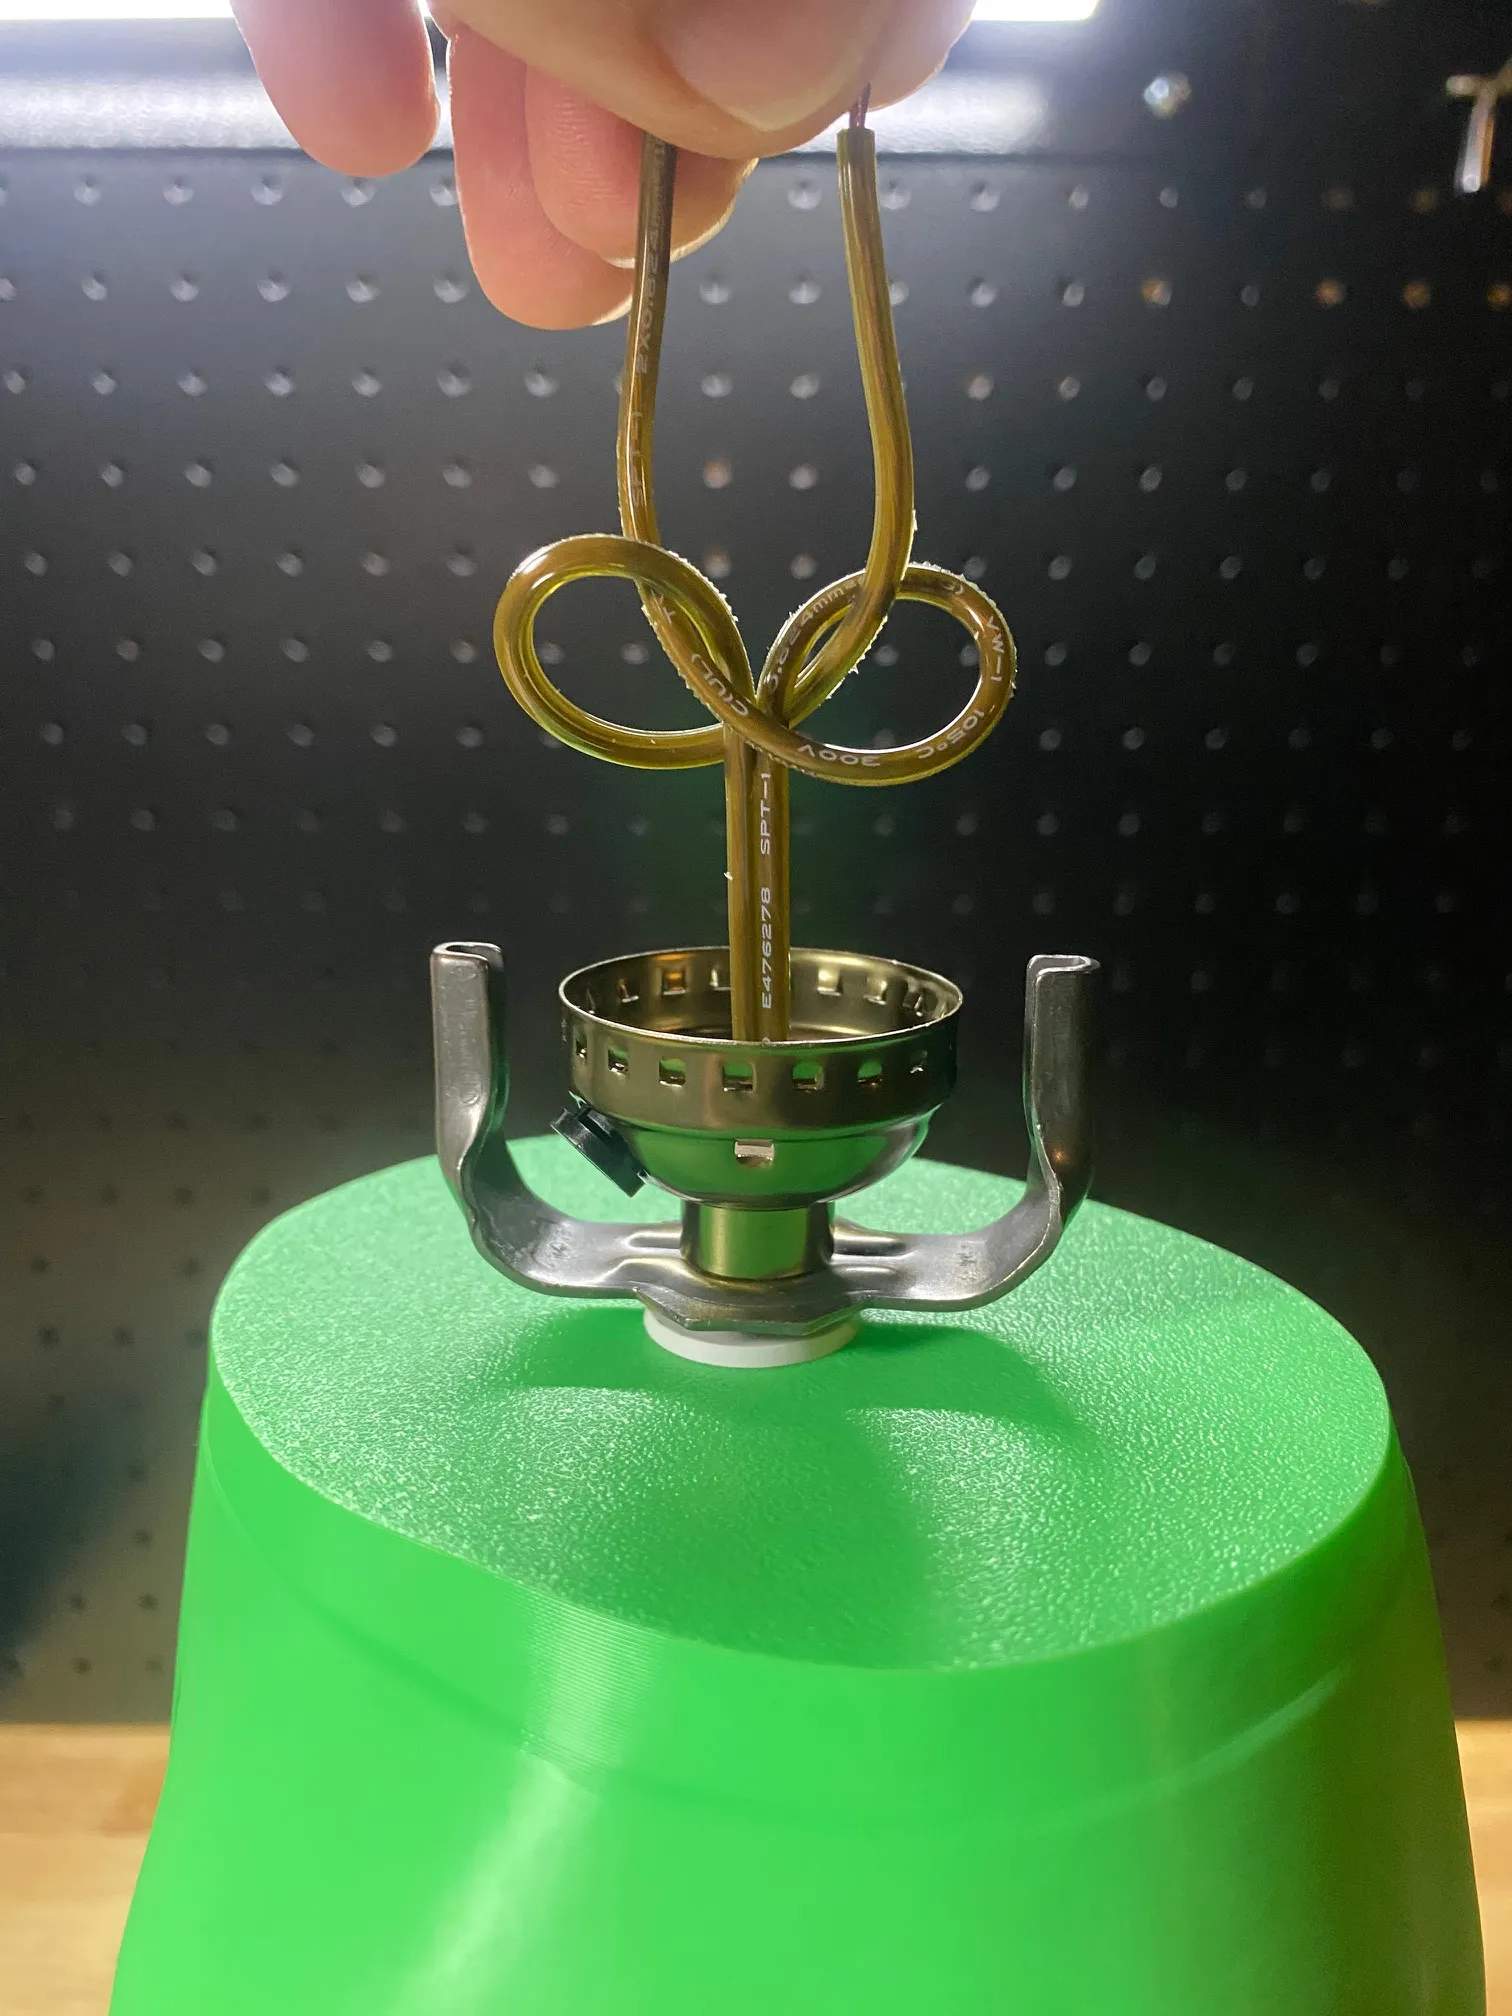
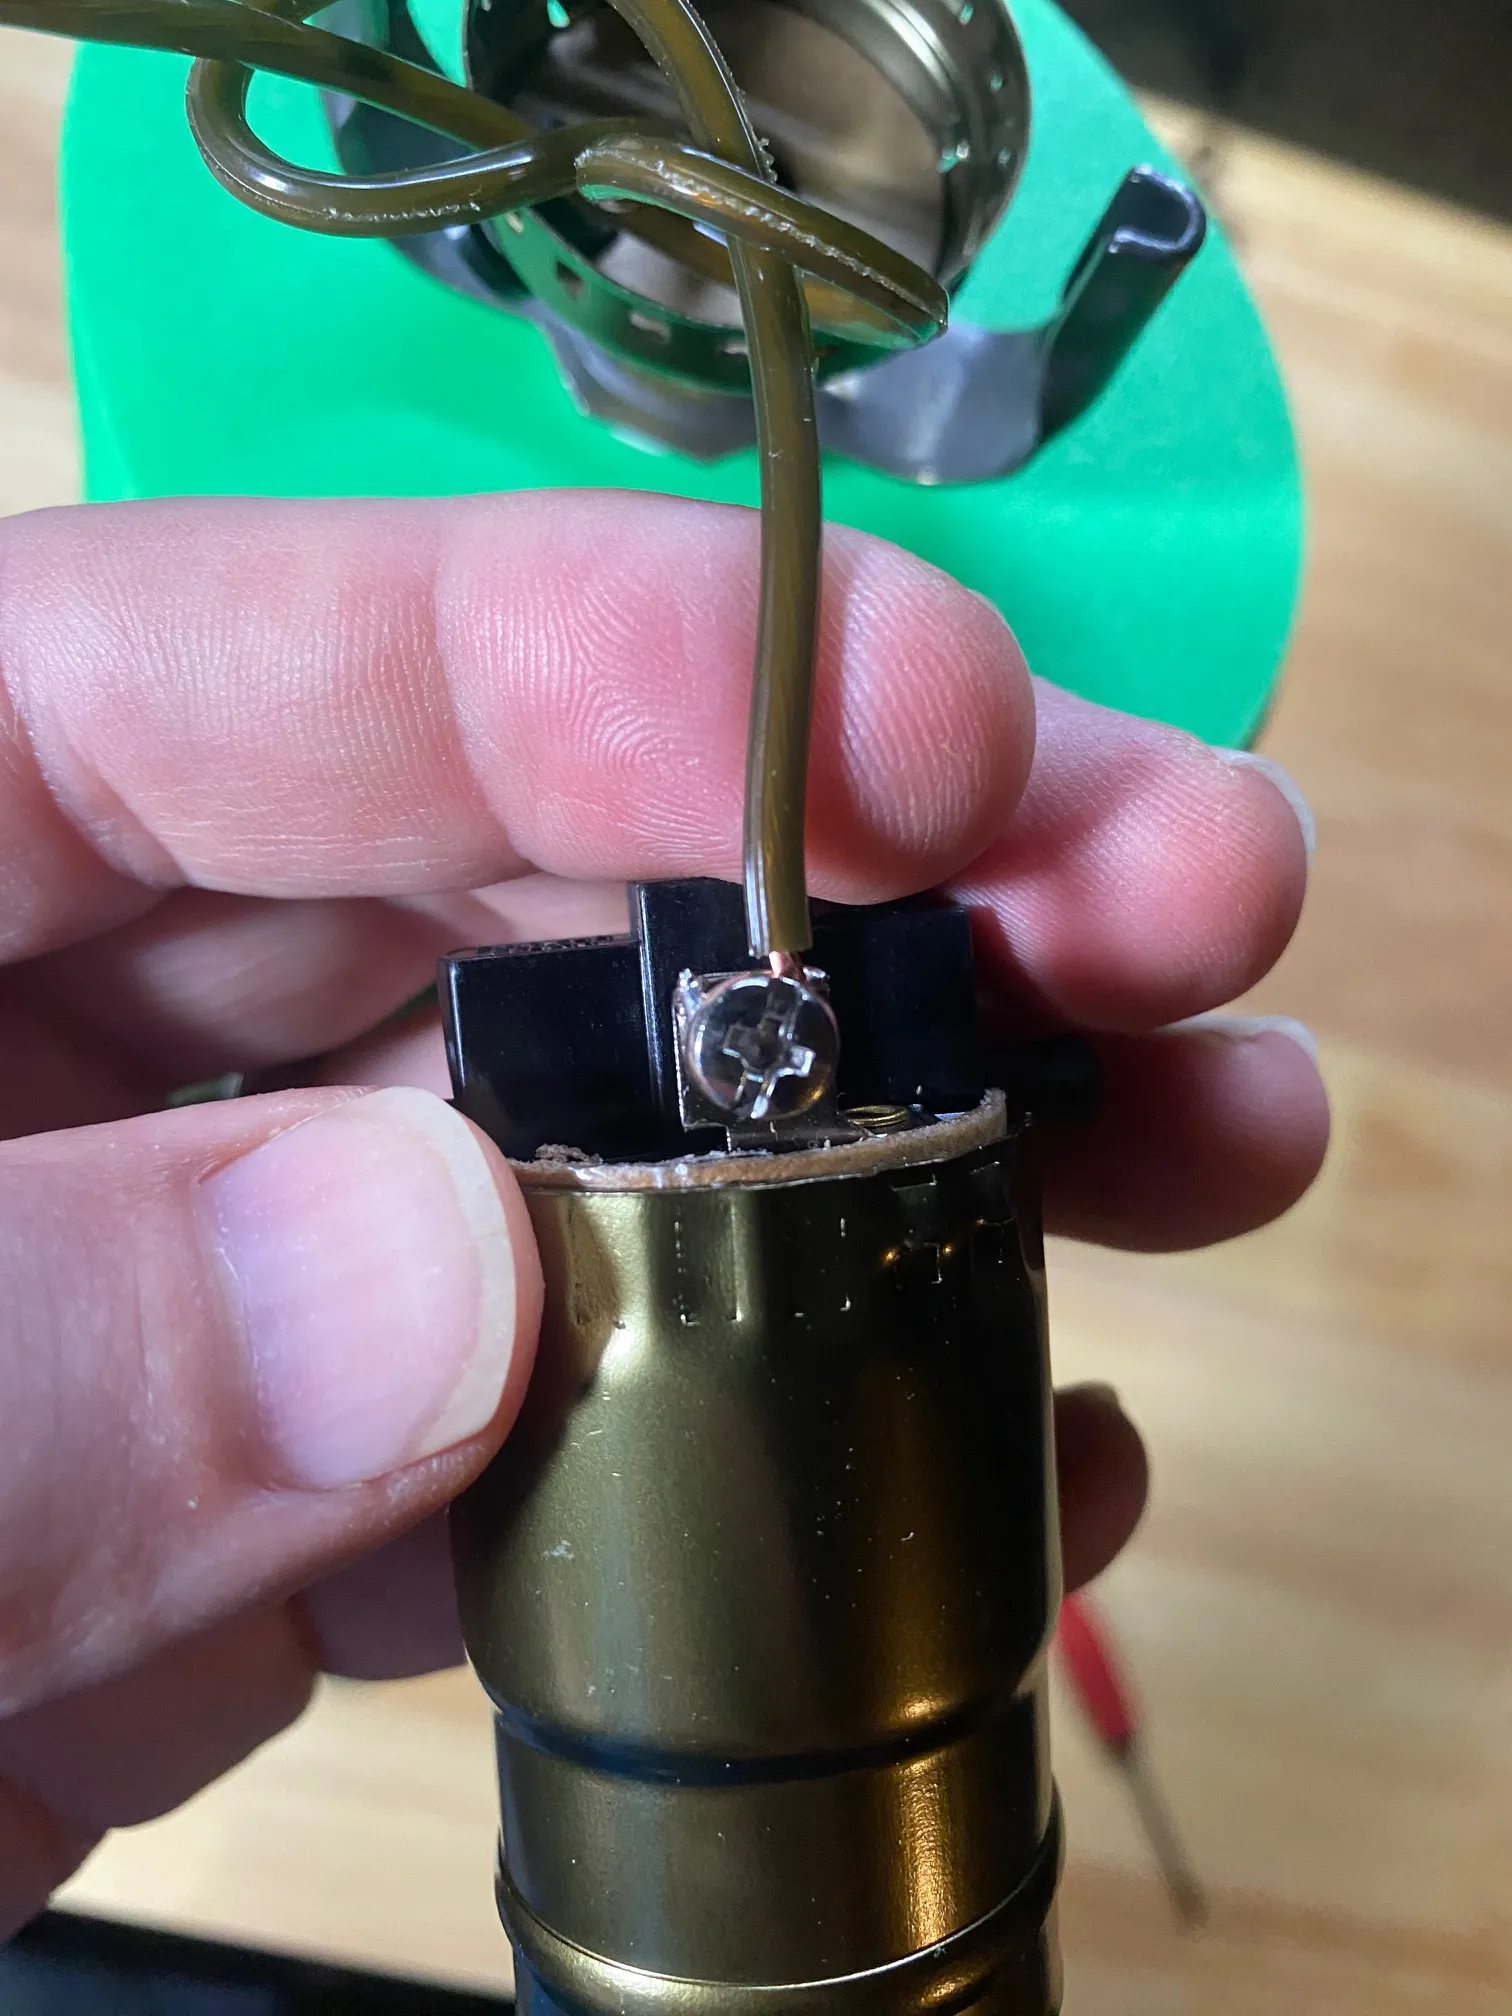
Connect the Ribbed cord to the Silver Screw of the light socket:
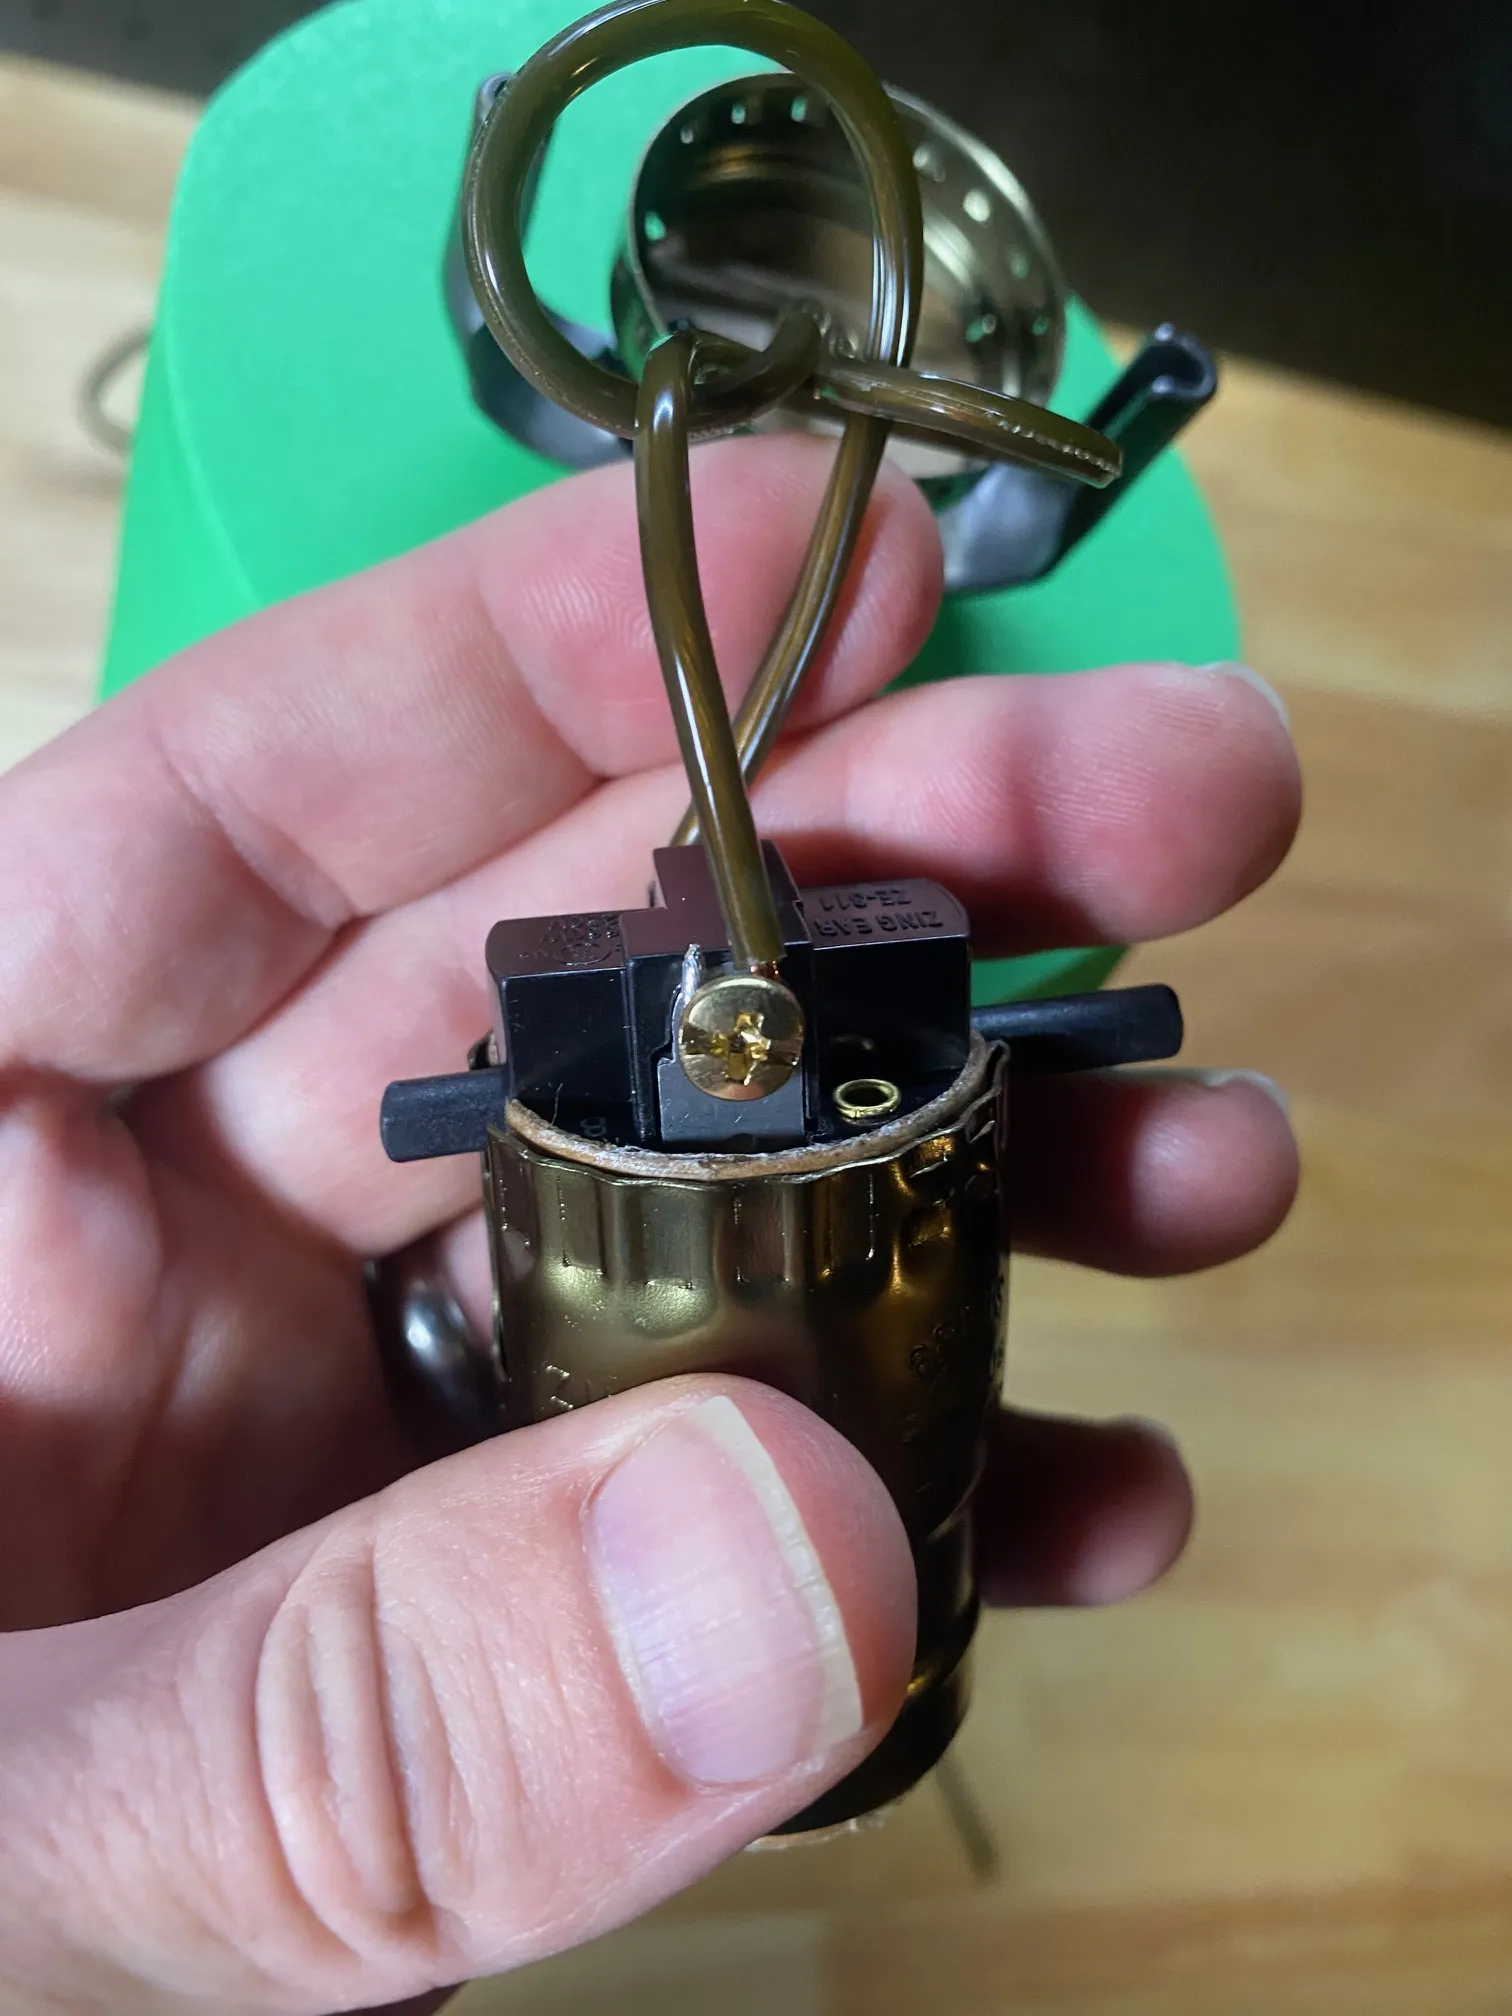
Connect the Smooth sided Cord to the Gold Screw:
Push excess cord back down into the lamp and firmly seat the socket into the lamp base:
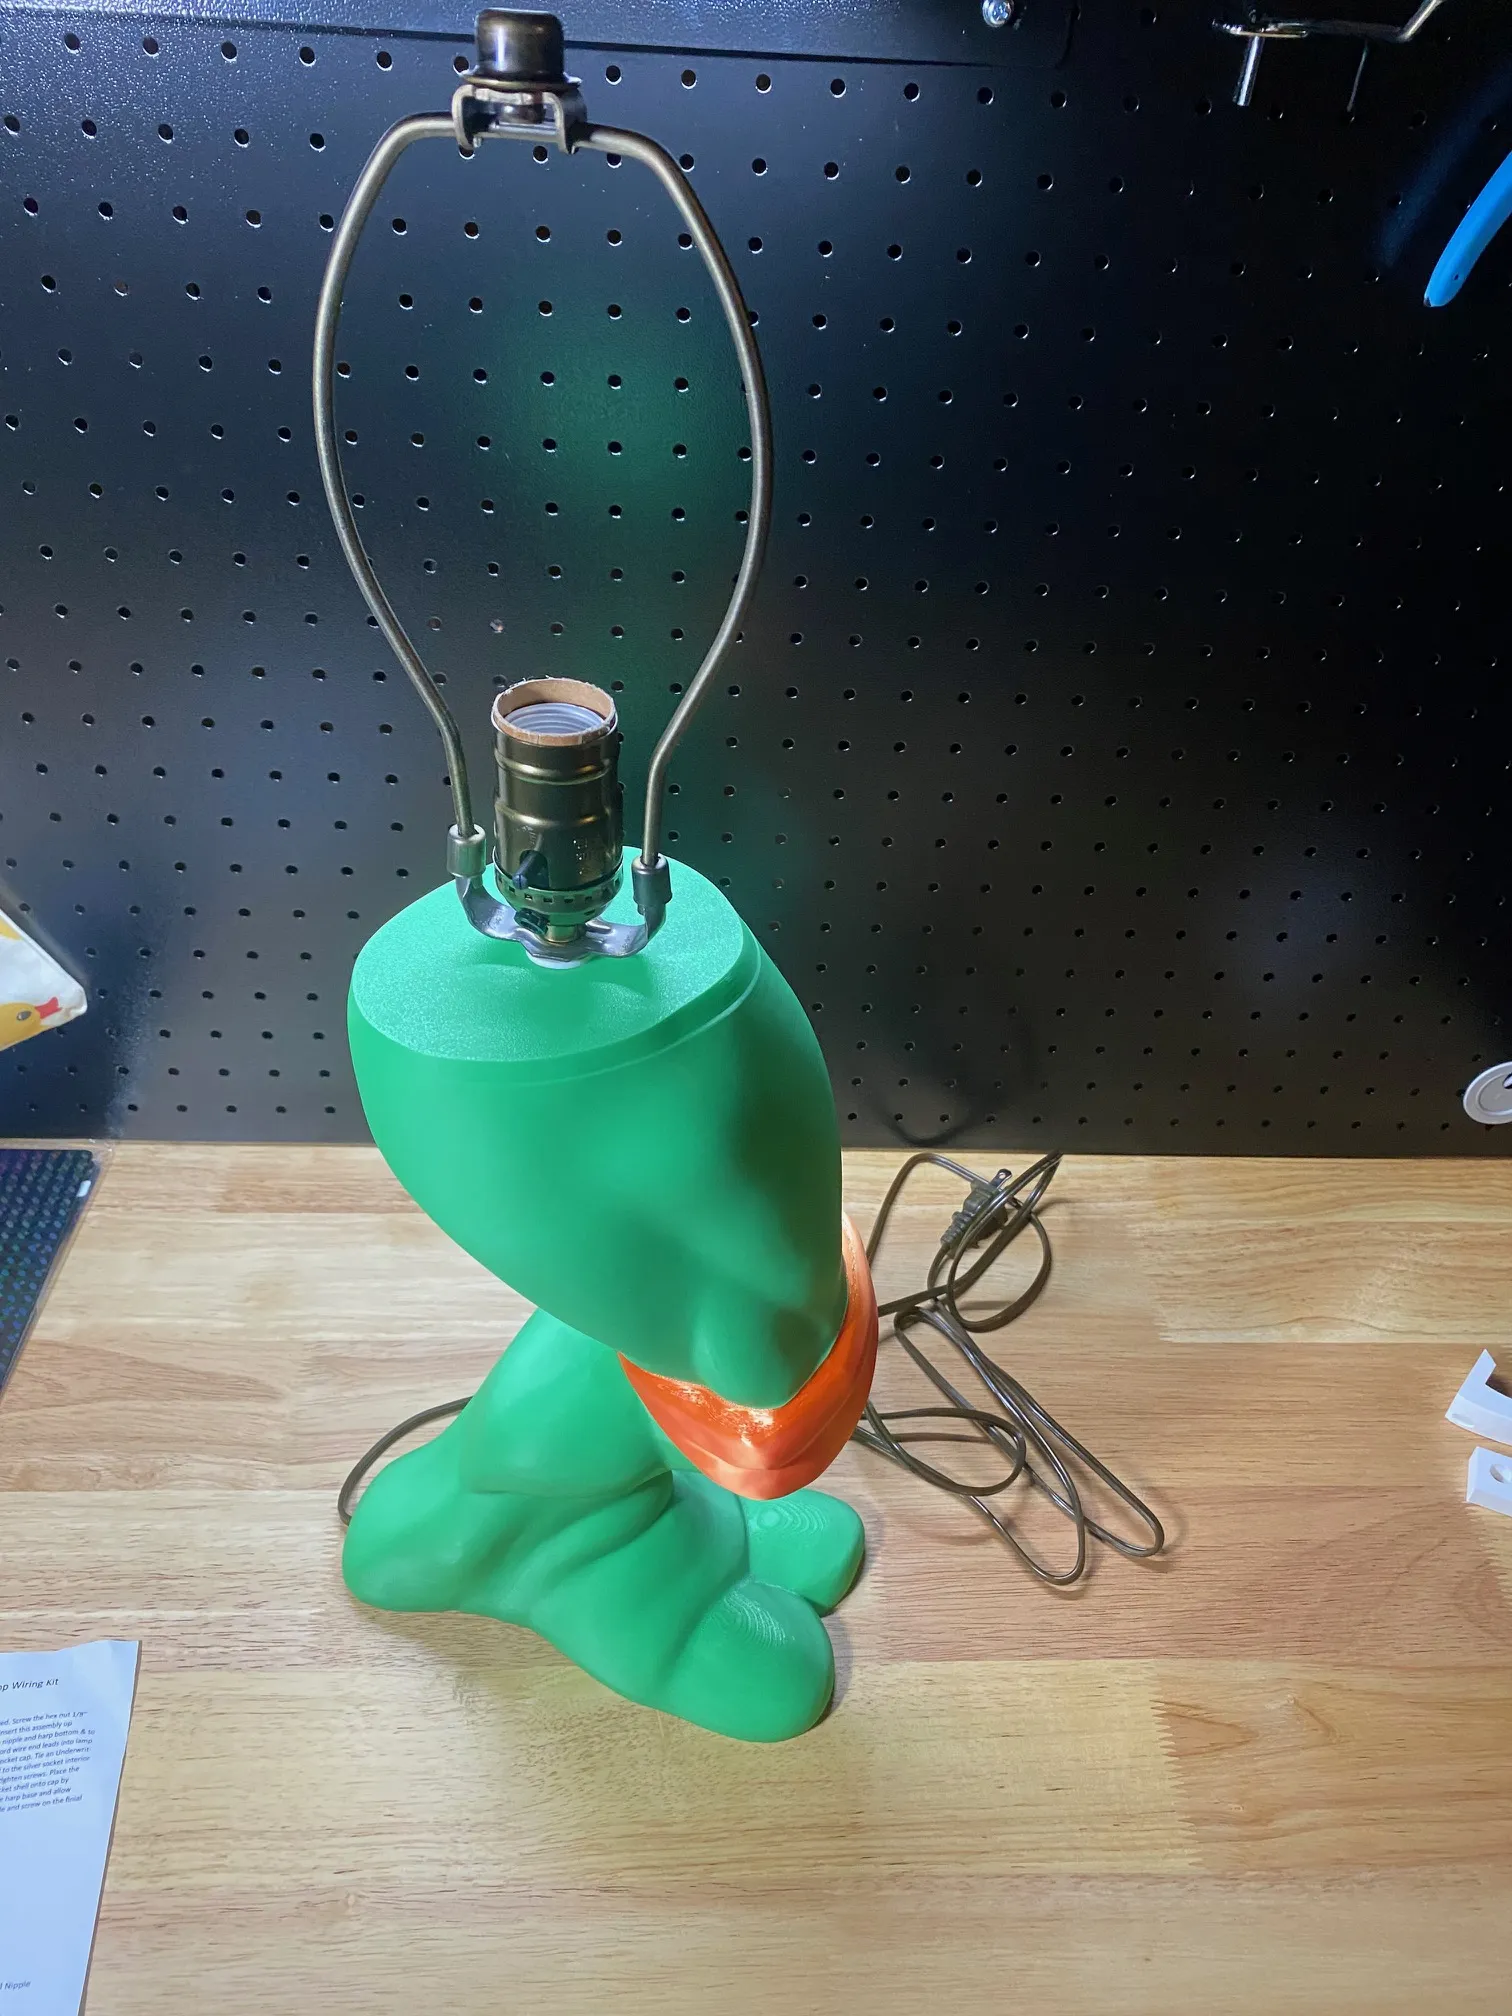
- Attach Lamp shade and get ready for the soft glow of electric s.. uh… COWABUNGA!
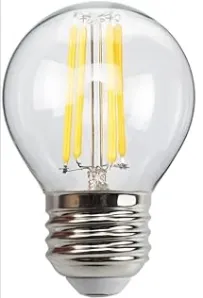
*Uses e26/27 bulb base but needs the short kind due to the 6" lamp shade holder:
Want a smaller version thats fully 3d printed? Check out the Mini!
https://makerworld.com/en/models/1340291-tmnt-mini-leg-lamp#profileId-1380679
Boost Me (for free)
Cowabunga dude! I'm running out of pizza - how about a boost?!
License

You shall not share, sub-license, sell, rent, host, transfer, or distribute in any way the digital or 3D printed versions of this object, nor any other derivative work of this object in its digital or physical format (including - but not limited to - remixes of this object, and hosting on other digital platforms). The objects may not be used without permission in any way whatsoever in which you charge money, or collect fees.


Comment & Rating (111)