
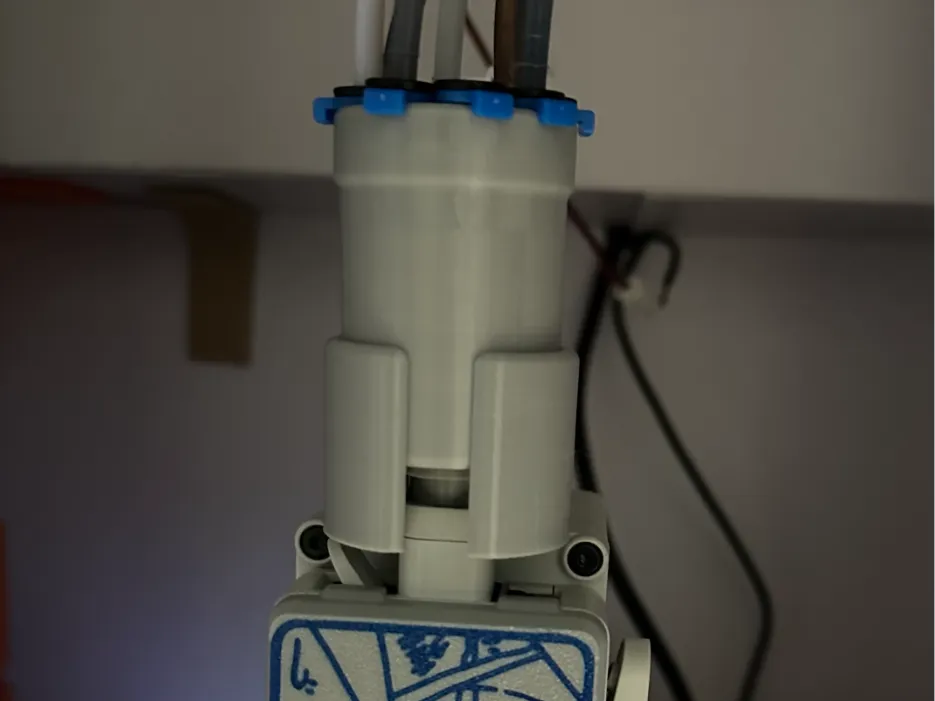
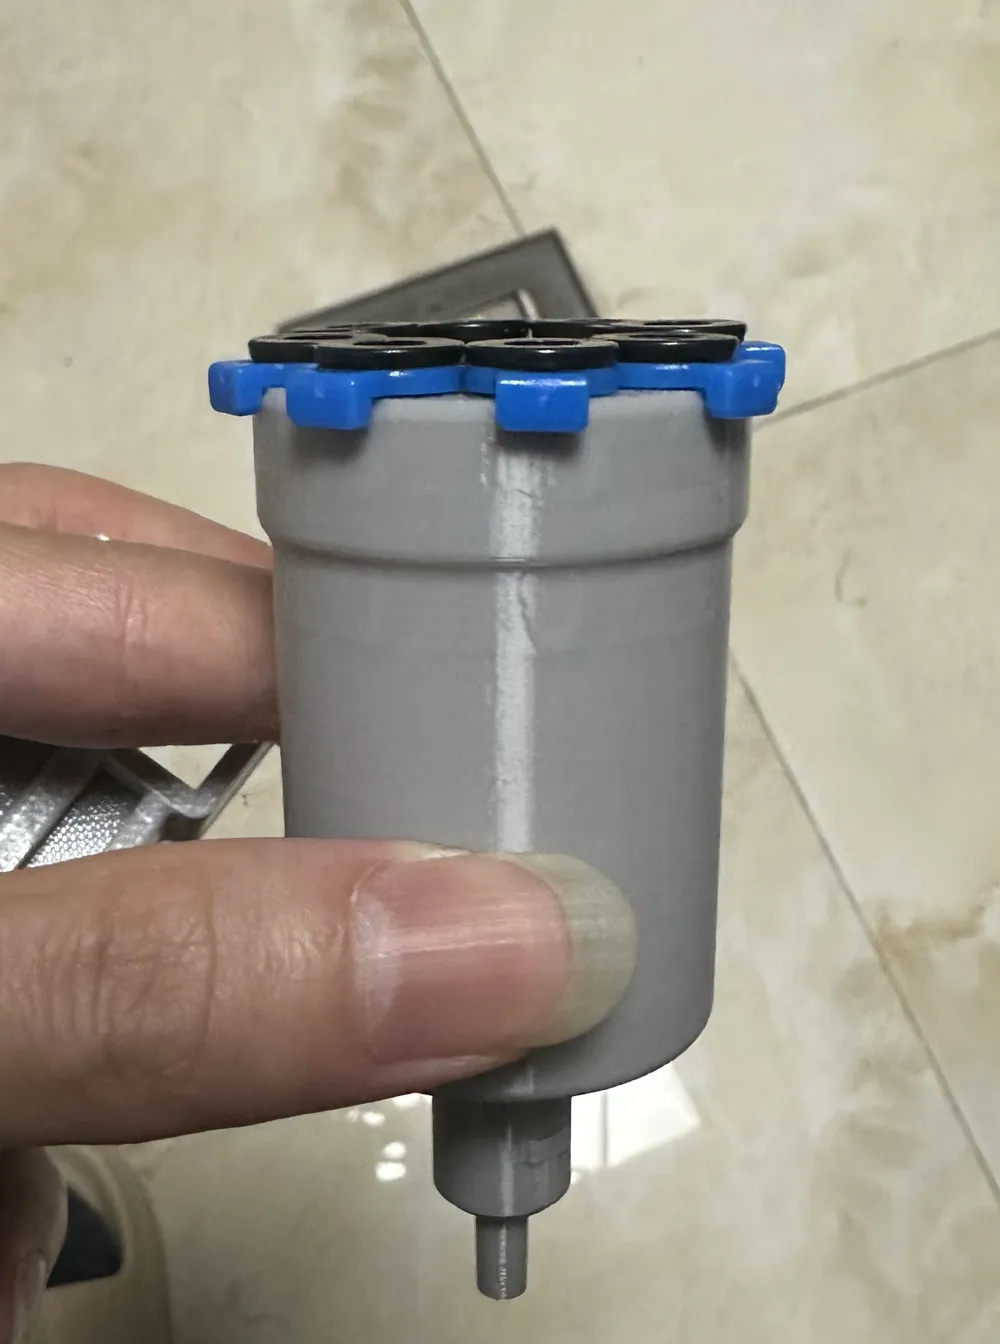
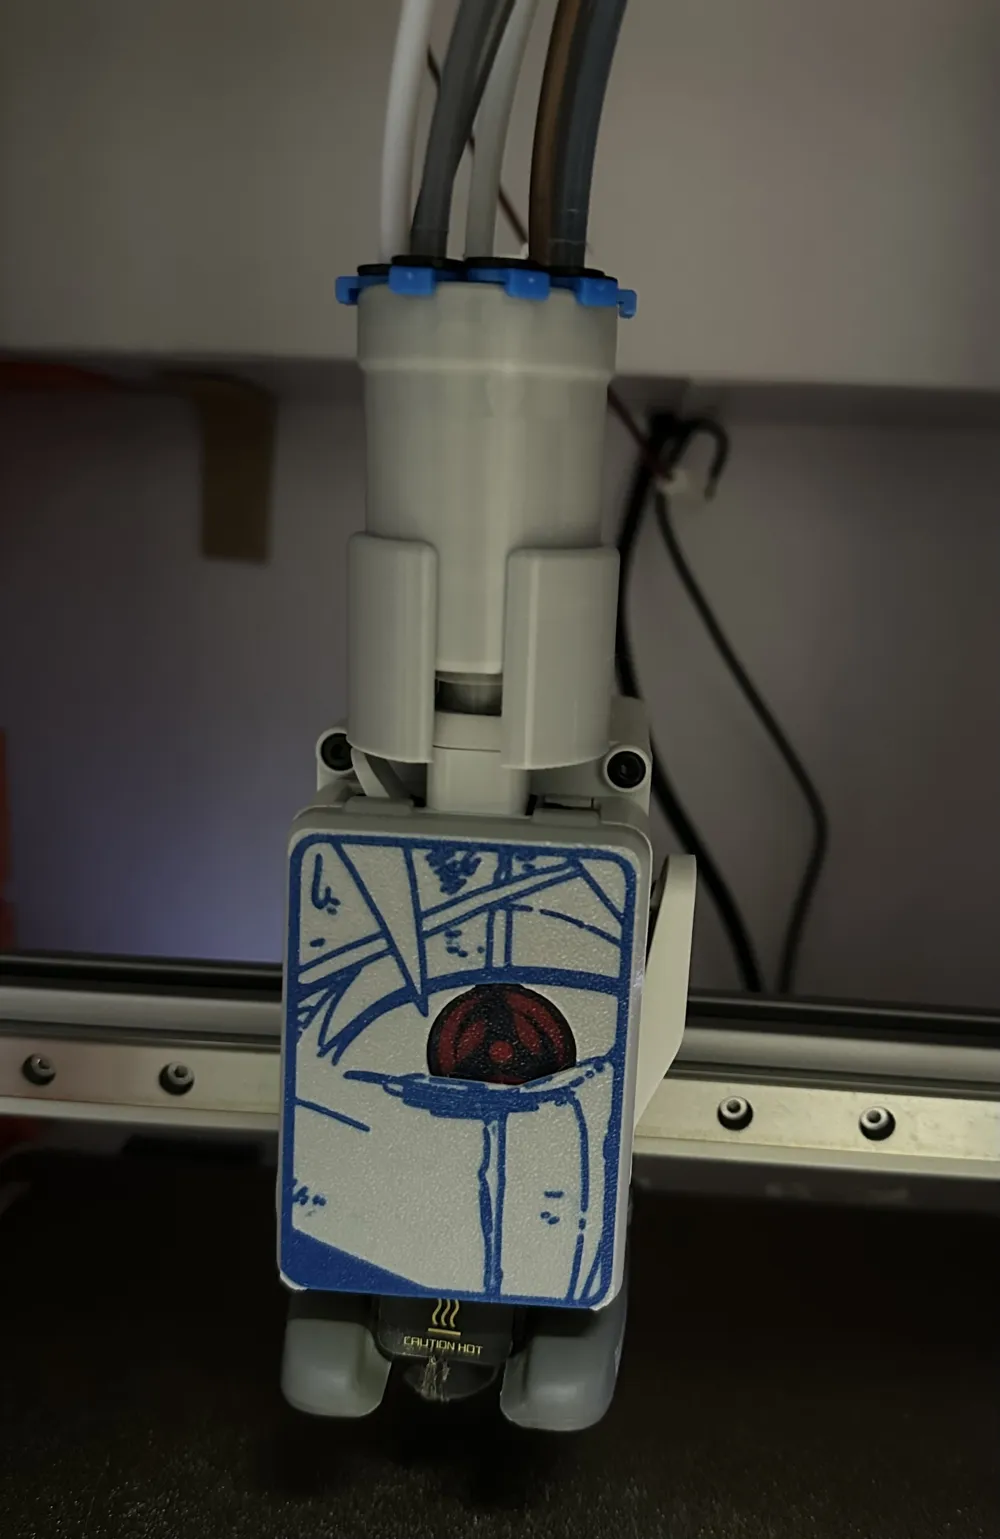
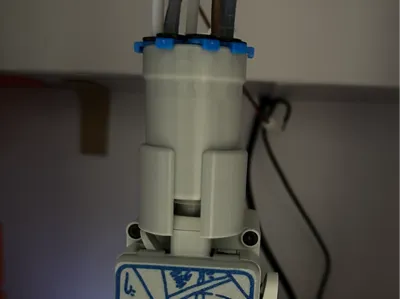
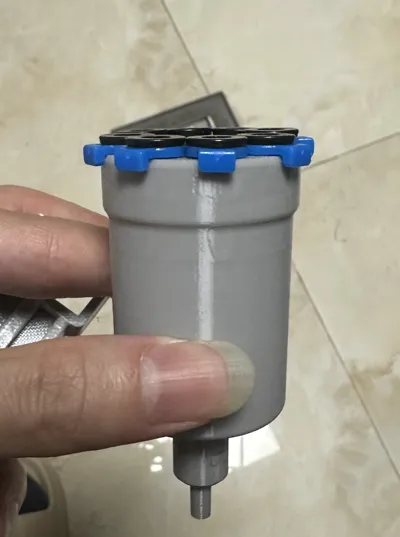
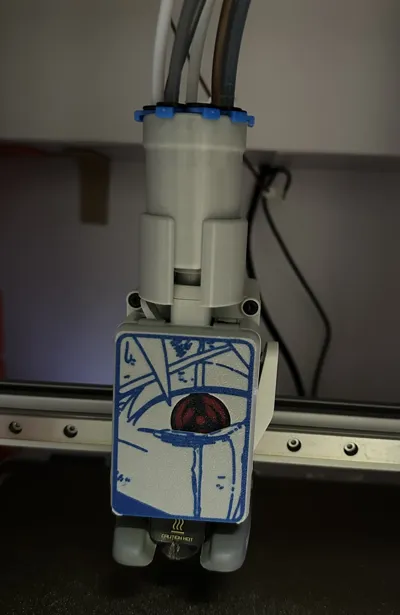
A1 8-way feeder
Print Profile(3)


Description
5/31 Update
Added a 10-way profile to accommodate 9 feeds
If you need to retain the Hall sensor, check out this model: A1 10-Way Feeder (Hall Sensor Version) from jianxuesheng2009 MakerWorld: Free Download 3D Models
4/26 Update
Improved bracket, added a buckle for reinforcement
Boost Me (for free)
If it's helpful to you, please support me, thank you!!
===========
Background:
To meet the needs of both AMSlite and manual feed, or even dual AMSlite, the original feeder only has 4 paths, which is too few, so I needed to make a multi-way feeder myself
Previously, there were two versions of the feeder expansion solution
A1 6+5 Way Feeder from jianxuesheng2009 - MakerWorld
Bambu Lab 8-Way Feeder from jianxuesheng2009 - MakerWorld
Both use pneumatic connector solutions. Both are compromise solutions
Introduction
This time, I personally think it's a more perfect solution
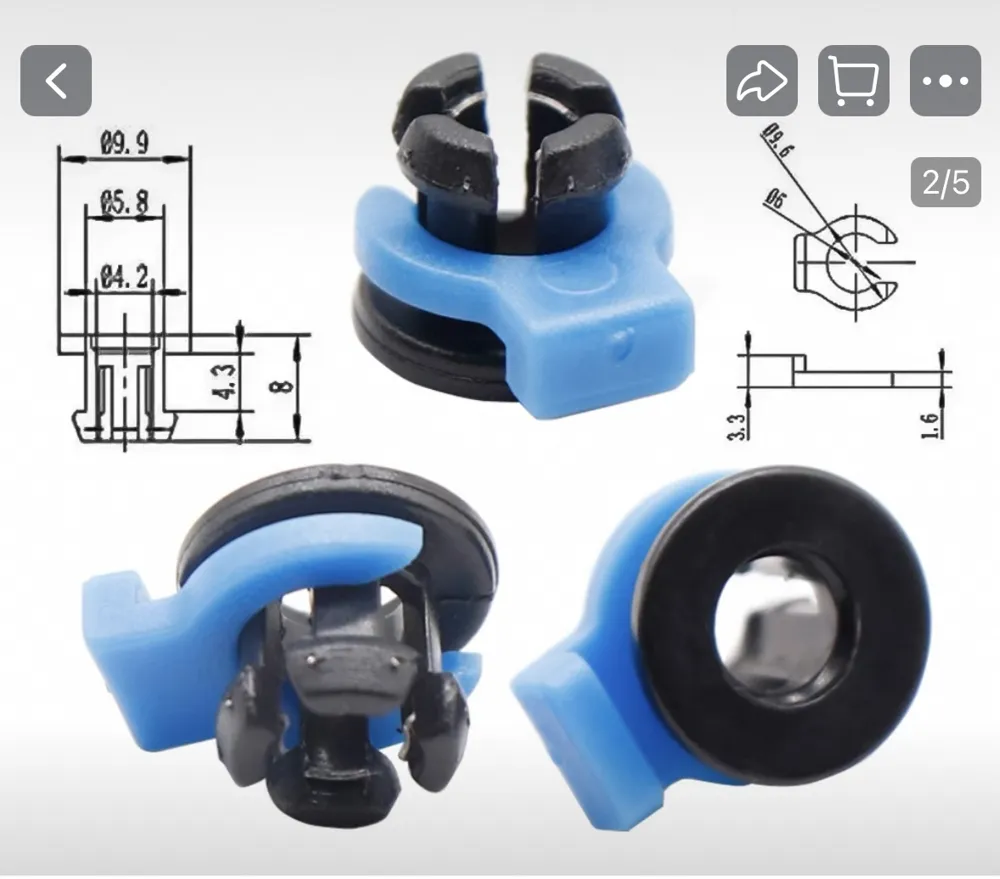
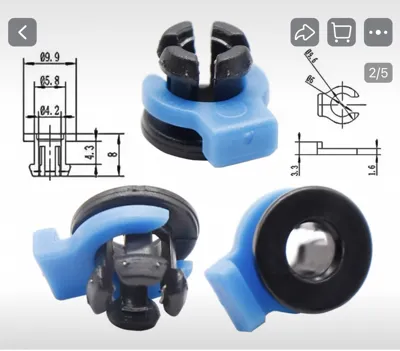
- Uses Bowden clamp solution, completely solves the weight issue. The volume can also be reduced to some extent
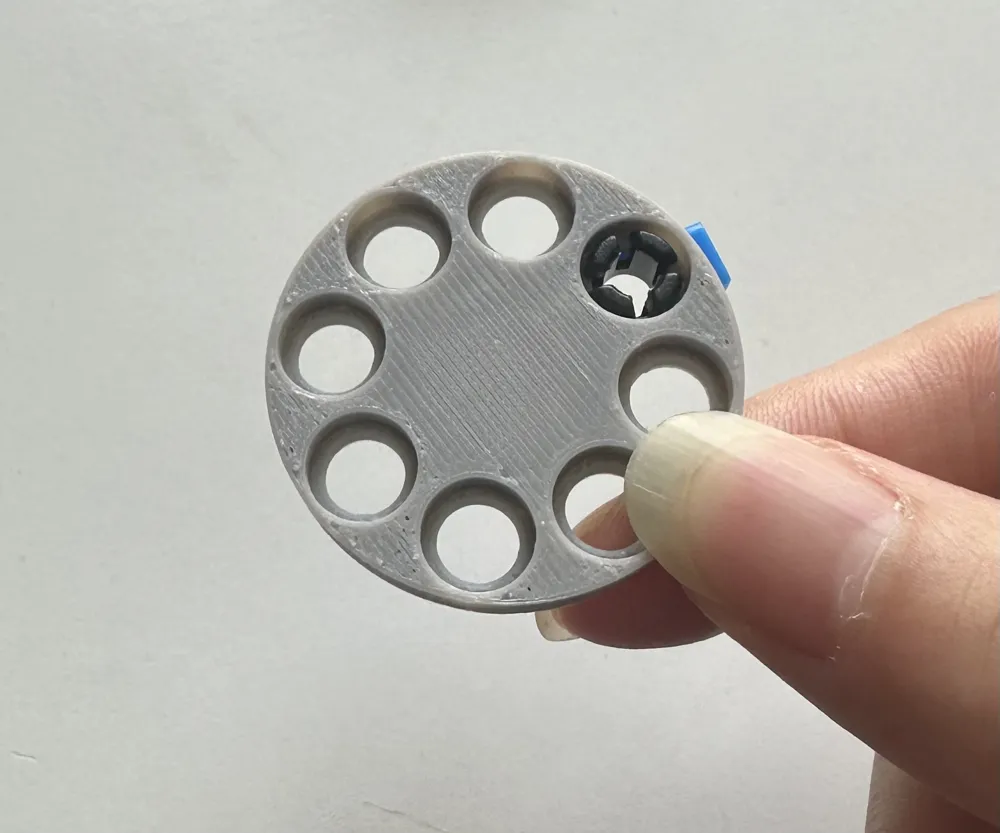
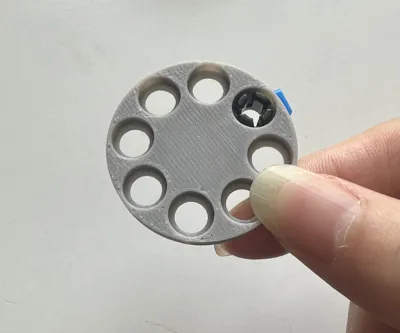
- The feeder is expanded to 8 ports to accommodate two AMSlite units at once
Printing and Installation Steps
Testing
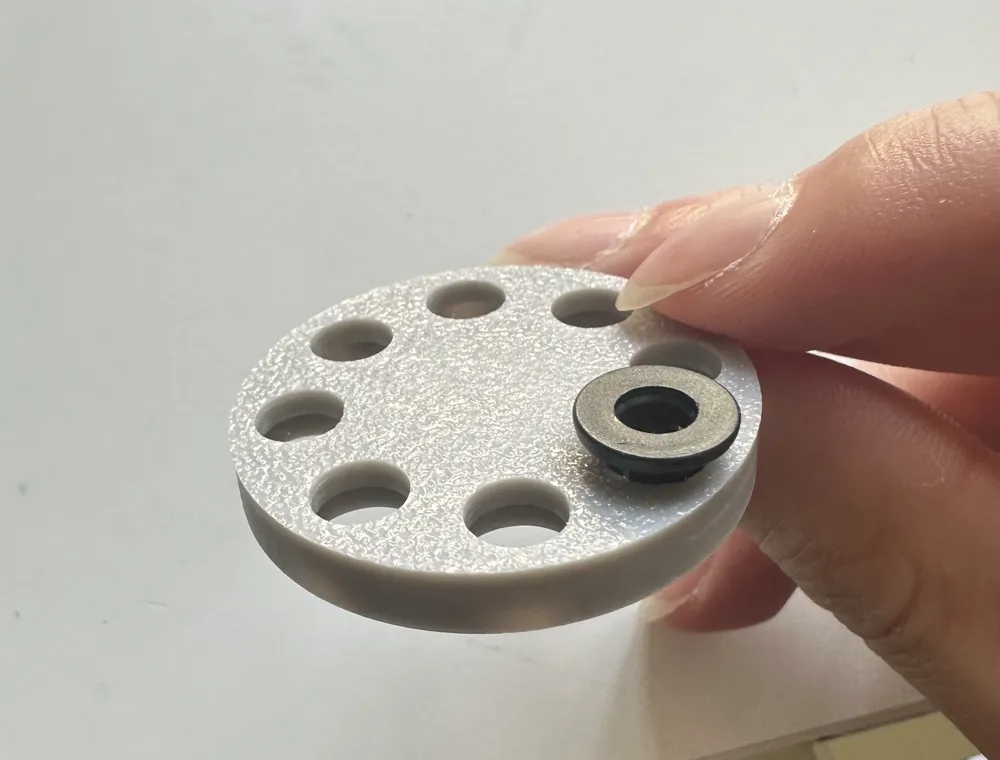
- First, print the test model. Different materials and printers may have tolerances. The test part prints faster, allowing you to quickly determine if scaling up or down is needed before reprinting
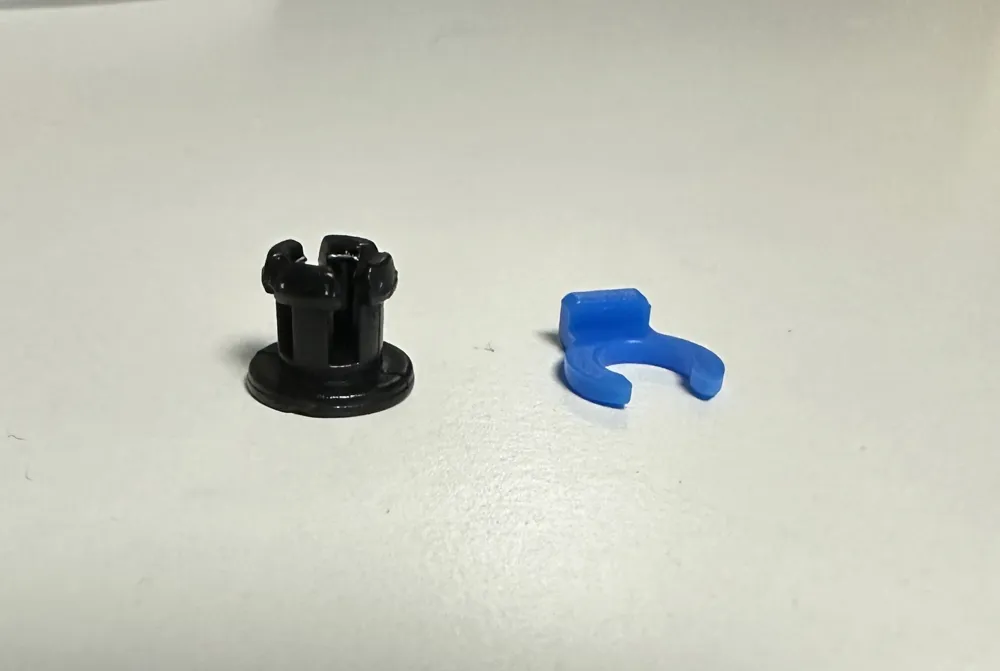
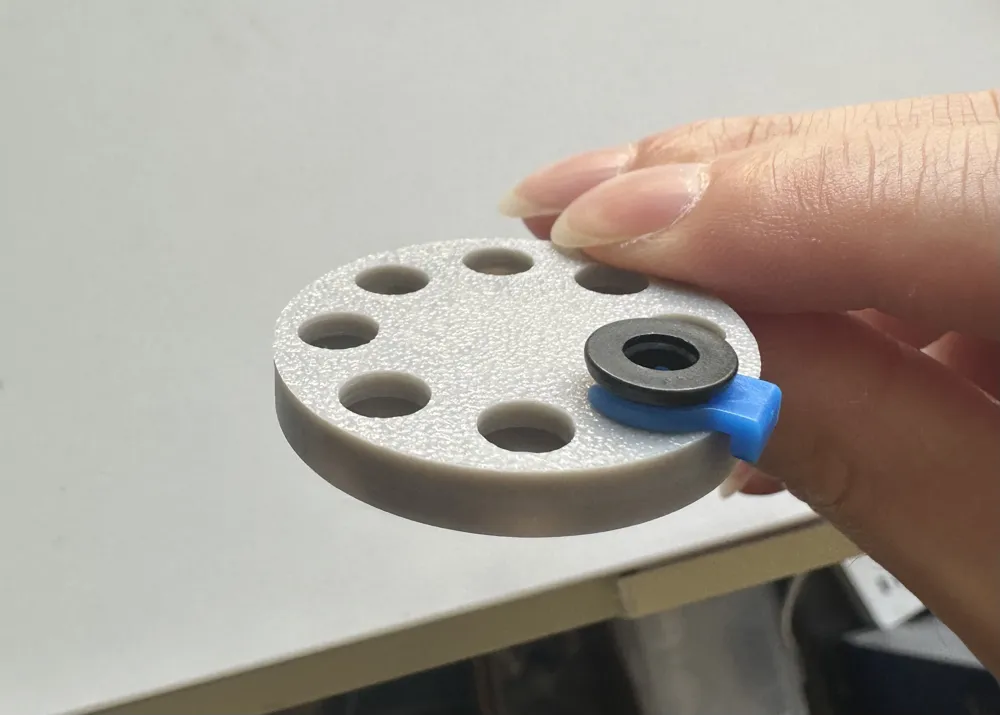
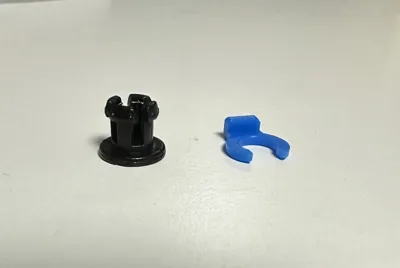
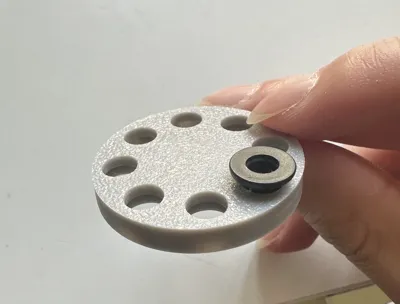
- Snap the Bowden collet into the test piece, try moving it back and forth. It's best if it moves just right. Not too loose or too tight
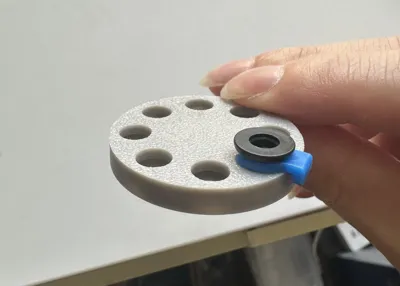
- Insert the blue retaining clip
- Insert the PTFE tube. At this point, the PTFE tube should be locked. Remove the blue retaining clip, press the Bowden collet, and the PTFE tube should be easily removed
Installation
- Complete the Bowden collet installation for the feeder
- Remove the official feeder; you can check the official wiki
- Install the bracket first
- Install the feeder
- Insert the PTFE tube
Notes
- Make sure to install the bracket first. If you install the feeder first, the bracket cannot be installed
- The feeder is relatively fragile and easy to break; be careful during installation. Once installed, you don't need to worry
- See figures for other details
If you have any questions, please leave a comment. I will continue to improve it
License

You shall not share, sub-license, sell, rent, host, transfer, or distribute in any way the digital or 3D printed versions of this object, nor any other derivative work of this object in its digital or physical format (including - but not limited to - remixes of this object, and hosting on other digital platforms). The objects may not be used without permission in any way whatsoever in which you charge money, or collect fees.


Comment & Rating (7)