
Drum Mic Tube Mount
Print Profile(1)

Description
Hello! This is my first contribution to the community and I hope you find it as useful as I do.
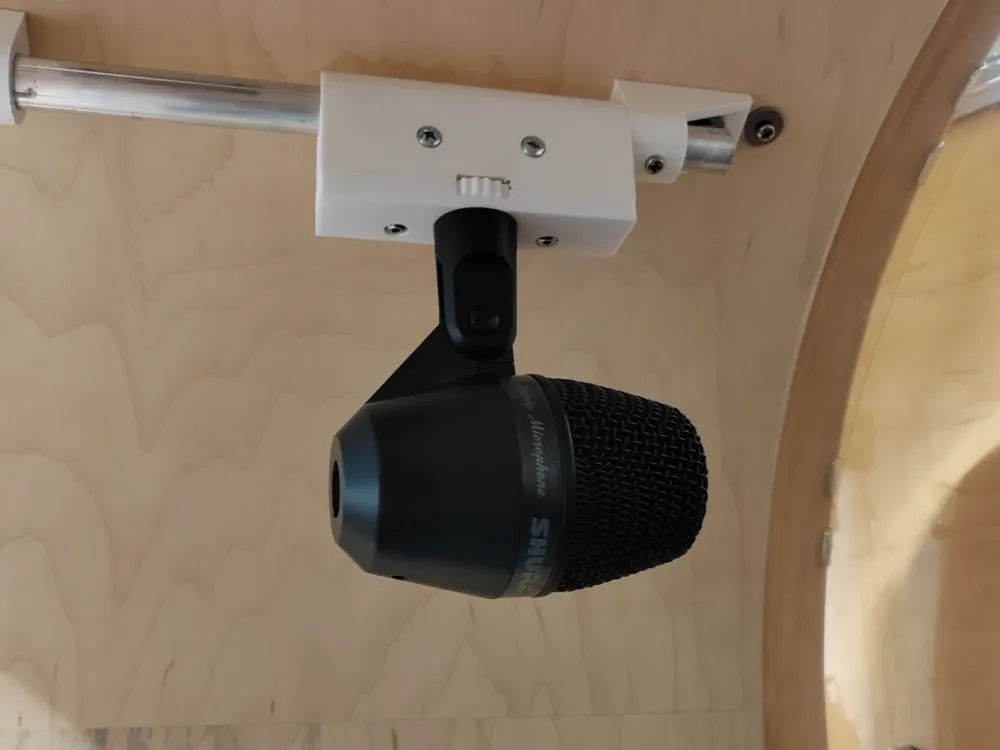
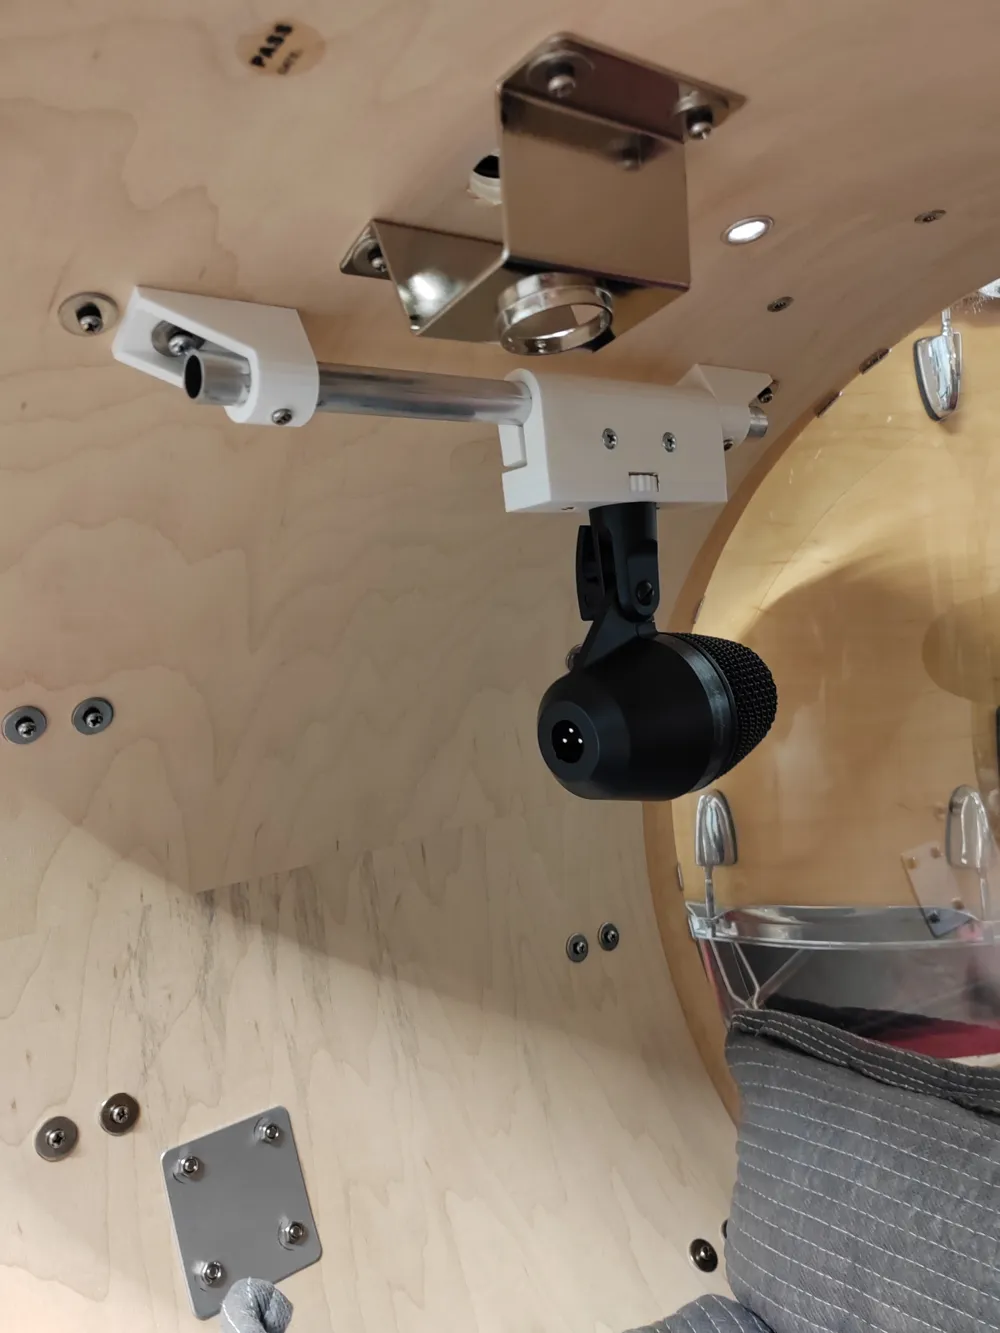
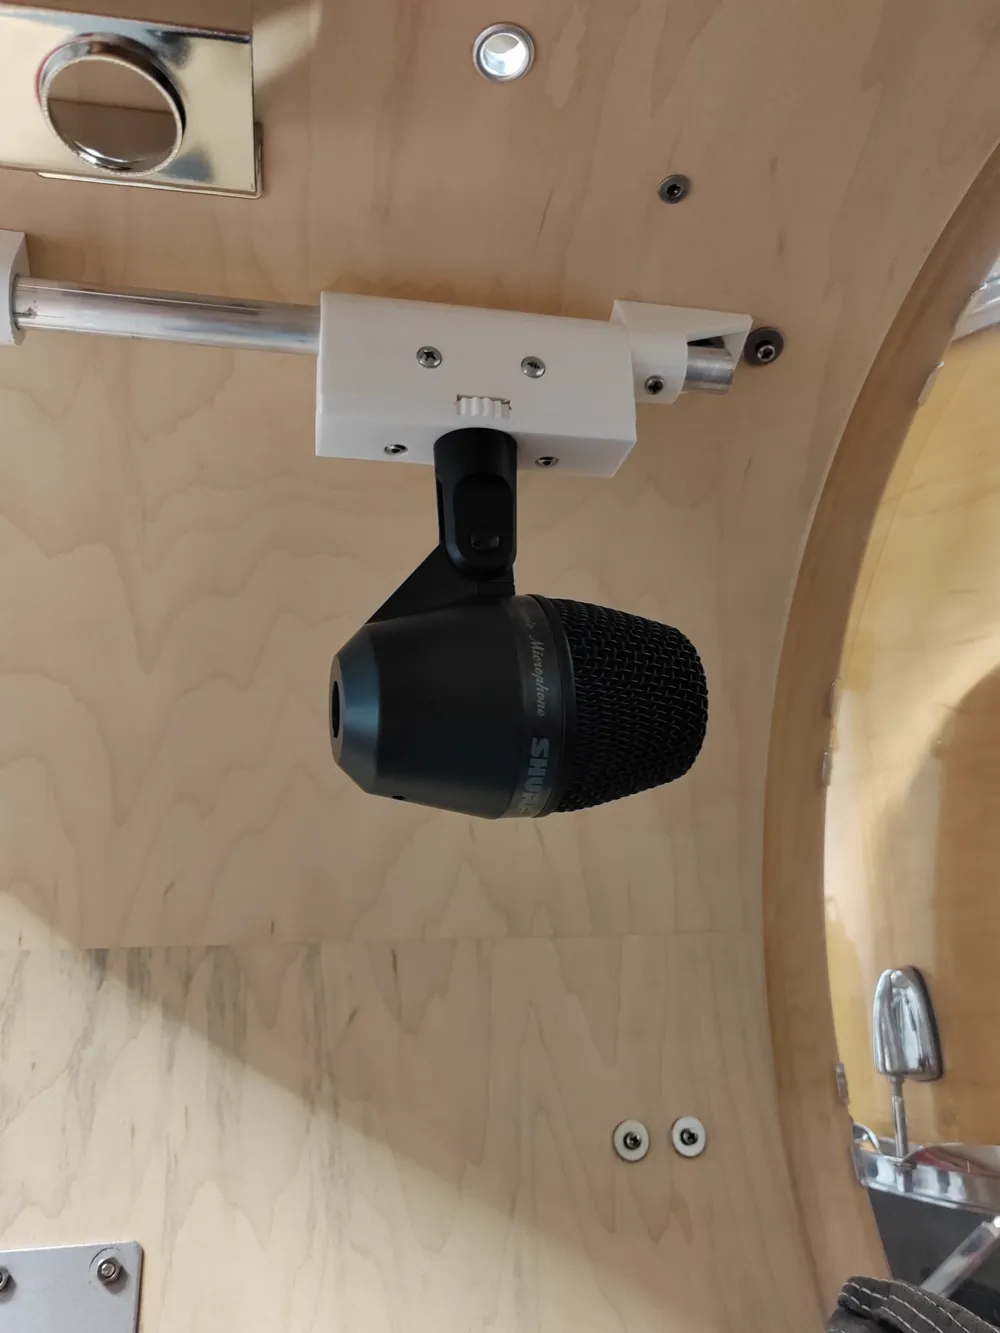
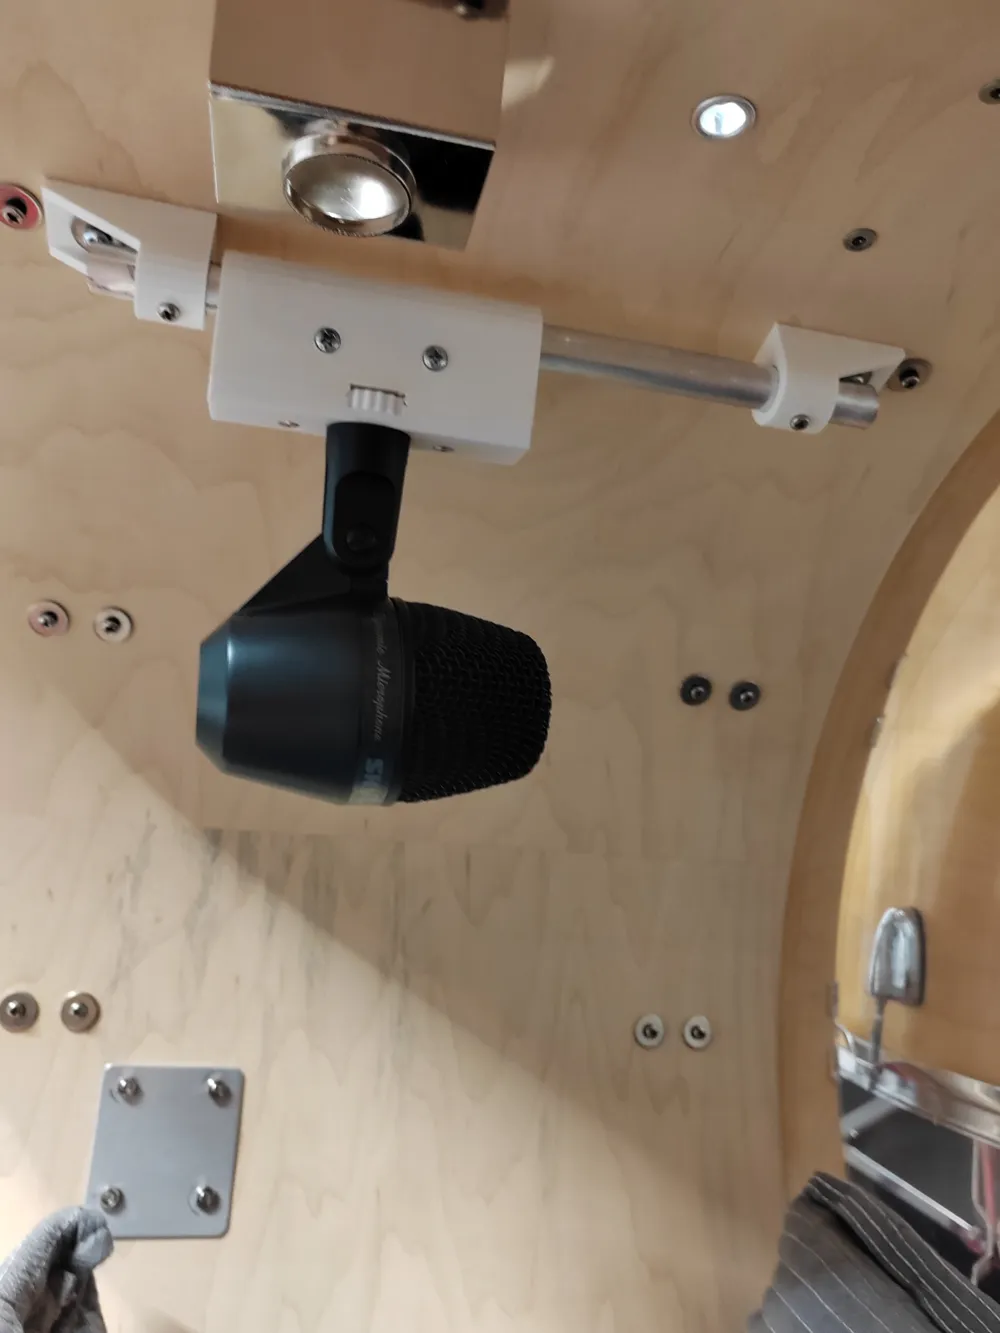
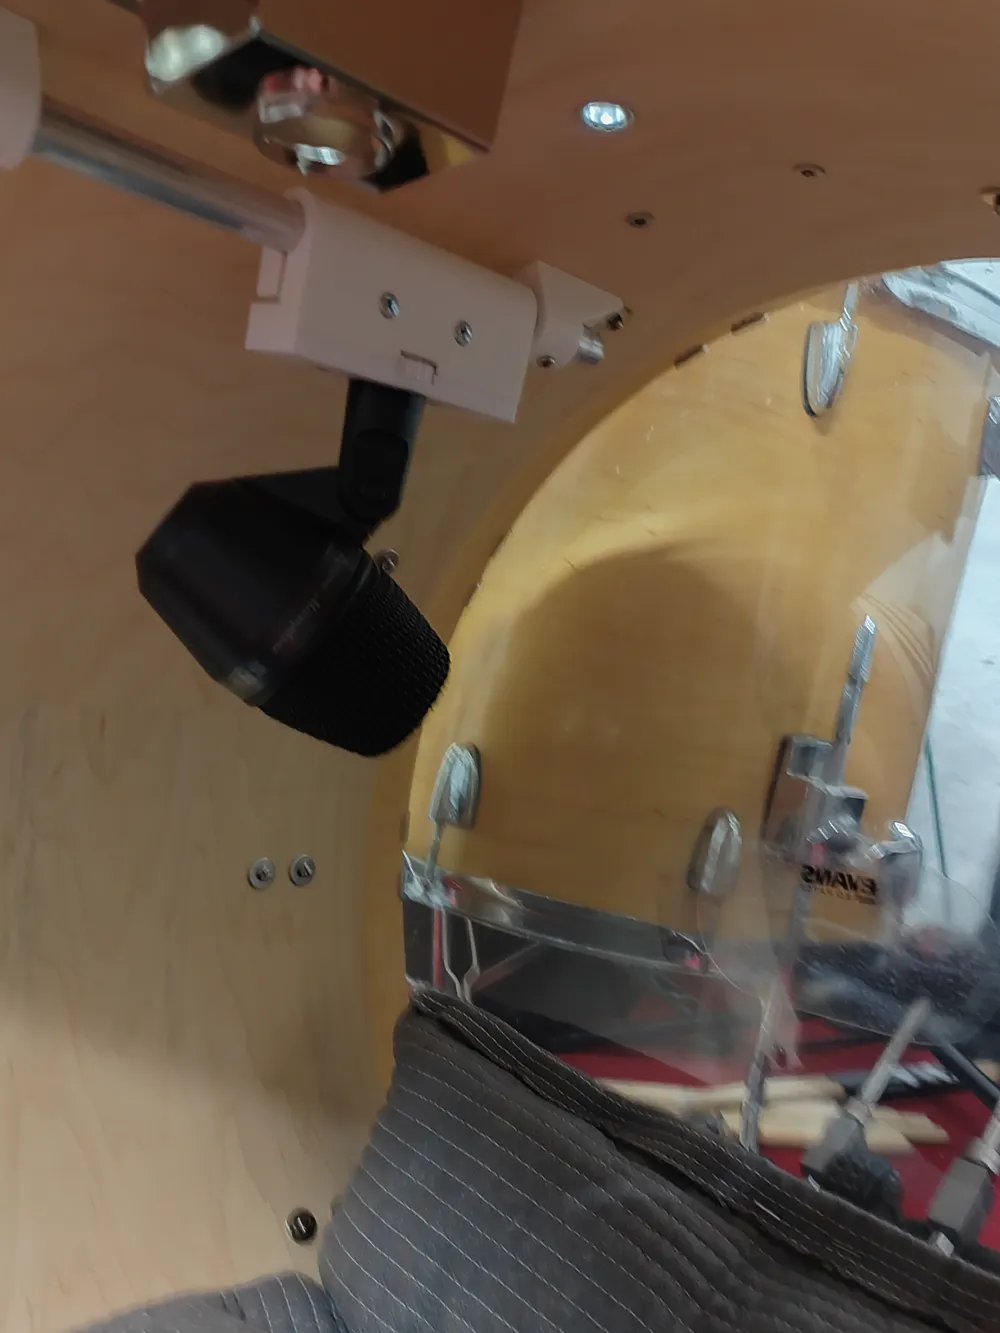
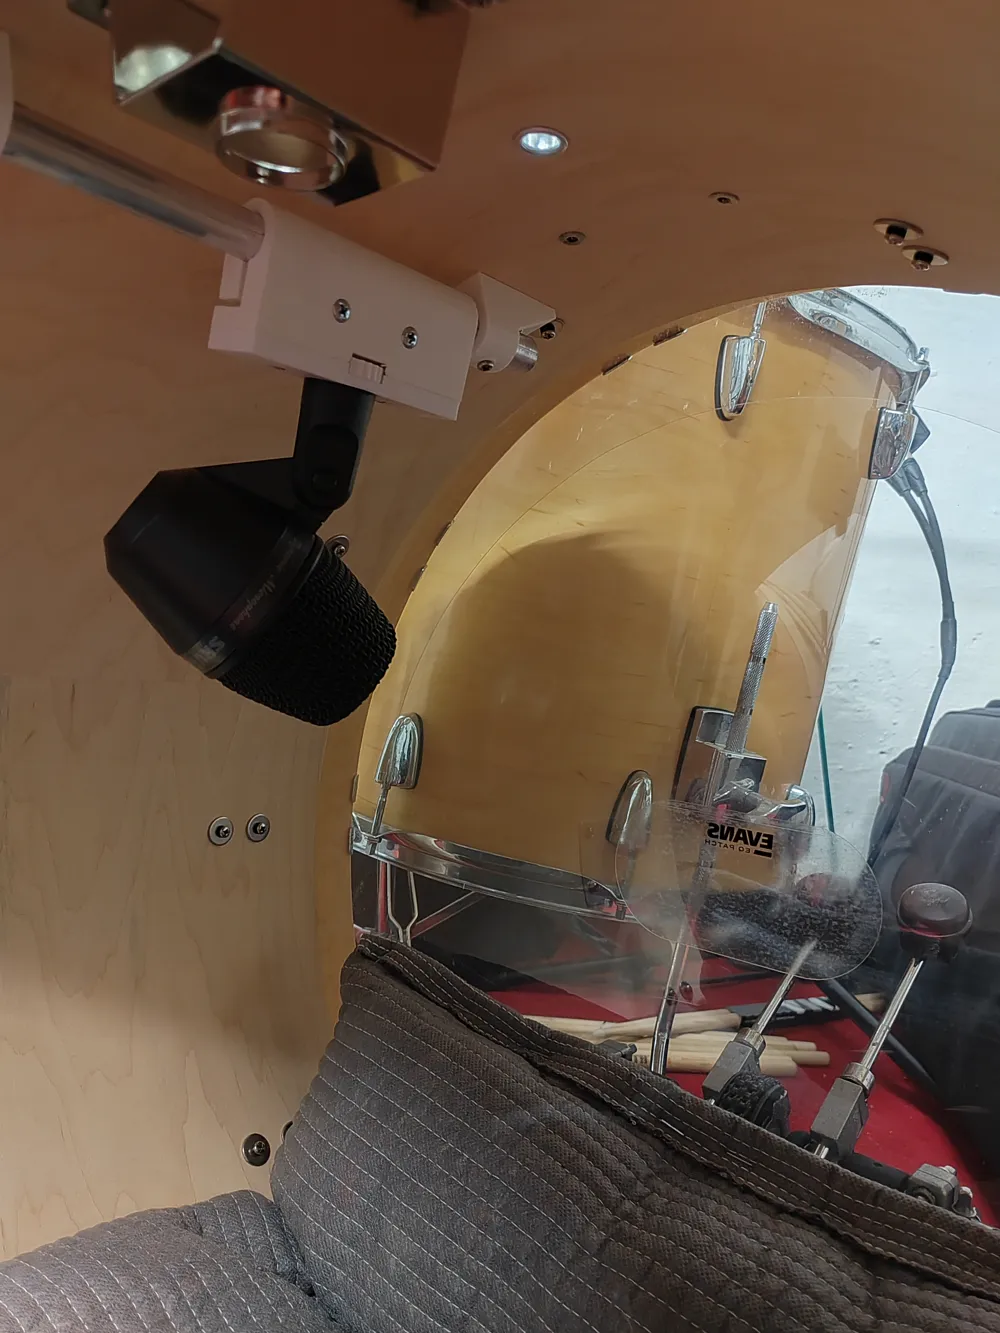
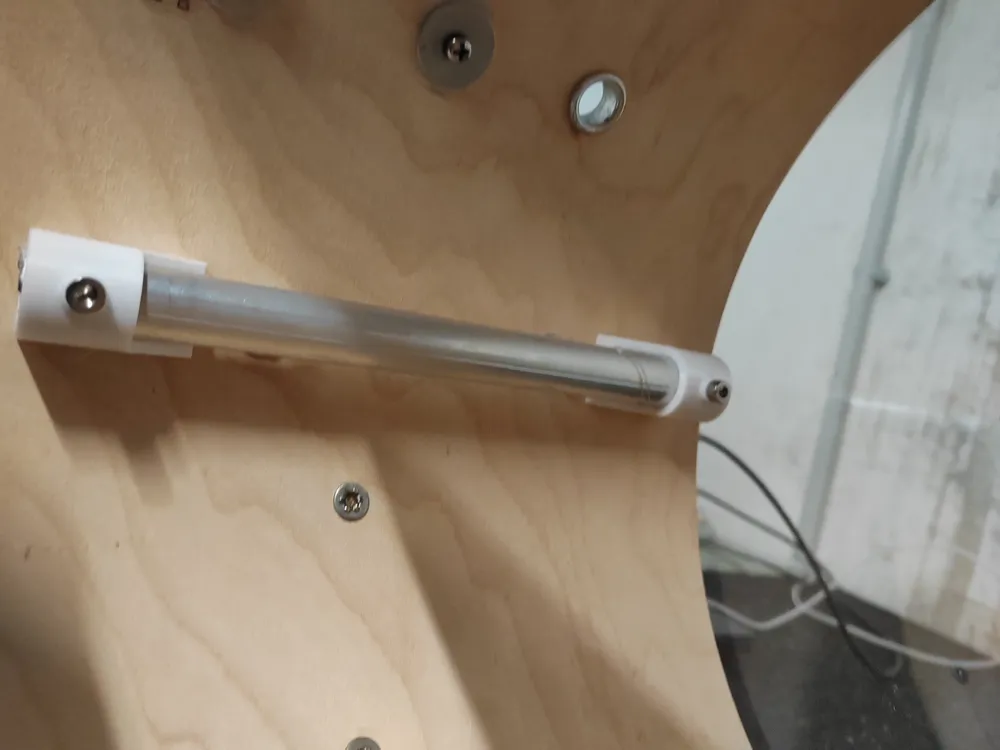
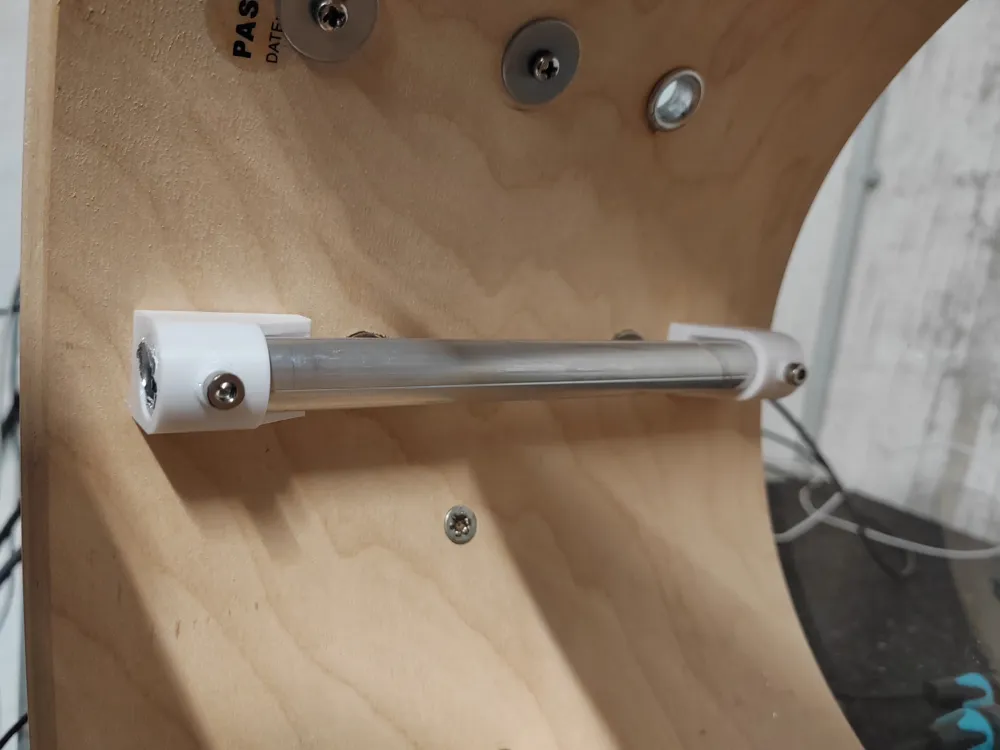
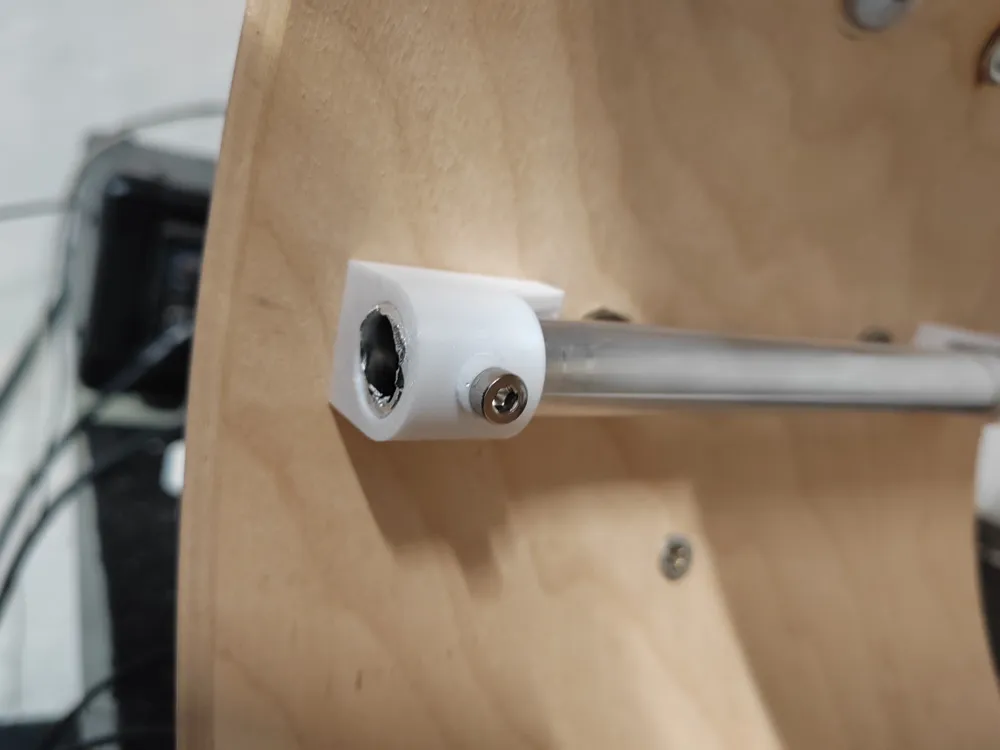
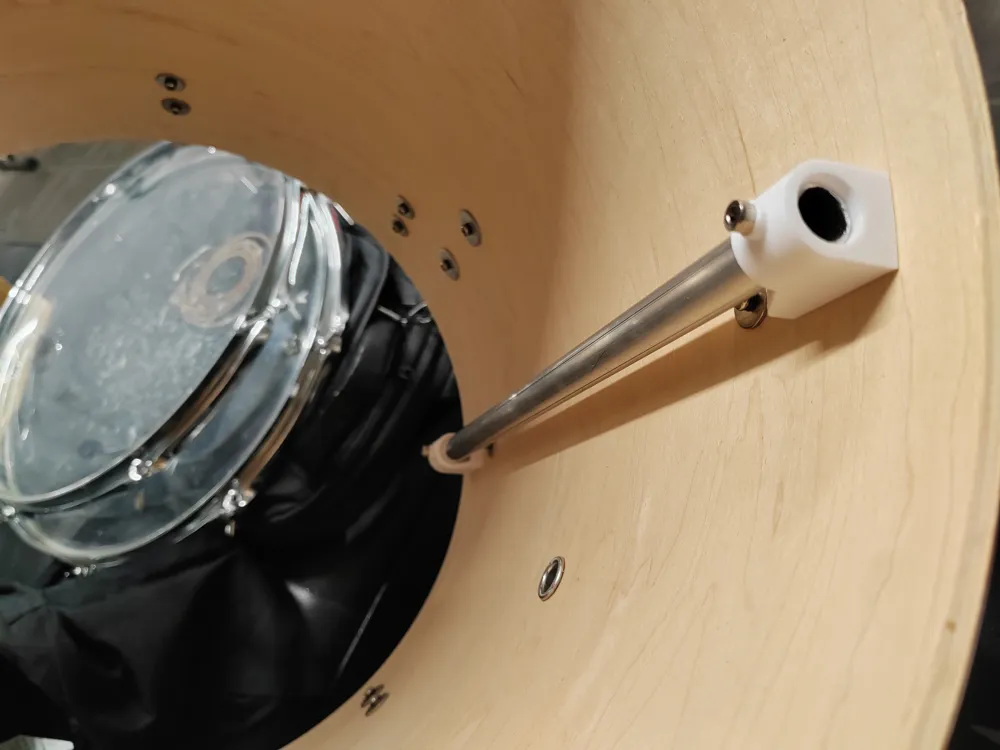
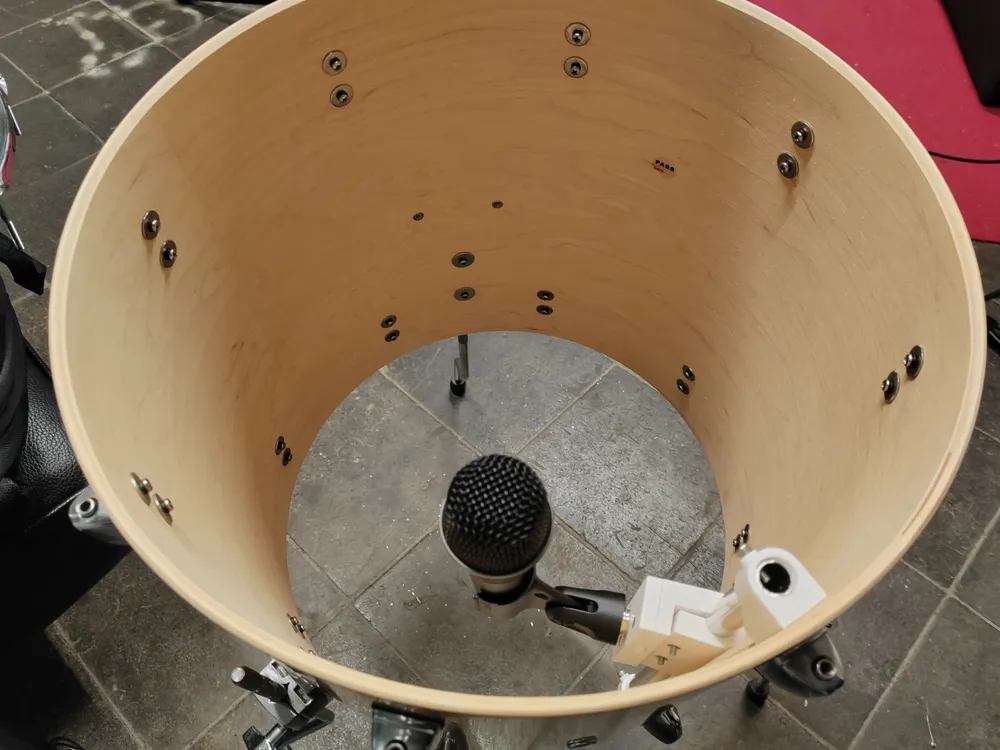
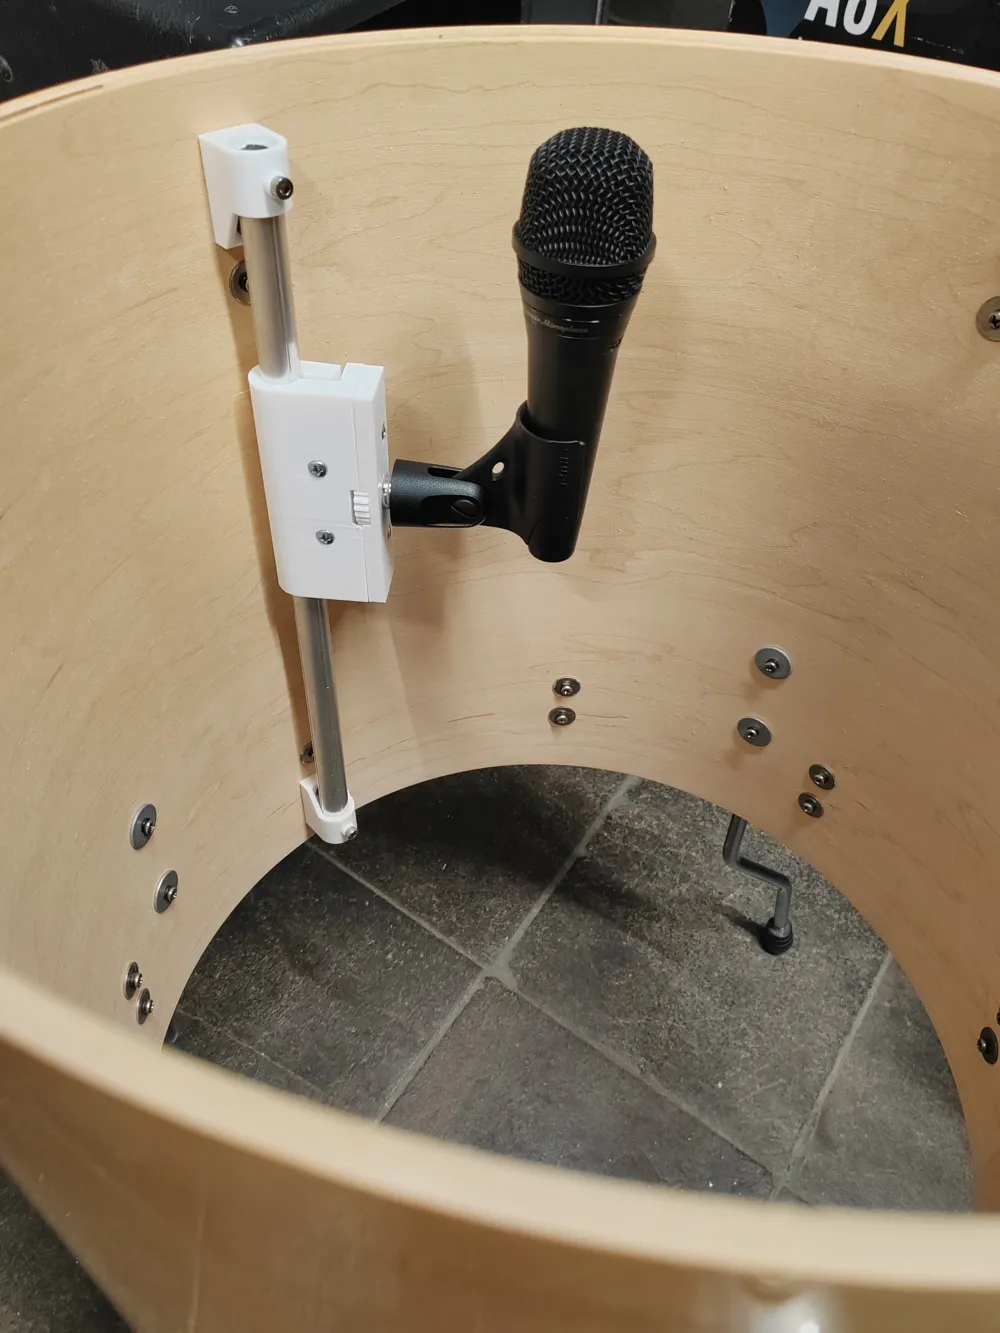
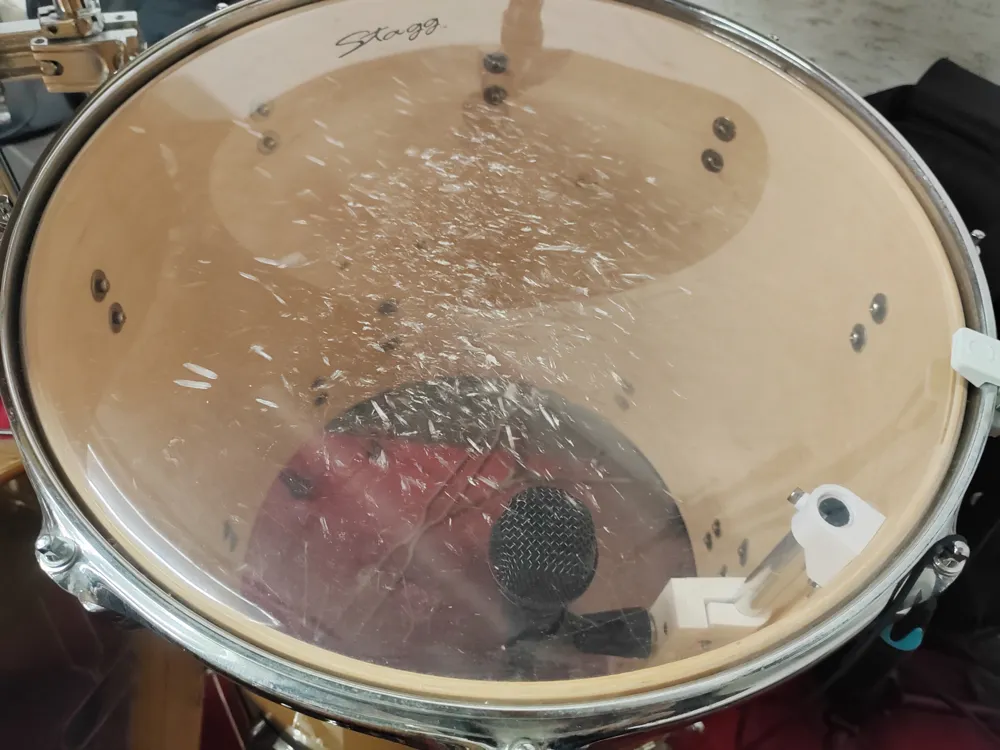
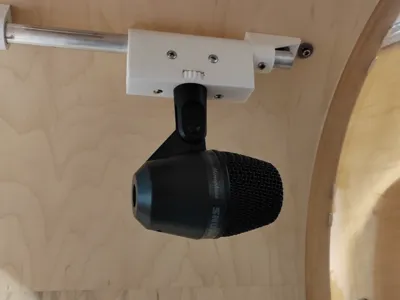
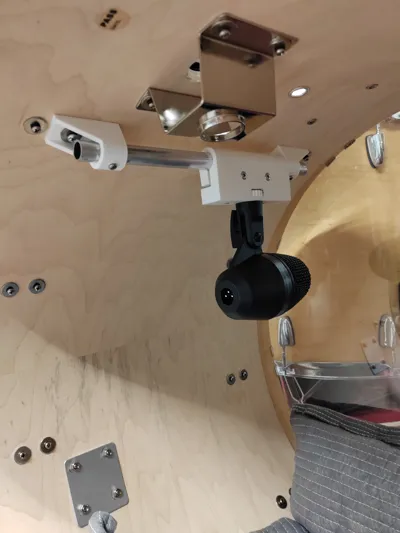
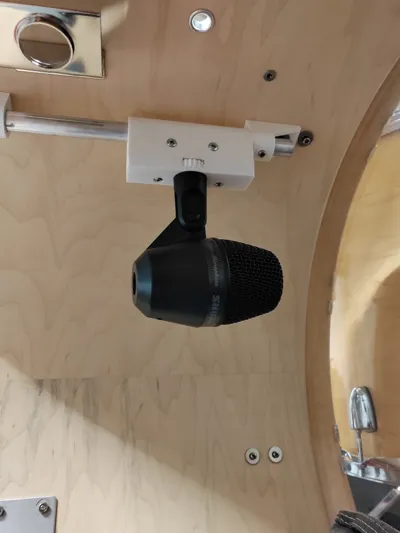
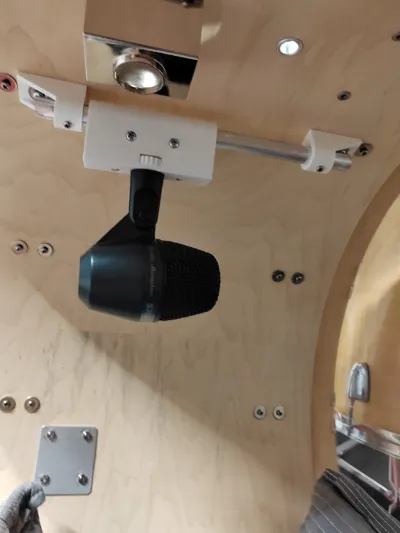
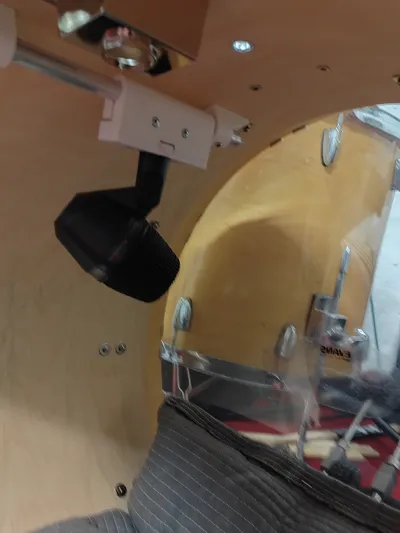
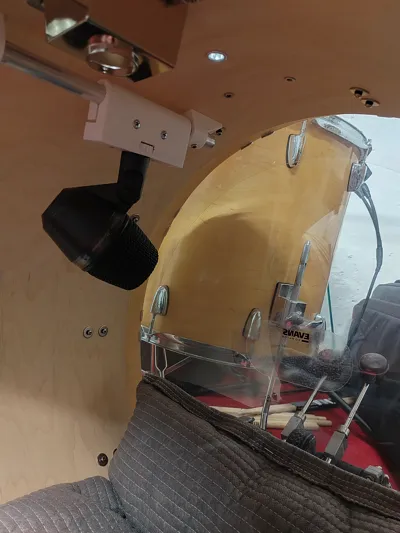
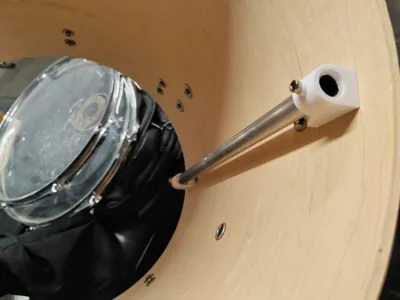
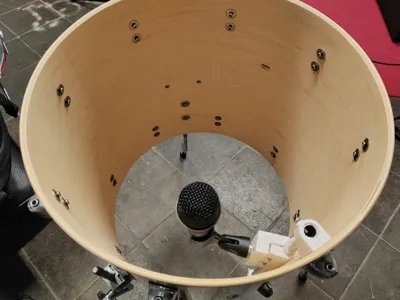
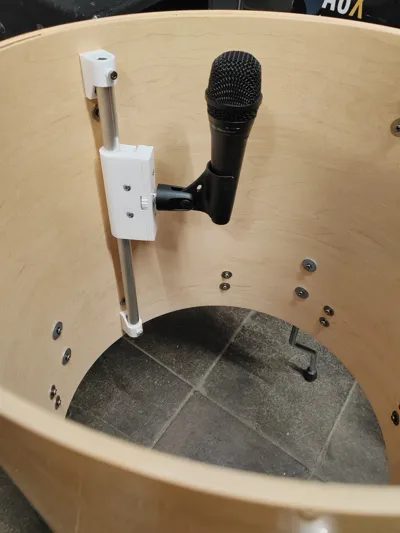
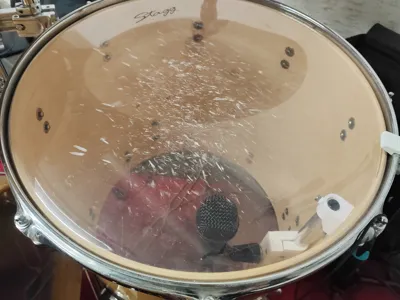
This is a microphone mount for toms and kick drum, it was not designed to fit a snare drum, but in theory you could do your own adaptations to make it fit. I have tested it under normal rehearsal and recording conditions, in my case it worked really well with the Shure PG52 & PG57 without the need of extra shock mounts (the built in mechanical isolation rubber provides enough for normal conditions), or at least I can't hear any real difference other than slightly more isolated from the rest of the drums when I compared it with the microphones in stands. I also installed this mic mount in a 12x8" tom, with a EV PL35 microphone without any issues. In the file there's two screws; one as a whole and a second one cut in half, the latter is much more sturdy.
Parts needed:
M4 x 25 mm flat head screw. (2x)
M4 x 12 mm flat head screw. (2x)
M4 nut. (4x)
M4 wide washers (2x) (up to 12mm diameter)
M3 x 10mm self drilling screws (2x)
15.5 mm aluminium tube ( Bauhaus: Kantoflex Rundrohr)
What I did to install it:
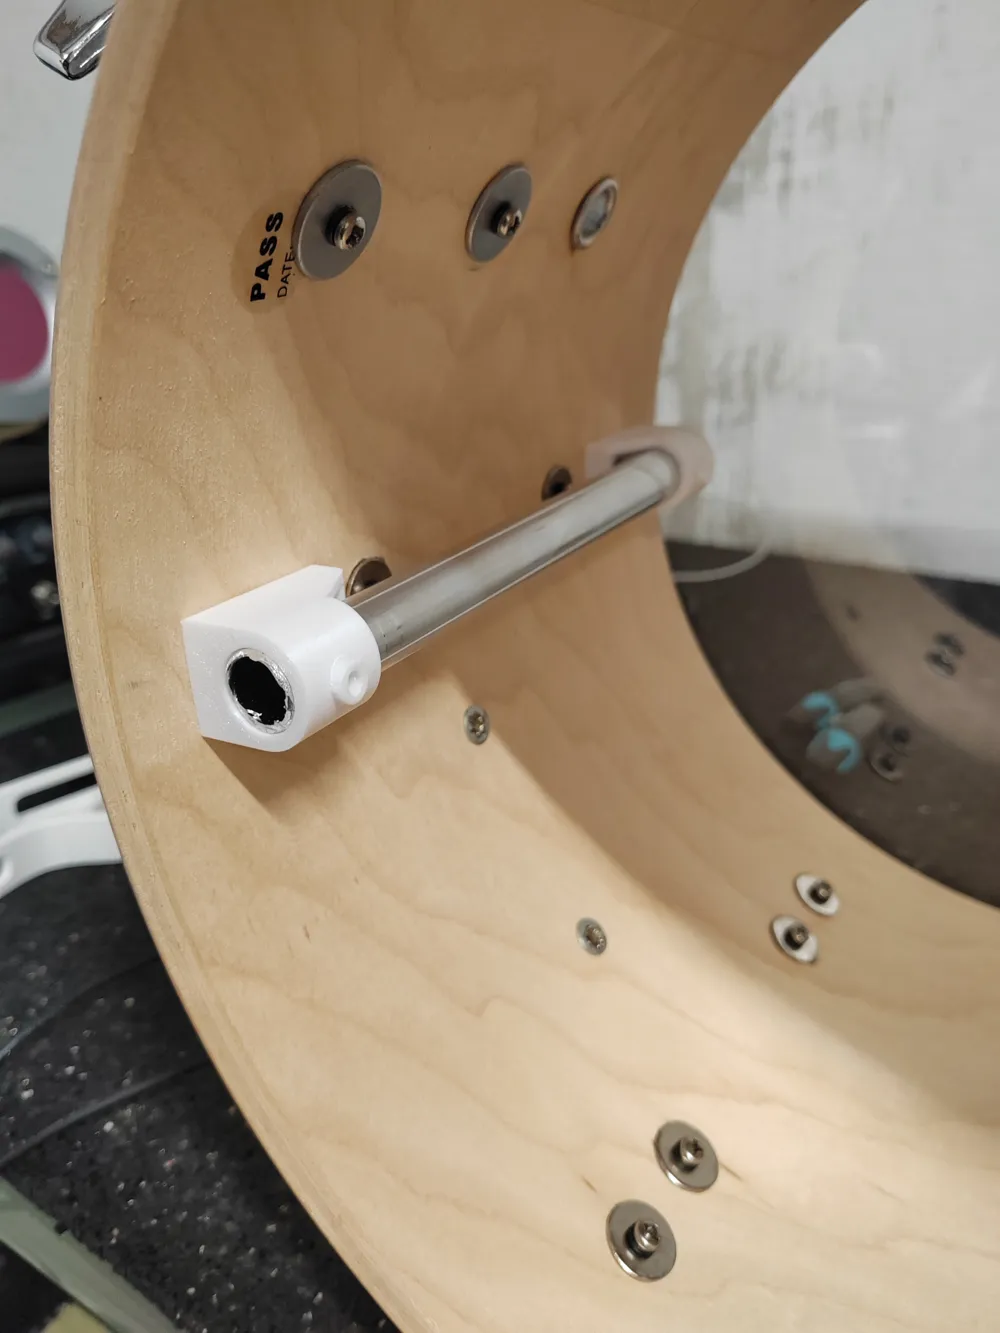
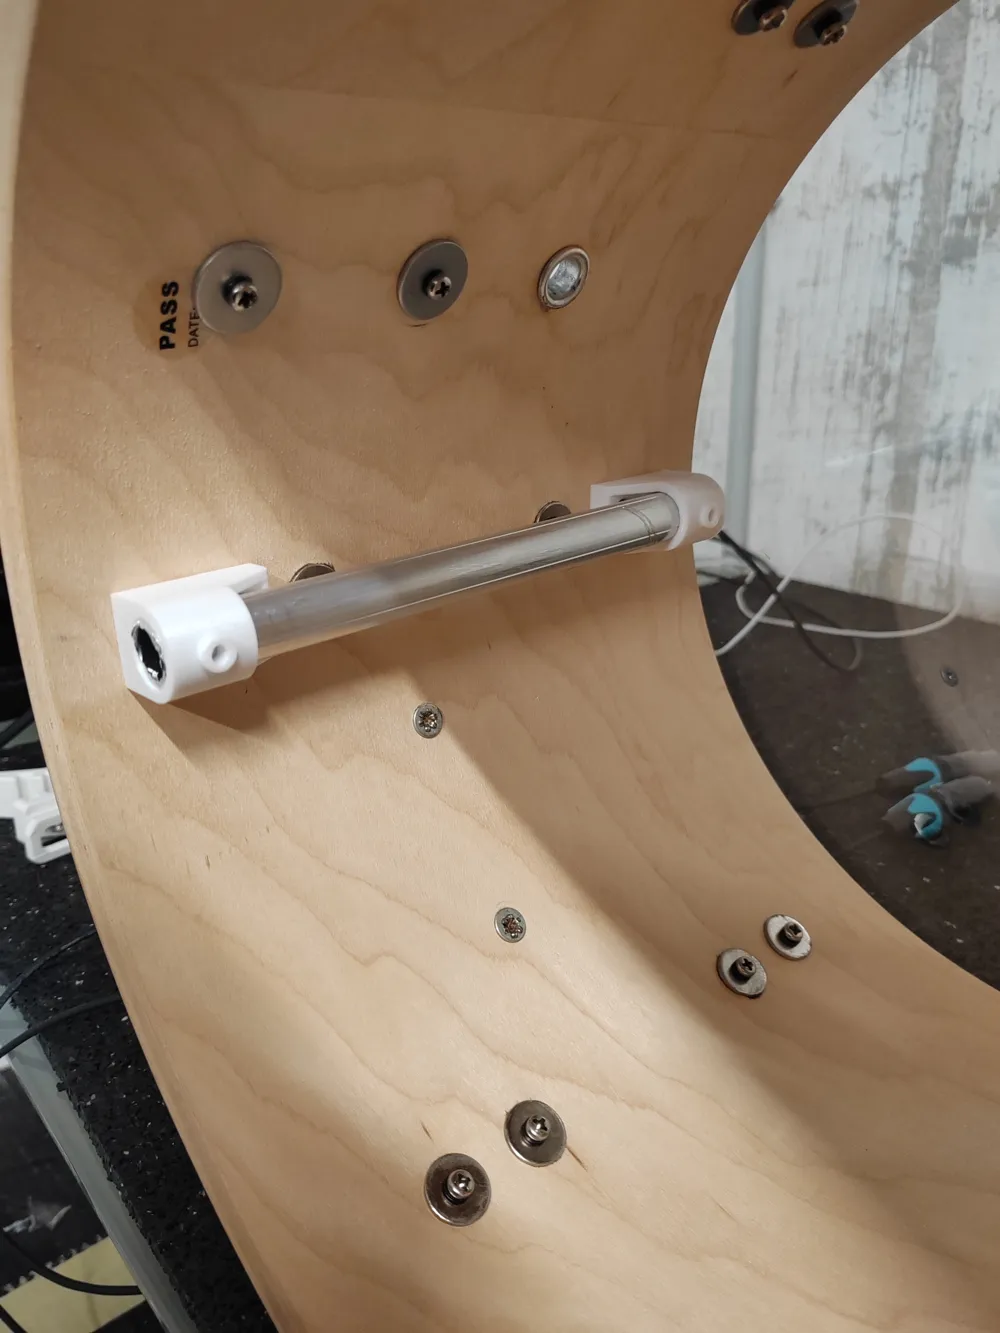
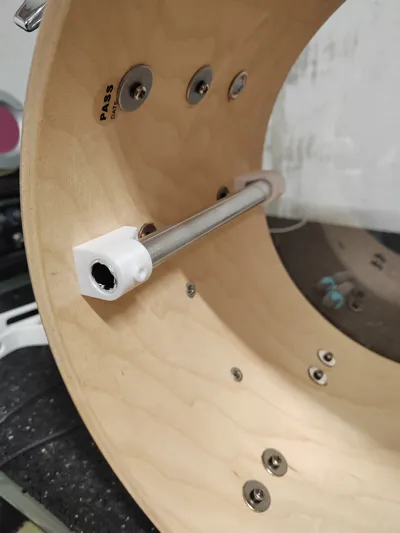
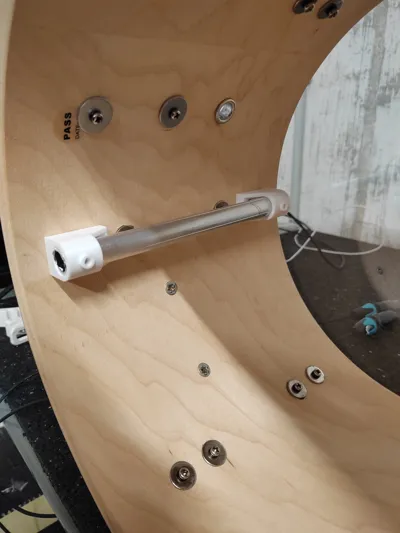
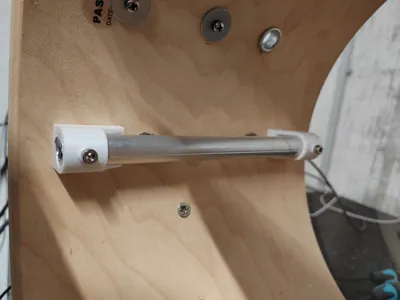
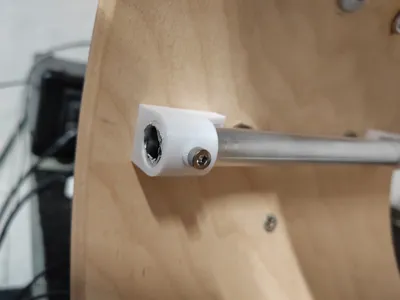
- Remove one screw of the selected lugs and position the bracket, screw again, if needed change the washer to one that fits.
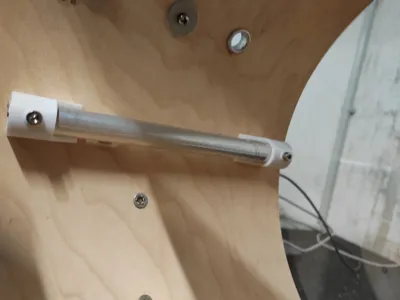
- Put the aluminium tube in place, mark the distance needed from bracket to bracket.
- Cut the aluminium tube taking the necessary safety steps.
- Once the aluminium tube is in place, use the self drilling screws to fix the aluminium tube in place. You could also use a M3 threading tap with the aluminium tube in place (as I did)
- The assembly of the mount should be fairly straightforward; there's holes for the nuts and for the screws, maybe you would need some sort of tweezers to get the nuts for the plate in their correct position but should be fairly straightforward.
- Remove the aluminium tube and install the mic mount.
- Plug the microphone in and do some recordings!
Let me know if you come across any issues!
Boost Me (for free)
If you like the model, please boost me! It would be a great motivation to keep uploading and updating the models! Thanks!
License

You shall not share, sub-license, sell, rent, host, transfer, or distribute in any way the digital or 3D printed versions of this object, nor any other derivative work of this object in its digital or physical format (including - but not limited to - remixes of this object, and hosting on other digital platforms). The objects may not be used without permission in any way whatsoever in which you charge money, or collect fees.


Comment & Rating (2)