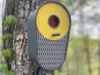
Modern Birdhouse - Vertical Oval


Print Profile(1)
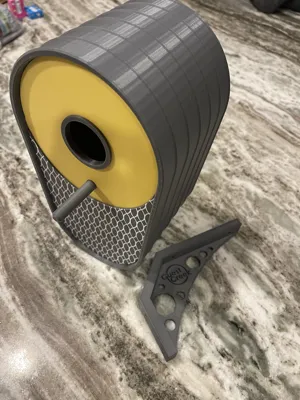
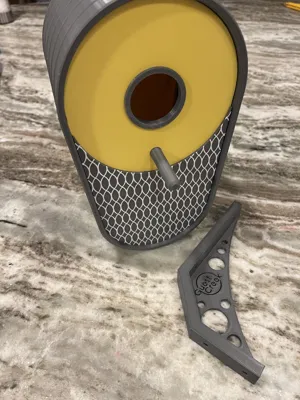
Bill of Materials


Description
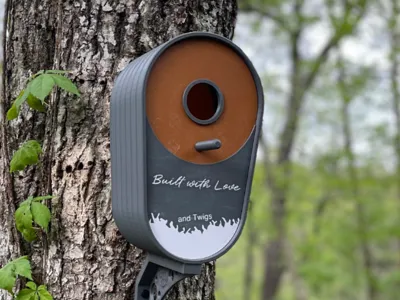
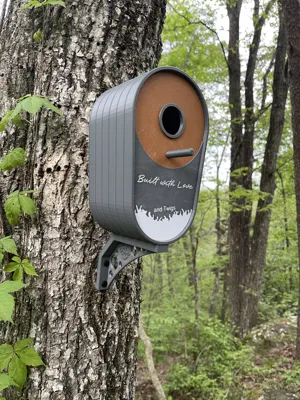
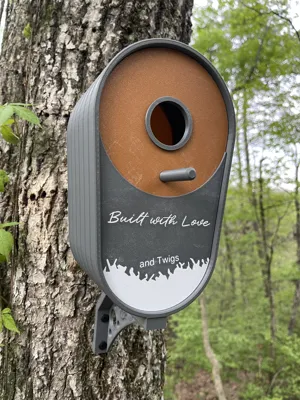
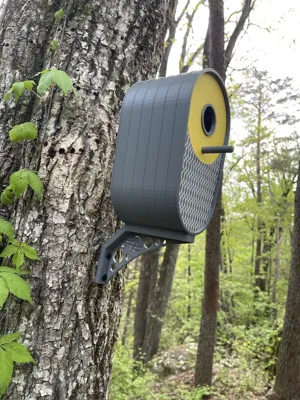
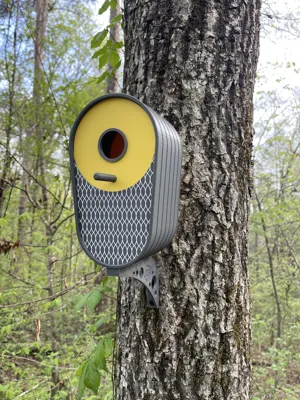
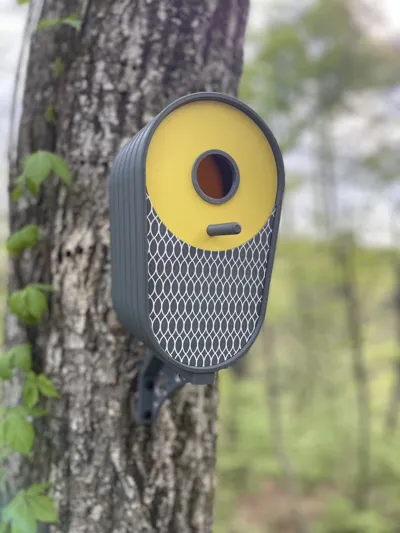
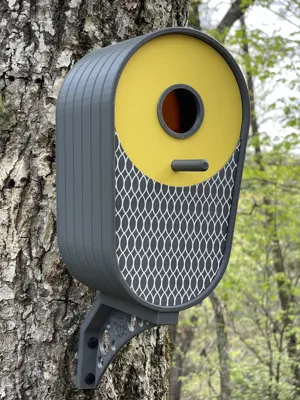
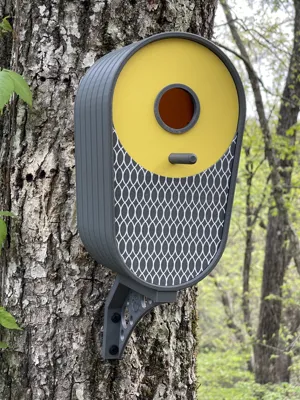
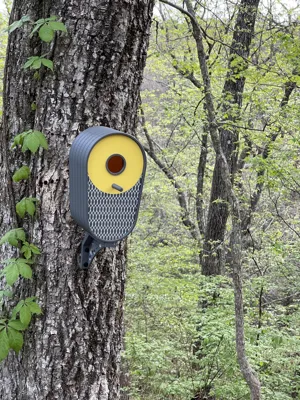
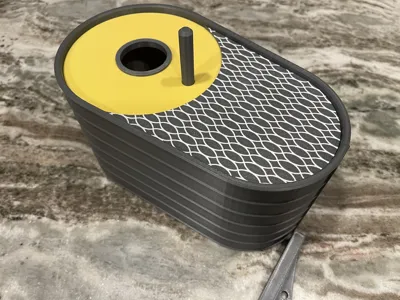
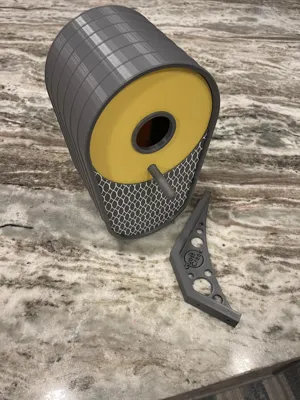
Decorative Birdhouse - Vertical Modern Design
All components have been carefully designed and print tested to click together with ZERO glue required!
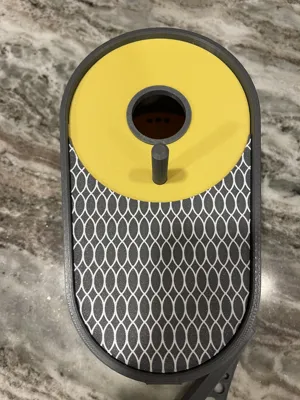
3 opening sizes in the file 1" (26mm), 1.25" (32mm), and 1.5" (38mm)
Overall Dimensions 9.5"x5"x5.5"
Interior Dimensions 9.25" (134mm) x4.5" (102mm) x 5.25" (134mm)
Printed in PETG using a total of 3 colors (could be adjusted to suit your preferences)
Dark Gray
Outer Ring 191g
Wall Bracket 29g
Roost Bar and Ring 6g
Accent Wall (varies by design) 22-24g
Yellow (or your choice for main wall color)
Front Wall 53g
Back Walls 55g
White
Accent Wall (varies by design) 2-3g
Only Element requiring AMS is the Accent Wall which only wastes less than 2g of filament with only 2 color changes
There are a total of 3 patterns for the front currently included in the file and I'm open to suggestions for other designs.
Design 1 - Vintage Curvy Design
Design 2 - Modern Geometric Design
Design 3 - Fun Nest Design with cute phrase “Built with Love (and sticks)”
The front and back panels have tabs on one side that slot into the outer ring, and then snap into place with two angled tabs on the other side. It is easiest to add the accent panel, roost bar, and bird entrance ring before installing the front wall so that pressure can be better applied. Snapping the decorative panel takes a little convincing but ensures a solid connection once snapped into place. There is a tab on the lower edge of the roost bar to orient it when installing and keep it from turning when in use.
Two m3 heatset inserts (4mmx4mm) are required to install to the bracket, and 2 m3 x 10mm screws.
Please reach out with questions related to this design or ideas for improvements.
License
You shall not share, sub-license, sell, rent, host, transfer, or distribute in any way the digital or 3D printed versions of this object, nor any other derivative work of this object in its digital or physical format (including - but not limited to - remixes of this object, and hosting on other digital platforms). The objects may not be used without permission in any way whatsoever in which you charge money, or collect fees.
Comment & Rating (11)