Search models, users, collections, and posts

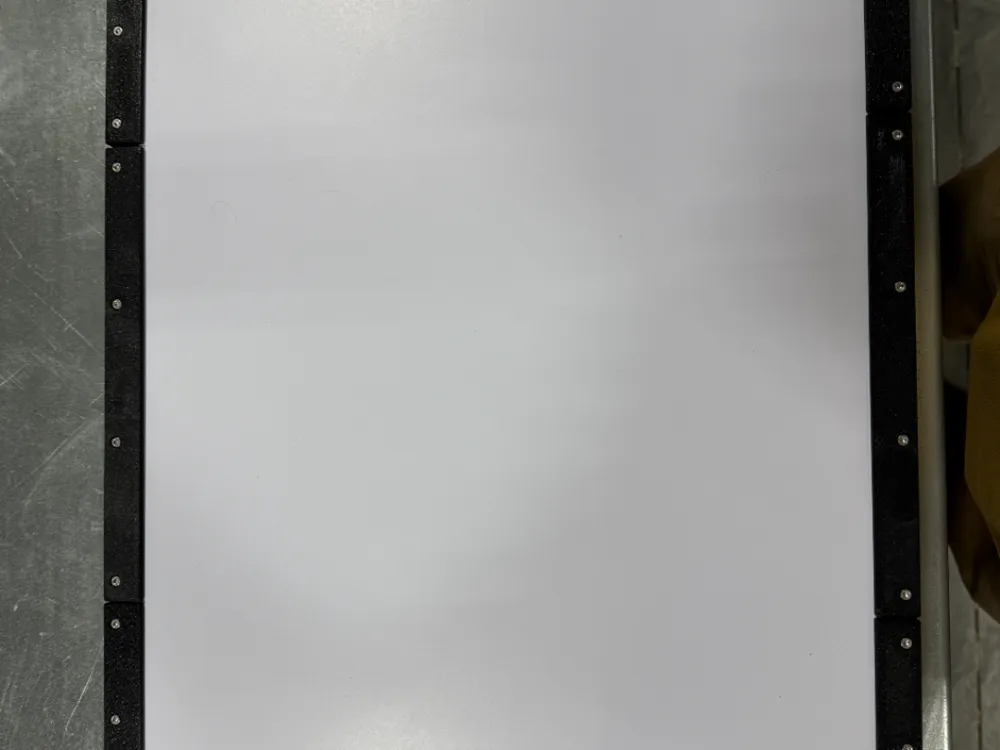
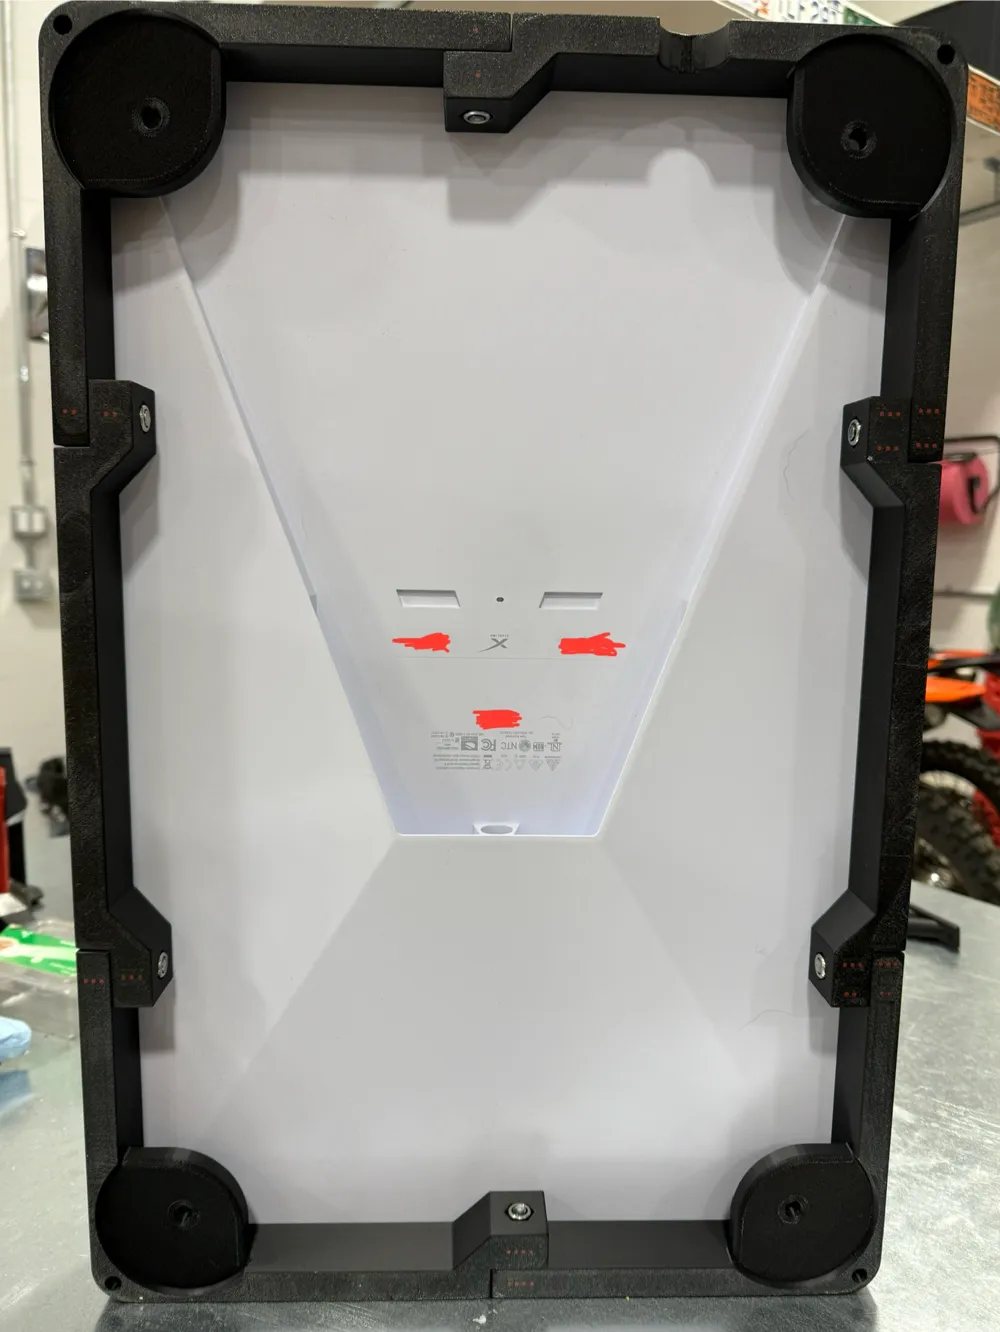
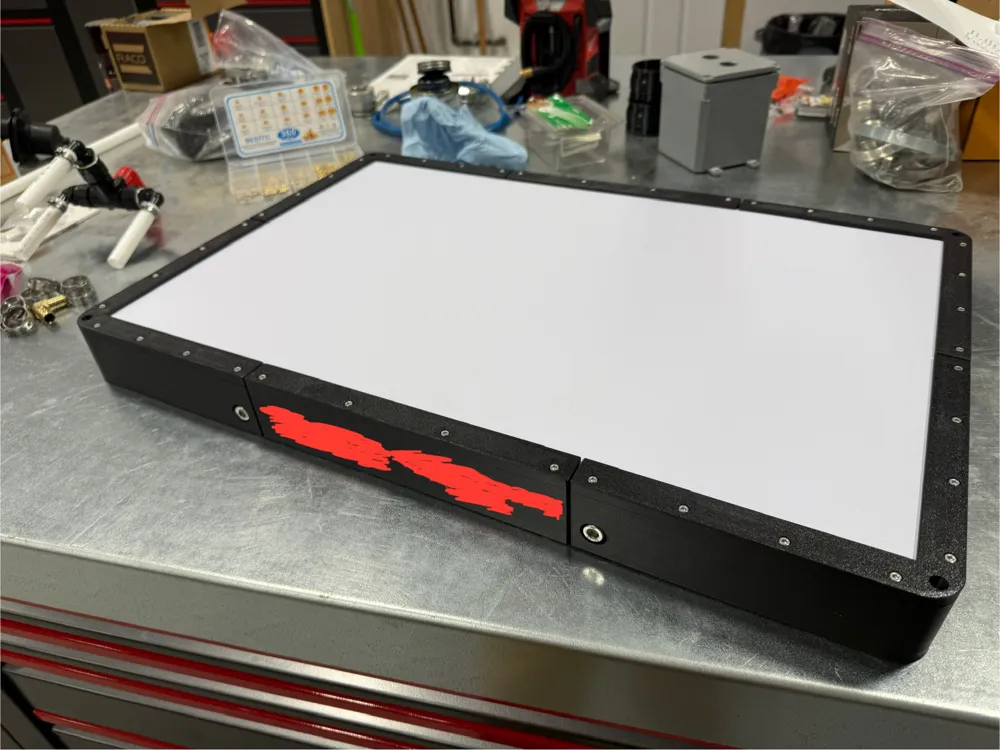
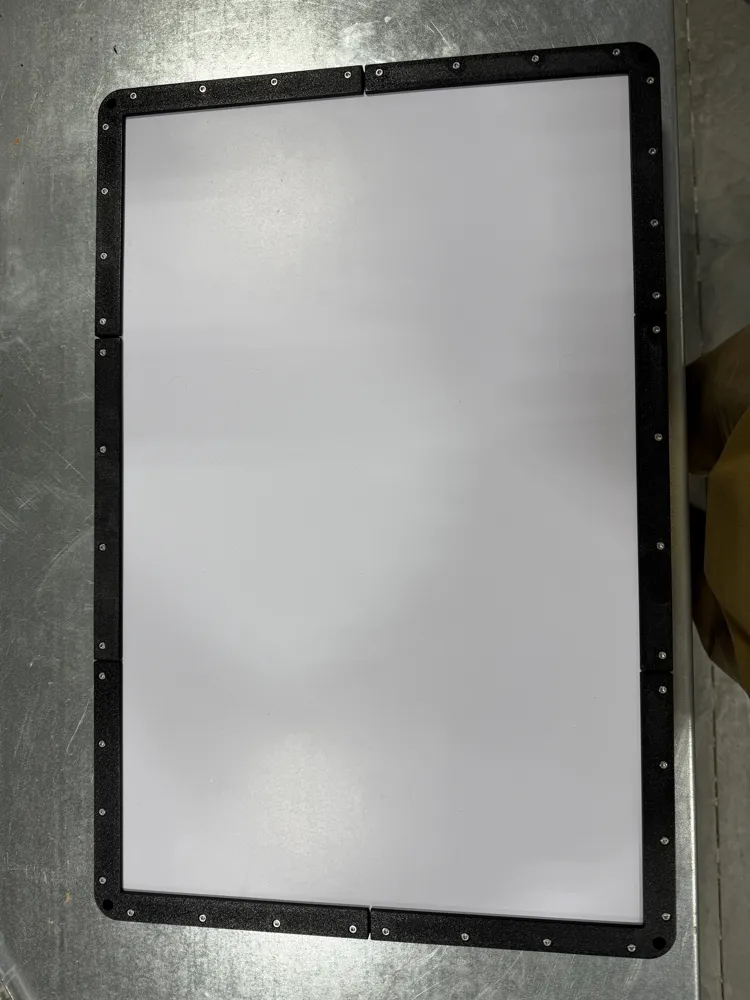
Starlink Gen 3 Flat Mount
IP Report

Print Profile(1)

0.2mm layer, 6 walls, 40% infill
Designer
35 h
7 plates
Open in Bambu Studio
Boost
85
193
17
8
243
81
Released
Description
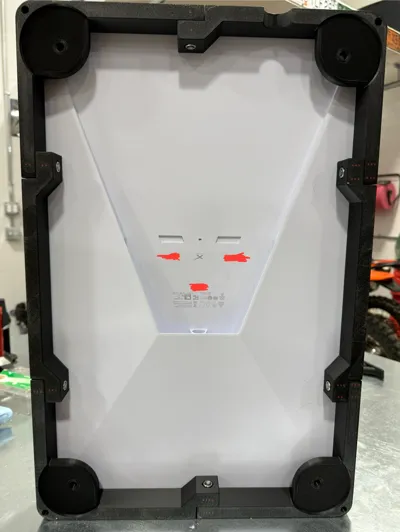
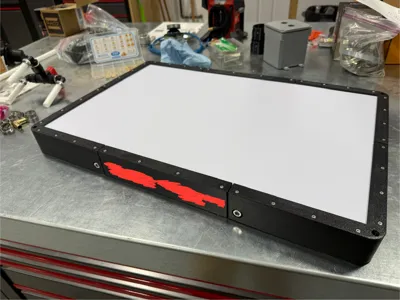
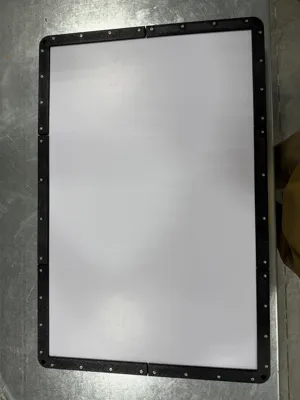
Starlink Gen 3 Dishy Flat Mount
- 12 Piece Design
Print Settings:
- 0.2mm or 0.15mm layer height
- 30%-50% infill. Adaptive Cubic or Support Cubic
- 6 Wall loops. May get away with 4
- Need support from build plate for magnet mounts
- PETG recommended
Optional:
There are dot marks on the bottom of each bottom piece that can be printed in another color to help with assembly
Parts needed:
- x4 round puck magnets. I used these BQUKKIMAG 5Pack Rubber Coated Magnets D66x8mm M6 Round Magnets Strong Large Magnete with Thread, Flat Magnet with Hole Countersunk Head Pot Magnet for Screwing on Car Lights : Amazon.ca: Industrial & Scientific
- x4 M6x16mm screws
- x40 M3x6 brass thread inserts. Holes are sized for these iplusmile Brass Nuts, Threaded Inserts Thread Brass Knurled Nuts Threaded Heat Set for Printing 3D Printer and More Projects, 100pcs : Amazon.ca: Tools & Home Improvement
- x40 M3x16mm screws
- x6 M8x35mm screws
- x6 M8 Nylon lock nut. I used these Hmevsafinect Nylon Insert Locknuts,25 Pack M8 304 Stainless Steel A2-70 Lock Nuts,Standard Metric Thread Nylock Nuts for Bolts (M8-25 Pack) : Amazon.ca: Tools & Home Improvement
Assembly instructions:
- Heat set all 40 M3 brass inserts in the lower half of each piece of the flat mount.
- Attach the 4 puck magnets to the magnet locations using the M6 screws
- Assemble all 6 Pieces loosely using the 6 M8 screws and locknuts on a flat surface
- Place the Gen 3 dishy in the loosely assembled mount.
- Place the 6 top pieces on top to clamp the gen 3 dish in place. Screw down but do not tighten the 40 M3 screws
- Tighten the M8 screws to lock the dish in the mount.
- Tighten the 40 M3 screws.
- Enjoy your newly mounted Gen 3 Dishy
See my Mini flat mount as well.
License

This user content is licensed under a
Creative Commons Attribution-Noncommercial-Share Alike


Comment & Rating (17)