
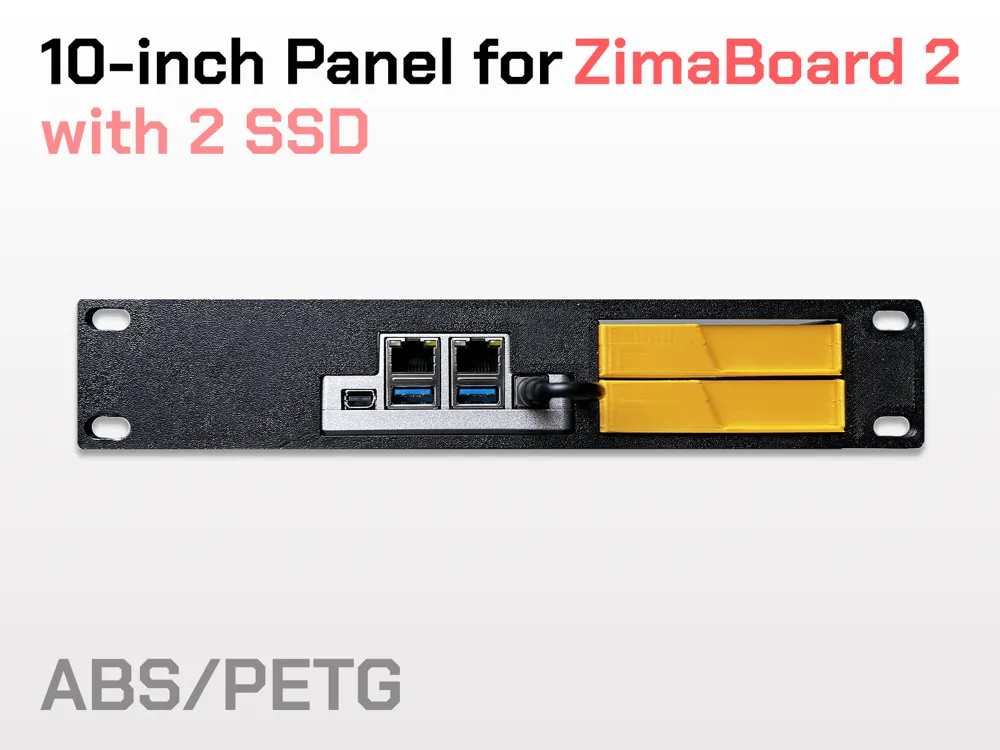
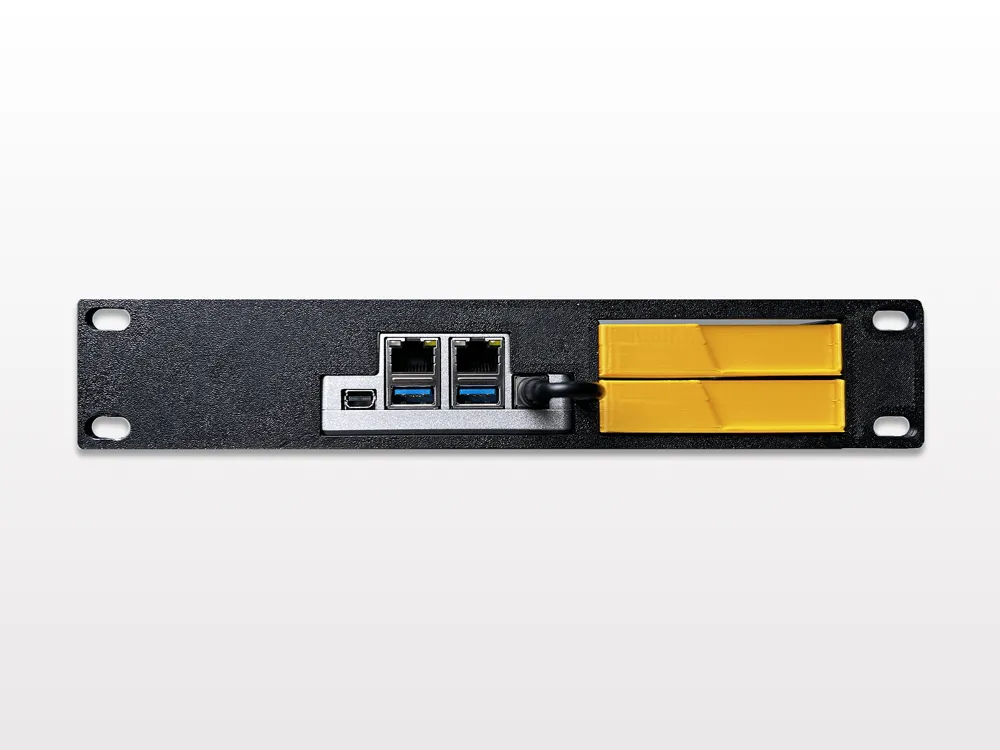
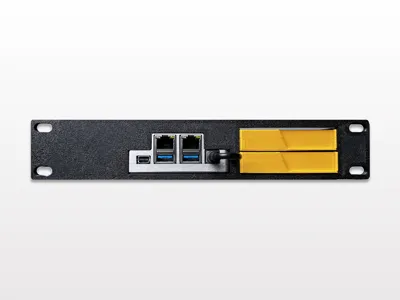
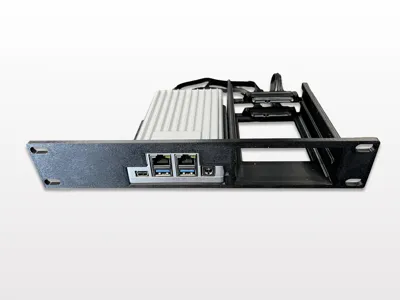
10-inch rack panel for ZimaBoard 2
Print Profile(1)

Bill of Materials


Description
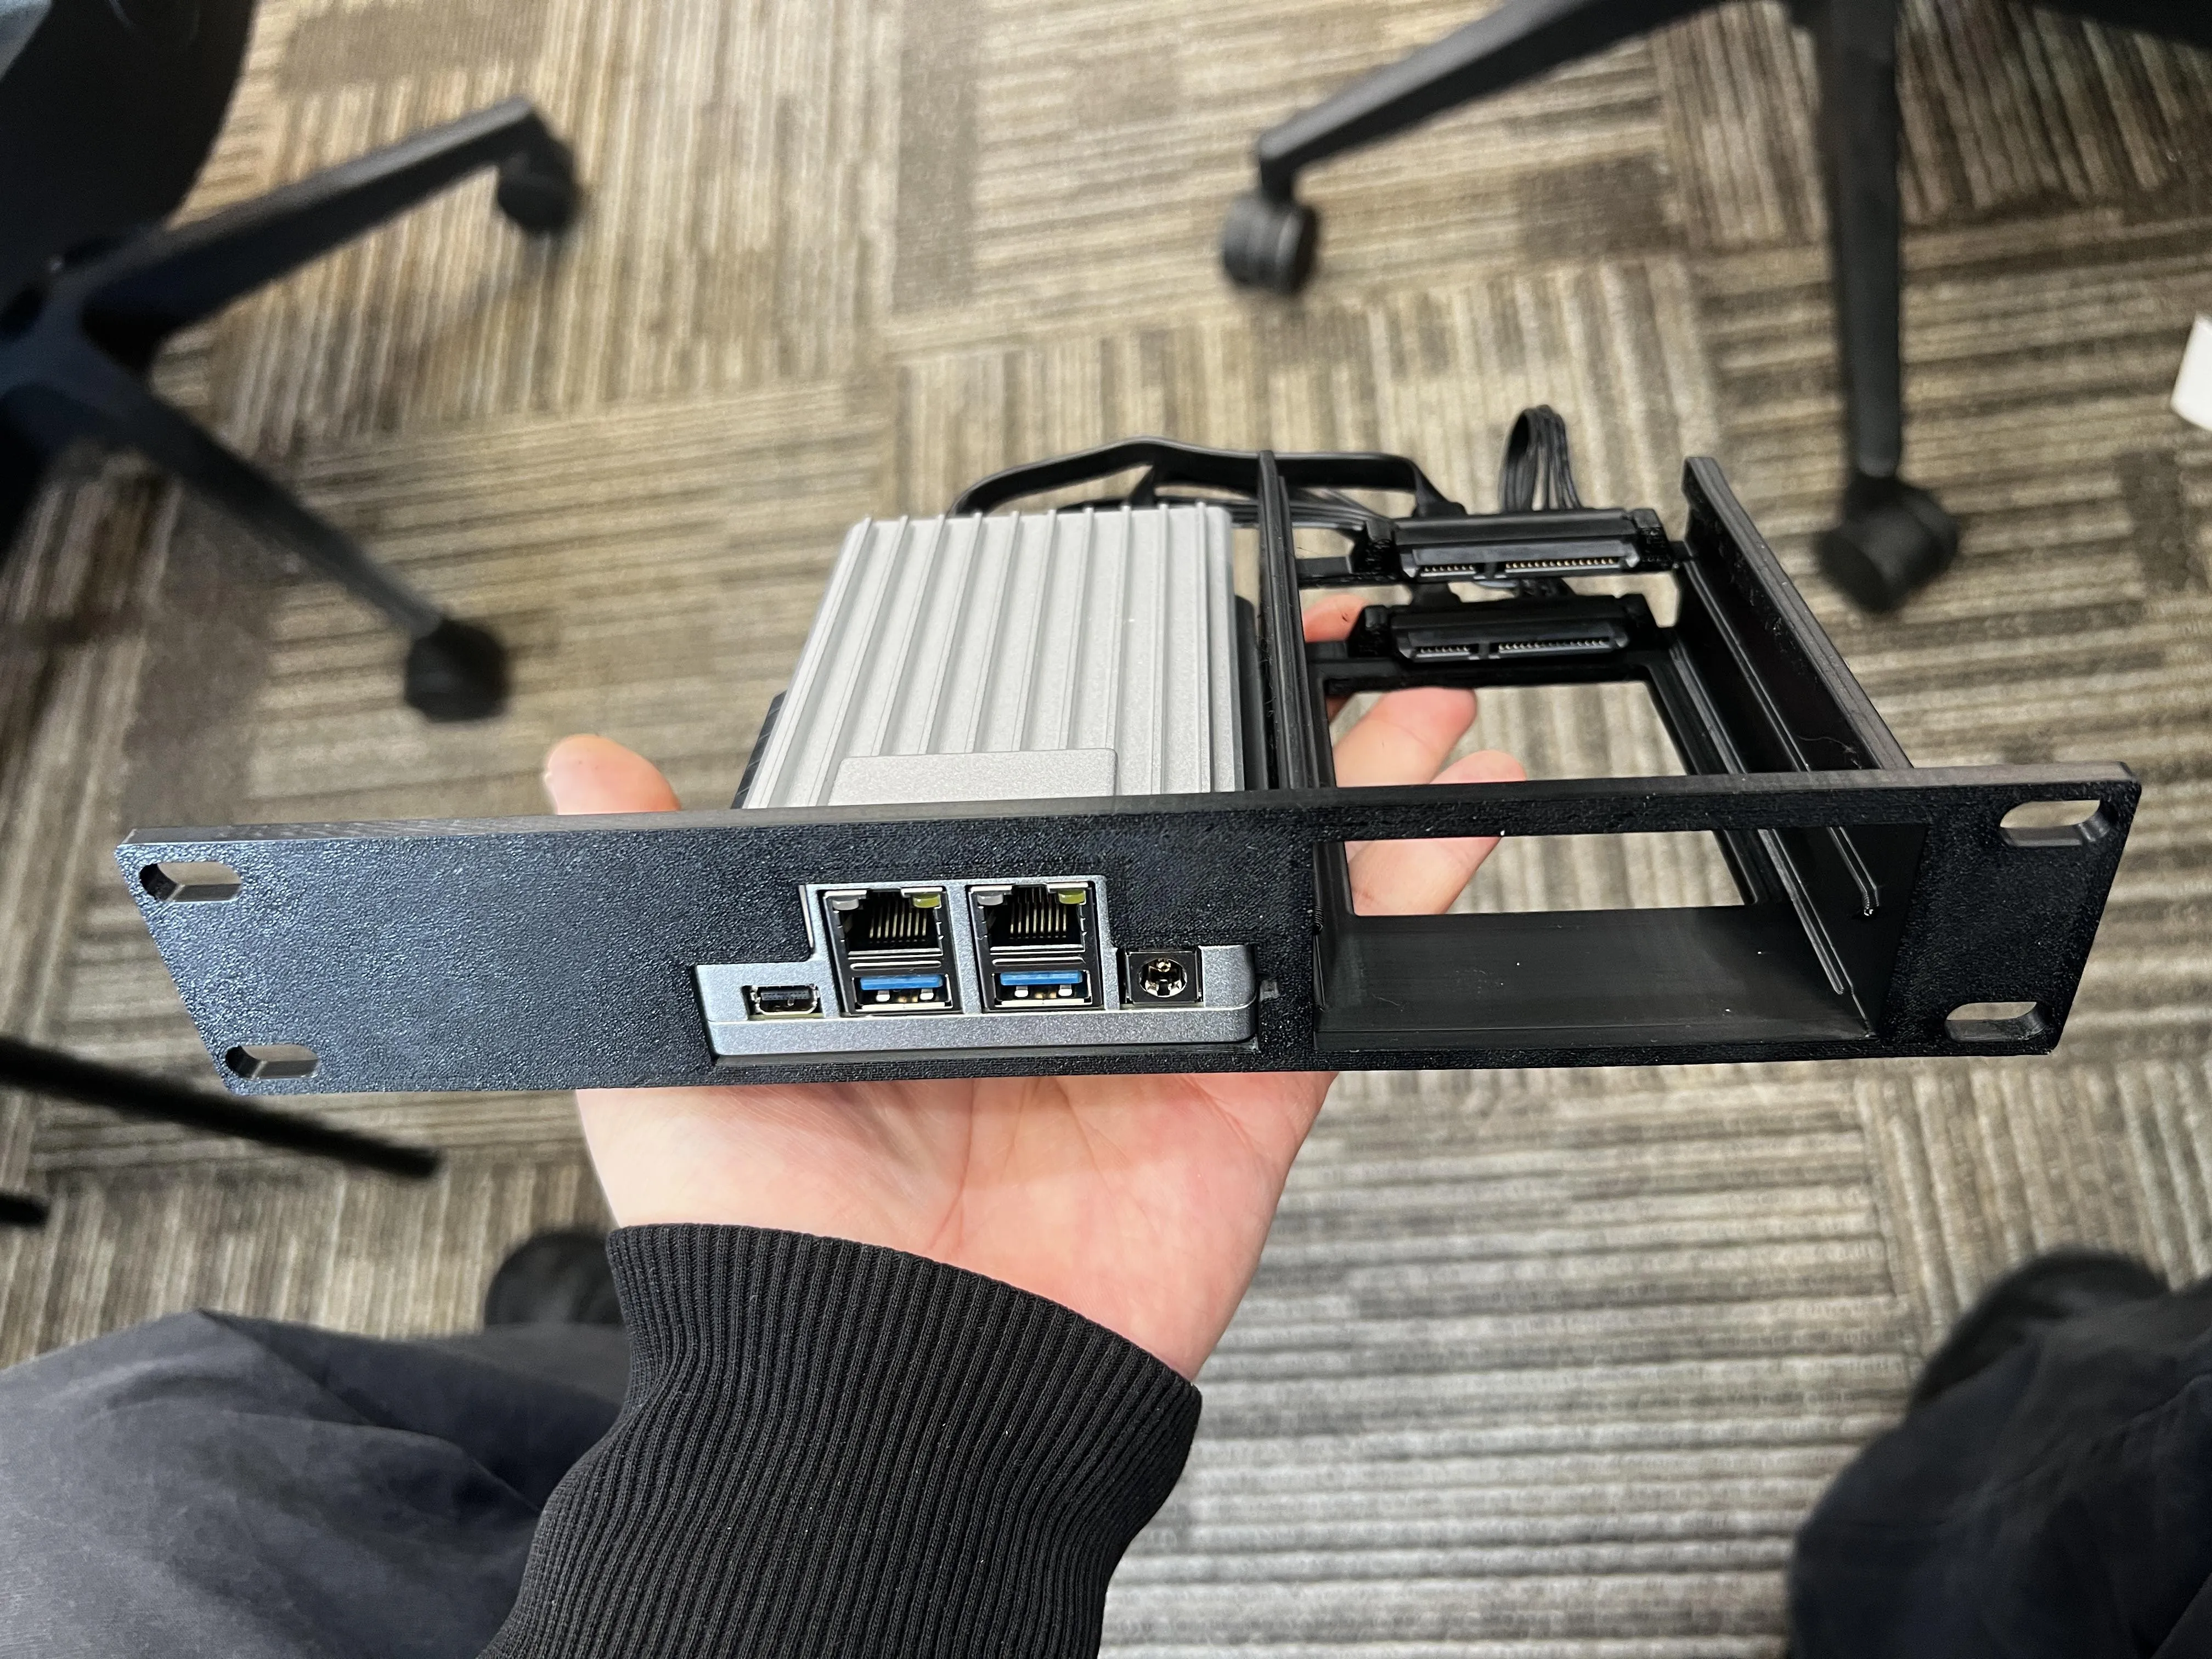
I’m truly grateful to Zima for this opportunity. It’s been a pleasure to design an accessory for the ZimaBoard 2—specifically, a 10-inch server-style enclosure. I use this setup as the central hub for my smart home running Home Assistant, while also serving as a downloader to store various files. It works beautifully. And shout out to @sabitech in the community, regret not having met sooner
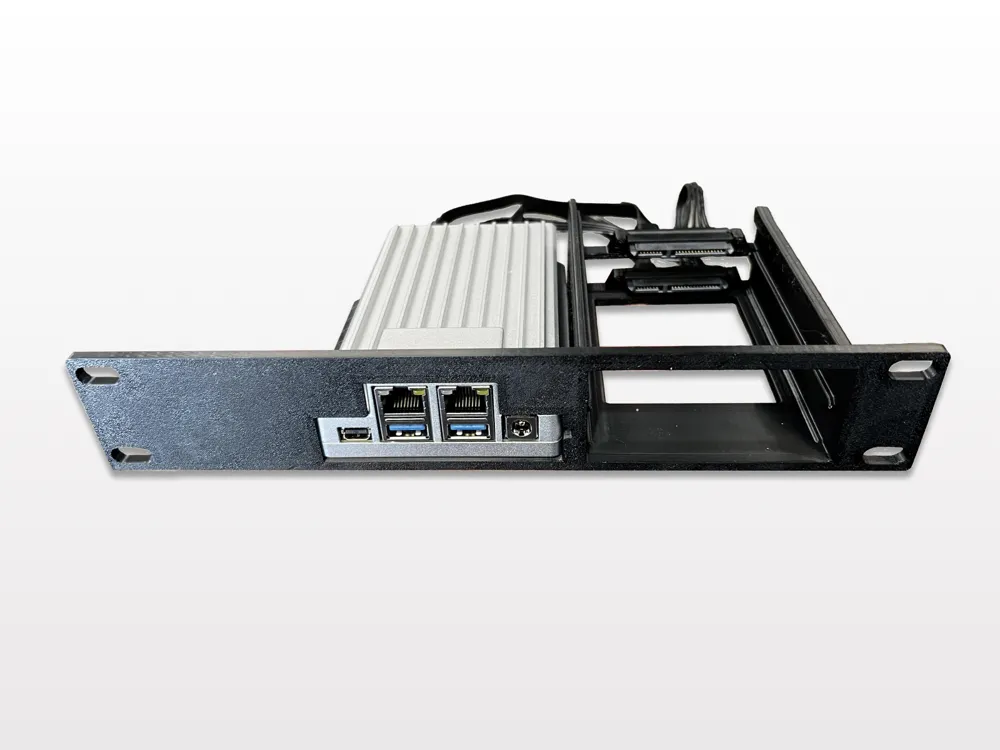
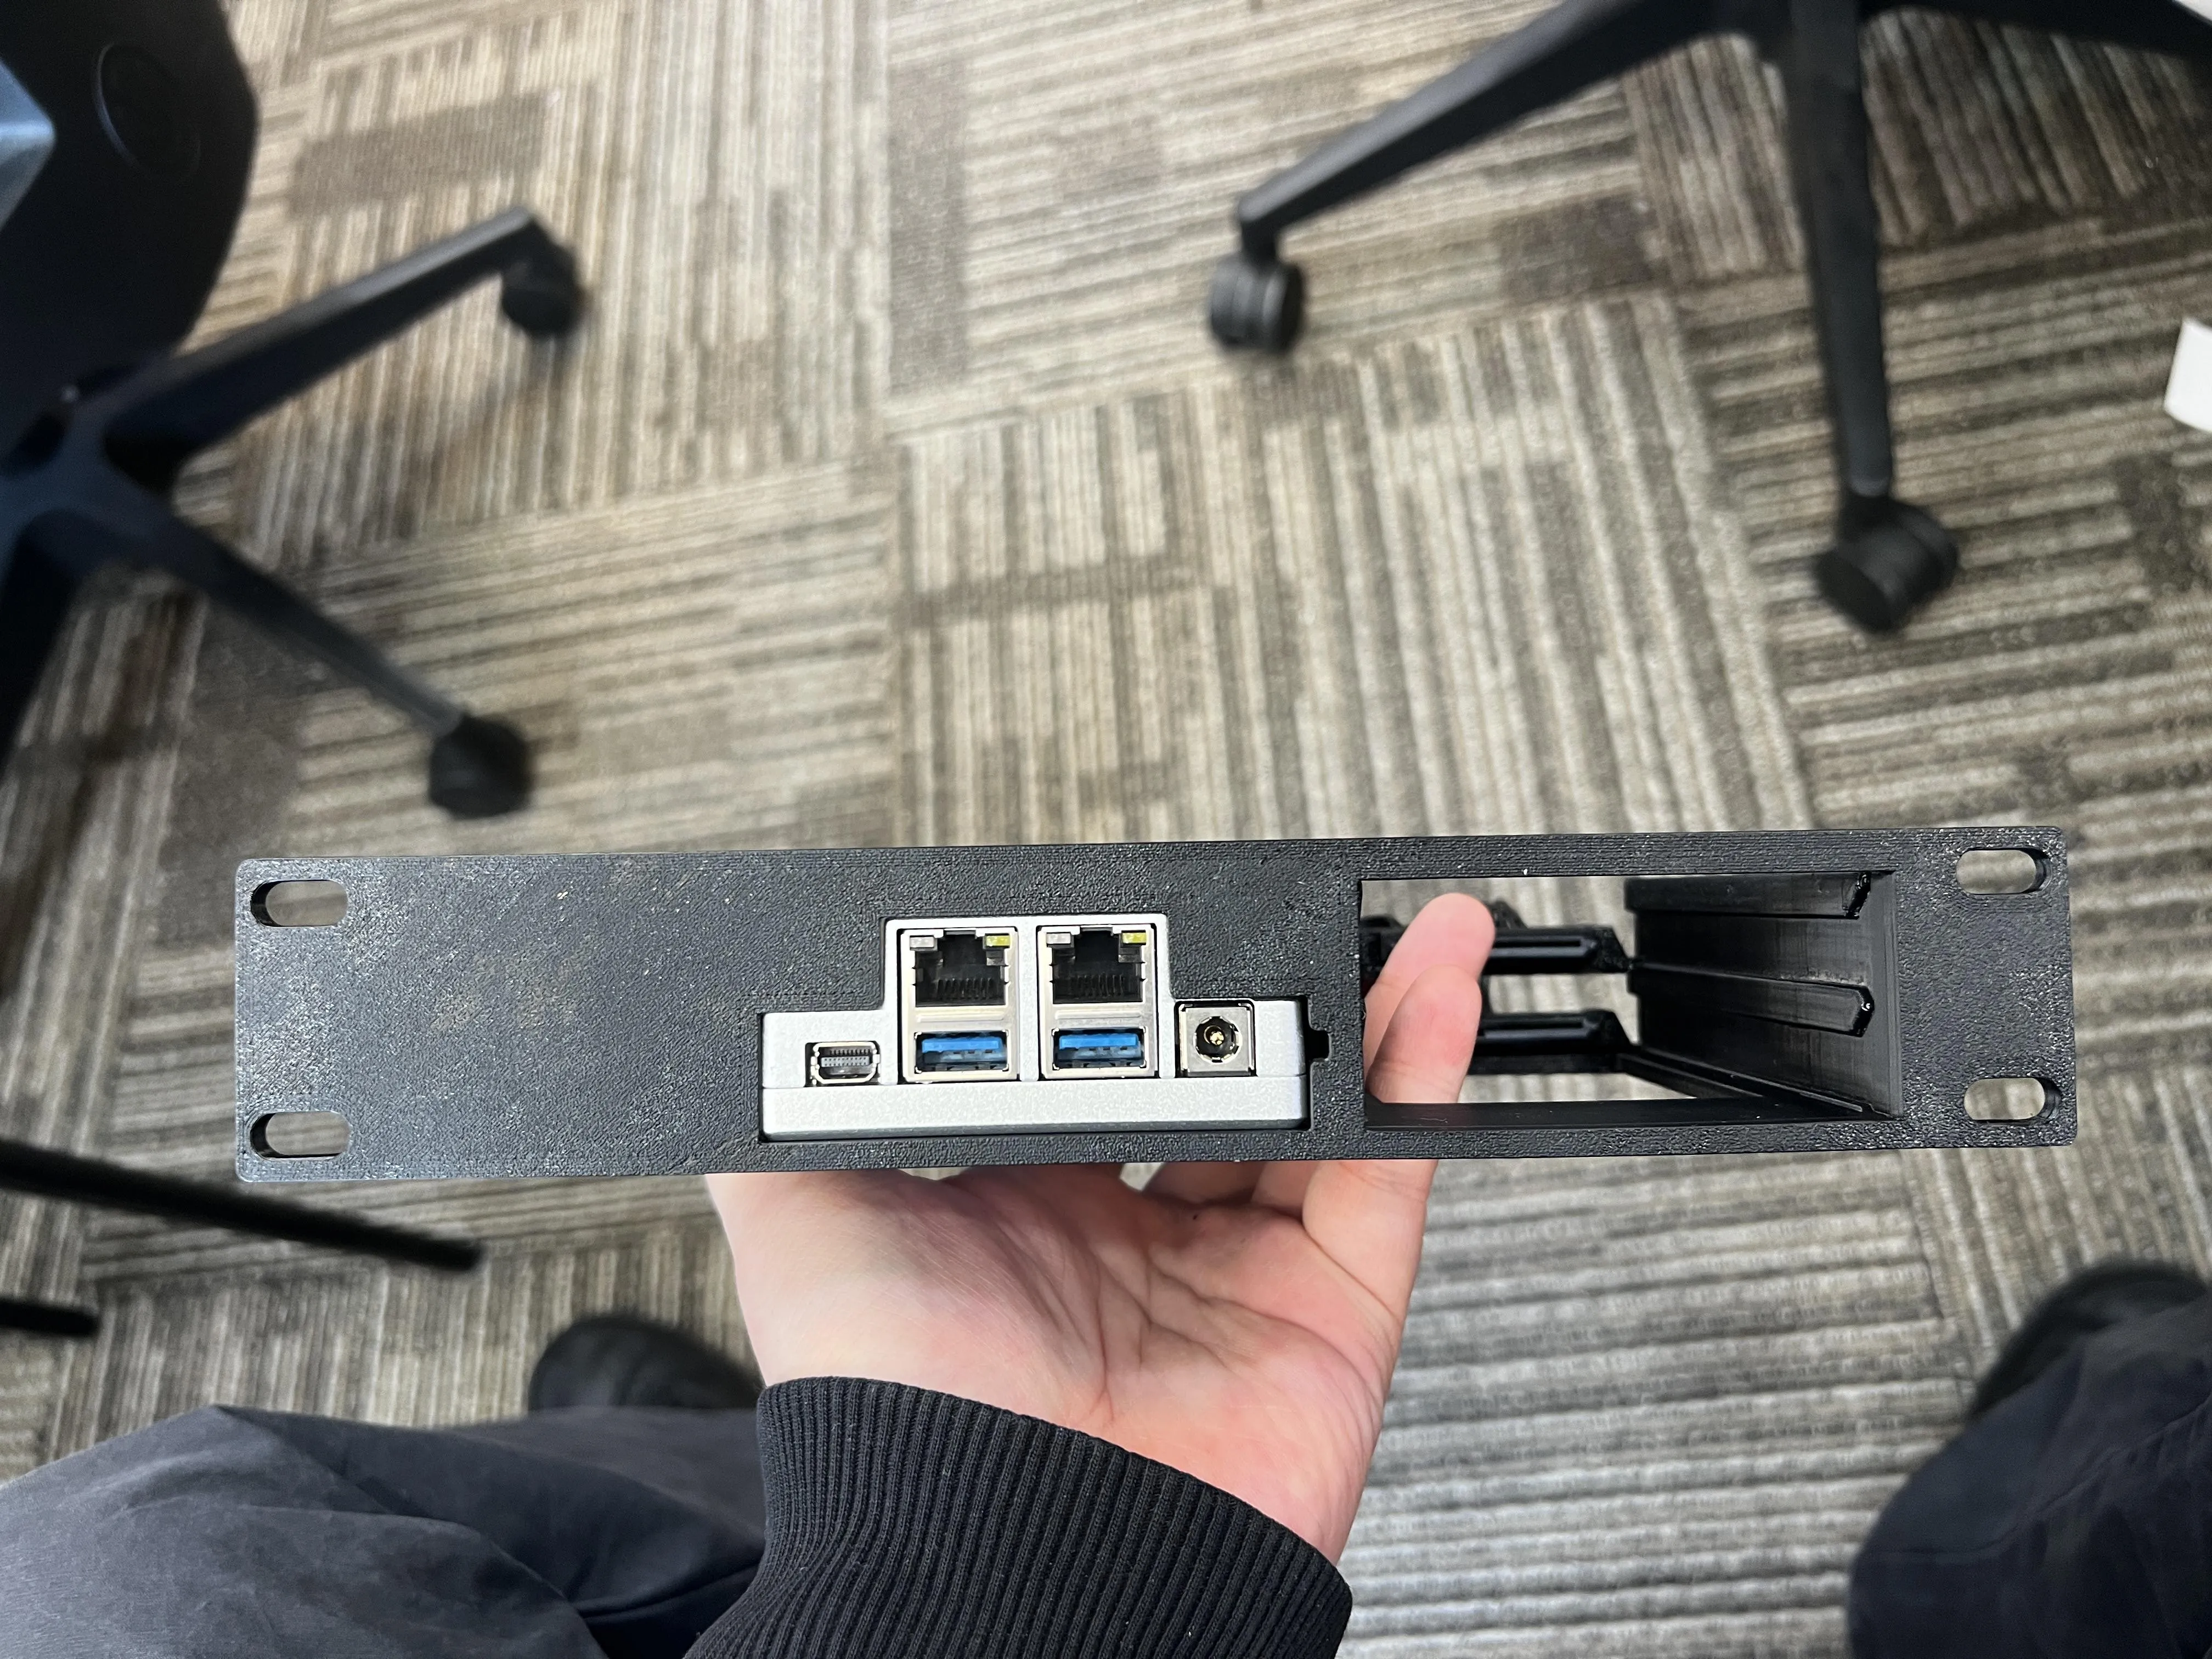
Since the model is designed to push components as far to the right as possible, there’s still room on the left side to add a keystone module or even a PCIe expansion card for the ZimaBoard 2. I hope this project can serve as a starting point to inspire more creative builds from the community.
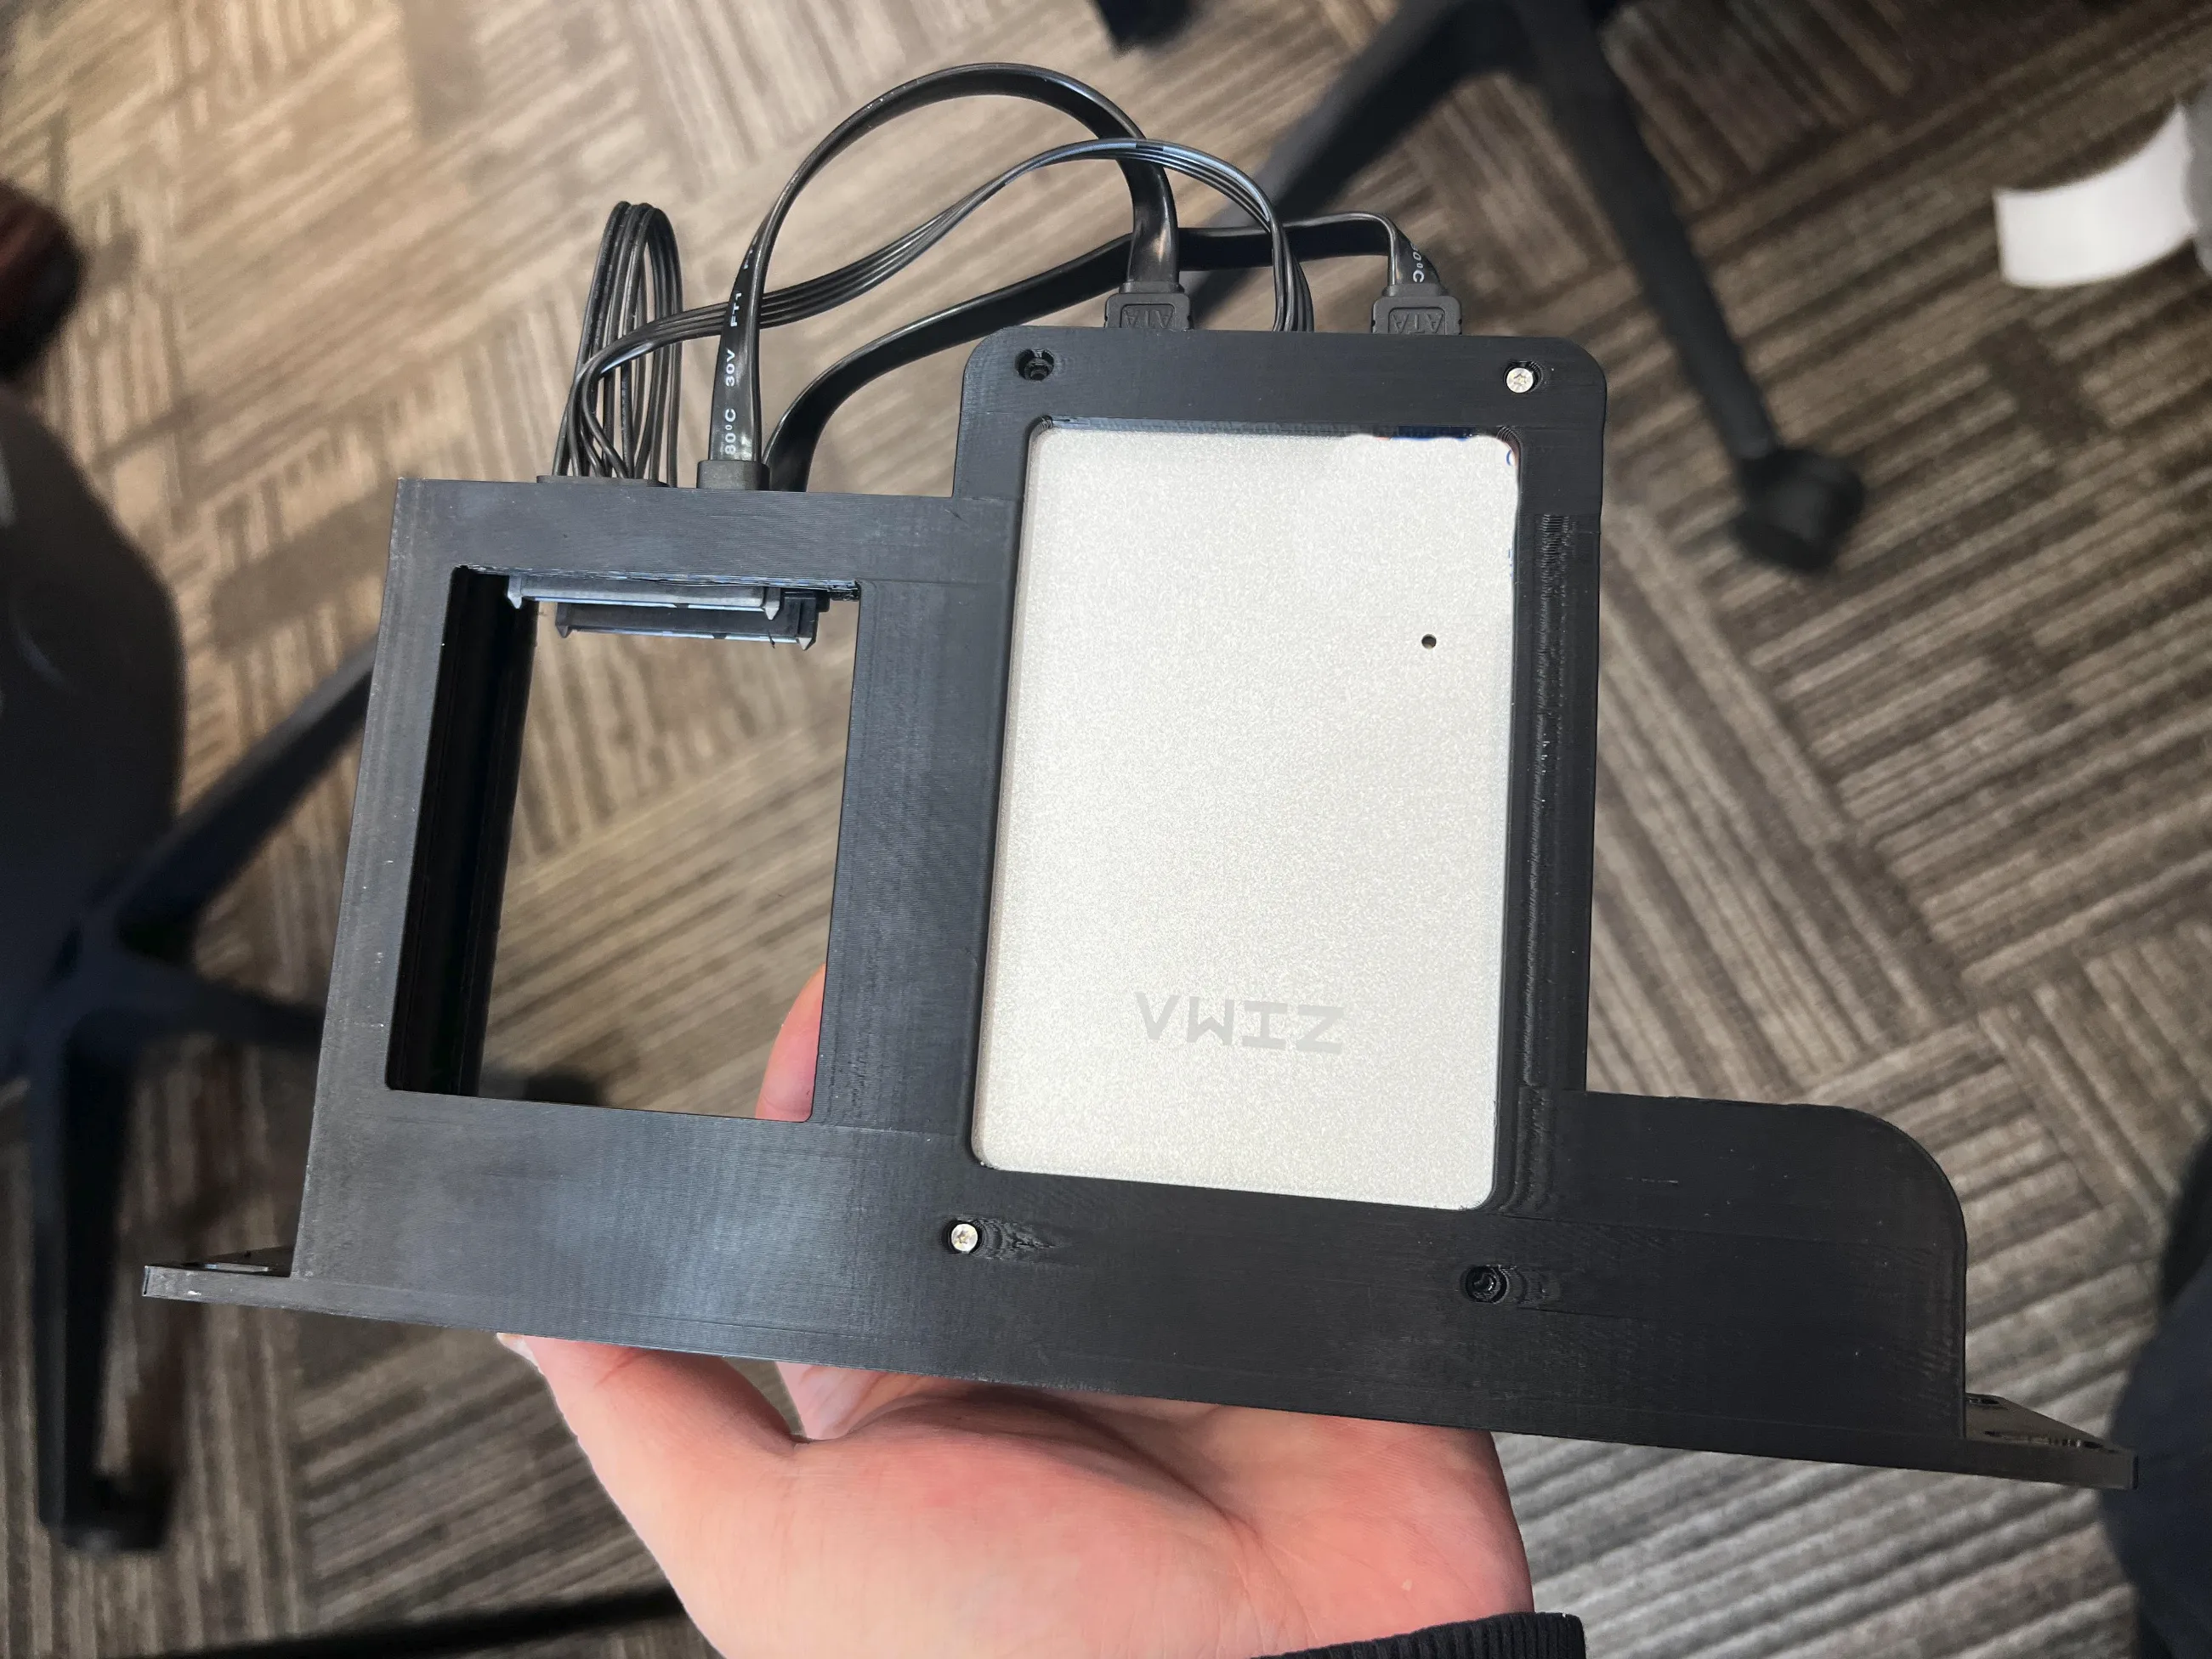
Assembly is also straightforward. I chose to continue using the original SATA Y-cable, so all you need to do is align the notch on the SATA connector with the raised tab inside the drive bay of the model.
To install the ZimaBoard 2, simply unscrew the two diagonal screws on the back, mount the board, and tighten them again.
If you’d like to connect or chat more, feel free to find me in the ZimaBoard Community — @LLLLLLLuke.
Boost Me (for free)
BOOST ME IF U LIKE!THX!

License



Comment & Rating (8)