
Print Profile(2)


Description
Please read before you print.
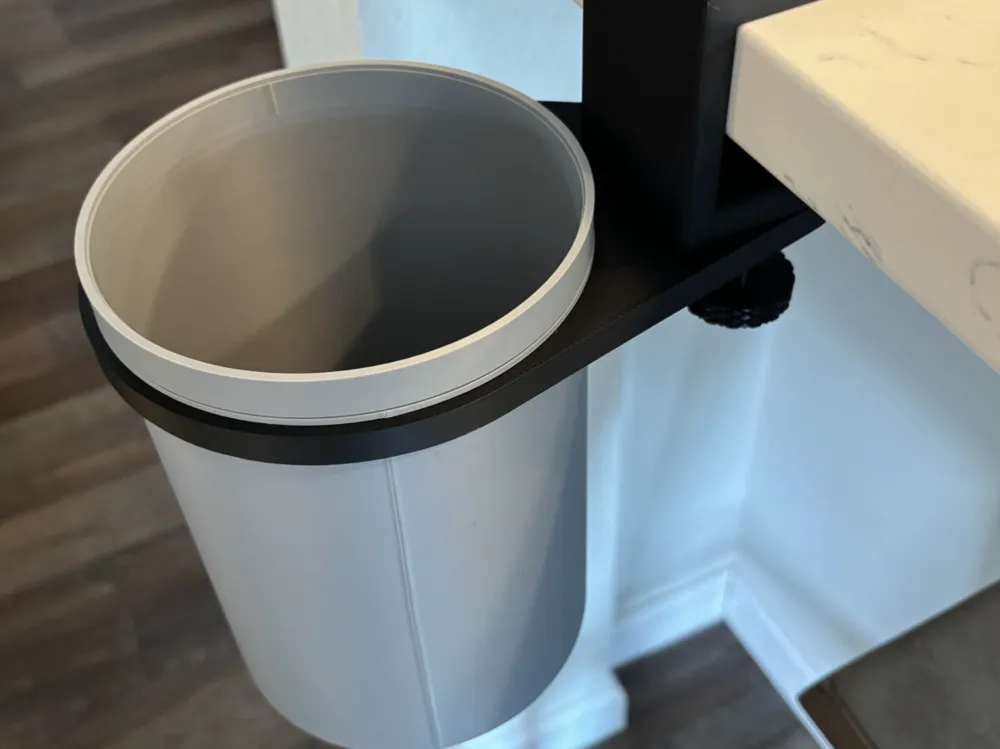
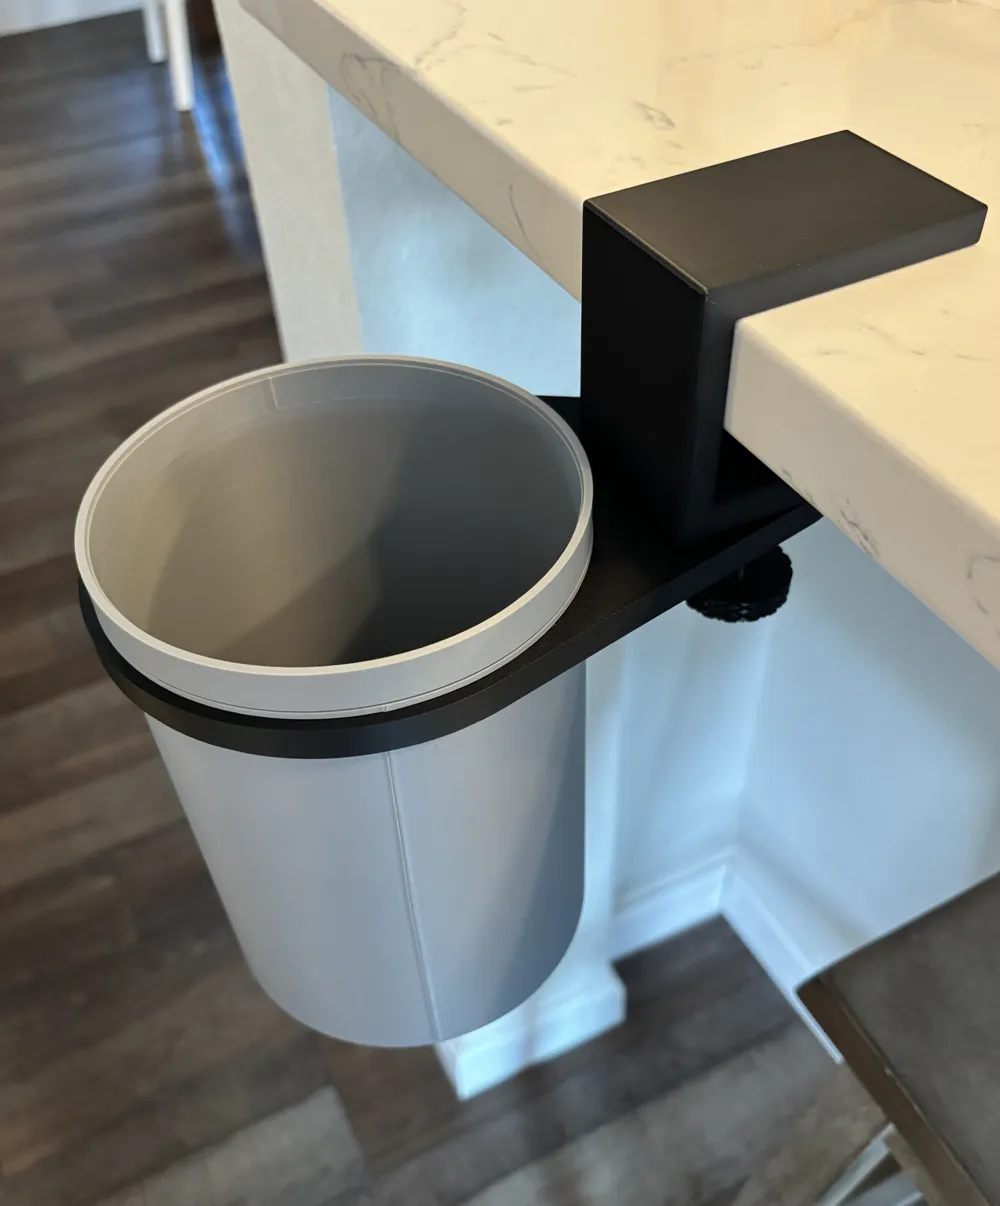
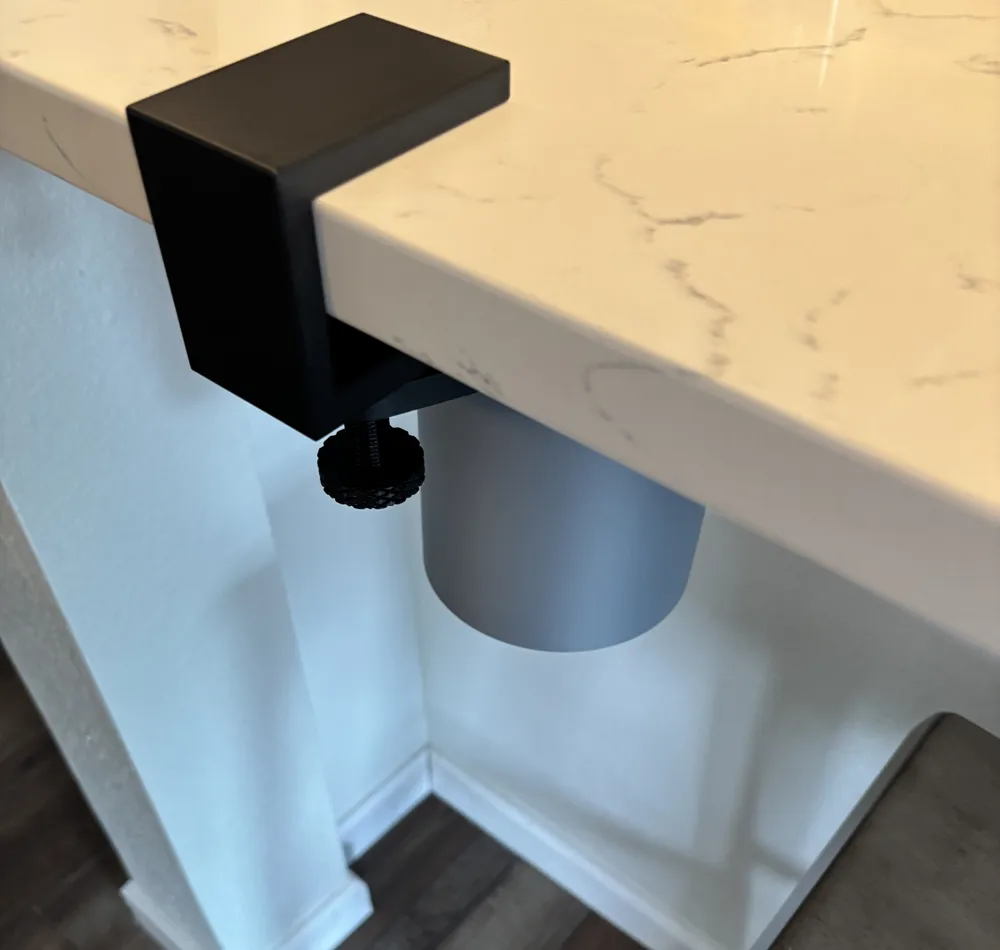
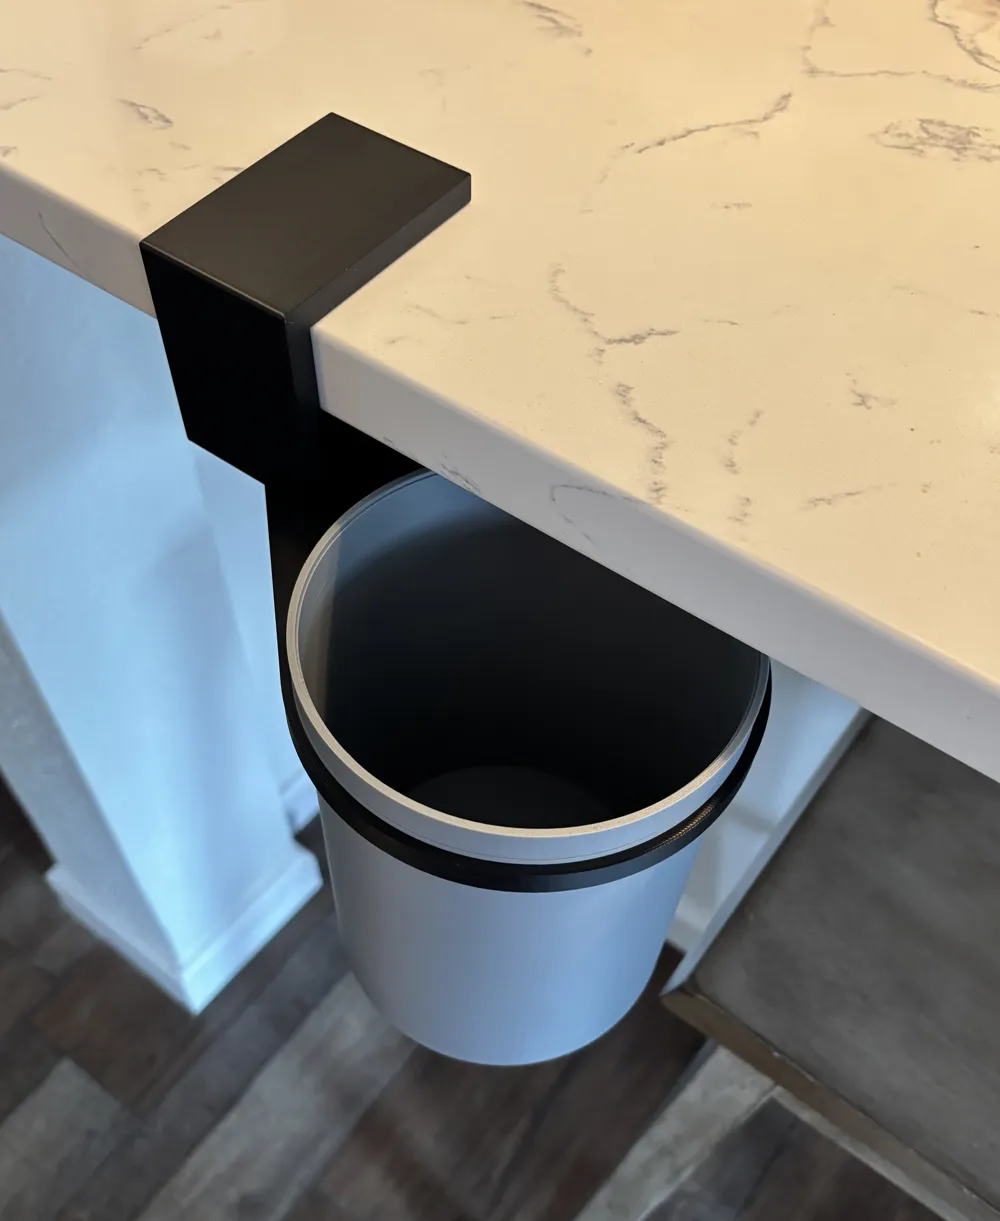
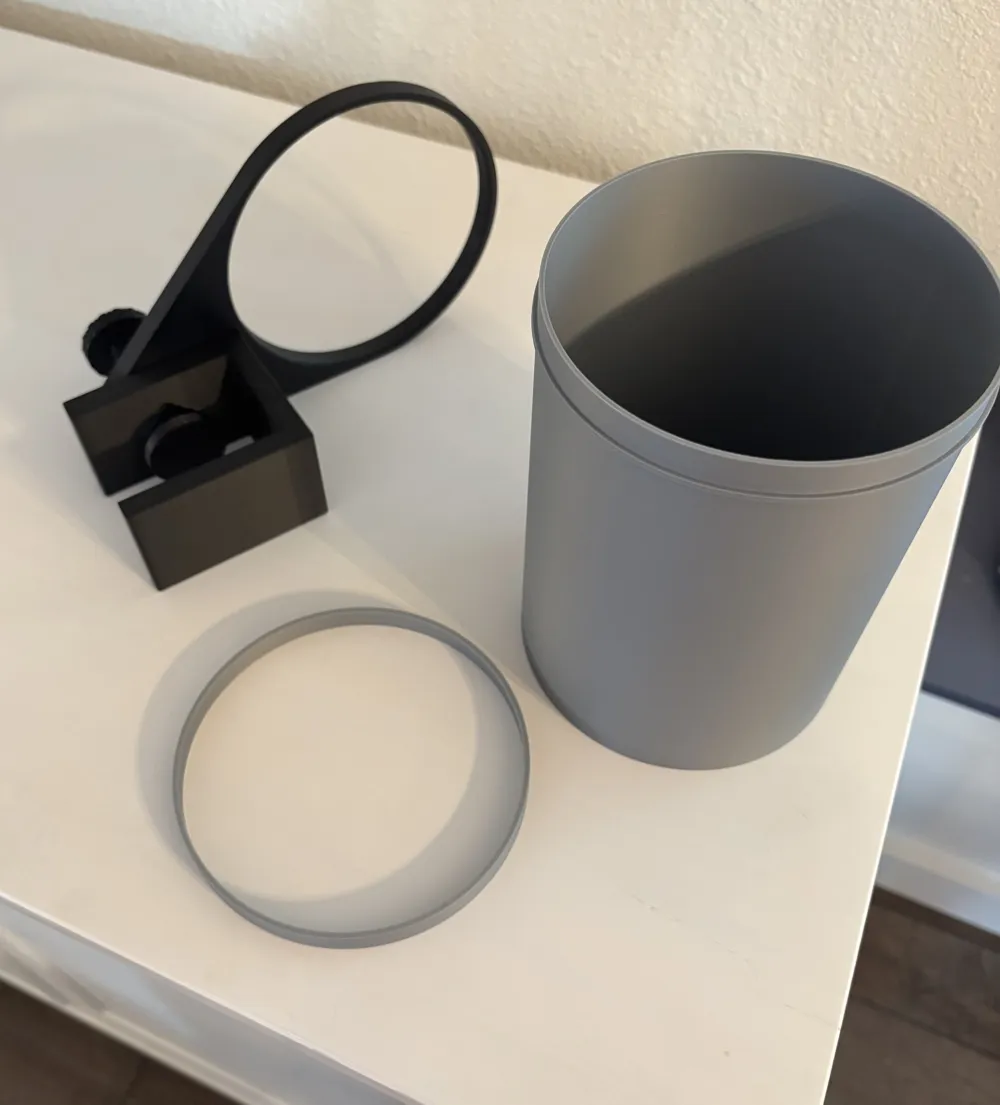
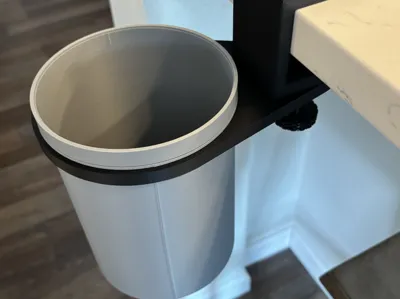
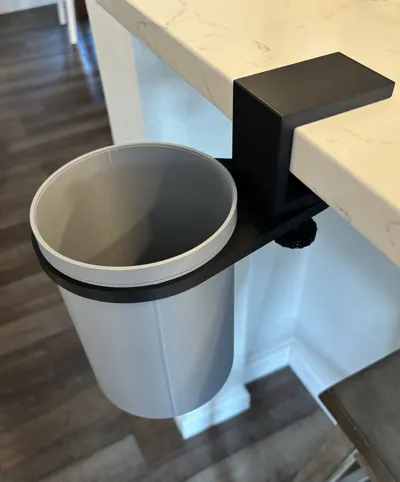
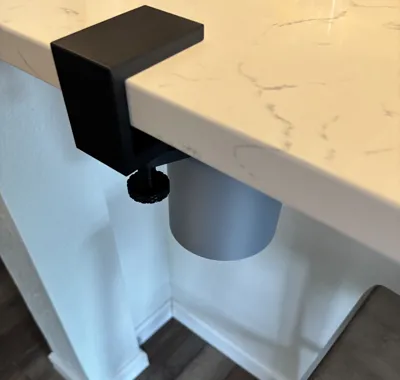
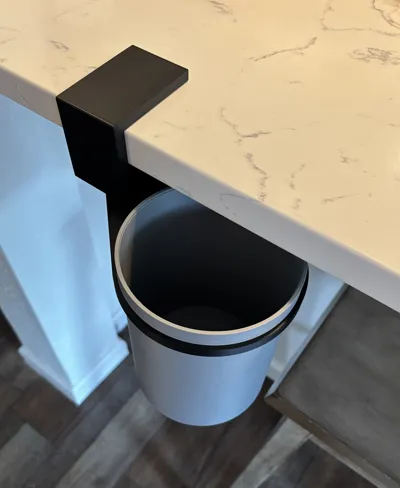
This is a swing away under desk trash bin designed to disappear under the desk, but still be easily accessible. This is my second desktop trash can and if you prefer one that is not hidden away, check my other models.
Boost Me (for free)
Please boost this if you found this model useful.
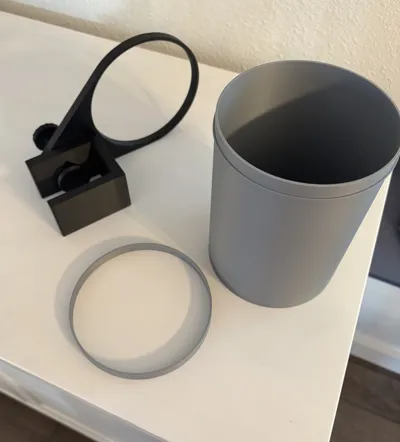
This is a very modular print with each component designed to print without supports. The model uses a 45-degree angle on the rotating interface to increase the bearing surface and spread out the downward force over a larger area. The trash bin retainer ring fits snugly over the rim at the top to keep a trash liner from slipping down in the event trash bags are desired. I use half-gallon bags bought online at Amazon sold by Teivio. Pretty much any ½ gallon bag will do including doggie poop bags.
It is highly advised to print the u-shaped mounting bracket and the trash bin separately on a build plate. On any printer, when cooling time between each layer changes, it can and will affect the overall appearance. Additionally, the trash bin retainer ring is offered in a tighter and looser tolerance. On a BL printer with good filament either will work. One is “tight” and the other is “less tight”. If you want a very loose fit retainer ring, scale x and y only by 100.05 and leave Z alone.
I also strongly encourage using .16MM layer height when printing anything with threads which this model has.
Note that the u-shaped bracket will create a small overhang at the top of the bolt hole but the dimensions have been adjusted such that there is enough play to clear and this part is completely hidden once assembled.
To put together:
-Insert the square head bolt from the top of the clamp
-Place the conical bearing with the narrow side up and through the swing arm and thread it
-Use the printed assembly tool to tighten the conical bearing until snug
-Thread the long screw through the inner part of the square bolt from the bottom
-Place the pressure plate on top of the exposed bolt with the pin from the plate in the end of the hole.
-Tighten it to the desk.
-Insert the can in the swing arm
-Place a bag in if desired and attach with the retainer ring
License

You shall not share, sub-license, sell, rent, host, transfer, or distribute in any way the digital or 3D printed versions of this object, nor any other derivative work of this object in its digital or physical format (including - but not limited to - remixes of this object, and hosting on other digital platforms). The objects may not be used without permission in any way whatsoever in which you charge money, or collect fees.


Comment & Rating (25)