
515mm / 20in Sailboat
Print Profile(1)

Description
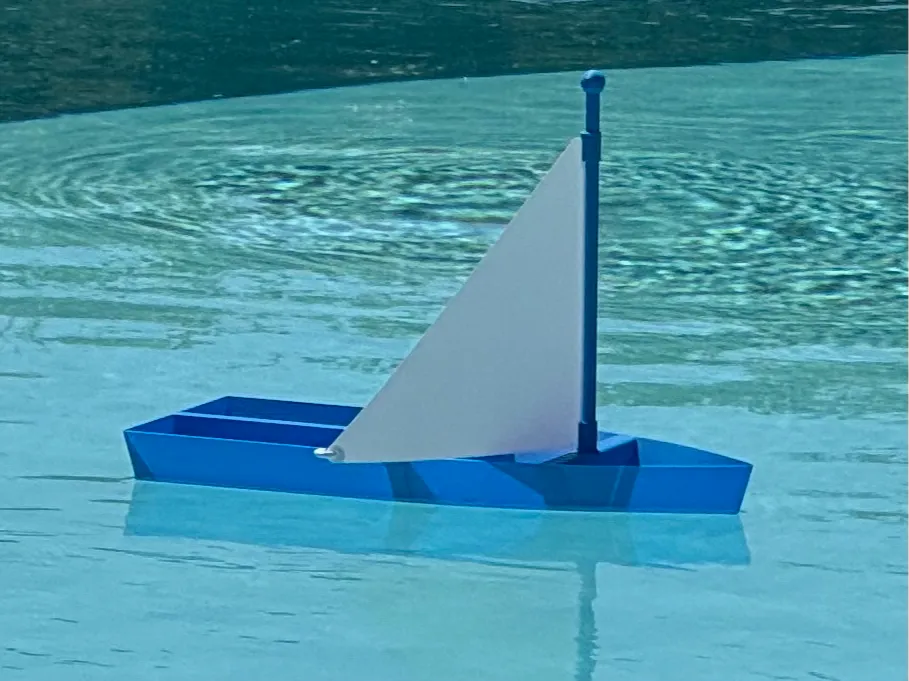


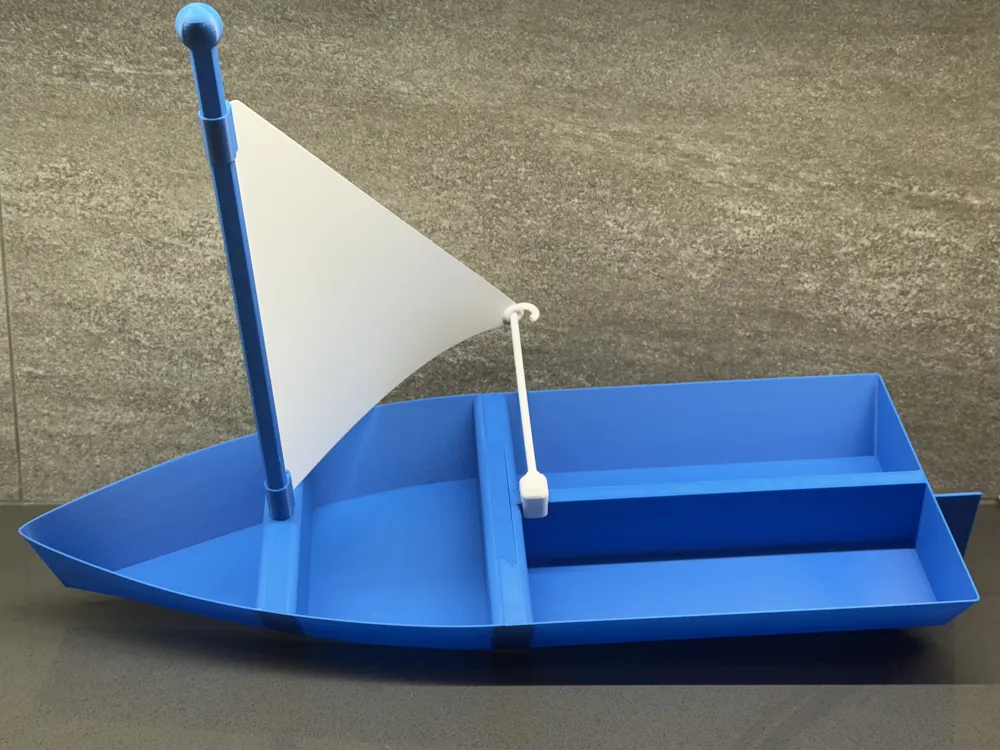
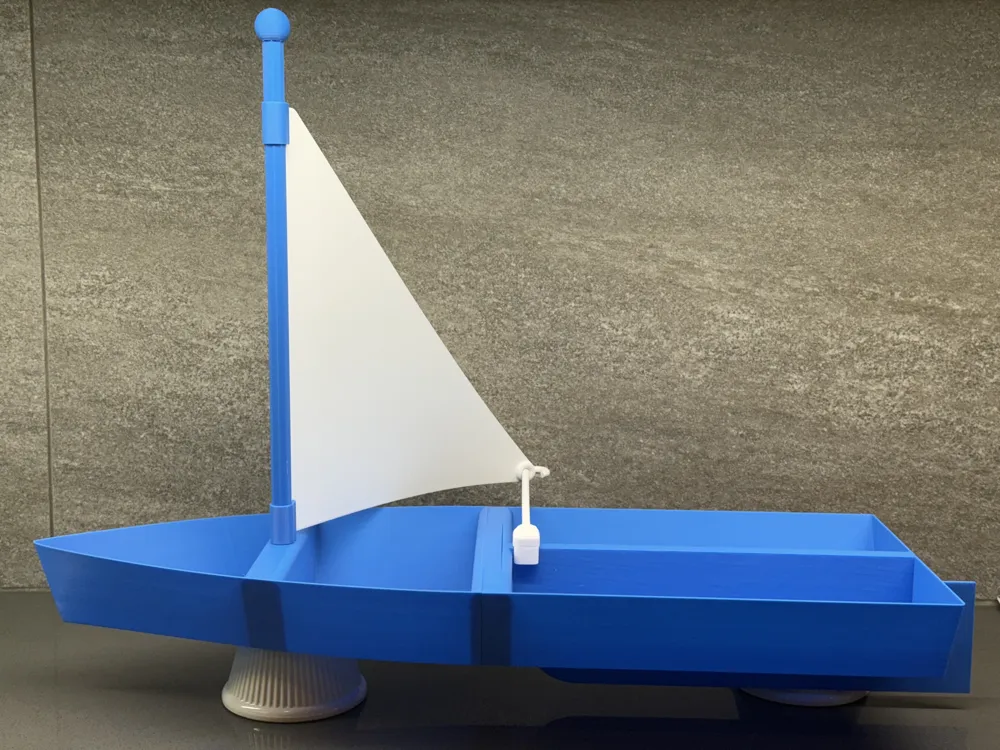
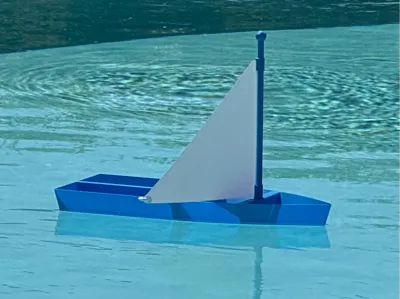
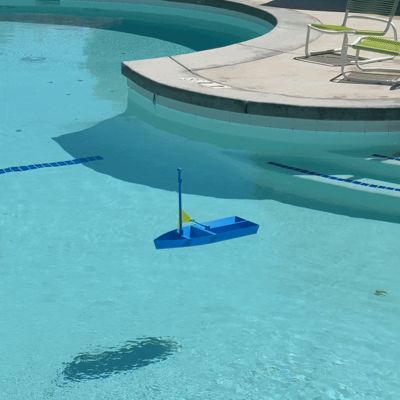
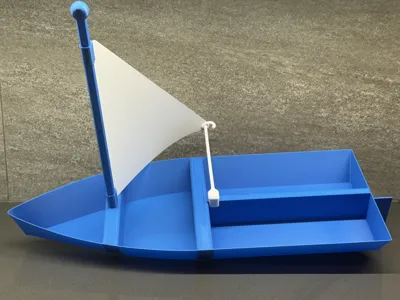
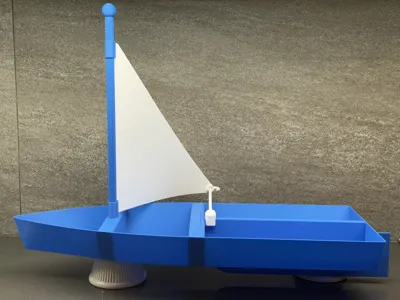
This is a reasonably large 515mm (20") sailboat which actually sails! It's meant to be used in a pool or lake so have fun with it. There are some small parts and pointy pieces so please don't let kids use this unsupervised. This was designed to be printed on the Bambu Labs P1/X1 printers but I think it'll be fine on the A1, too. It does NOT require an AMS, it does NOT require supports or brims, it does NOT require any additional parts or glue, and it is laid out to print efficiently. I made it in 2 colors but you can certainly make it in more or less if you prefer. I used Bambu Labs PETG HF for extended exposure to the sun but it prints equally well in Bambu Labs PLA. I used a smooth PEI plate and thoroughly cleaned it before printing each plate.
Assembly
- After printing all plates, assemble the Bow and Stern by aligning them and pushing them together. It's a tight fit by design so to get them aligned I placed them upside down on a sturdy smooth solid surface and pushed down on both pieces.
- With those pieces still upside down, place the Keel in the slot on the bottom of the Stern and press in place.
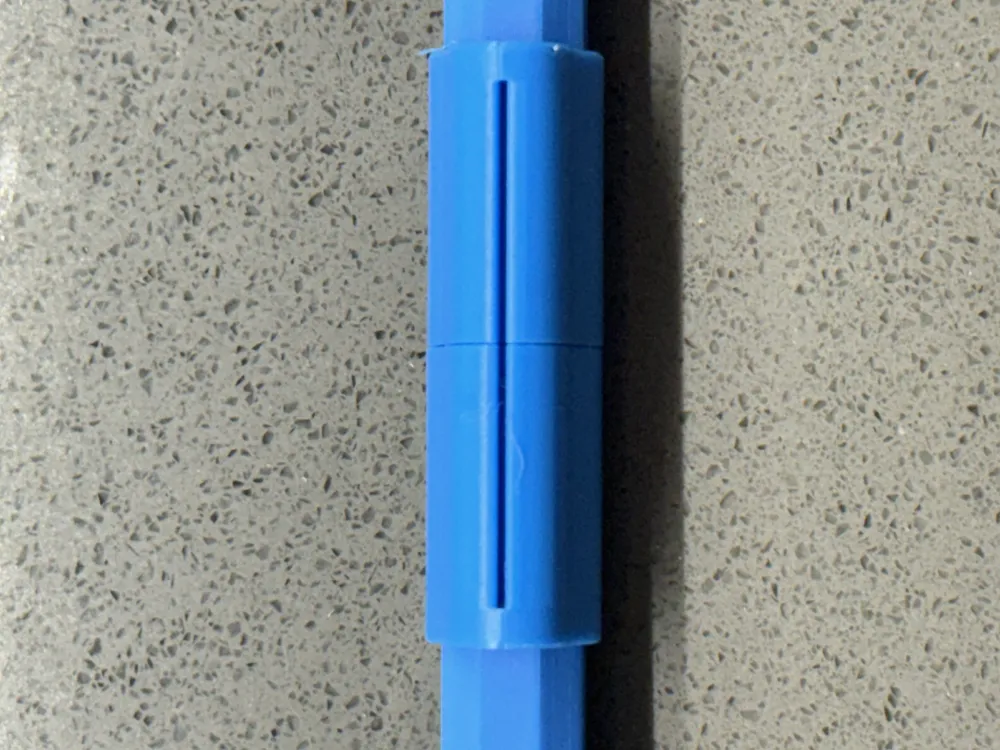
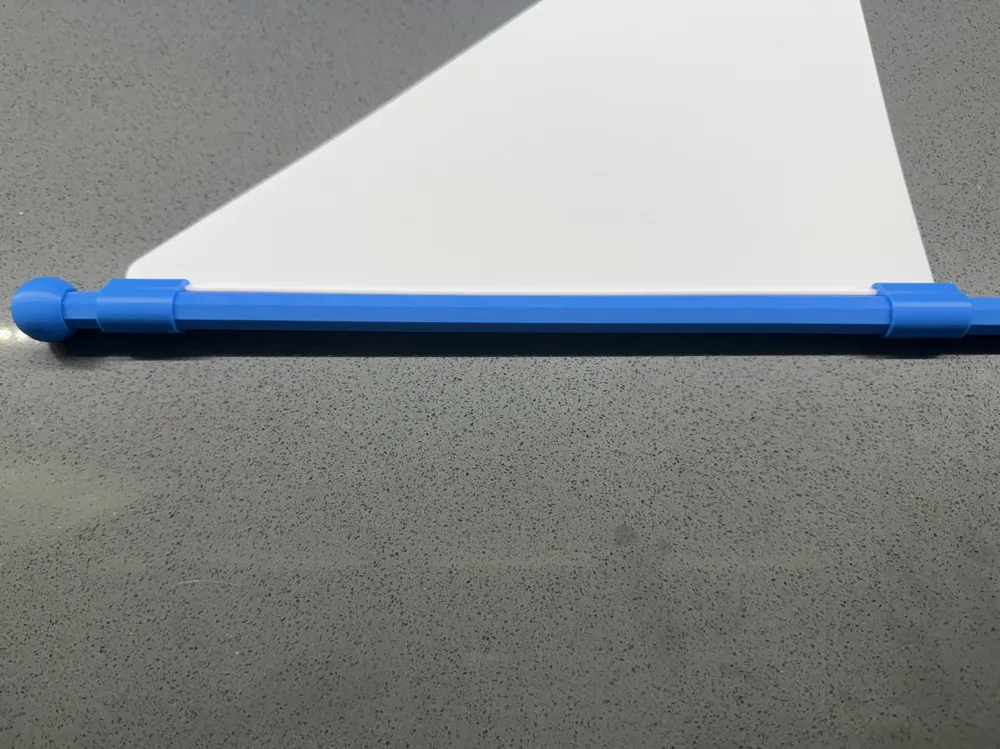
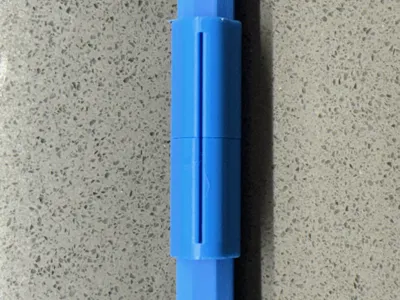
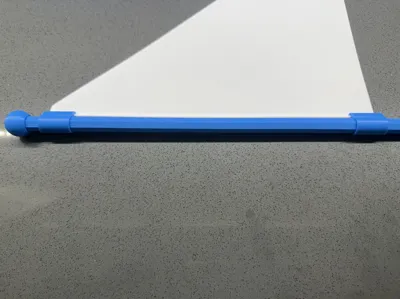
- Place the Sail Holders on the Mast as shown in the picture so they form a continuous slot in the center.
- Press the Masthead on one end of the Mast.
- Spread the Sail Holders apart and place the long edge of the Sail in the Sail Holder slots with the rounded point of the sail closest to the Masthead.
- Bring the Sail Holders together so they hold the sail on the Mast.
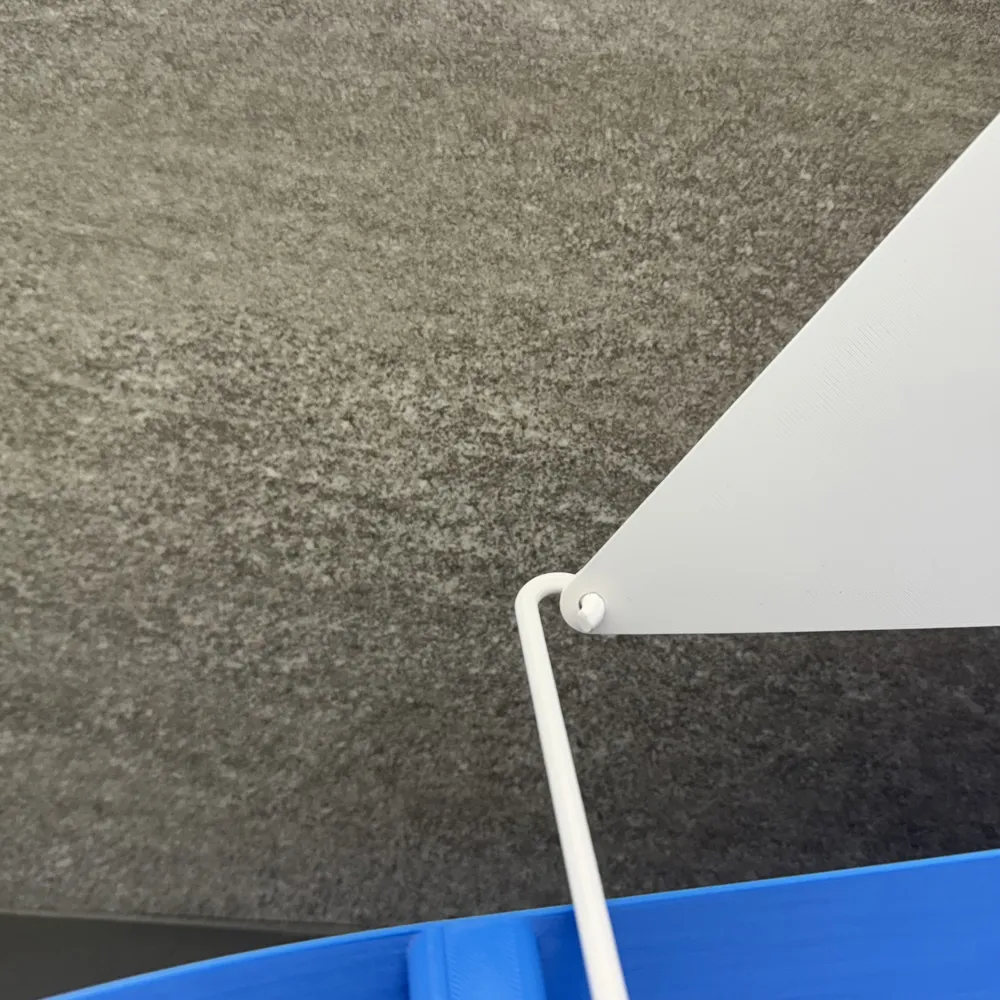
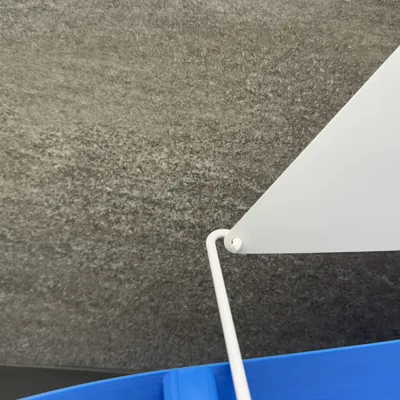
- Place the end of the Sail Adjuster through the hole in the Sail as shown in the picture and rotate it so the hole is on the straight part of the Sail Adjuster.
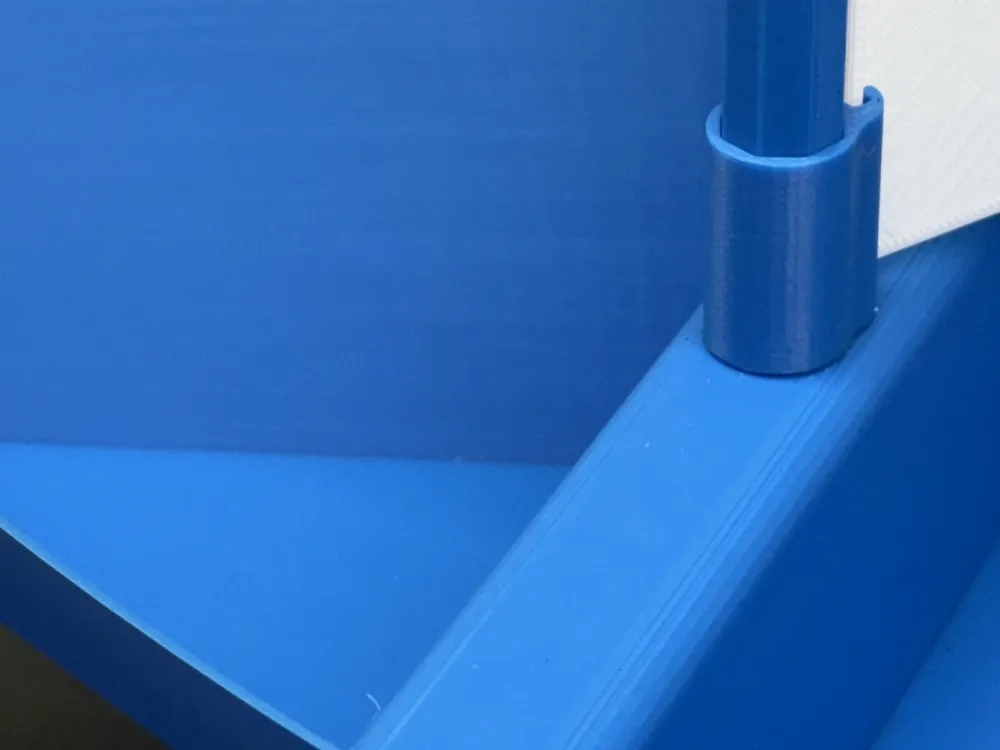
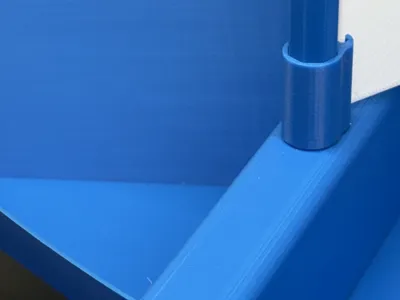
- Press the Mast into the matching hole on the Bow and press the Sail Adjuster onto the rib at the centerline of the Stern.
- Go sailing!
You can slide the sail adjuster fore and aft along the centerline rib if you want to adjust the angle of the Sail. You can make additional Sails in different colors and they can be replaced by raising the top Sail Holder to the Masthead, swapping Sails, and bringing the Sail Holder back down to keep everything in place.
Background
I wanted a decent-sized sailboat for an event at a site with a pool. I couldn't find anything online so I decided to make my own. Dividing the hull into two pieces let me make a boat as large as I wanted on my Bambu Labs P1S. I've only been designing and 3D printing for a little over a year so this took a number of revisions to get right. I think the end result prints well and with little waste, assembles easily, and sails well. Please let me know if you have questions or trouble since this is the first large project I'm sharing! If anyone out there uses this, I hope you have fun with it.
Boost Me (for free)
Please give me a boost if you had fun with this. Because I'm an amateur it took a lot of work and filament to get to this version.
License



Comment & Rating (6)