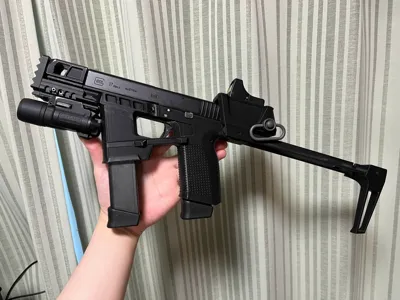
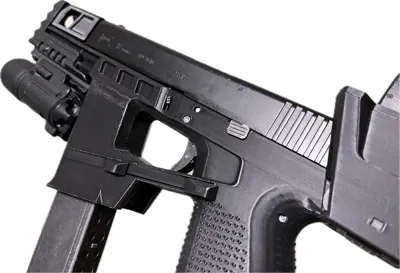
Glock Conversion Kit (for Marui 17 Gen4)


Print Profile(1)

Description
This is a conversion kit exclusively for Tokyo Marui Glock 17 Gen 4
* Do not use for airsoft other than Tokyo Marui Glock 17 Gen 4
* We do not accept any requests or questions about airsoft models other than those mentioned above
【Disclaimer】
This data is a 3D model intended for airsoft (toy gun) use and is not intended for use as a real firearm or weapon, or for any equivalent acts
Strictly prohibited is the use of this data for criminal acts, legal violations, or acts that cause harm to others
The creator bears no responsibility for any damages, troubles, accidents, or disputes with third parties arising from the use of this data
Use of this data is at your own risk
Furthermore, we cannot guarantee the safety, accuracy, or suitability of this data Content may be changed or deleted without notice
Required parts
m3*5 screws x 1
m3*6 screws x 3
m3 nuts x 2
m5 nuts x 2
6.5*10 springs x 2
7*12.5 springs x 2
9.5*19 springs x 1
m5*20 screws x 2
7*12.5 springs x 3
① Disassemble the Glock referring to this article
https://armsweb.jp/report/2444.html
② Attach parts to the frame in reverse order
③ Glue the rail (If you have an A1, print it attached)
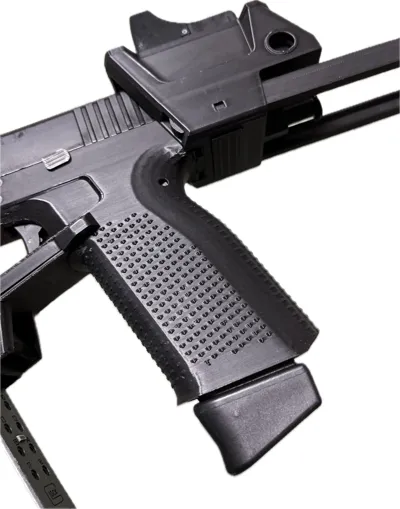
③ Attach the magazine catch and spring
* The m2 screw is a mistake, it should be m3
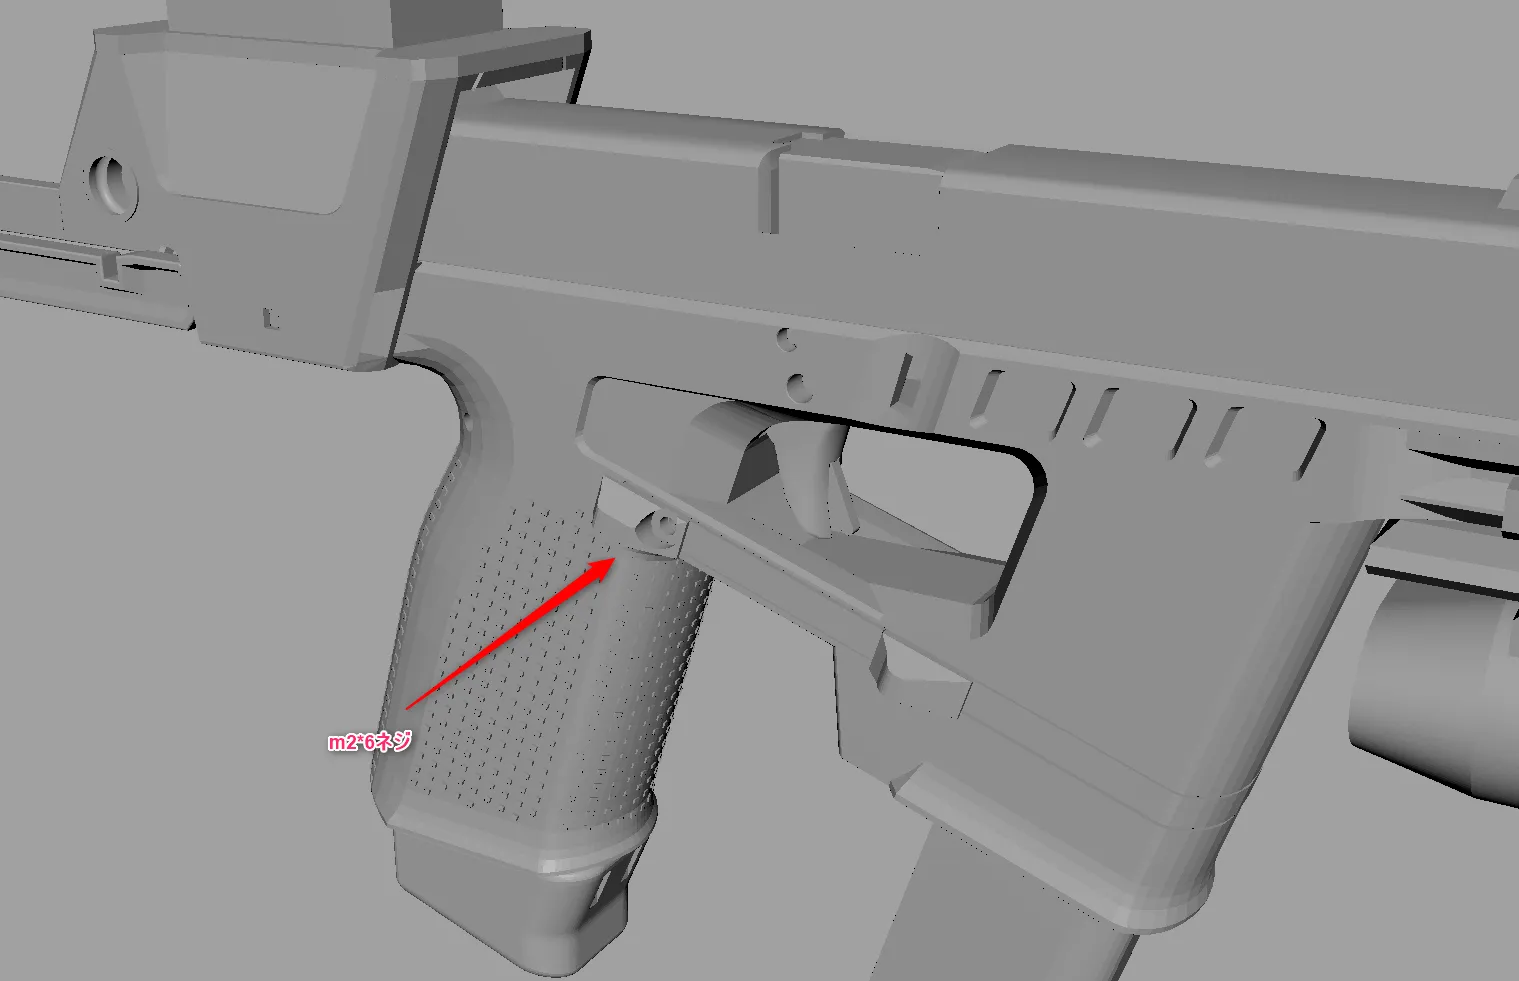

* The smoother side goes down, otherwise the magazine will fall out
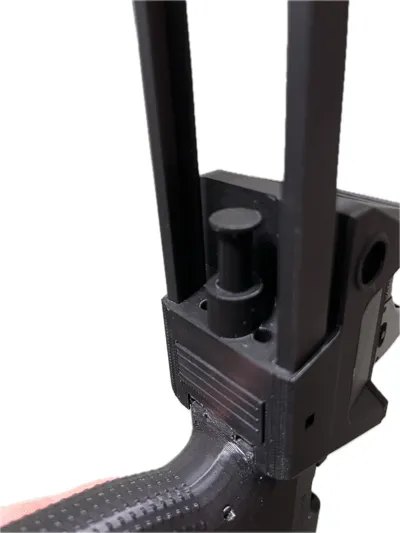
④ Attach the rear block to the frame (If you have an A1, print it attached)

⑤ Insert the spring and then the stock lock
* It's easier to hold the spring down with masking tape or similar

⑥ Align the hole in the stock lock and insert the stock lock pin
⑦ Insert the stock rail from the front side of the rear block
⑧ Attach the stock to the stock rail and secure it with the stock pin
⑨ Attach the mount plate
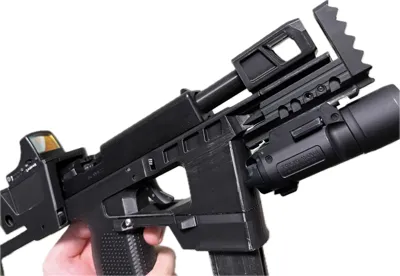
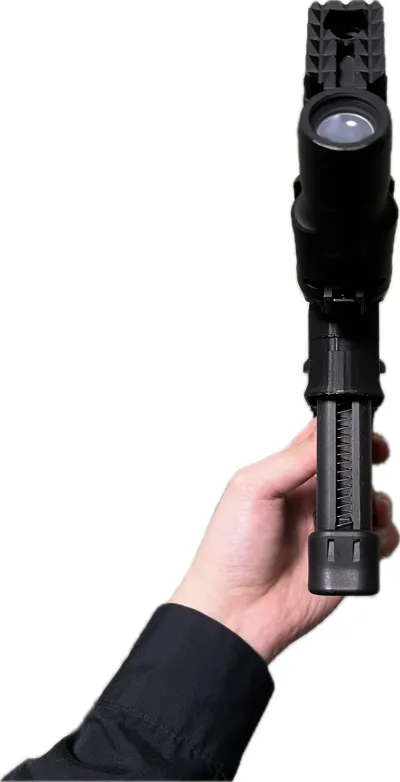
⑩ Attach the barrel, hider, sight, light, and strike plate as desired
* The order of ⑤, ⑥, ⑦ cannot be changed

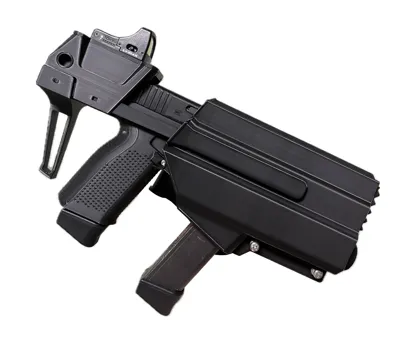
⑪ Assemble the holster
* Depending on the type of attachment, it may not fit into the holster, please adjust the model

License
You shall not share, sub-license, sell, rent, host, transfer, or distribute in any way the digital or 3D printed versions of this object, nor any other derivative work of this object in its digital or physical format (including - but not limited to - remixes of this object, and hosting on other digital platforms). The objects may not be used without permission in any way whatsoever in which you charge money, or collect fees.
Comment & Rating (88)