
Rotating Turntable with Advertising Banner
Print Profile(1)

Bill of Materials


Description
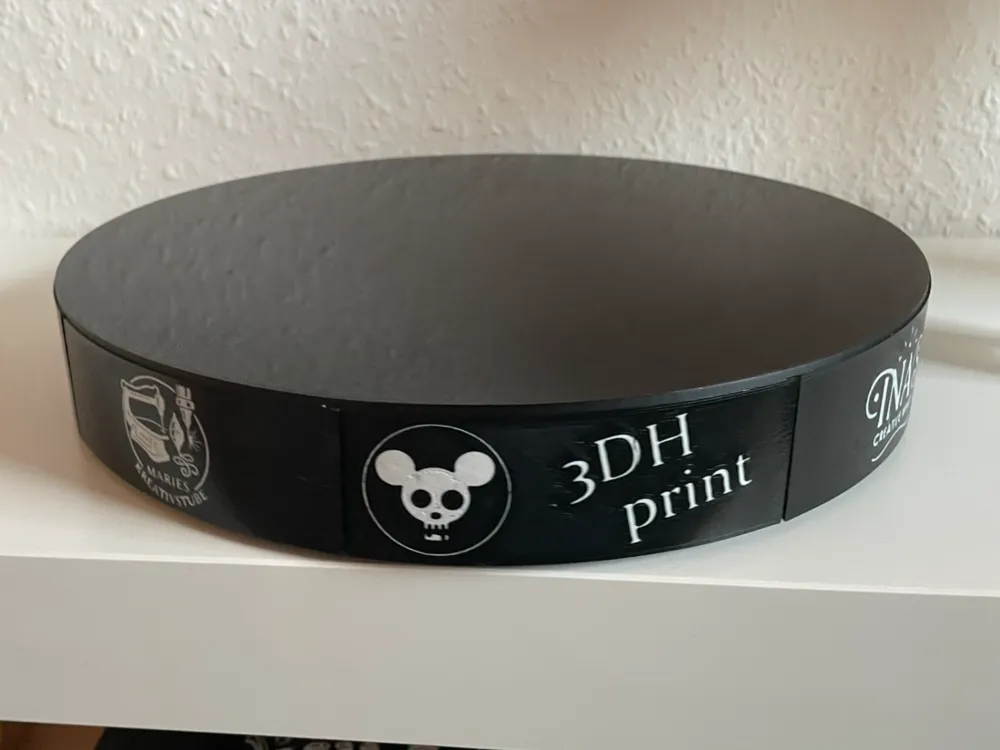
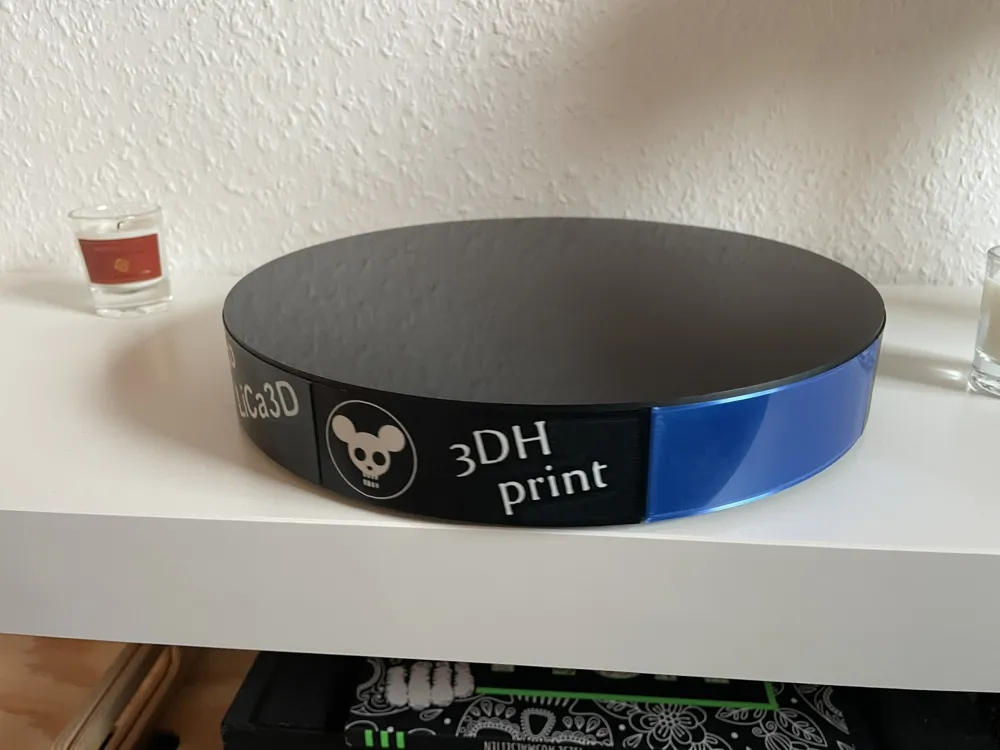
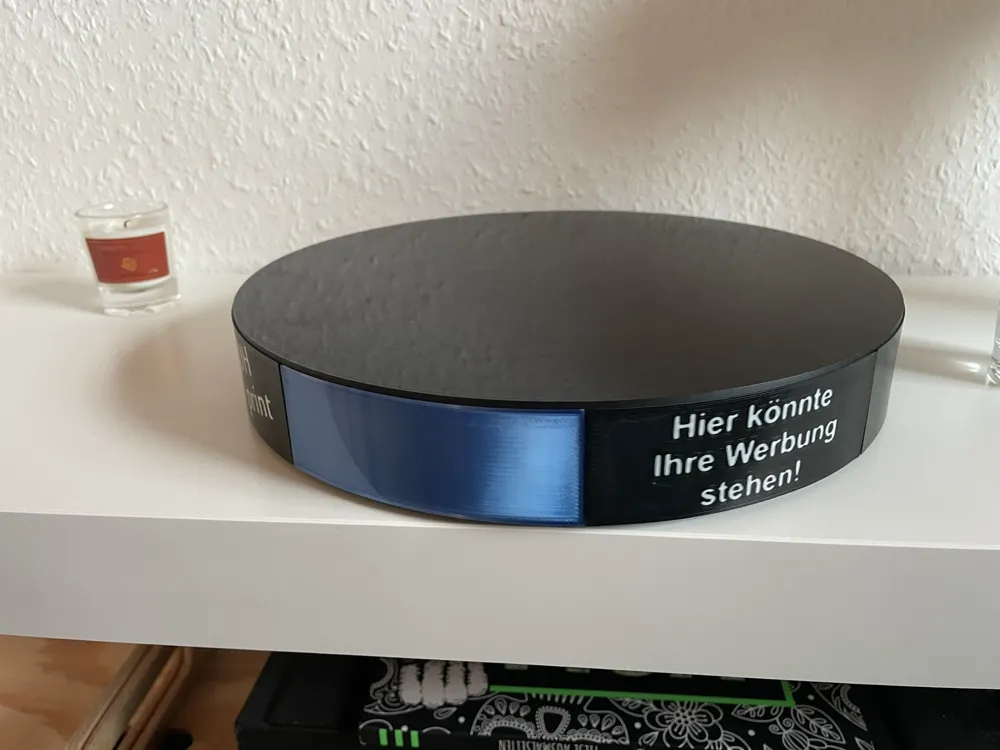
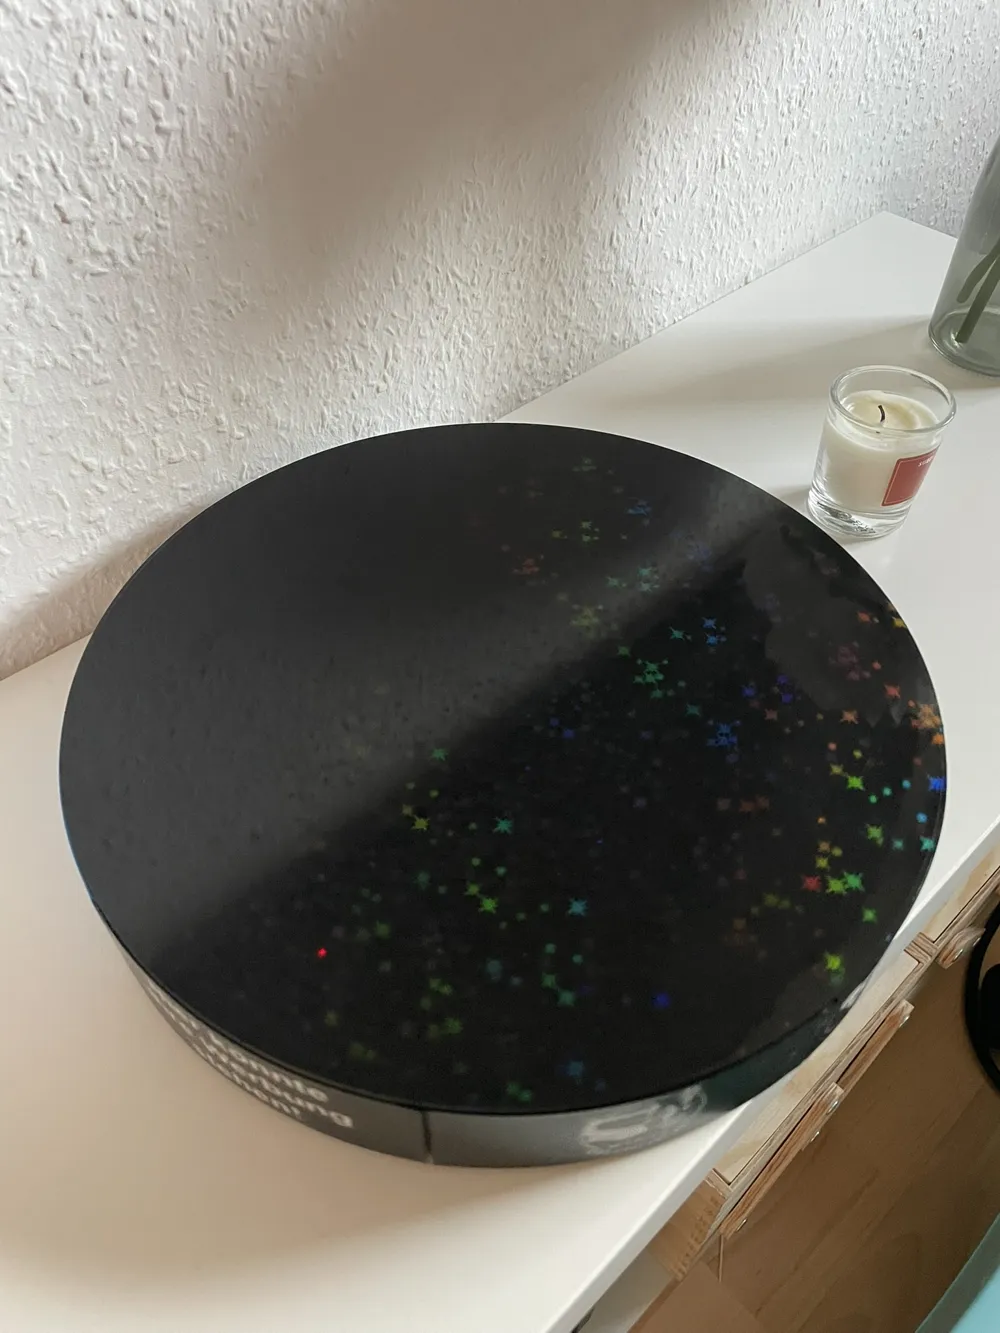
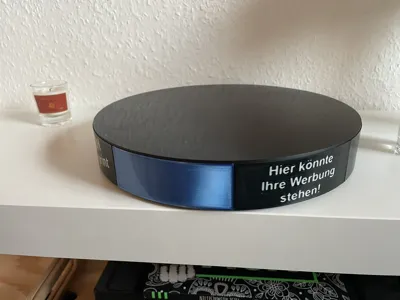
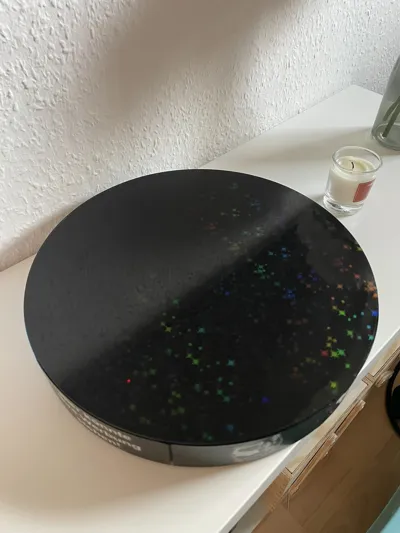
✨ Stylish Presentation – The Modular Turntable with Customizable Advertising Banners ✨
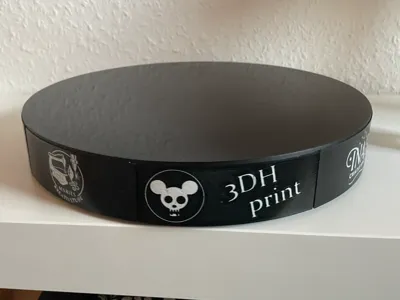
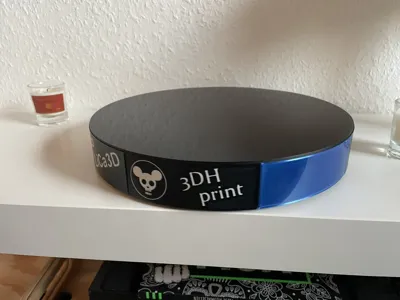
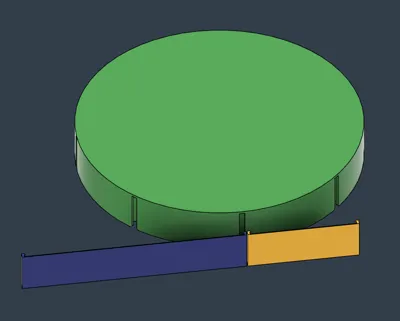
Whether it's a trade fair, sales stand, or display case – this 3D-printed turntable puts your products in the spotlight!
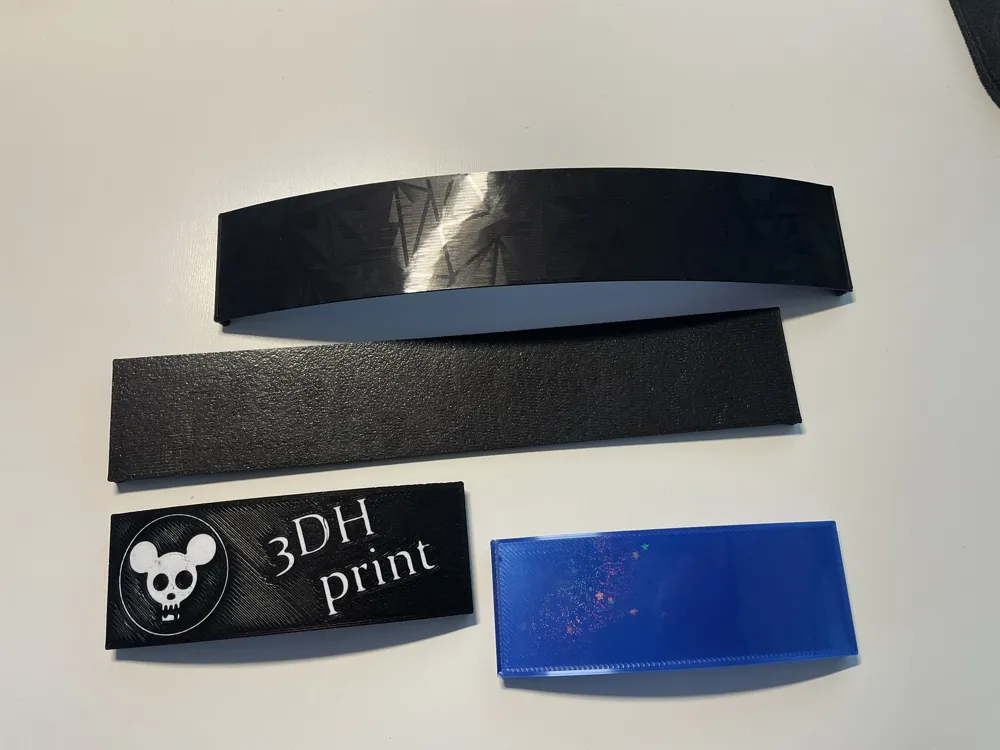
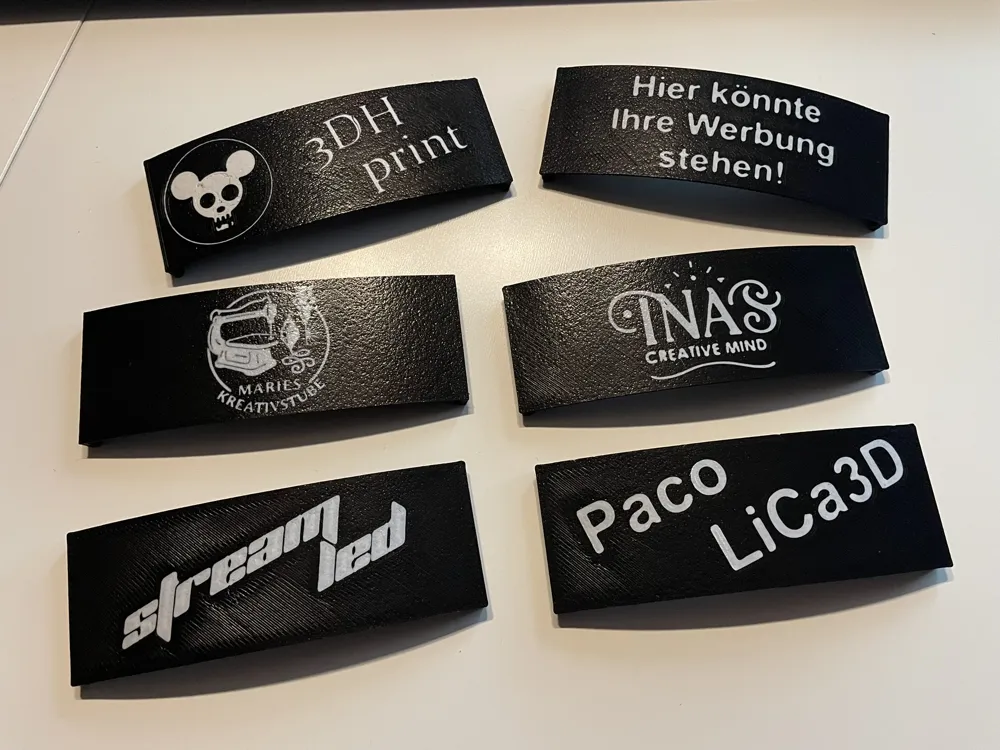
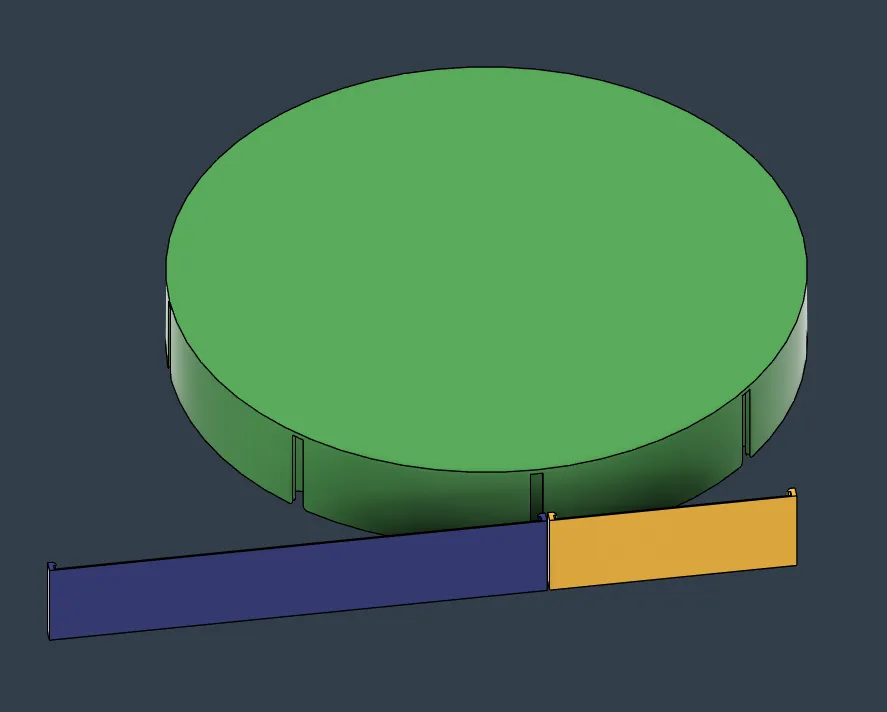
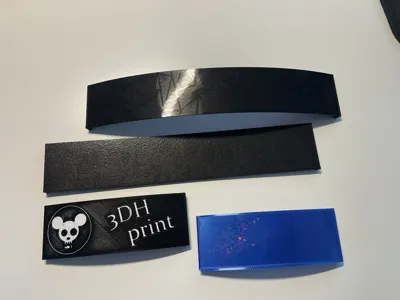
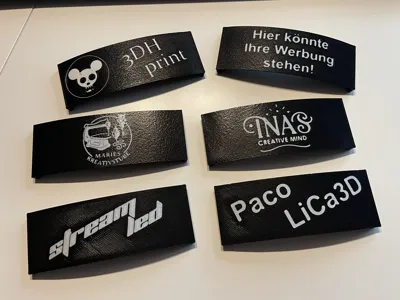
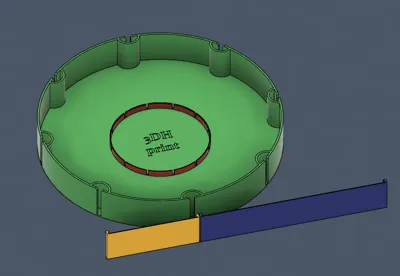
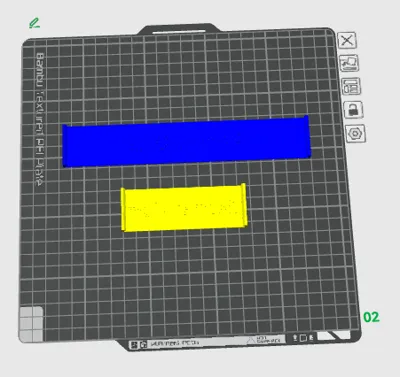
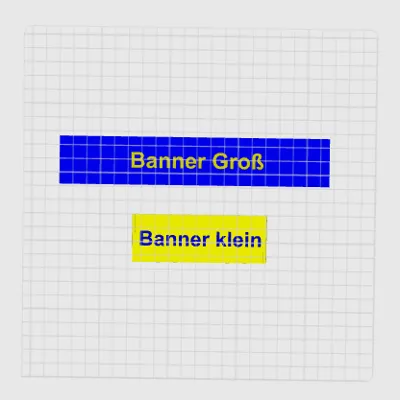
And the best part: With the lateral slits, you can insert interchangeable advertising banners that you can label with, for example, Bambu Studio. This makes every presentation an eye-catcher!
🔹 Two banner sizes for maximum flexibility
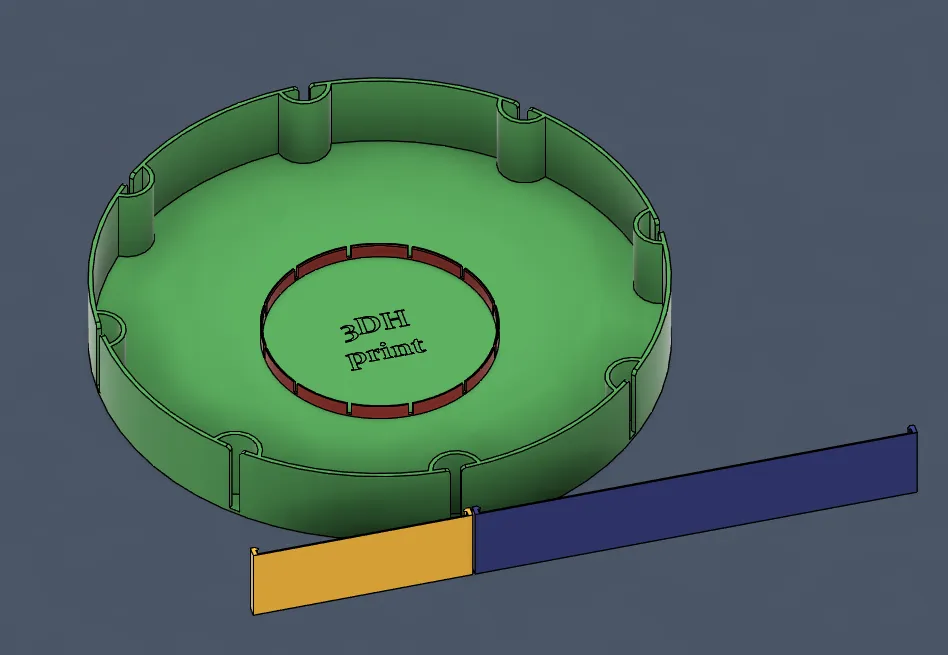
🔹 Variably adjustable centering – suitable for many different turntables
🔹 Easy banner change – ideal for changing promotions or brands
🔹 Compact, sophisticated design – fits into any presentation area
🔹 Perfect for product presentations, exhibitions, or shop windows
Make your product a star – with this elegant and customizable turntable. Discover and customize it yourself on Makerworld now!
🖨️ Printing instructions for the presentation turntable with advertising banner holder
Files:
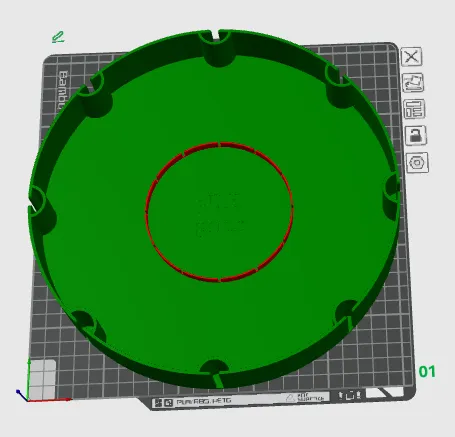
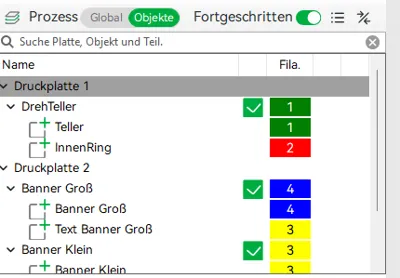
- Turntable
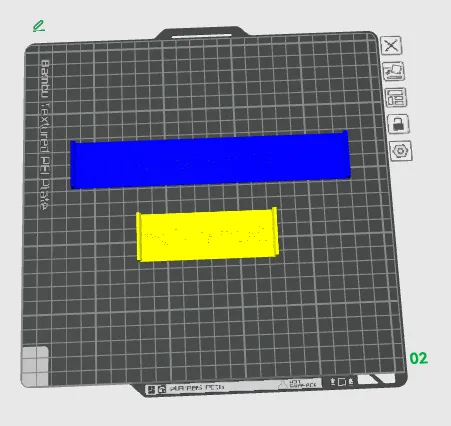
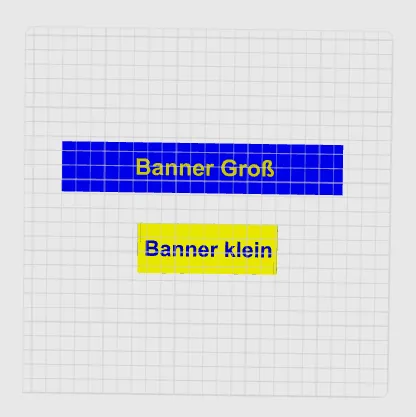
- Large banner
- Small banner
Print settings:
- Layer height: 0.2 mm (recommended)
- Infill: approx. 15–20 %
- Support structures: Not needed
- Materials: PLA, PETG or similar common filaments
🛠️ Adapting to different turntable sizes:
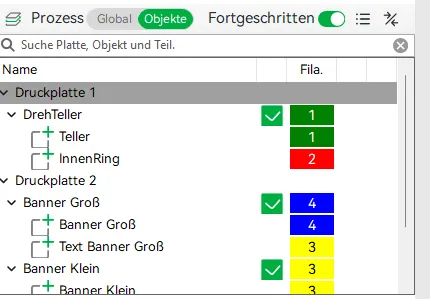
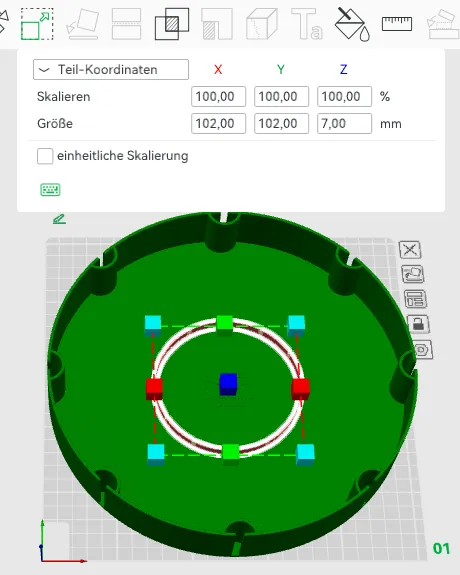
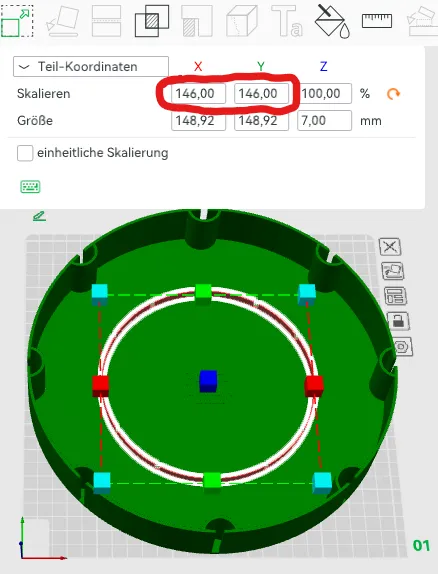
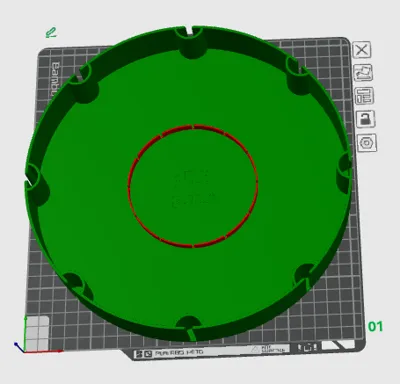
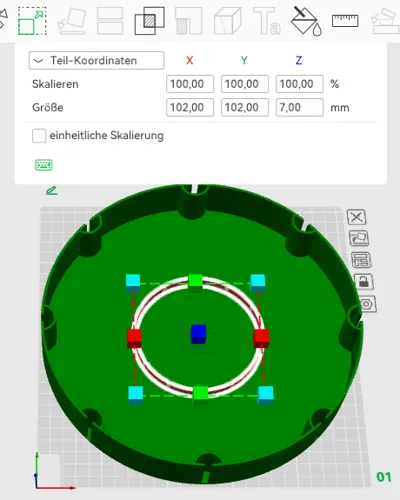
The red inner circle ("InnerRing") in the model has a diameter of 100 mm, which corresponds to 100% scaling.
How to adapt the turntable to your own turntable:
- Measure the outer diameter of your existing turntable.
- Open the file in your slicer (e.g. Bambu Studio).
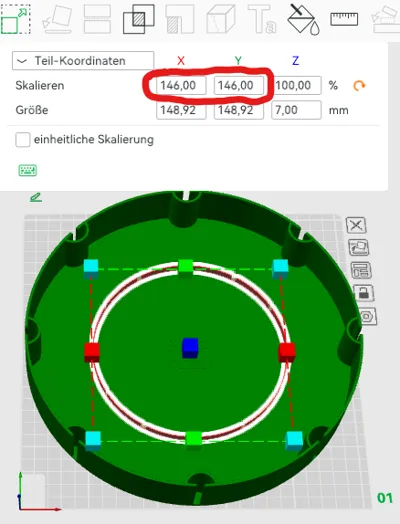
- Select "Scale".
- Enter (outer diameter in mm) as the scaling value.
Example:- Outer diameter: 145 mm
- → Scaling: 145%
- If necessary, add a little tolerance (+1–2 %), depending on the fit and printer.
Note:
For best results, the turntable should be able to be easily placed on top without jamming or wobbling. It is best to test the fit with a small test print first.
Banners:
- The banners can be printed separately.
- In Bambu Studio you can easily customize banners:
- Select the banner model.
- Click on "Add text" in the left toolbar.
- Write your desired text.
- Then select the option "Text shape" (on the right in the properties menu) to adapt the text to the surface of the banner.
- The text is automatically slightly embossed and is visible after printing.
- You can also import SVG files (e.g. logos or symbols):
- Go to "Add model" → "Insert SVG file".
- Position the SVG on the banner.
- Also use "Model shape" so that the motif is correctly embossed or highlighted.
Two banner sizes are available – suitable for various design ideas and presentation areas.
Have fun presenting and customizing! 🎨🛠️
License

You shall not share, sub-license, sell, rent, host, transfer, or distribute in any way the digital or 3D printed versions of this object, nor any other derivative work of this object in its digital or physical format (including - but not limited to - remixes of this object, and hosting on other digital platforms). The objects may not be used without permission in any way whatsoever in which you charge money, or collect fees.


Comment & Rating (21)