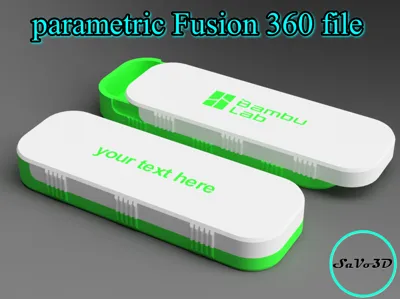
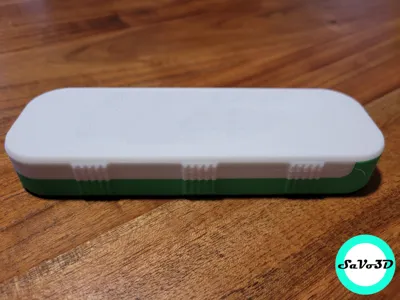
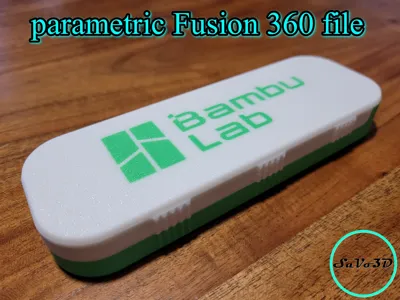
parametric box with sliding lid


Print Profile(3)


Description
Here is my parametric storage box with sliding lid!
Are the other boxes either too small, too long, or too low?
Why is this box so special? 🤔
- Fusion 360 file for free: You can download the file
- Parametric: You can adjust the size as you like! Small, large, square, rectangular – you have the choice!
- lid: personalize the lid with your name or logo!
- colorize: play with the colours and come up with a special combination just as you like it!
- Sliding lid: Just slide and you're done!
need to know: the measurements in the customizer are internal dimensions, which means the box will be larger on the outside!
Before printing: make sure your build plate is clean and apply some adhesive. Wash the build plate with oil free soap and wipe it off with some paper towels. For build plate adhesion, apply a thin, even coat of your preferred adhesive. I repeat the process every 5-6 prints.
Bad build plate adhesion is not related to the model.
After customizing the model: Download the model as a 3mf. file and import it into your slicer, click on the model and split it to objects. Turn the lid upside down, so it lays with its top facing down. Now you can colorize the two parts as you desire. Just Now you can choose the print order “by object” or distribute the two parts on two different plates if you like to have two different colors for the parts. You could add lettering on the lid in bambu studio. If you have no experience in fusion, it will be very hard for you to add lettering to the model, so i would suggest doing so in bambu studio.
Needed Tools: none
Needed non printed parts: none
After printing: remove the brim
Hotend: 0,40mm
Filament: i printed it with PLA
Have a look at my other models here: SaVo3D | Home - MakerWorld
Boost Me (for free)
If you liked the model and found it helpful, I’d really appreciate it if you could give it a boost! It makes my day and helps make up for the time I spent making sure you had a great printing experience. Thanks a lot in advance!
Membership
Do you want to sell physical prints of my models? Join my commercial license program!
Fix adhesion-related printing errors by washing the build plate
Bambu Lab Textured PEI Plate Cleaning Guide | Bambu Lab Wiki
Comment & Rating (110)