BD-1 Droid Kit Card 2.0


Print Profile(1)


Description
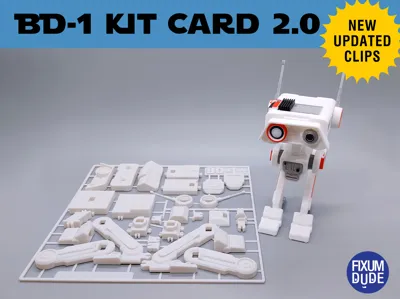
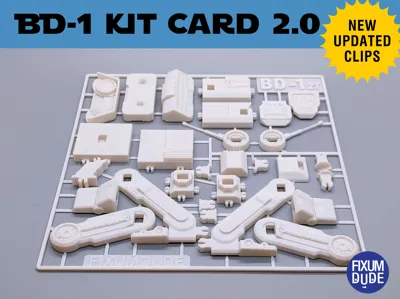
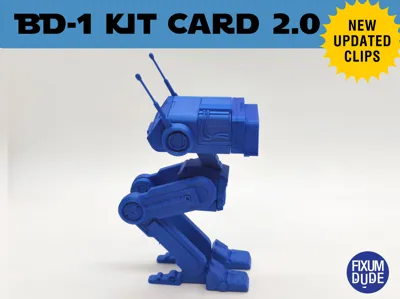
New version of my Star Wars BD-1 Droid Kit Card I've been working on here and there for nearly a year. Model has minor improvements all over, and the major improvement of no more vertically printing clips. This should translate into much fewer broken clips even in fancy silks, etc.
4 color and single color Bambu Studio project file of the tight version included.
Instruction PDF has been uploaded. Let me know if you notice any errors or confusing directions.
Additional assembly tips:
- The top and bottom of the head (C & D) have arrows that are on the inside and both face the front of the head
- The 4 grooves on the back of the head (F) face down and the dots face up
- The grooves in the bottom of the body (L) face down and toward the back
- To make the droid as stable as possible the leg clips are a little snug and you may want to use another part of the model or a tool to help push the clips in to save your finger tips
- The clips that hold the upper legs to the body are different for each side. They should only slide in all the way when in the correct orientation
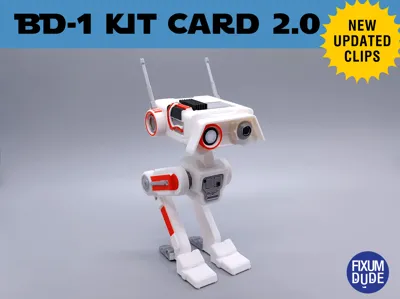
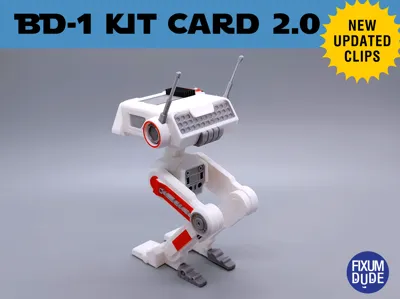
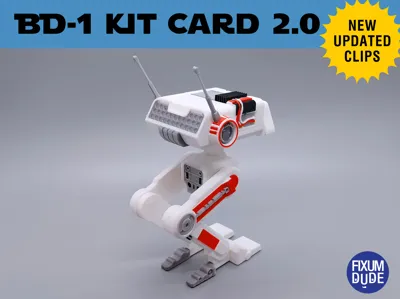
- Study the the pictures carefully and use them as a reference
- A little play in the model is normal to add to it's charm, but the new version should stand up much easier and be more stable in general.
A loose version and a tight version is included. I would start with the loose version and if it's too loose (falls apart) then try the tight version. It also may depend on the filament used as to which version fits together better.
If the loose version is just impossible to put together let me know which machine/filament/etc.
Printing tips:
*As with all of my kit cars, a LEVEL BED and good BED ADHESION are key!
*One tip to help print the small clips is to change the print settings to print outer perimeters first then inner perimeters. This keeps it from trying to print tiny dots inside the small clips.
-Gray BD-1 print and photos by @Crussty3D
Instructions corrected and updated on 08/18/2024 (Thanks, Seth Ladd)
Documentation (2)
License
You shall not share, sub-license, sell, rent, host, transfer, or distribute in any way the digital or 3D printed versions of this object, nor any other derivative work of this object in its digital or physical format (including - but not limited to - remixes of this object, and hosting on other digital platforms). The objects may not be used without permission in any way whatsoever in which you charge money, or collect fees.
Comment & Rating (354)