
Hollow Jet Pipe / Fire Hose (functional)
Print Profile(2)


Description
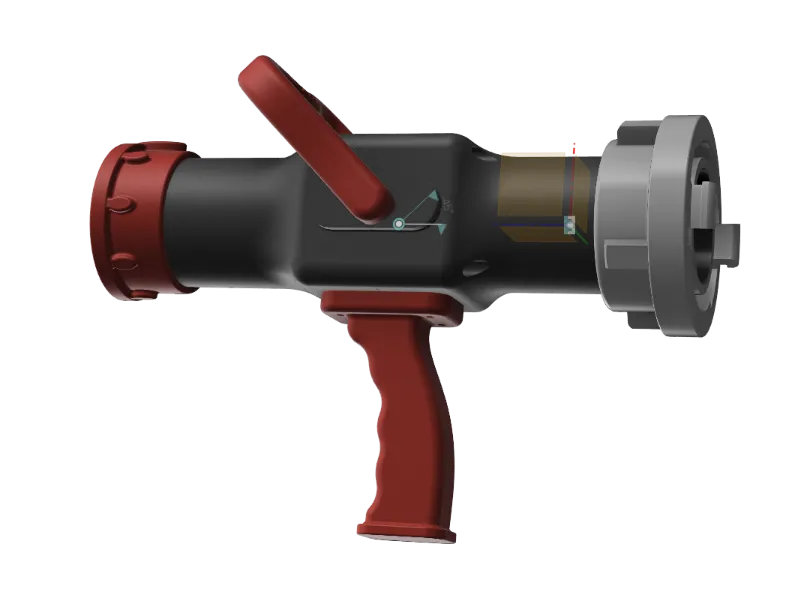
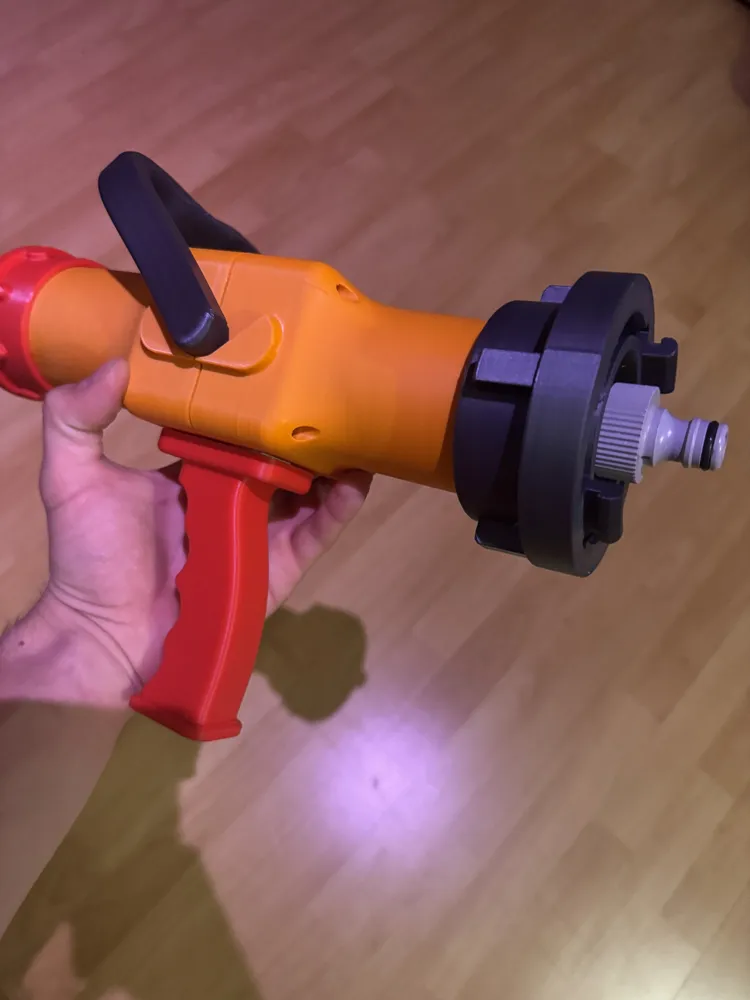
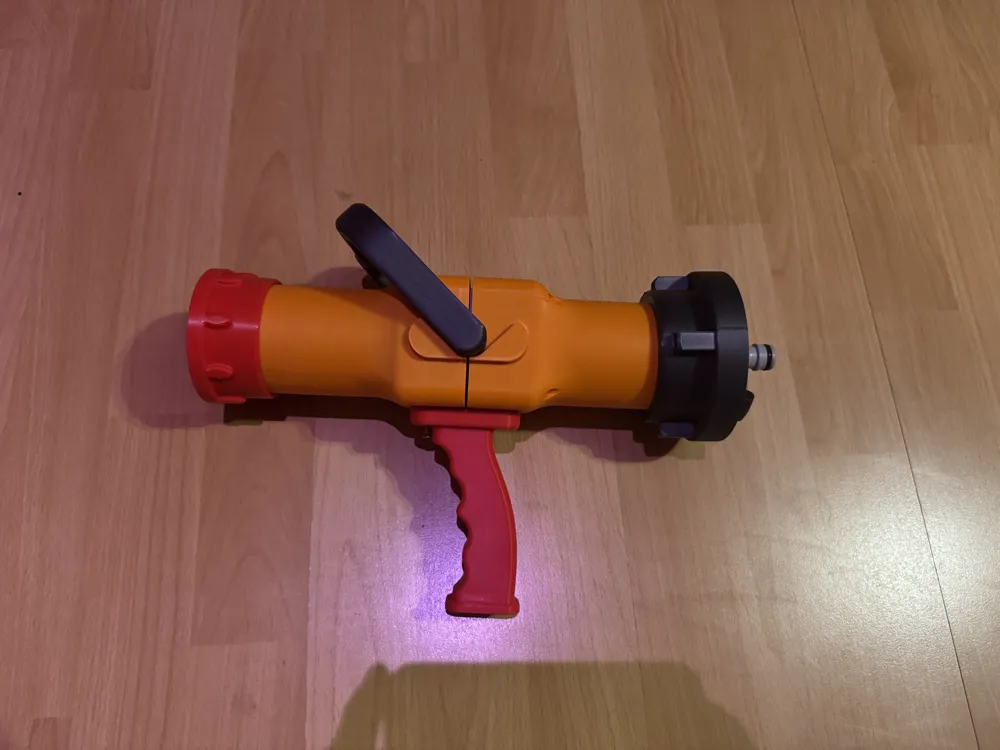
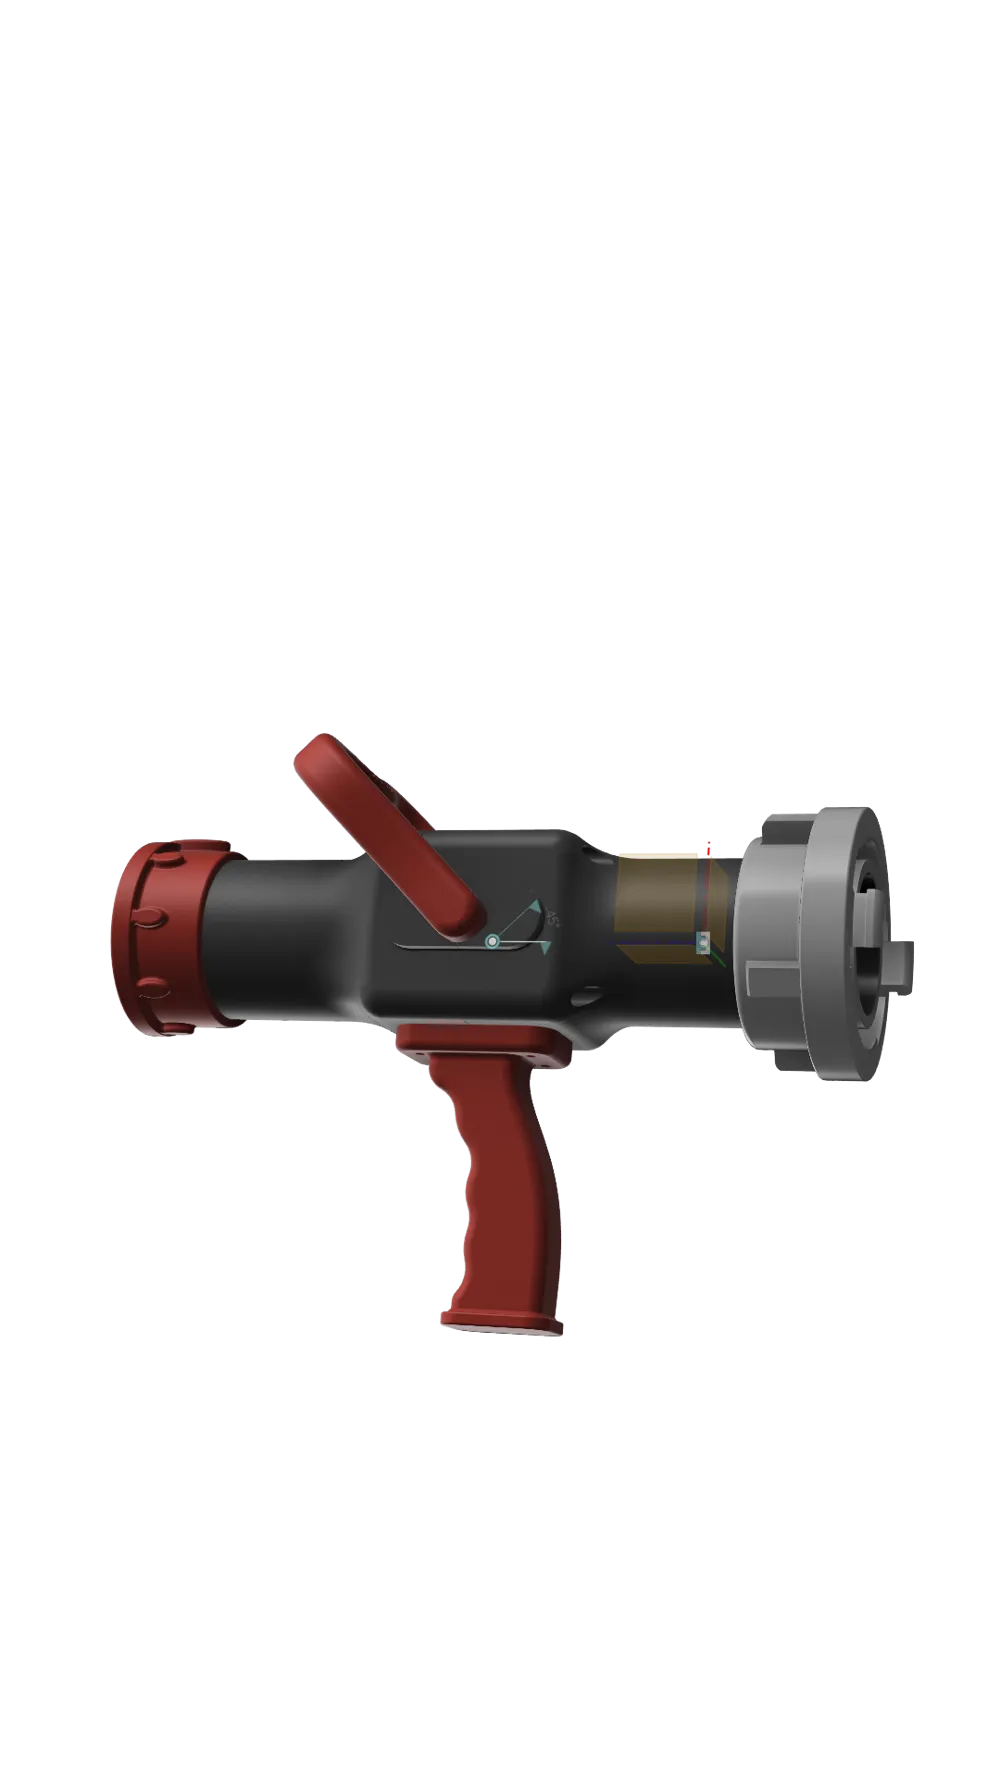
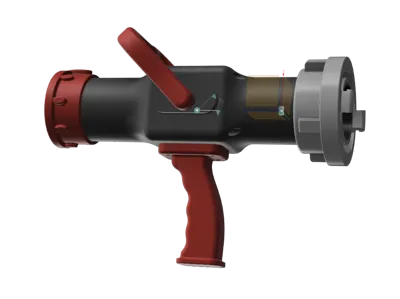
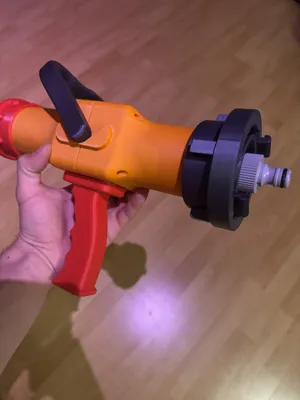
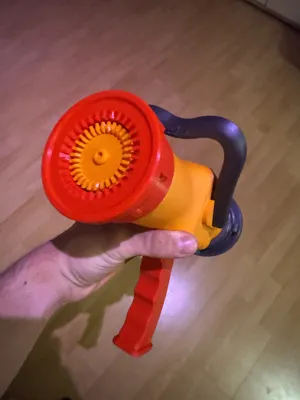
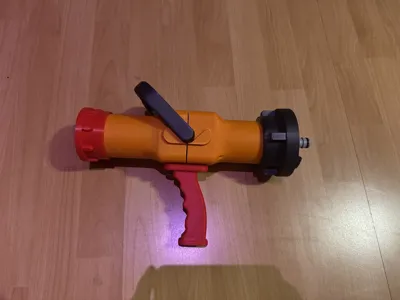
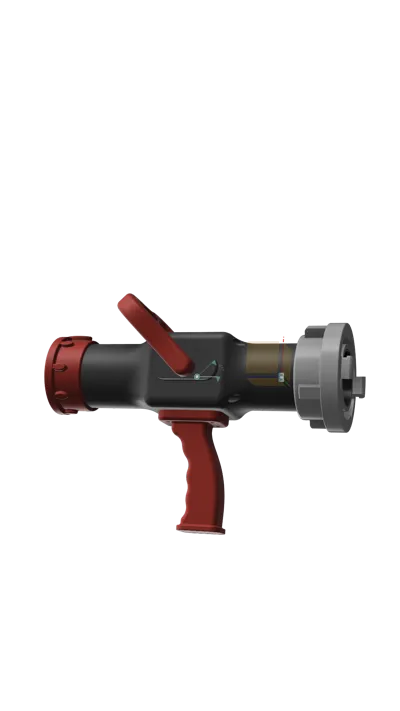

Made a REAL SIZE working Fire Hose Gun wich u can simply connect via a gardene quick coupling with adapters for an ¾" and ½"
also has a working C Storz coupling at the button.
Fits on all printers even on the A1 Mini
Working over half a year now on this model and whith the Master Challenge now I thought its the perfect time to finally release the first version of it :D
In the future I will of course improve the model and I am hoping for tips and things to improve the model since this is my first bigger project with fusion360 and functional prints :D
VERSION:
04.05.25 v1.0.1 (first puplic version)
05.05.25 v1.0.1a (small changes on the Adapters)
01.06.25 v1.0.2 changed the pin for the handle so u can fit a 10x2mm O-ring all users can change to this pin
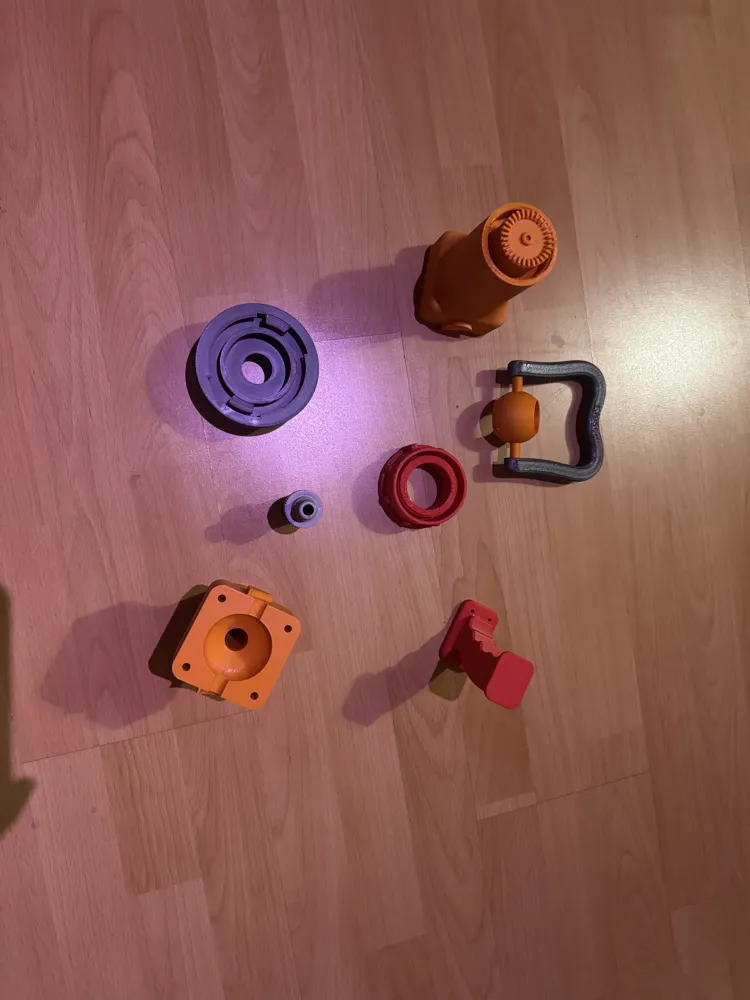
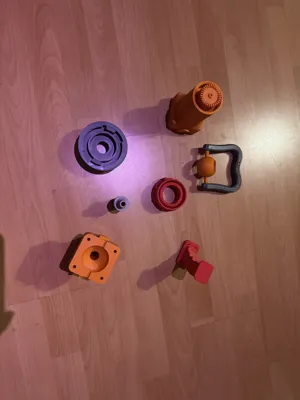
Assembly is quit Simpel u just need:
4x M4x25 (for the two parts)
4x M4 x15 (for the hanlde)
and some glue
as in the pictures the handle has to be assemled first:
ball and handle have to point to the front so that its closed and when u pull back it will let water through
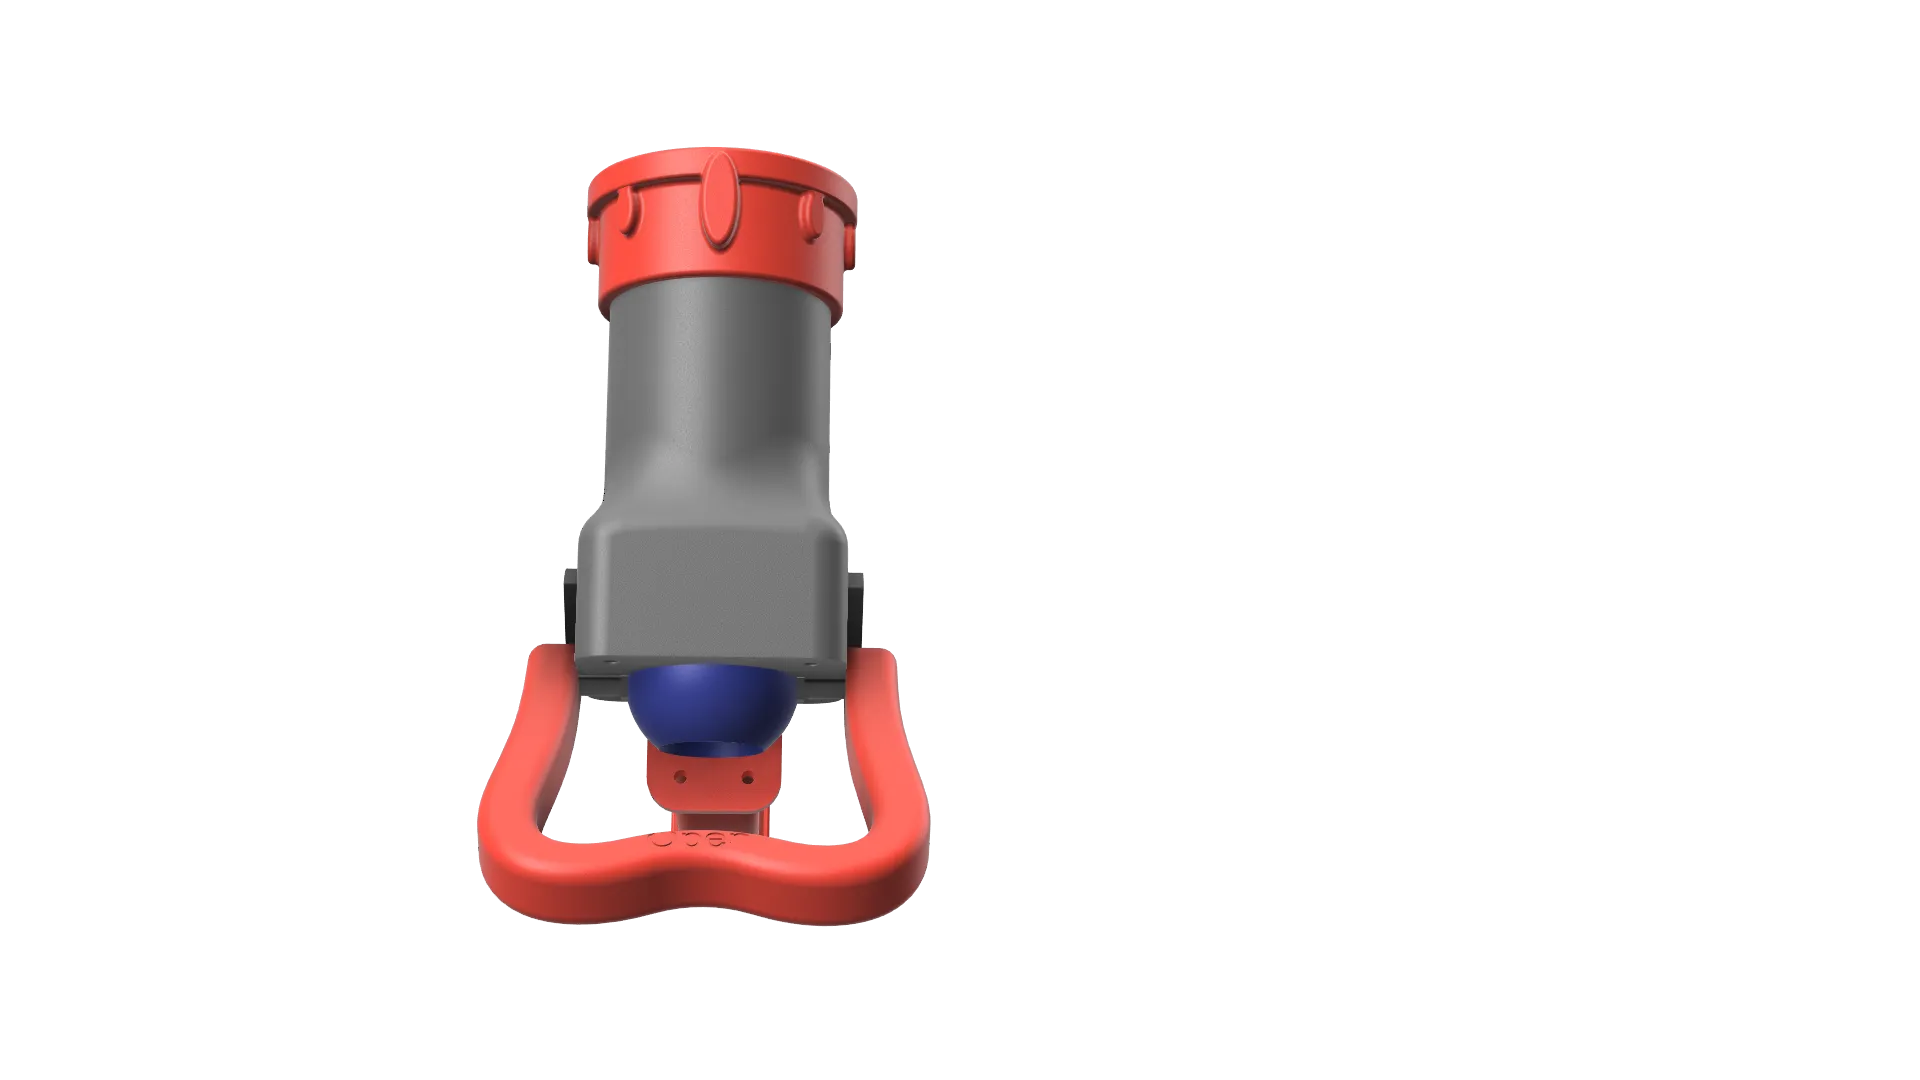
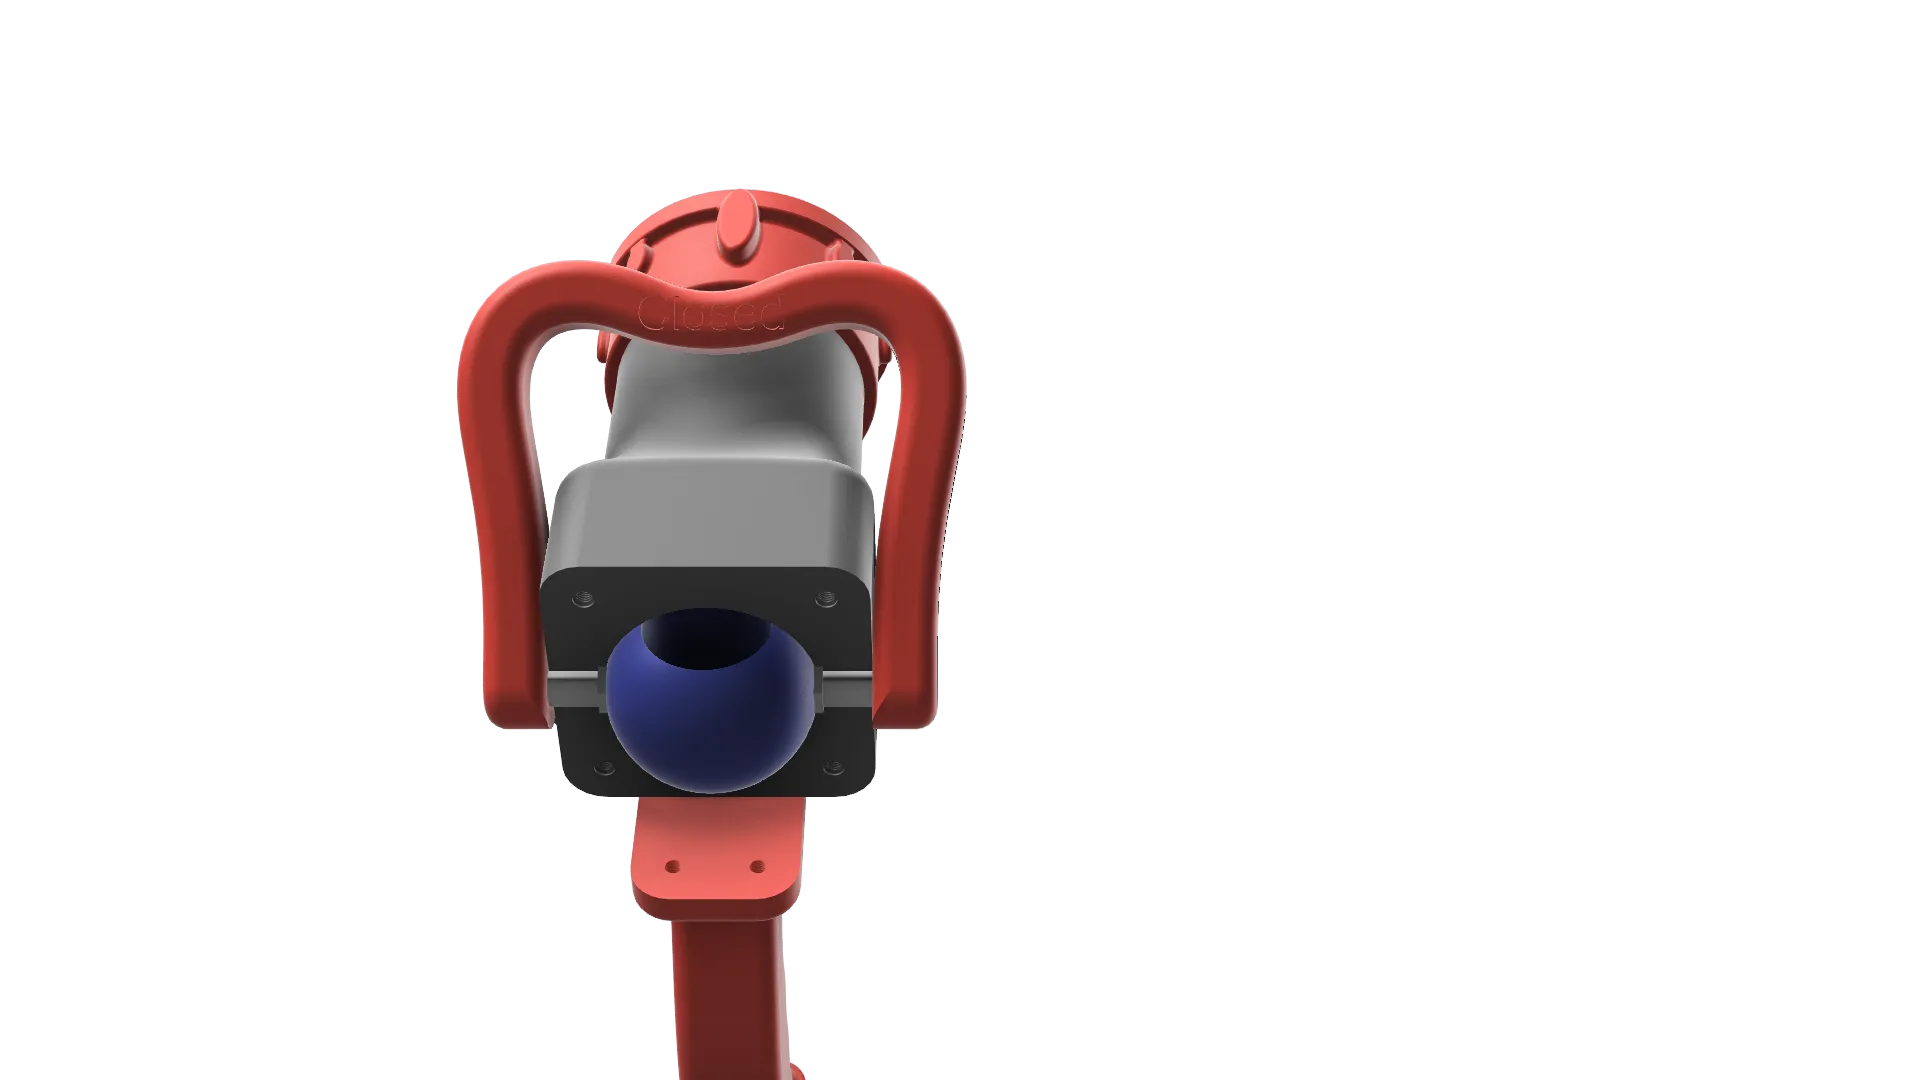
after that put the two halves with the ball in the middel togehther you have to heat the cutout for the ball a bit and press the two halves together to ensure a good water tightness and so have less friction when srewing thew halves together (because if the ball is to small more water will come threw the sides when closed)
----more detail for the heating part you can use a heatgun or a torch to heat both halves where to ball goes then press the to halves with the ball inside together in jiggel it around a bit while it cools down ….I recommend doing that in both position ( full open and full closed )
after you have done that u can screw the two halves together also maby apply some glue to ensure that no water leaks out of the sides (silicone should do finde for that)
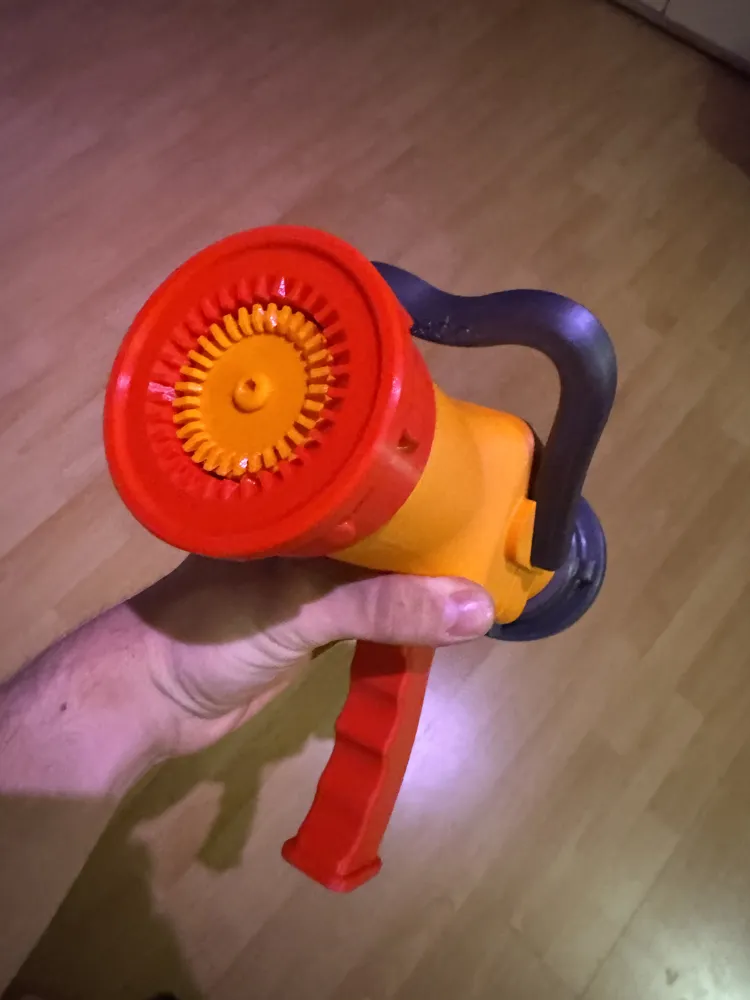
next step is to srew the handle on the two halves and to srew on the nozzle (with wich u can adjust how it sprays a bit)
next step is to glue to adpater for ur thread that you need ¾" or ½" to the mainbody
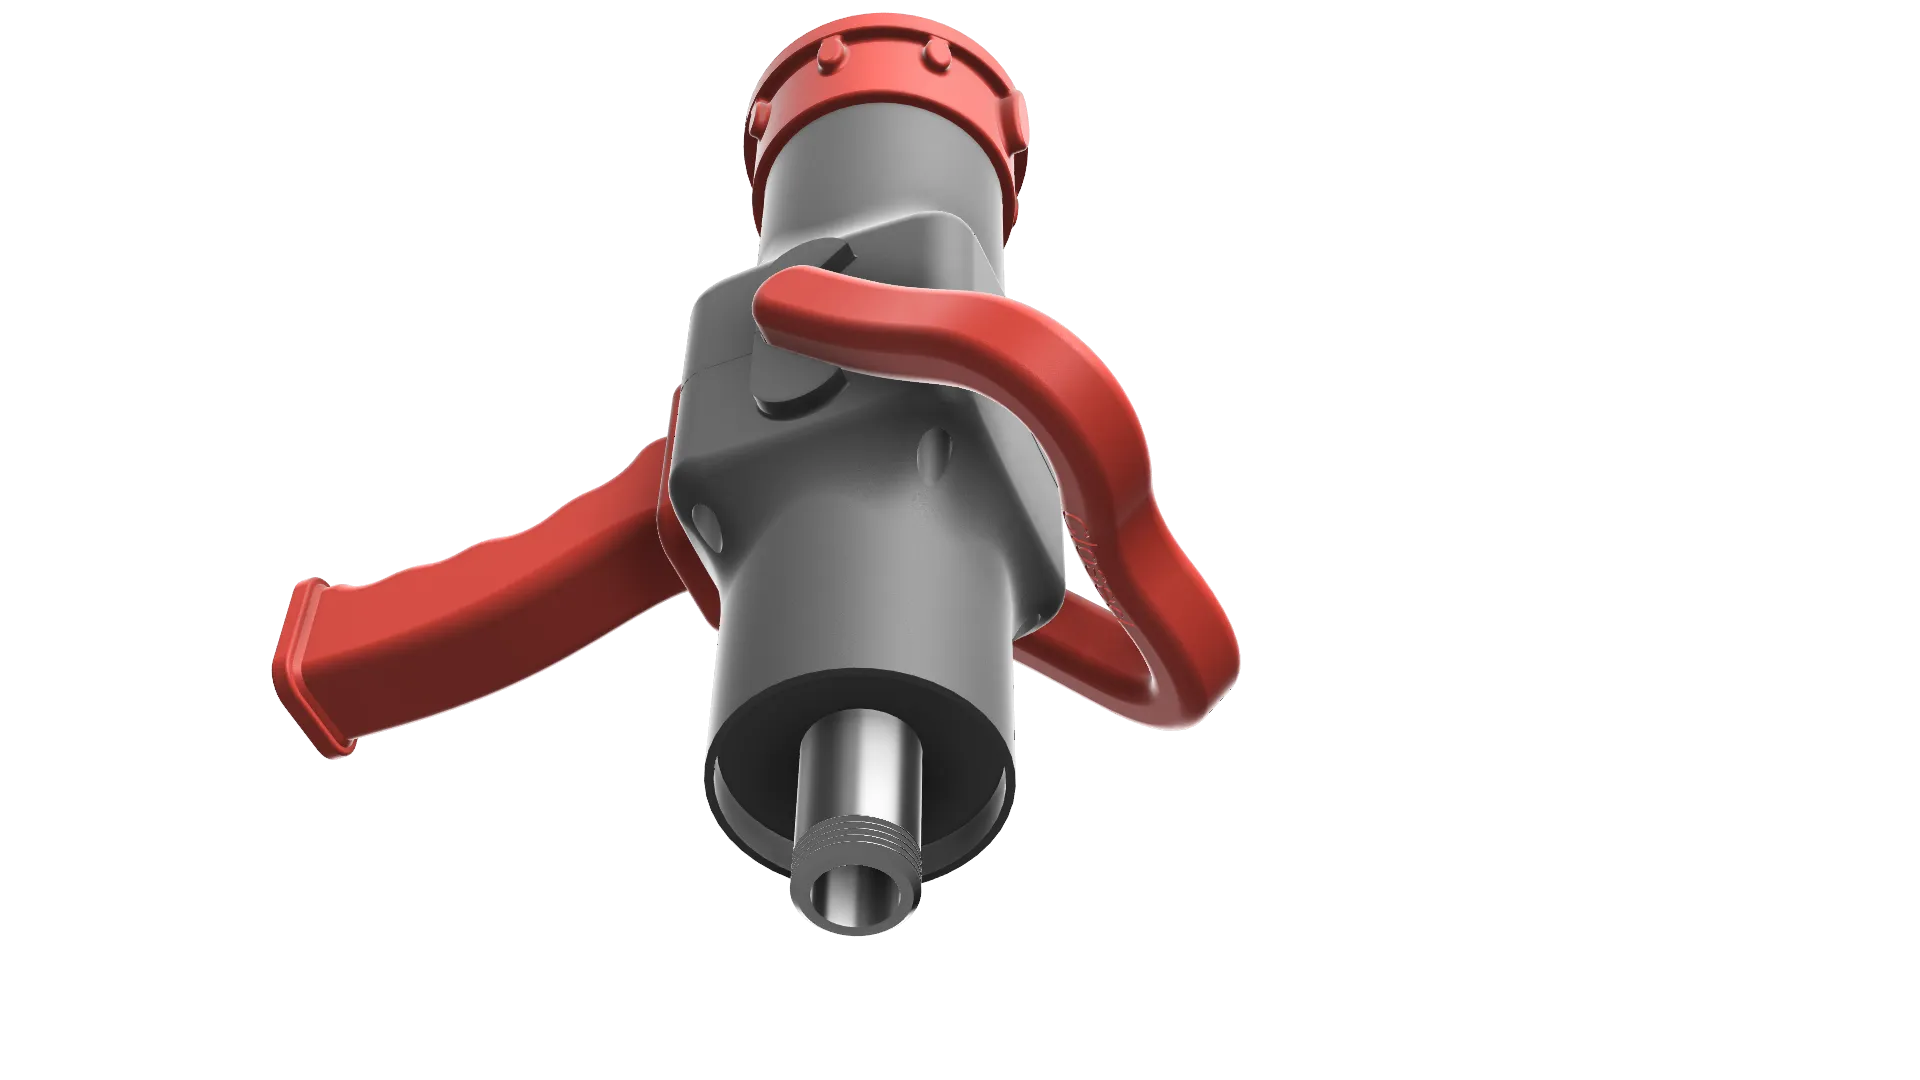
after that just put the Storz coupling over it ….will hold just by screwing down the gardena coupling so that it can spin like in the original.
ALSO I DONT RECOMMEND powering it with a real fire truck (would work because of the C Storz coupling)
Hope you like my model if you have improvments or need some special adapters just let me know.
Thanks.
In the future I plan on adding sealing rings from the store and or out of TPU for people who want to print them
Boost Me (for free)
free for you and good for me :D
License

You shall not share, sub-license, sell, rent, host, transfer, or distribute in any way the digital or 3D printed versions of this object, nor any other derivative work of this object in its digital or physical format (including - but not limited to - remixes of this object, and hosting on other digital platforms). The objects may not be used without permission in any way whatsoever in which you charge money, or collect fees.


Comment & Rating (88)