
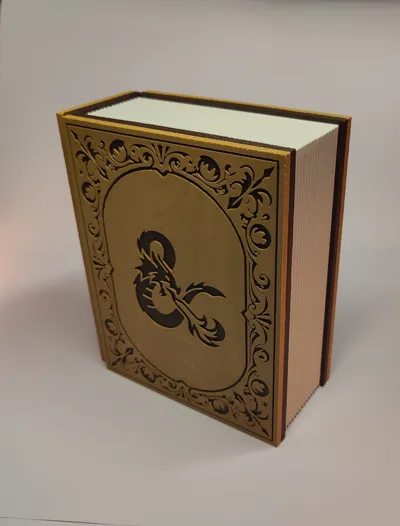
D&D Dice Book Box
Print Profile(2)
Bill of Materials






- Leather with approx. 1.5mm thickness x 1: Ich habe über Amazon etwas Leder gekauft und es hat sich um sehr gute Qualität gehandelt. https://www.amazon.de/dp/B0BSLD8C56?ref=ppx_yo2ov_dt_b_fed_asin_title
Description
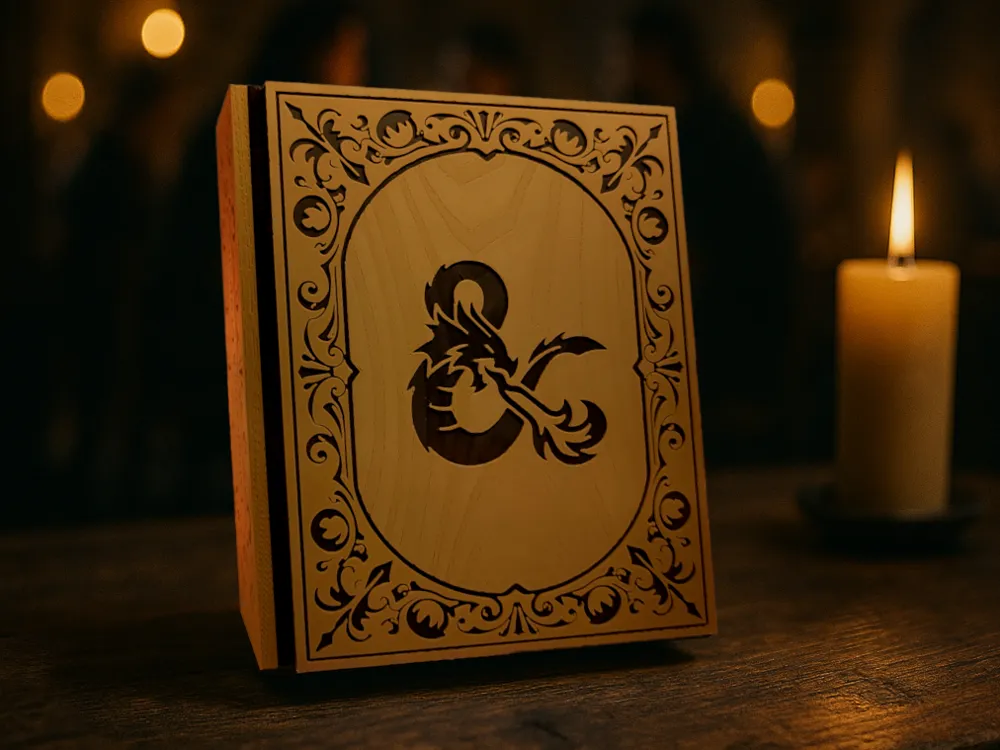
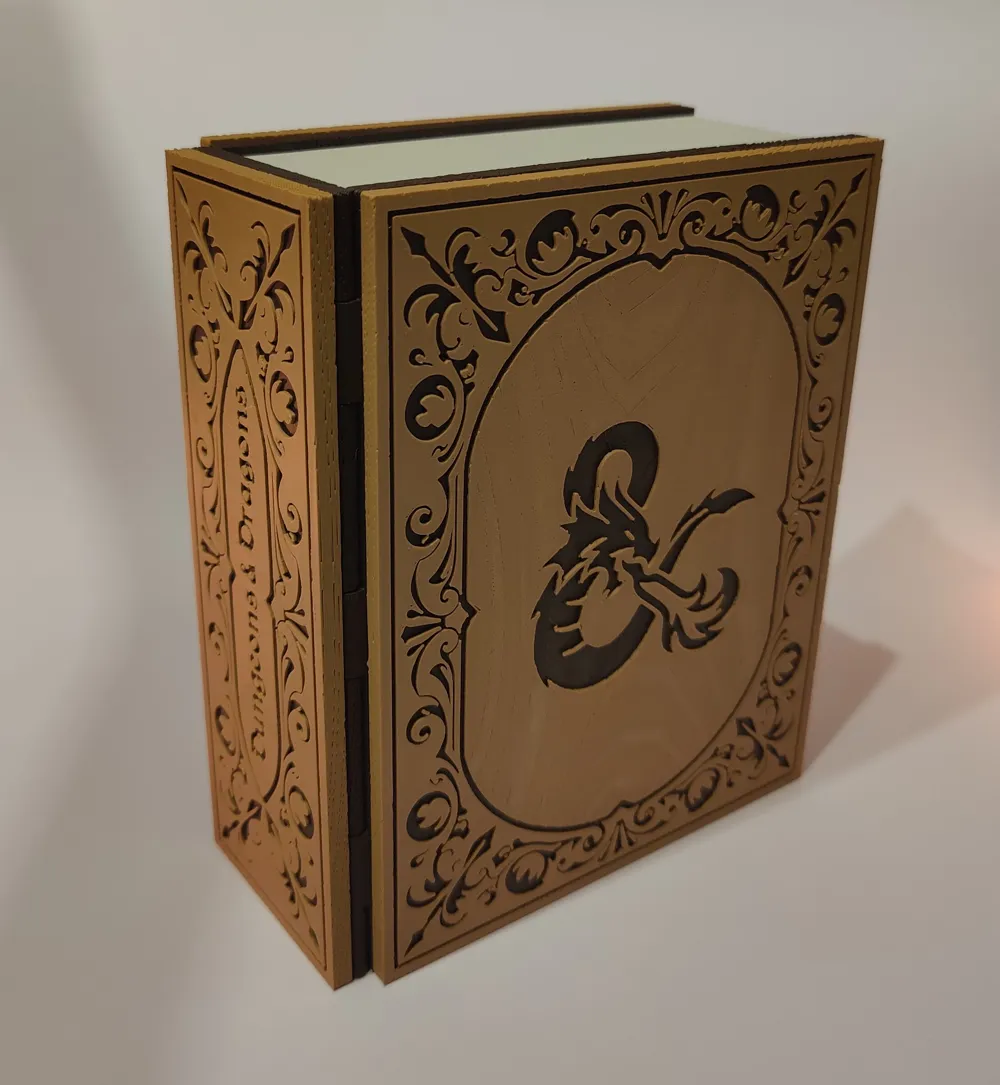
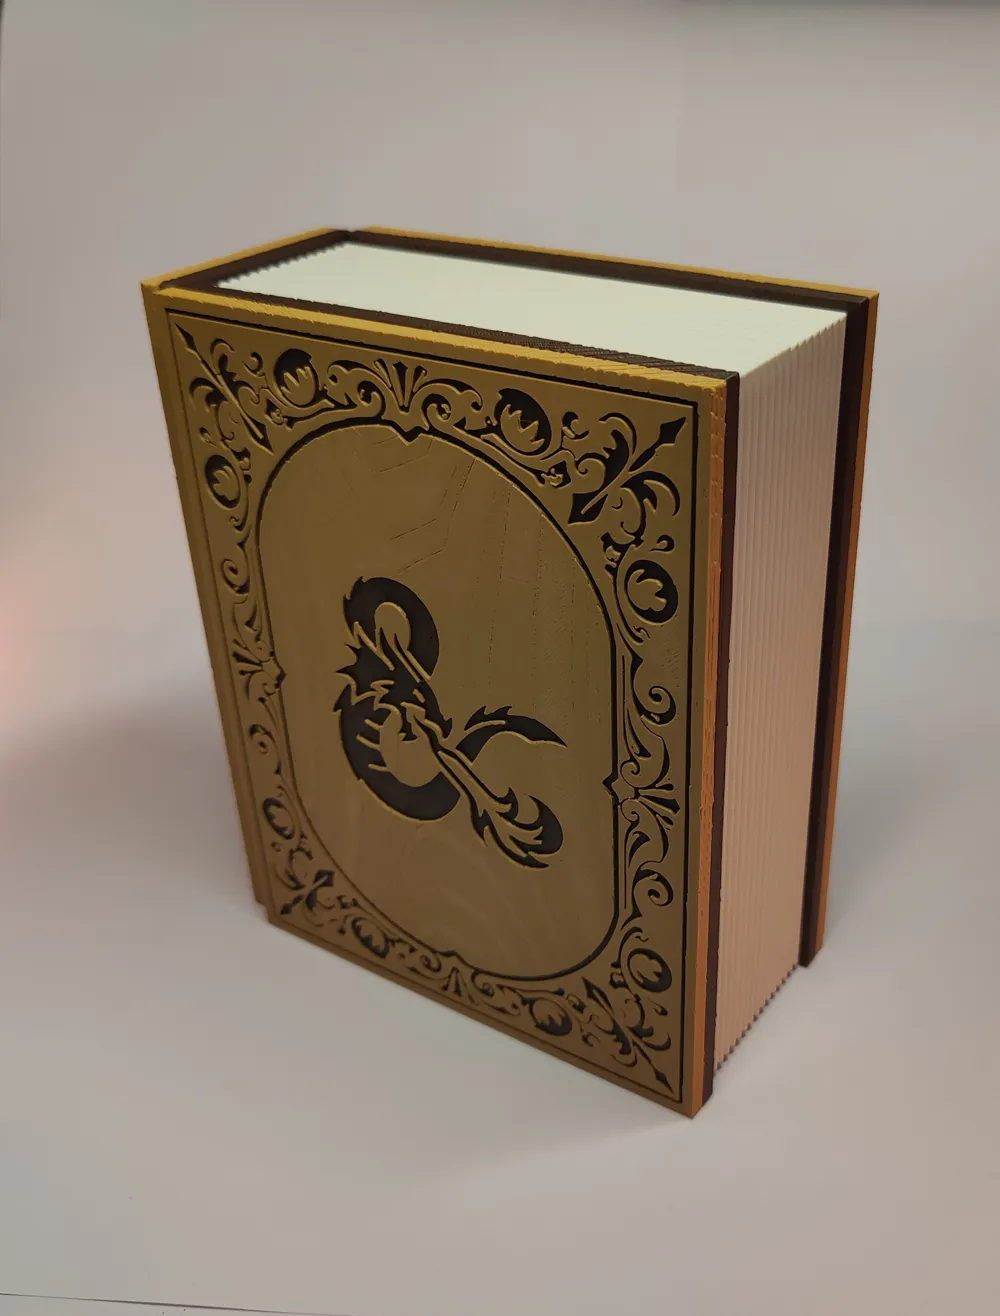
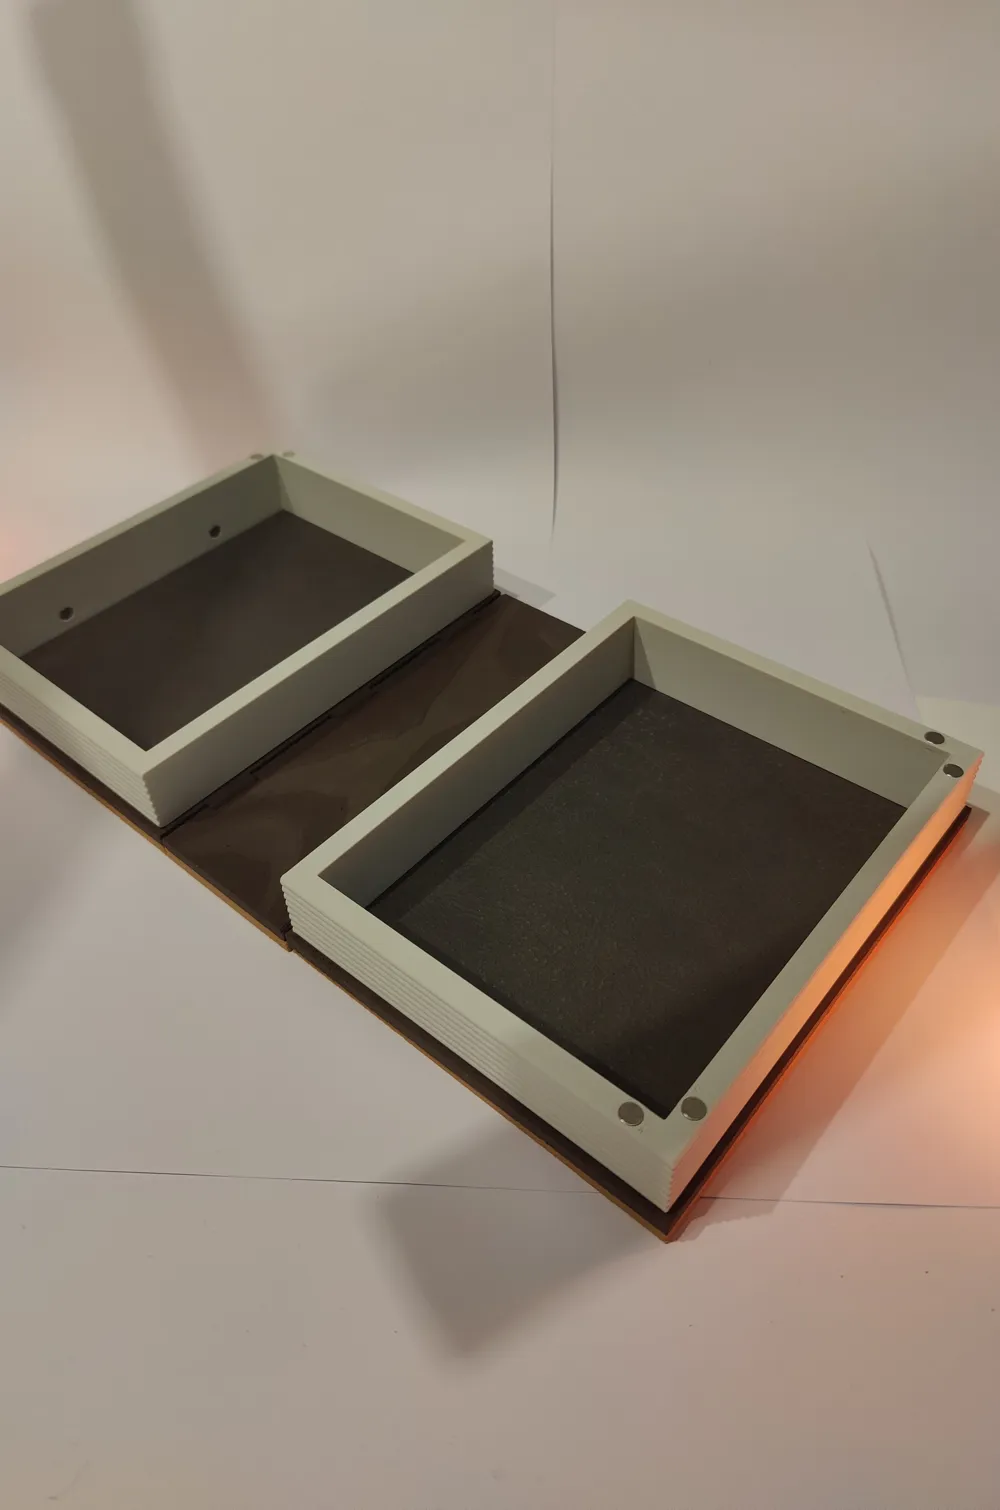
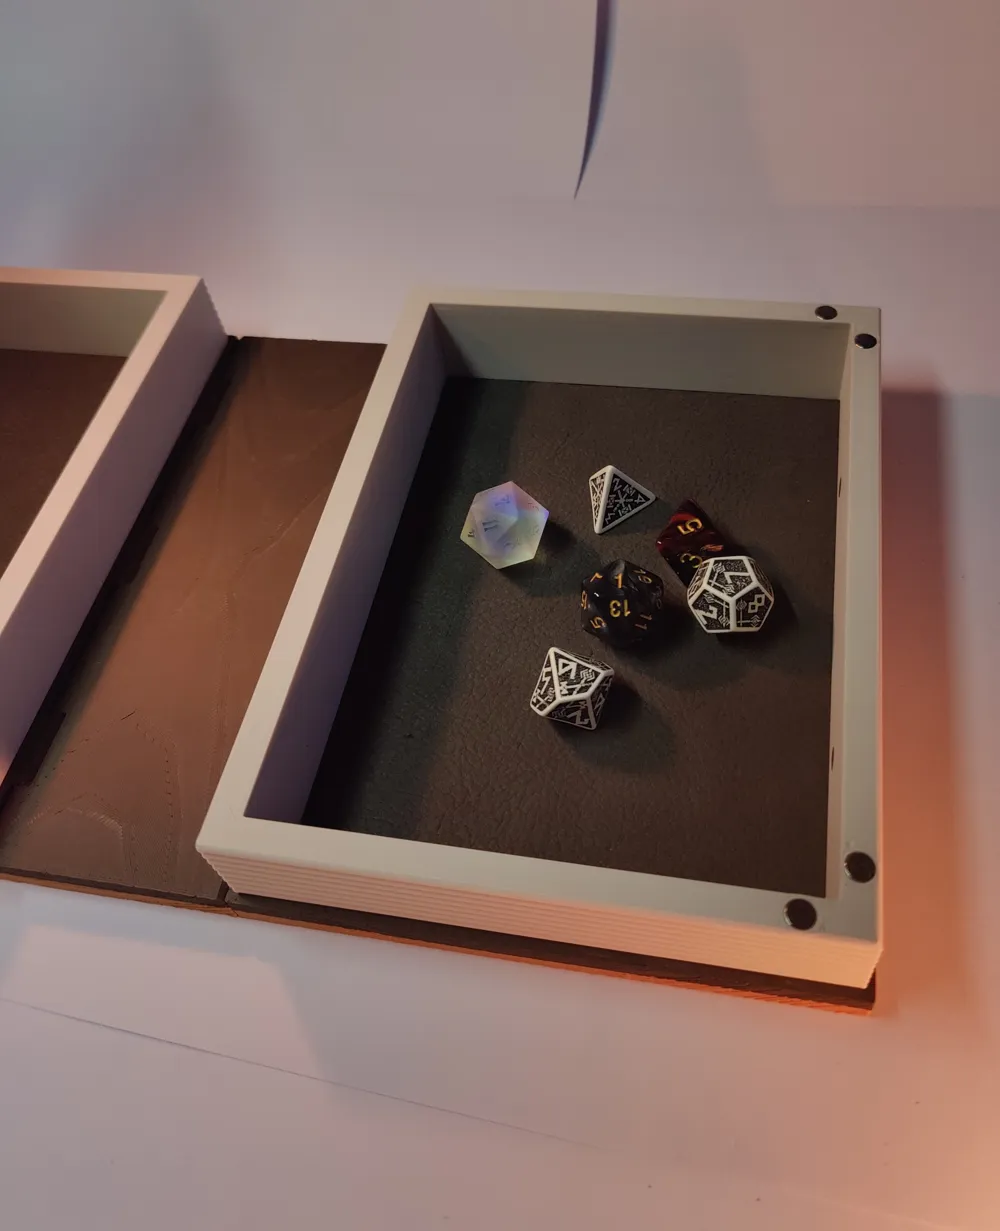
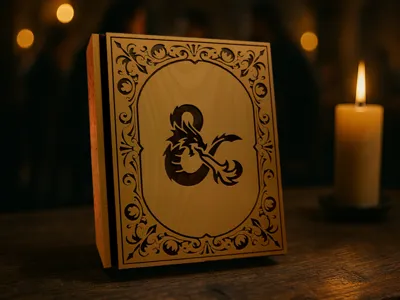
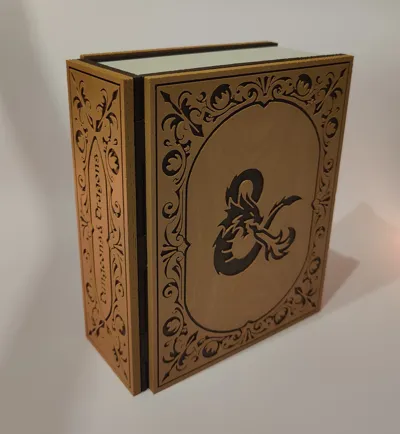
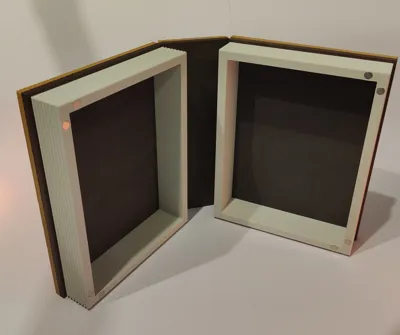
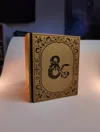
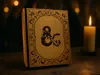
When a friend of mine came to play D&D with a cool wooden box, I found the design very appealing and thought to myself that I could do it myself with a 3D printer and a bit of ingenuity. And it even became modular.
To reduce the volume a little, I used leather (see working material). I calculated with approx. 1.5mm thick leather.
But there is also a printing profile without this extra space.
Modules
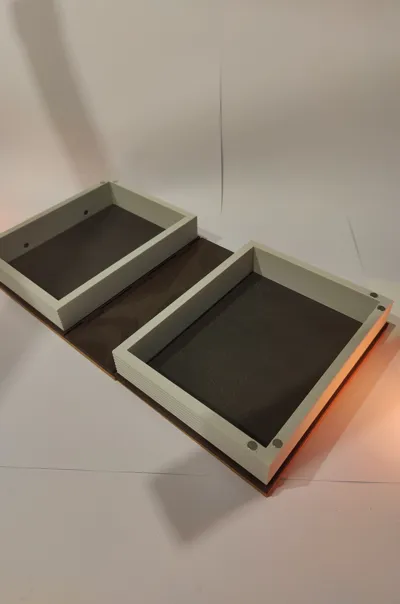
As it is now in the files, there is only one way to assemble the box.
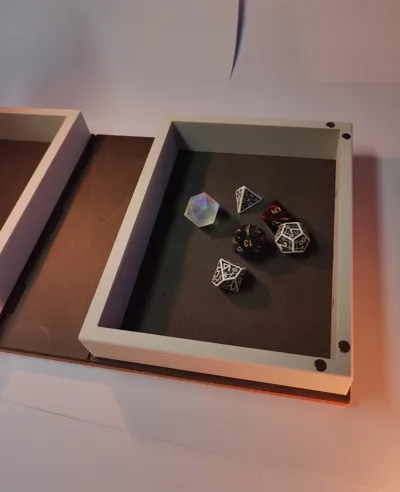
And at the moment it's just a storage box with a Dicetray function.
Over time, I will upload more modules and link them here:
If you have any suggestions or ideas, please write to me.
Boost Me (for free)
Do you like it? Support me!
Assembly instructions can be found in the documentation section below.
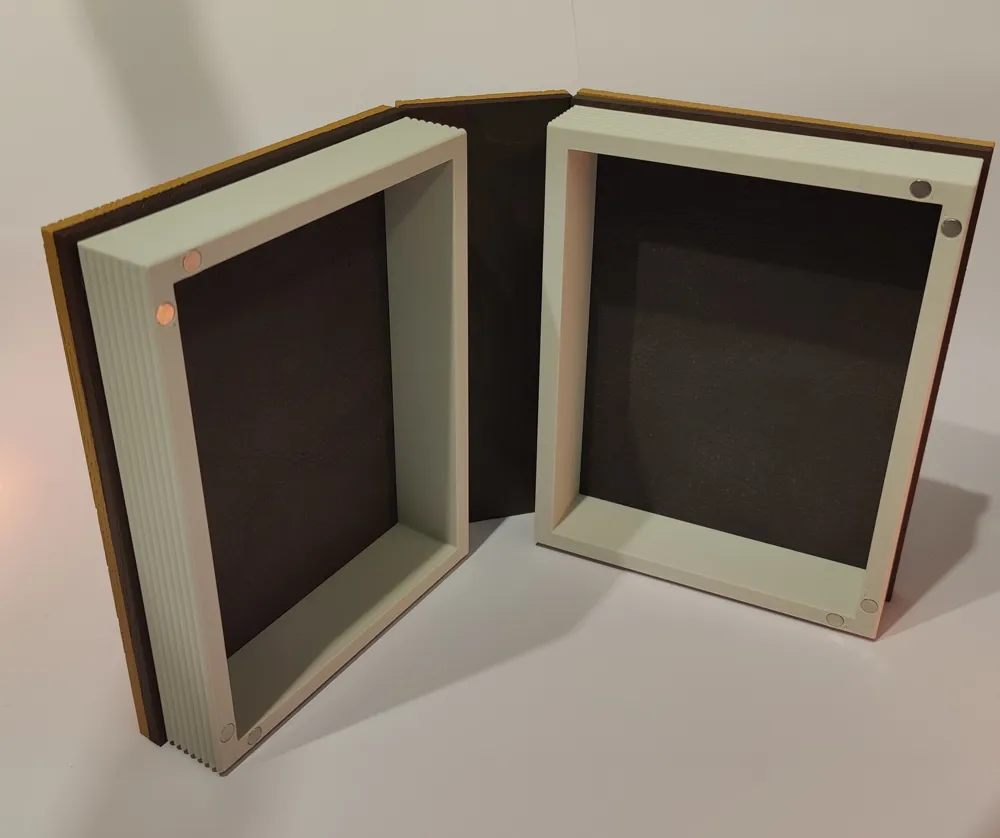
This project requires Cyanoacrylate (CA) super glue for assembly as well as 8 6x2mm magnets!
I will use this magnet size for further modules.
Dimensions of the storage compartments: Length: 160.00mm Width: 120.00mm Height: 30.00mm
Printing on an A1 Mini is possible if you split the BackFrame/SideFrame and BackFront/Front onto separate plates.
It is important to have your filament dialled in for good bed adhesion! Clean your plate. Allow the book pages and covers to cool completely before removing them from the plate or they will warp! If these parts warp, the book will not close properly, leaving a gap between the pages.
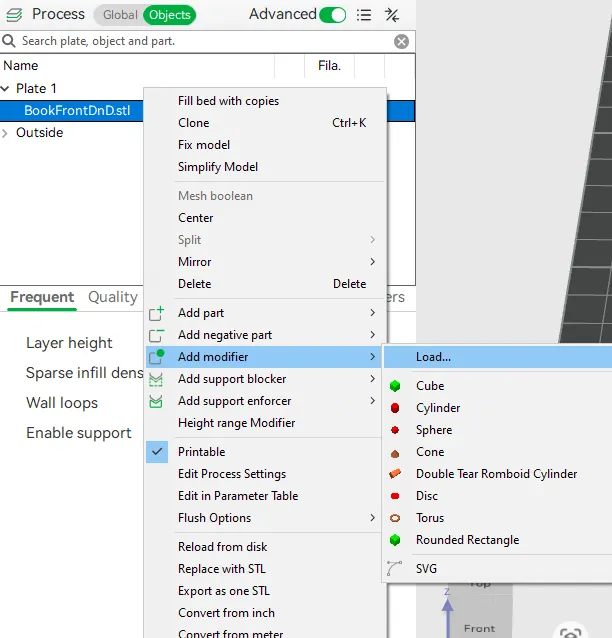
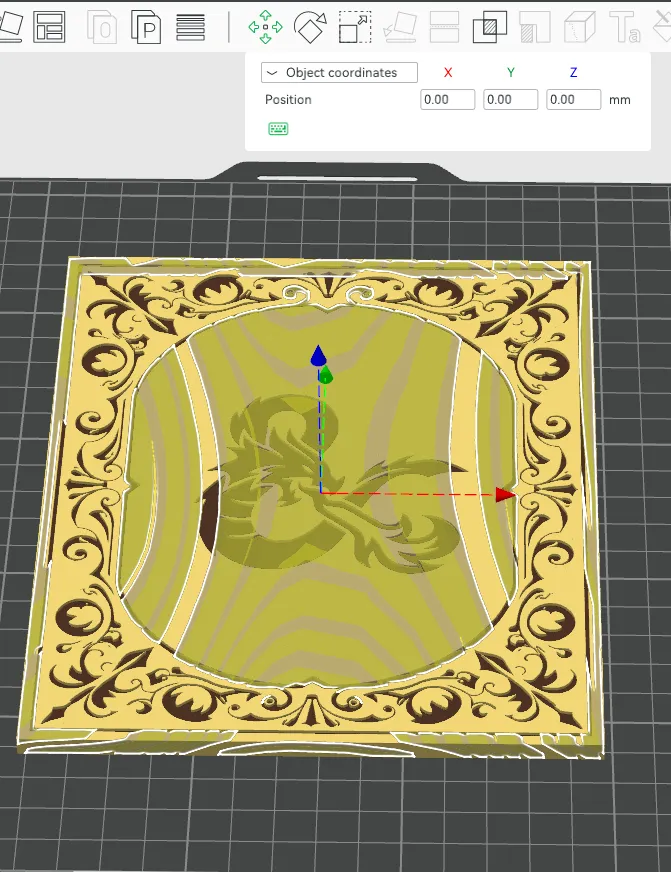
Slicersettings for the Grain
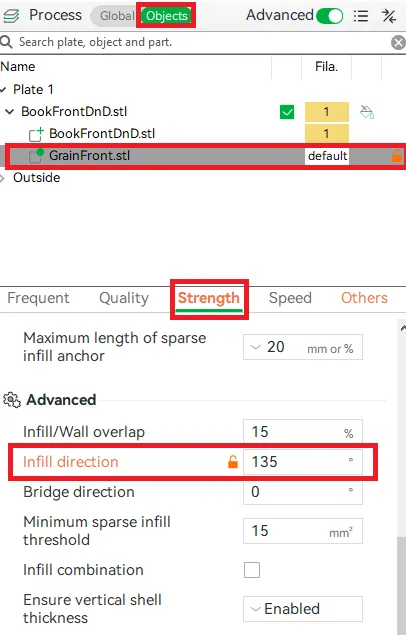
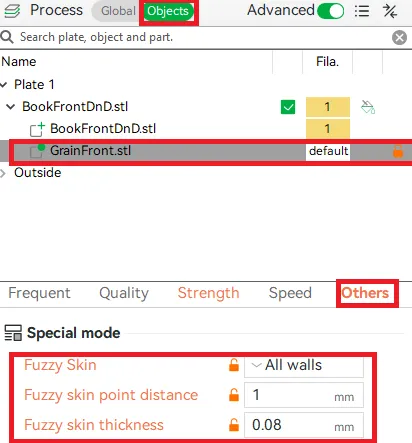
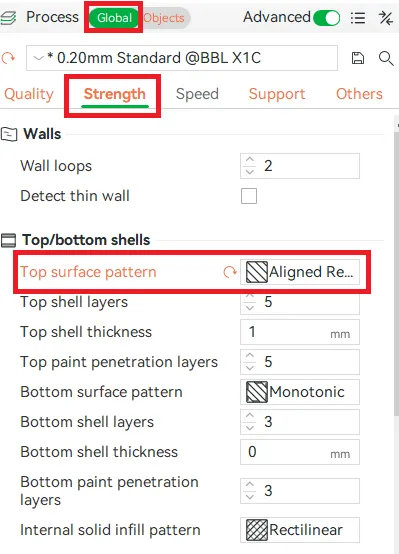
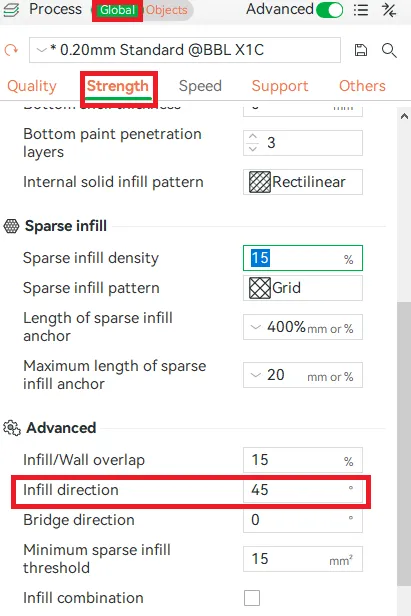
Now you should be prepared for printing!!
Leave a review and share some photos of your Books and color choices to inspire fellow makers!
Membership
⭐ Want to sell prints of my models? Take a look at my membership tiers.
Documentation (1)
License

You shall not share, sub-license, sell, rent, host, transfer, or distribute in any way the digital or 3D printed versions of this object, nor any other derivative work of this object in its digital or physical format (including - but not limited to - remixes of this object, and hosting on other digital platforms). The objects may not be used without permission in any way whatsoever in which you charge money, or collect fees.


Comment & Rating (22)