
1/8 Scale Buggy Wheel Hauler (4x Tire Spike)
Print Profile(1)

Description
Update – V2 Version Available
I have released a V2 version of this design with several improvements.
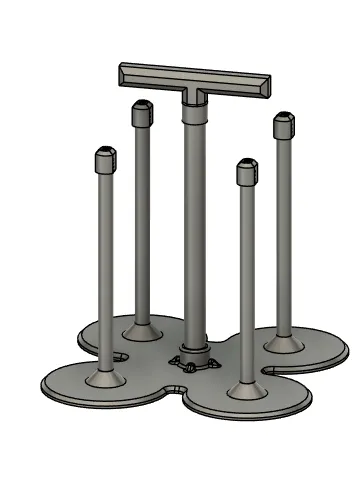
The update includes threaded wheel poles, allowing all parts to be screwed together for a more modular and serviceable design. I also added a multi-color option for users with AMS, along with fine-tuned printer profile settings that apply object-specific slicing settings to improve part strength where needed.
If this is your first time printing the model, I recommend visiting my profile and downloading the V2 version.
This original version will remain public for users who have already printed it. Since the design is modular, keeping this version available allows users to reprint compatible spare parts if needed.
--------------------------------------------------------------------------------------------------------------------------------------------------------------------
Update: I have now added a file that contains multiple sliced plates, including all of the parts, so users can directly print through the mobile app.
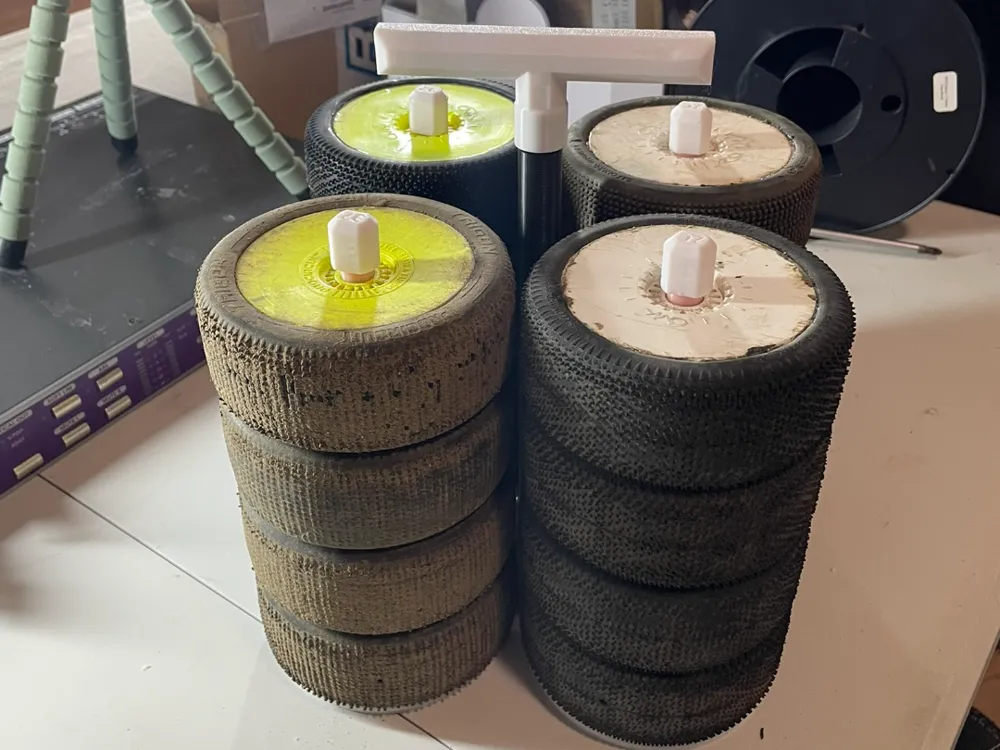
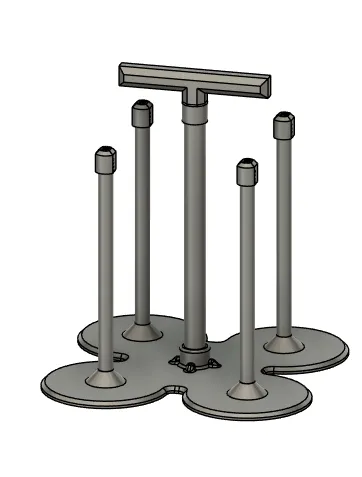
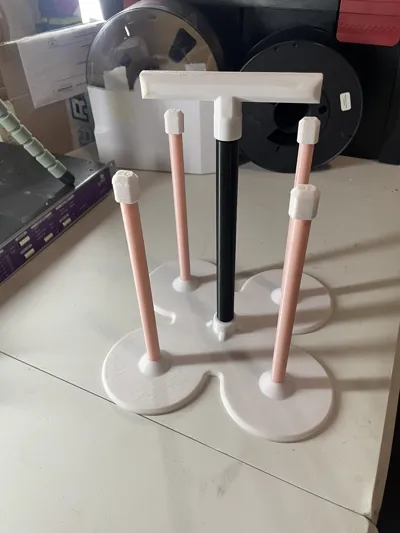
When I visited my local outdoor track for a club night, I realized I only needed four sets of wheels. Instead of lugging around a box of 15 sets, I designed a compact wheel carrier that holds exactly four sets.
Printing Instructions:
- No Automatic Supports: Print everything without generating additional supports.
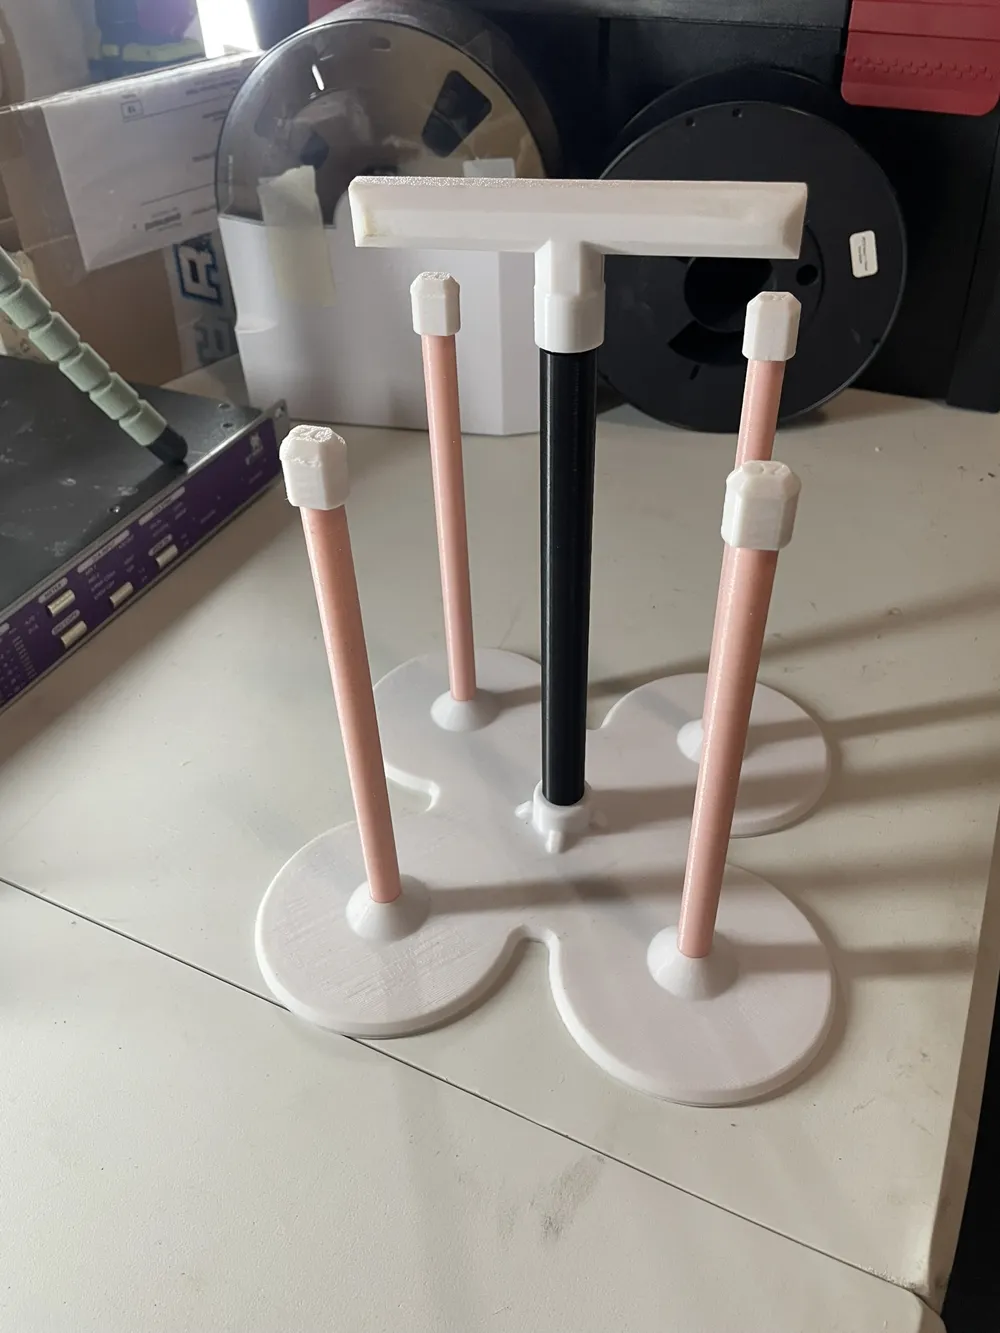
- Manual Supports: The design includes manual supports on the center rod and the four wheel rods. These supports are part of the print and should be trimmed away in post-processing. (The threads are designed to print cleanly without supports.)
Assembly Instructions:
- Glue the four wheel rods firmly into the baseplate using a small amount of super glue or Shoegoo.
- The parts are engineered to screw together smoothly. I have successfully tested the assembly with my P1P and Creality K1 printers. However, if your printer’s tolerances are not optimal, you might experience some issues.
- During the initial assembly, you may need to work the threads back and forth a few times. They might feel tight at first, but with a little effort, they will eventually screw together nicely.
I will also create a detailed assembly video shortly for further clarification.
License

You shall not share, sub-license, sell, rent, host, transfer, or distribute in any way the digital or 3D printed versions of this object, nor any other derivative work of this object in its digital or physical format (including - but not limited to - remixes of this object, and hosting on other digital platforms). The objects may not be used without permission in any way whatsoever in which you charge money, or collect fees.


Comment & Rating (7)