
H Series Dual AMS 2 Pro Shelf - H2Dual AMS
Print Profile(6)


Description
This will fit the H2S, H2D, and H2C.
New Attachment: Here's an add-on shelf so you can attach an AMS HT (or multiple) to the existing riser. The rear shelf could also be used with a roller style feeder to feed TPU off of the back of the unit withe the glass removed, directly to the nozzle. H2D Dual AMS HT Add-On by Nothing Spectacular MakerWorld: Download Free 3D Models
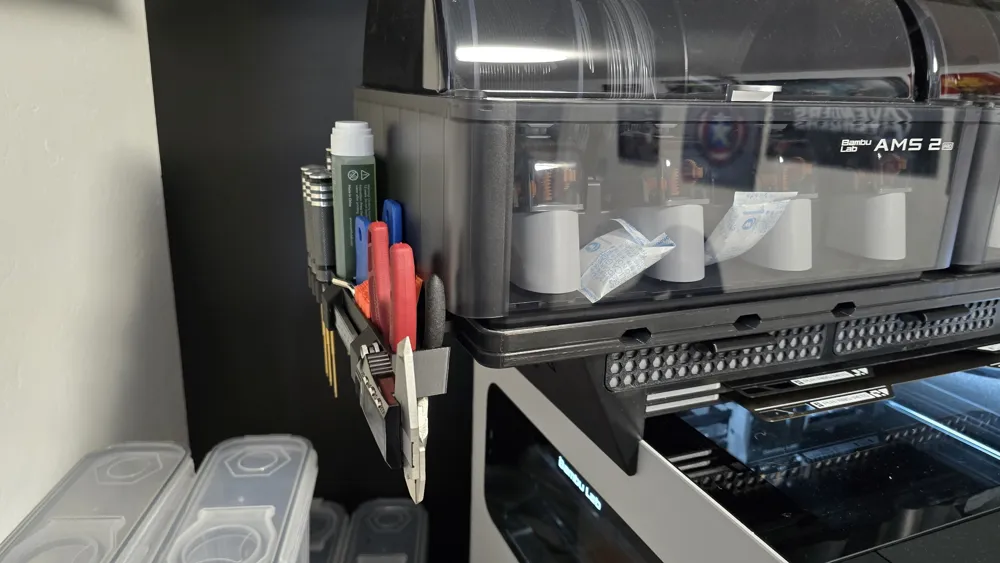
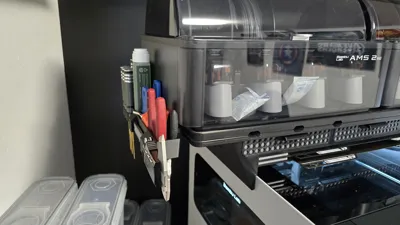
For a Tool Holder: https://makerworld.com/en/models/1395469-h2d-riser-tool-holder-for-h2dual-ams#profileId-1446383
Find drawer inserts for different nozzles here: https://makerworld.com/en/models/2139344-nozzle-storage-insert-for-h2dual-ams-riser-systems#profileId-2317361
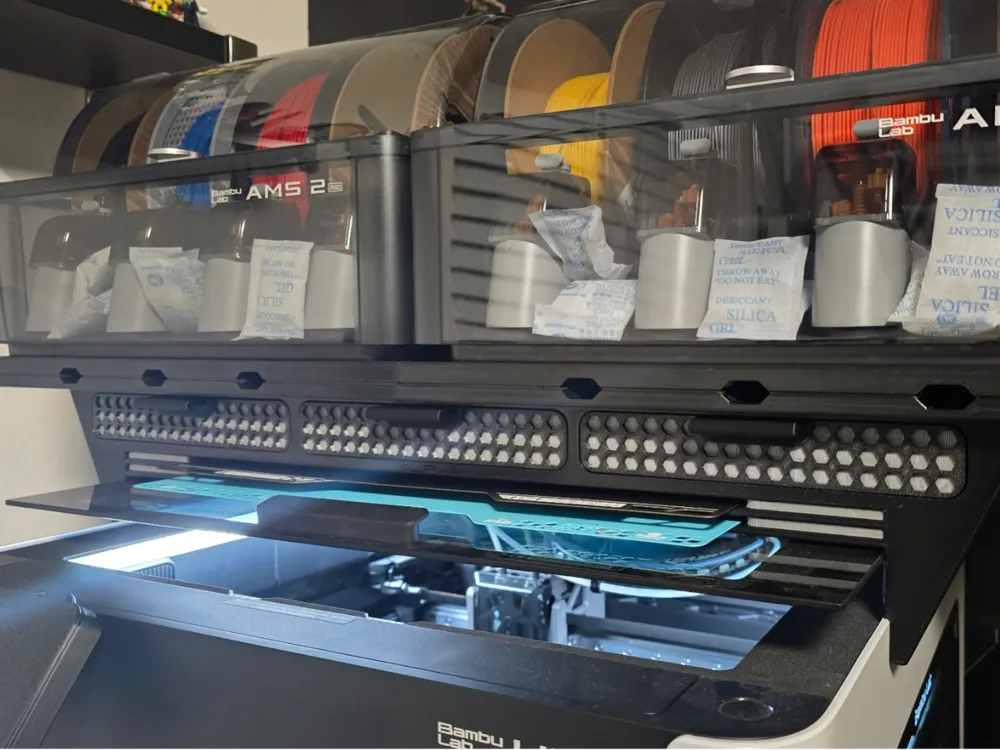
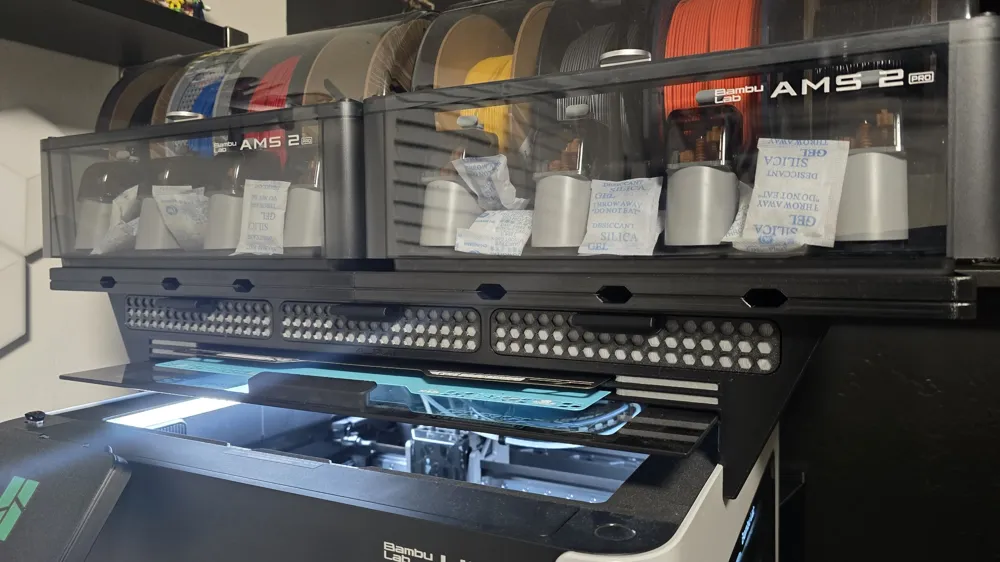
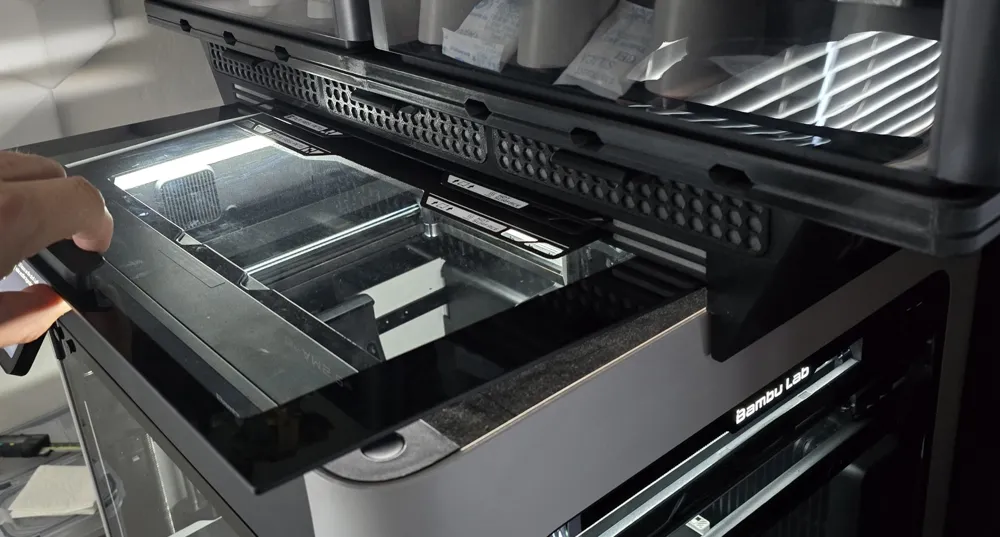
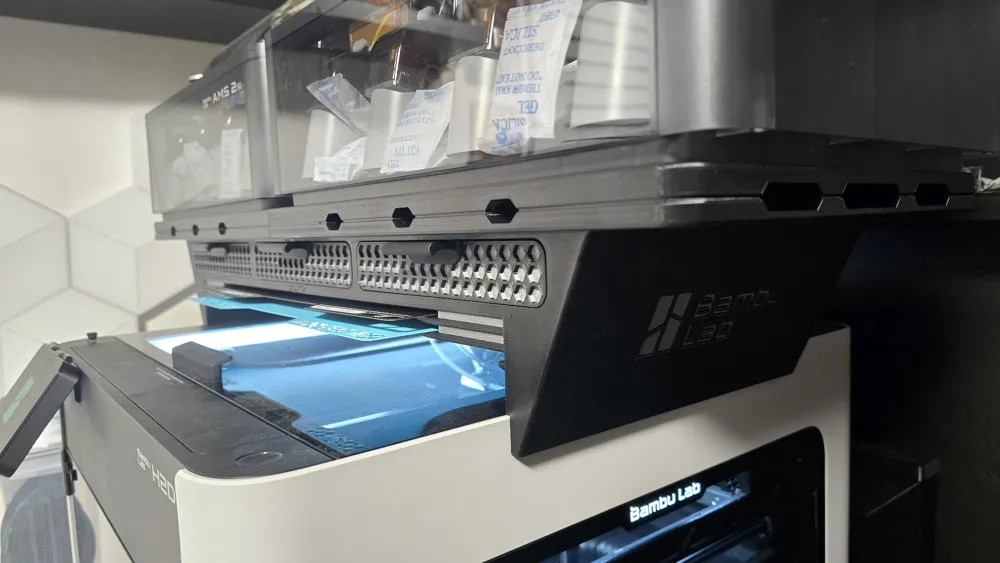
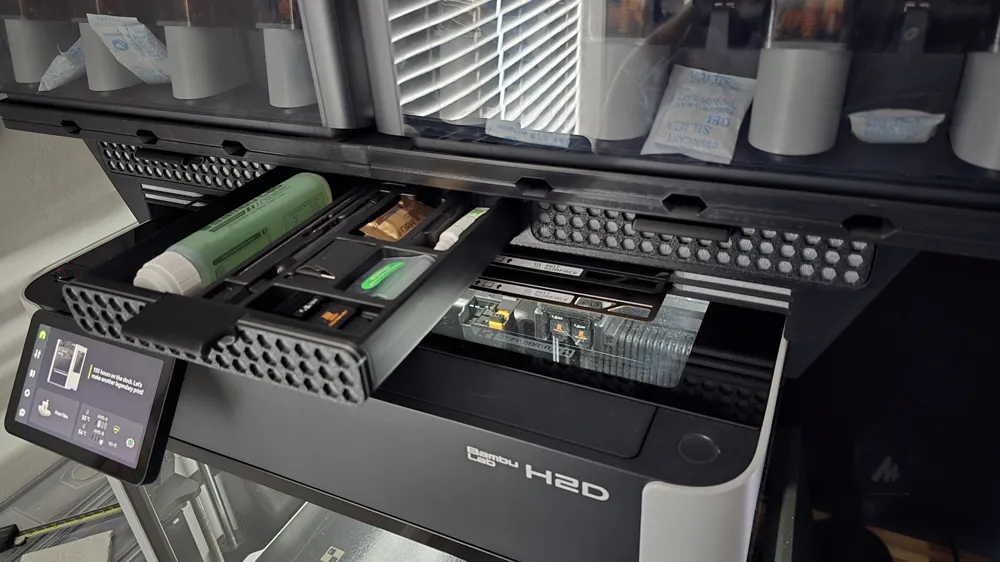
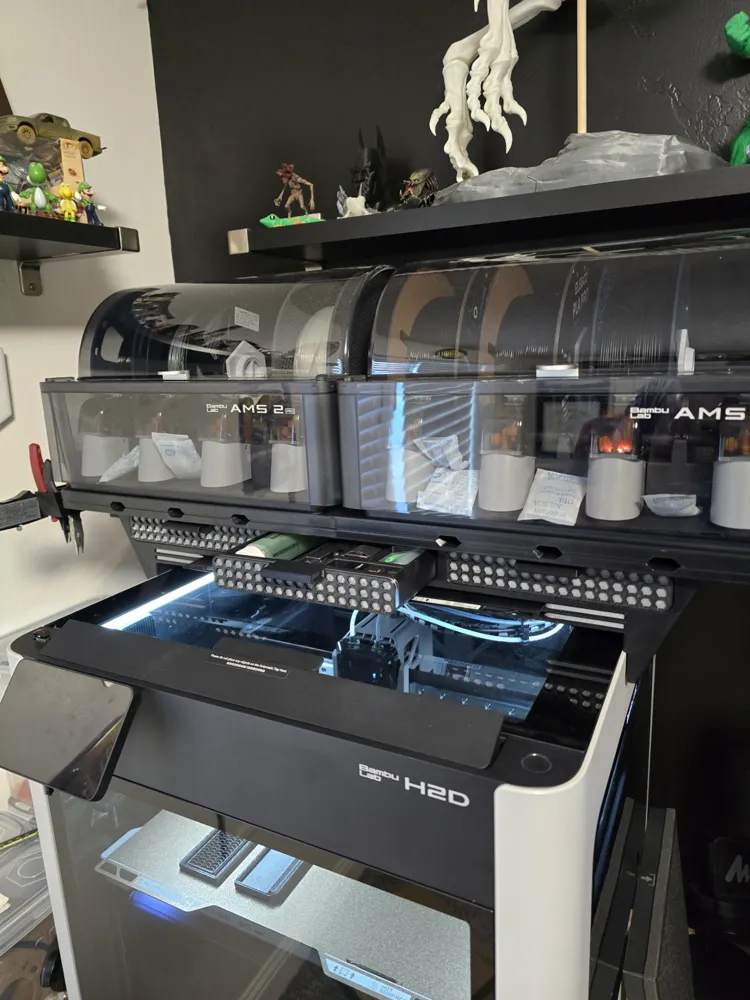
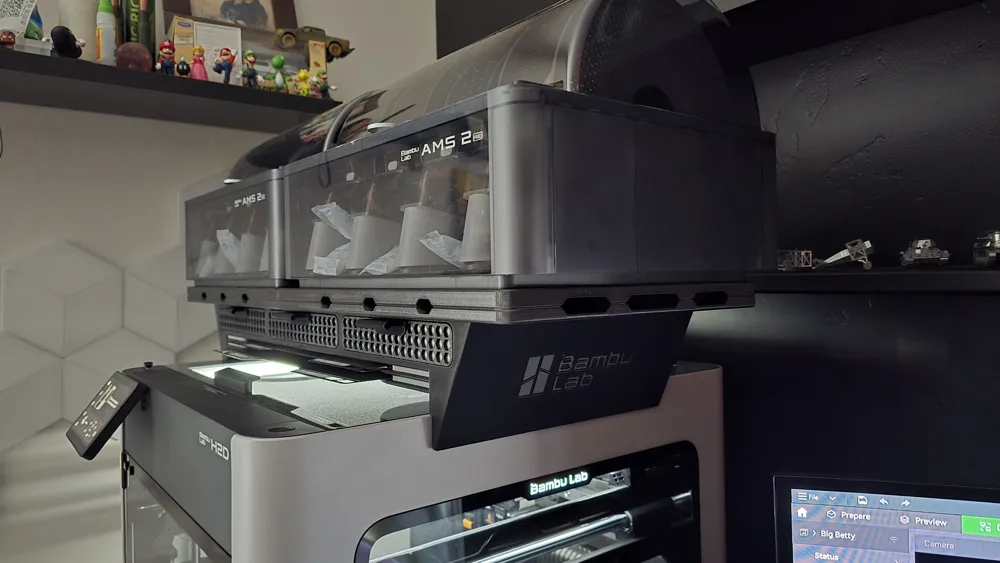
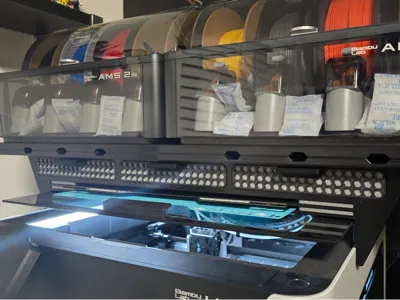
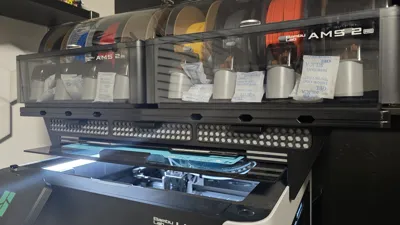
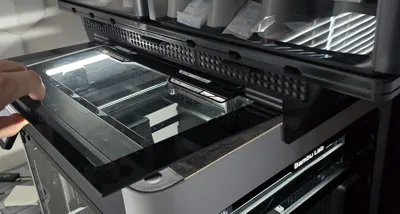
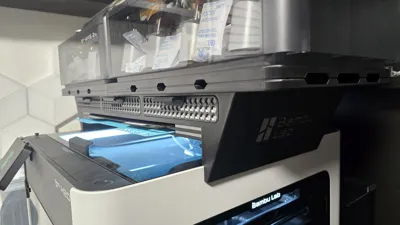
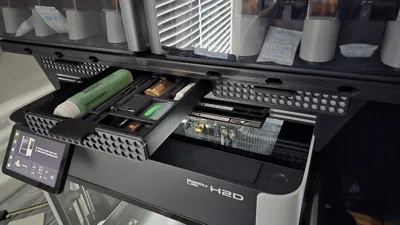
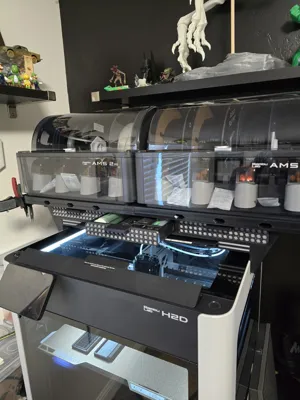
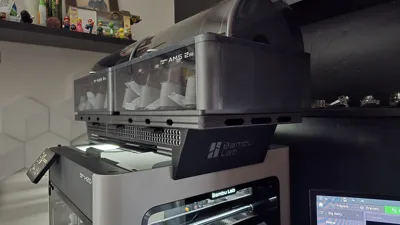
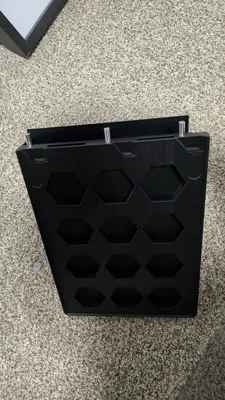
This custom riser is inspired in part by the “Riser V2” by maCyo42 for the P1S and X1C, and is designed specifically for the Bambu H2D. It supports two AMS units side by side on top of the printer while still allowing removal of the top glass panel—even with the AMS units in place. Additional features include:
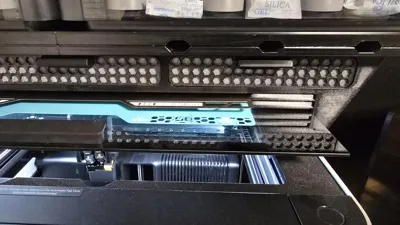
- Integrated drawers for convenient storage
- Some existing mods for the “Riser V2” drawers should work with these drawers (These drawers are the same width, but deeper).
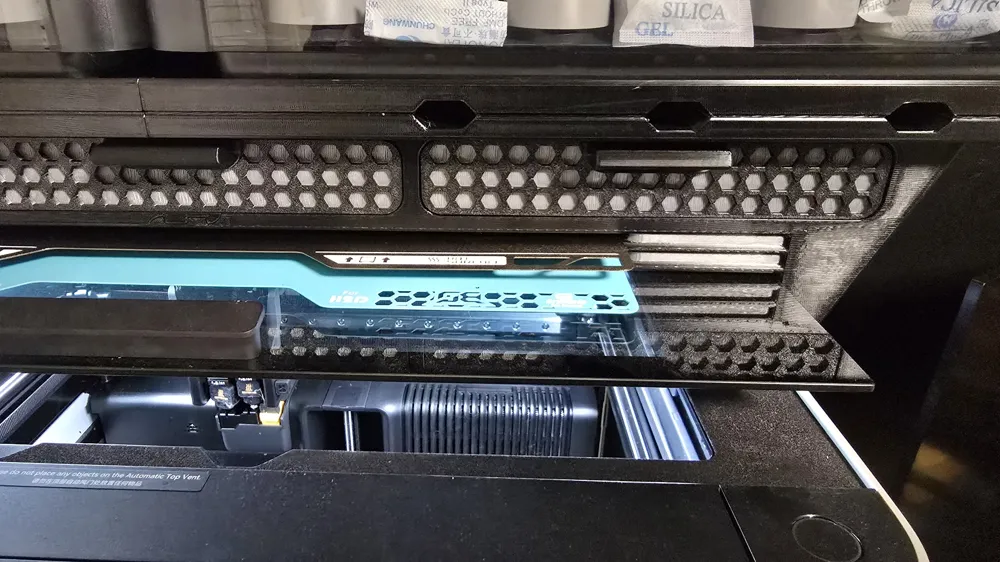
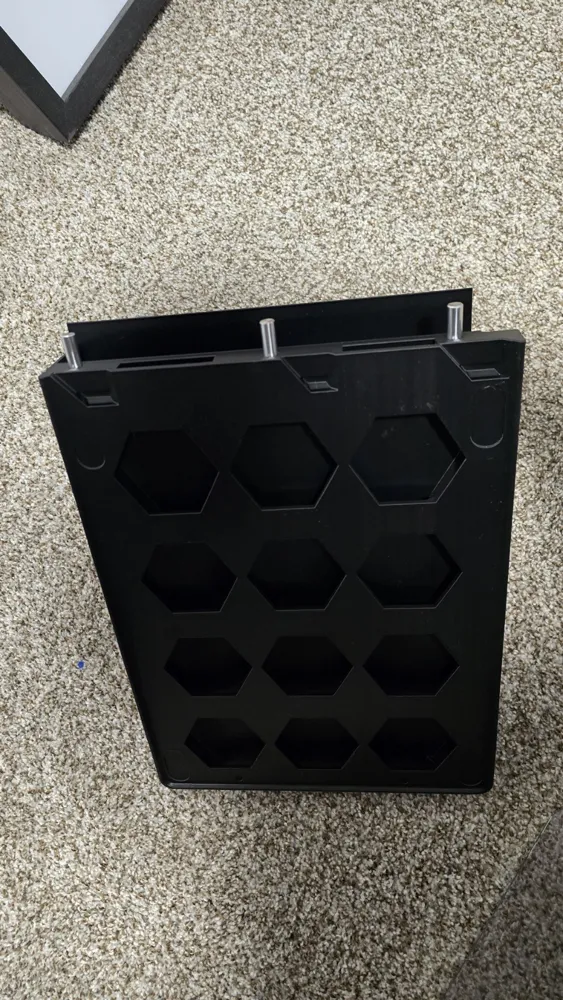
- Shelves for build plate storage
- A shelf for the glass if you do remove it
- Airflow channels to support AMS 2’s drying functionality
Printing & Assembly Notes:
- Material Recommendation: Use a material rated for the highest temperatures you plan to use. Even PETG may soften under prolonged exposure to radiant heat from the chamber walls and glass. This will ensure there is no warping during printing or drying.
- I wouldn't recommend ABS due to shrinkage, but if you do use ABS you may want to scale up a small amount. ASA may be a better choice.
- Print Settings:
- No supports needed
- Designed for high-flow PETG
- Each half uses just under one roll of filament (2 perimeters, 12% infill)
- Use a modifier box to set 100% infill for the top and bottom clips
- Feeling adventurous? Both halves can fit on one H2D build plate and be printed together.
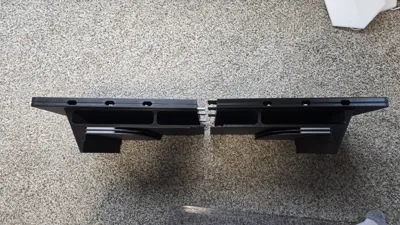
- Three 8mm holes are included for reinforcement rods.
- If you have spare 8mm rods (e.g., from old printers), cut them to ~50mm.
- If not, printable reinforcement rods are included—print these at 100% infill.
- Recommended: Use a bit of gel super glue on the bottom clips for added security (not required, but recommended).
Assembly:
After printing:
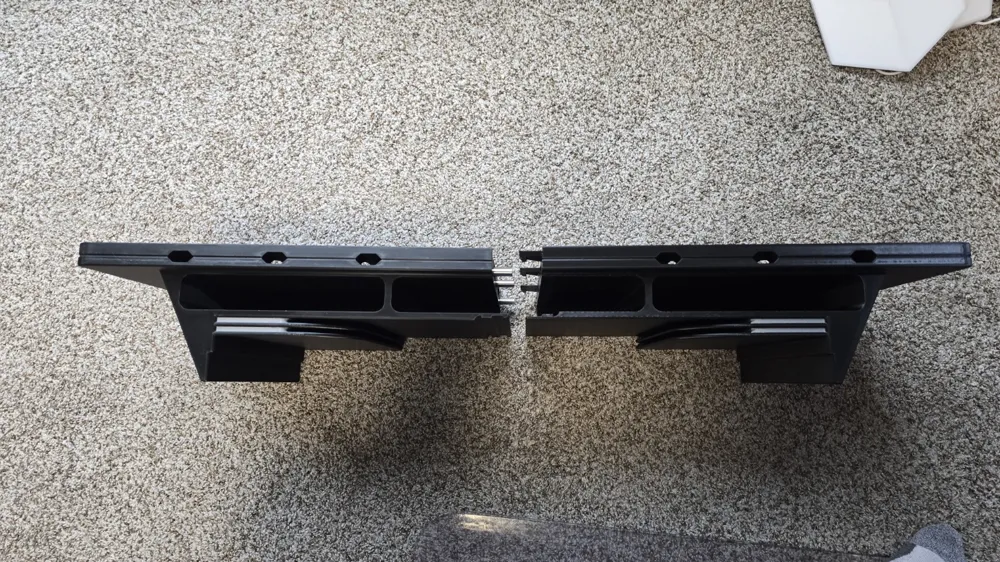
- Make sure your rods will slide into each half, then insert the rods into one half.
- Align the rods with the second half.
- Press the two halves together firmly (e.g., using your hands and a carpeted floor).
- Apply even pressure—snapping sounds are expected as the clips engage.
- You may have to even hammer the halves together with your fists. If you do, make sure you alternate front to back so that the two halves go together evenly.
- Once assembled, the unit is not meant to be disassembled.
Customization:
- Includes a blank file for customizing drawer covers.
- Includes a template for designing accessories like tool holders that hang off the side.
- A ready-made tool holder designed for this riser is available here.
Note:
If you need to remove a drawer, open the drawer fully, apply downward pressure on the front of the drawer and wiggle while pulling out.
If you remix or customize this design, please reference the original model in your upload.
Boost Me (for free)
If you made it this far, and you've enjoyed my models, leave me a boost!
License

You shall not share, sub-license, sell, rent, host, transfer, or distribute in any way the digital or 3D printed versions of this object, nor any other derivative work of this object in its digital or physical format (including - but not limited to - remixes of this object, and hosting on other digital platforms). The objects may not be used without permission in any way whatsoever in which you charge money, or collect fees.


Comment & Rating (647)