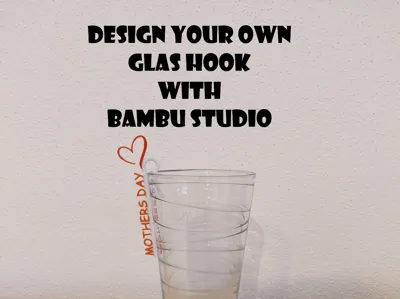
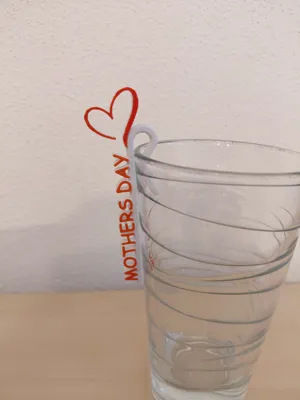
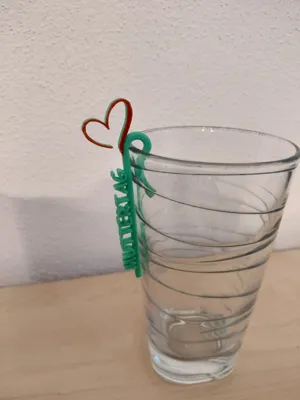
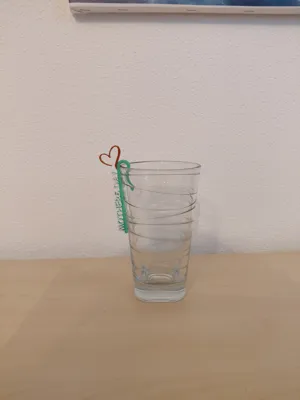
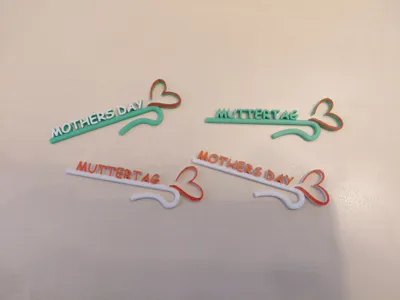
Mother's Day Glass Hook Glass Marker - Name Customizable


Print Profile(1)

Description
Customizable small hook for attaching to any drinking glass or cup.
This version includes two basic color patterns to choose from. Ideal for weddings or Mother's Day.
The special feature here, however, is that the name can be changed by yourself.
Here are some brief instructions:
- Open the *.3mf file and select the hook you want to modify with a mouse click.
Now go to "Objects" and right-click on "text shape". In the selection window that opens, click on "Edit Text".

Now a window will appear on the screen where you can change the text.

NOTE: I strongly recommend only changing the text and possibly the font. Changes to other parameters may result in the print profile no longer being usable.
- Change the text and go back using the "Back" button in the upper left corner. Now you can slice and print your hook.
If you find that your glass has different dimensions or that you need to adjust the size of the hook in general, proceed as follows:
- Open the *.3mf file and select the hook you want to modify with a mouse click.
Now select the icon for enlarging objects in the top menu bar and remove the hook in xxx. Now you can enter the dimensions individually. Note that changing the dimensions can also change the basic structure and may have a negative impact on the print profile. For experienced Bambu Studio users, however, this is not an obstacle.

You can achieve multicolor printing of the hooks with the following settings:

- Select "Coloring (N)", then the desired color, then "Height Range", and then enter any value greater than 1.
- Next, you can use the mouse to go to the point where the coloring should take place. You can see this on the two white lines on the object and then confirm with the mouse.
License
You shall not share, sub-license, sell, rent, host, transfer, or distribute in any way the digital or 3D printed versions of this object, nor any other derivative work of this object in its digital or physical format (including - but not limited to - remixes of this object, and hosting on other digital platforms). The objects may not be used without permission in any way whatsoever in which you charge money, or collect fees.
Comment & Rating (19)