
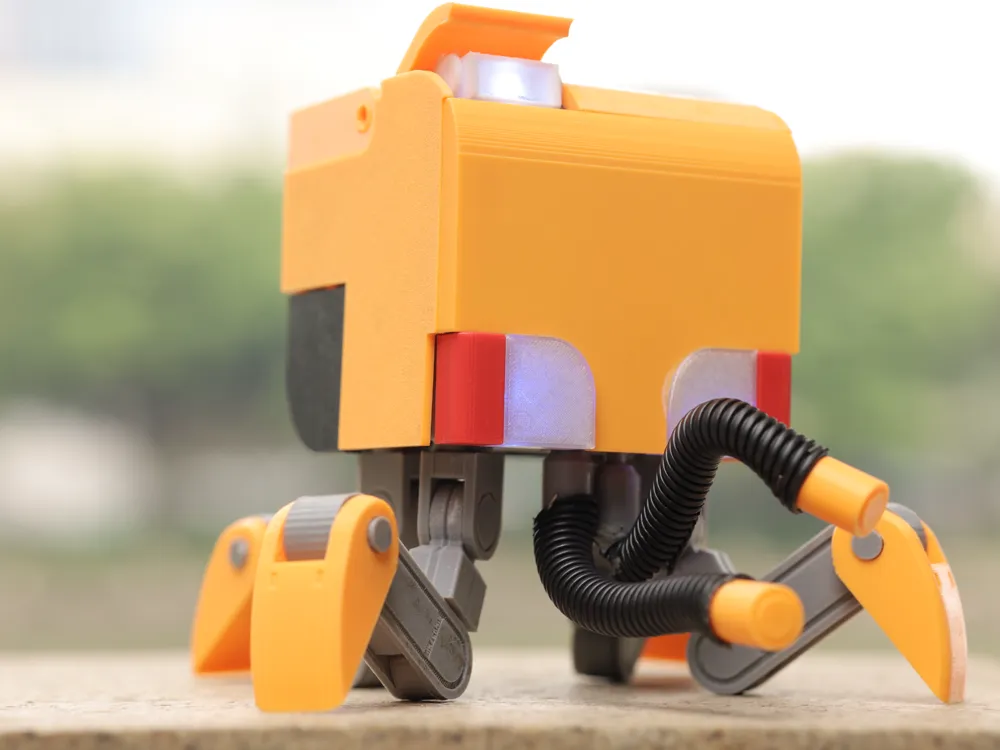
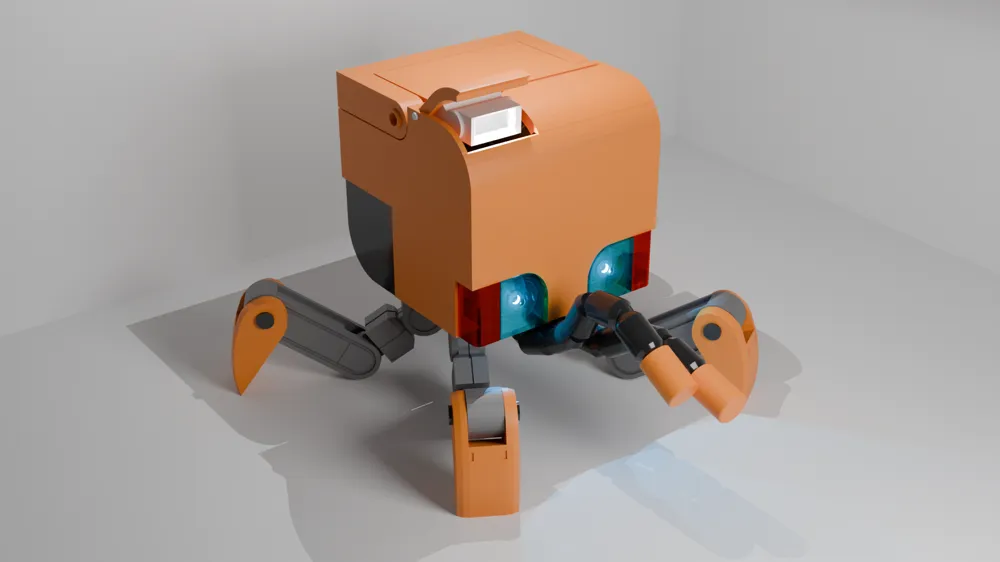
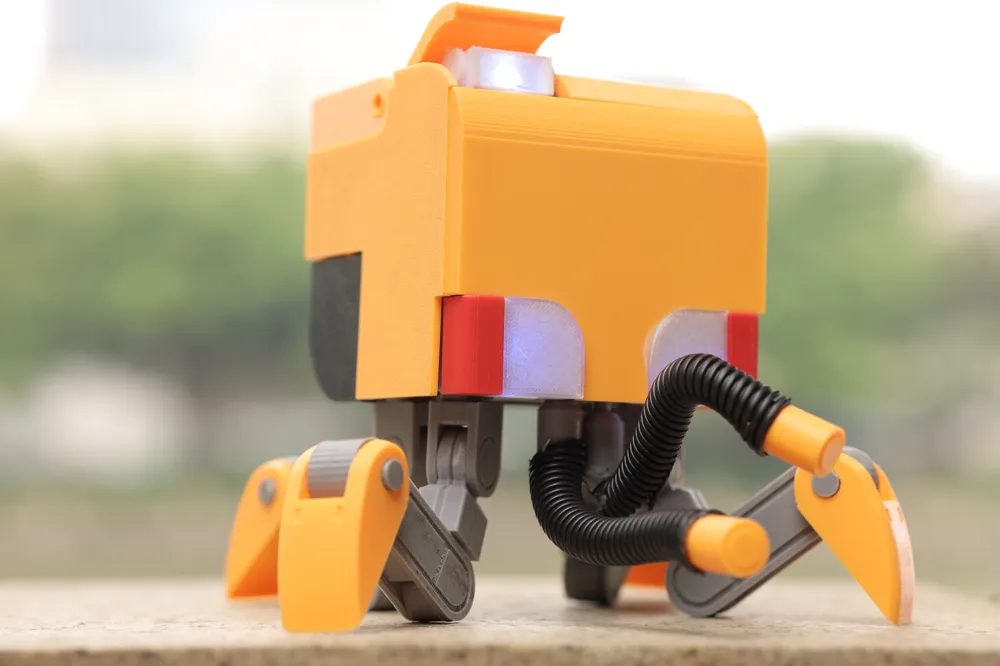
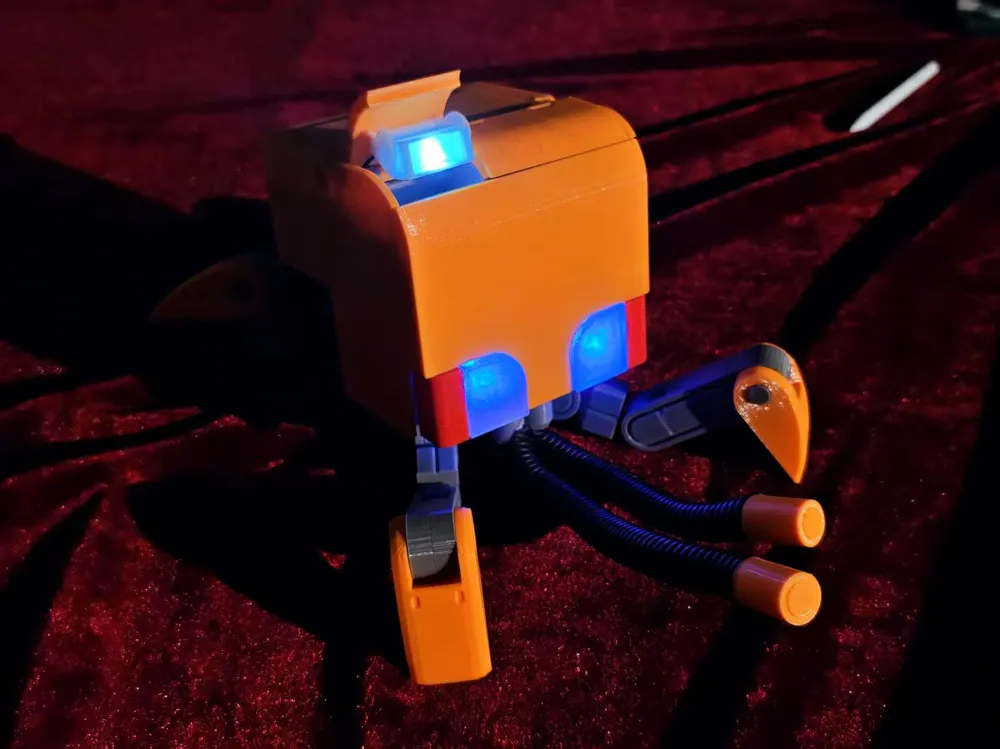
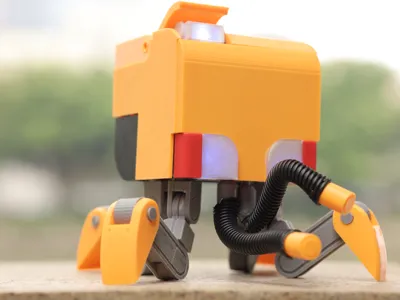
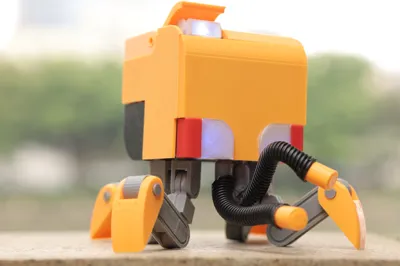
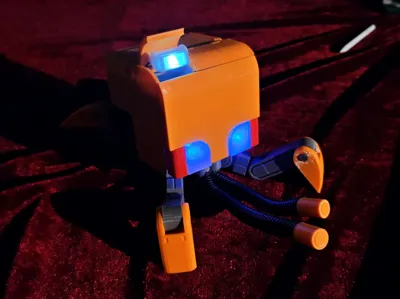
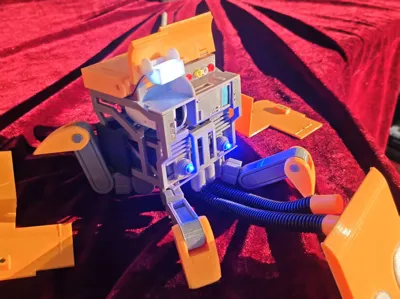
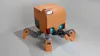
Gundam gquuuuuux Early Childhood Education Robot, Kongqi, Fully Disassembled, Full Color, Fully Articulated
Print Profile(2)

Description
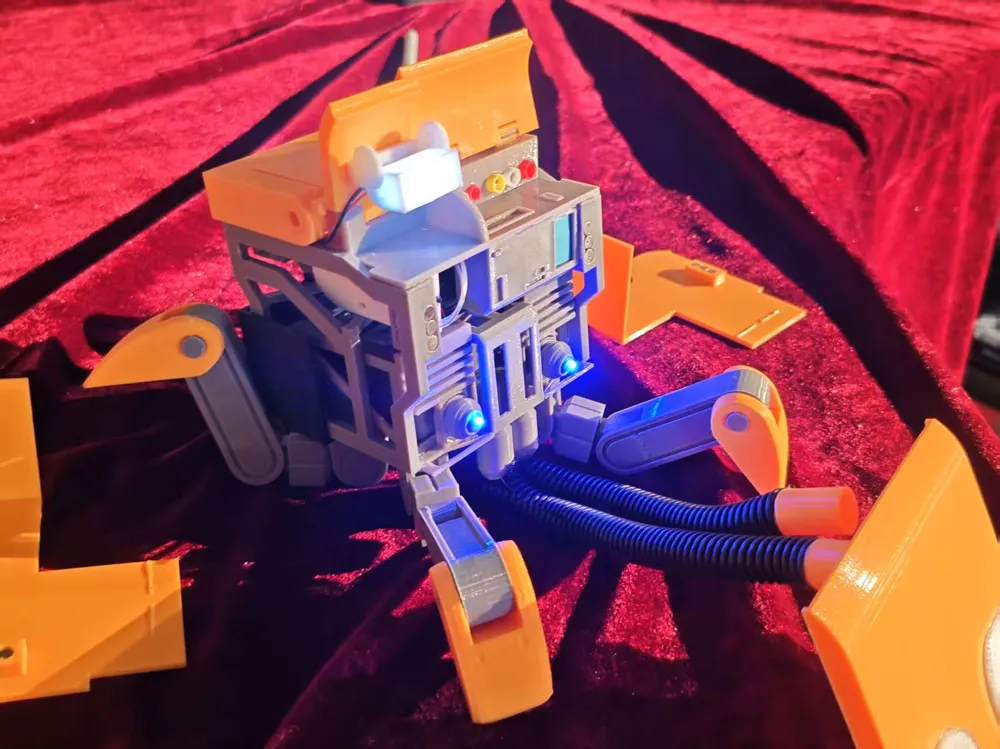
It took a month of testing and development. The skeleton is based on Bandai's Zaku 2.0 and Origin 3.0, and incorporates the latest thermometer screen.
Assembly requires glue, a thin piece of wire, and a 3mm closed-pore threaded tube.
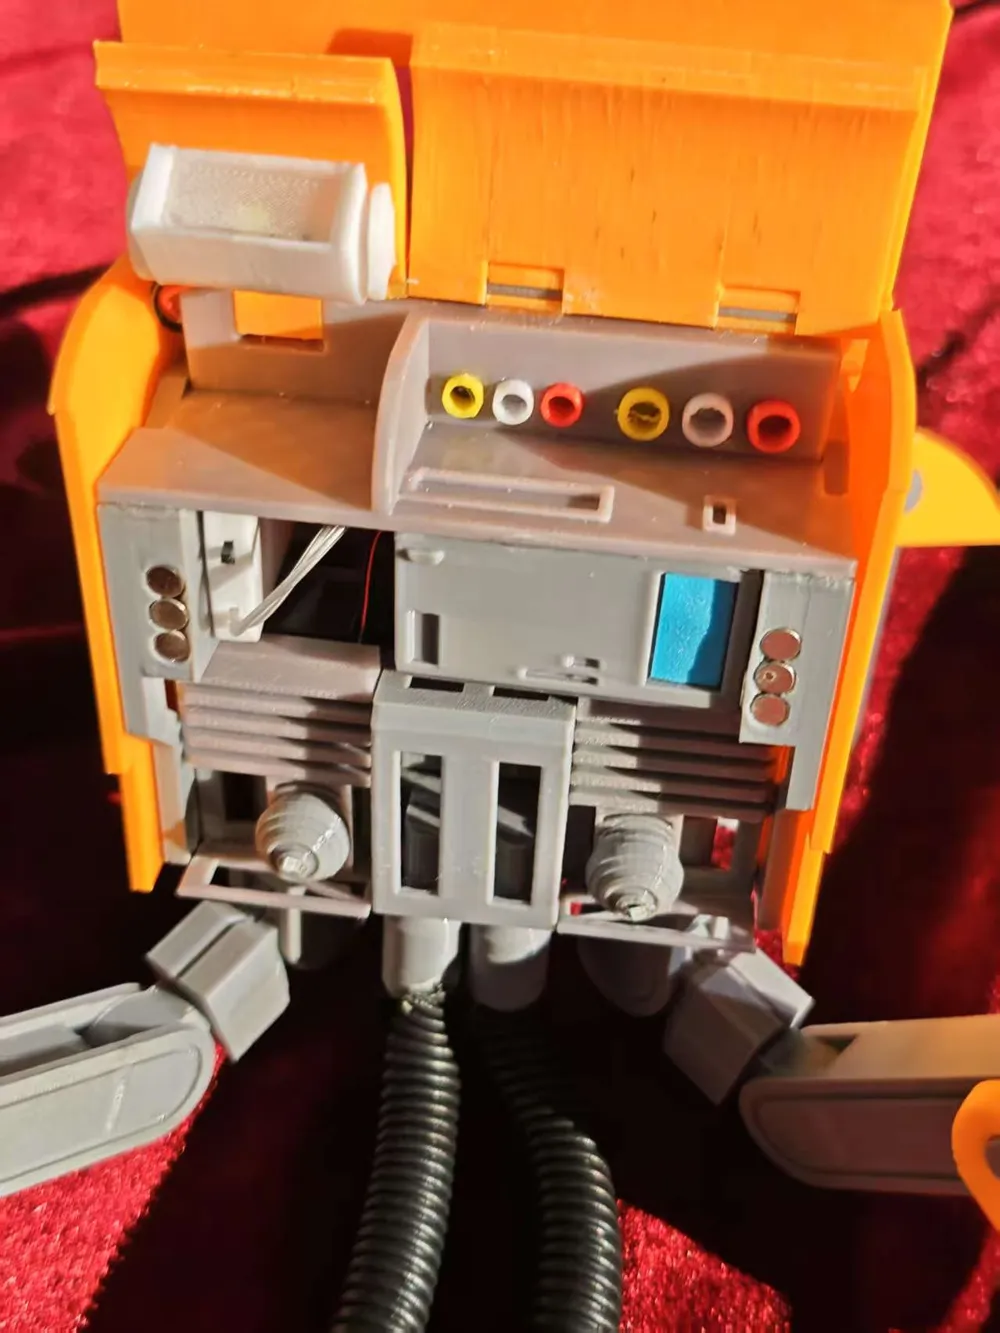
The outer shell uses magnetic attachment and requires 12 5*5 magnets.
Boost Me (for free)
Assembly Instructions

1. Install 6 5*5 magnets into the outer skeleton, and glue the two sides together.
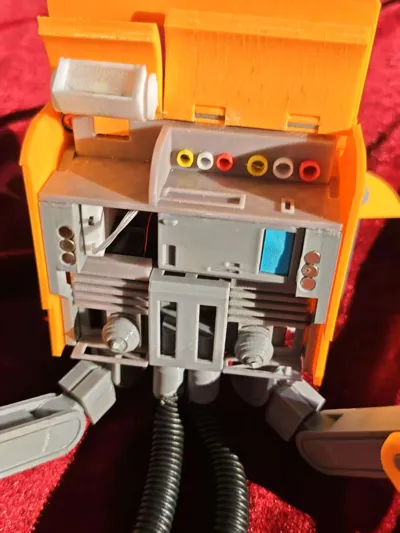

2. Align the bottom heat sink with the rear beam and glue it. Then glue the bottom frame to the outer skeleton.

3. Assemble the fuel tank and glue it to the rear beam.
4. Install the reactor support and heat sink, then install the reactor in the center of the support. Then glue the back filling to the bottom of the reactor heat sink.


5. Install the central computer and camera skeleton support, and glue the camera.

6. Assemble the top components and glue them to the outer skeleton beam.

7. Assemble the top cover and handle components and glue them to the outer skeleton.

8. Assemble the two top covers, and use a 3mm shaft as a pivot. (The printed shaft is unlikely to fit; it is recommended to use a 3mm optical shaft or chopstick).

9. Install three magnets on the left and right panels.
Pay attention to the polarity! It's difficult to remove if installed incorrectly.
Install the pivot on both sides and combine it on the main body.

10. Install six magnets on the face.
Pay attention to the polarity!
Then glue the eyes to the face in the correct position, and the main body is complete.


11. Assemble the four legs. I have added protrusions at the pivot points, which need to be adjusted for tightness.

Finally, the instructions for assembling the tentacles will be provided in a more detailed update in the next two days.
Boost Me (for free)
License

You shall not share, sub-license, sell, rent, host, transfer, or distribute in any way the digital or 3D printed versions of this object, nor any other derivative work of this object in its digital or physical format (including - but not limited to - remixes of this object, and hosting on other digital platforms). The objects may not be used without permission in any way whatsoever in which you charge money, or collect fees.


Comment & Rating (5)