
Fritz!Box 5590 V2 - Smart Home Upgrade
Print Profile(5)


Bill of Materials


Description
V2 including Smart Home Upgrade
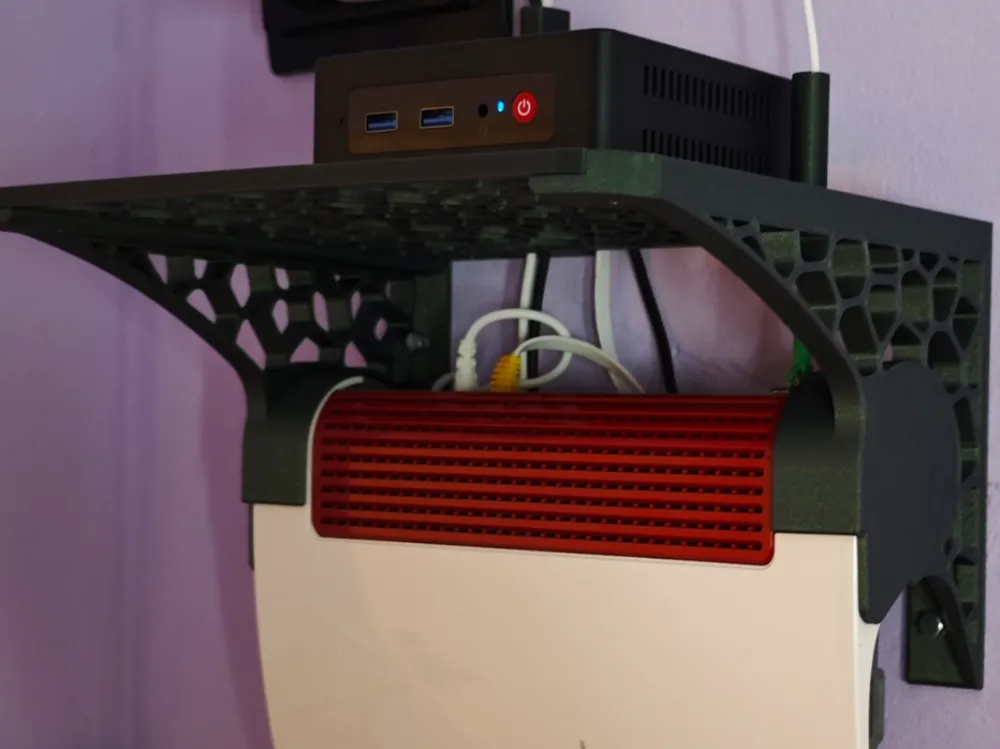
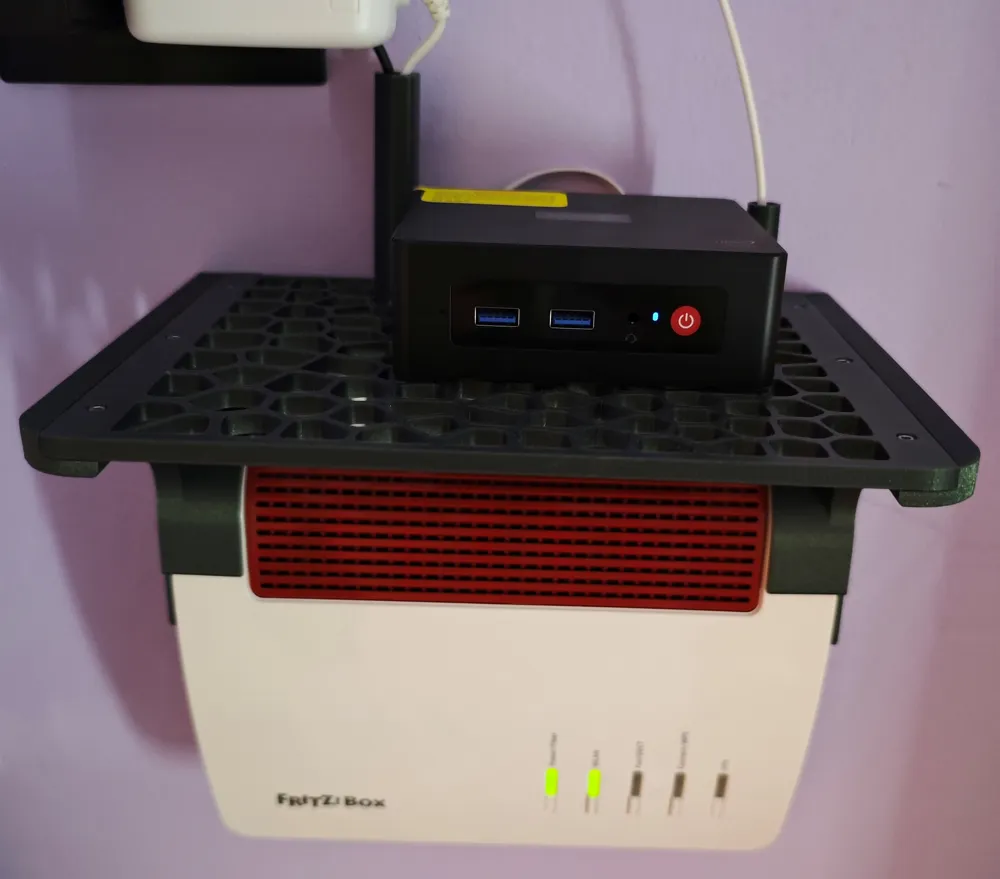
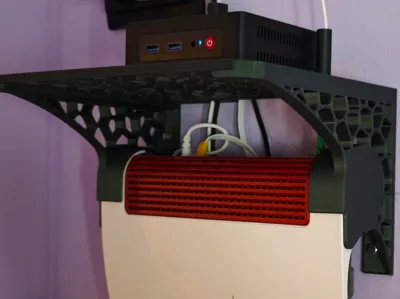
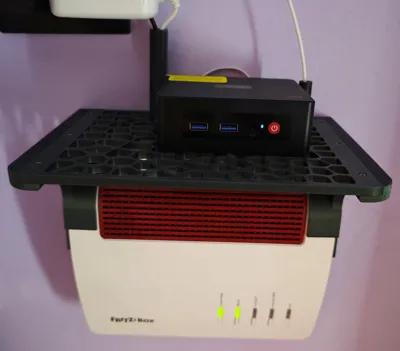
This is THE Wall Mount for the Fritz!Box 5590 (fiber optic) in correct alignment.
V1 can be found here:
https://makerworld.com/de/models/1047725-fritz-box-5590-correct-wall-mount#profileId-1033945
It was frustrating not to find a wall mount in the correct orientation.
This should also:
- be stable
- easy assembly
- childproof (playing children)
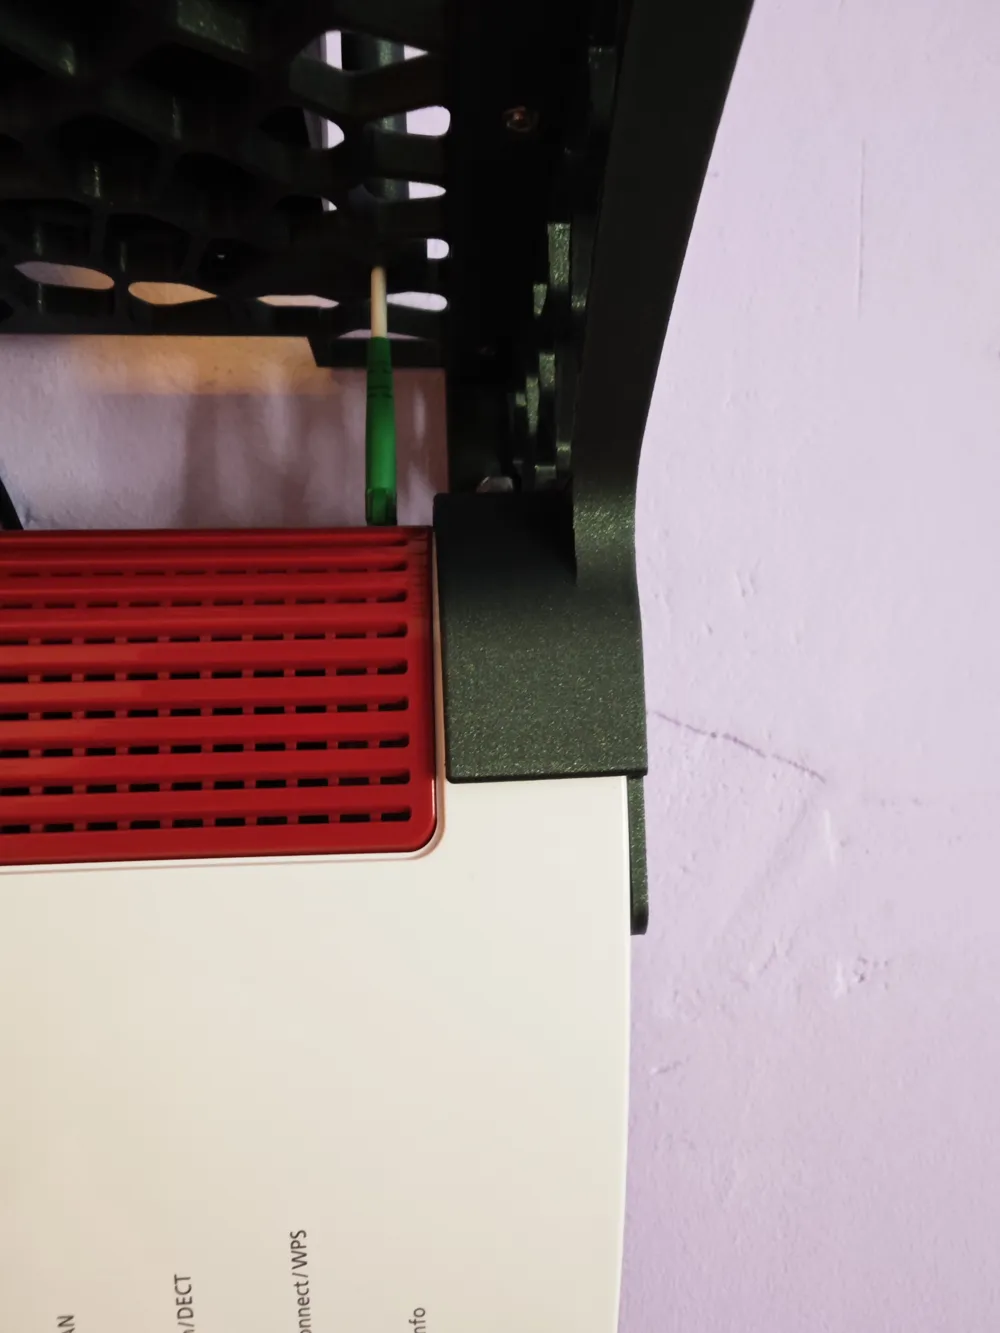
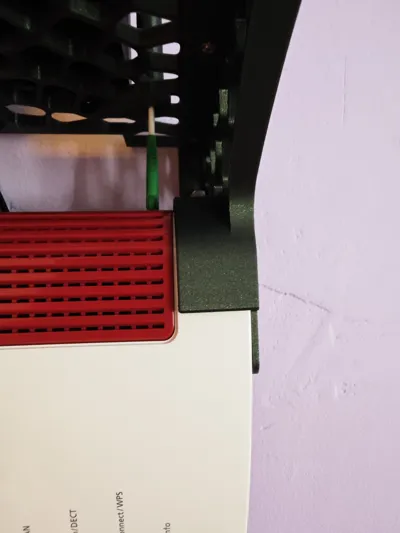
- some distance to the wall (cable routing + heat development)
- storage for mini-PC
be…
What can I say? The search is over 😉.
Only 4 x screws + possibly 4 dowels are needed, depending on the surface on which the Fritz!Box is to be installed.
M3x8mm countersunk head screws + M3 nuts to mount the top plate
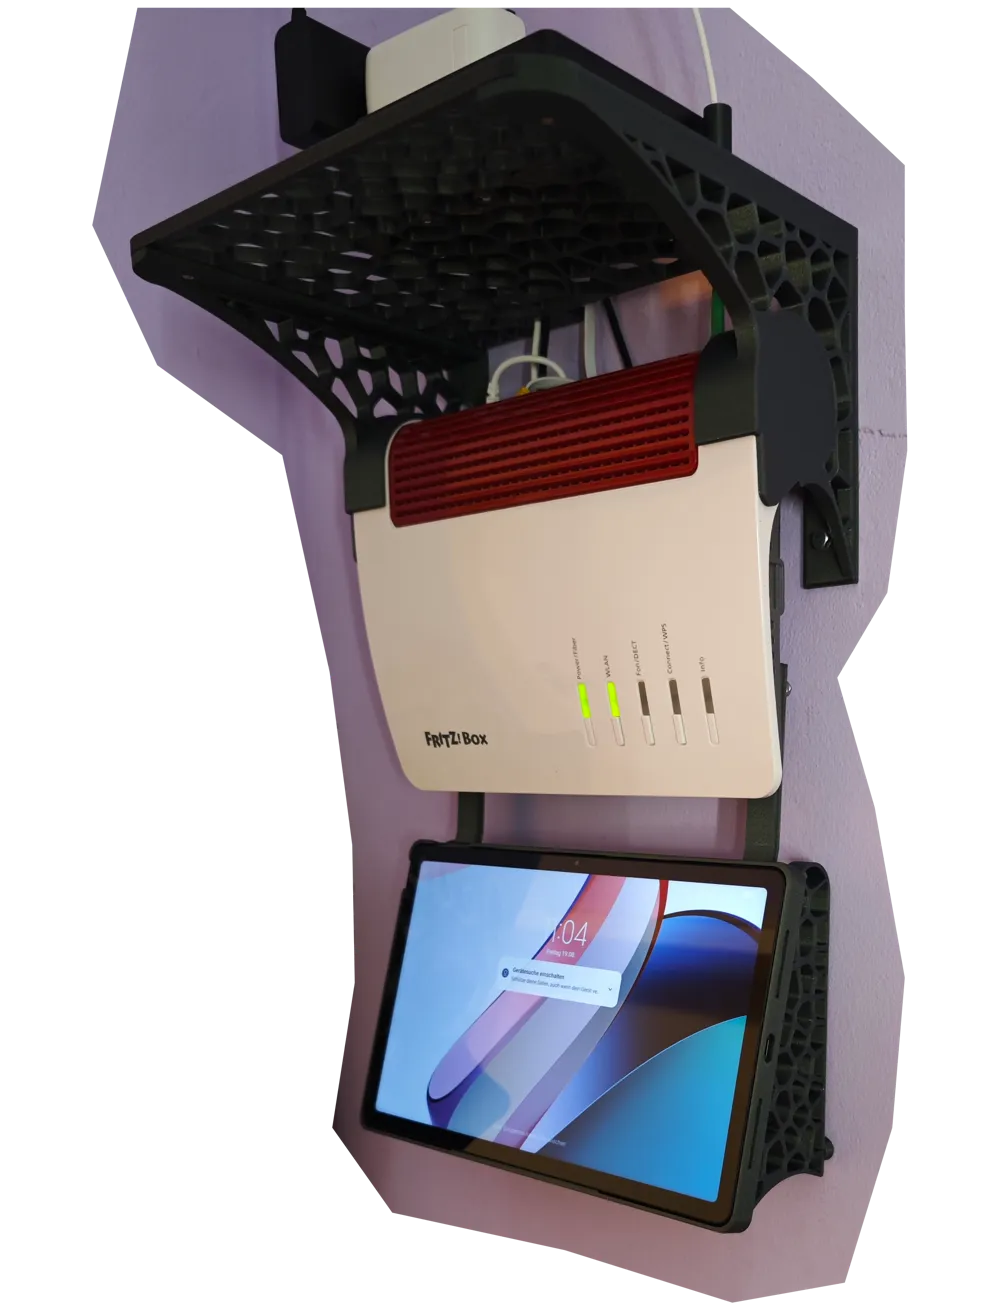
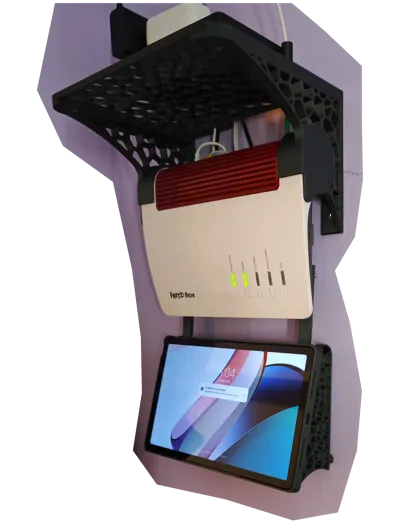
Optional tablet holder:
- 2x M4x20 countersunk head screws + 4 M4 nuts (mounting on the Fritzbox)
- more M3x8mm countersunk head screws + M3 nuts → camera area 1x M3x6mm
- tablet used by me “Xiaomi Redmi Pad”
Installation:
- Hold the holder and box against the wall and mark.
- Drill holes (I assume no liability for any damage)
- Now loosely screw on 1 holder with 2 screws and the other with one screw for now
- Now the box can be inserted and the 2nd holder folded in
- Insert the 4th screw and tighten everything evenly
- Finished^^
Optionally, I have uploaded the top plate in different versions to compensate for walls that are not exactly straight, in separate print profiles.
Feel free to add more tablet frames as print profiles 😉
I deliberately avoided countersunk screws, as can be seen in the photos, in order not to “explode” the layers.
The orientation of the respective profiles is deliberately chosen to keep the Z-seam as invisible as possible. 😉
License

You shall not share, sub-license, sell, rent, host, transfer, or distribute in any way the digital or 3D printed versions of this object, nor any other derivative work of this object in its digital or physical format (including - but not limited to - remixes of this object, and hosting on other digital platforms). The objects may not be used without permission in any way whatsoever in which you charge money, or collect fees.


Comment & Rating (7)