
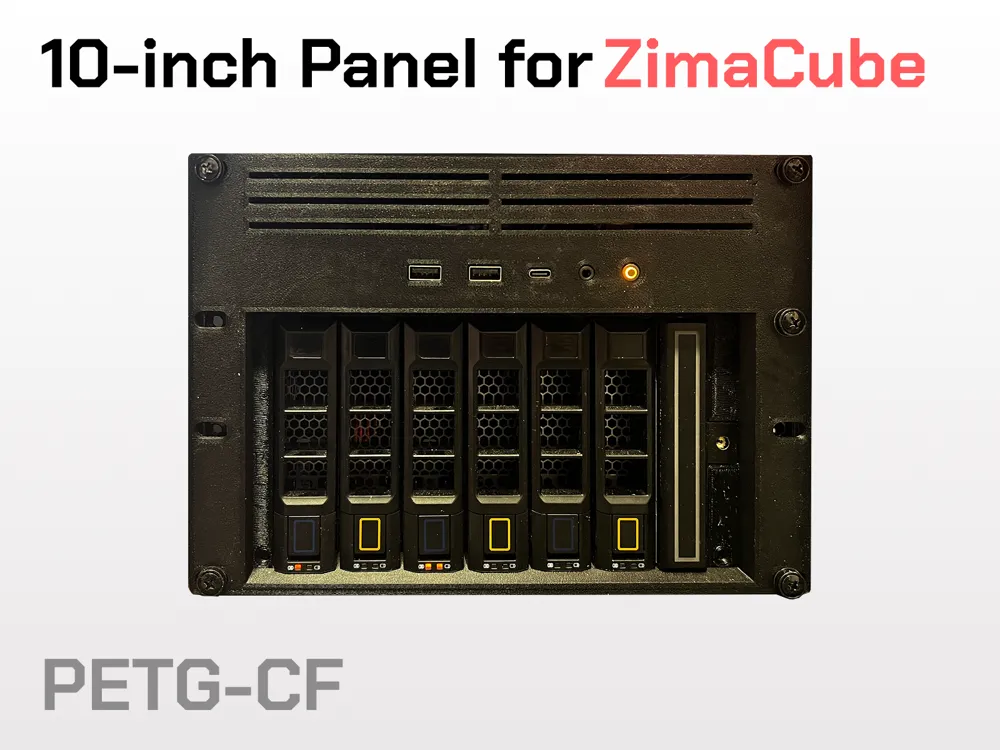
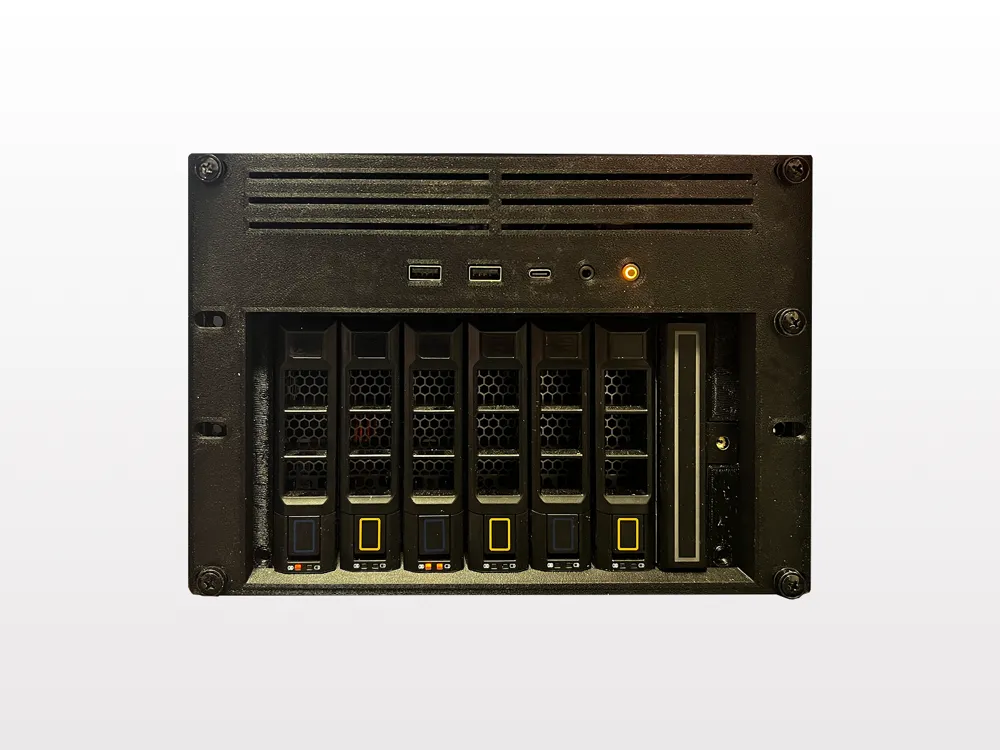
10 inch rack for ZimaCube
Print Profile(2)


Bill of Materials

- ZimaCube x 1: https://shop.zimaspace.com/products/zimacube-pro-personal-cloud
- M3x4x4 heat-set inserts x 10:
- M4x5.5x6 heat-set inserts x 12:
- M4×8 screws x 10:
- M4×9×0.8 metal washers x 10:
Description
Material Recommendation:
I printed this model using both ABS and PETG-CF. Due to the shrinkage characteristics of ABS, the fit for drive slots 1 and 7 on the ZimaCube can be a bit tight. For better dimensional stability and easier assembly, I recommend using PETG-CF for the main parts.
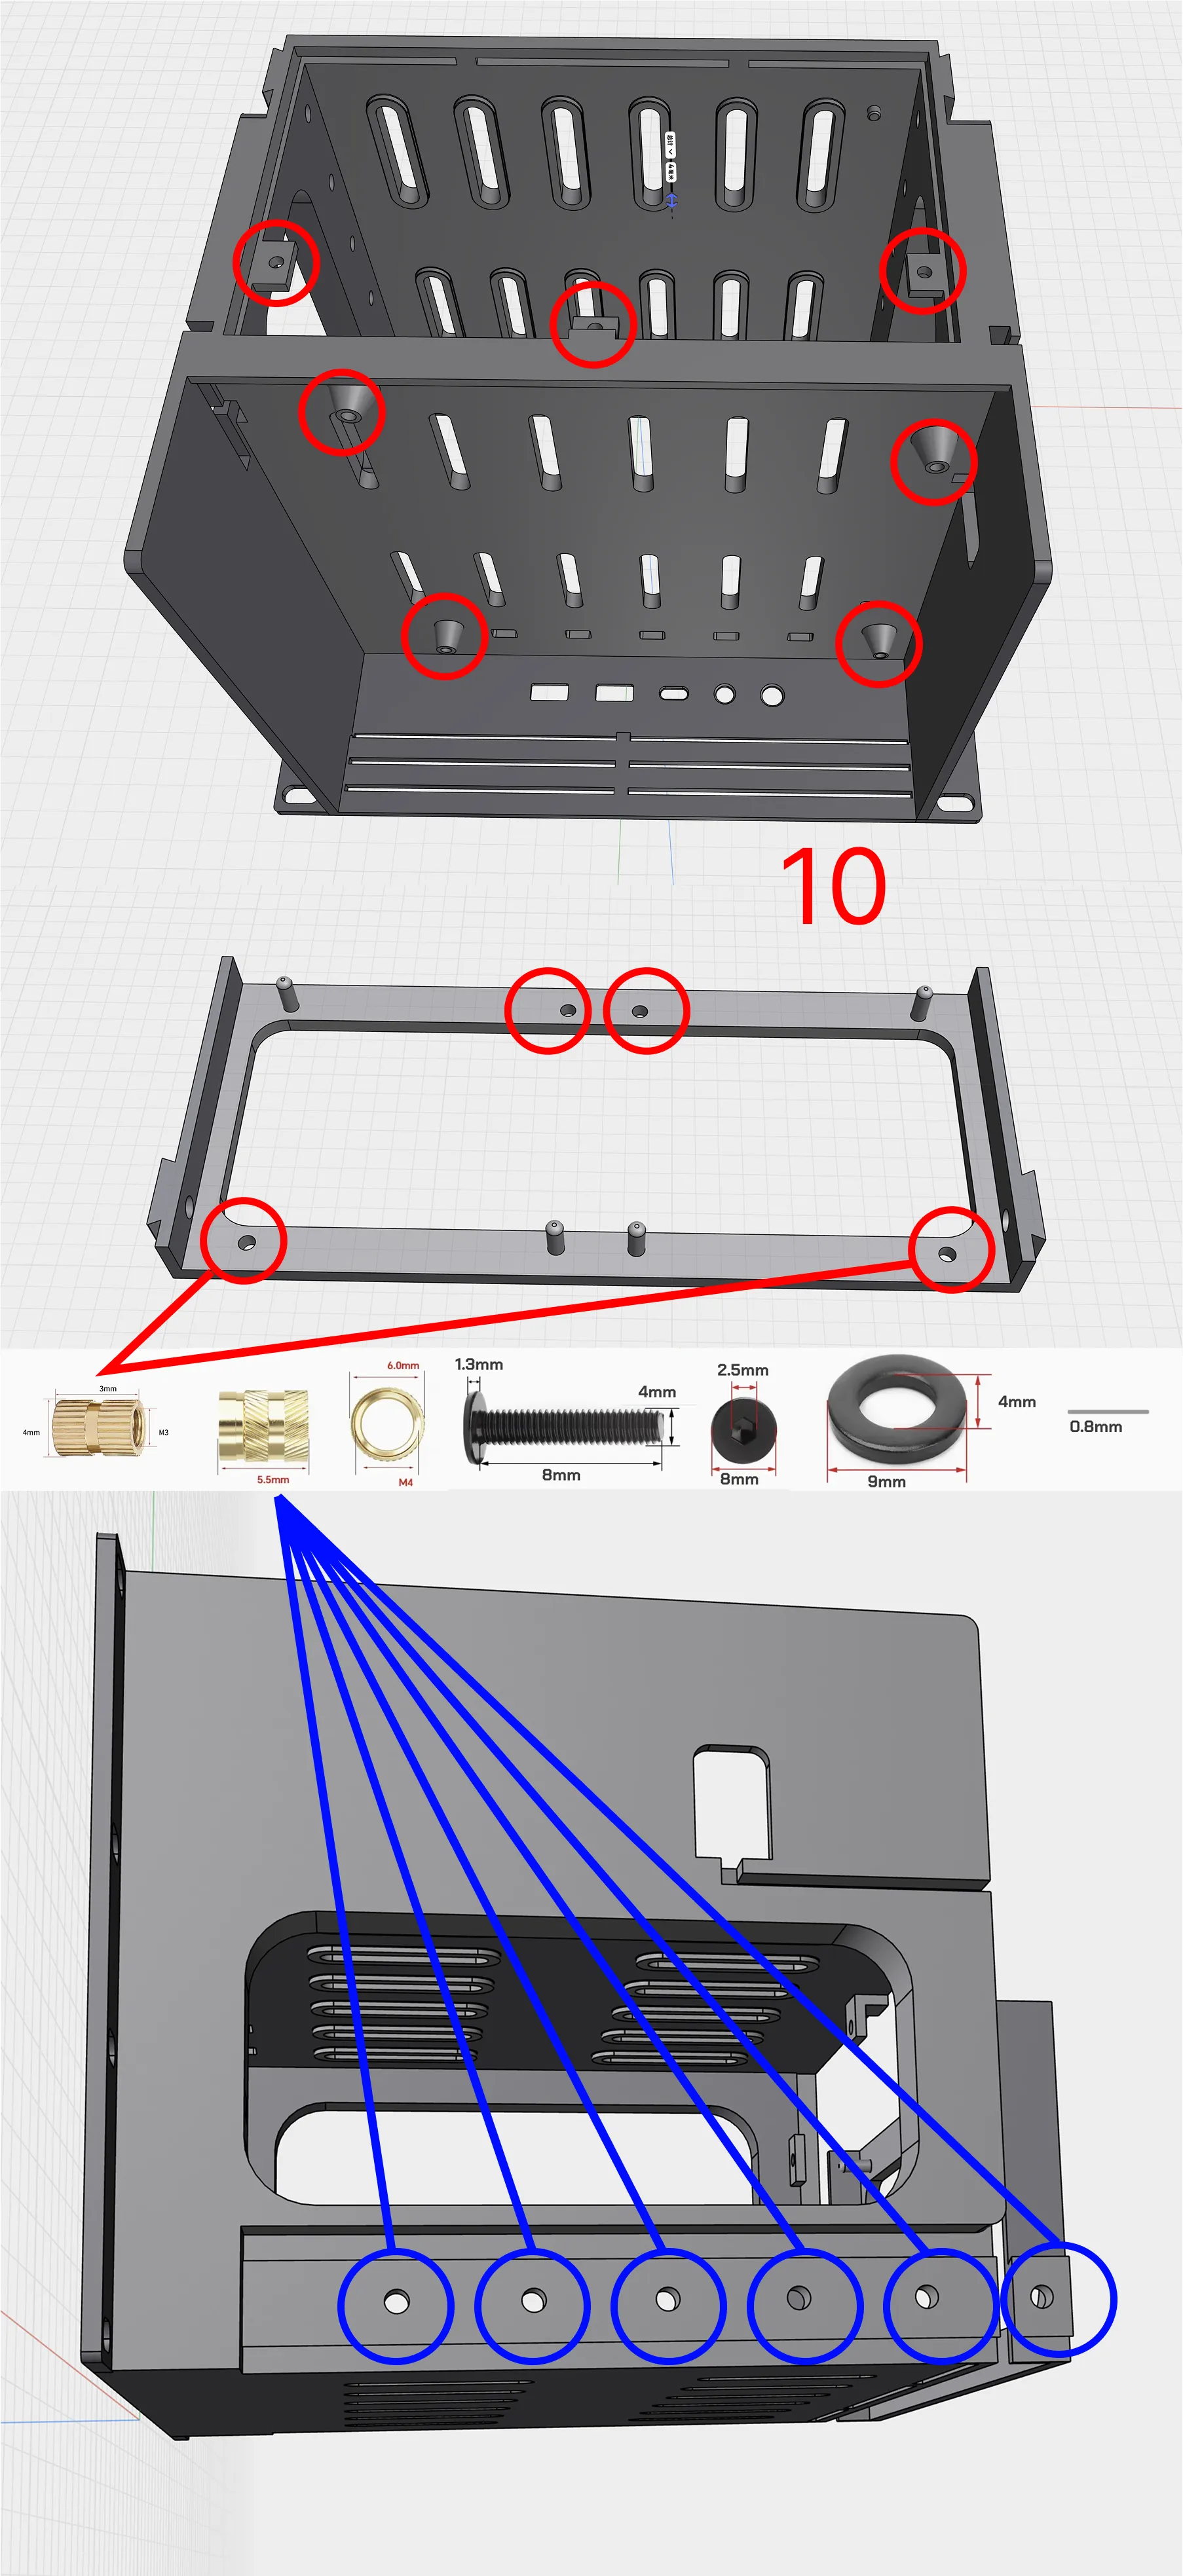
To fit my ZimaCube into a 10-inch rack, I completely redesigned its enclosure to fully replace the original case.For best results when assembling the 3D-printed enclosure, you’ll need around 10x M3x4x4 heat-set inserts and 10–12x M4x5.5x6 heat-set inserts.
The screws for mounting the motherboard, hard drive backplane, and fans are all reused from the original ZimaCube.
However, you’ll need to prepare 10× M4×8 screws and 10× M4×9×0.8 metal washers to secure the main part to the rack frame for structural stability.
The red-circled areas require M3 heat-set inserts, while the blue-circled areas require M4 heat-set inserts.
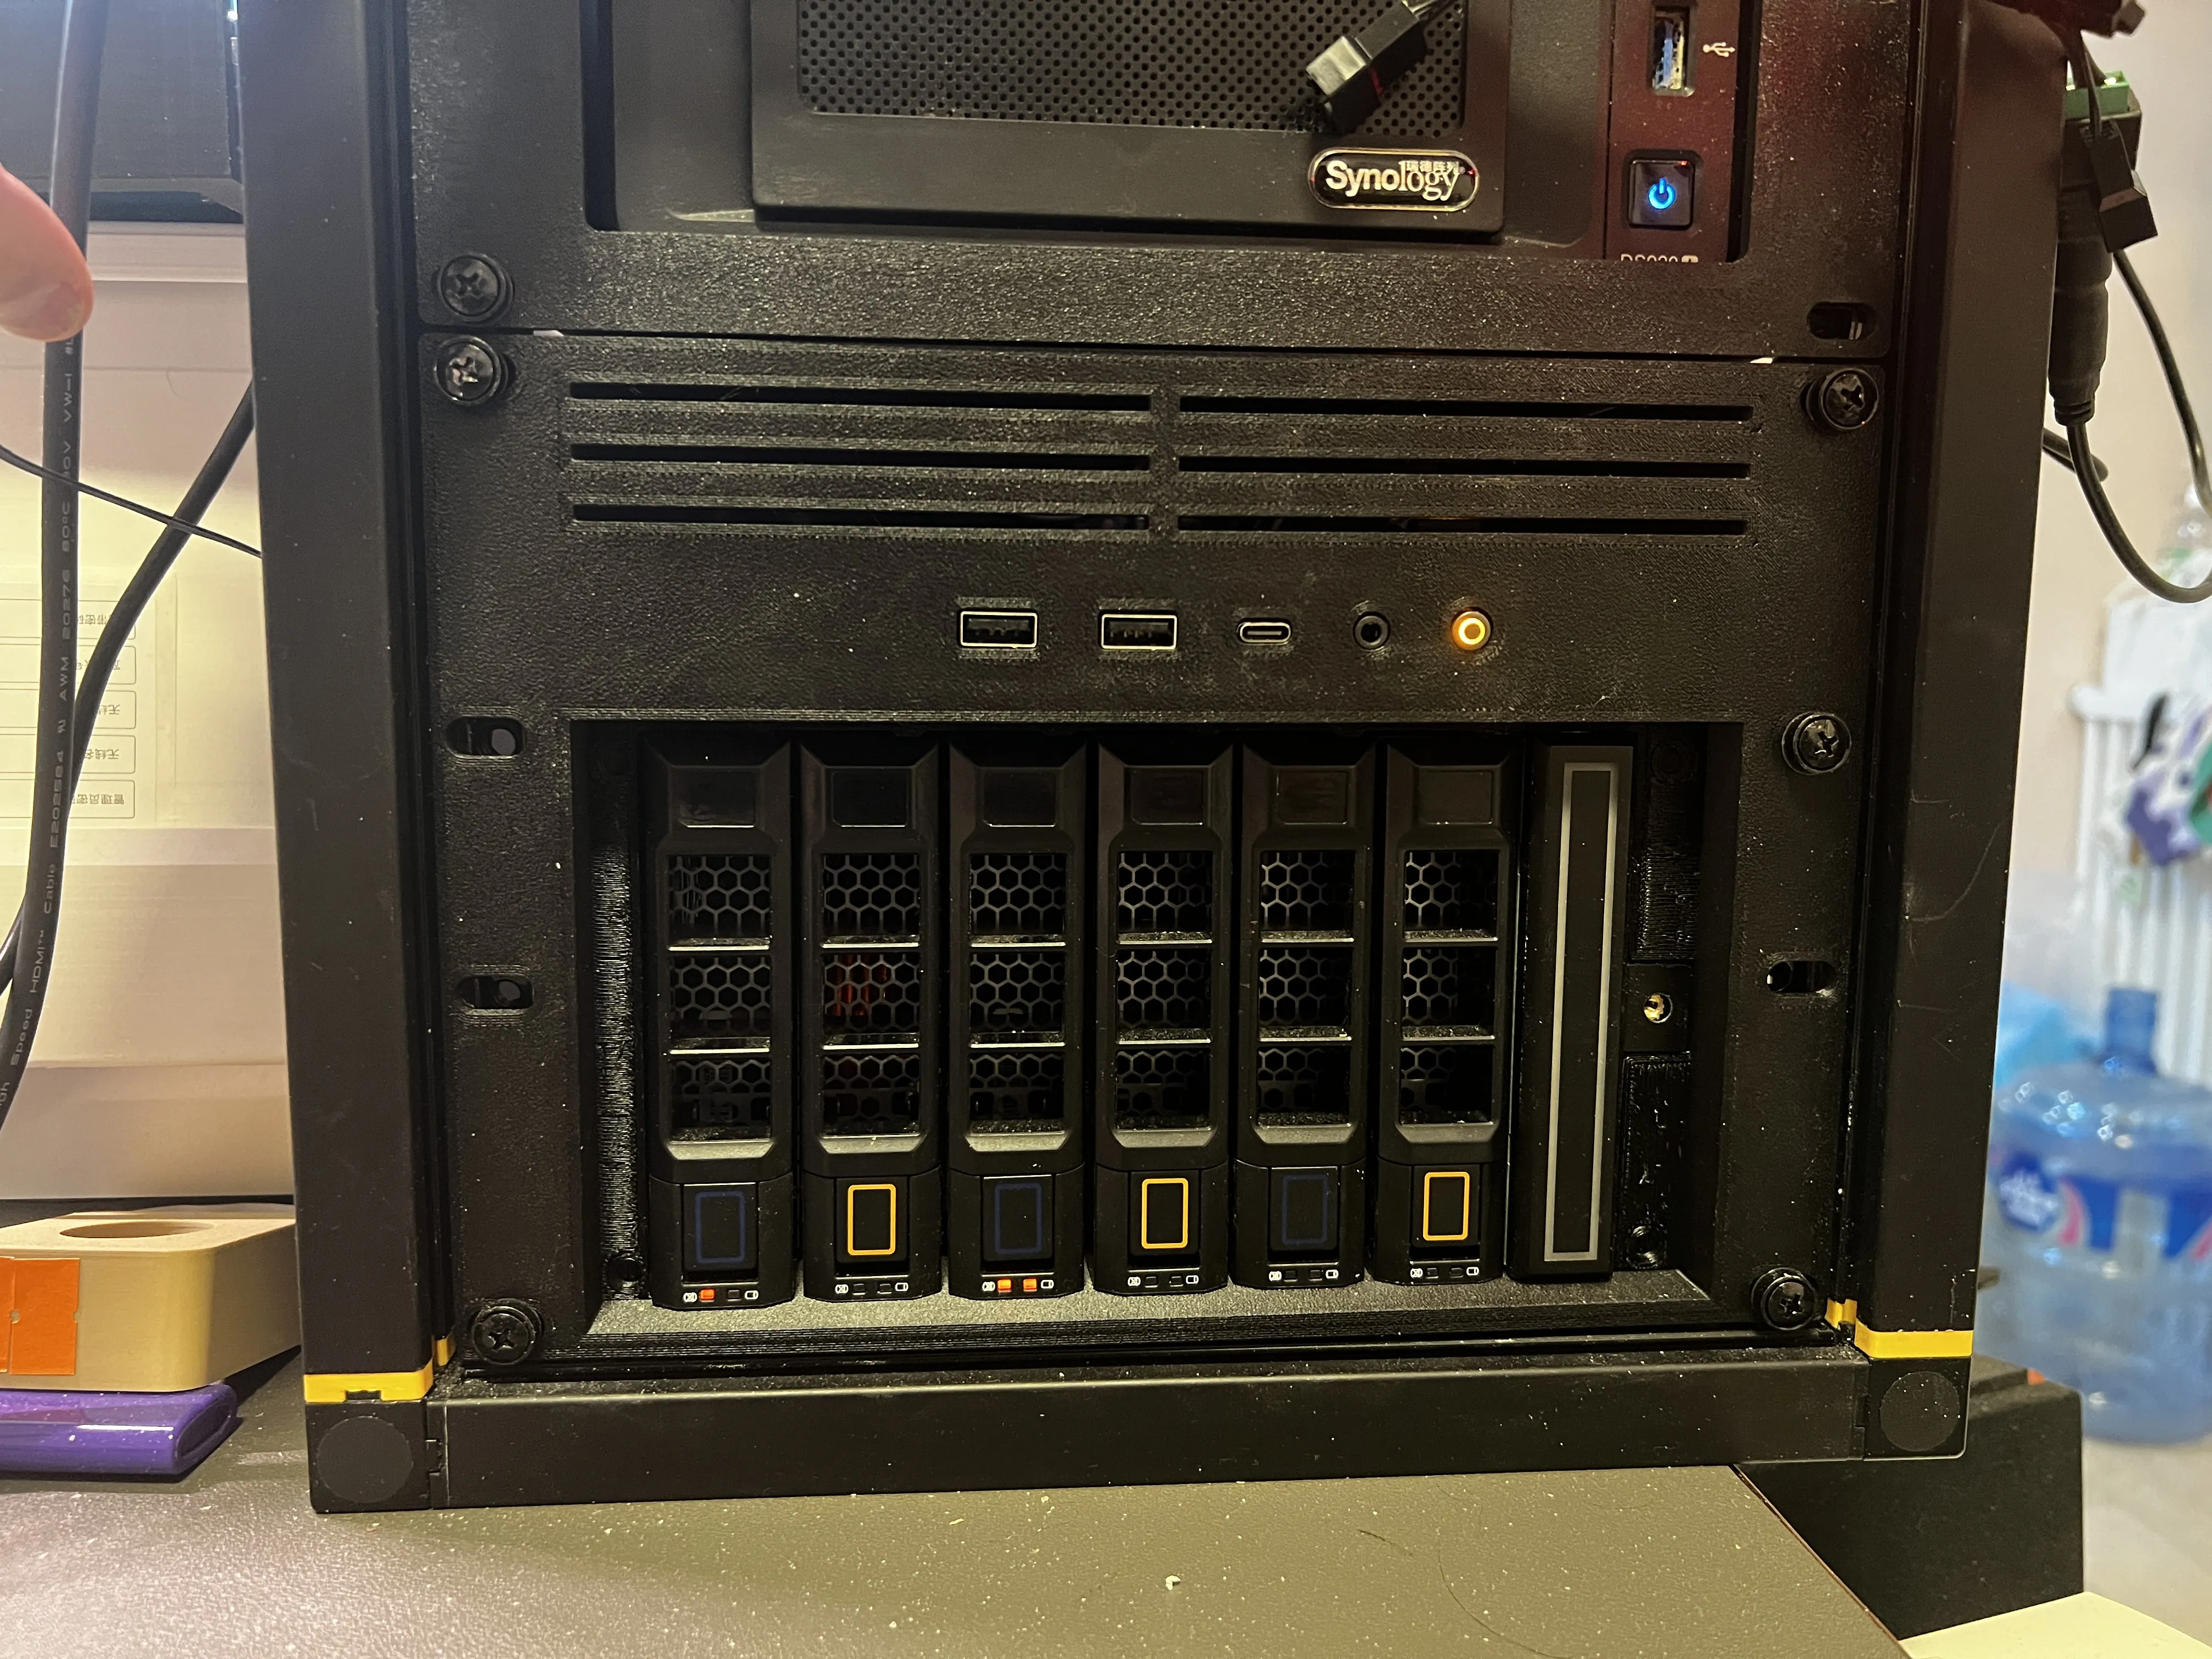
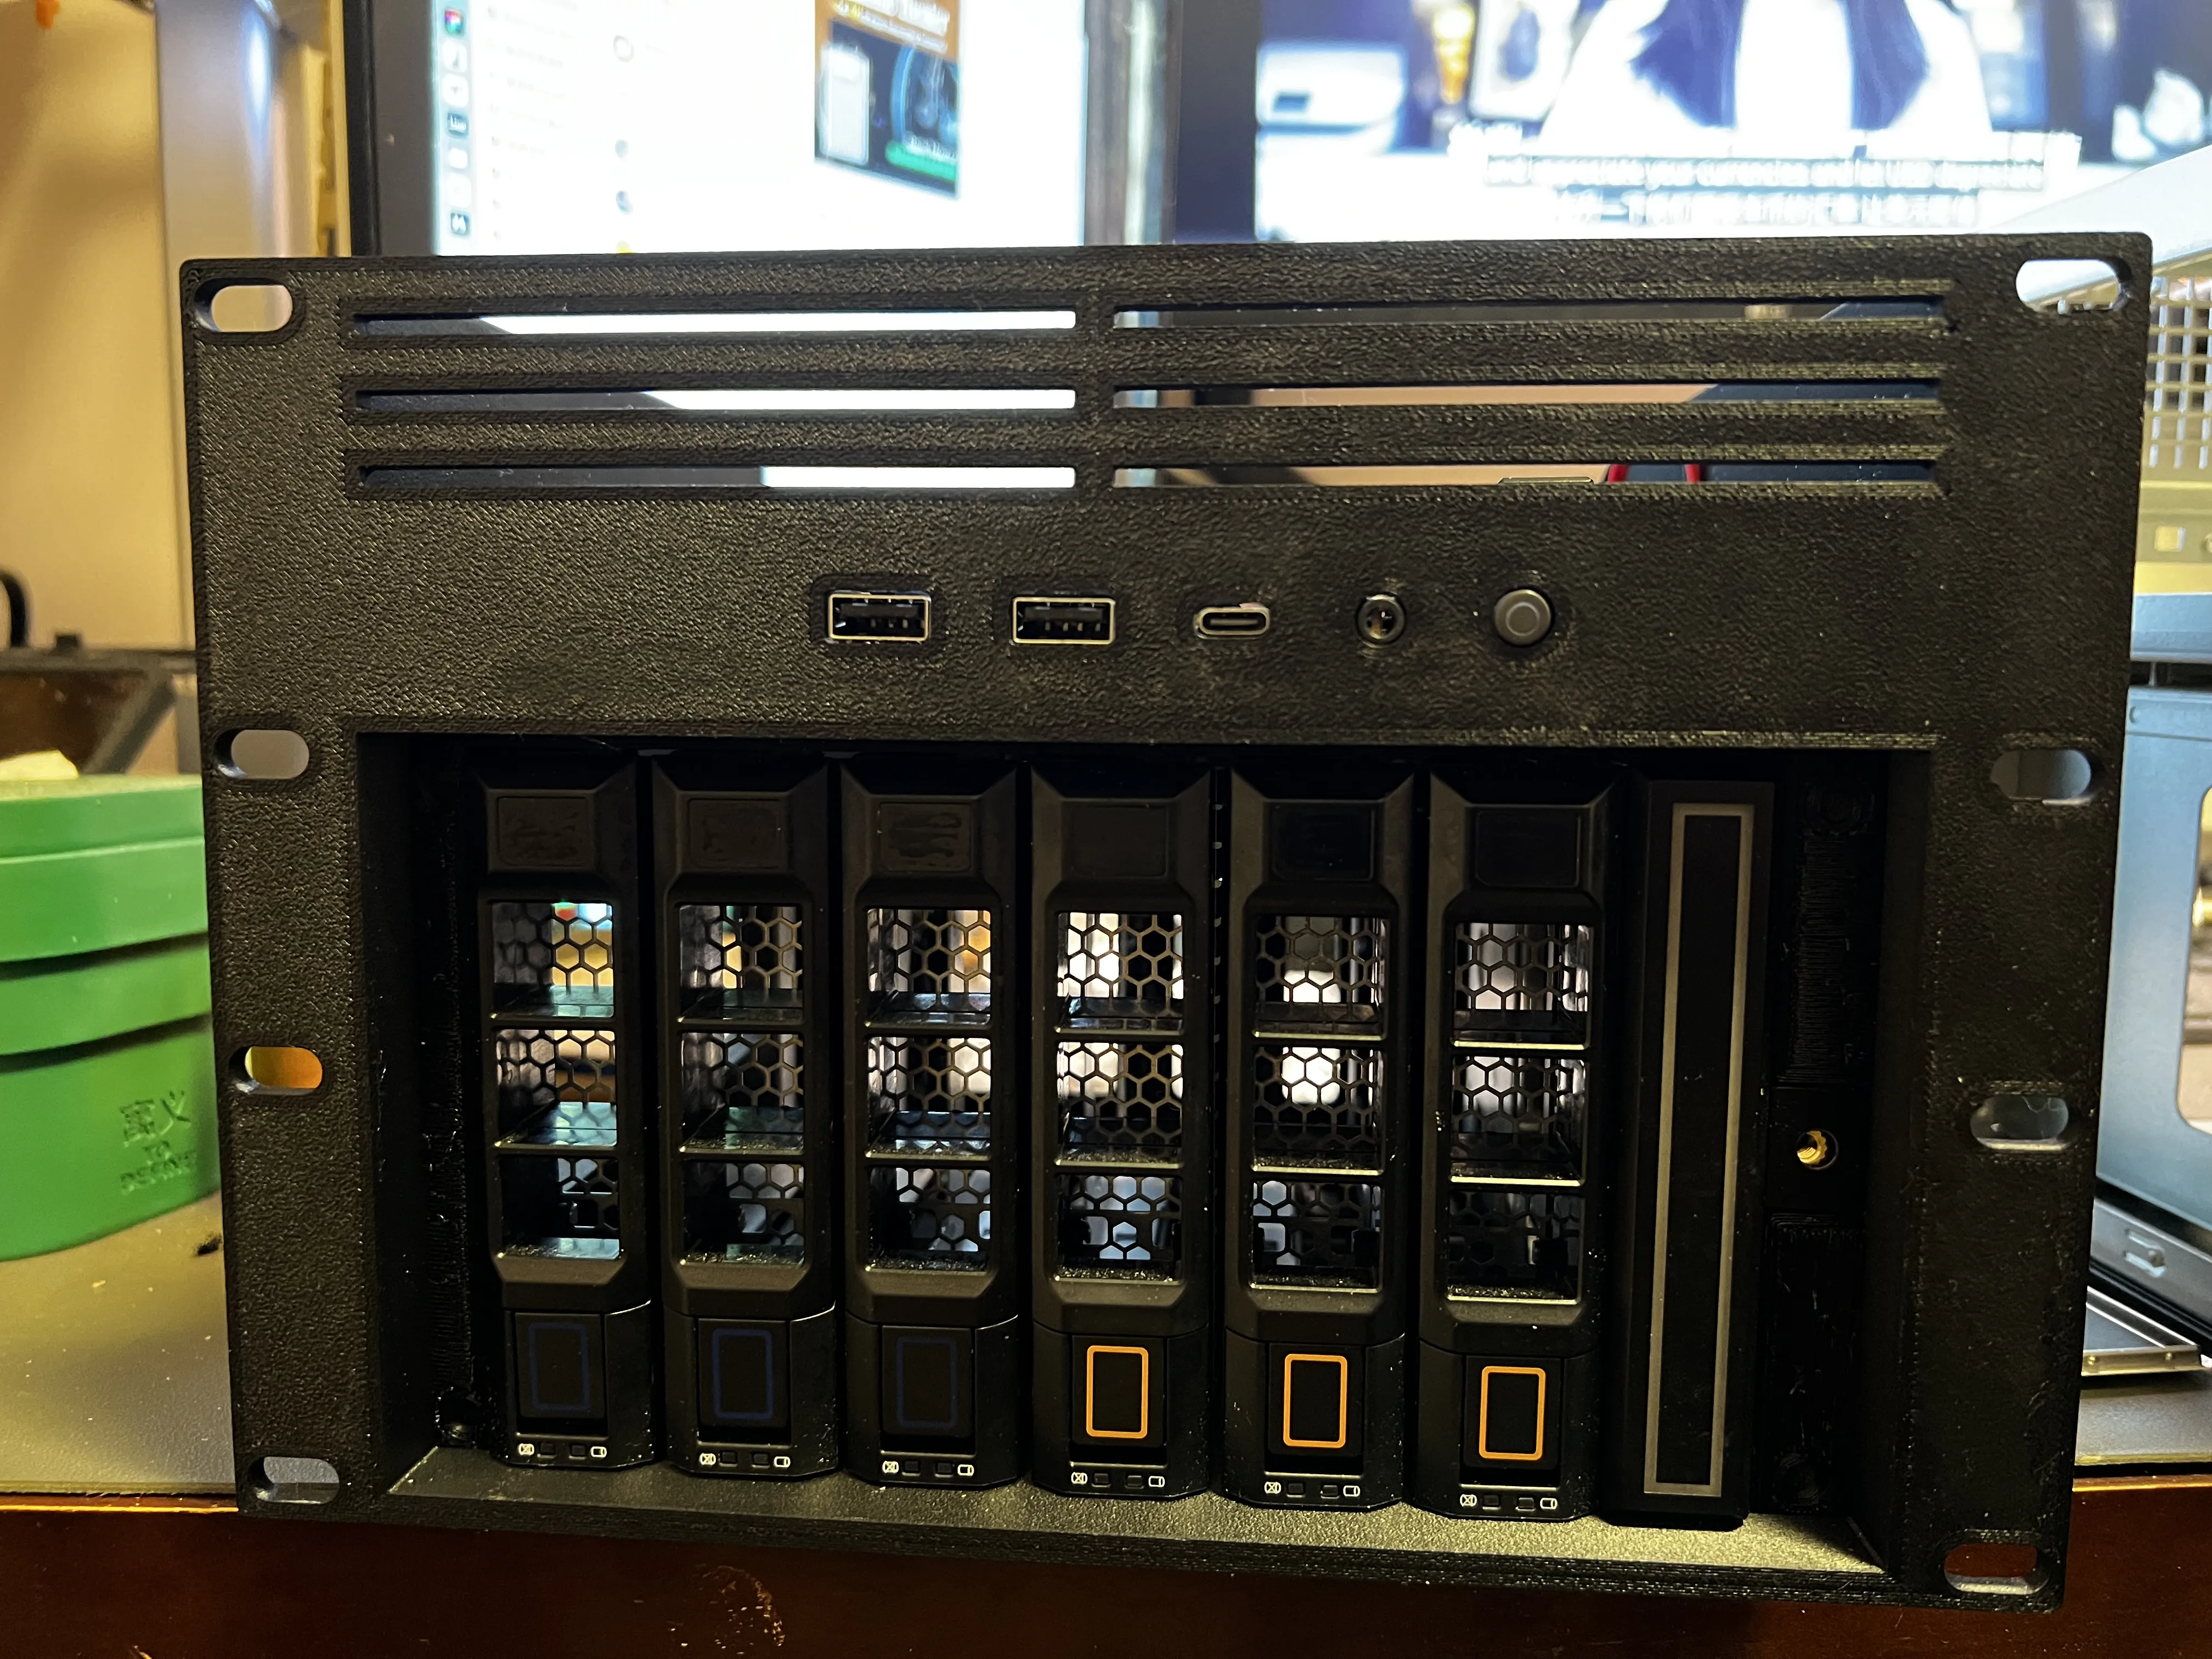
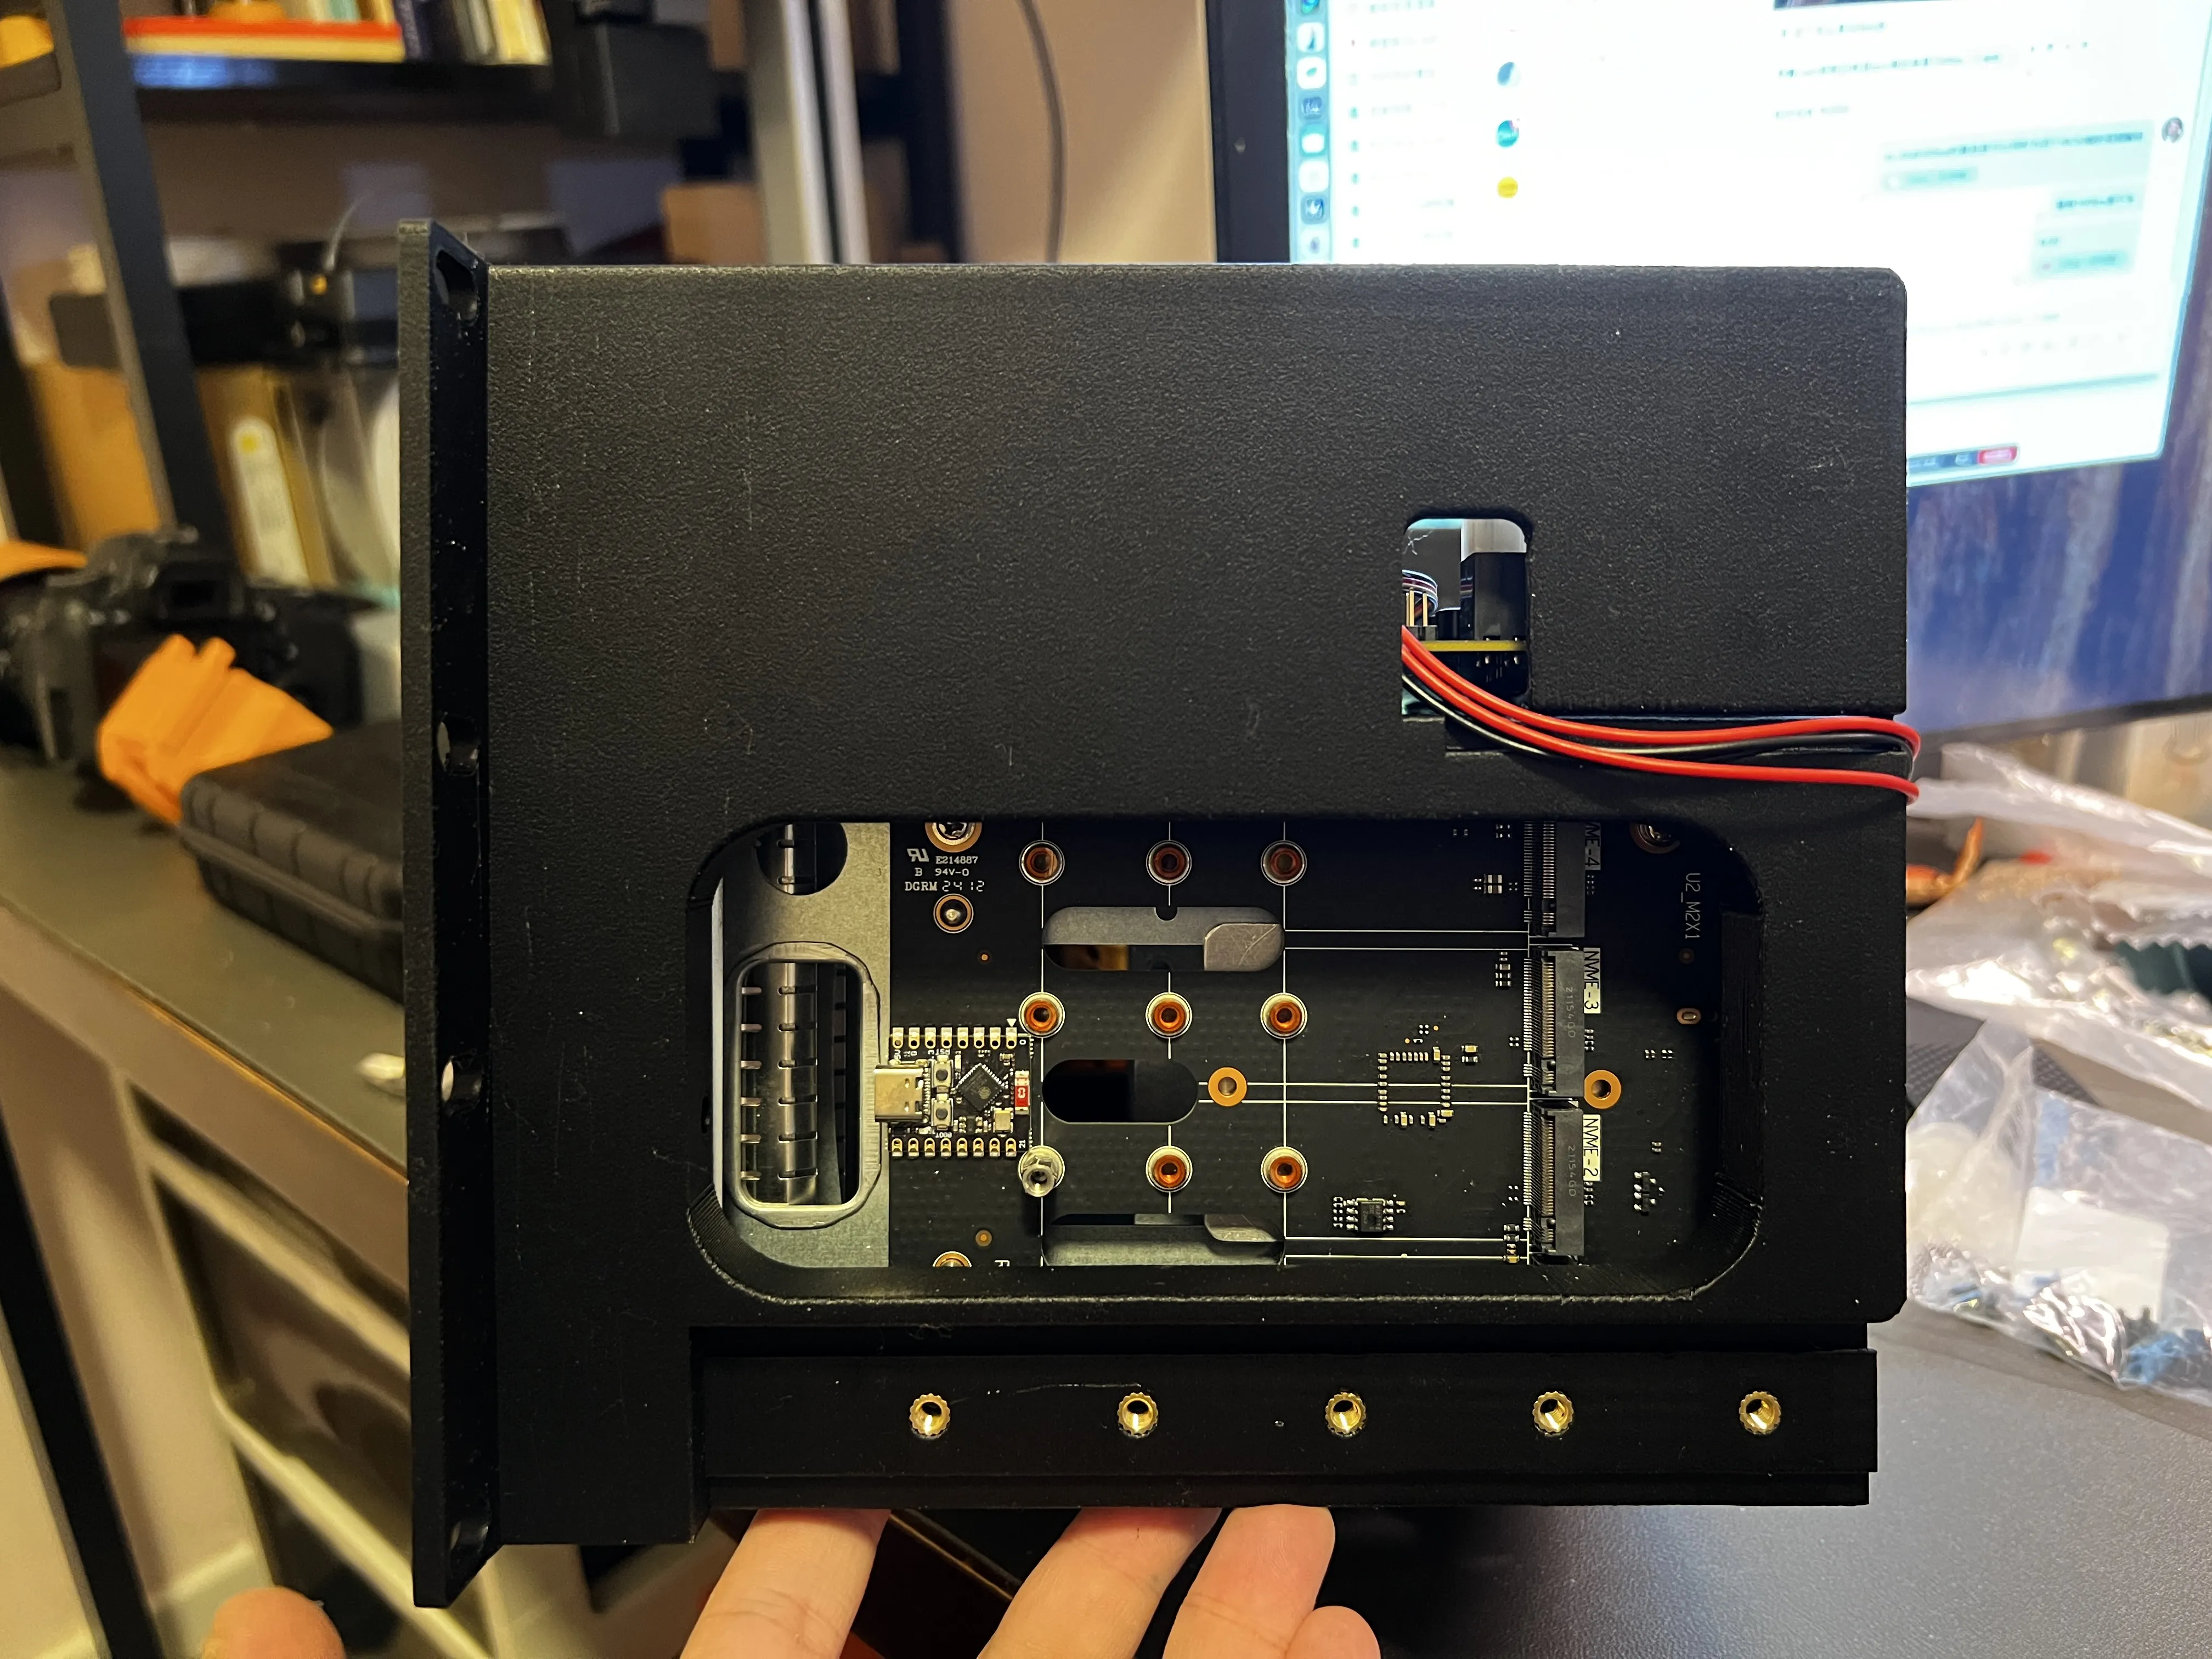
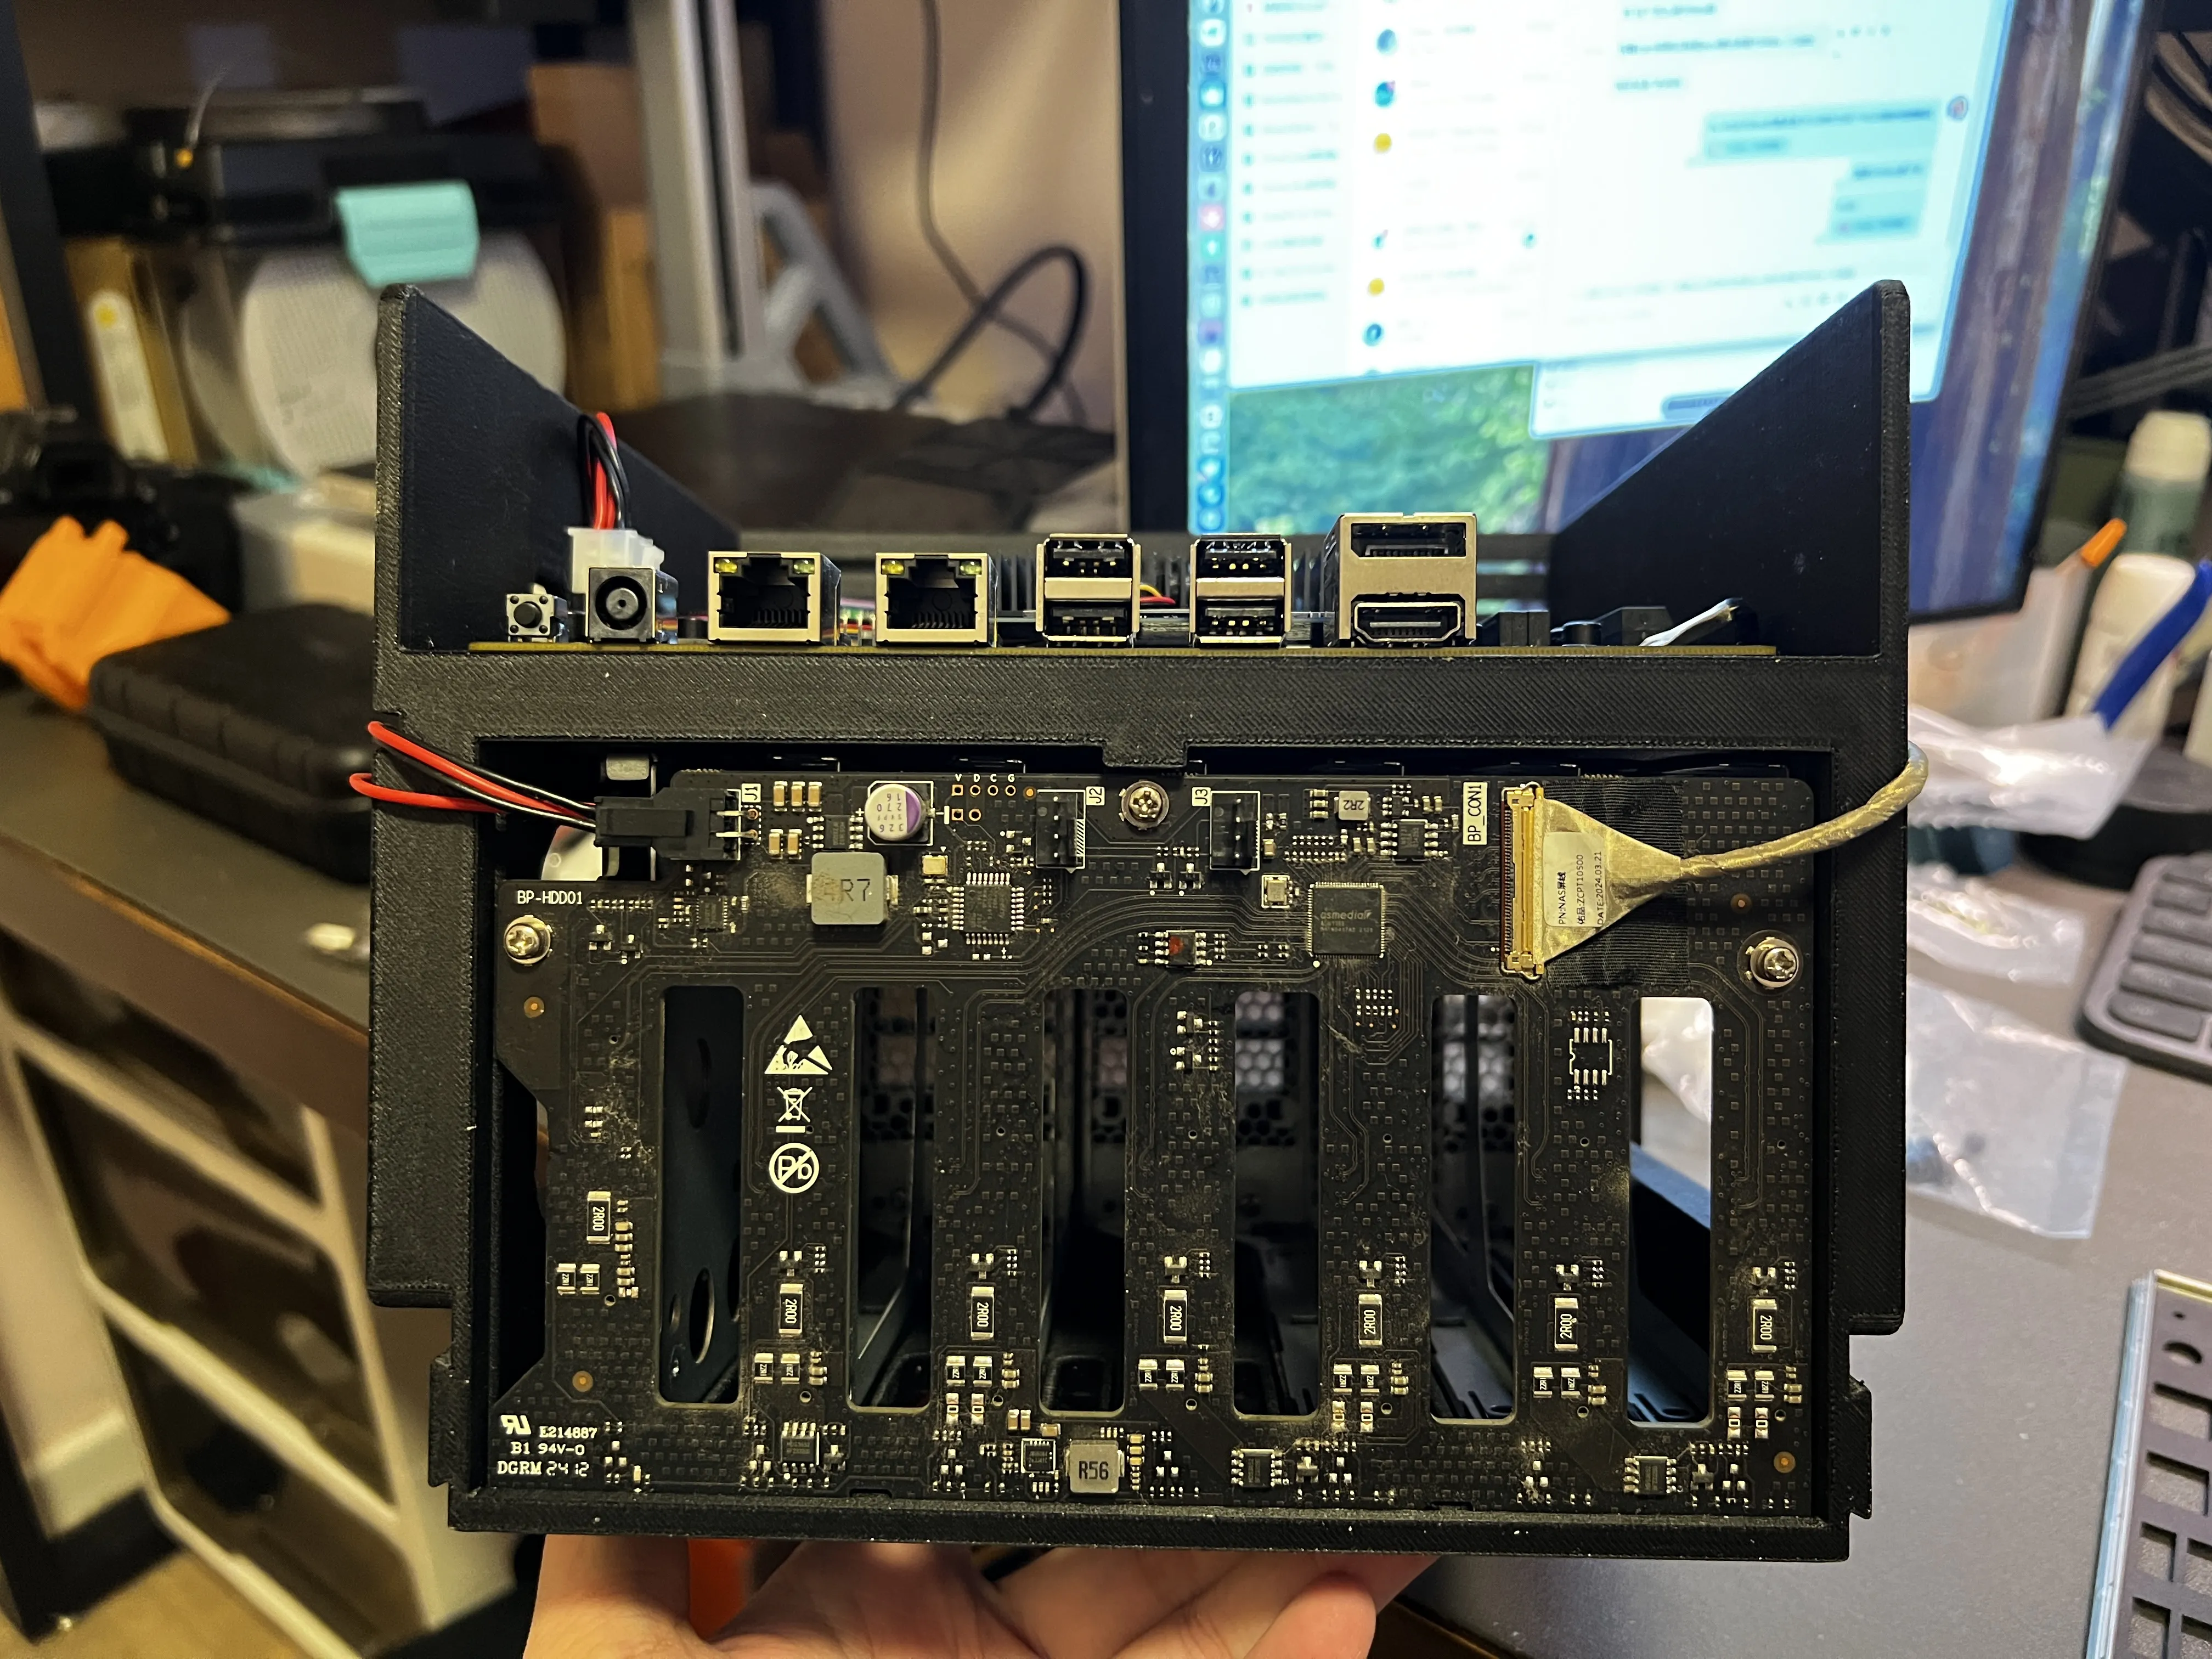
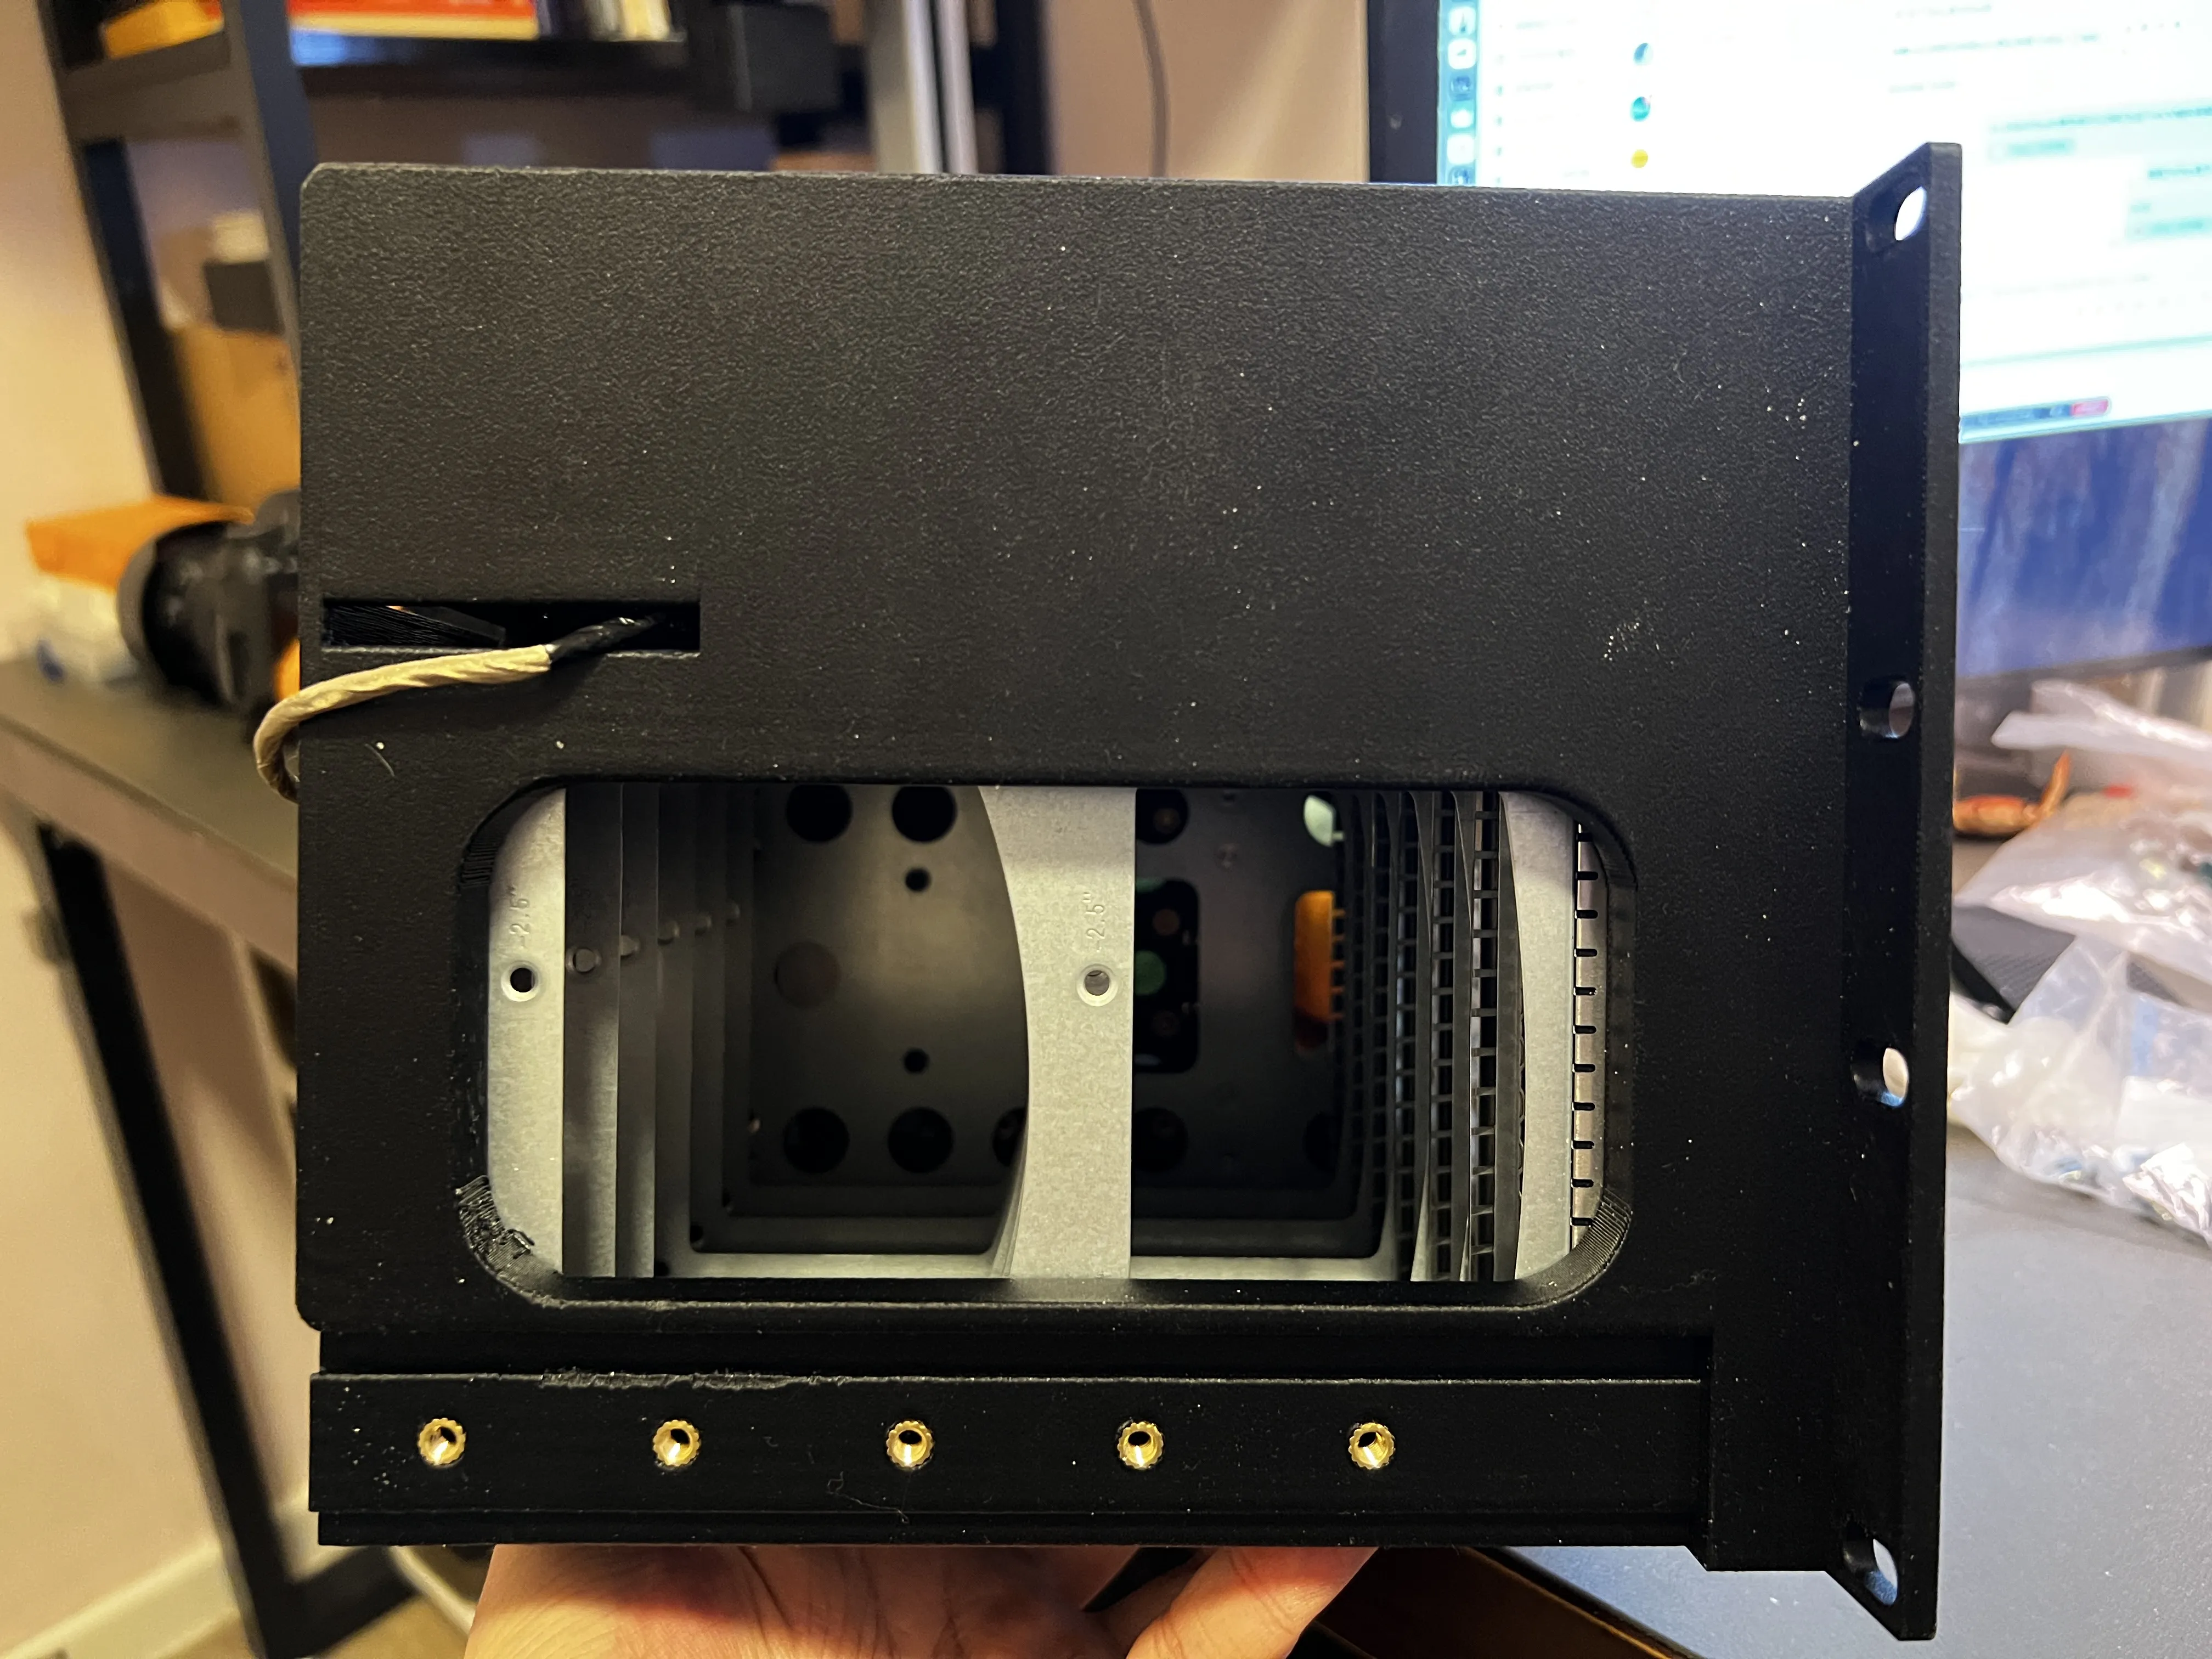
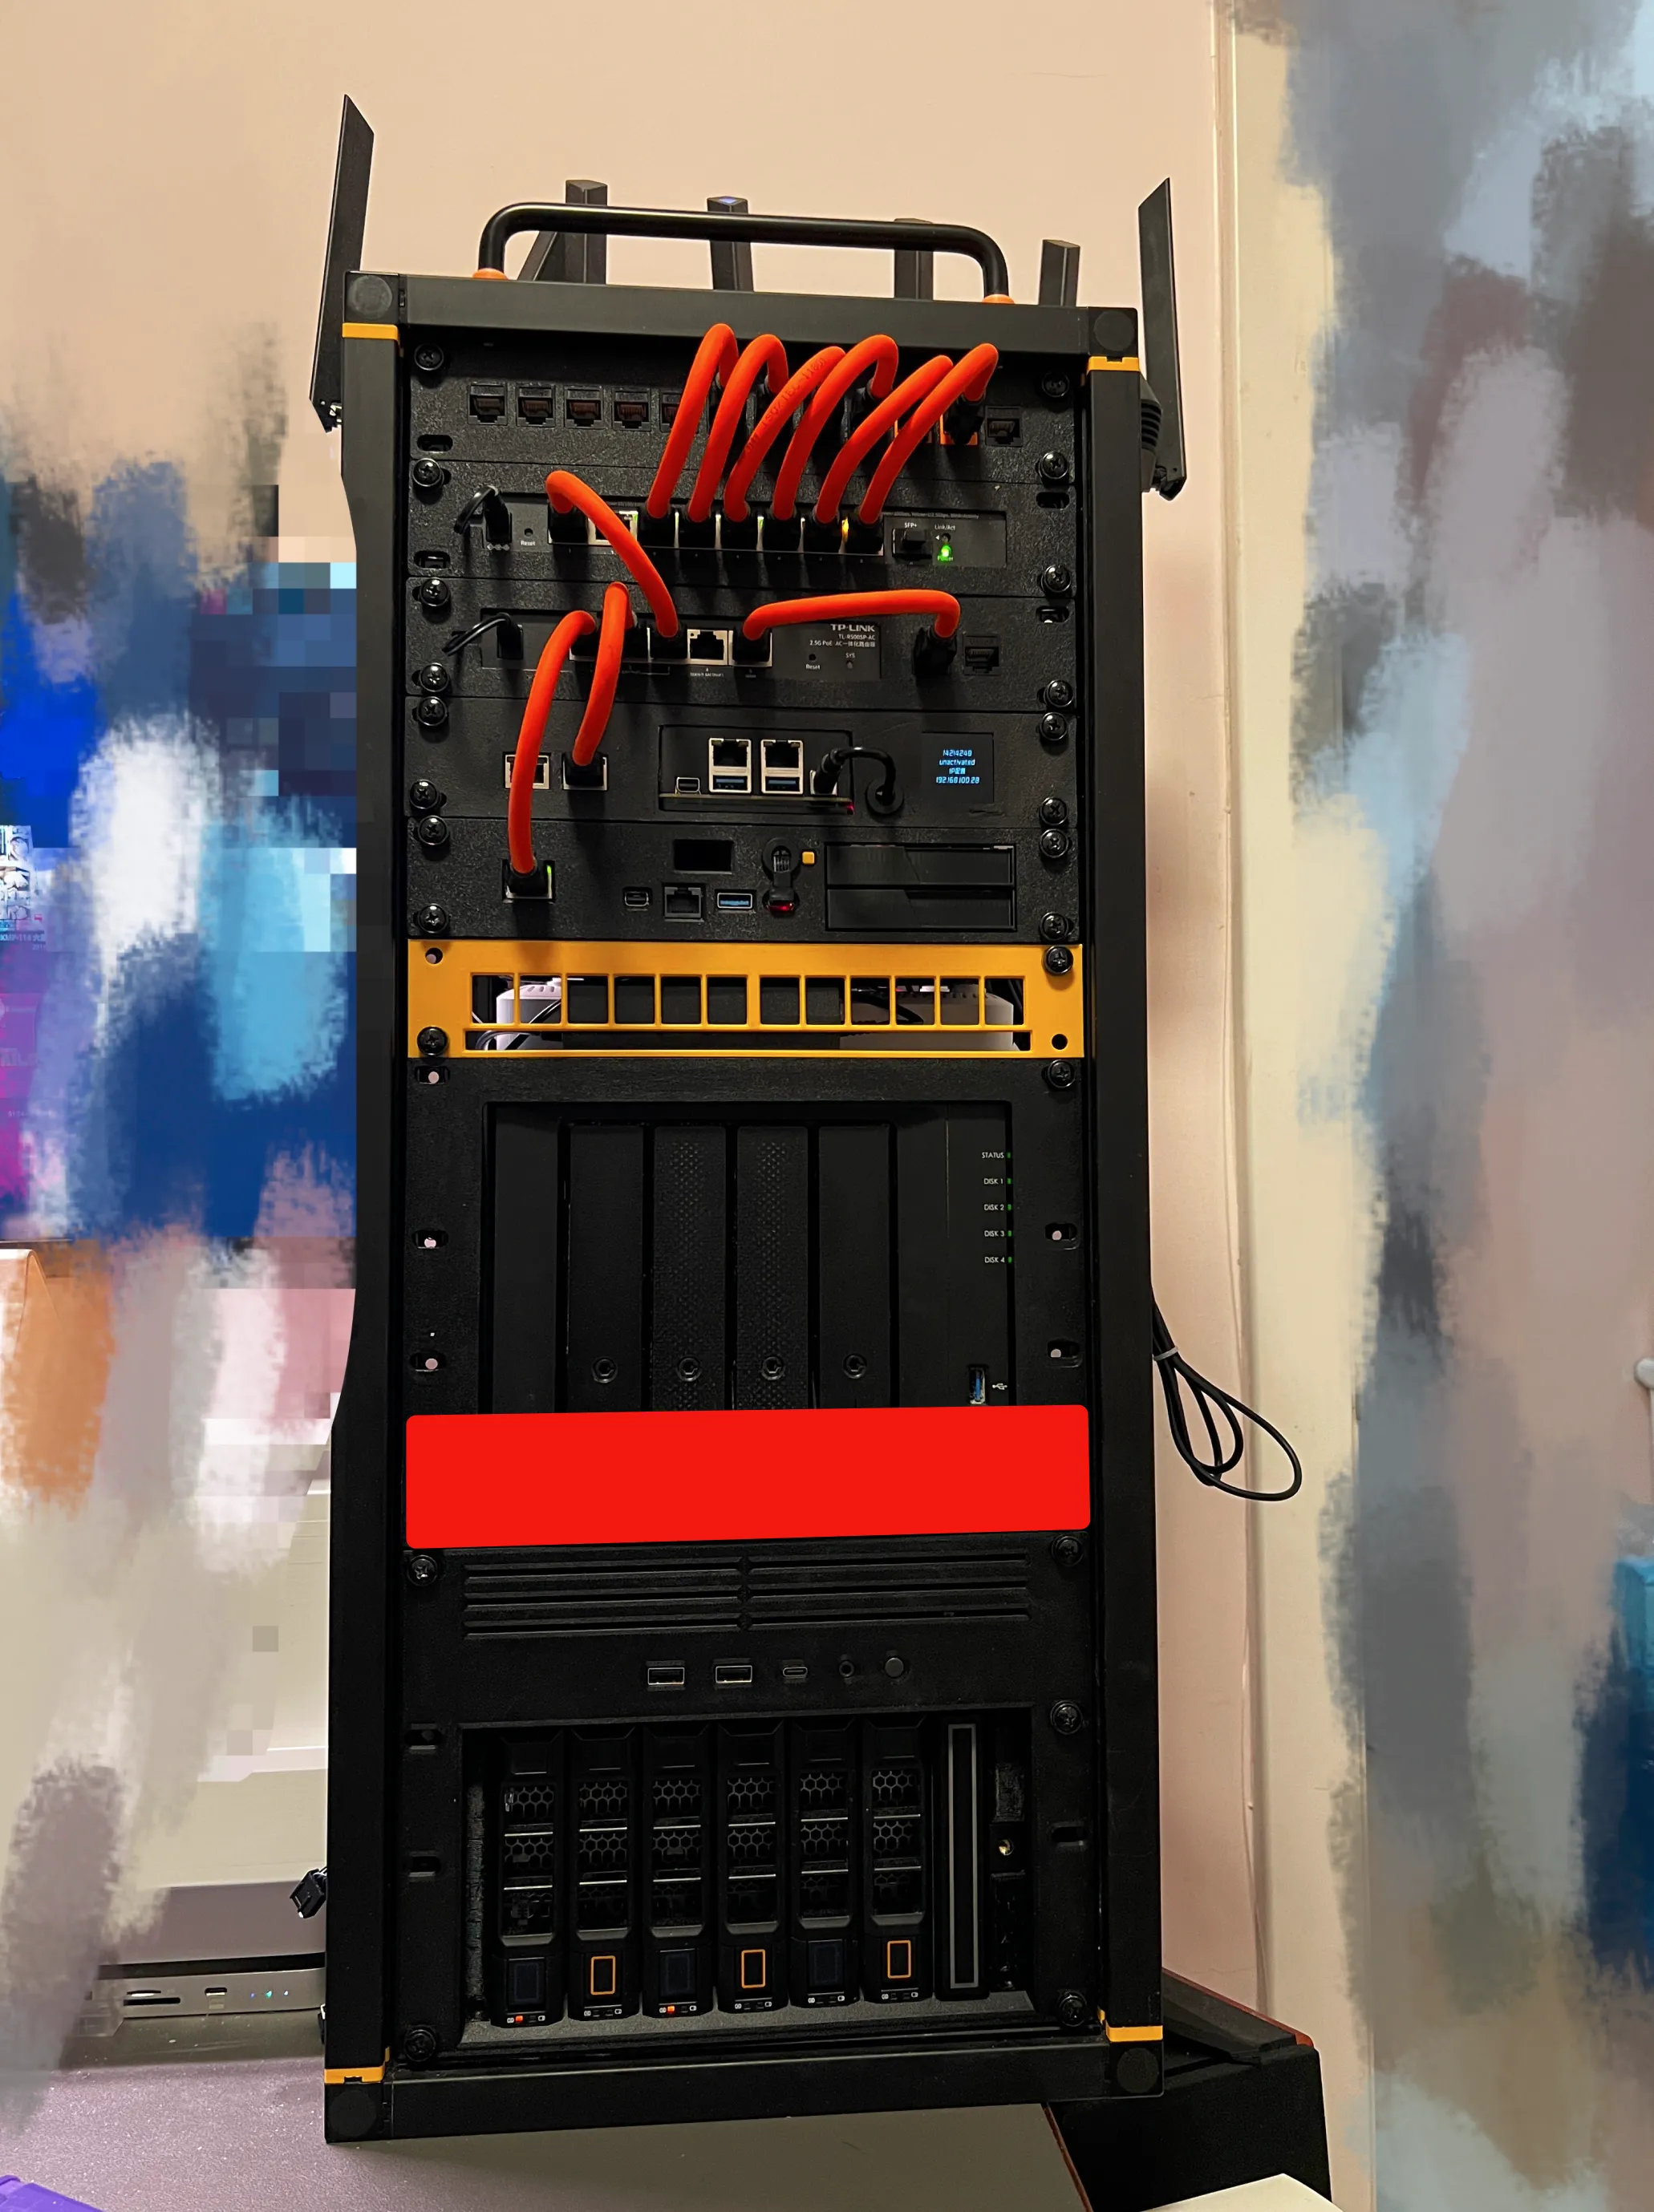
The model has a total height of 4U, so it does not support GPU installation by default.
If you want to use a GPU with the ZimaCube, you’ll just need to add an extra 1U blank panel above it.This allows room for GPU clearance while keeping the setup modular and rack-friendly.
Support Recommendation:
I strongly recommend using regular supports instead of tree supports. This model takes a long time to print, and using tree supports may lead to failures like the one shown in the photo below. Learned that the hard way 😅
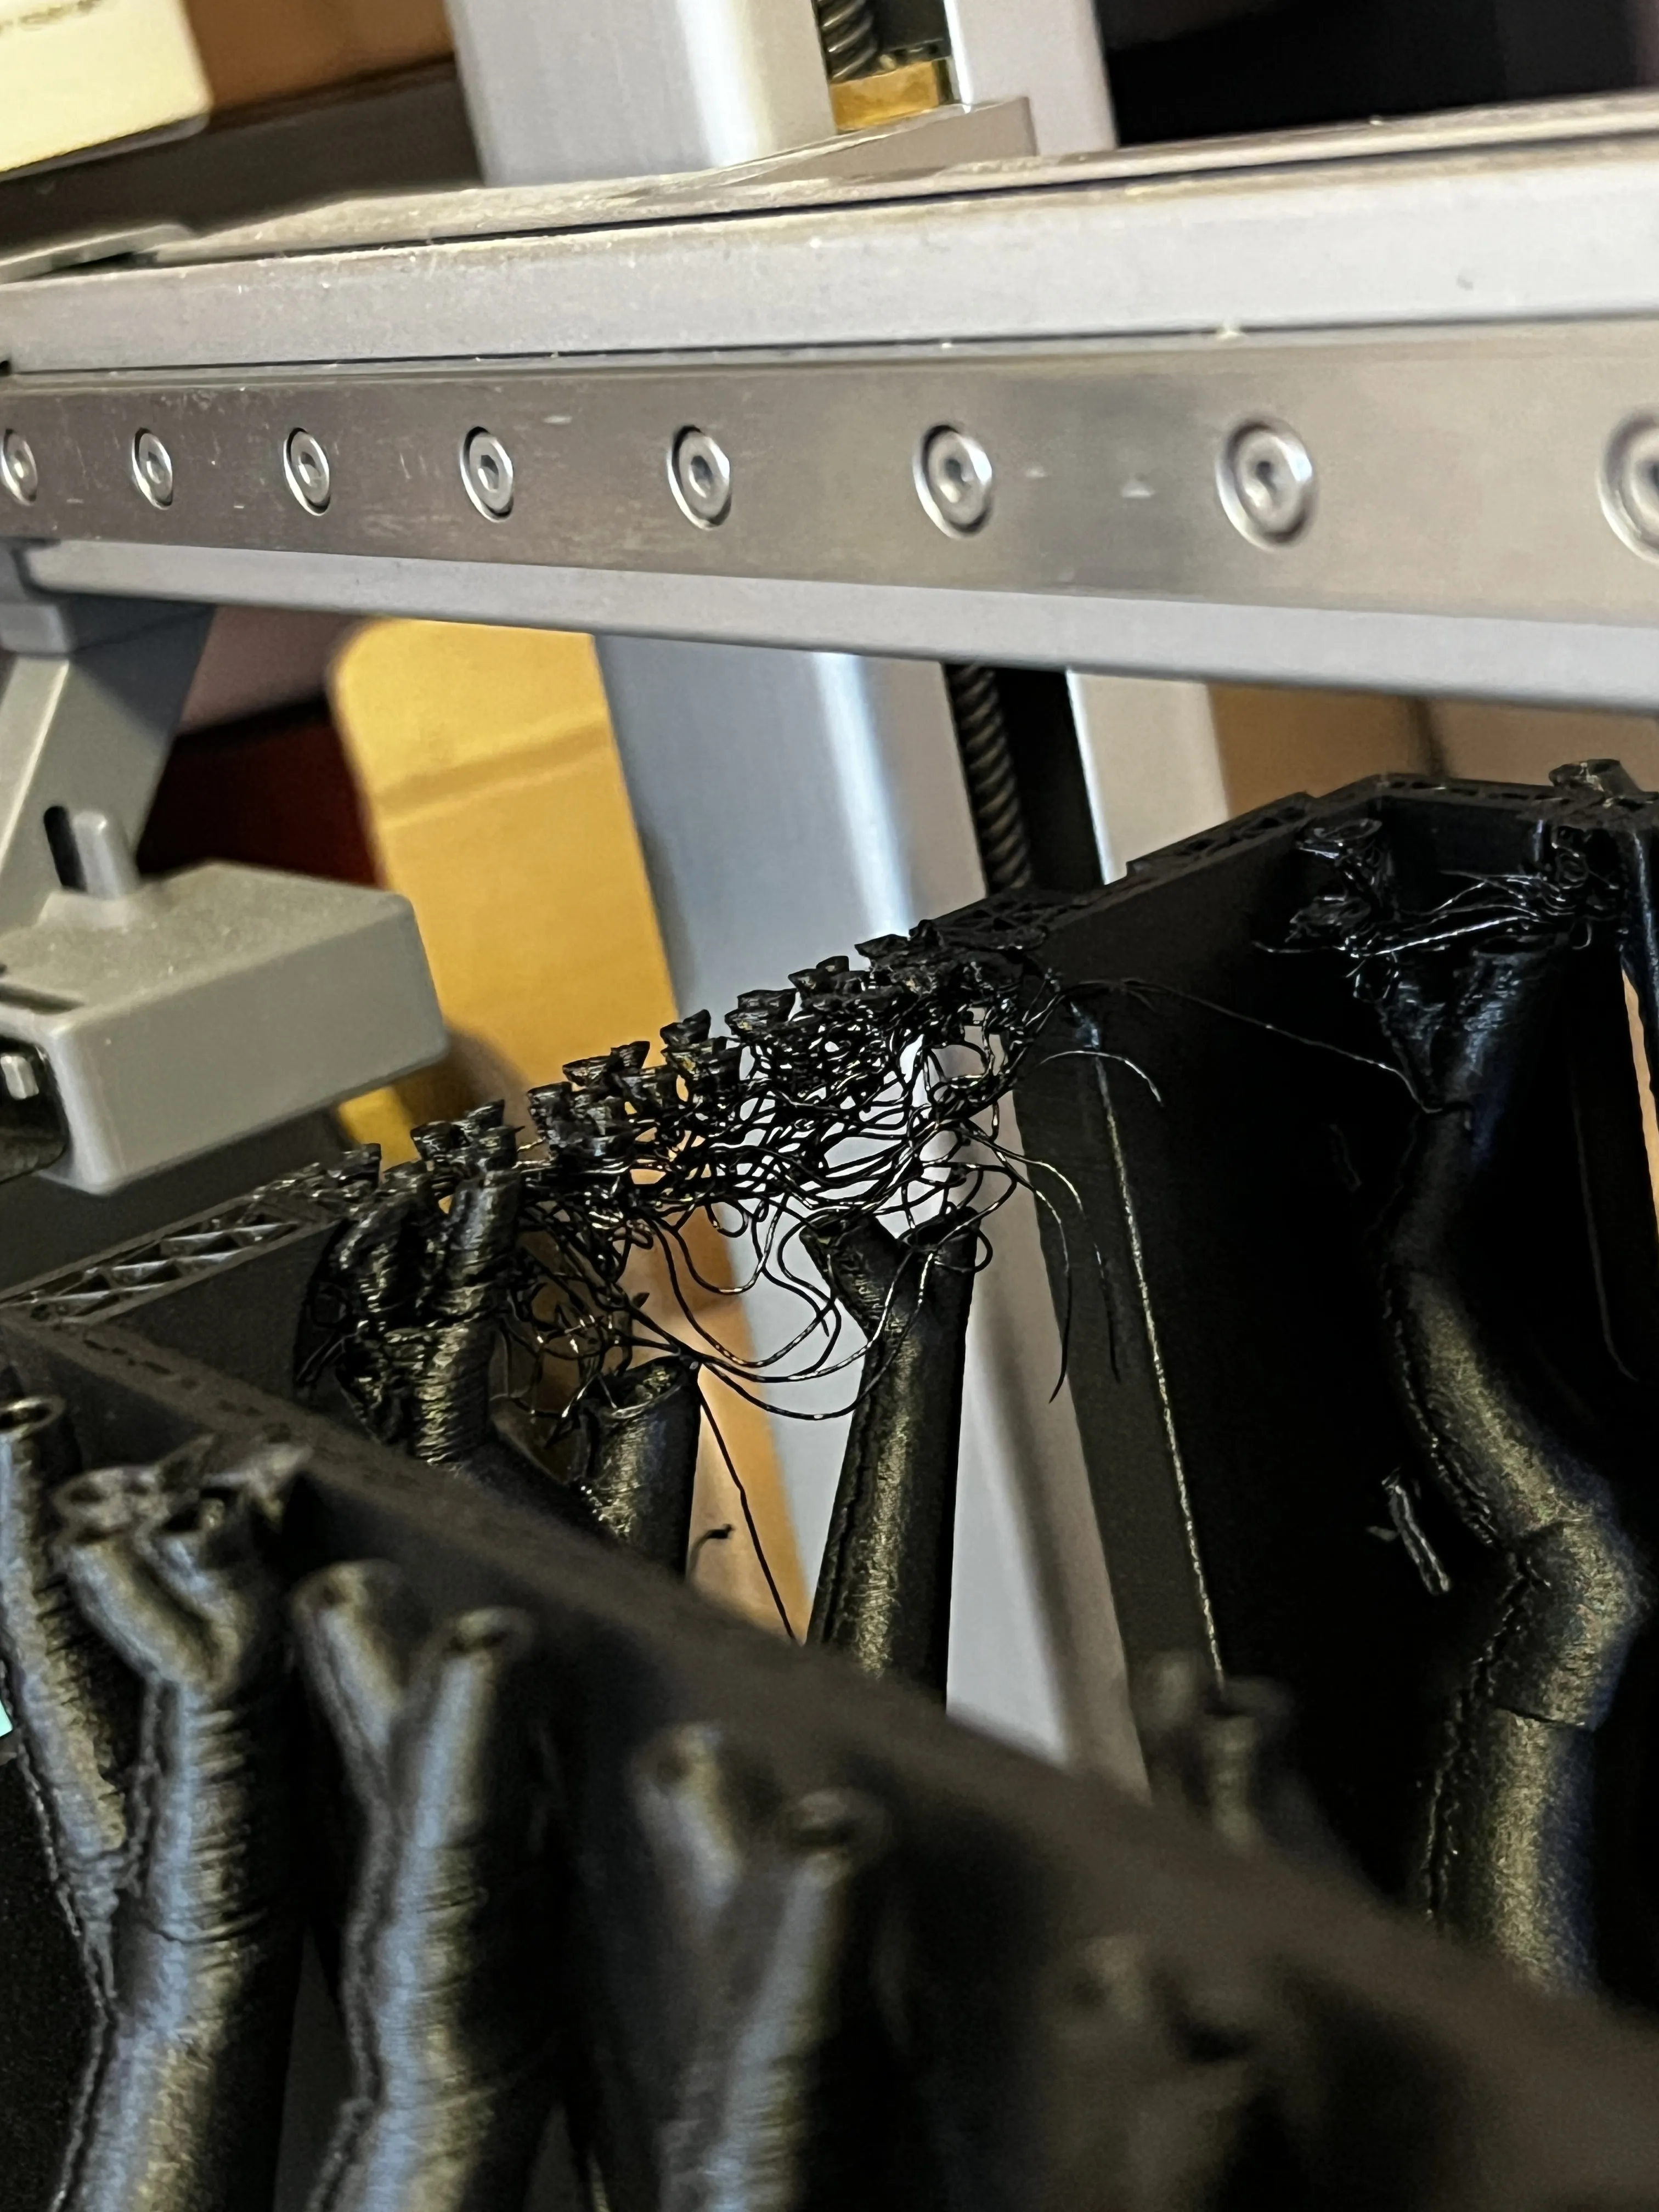
Wish you a smooth print and lots of fun building it!
If you’d like to connect or chat more, feel free to find me in the ZimaCube Community — @LLLLLLLuke.
Boost Me (for free)

License



Comment & Rating (8)