


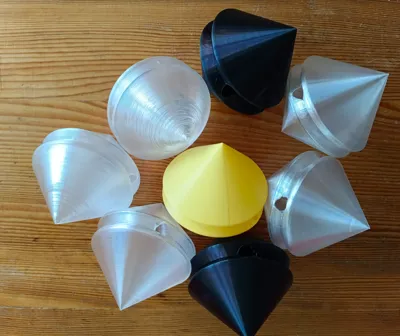


Print Profile(3)


Description
root ball. I tried to minimize material consumption and production time - that's why I used the spiral printing technique.
I have been using these root balls for many years. During testing I found that for some plants it is advisable to water the sphere, so I added a watering funnel, which I place to catch rainwater - but it is not necessary for the functionality of the sphere, it is just an optional extra. The funnel is also made using vase mode
Instructions:
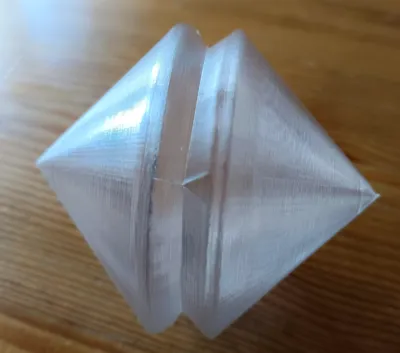
after printing both parts, remove the protrusions according to the picture


the hemispherical holes are for the passage of the plant - by adjusting their size you can use the sphere for larger plants
The triangular hole is only for ease of assembly - if you extend or widen this hole - nothing will happen, the sphere will still be functional
after this step you can proceed to the test build
the prepared collars are inserted into the second part - this way the spheres are assembled and secured (no material is needed to hold them together - the parts click into each other)
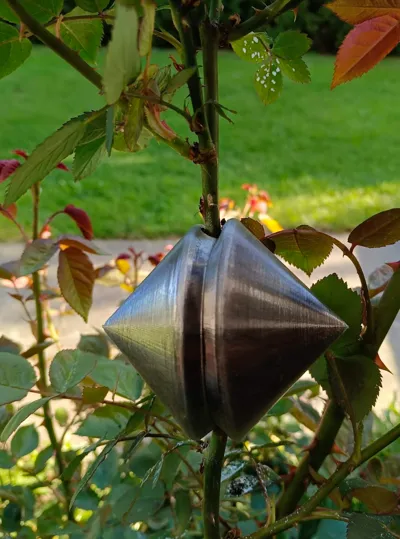
the funnel is added at the plant, according to the orientation of the sphere


now that the assembly is tested, disassemble the spheres and you can move on to mounting on the plant
mounting on the plant
remove the bark of the plant down to the wood (if using a growth accelerator, apply it to the exposed area)

fill the ball with soil (both halves) and assemble them on the plant


Make a hole in a suitable place for the funnel - I use a warm soldering iron tip


Place the watering funnel in the hole

Done - water the ball
--------------------------------------------------------------------------------------------------------------------------------------
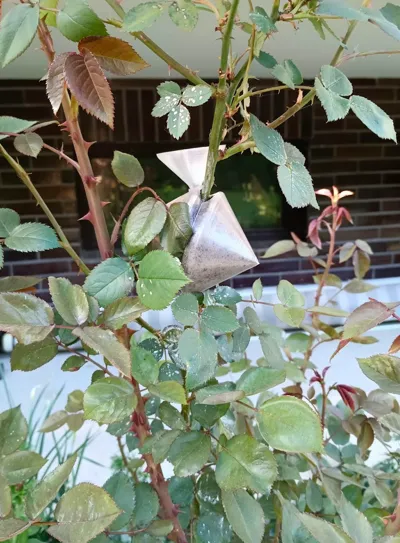
An impatient neighbor removed the spice ball after only one month—however, it seems that even after such a short time, the ball works well (I leave it to spice for at least 3 months, but this may vary depending on the plant).


License
You shall not share, sub-license, sell, rent, host, transfer, or distribute in any way the digital or 3D printed versions of this object, nor any other derivative work of this object in its digital or physical format (including - but not limited to - remixes of this object, and hosting on other digital platforms). The objects may not be used without permission in any way whatsoever in which you charge money, or collect fees.
Comment & Rating (3)