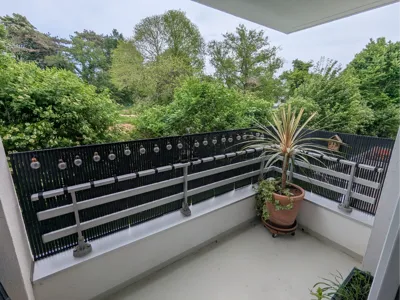
Balcony Privacy Screen


Print Profile(1)

Description
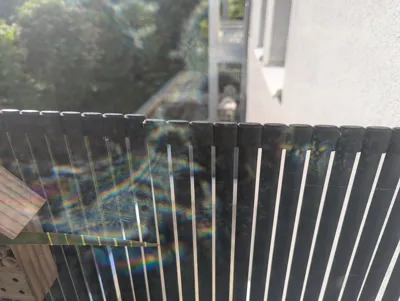
I used the slats from this product: https://amzn.to/4dfFgys (affiliate link).
I cut the rope and glued the slats into the Rail Tight using superglue (don't use too much).
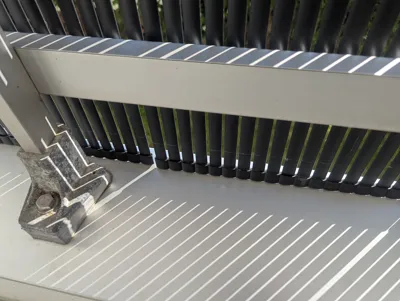
Once the glue is dry, I glued the Rail Wide on top. You can bend the slats one by one to make it easier to fit them in.
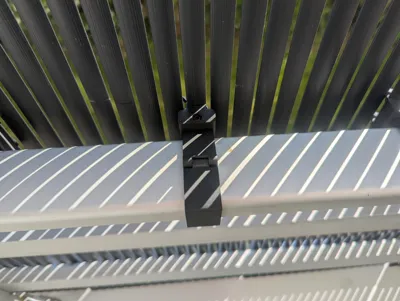
Next, I zip-tied two clips per panel, screwed the brackets to the railing, attached the panel to the brackets, and secured everything with a screw.
You’ll need M5 screws and two square nuts per bracket.
Make sure your print profile includes a pause during printing to insert the nuts into the bracket (should be at layer 80 in my print profile).
No supports are needed, but make sure to enable the Arachne wall generator for the brackets, so the integrated supports in the model print correctly.
The Fusion360 model files also include a corner railing, but you'll likely need to adapt it.
Similarly, the brackets are designed for my specific railing, so you may need to modify them or create your own — unless you happen to have the exact same railing.
If you have any questions, feel free to ask!
License
You shall not share, sub-license, sell, rent, host, transfer, or distribute in any way the digital or 3D printed versions of this object, nor any other derivative work of this object in its digital or physical format (including - but not limited to - remixes of this object, and hosting on other digital platforms). The objects may not be used without permission in any way whatsoever in which you charge money, or collect fees.
Comment & Rating (0)