
PrintpooP – Smart Display for A1 & A1 Mini

Print Profile(4)




Bill of Materials
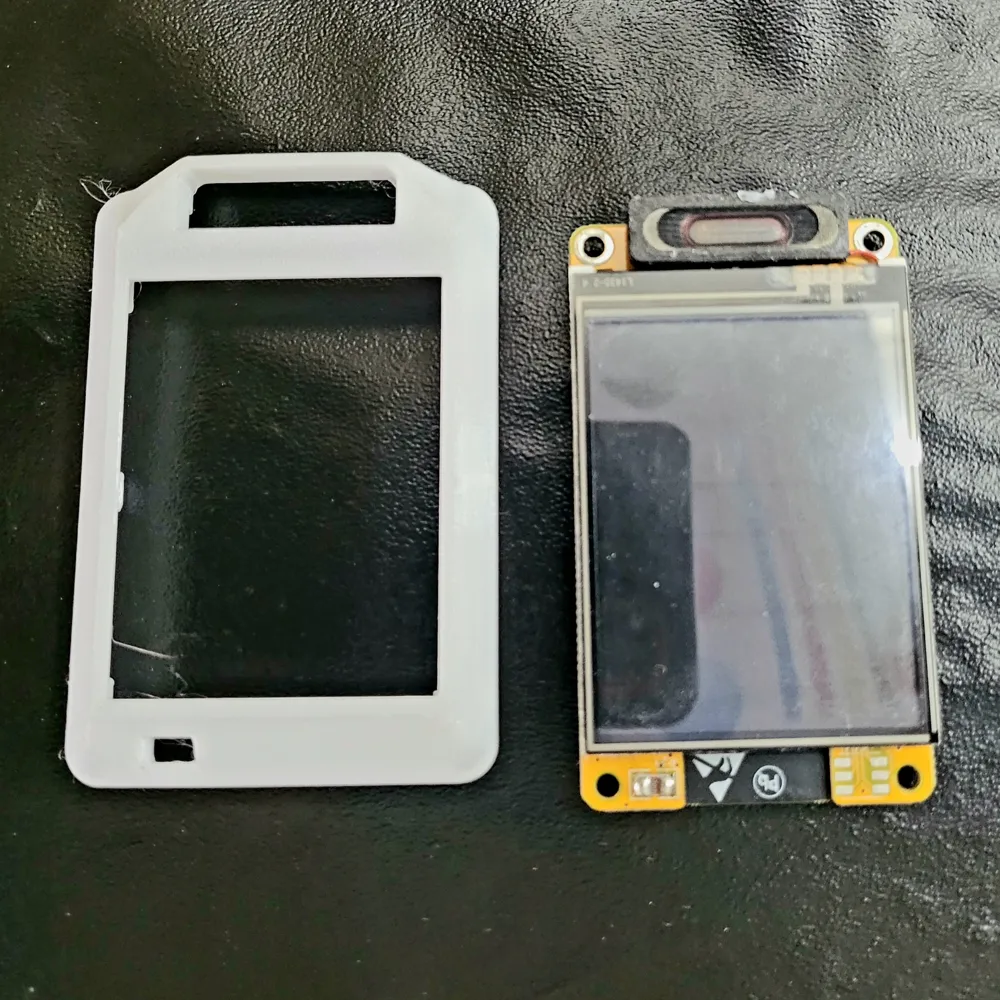
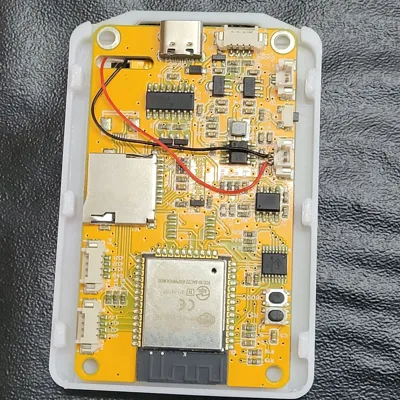
- ESP32 2.4" 240 x 320 Resistive Touch Display x 1: s.click.aliexpress.com/e/_omgP1zh
- Notebook Speaker Computer Horn 1W 8R 2809 Loud speaker 8 ohms 1 Watt 8R 1W 28*9*3.6MM x 1: s.click.aliexpress.com/e/_oDSKVf9
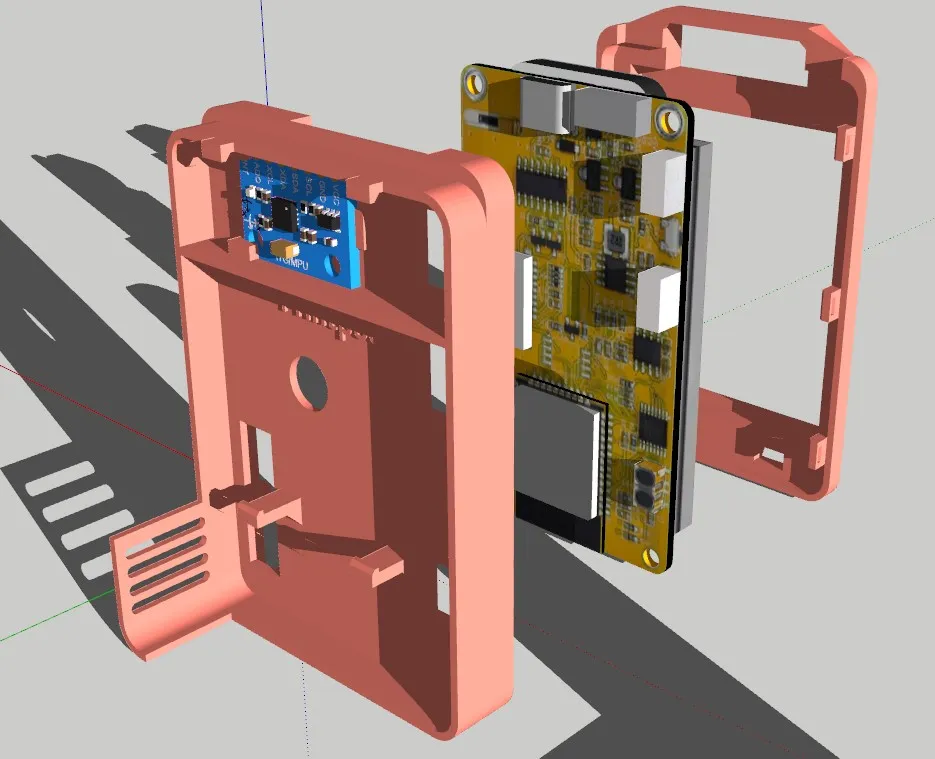
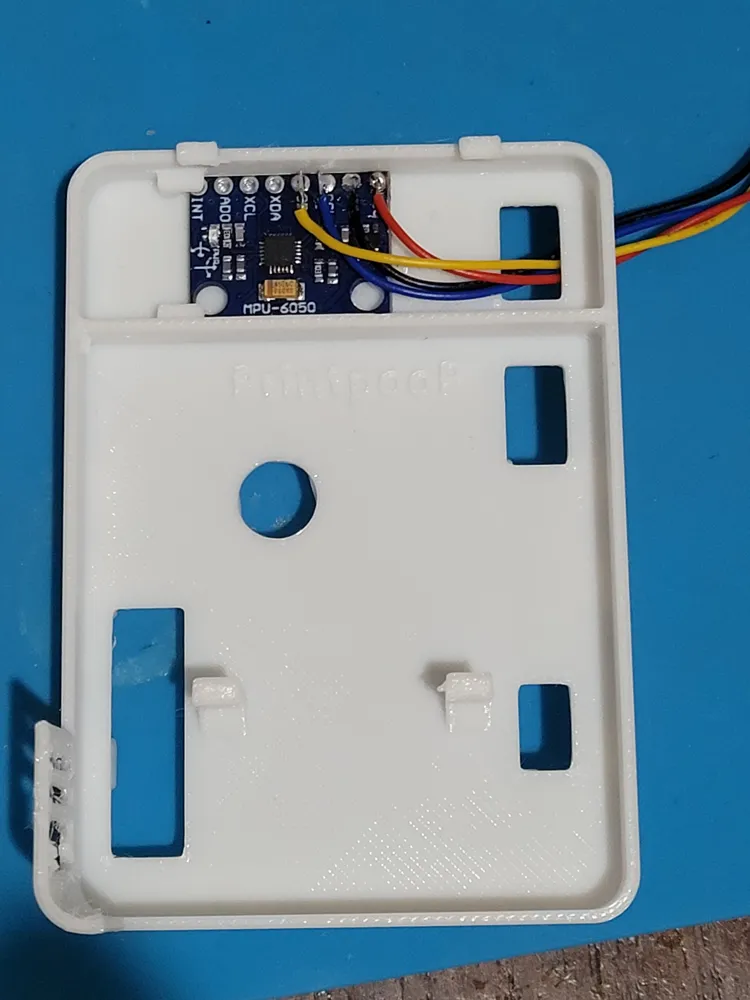
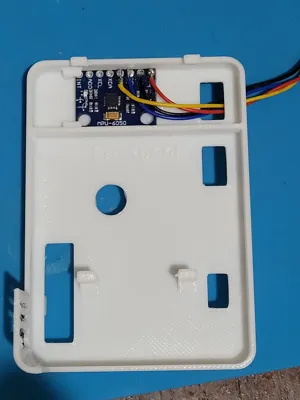
- GY-521 MPU6050 3-Axis gyro accelerometer x 1: https://s.click.aliexpress.com/e/_oF7jqOa
- Connector JST 1.25 Pitch Female 4 Pins x 1: https://s.click.aliexpress.com/e/_onDQEwb
Description

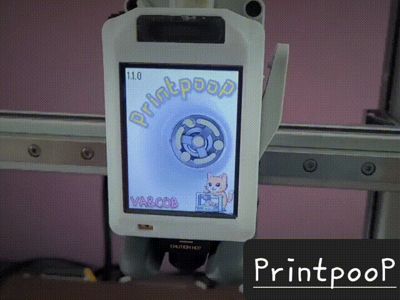
PrintpooP – Retro Pixel Smart Display for Bambu Lab A1
Introduction This doesn’t make my prints any better… but it does make my printer look way cooler 😂
Boost Me (for free)
I appreciate your support. Enjoy DIY
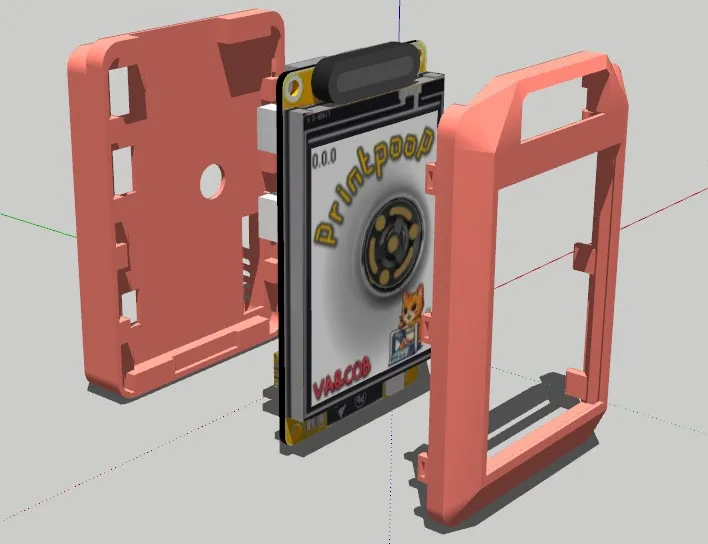
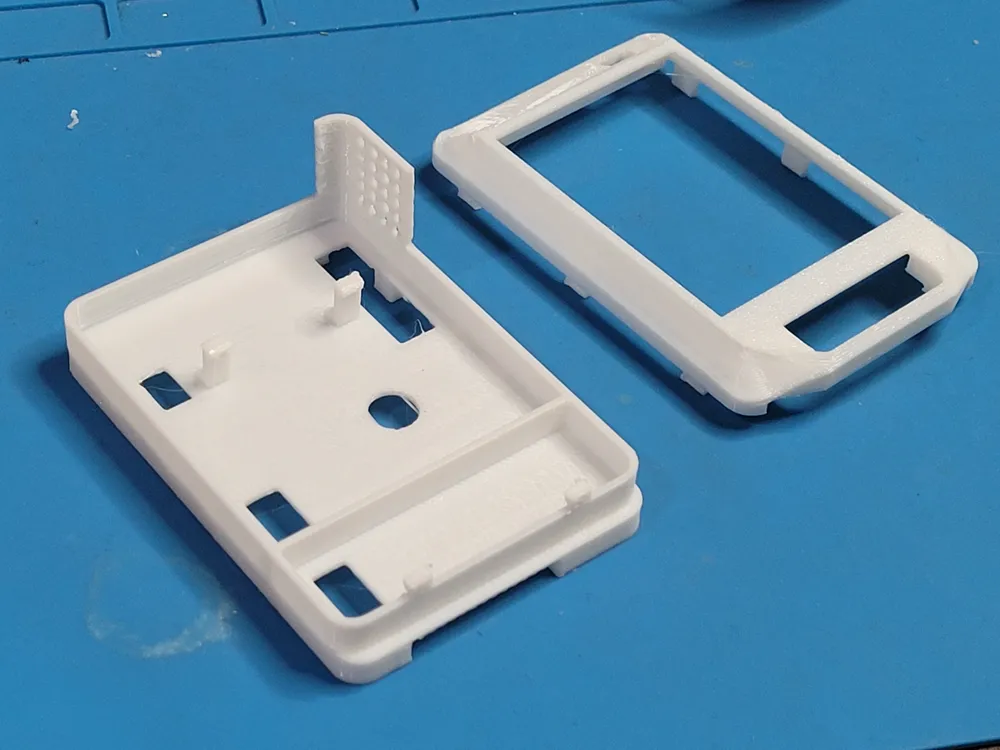
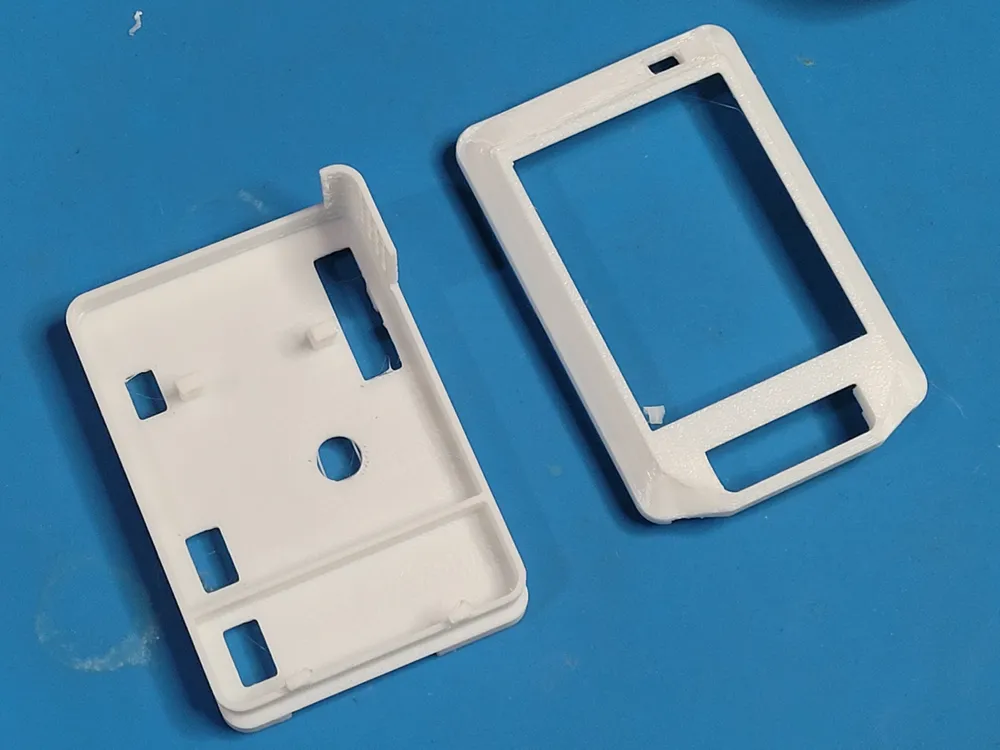
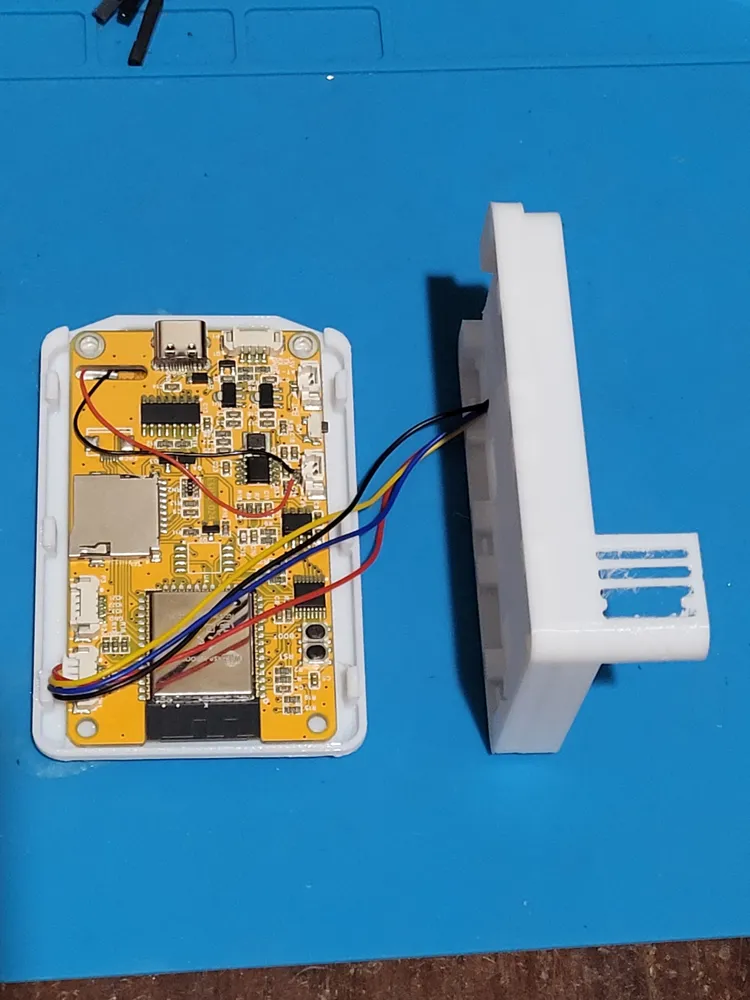
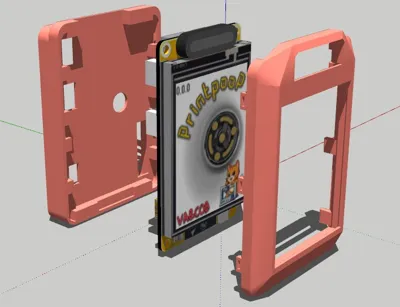
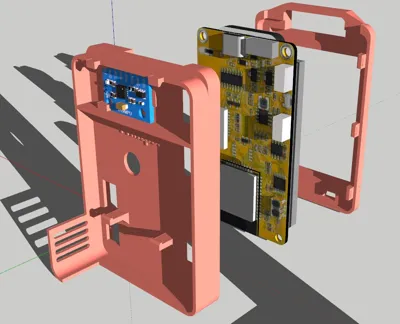
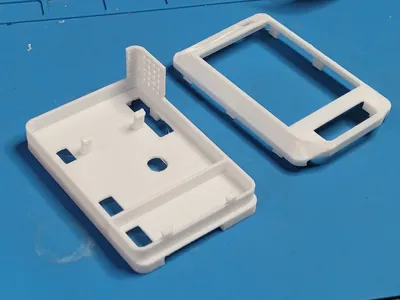
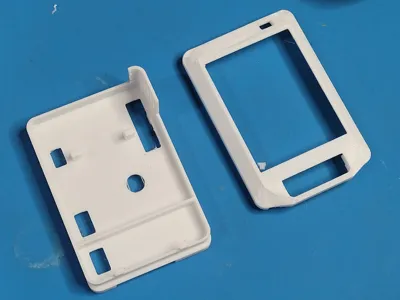
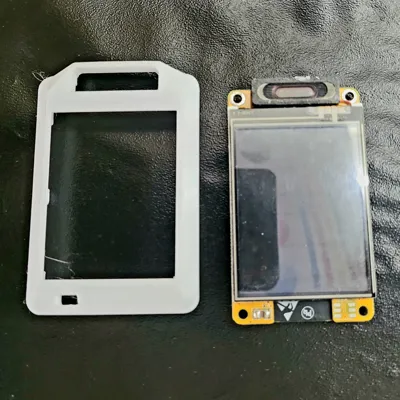
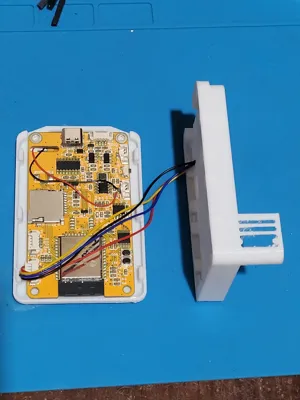
A compact, ESP32-powered accessory designed specifically for the Bambu Lab A1, A1 Mini 3D printer. It replaces the original hotend faceplate with a custom 3D-printed enclosure (the "Box") that houses a vibrant 2.4" touchscreen display.
WORK BOTH 2.4" and 2.8" Resistive Touch Screen
📡 Live Status Display
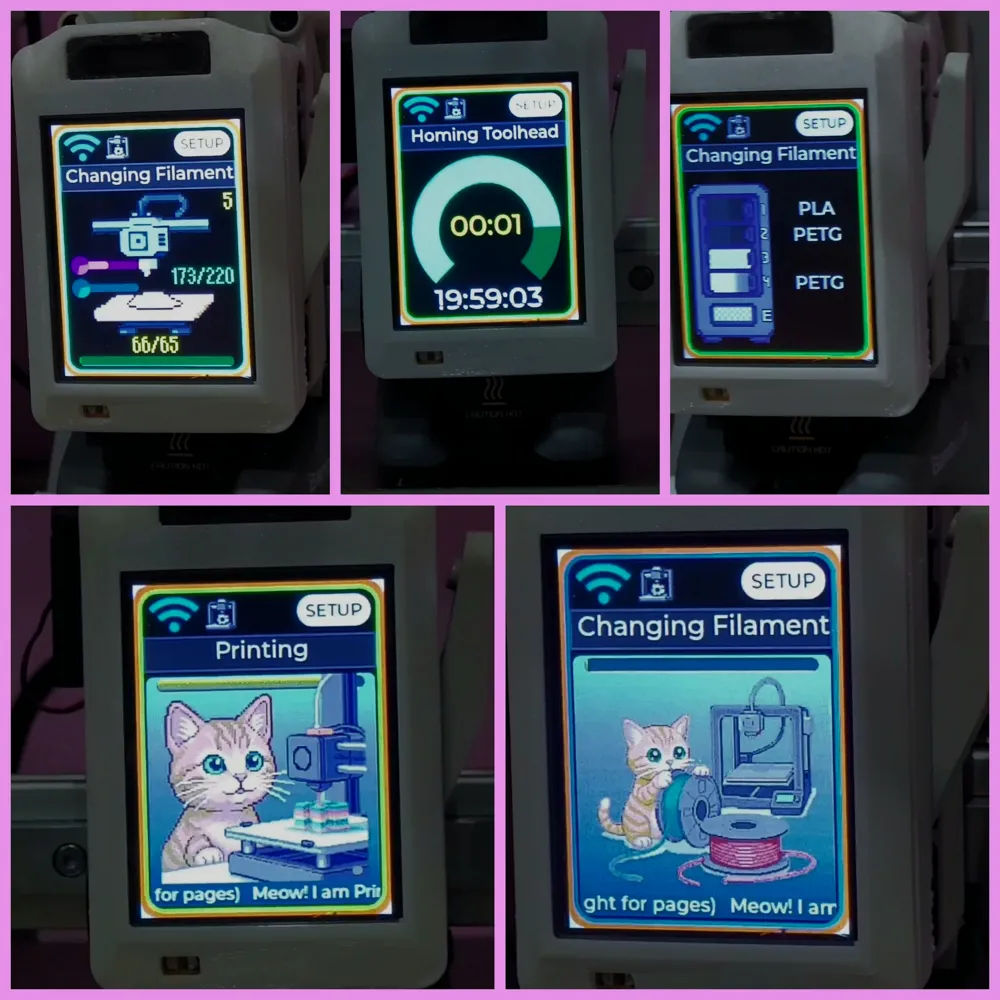
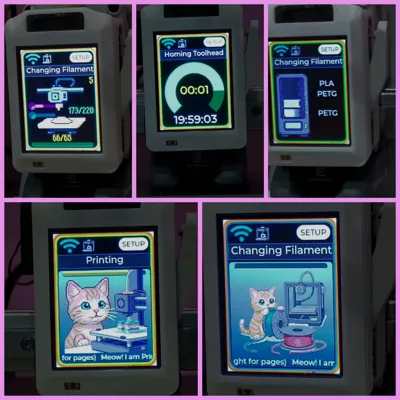
PrintpooP connects to your A1 via Wi-Fi and presents real-time print data —such as print progress, temperatures, fan speeds, and Clock —right at the print head. This localised status view makes monitoring more intuitive and visually engaging.
🎮 8-Bit Aesthetic
All visuals are styled in charming 8-bit pixel art, giving your printer a retro personality. Animations and icons are custom-designed to blend nostalgic design with functional UX and sound effects.
Choose between two adorable themes: a playful Kitten or a loyal Puppy to accompany your printing journey!
🛠️ Easy Mounting
The enclosure is engineered to replace the Bambu Lab A1's default hotend faceplate, securing PrintpooP in a clean, integrated form factor.
For the USB power supply, connect to the AMS extension port. Recommend this project https://makerworld.com/en/models/1469000-double-usb-a-power-port-case-for-ams-port#profileId-1532992
HOW TO USE:
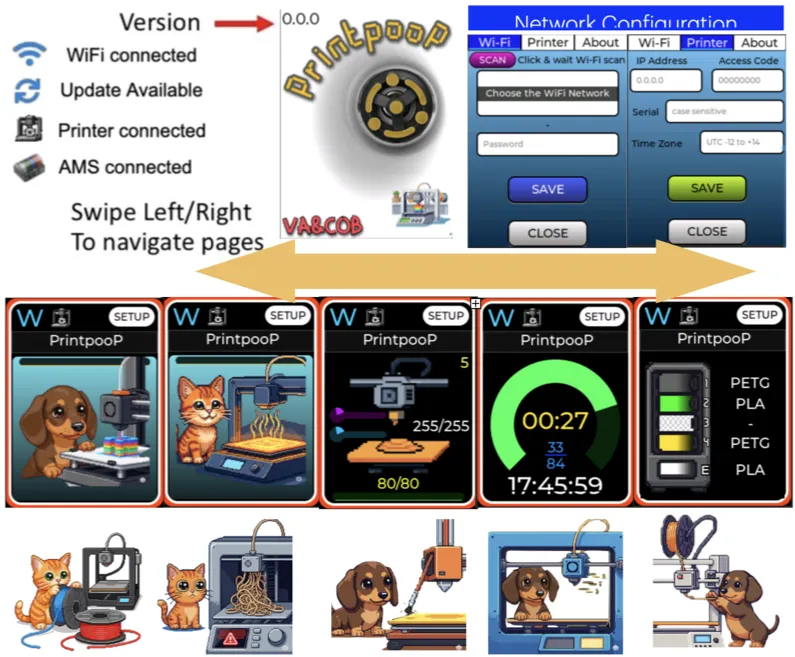
- Touch screen calibration will be displayed during the first run, but can also be manually entered by pressing the RESET button and releasing, then pressing the BOOT (GPIO_0) button within one second and holding it for a second.
Use a touch pen to touch all 4 corners of the screen. - Follow the screen instructions. (Click the SETUP button on the screen to enter network configuration)
- SETUP → Wi-Fi Tab to configure Wi-Fi credentials.
- SETUP → Printer Tab to configure the printer's IP address, access code, serial number, and time zone.
How to get the printer serial number https://wiki.bambulab.com/en/general/find-sn
How to get printer IP address & Access Code https://wiki.bambulab.com/en/software/bambu-studio/failed-to-send-print-files - Currently, there are 4 status display pages
Page 1 - PrintpooP in action (displays a cute kitten or puppy for each print stage) - After one minute of inactivity, trigger a "PrintpooP" swinging animation for the idle state.
- After one minute of printing, initiate a "PrintpooP" swinging animation that follows the print head's movement.
(This animation needs an MPU6050 gyro sensor attached as an option. The other functions work normally without this sensor.)
Page 2 - Temperature / Fan speed/progress
Page 3 - Print progress / remain / layer / clock
Page 4 - AMS filament type and colour / current slot
❗Quick start, flash and go, no code needed → Flash Firmware
💾 How to build → Firmware/Source code
FAQ:
- Why is support for custom images or user-defined graphics currently unavailable?
- Why is Over-The-Air (OTA) firmware update functionality not included?
Answer: It's the hardware limitation
License



Comment & Rating (225)