
Mario Piranha Plant
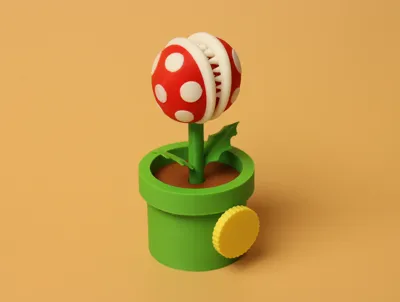
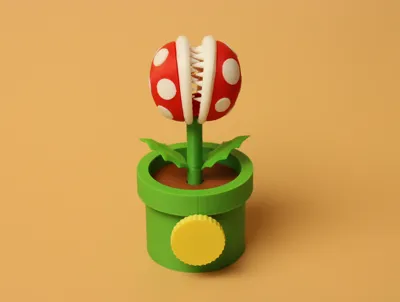
Print Profile(3)






Description
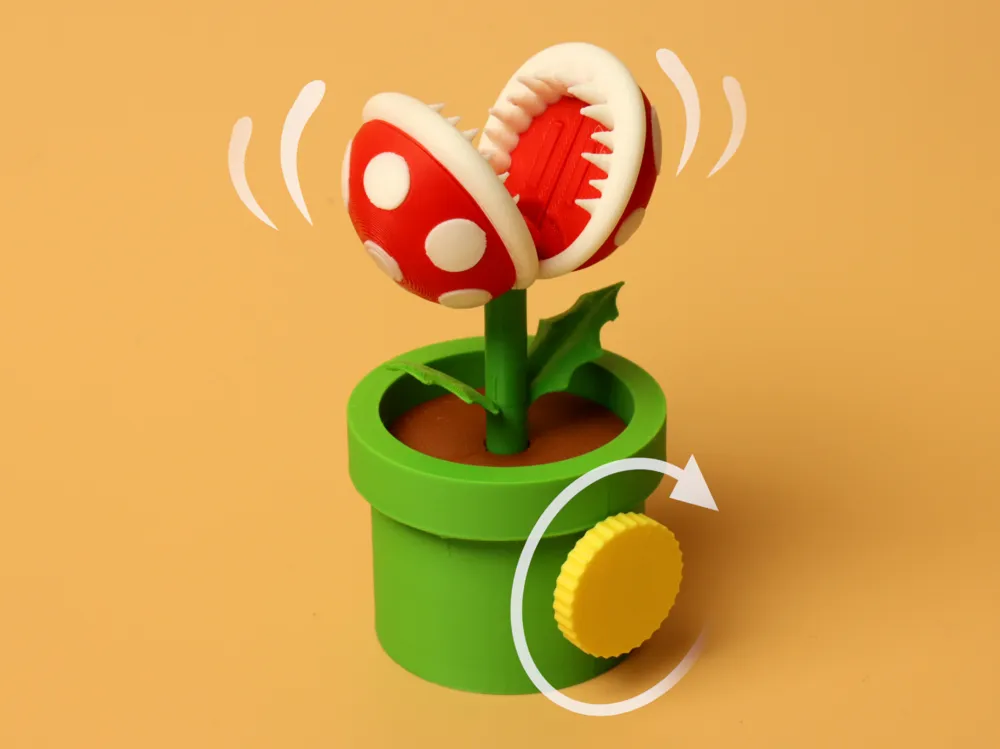

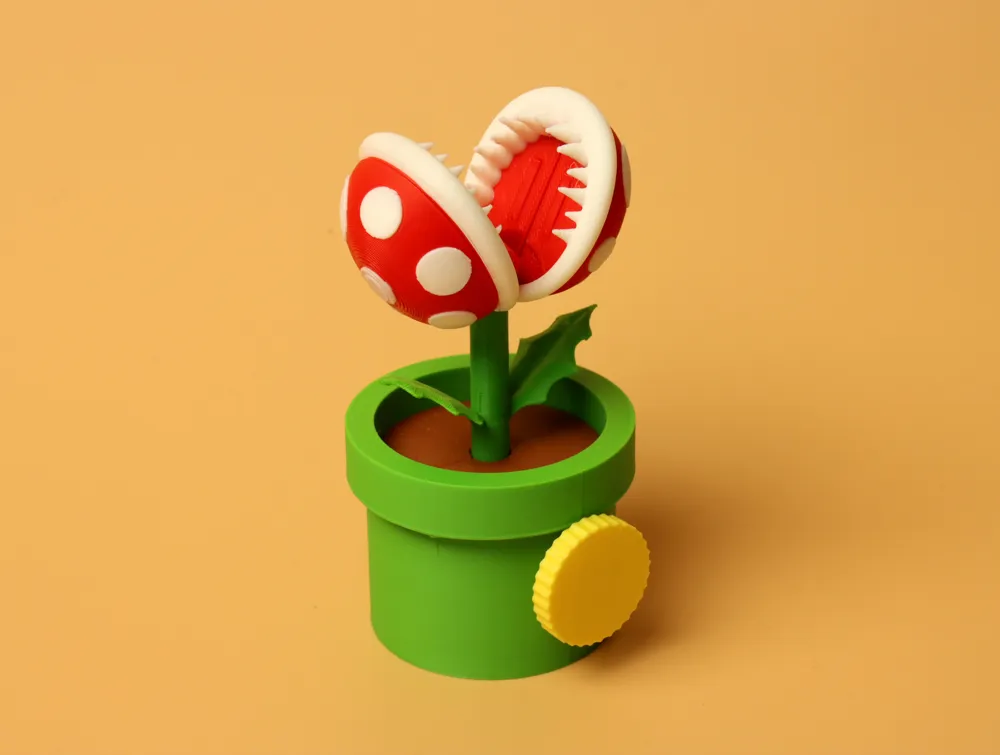
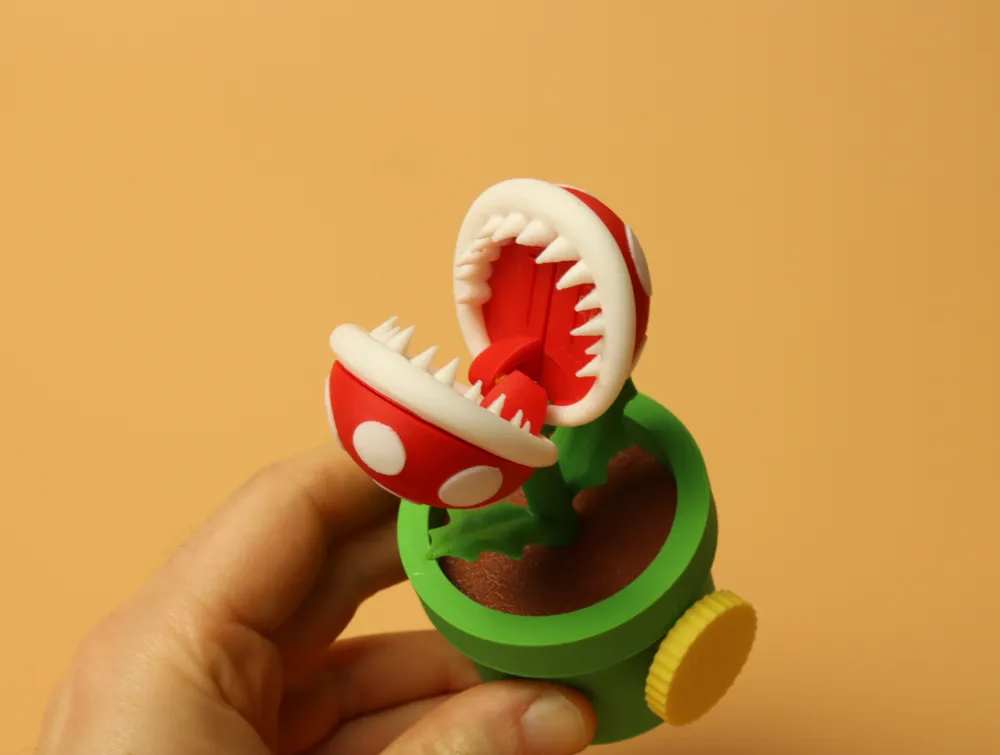
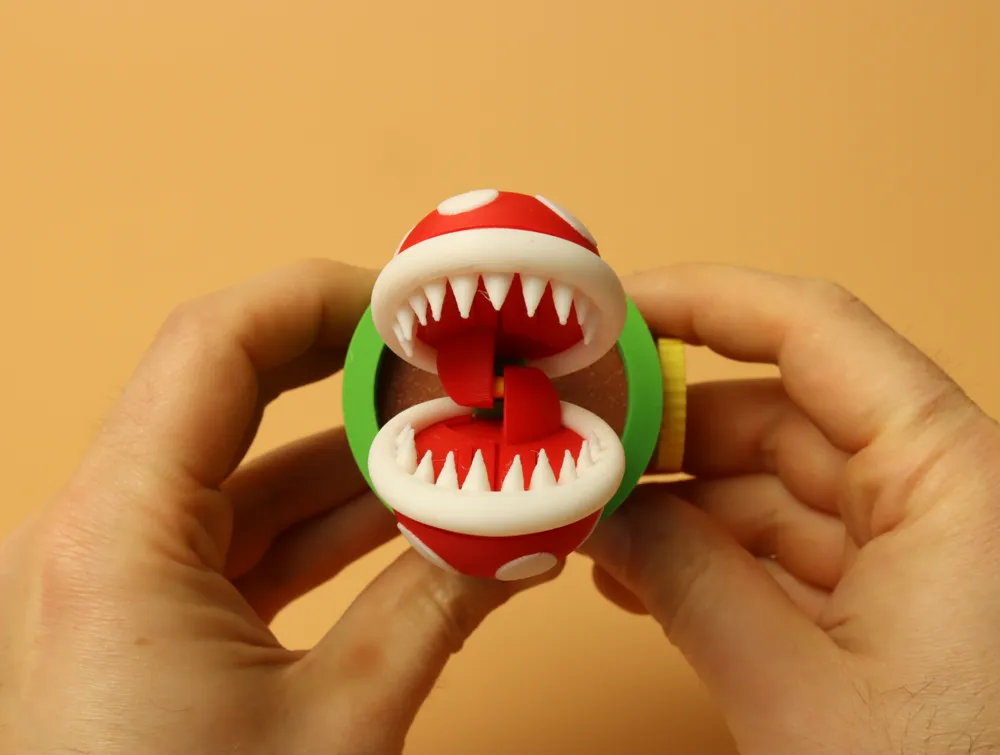
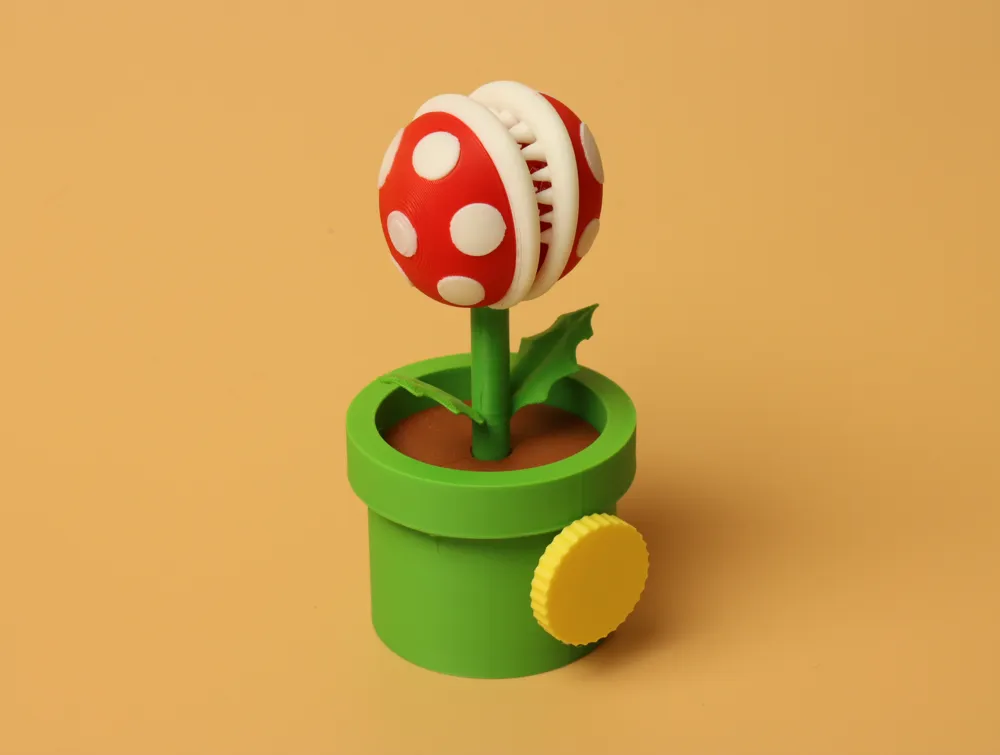
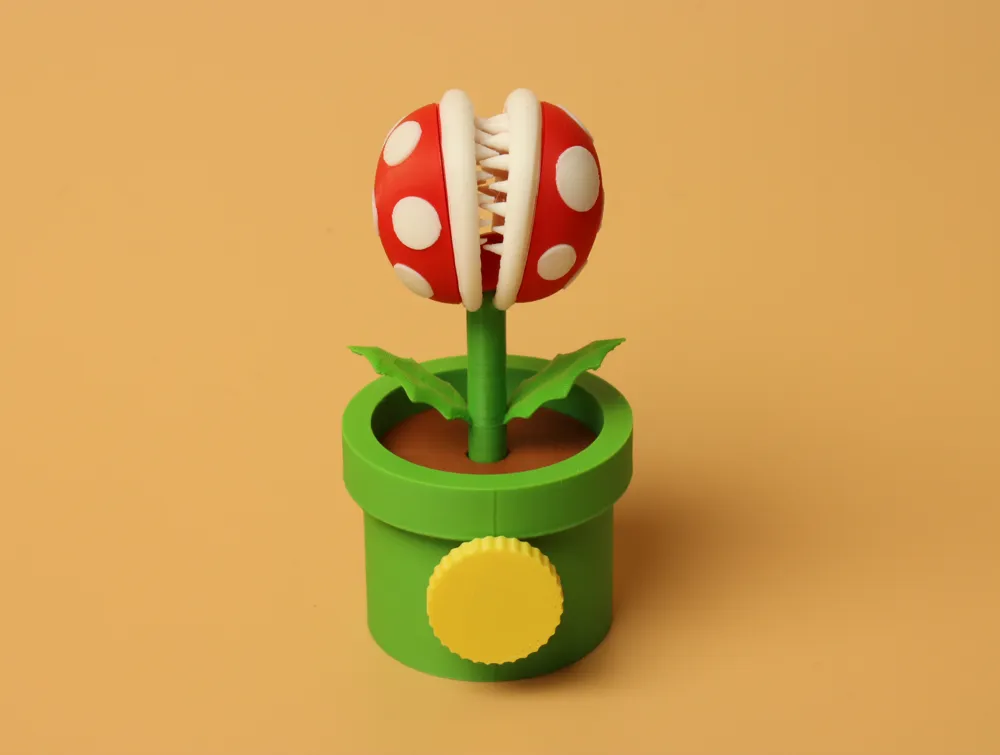
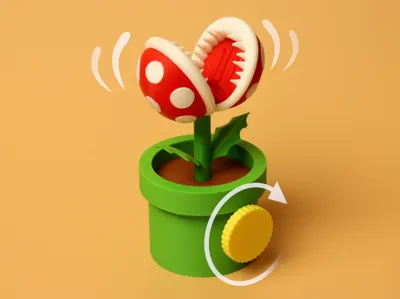
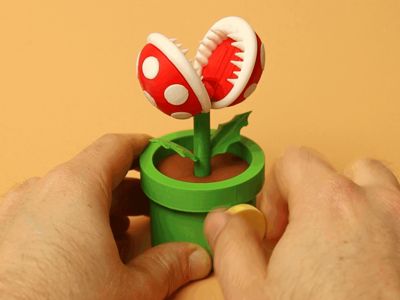
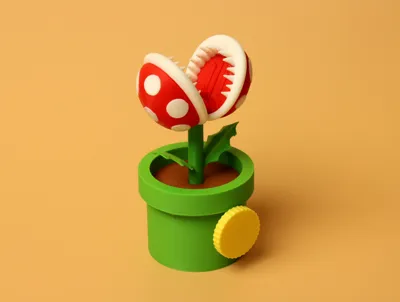
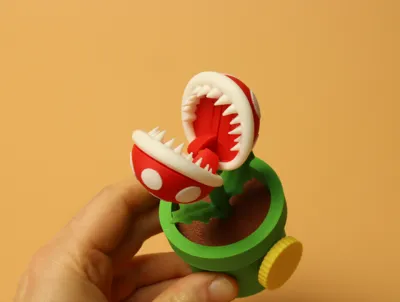
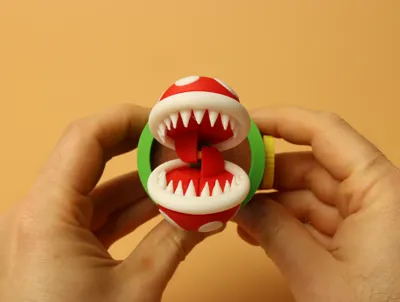

This is my model of a Mario Piranha Plant. Unlike most models which go for a more cartoony look, I wanted to stay more close to the original 2D design of the earlier Mario games. The model also has a crank on the outside, and if you turn it the mouth of the plant opens and closes!
In terms of difficulty to assemble, its a bit more of a medium difficulty, requiring the assembly of smaller parts, but other then that I think it's pretty easy.
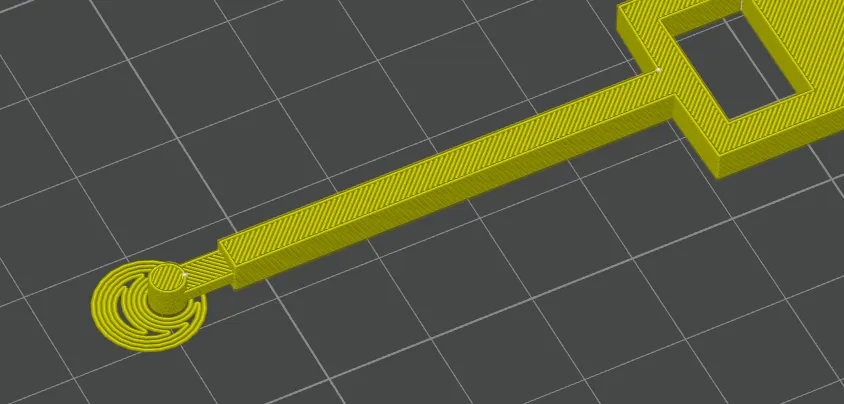
update 24/5/25:
added a brim ear in my print profile to the little rod on the slider:
Assembly instructions
--------------------------------
Take one of the teeth parts and assembly it on the flower_cover part using 2 clips. Do the same for the other teeth part:
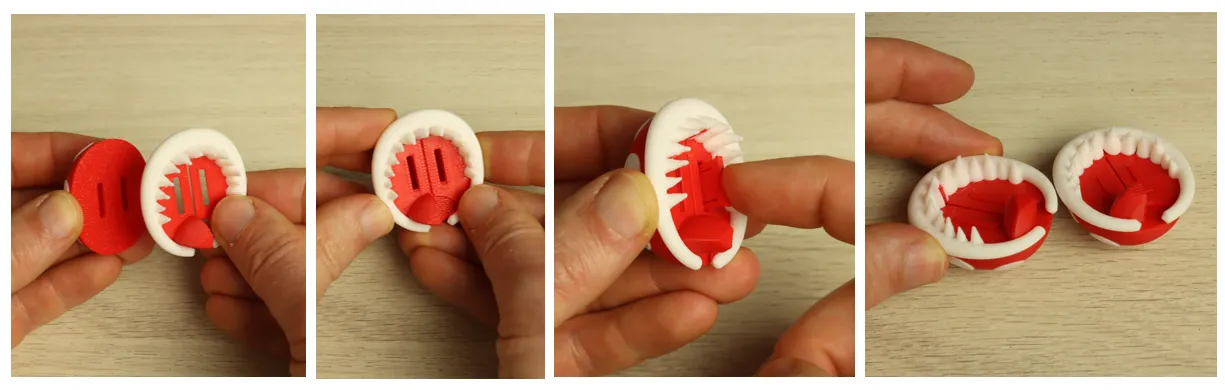
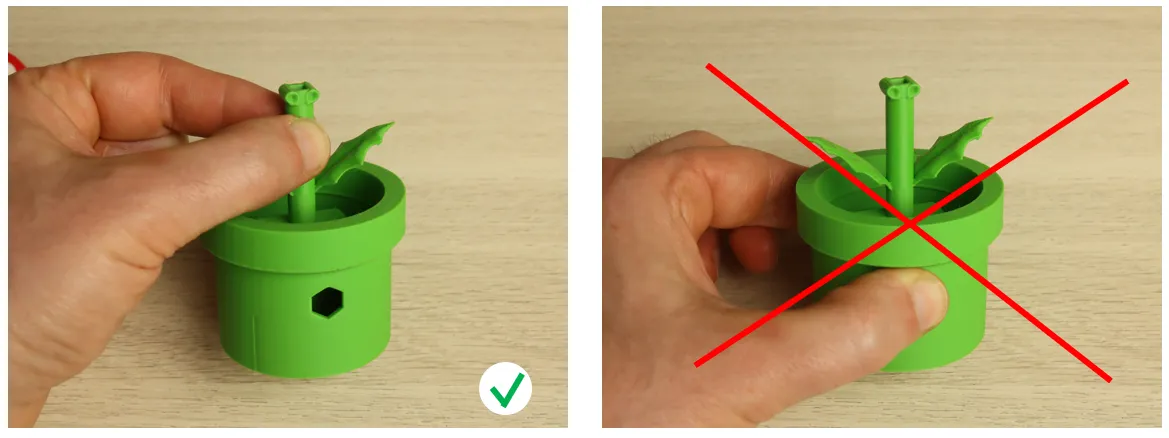
before we move further, I recommend holding the green part by the thin stem, and not by the pot, so to avoid big forces on the part during the assembly of the flower heads.

Install the flower halves on the top of the stem as follows
- place one part of the conical white section in the indentation in the green part
- use your thumb to spread out the flower head a little bit and guide the other conical section also into the other indentation of the green part
- this video probably explains it better:

same for other side:
Now insert the slider in the bottom of the pot:
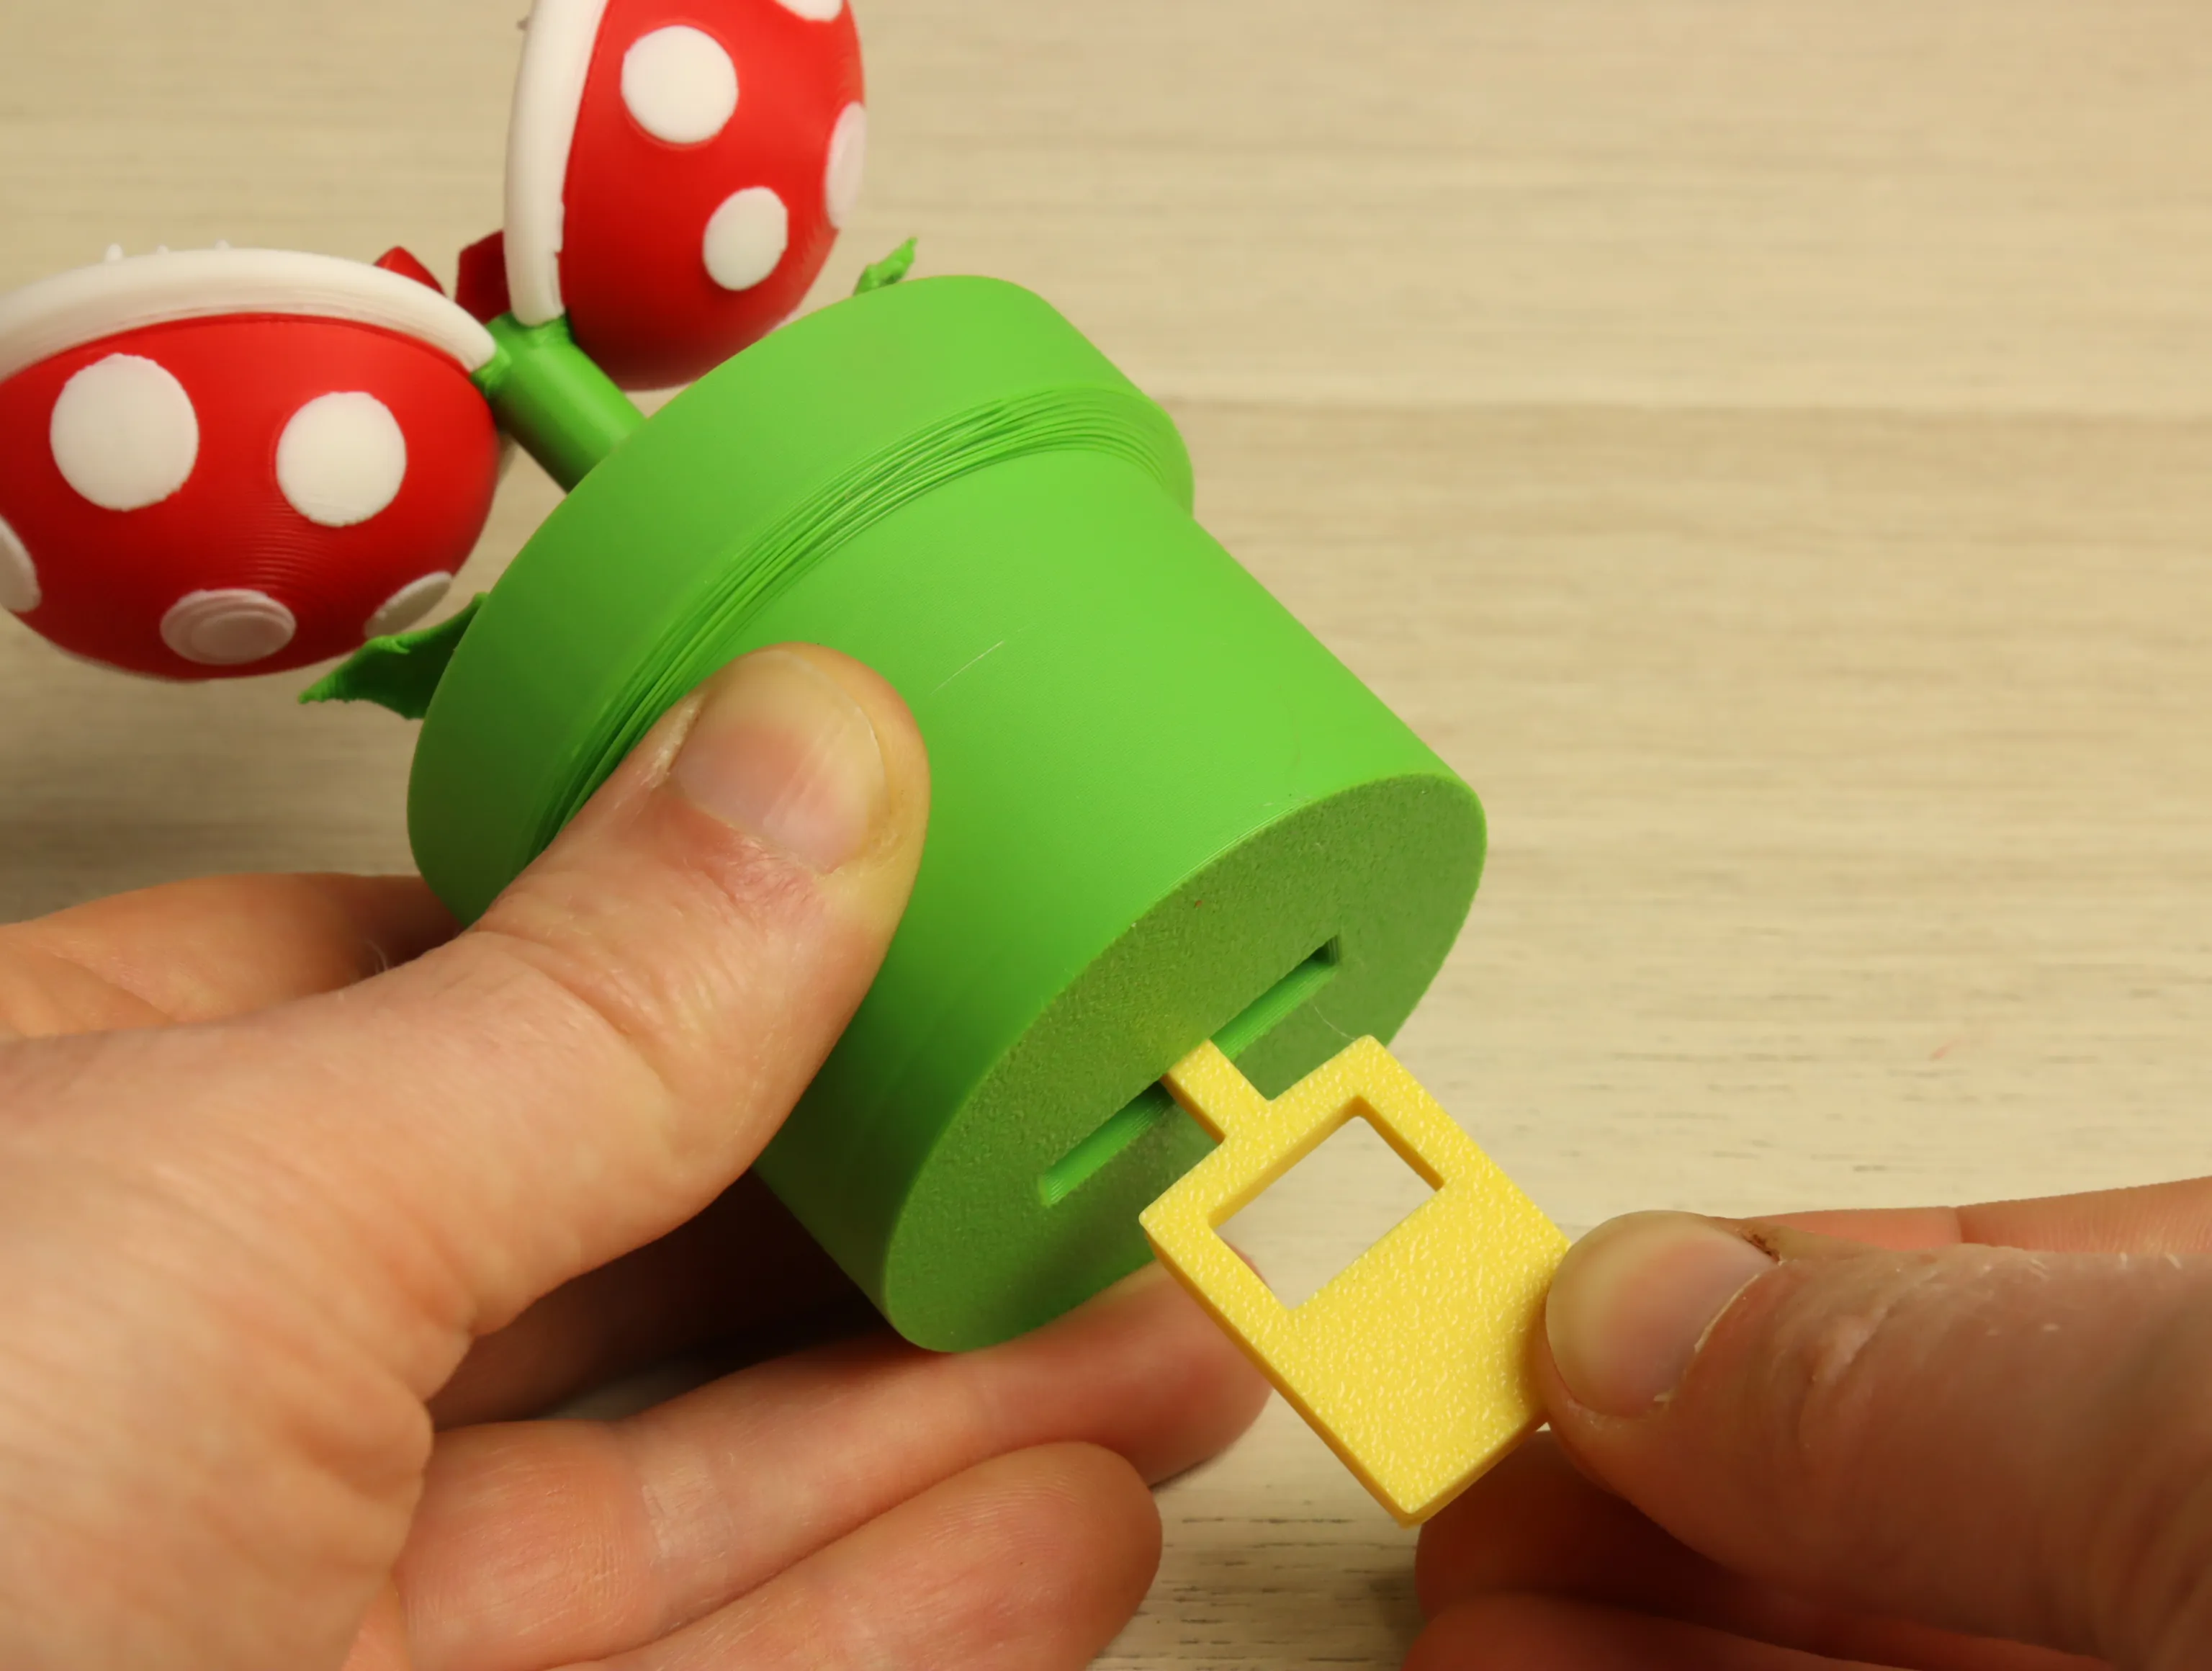

Now you have to guide the 2 red bumps with the slotted groove over the 2 small rods on the yellow slider (move the flower slightly to the side so the yellow part can click into place):
Now install the crank, push it all the way to the end (it goes through the slider) into the internal hole in the pot untill it clicks:
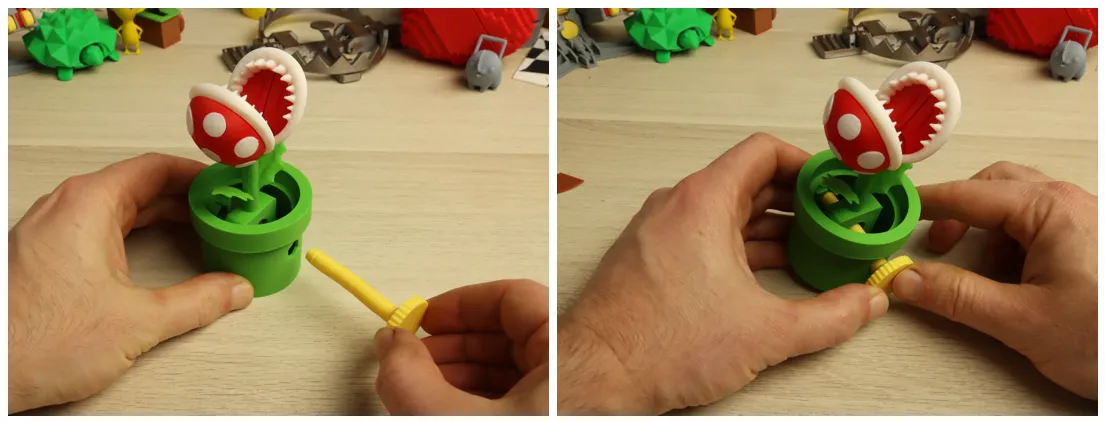
Now you can allready test if the mechanism works. Finish the print by placing the 2 soil halves on the ridge in the green pot:
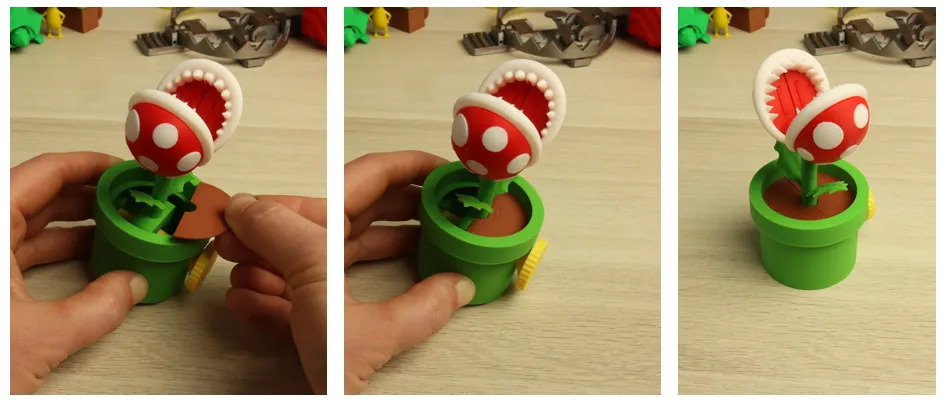
thats it! enjoy
License

You shall not share, sub-license, sell, rent, host, transfer, or distribute in any way the digital or 3D printed versions of this object, nor any other derivative work of this object in its digital or physical format (including - but not limited to - remixes of this object, and hosting on other digital platforms). The objects may not be used without permission in any way whatsoever in which you charge money, or collect fees.


Comment & Rating (305)