
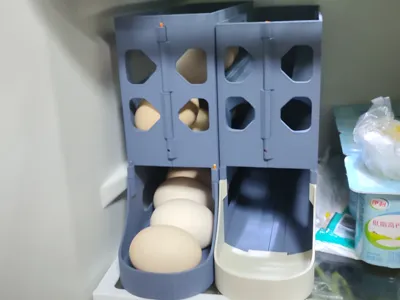
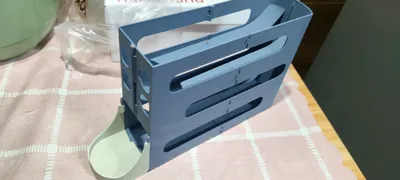
Egg Storage and Allocation Rack A1mini Version (No Supports/Hardware/Adhesive Needed)
Print Profile(1)

Description
!!!This file is an optimized version for A1mini only, p1/x1 users should prioritize downloading the p1/x1 version model from my homepage!!!Also, since I don't own an A1mini, this model's physical printing was verified on a p1. A1mini users, please let me know if you encounter any printing issues, thank you.
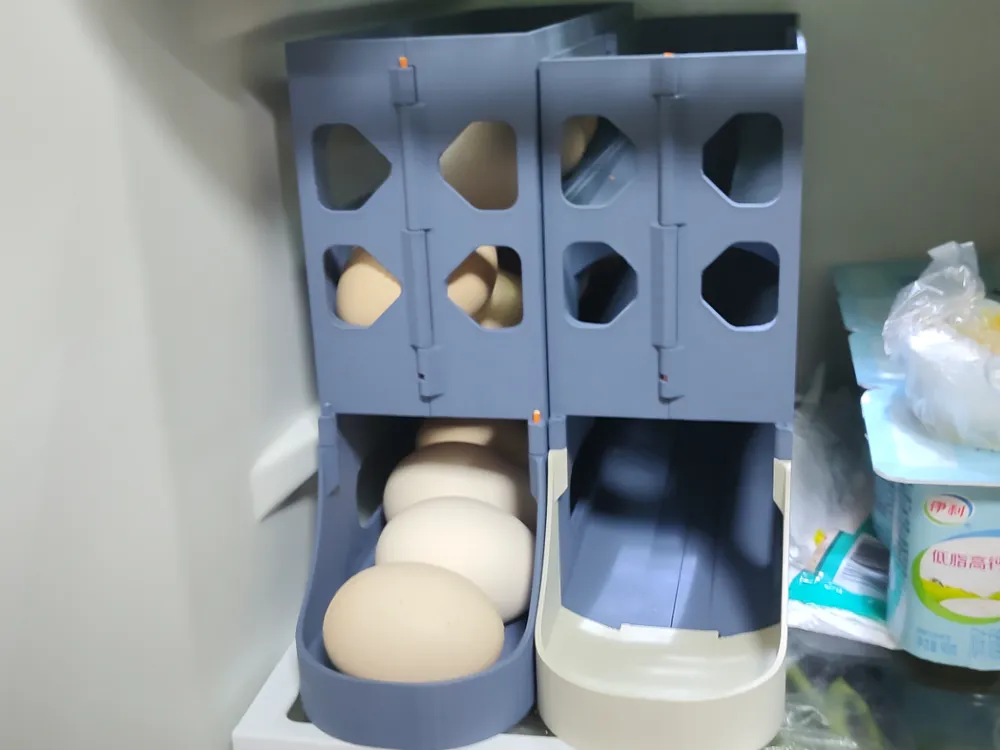
!!!This model is only recommended for use in situations where space is limited!!!This model can hold up to 22 eggs simultaneously (only supports 17 eggs when placed in the refrigerator due to lack of space on the top layer), an excessive number of eggs might lead to jamming. Manual shaking of the entire model is required to alleviate jamming.
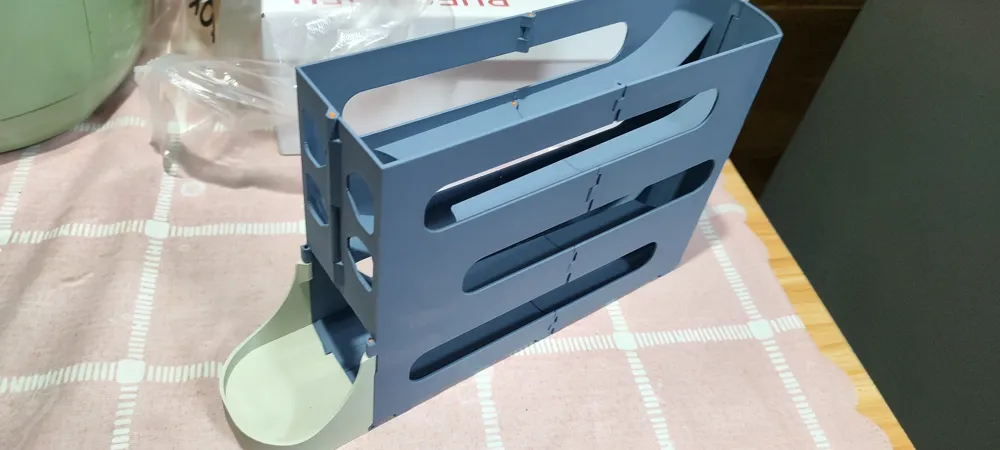
The A1mini optimized model measures 30cm in length, 7cm in width, and 17.8cm in height.
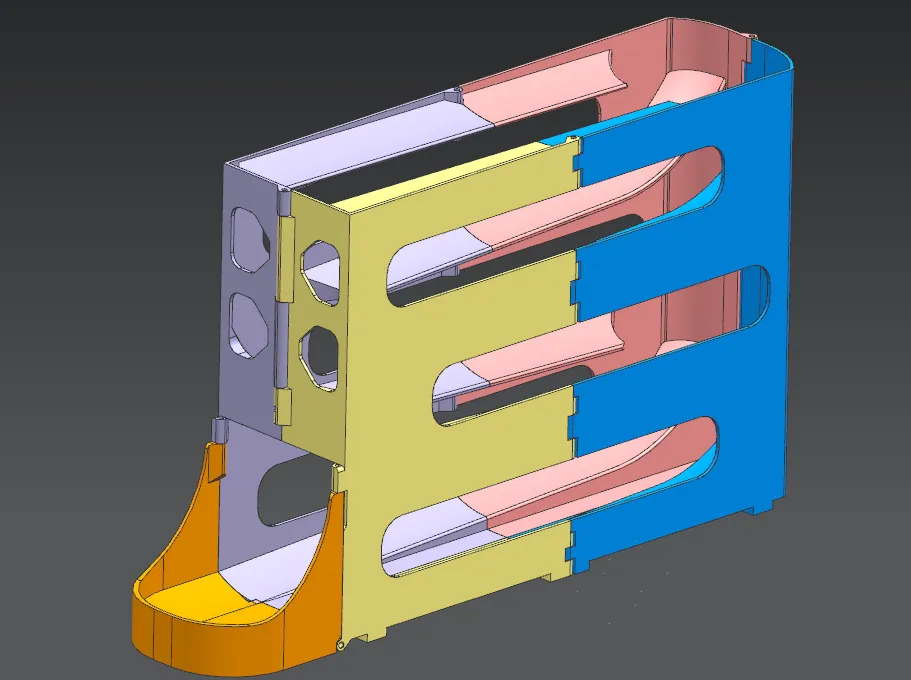
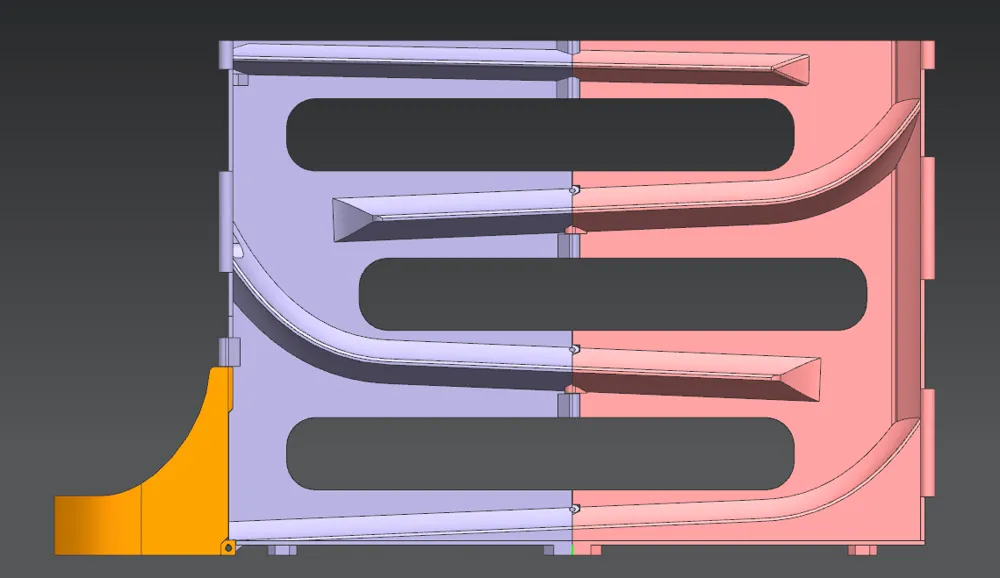
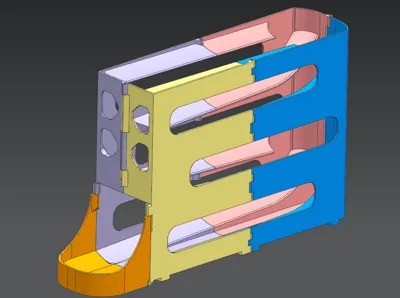
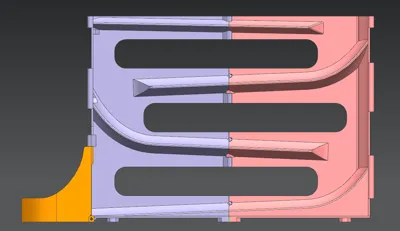
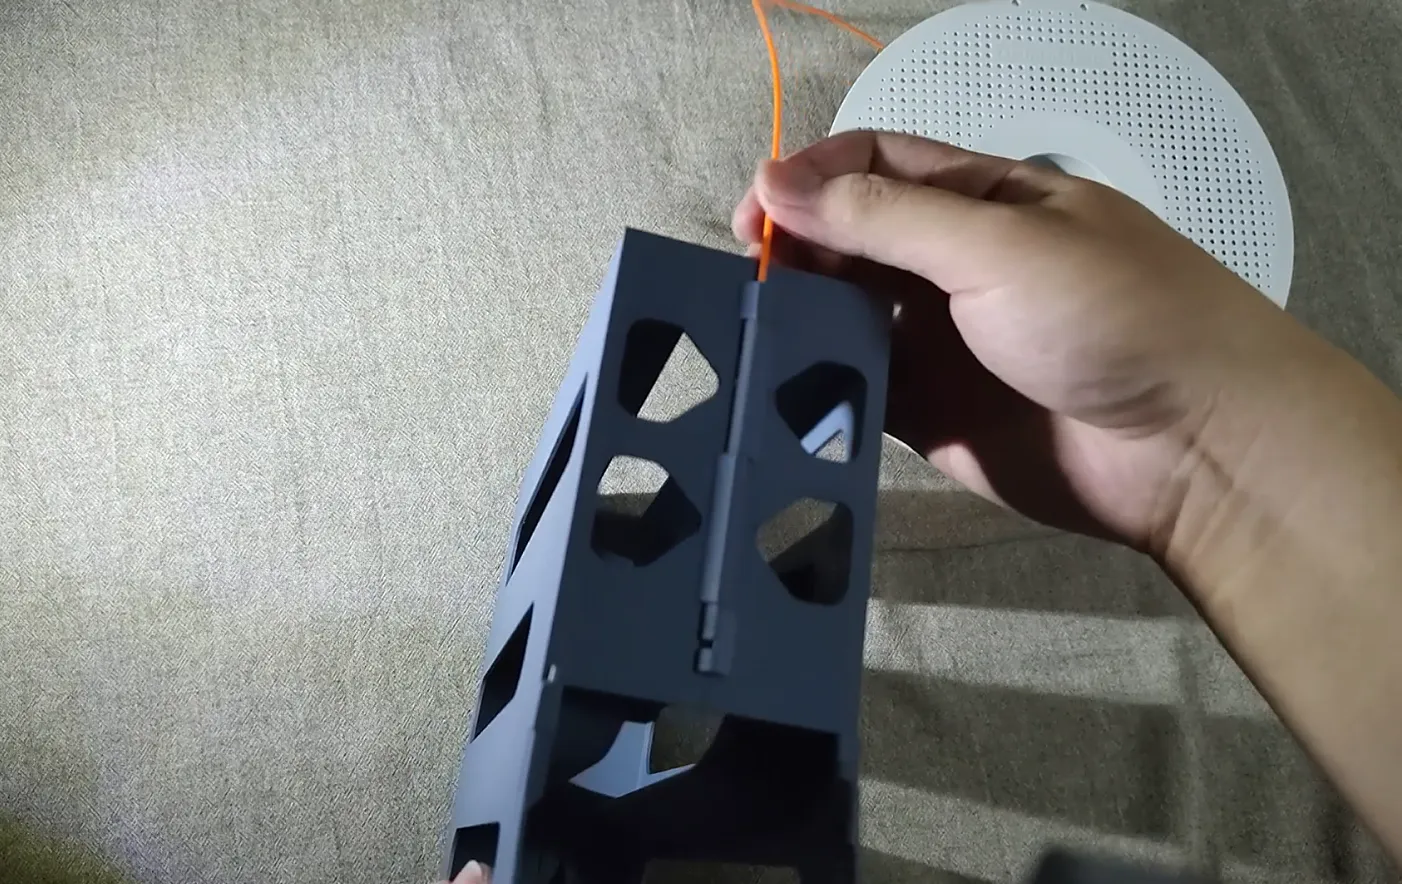
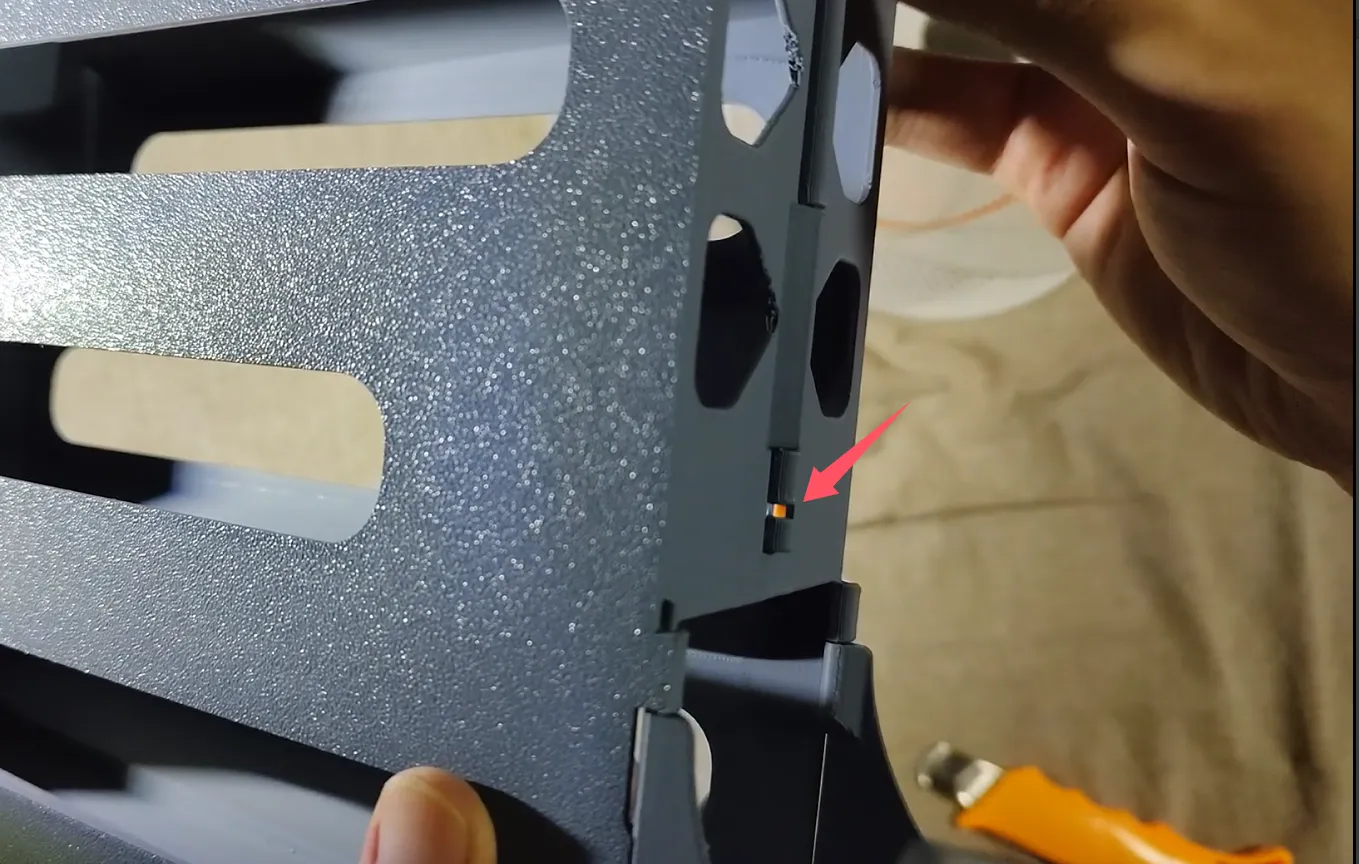
Simply insert 1.75mm filament into the five channels between the models to secure them. No supports, hardware, or adhesives are required. Use the bottom openings to verify if the filament is fully inserted.
1. Insert the filament into the hole.
2. Check the bottom opening to confirm if the filament is inserted completely.
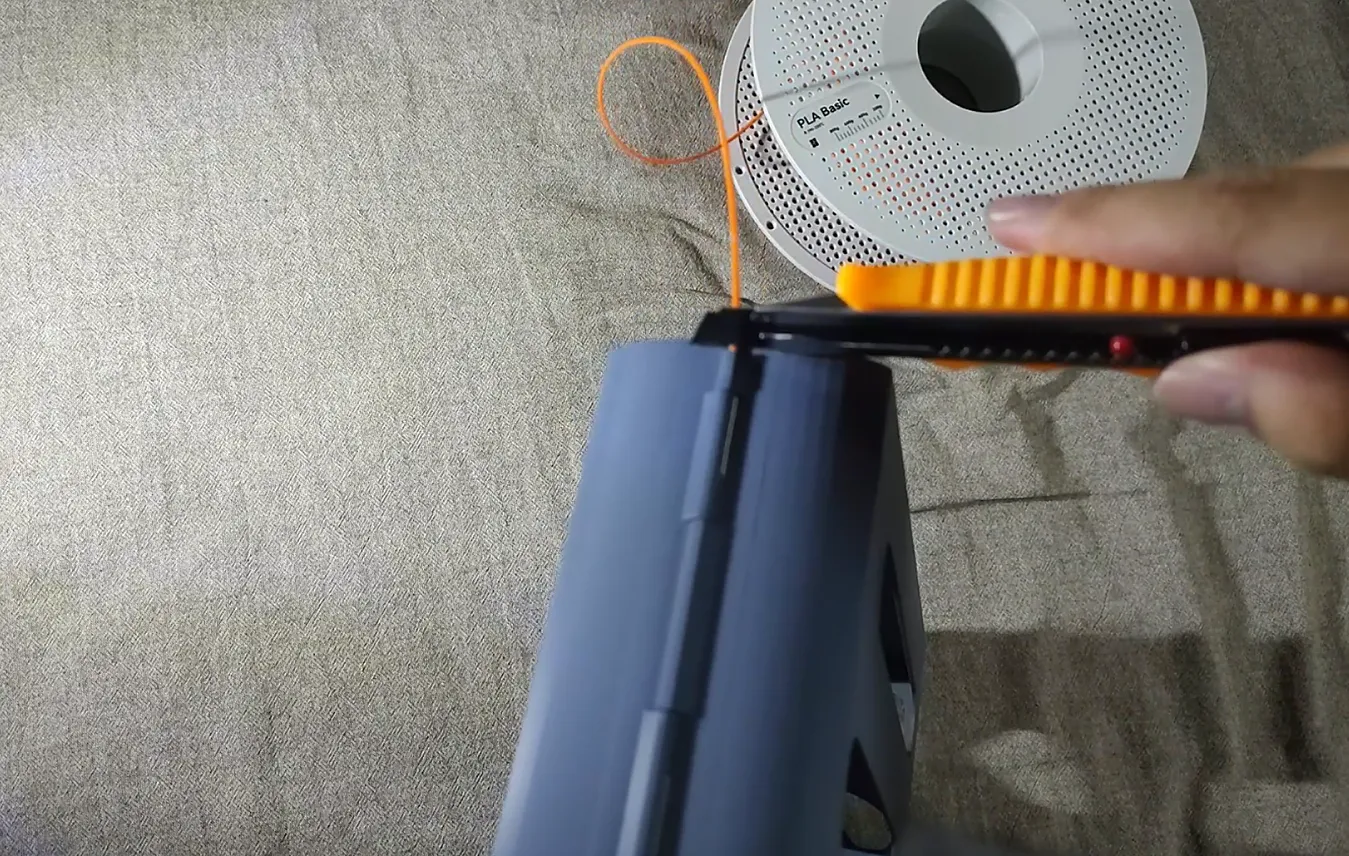
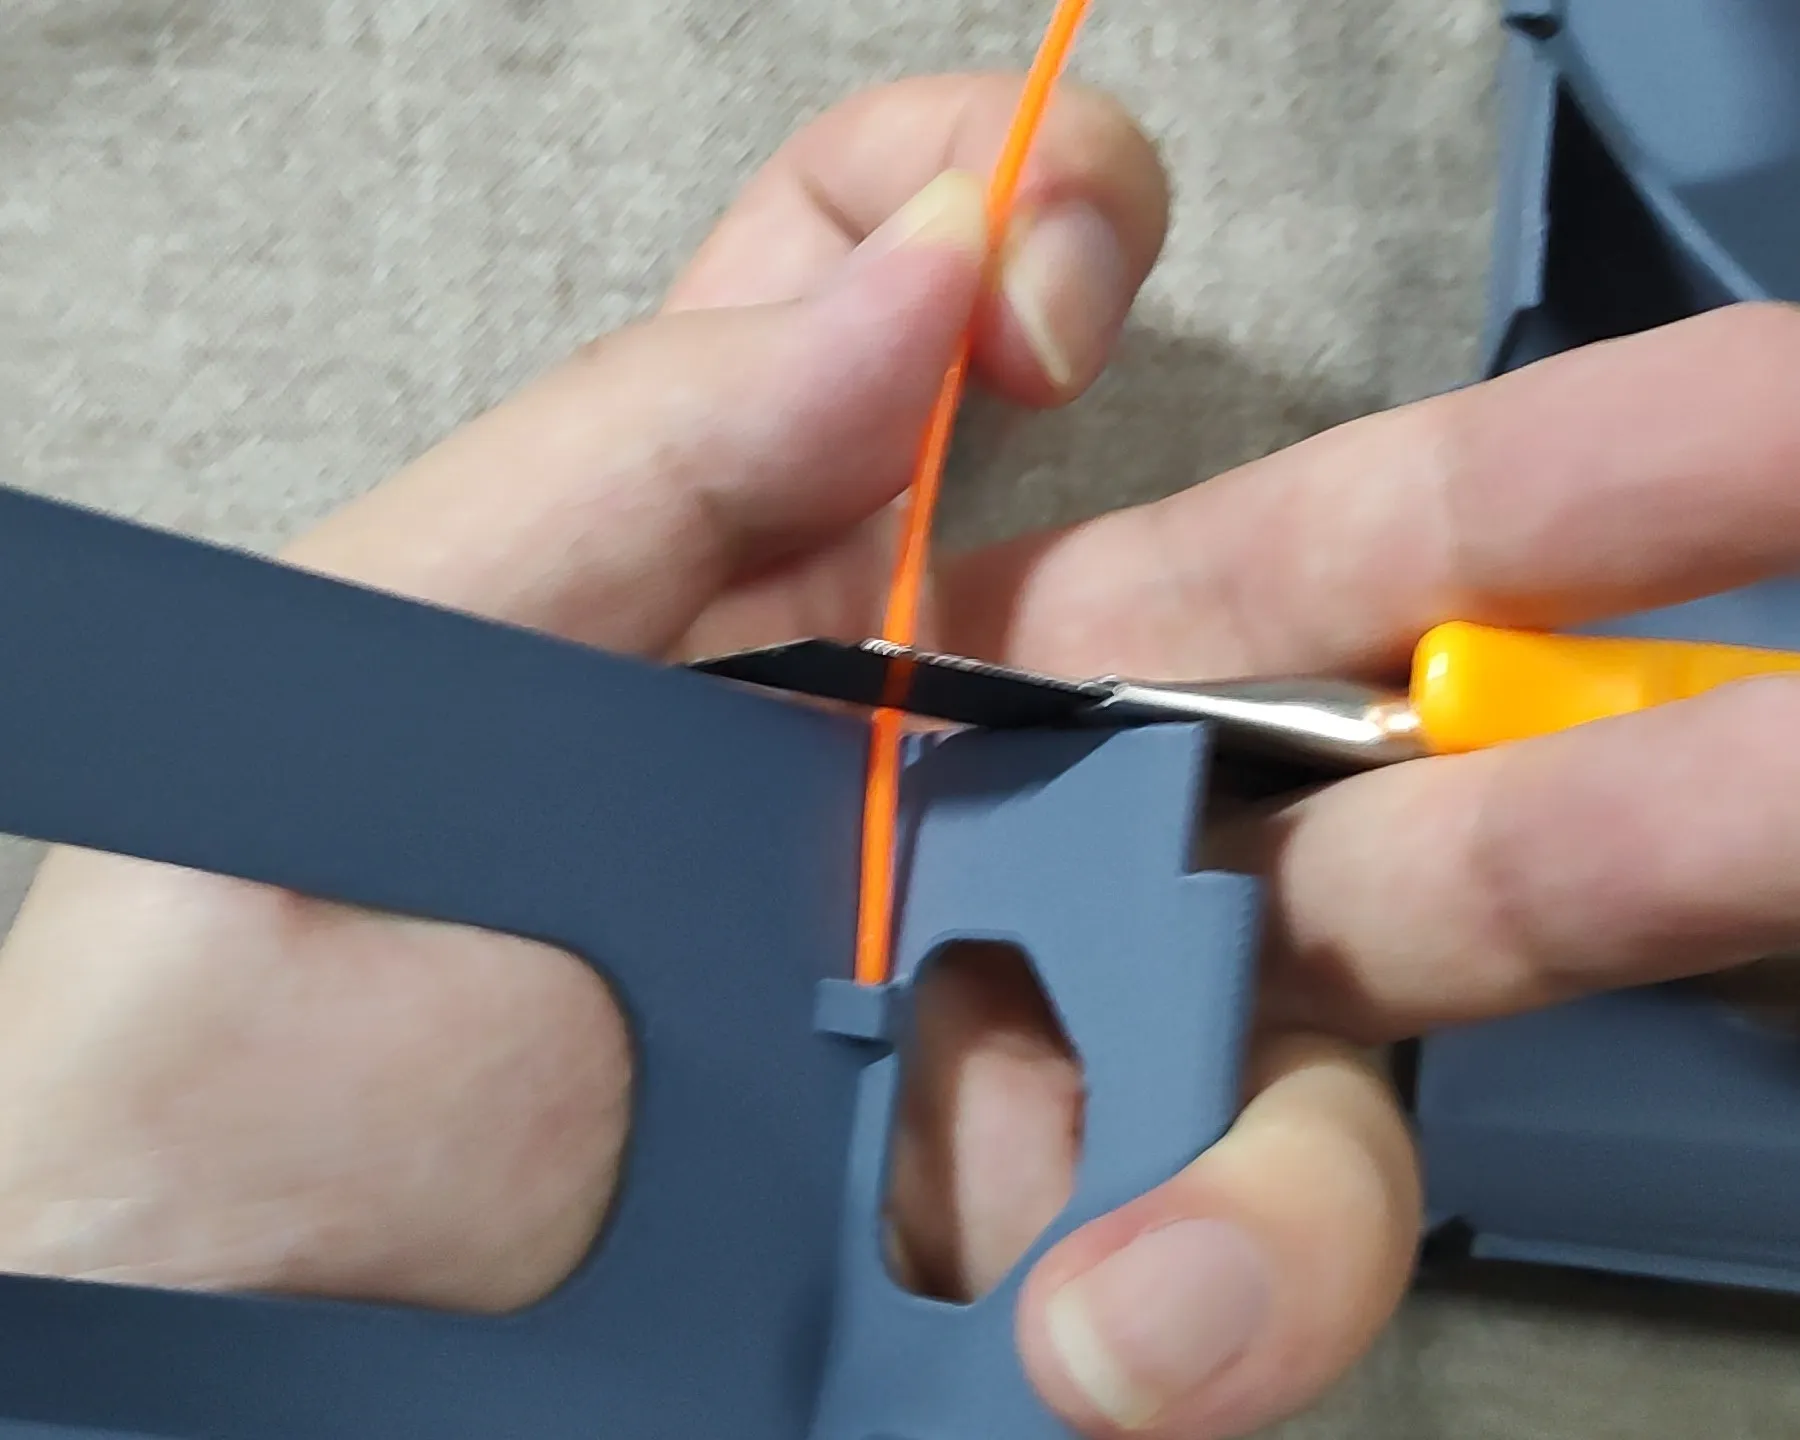
3. Use a craft knife to score the filament and then snap it.
4. The A1mini version has four additional connections on each side, four long and four short.
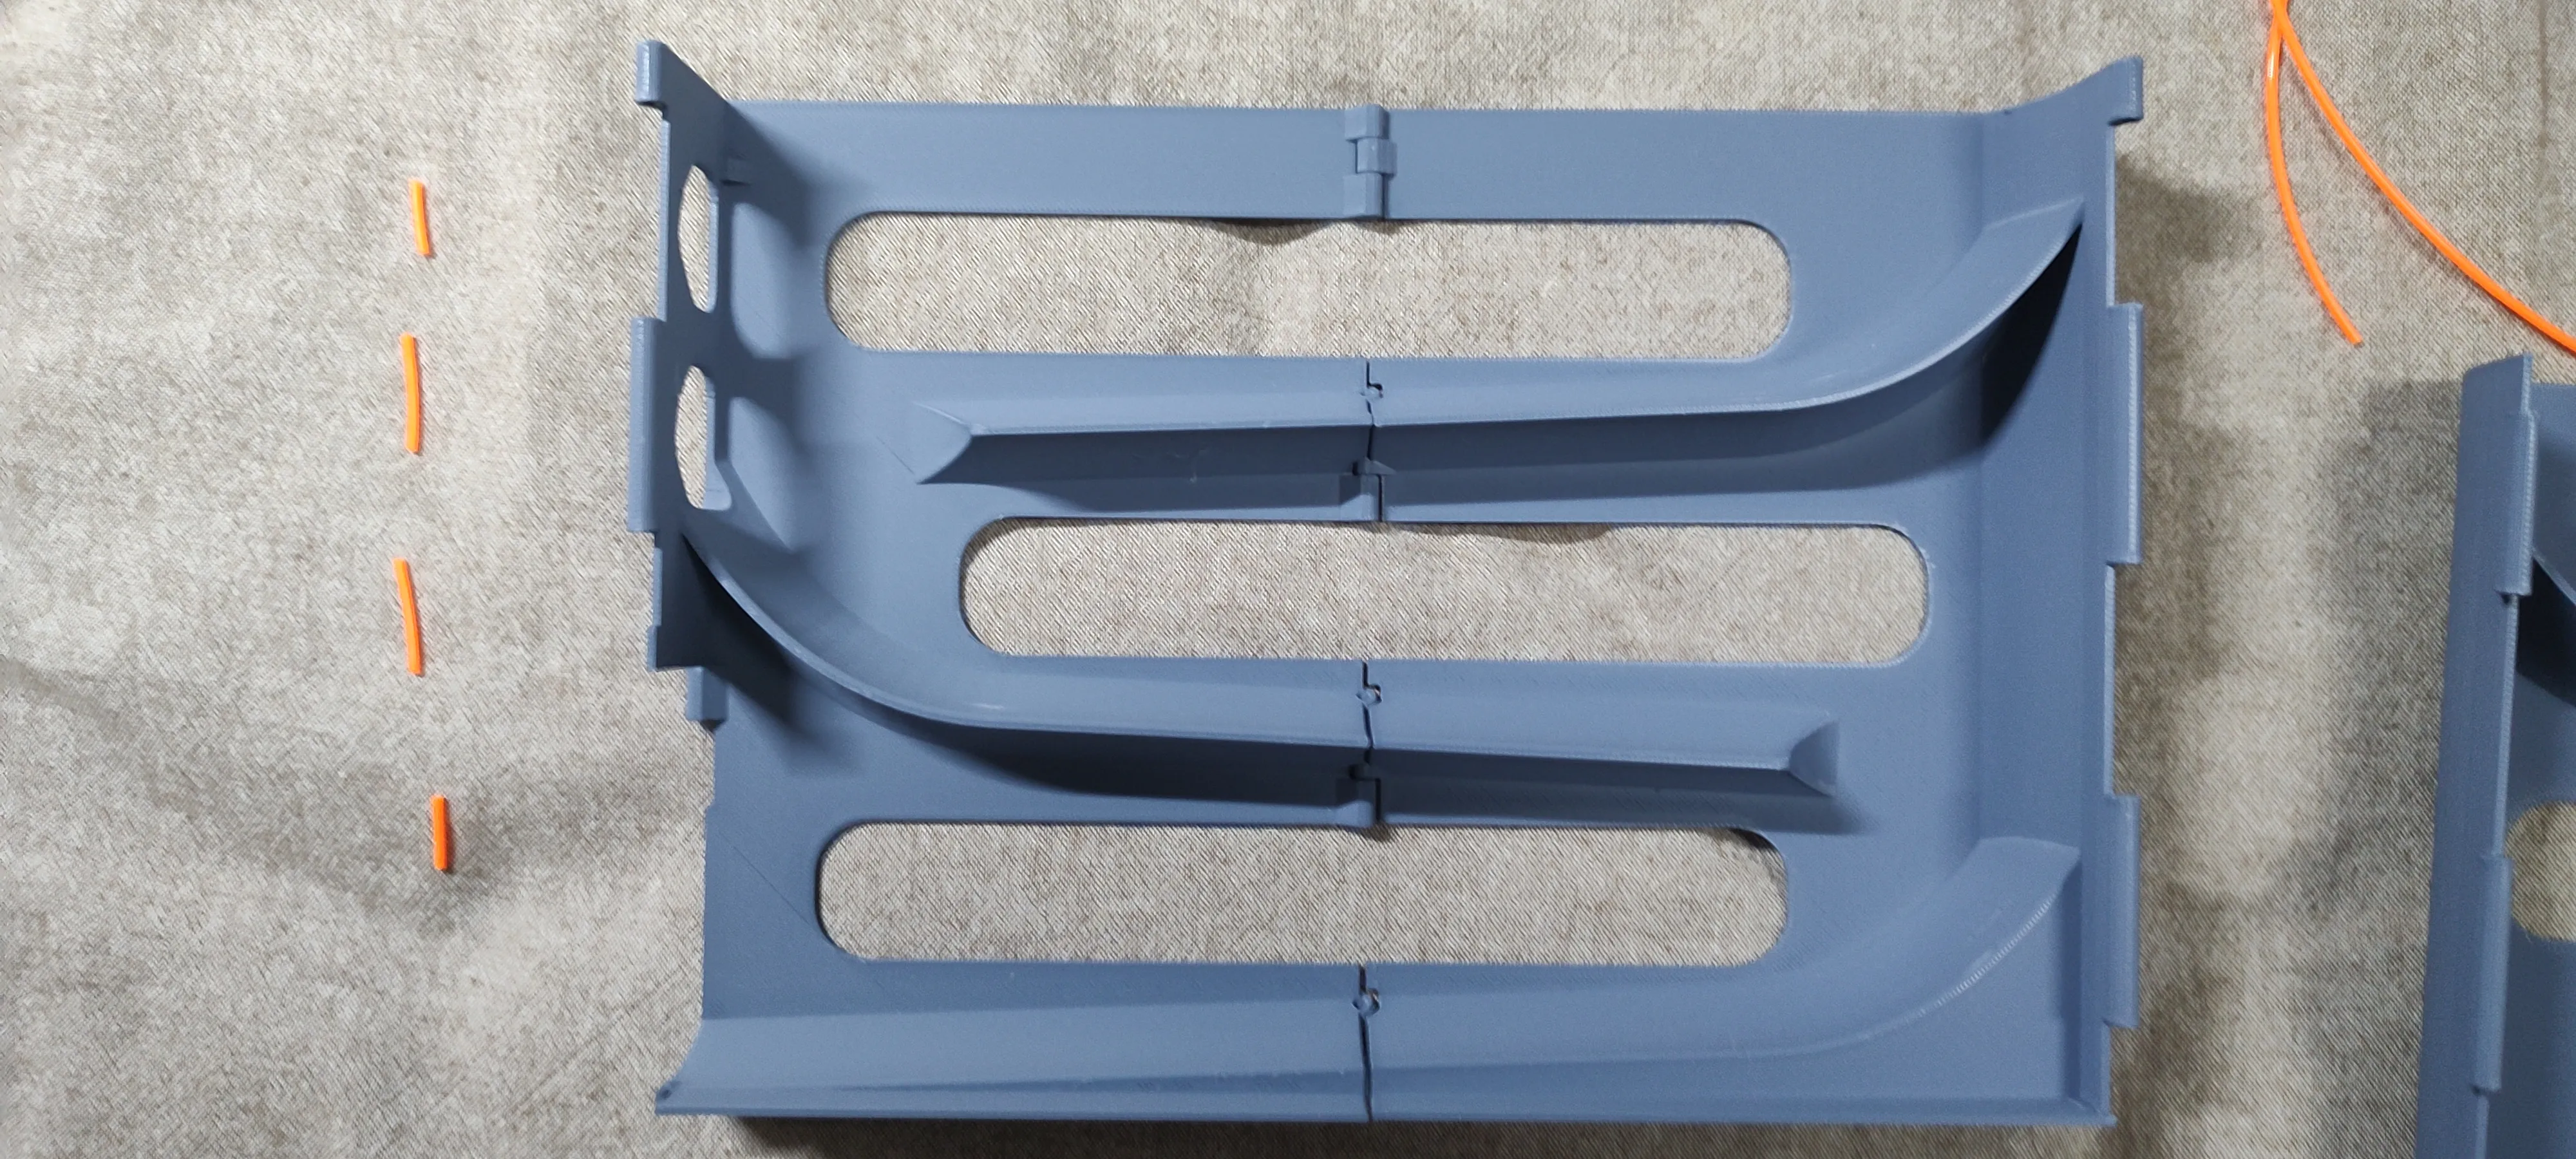
5. Use the auxiliary tool on the inner front side of the model to determine the required filament length, cut four filament pieces per side. (For ease of instruction, the demonstration model uses a model with the top slope removed; the actual printed model will have a top slope).
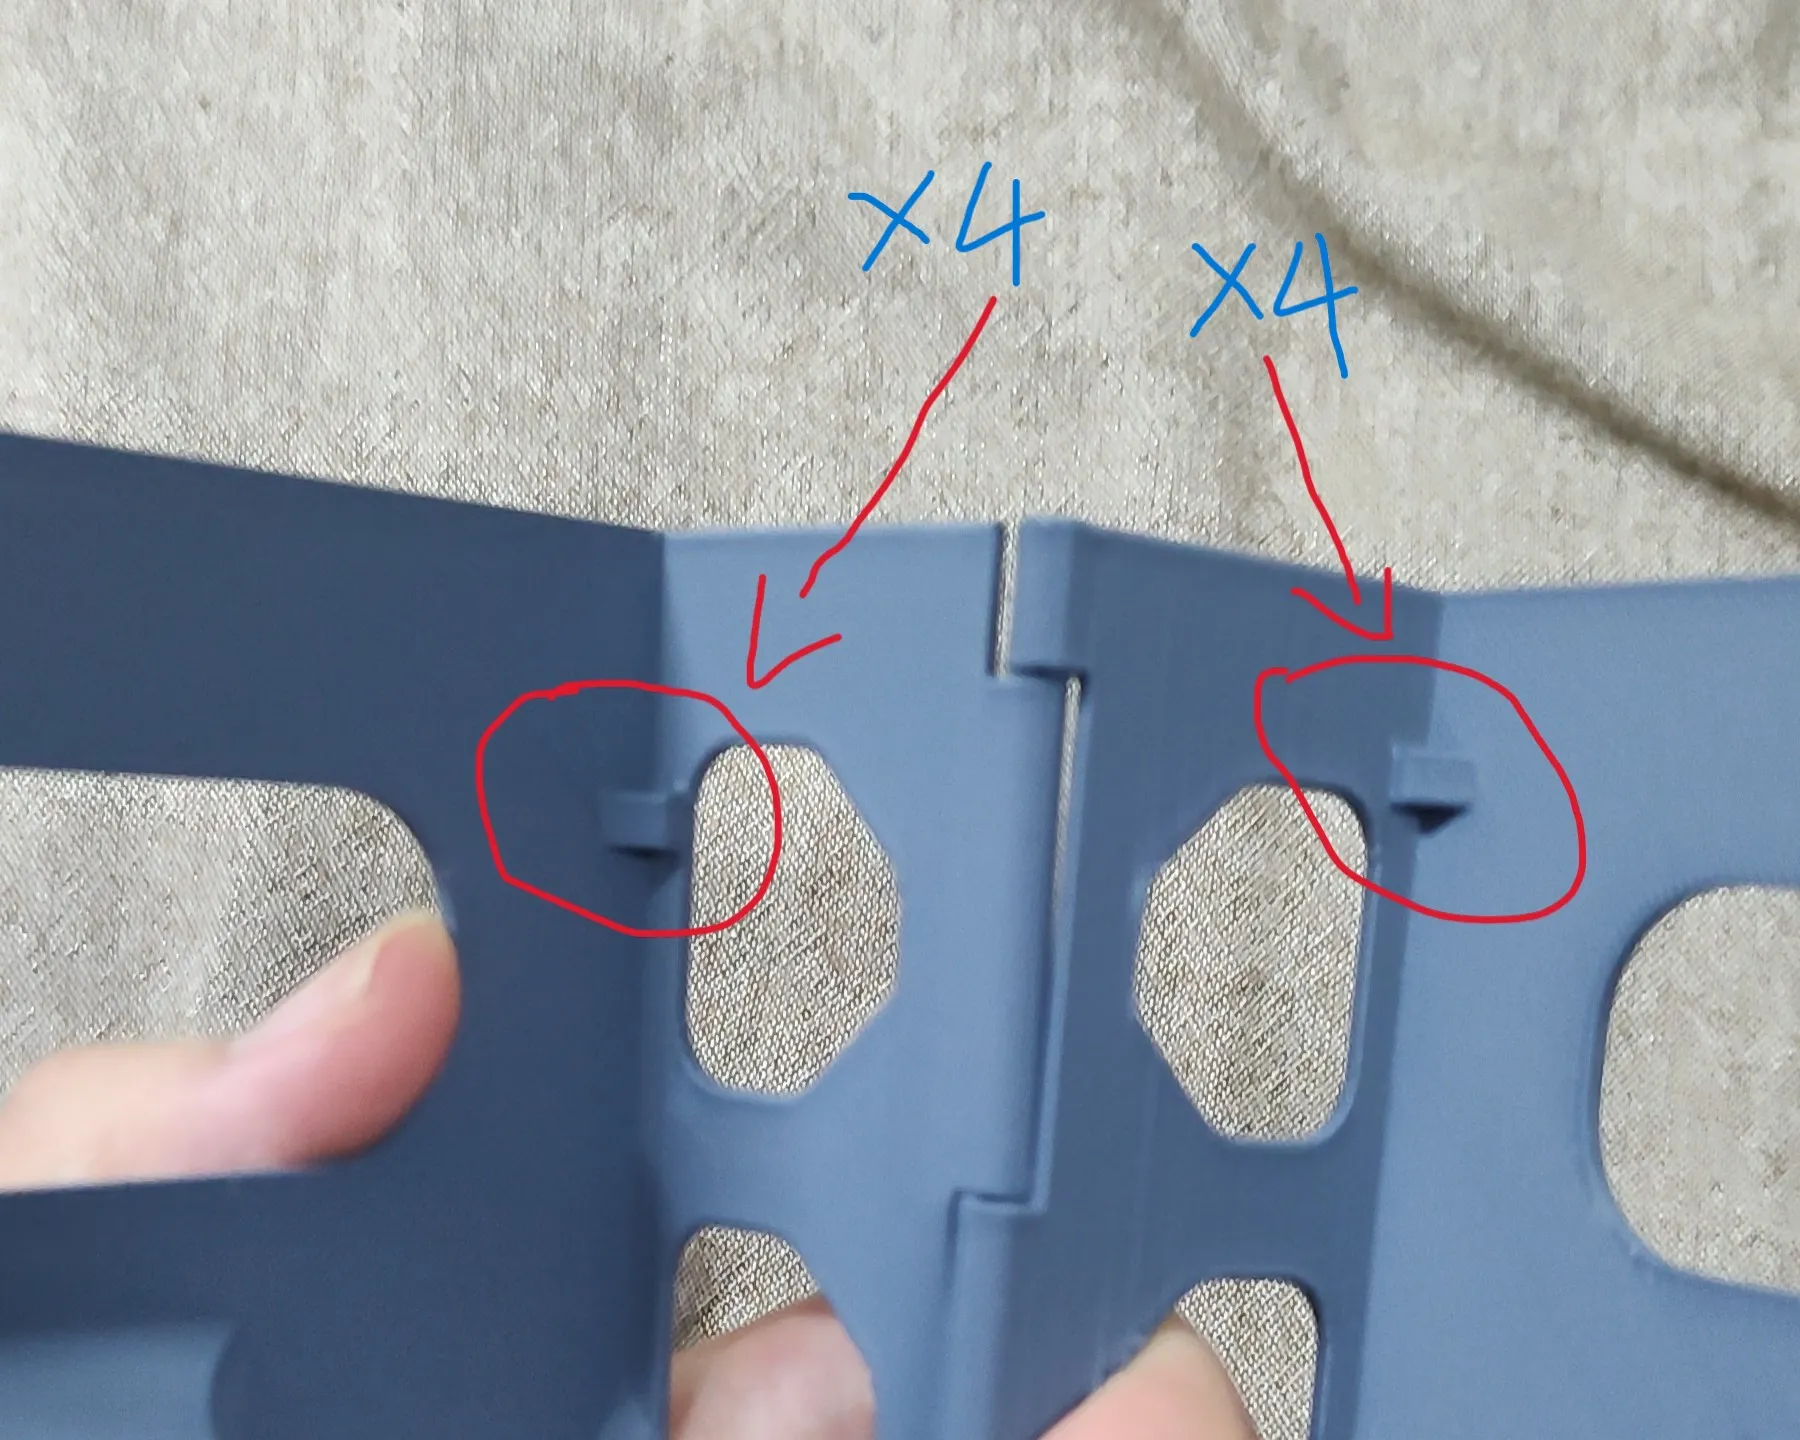
6. As before, after inserting the filament completely, score it along the top surface of the model and then break it off to achieve the desired length.
Thank you for printing my model. If you have any other model requests, please let me know, I may be able to create it in my free time. Thank you.
Boost Me (for free)
If you find it helpful, please give it a boost, please
License

You shall not share, sub-license, sell, rent, host, transfer, or distribute in any way the digital or 3D printed versions of this object, nor any other derivative work of this object in its digital or physical format (including - but not limited to - remixes of this object, and hosting on other digital platforms). The objects may not be used without permission in any way whatsoever in which you charge money, or collect fees.


Comment & Rating (28)