
bar clamp with extention
Print Profile(1)

Description
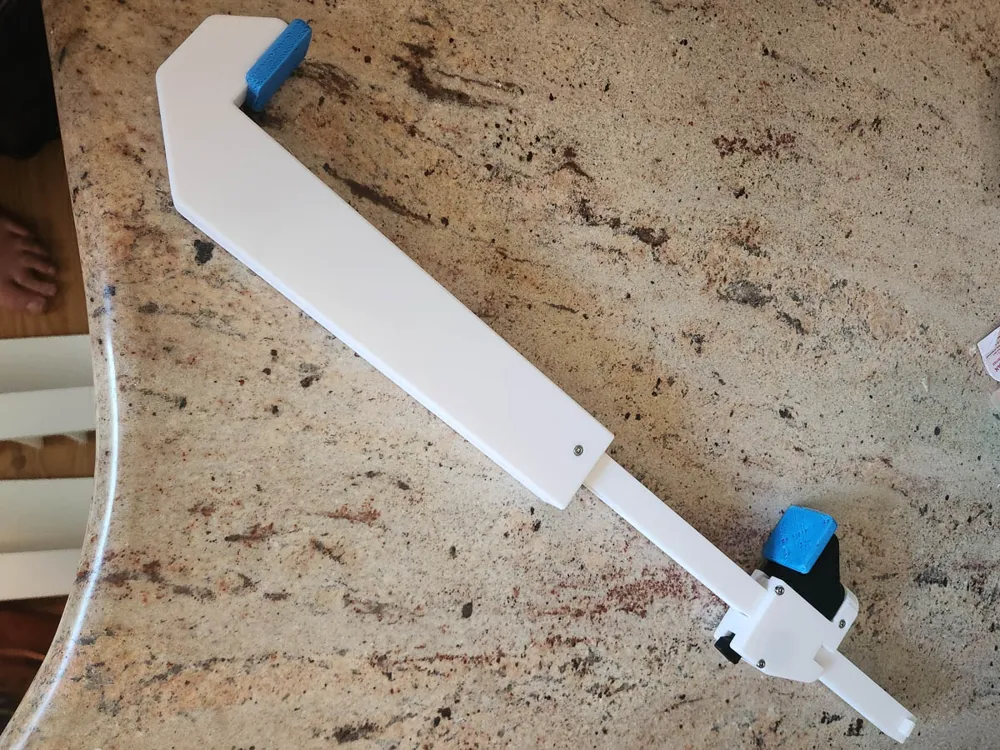
this is a remix of my bar clamp with an extension.
There are 3 sizes. For 3 size printers. 180mm sq, 256mm sq and 320mm sq
the long pieces fit diagonally.
the pieces are separated into plates to minimize filament changes. I made with 2 colors of PLA, and one of TPU for the pads There is a modifier around the pads
the ratchet is maid with a penny
The beam is not as strong as a standard metal bar clamp. It is great as an adjustable fixture for gluing.
It takes a while to print but, my goal was to make it as strong as possible.
Quick release Bar clamp.
Great for holding glued parts. It relys on a plastic beam that is strong for plastic. But not as strong as a metal bar clamp. So you can apply excessive force with it
other simple printed clamps are excesivly weak. and steps don't allow fine tuning.
Some assy required.
Fine adjustment for clamp. Depending on the specific head for the large screw will define what knob you want. There are lots of printed knobs available. I happened to have a ¼-20 hex head handy.
The beam has several sizes in the file. Fits diagonally on build plate. The bed sizes there are files are for are 180, 250, and 325. The other sizes are in the cad files. Maker world is not allowing the parts to hang off the build plate. The beam in the main 3mf file is for the x1c.
To add some metal to strengthen there is a penny as the latch. Press the penny in the slot. there is a viewing hole to make sure it is in all the way.
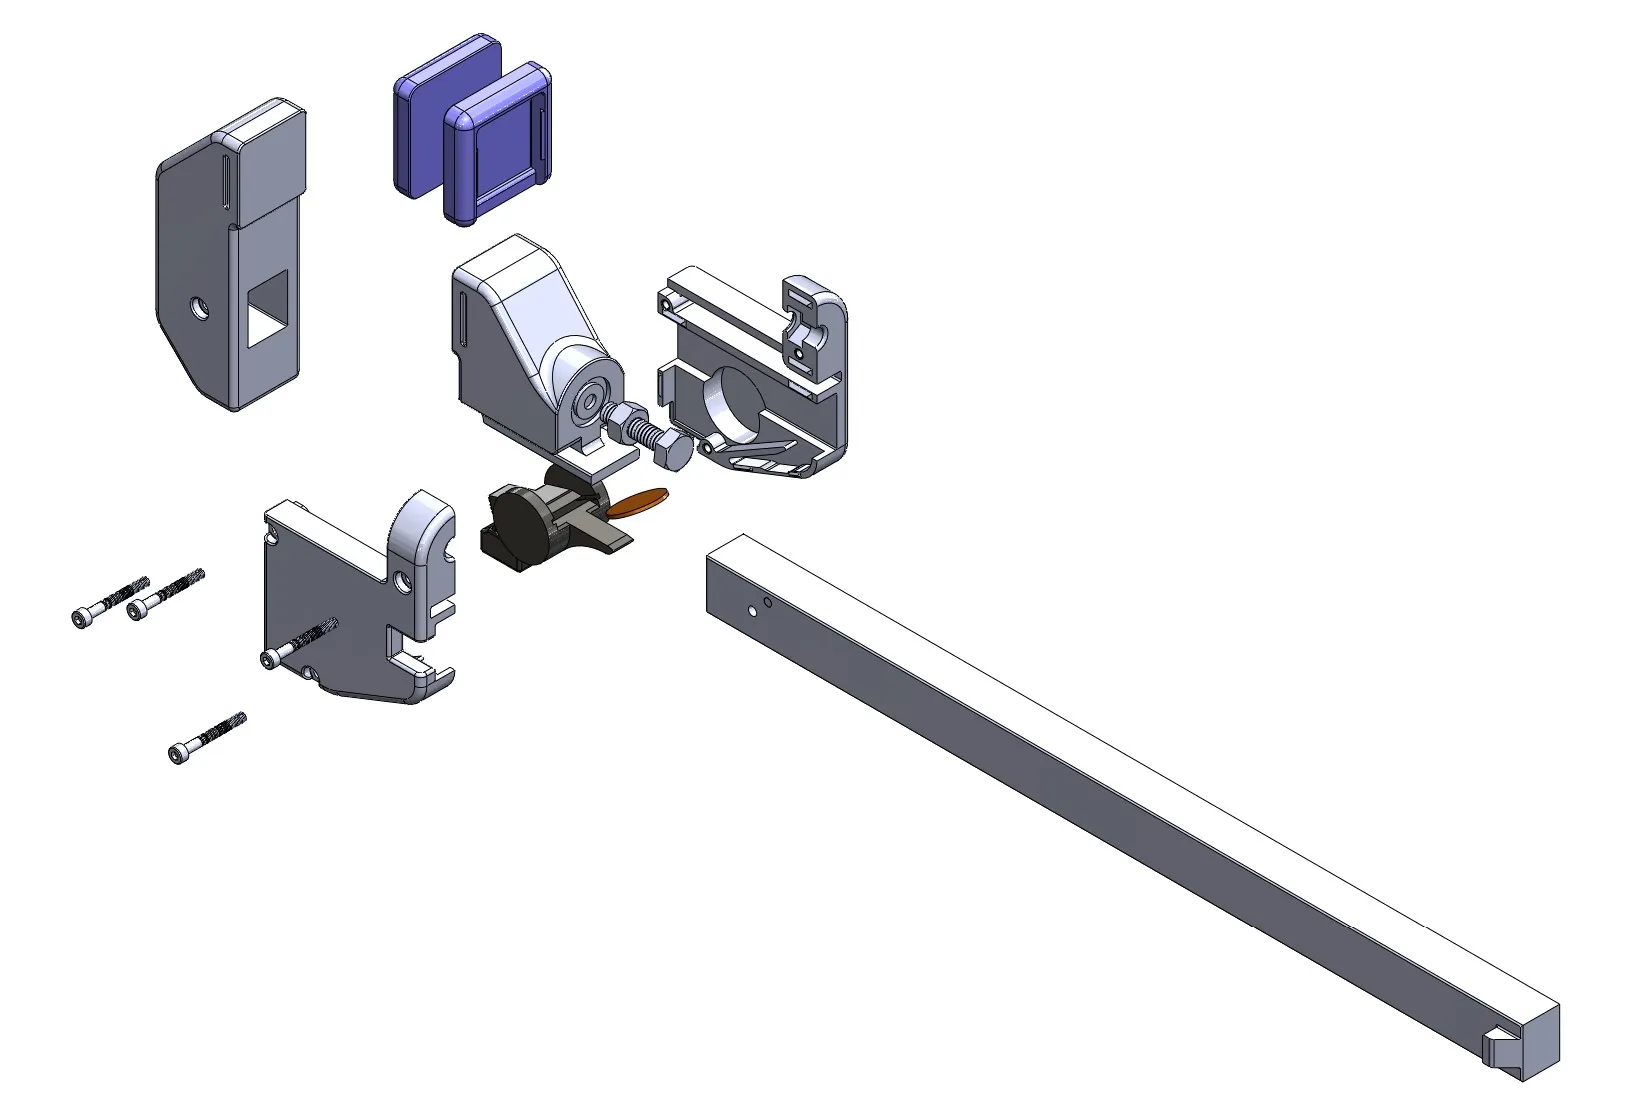
assembly instructions:
lots of simple steps
- remove support.
insert penny, use view hole to make sure it is fully inserted.
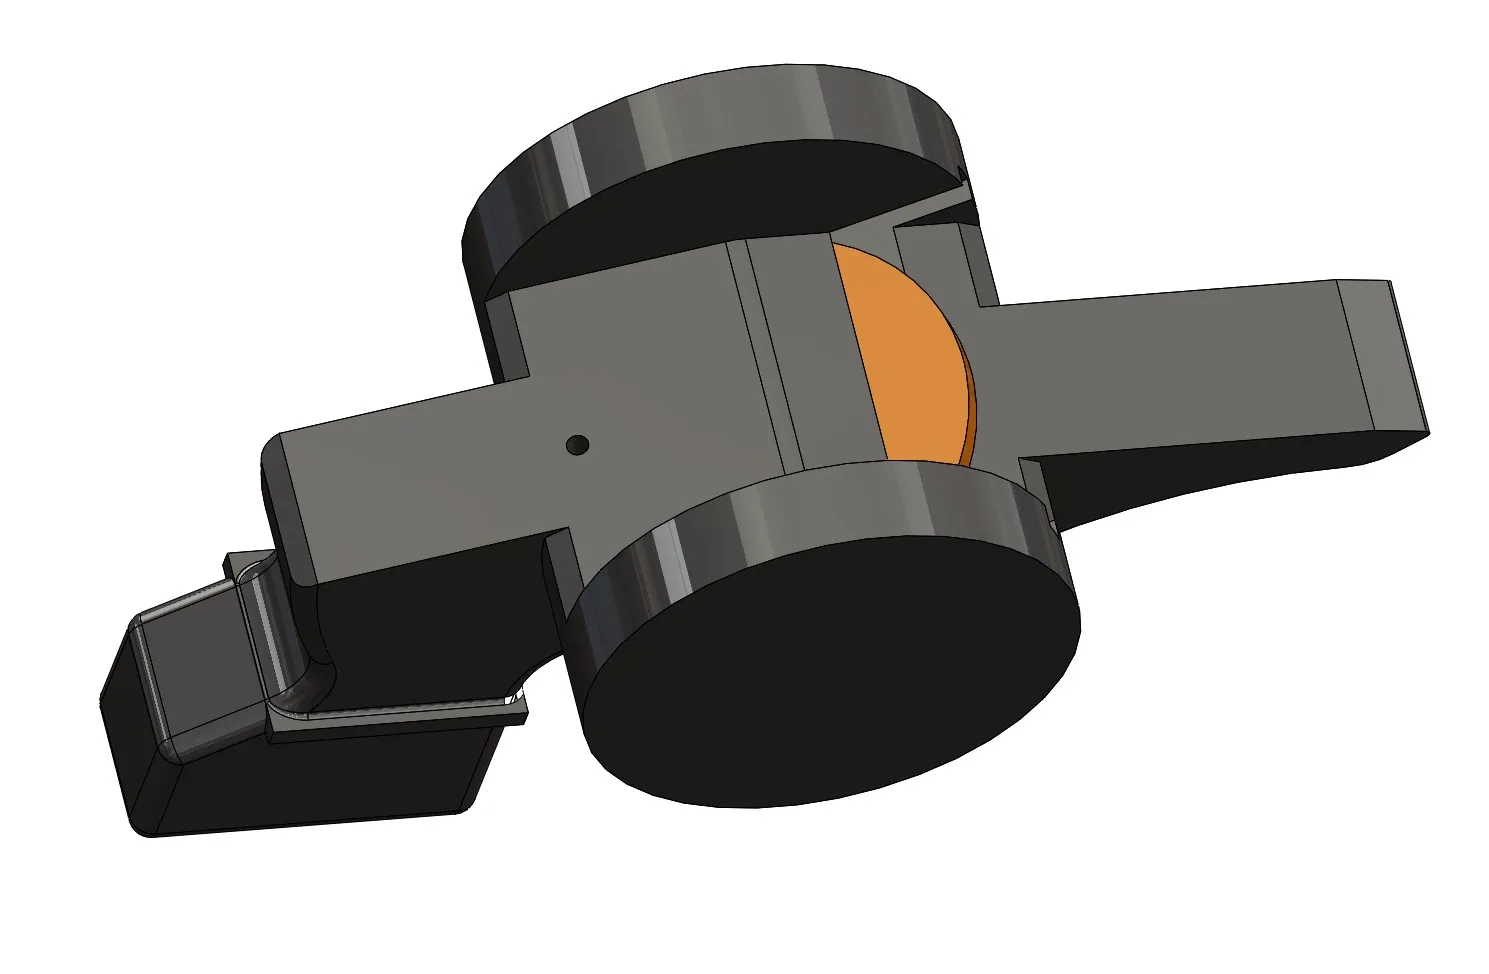
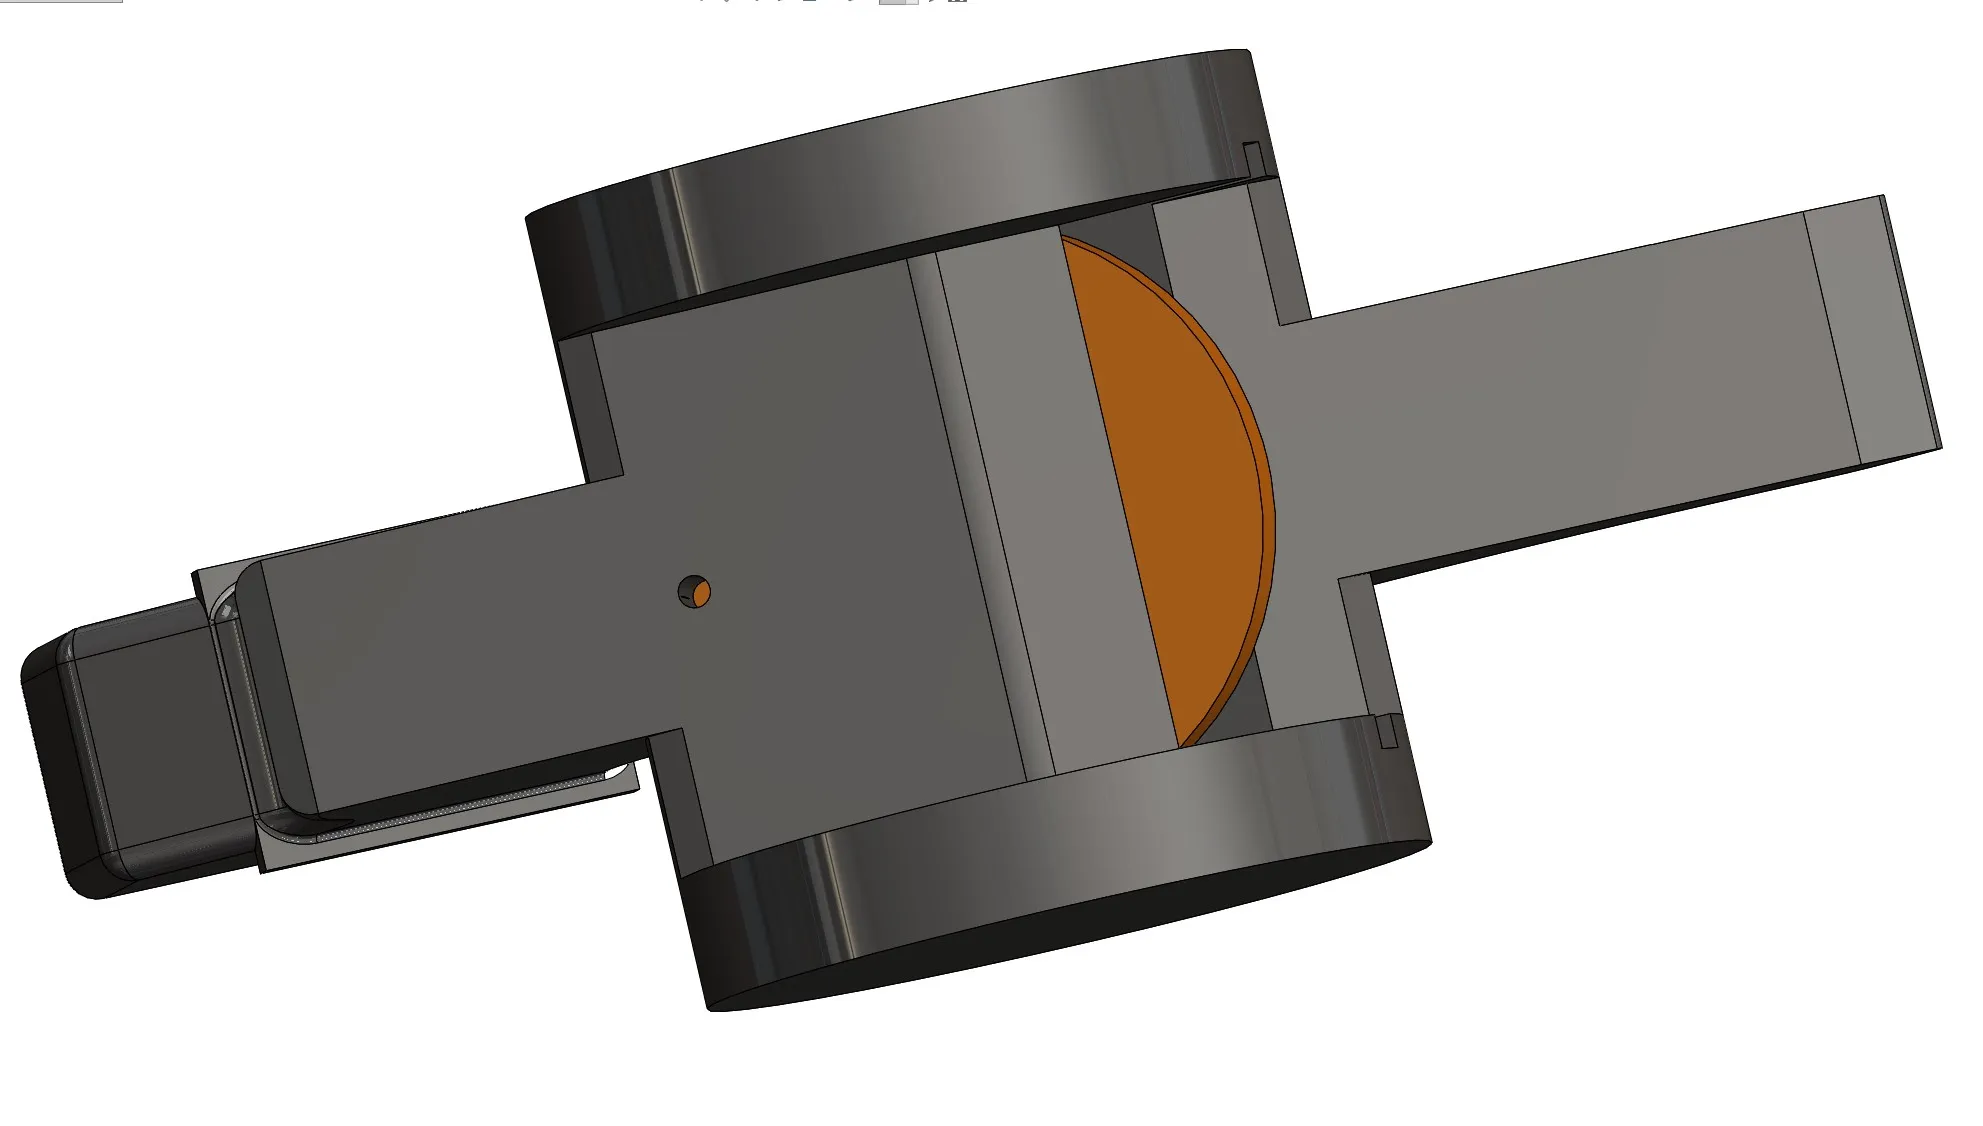
- free spring in both base parts. Just move from the base
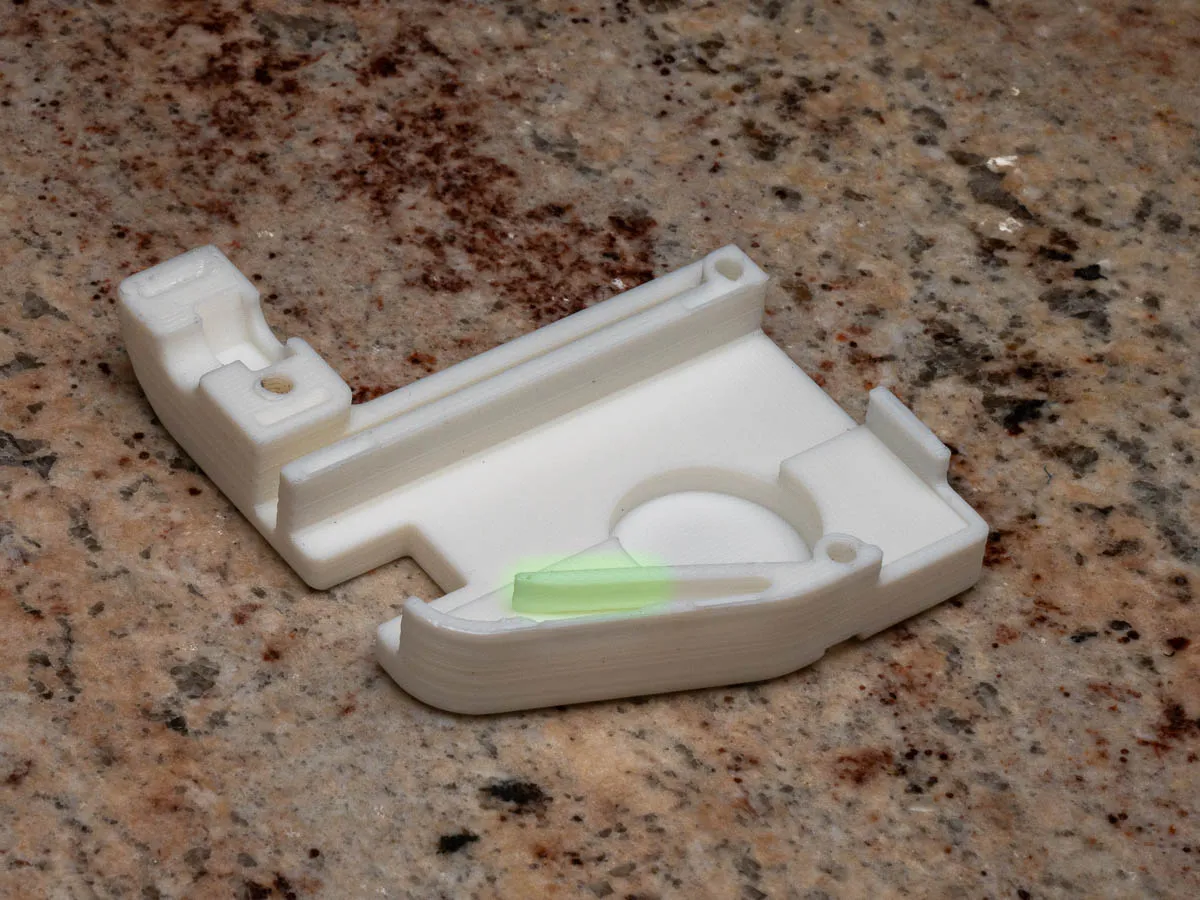
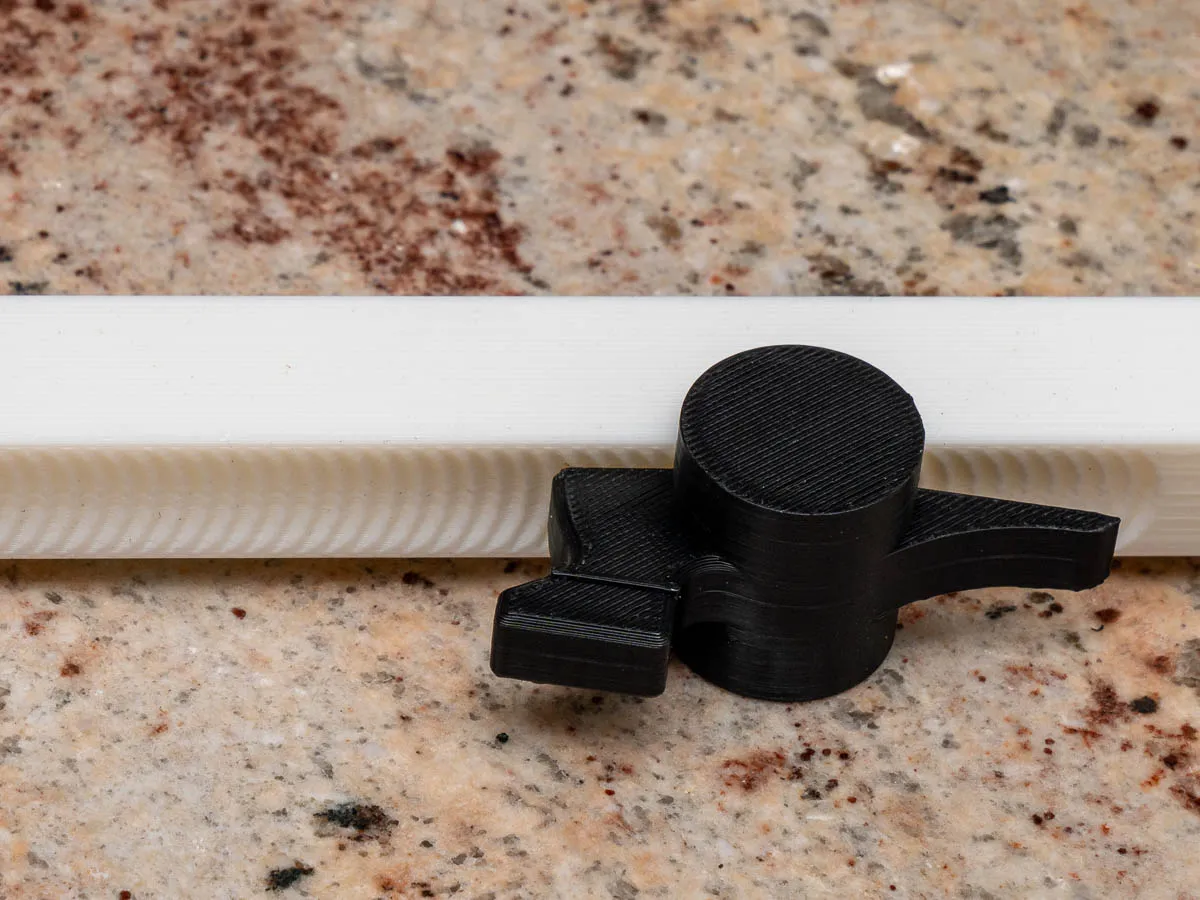
place latch on beam with pointed end of the latch pointing to the stop on the beam.
Place the 1 base around latch. You probably need to move the spring a little.
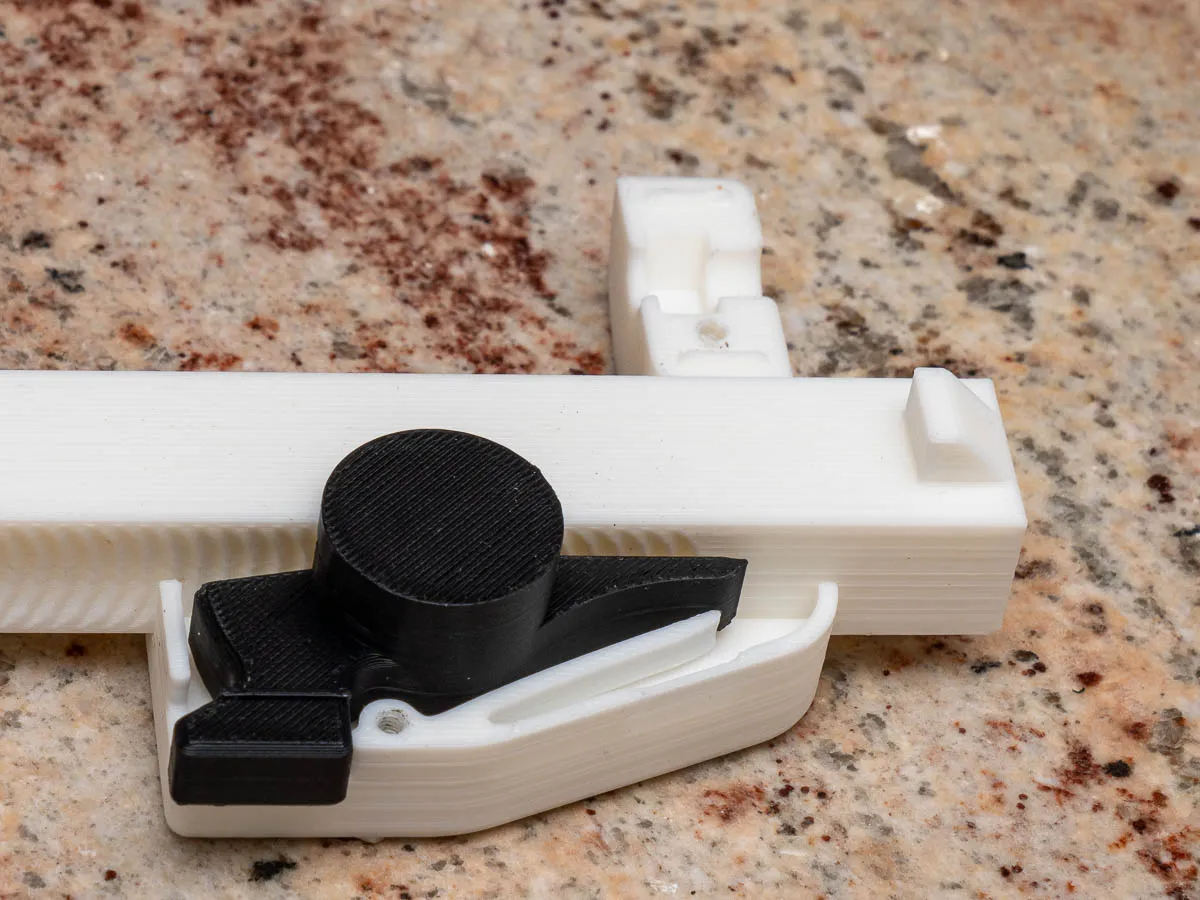
Insert hex Nut in base. Can work with either M6 or ¼ . Length is not critical anything over 25mm or 1in is fine. Head is up to you.
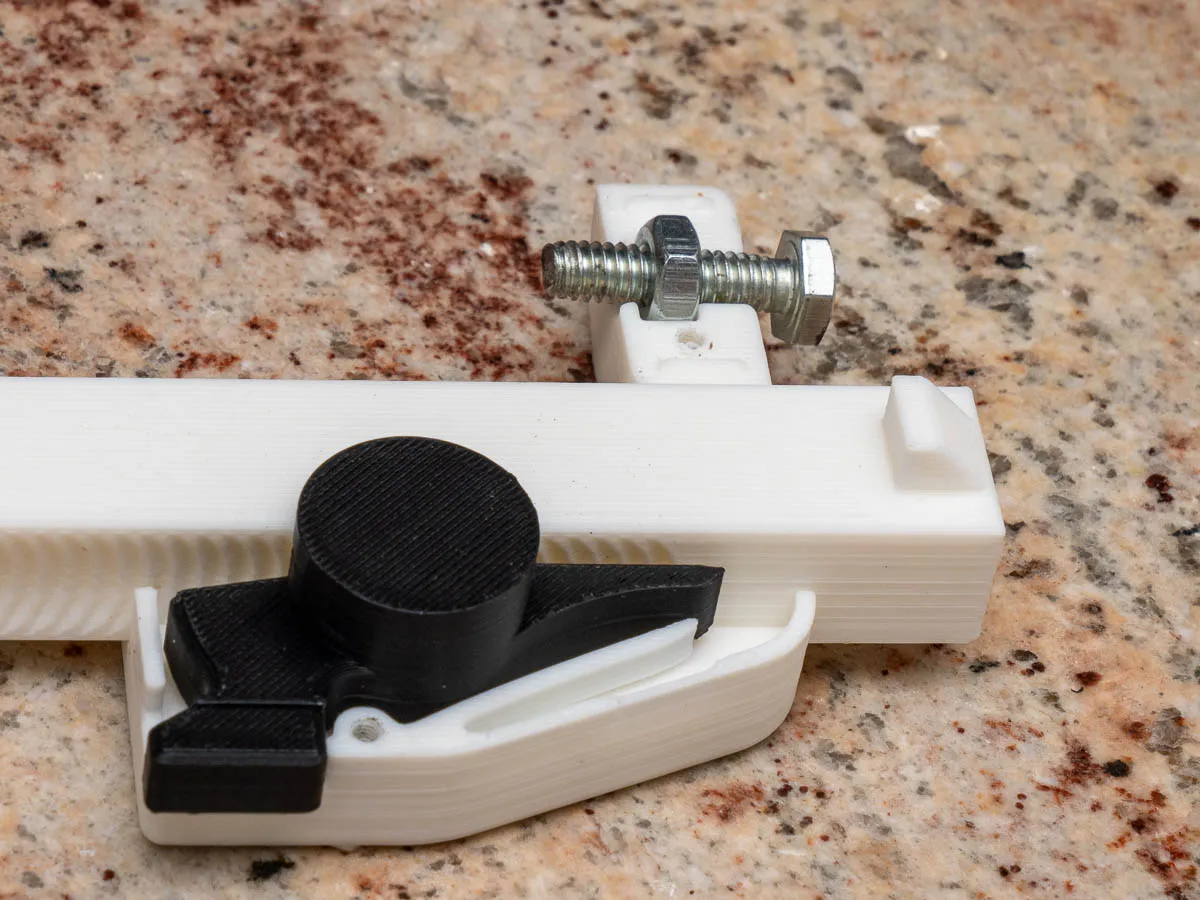
Place the slide in the base.
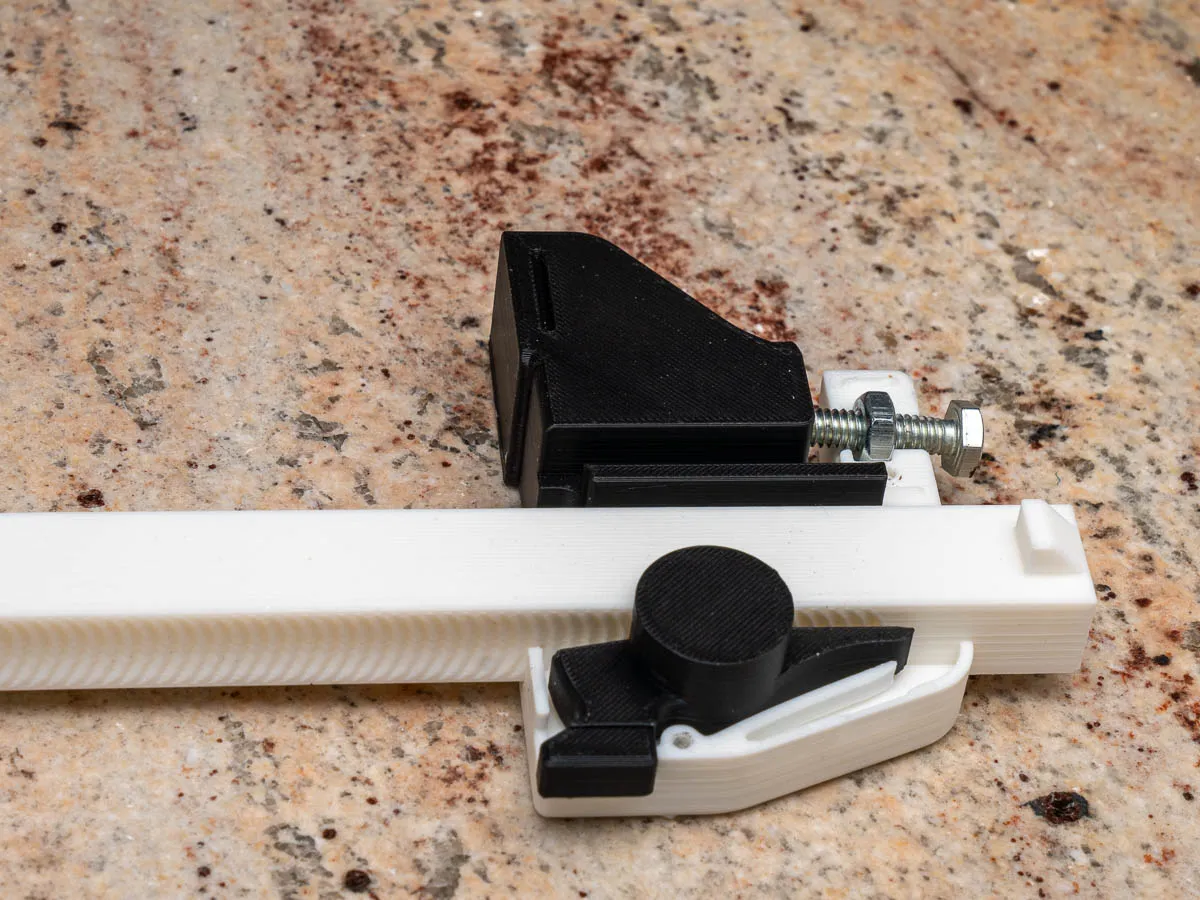
Place the 2nd base around base. You might use some thing to move the spring out of the way to allow it to go together.
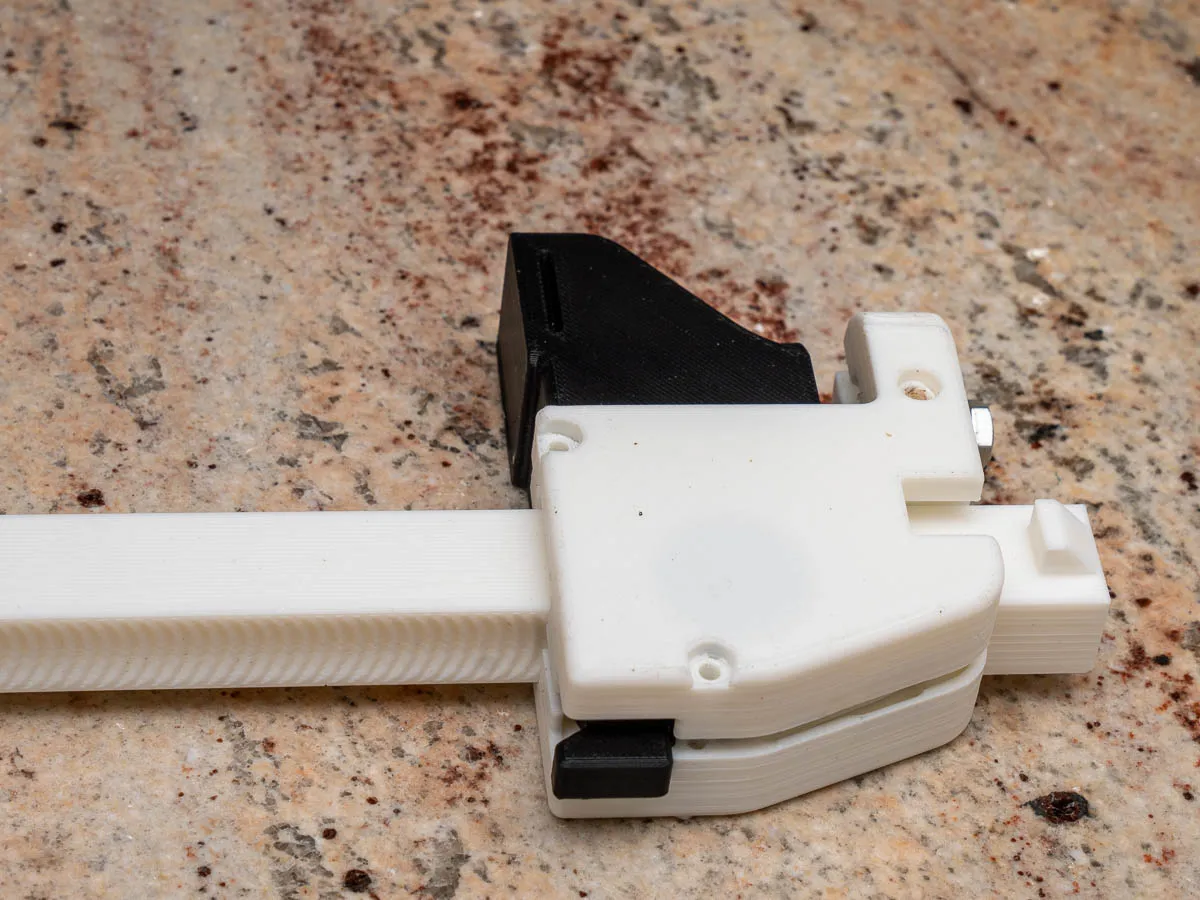
Use M3 x 25 screws to attach the two bases. Forms threads, so it might be hard to screw in.
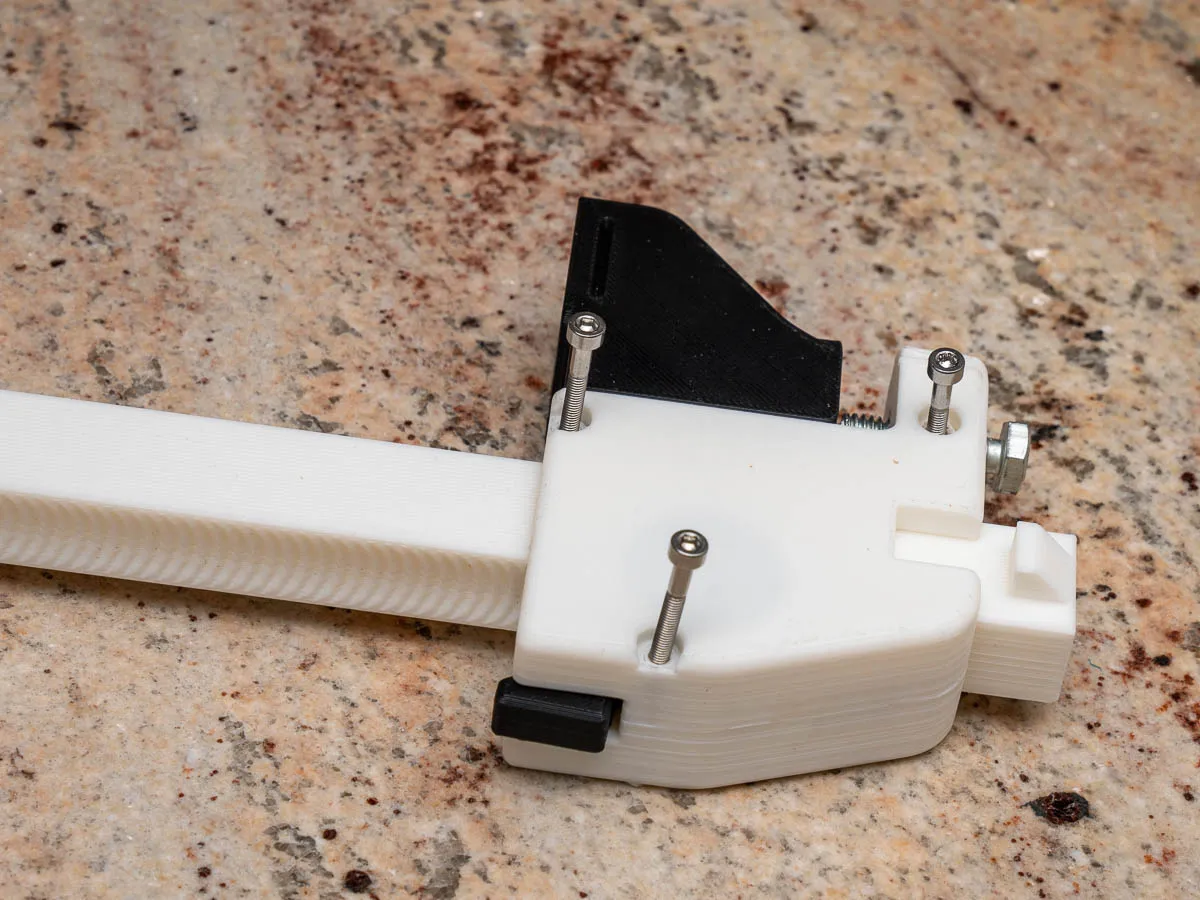
Use M3 x 25 screw to attach end stop.
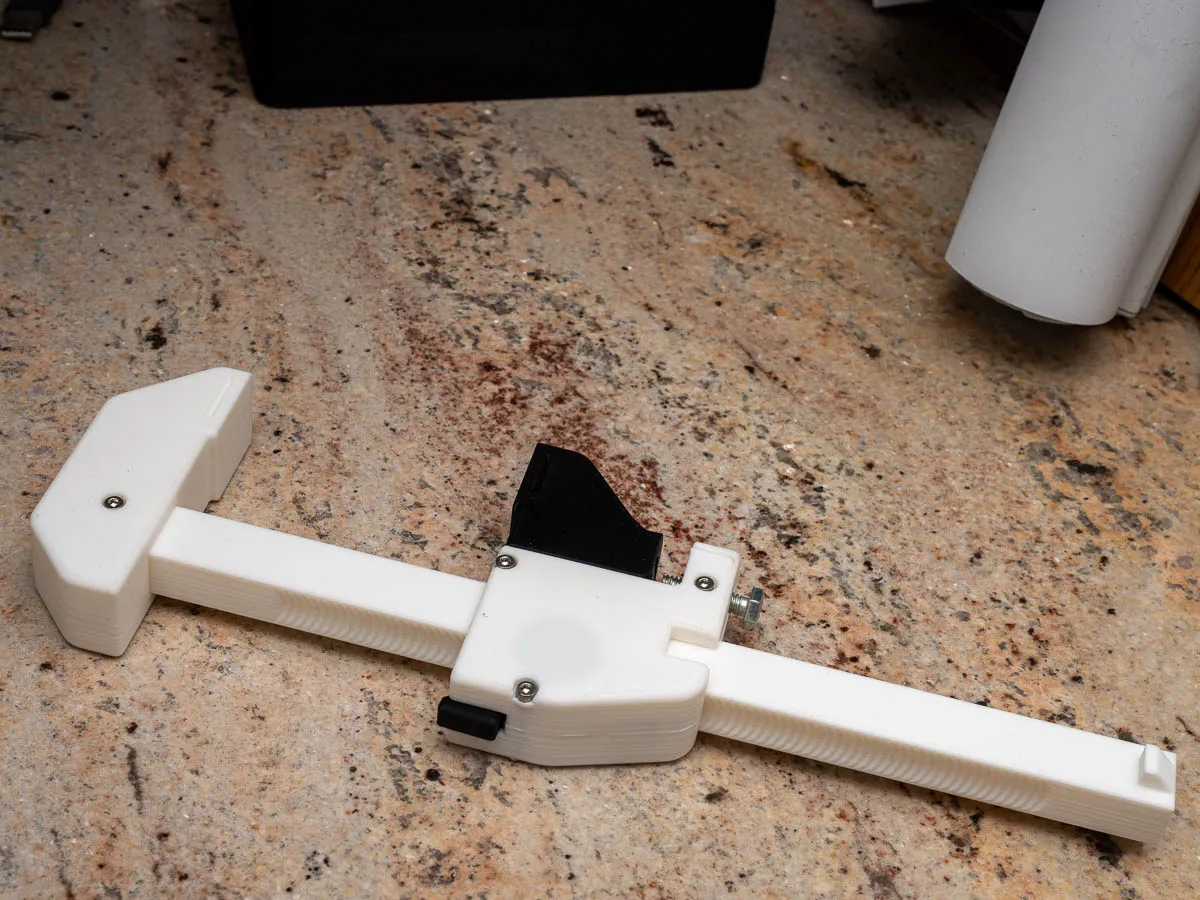
glue in a M5 or #10 flat washer as a bearing surface. it is intentionally undersized. Or you can glue a Penny to be the bearing surface.
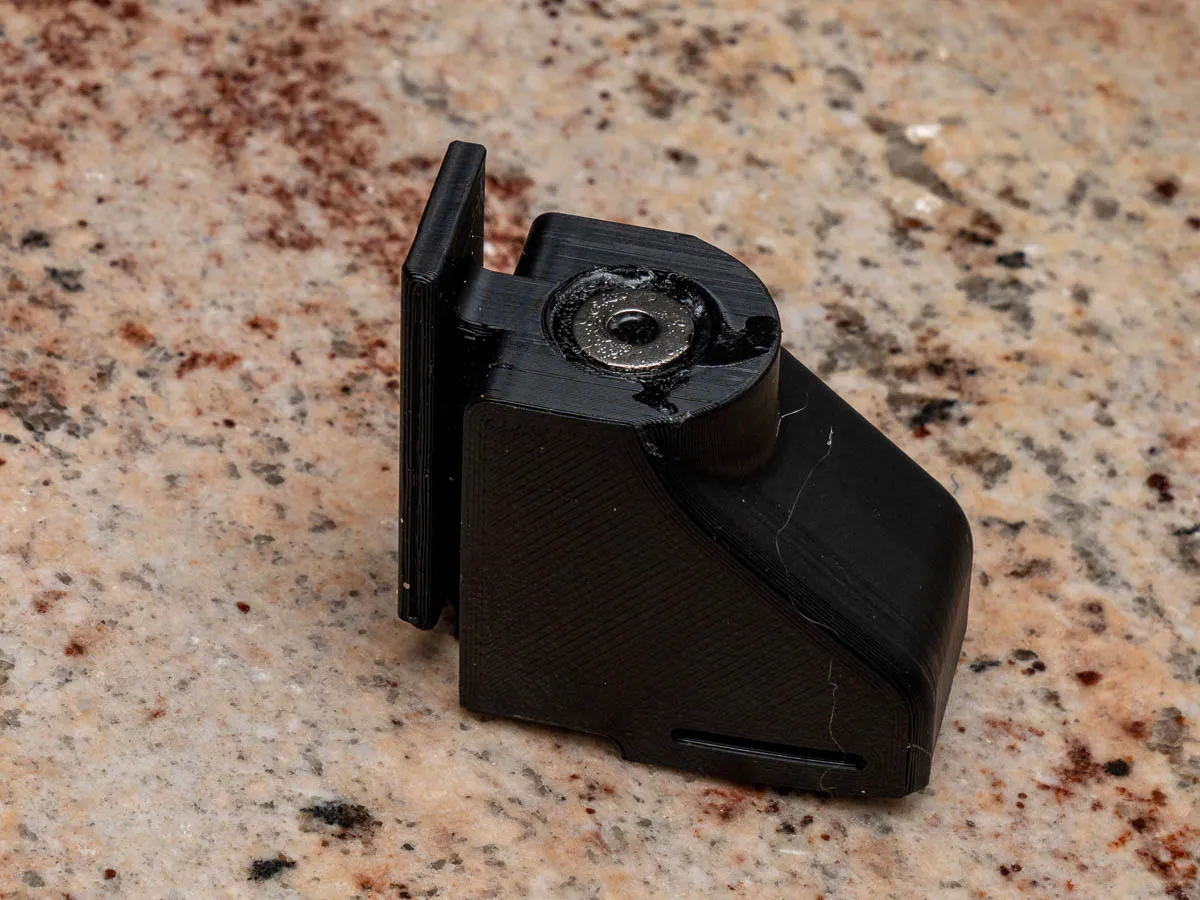
slide the Jaw covers on.
this is the longer. There is a shorter version. that is almost 1/2 the size.
I also uploaded 3mf files for the 3 different sizes 180, 256, and 320 maxing the bed size.https://makerworld.com/en/models/1411675-quick-grip-clamp#profileId-1465505
License

You shall not share, sub-license, sell, rent, host, transfer, or distribute in any way the digital or 3D printed versions of this object, nor any other derivative work of this object in its digital or physical format (including - but not limited to - remixes of this object, and hosting on other digital platforms). The objects may not be used without permission in any way whatsoever in which you charge money, or collect fees.


Comment & Rating (4)