
Viscosity / Thixotropy Tester
Print Profile(8)


Description
Have you ever wondered why some paints spread smoothly with a brush, while others feel thick and heavy?
Or why ceramic slip sometimes pours like cream, and other times like yogurt?
That’s viscosity (how easily a liquid flows).
And in many materials, viscosity isn’t constant: it changes when you stir, shake, or press it.
That’s what scientists/ceramists call thixotropy.
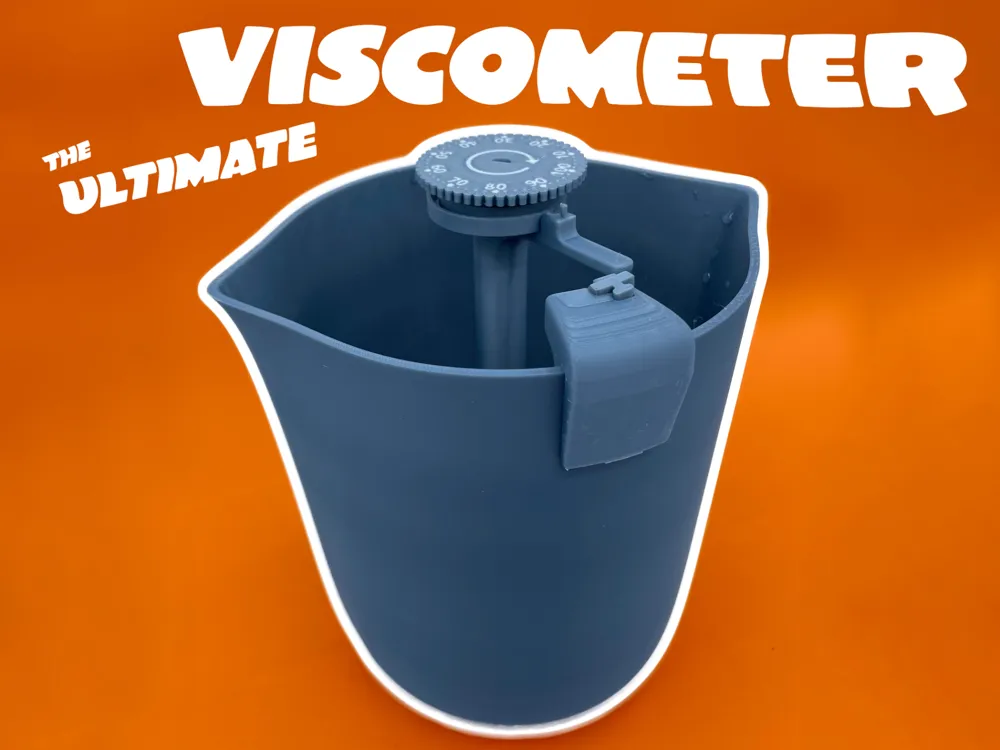
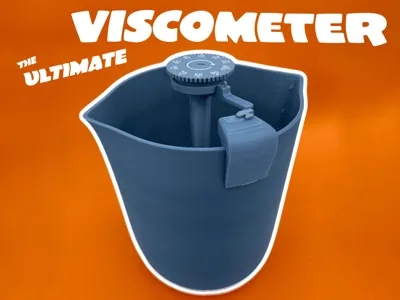
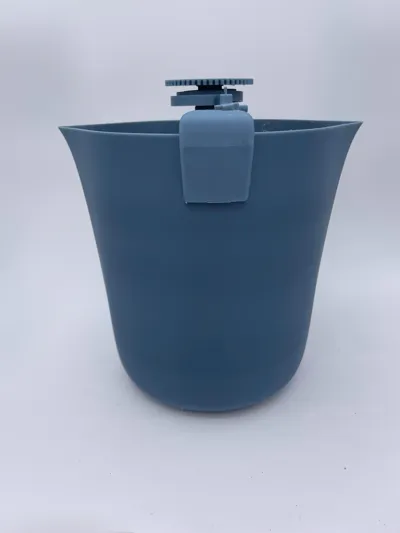
This 100% 3D-printed tool is basically a little viscosity meter for makers, artists, and experimenters.
It lets you compare how different liquids behave in a simple and repeatable way.
Instead of relying only on “feel” when you mix paint, slip, or even concrete, you can get a number you can compare from one batch to another.
How does it work?
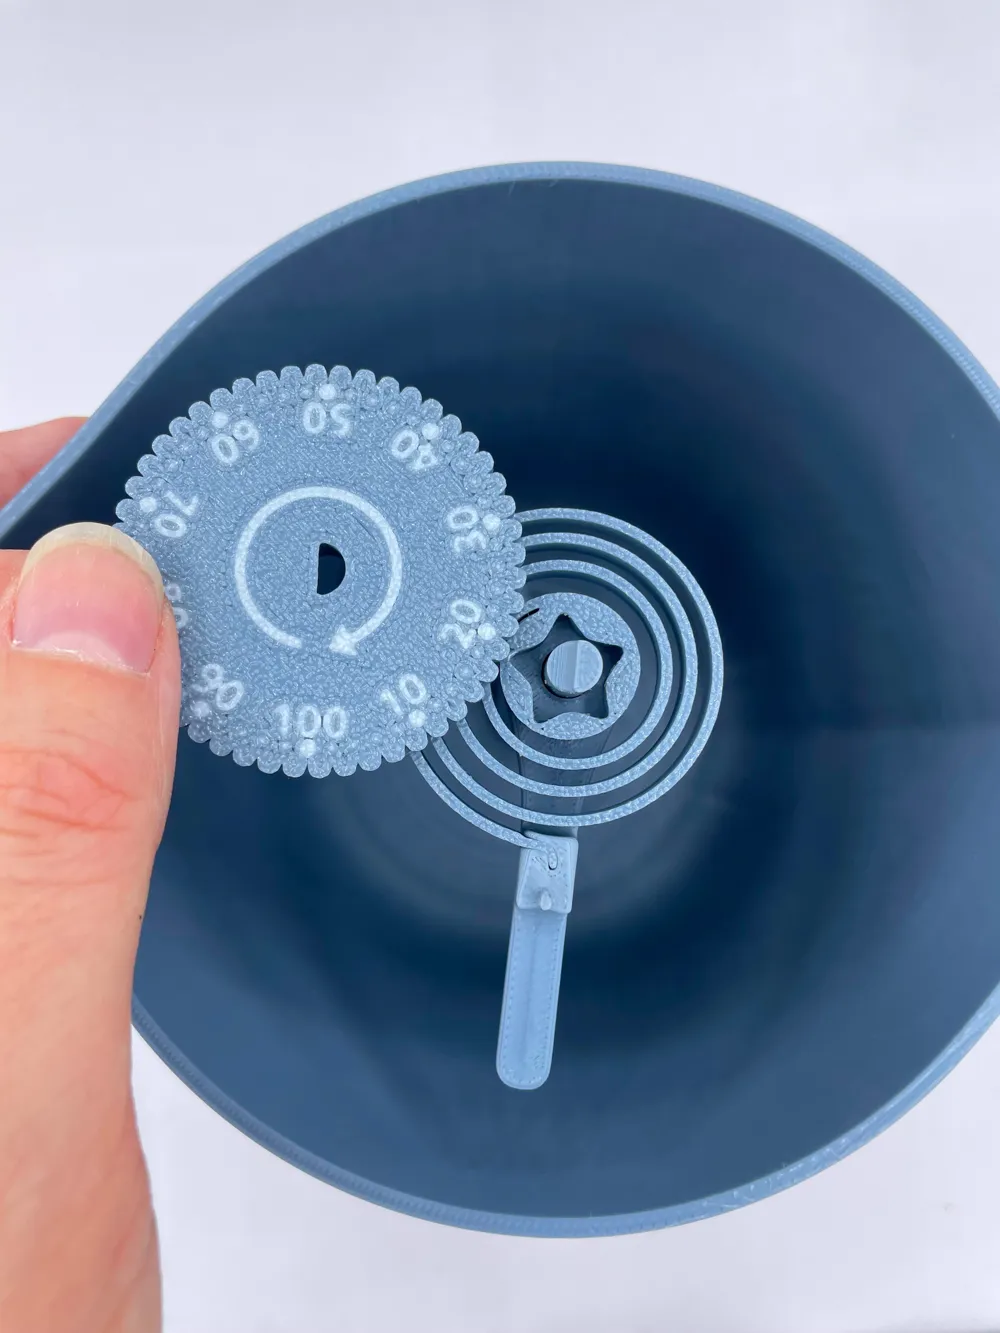
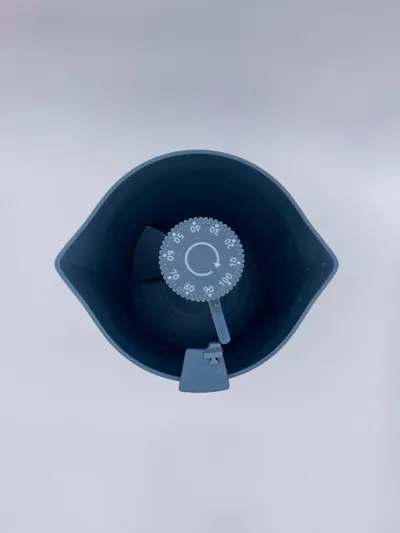
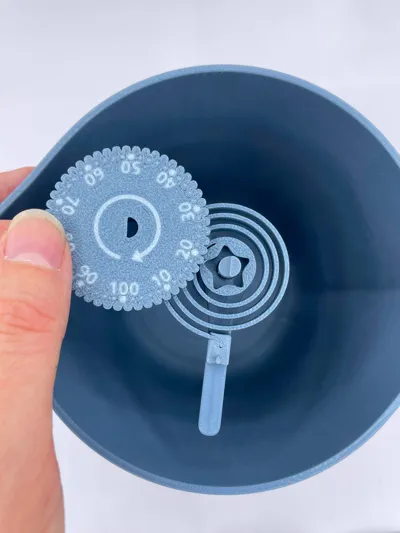
Inside, a spiral spring spins through your liquid.
Depending on how thick the liquid is, the spring slows down and stops at a different point.

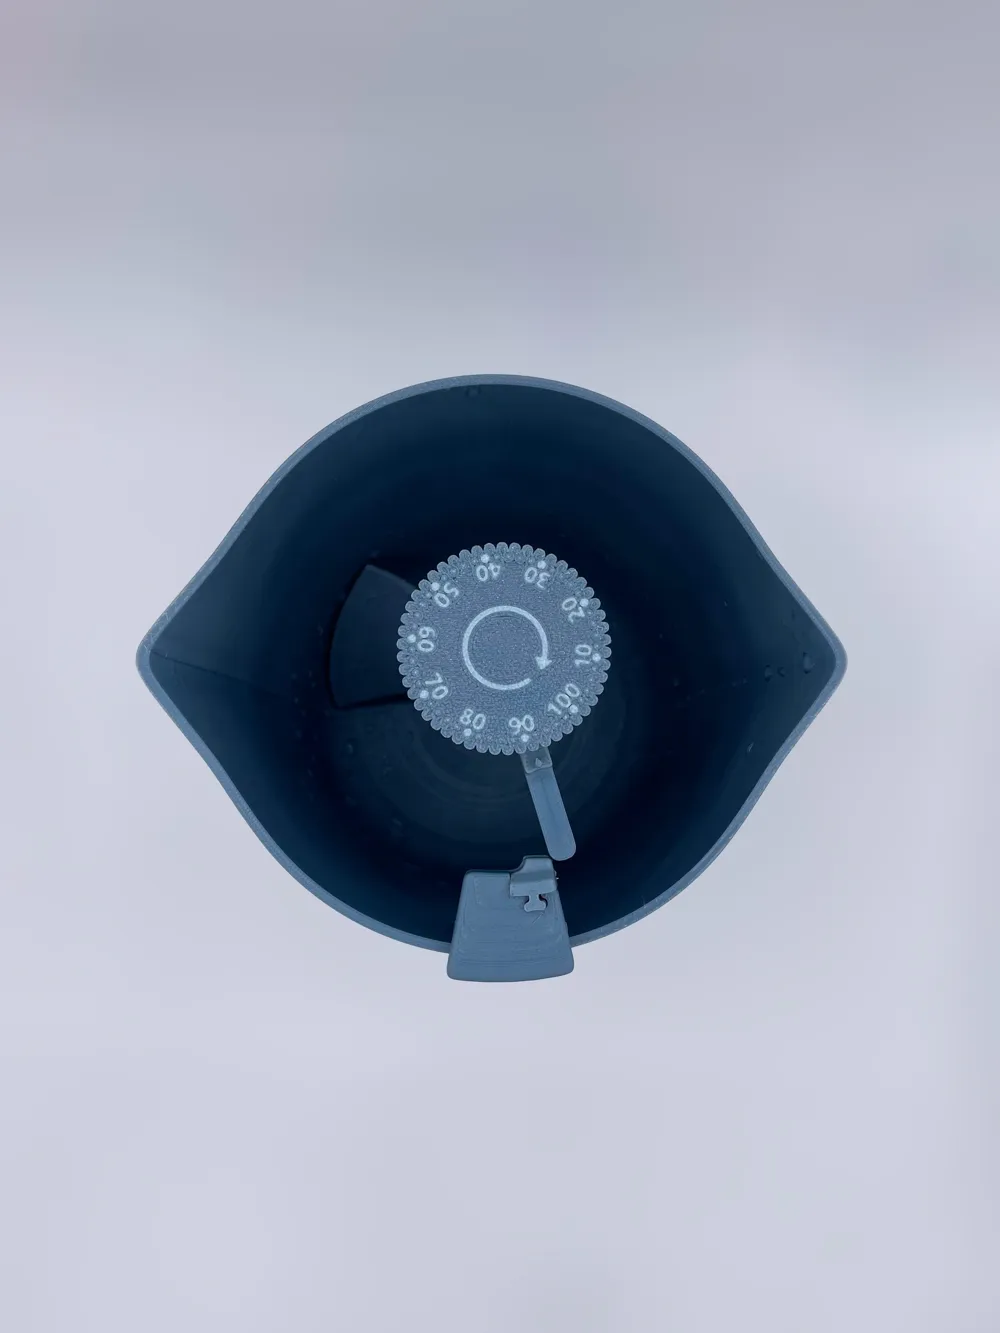
A gear wheel shows the result on a 0–100% scale.
Each tooth = 2%.
So if your paint always measures around 40%, but today it shows 60%, you know it’s too thick and needs more water/solvent.
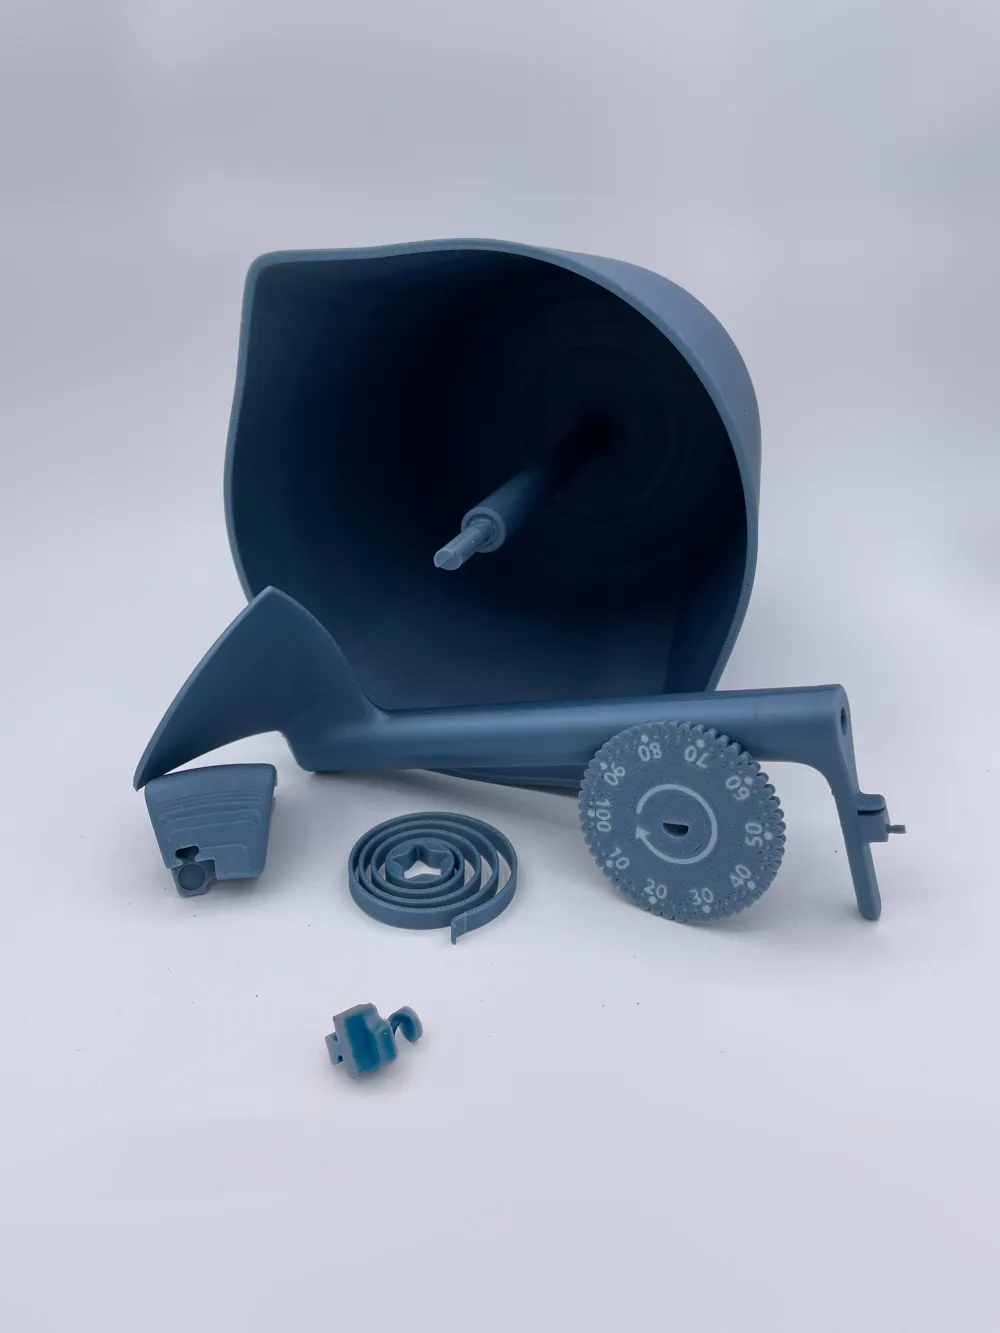
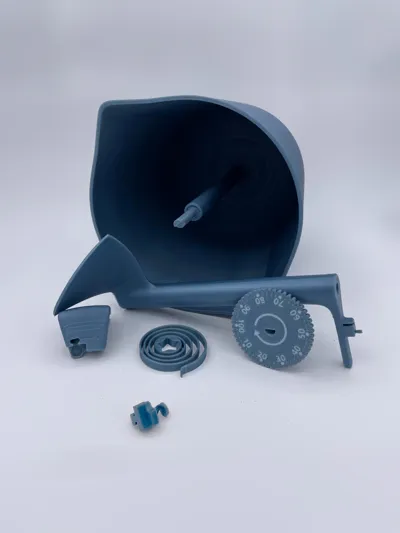
The tool is modular: you can swap spiral springs with different stiffness to test very fluid liquids (like watercolors) or very thick ones (like ceramic slip or mortar).
No fancy printer is needed to make it, even the two-color scale can be done on a standard single-filament setup.
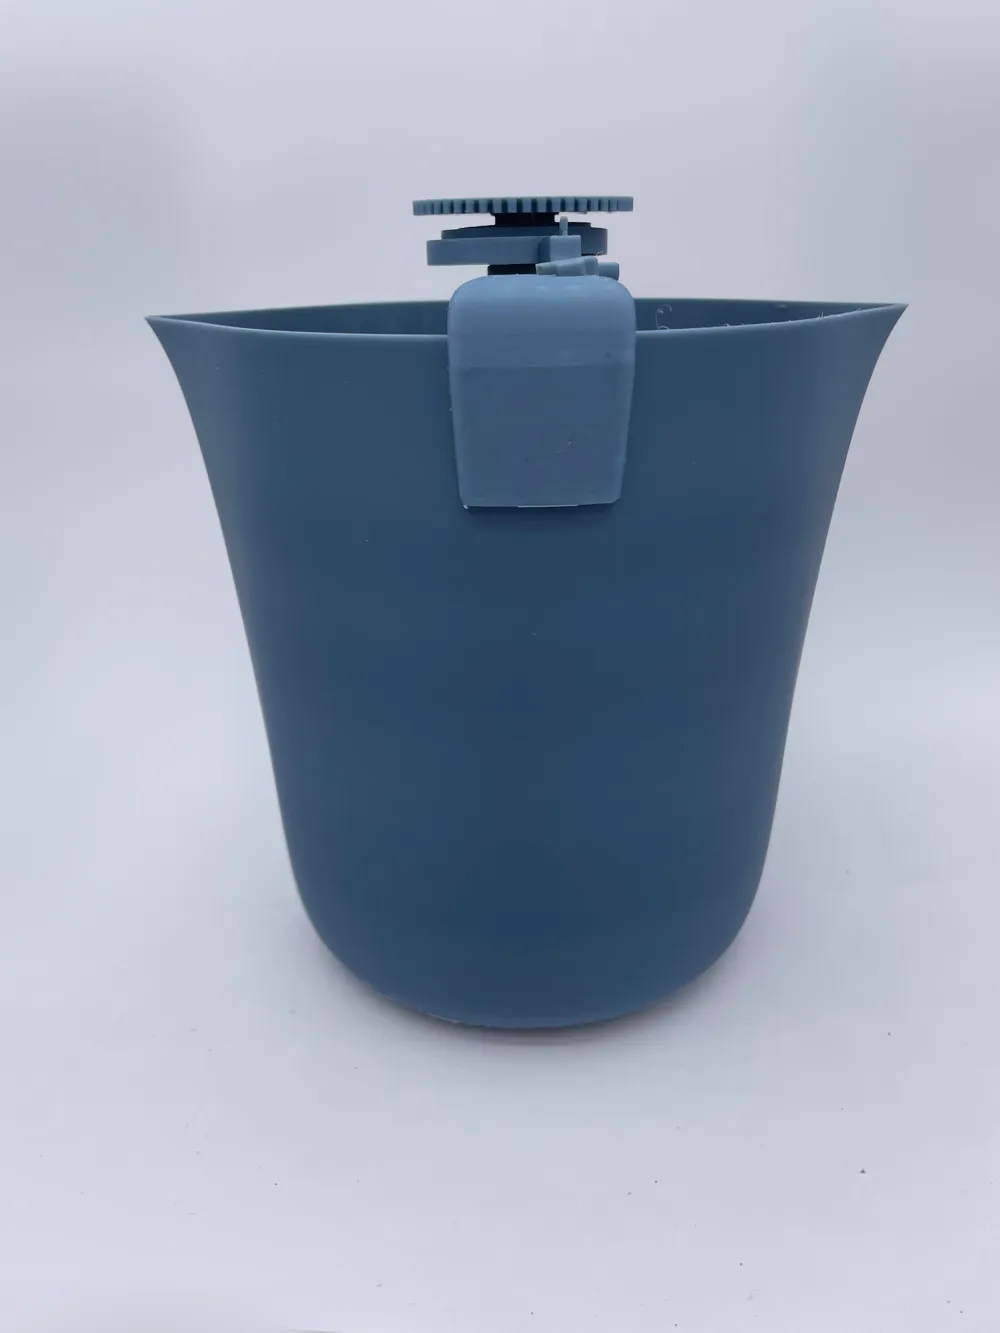
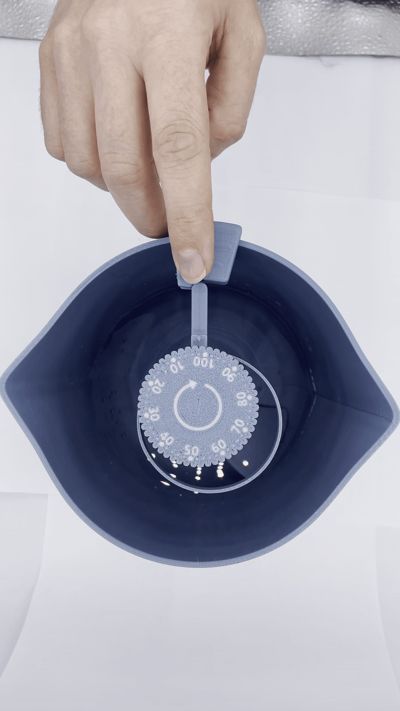
For more control, there’s an optional trigger system. You preload the spring at 100%, clip on the trigger, and press to release. The spring spins through the liquid and stops at a certain mark.
That’s your viscosity reading.
Fast, simple, and consistent.
Why is it useful?
For painters: compare batches of paint, thin them consistently, and reproduce effects.
For ceramists: fine-tune slip deflocculation for perfect casting.
For makers: test resins, glazes, or even DIY concrete mixes with more accuracy than “it feels right”.
In short, it’s a geeky but fun way to make invisible properties of liquids visible, using nothing but 3D printing and a bit of curiosity.
Documentation (1)
License

You shall not share, sub-license, sell, rent, host, transfer, or distribute in any way the digital or 3D printed versions of this object, nor any other derivative work of this object in its digital or physical format (including - but not limited to - remixes of this object, and hosting on other digital platforms). The objects may not be used without permission in any way whatsoever in which you charge money, or collect fees.


Comment & Rating (12)