Search models, users, collections, and posts

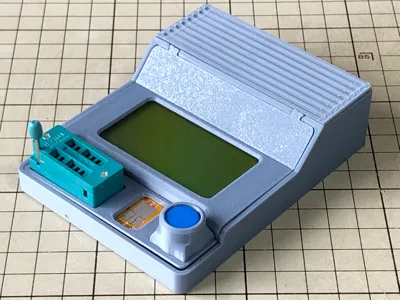
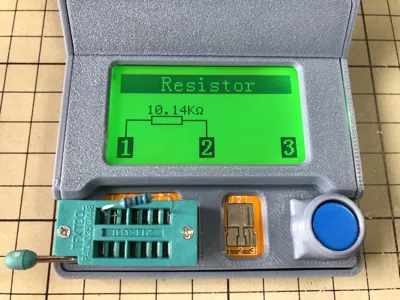
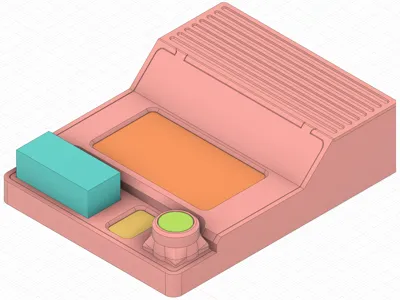
LCR-T4 component tester case
IP Report
Print Profile(1)

0.2mm layer, 2 walls, 0% infill
Designer
1.7 h
1 plate
Open in Bambu Studio
Boost
52
78
19
11
159
89
Released
Bill of Materials
Maker's Supply Kits and Parts
Select all

List other parts
- 9V battery x 1:
Description
Content has been automatically translated.
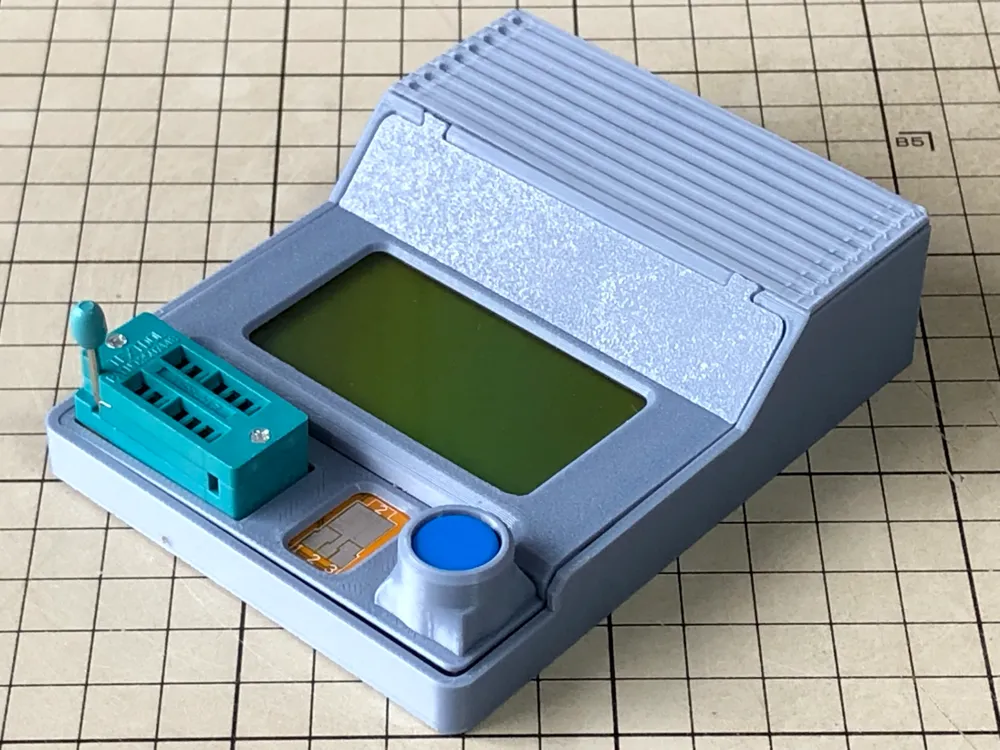
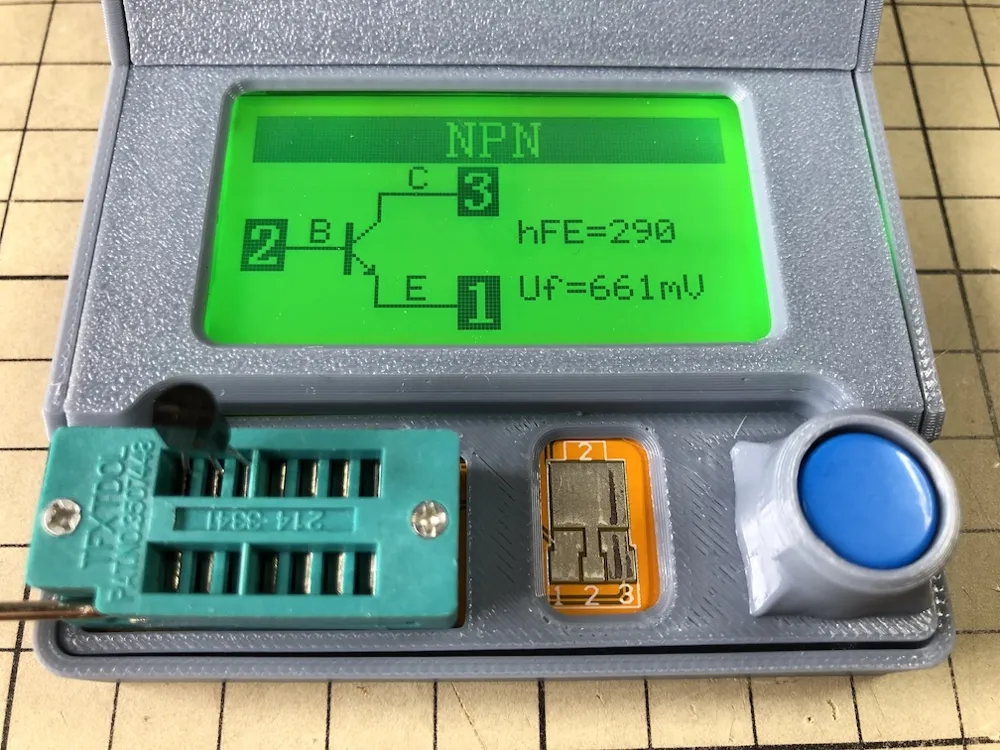
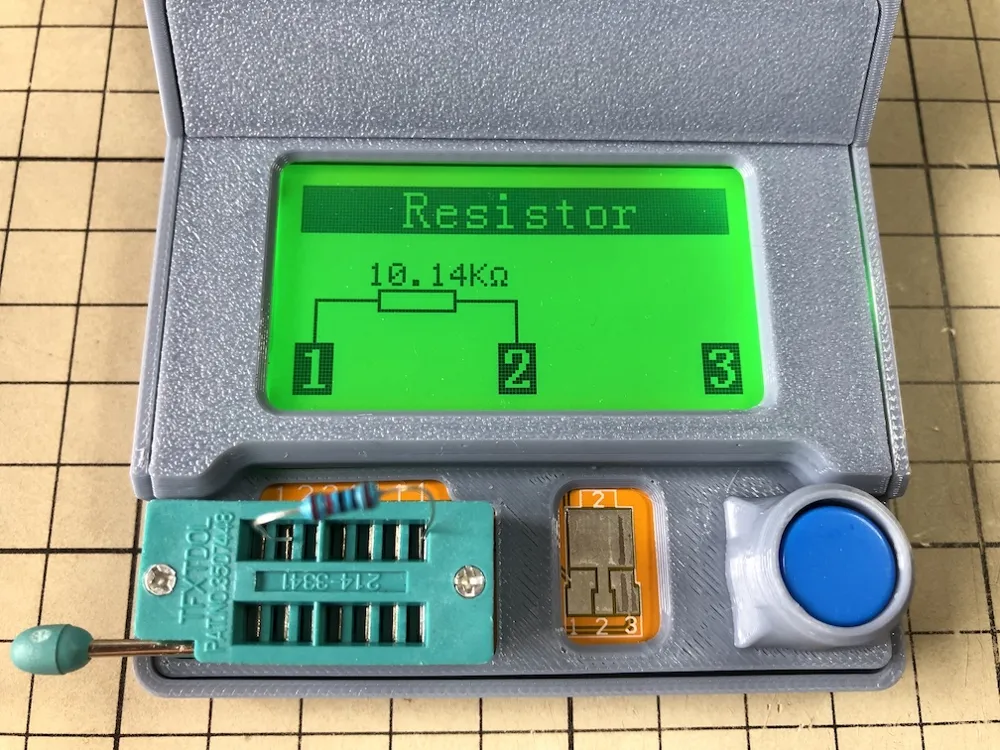
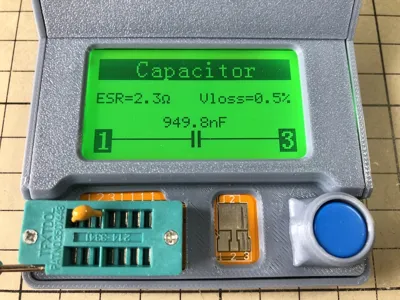
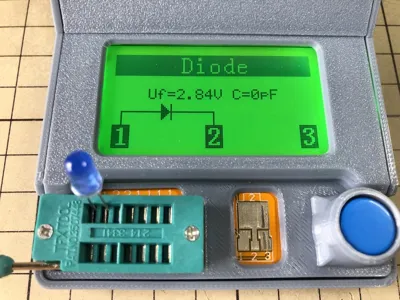
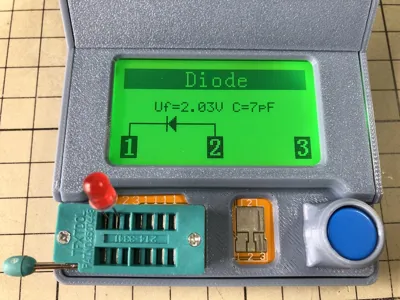
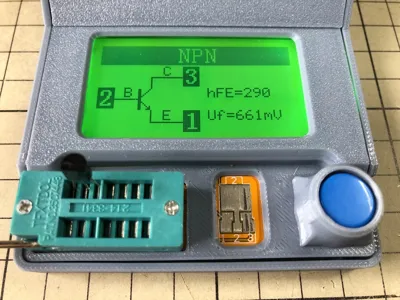
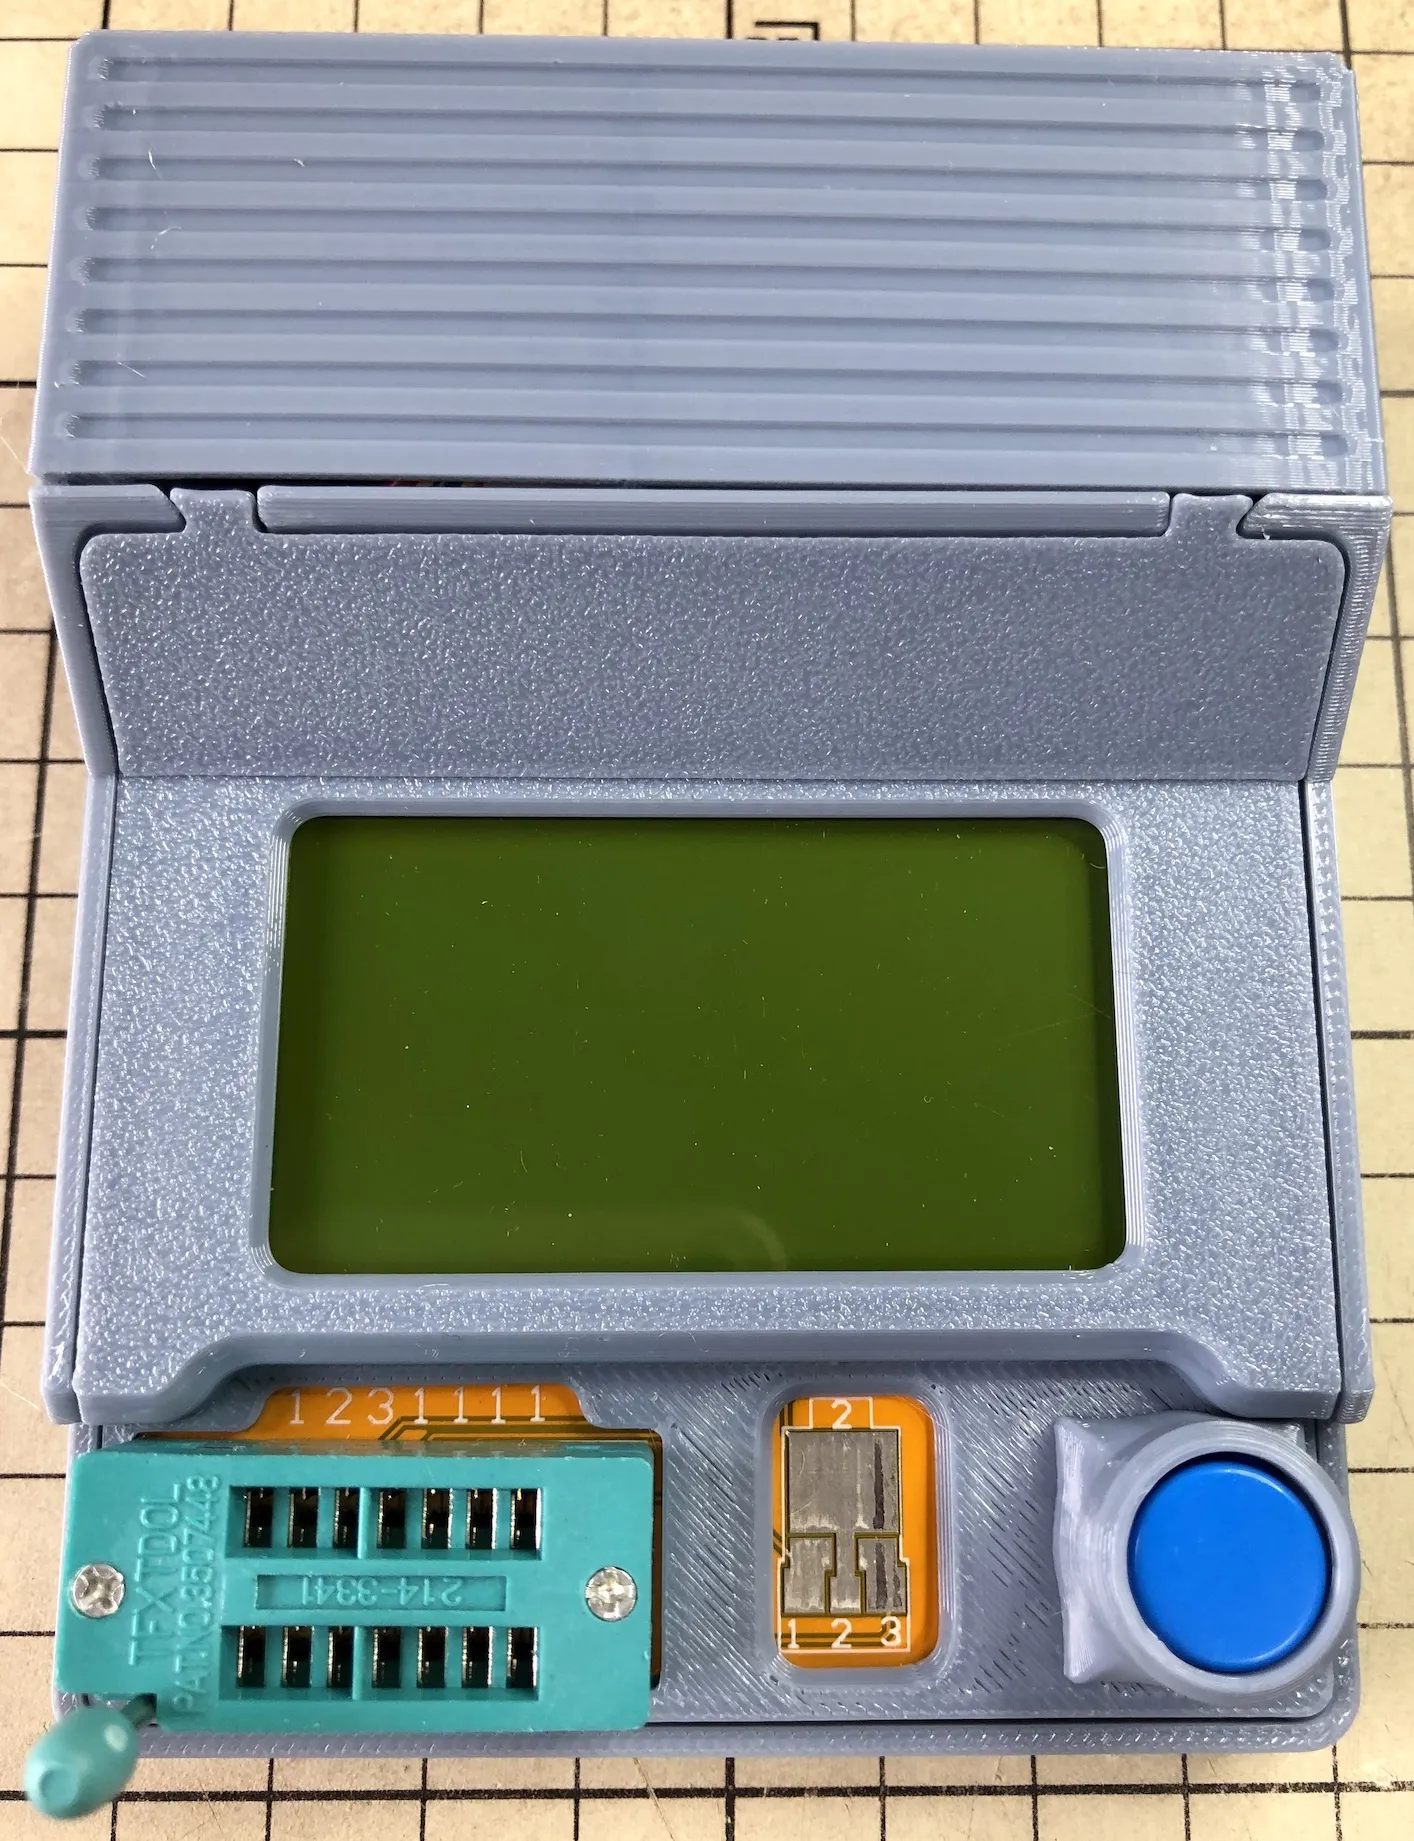
I designed this case for the LCR-T4 because I couldn't find one with the following features.
- Integrated battery
- Screwless battery replacement
- Concealed battery and screws
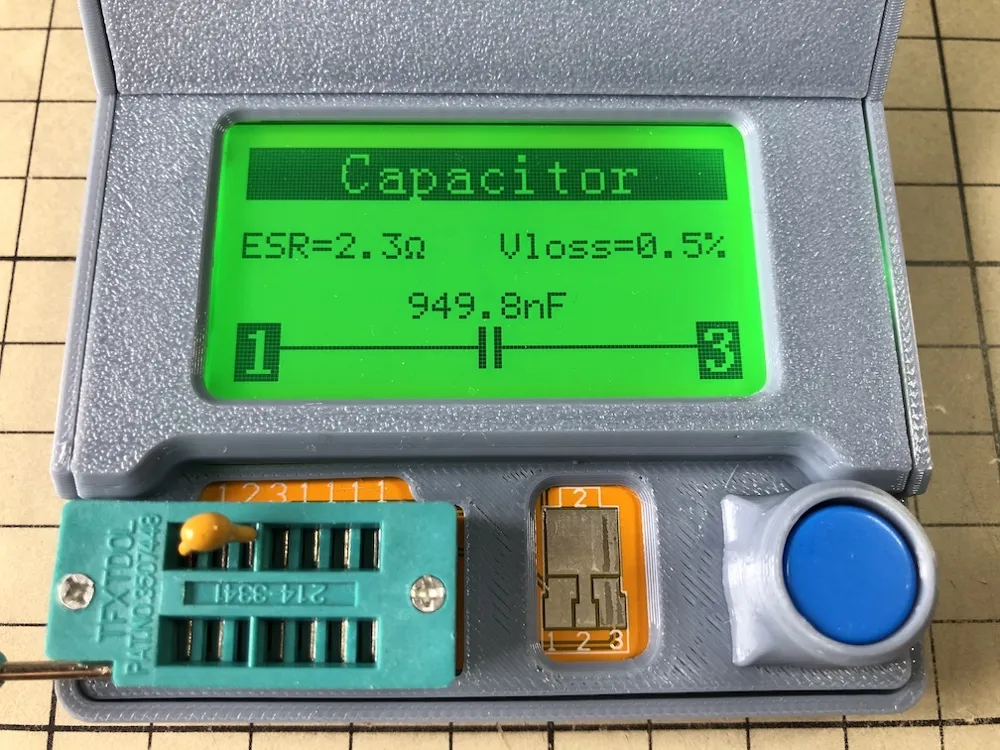
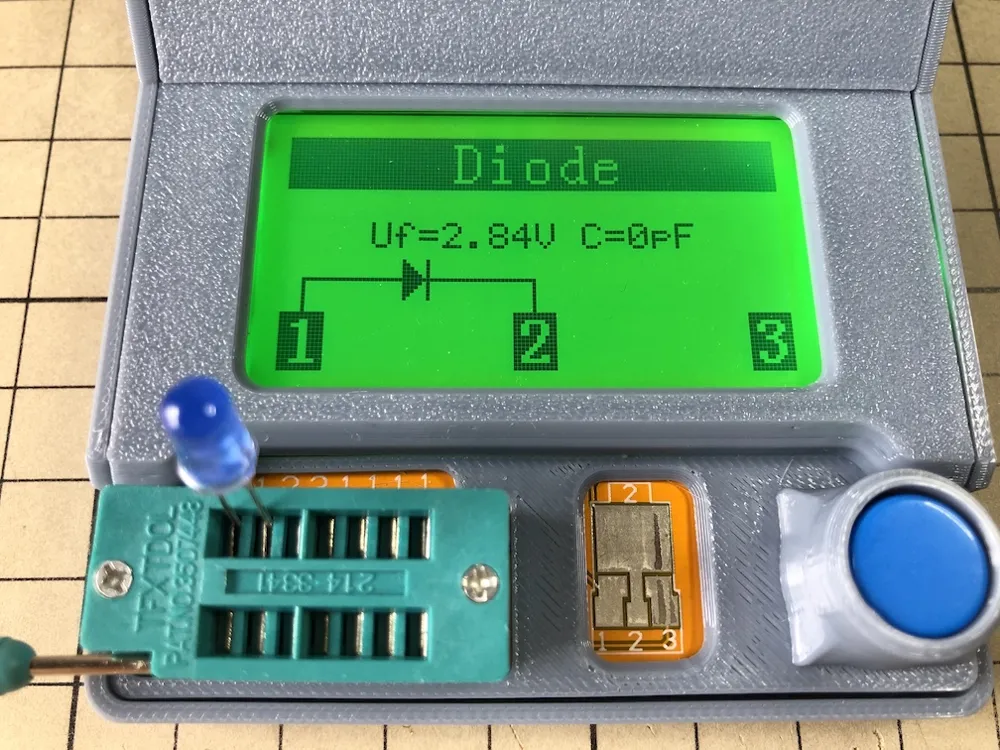
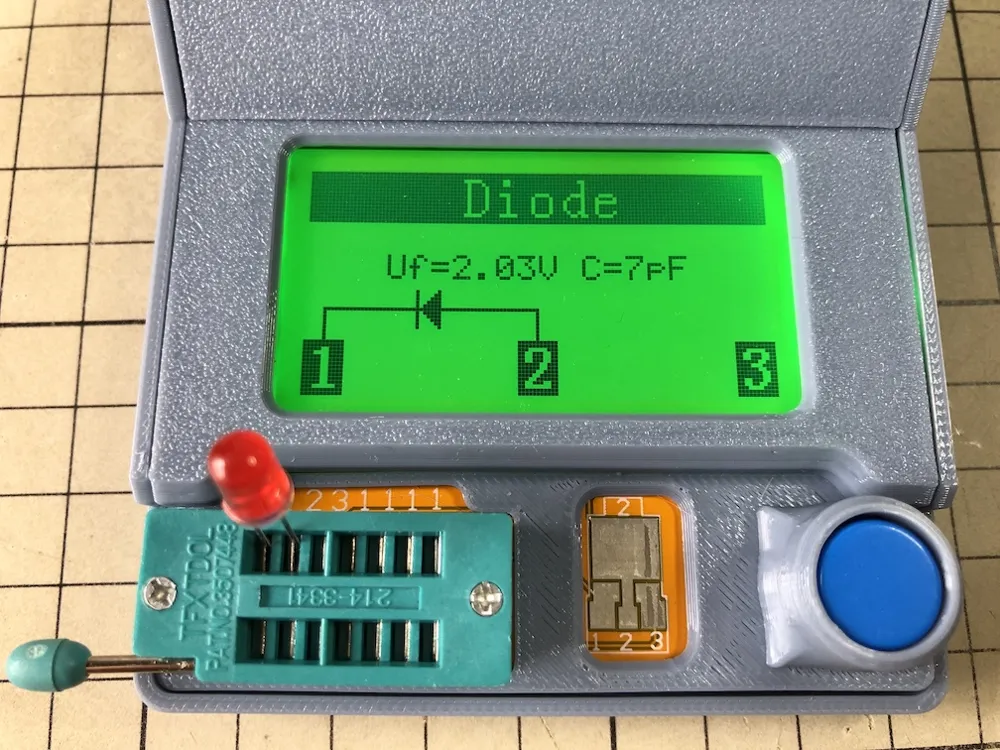
- Accessible terminals for surface-mount component measurement
- Thin cover around the terminals
- Visible terminal numbers on the PCB
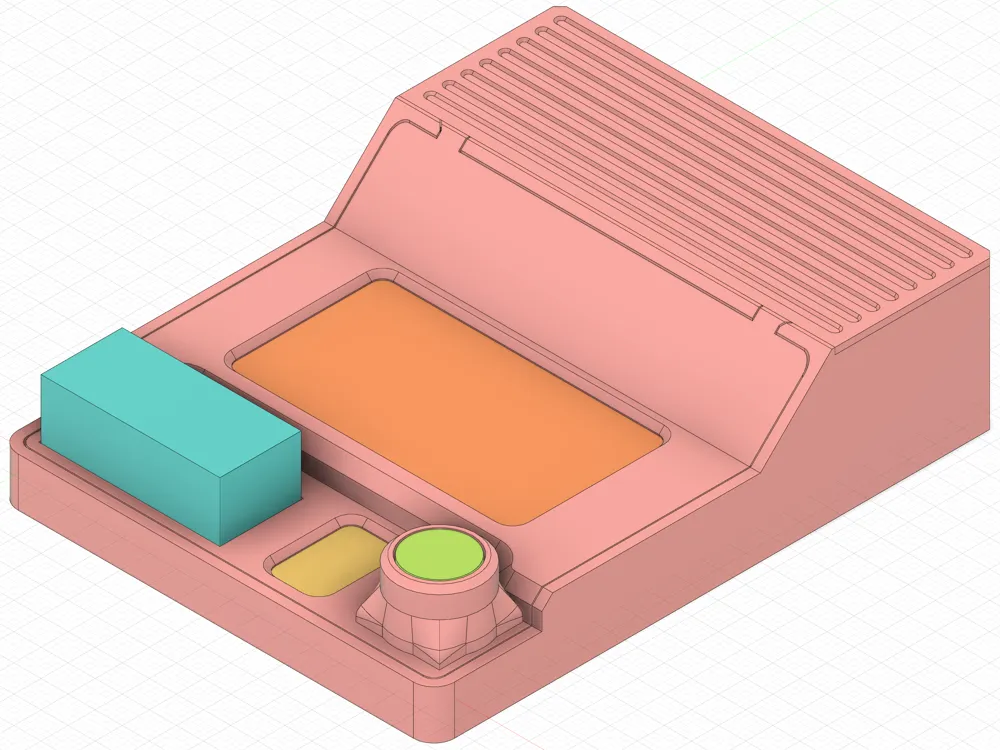
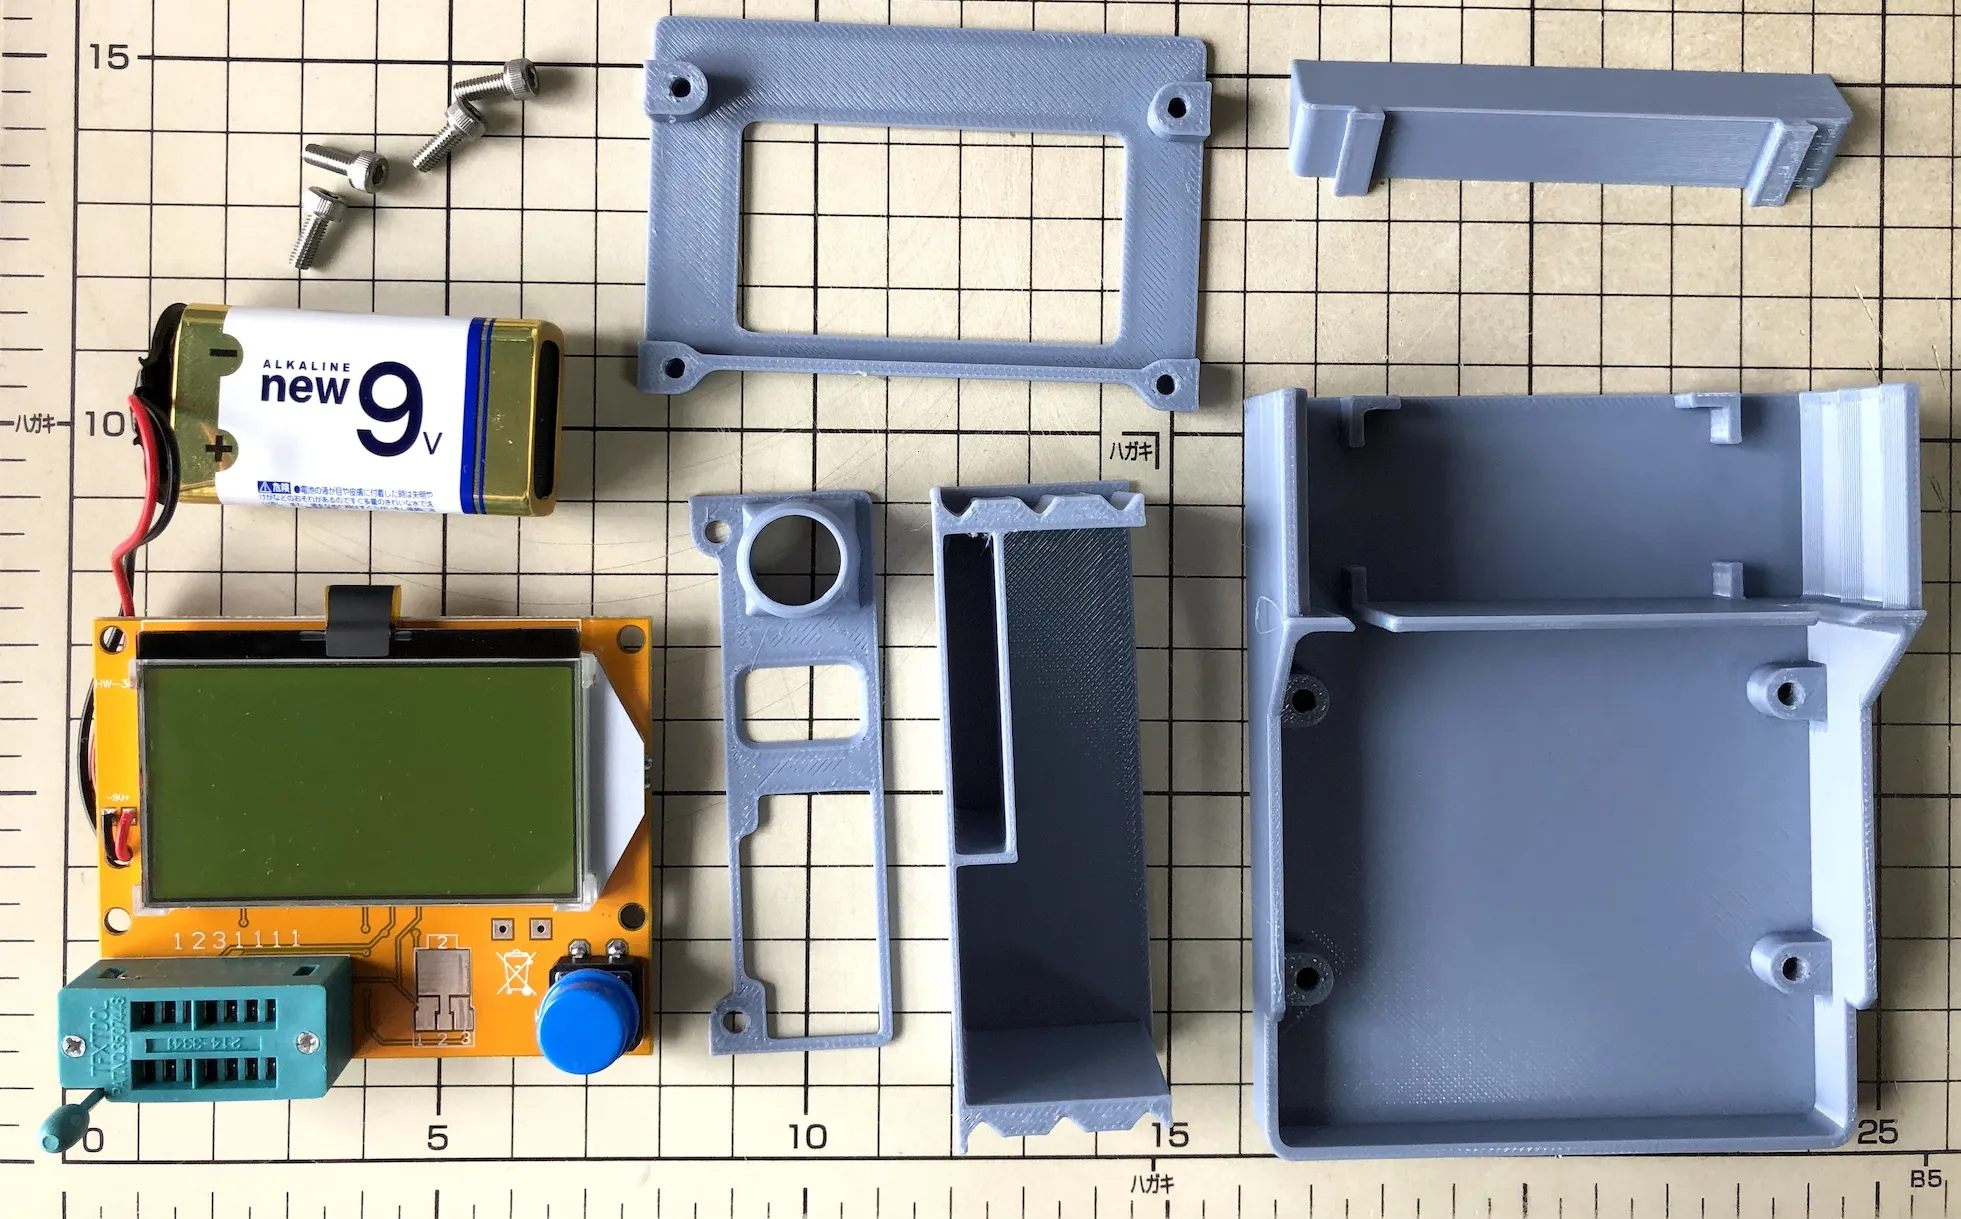
Components
Printed Components
- base
- battery_cover
- display_cover
- control_cover
- corner_cover
Non-Printed Components
- LCR-T4
- 9V battery
- Four M3x8mm hex socket head bolts
Assembly Instructions
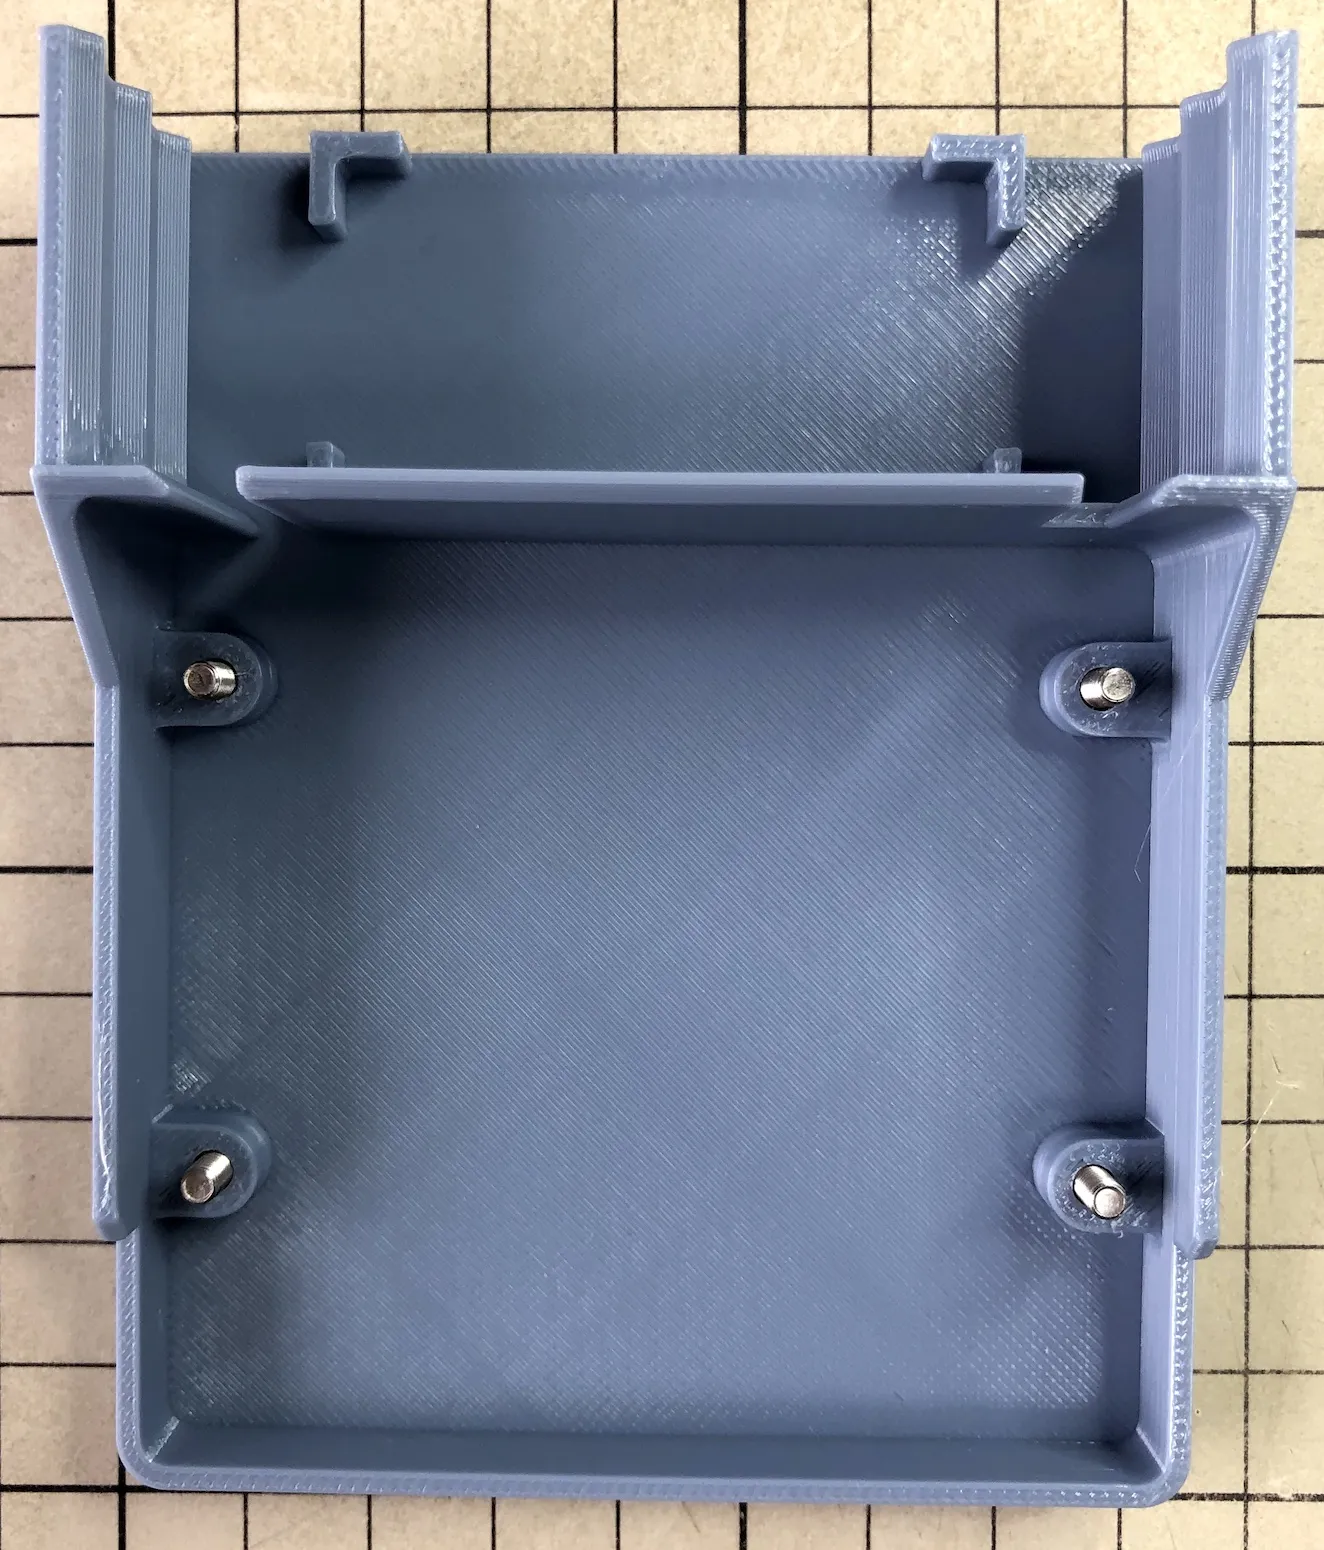
Insert bolts into the base
Position the LCR-T4 aligning with the board holes, route the wiring through the slits, and place the battery in its designated position
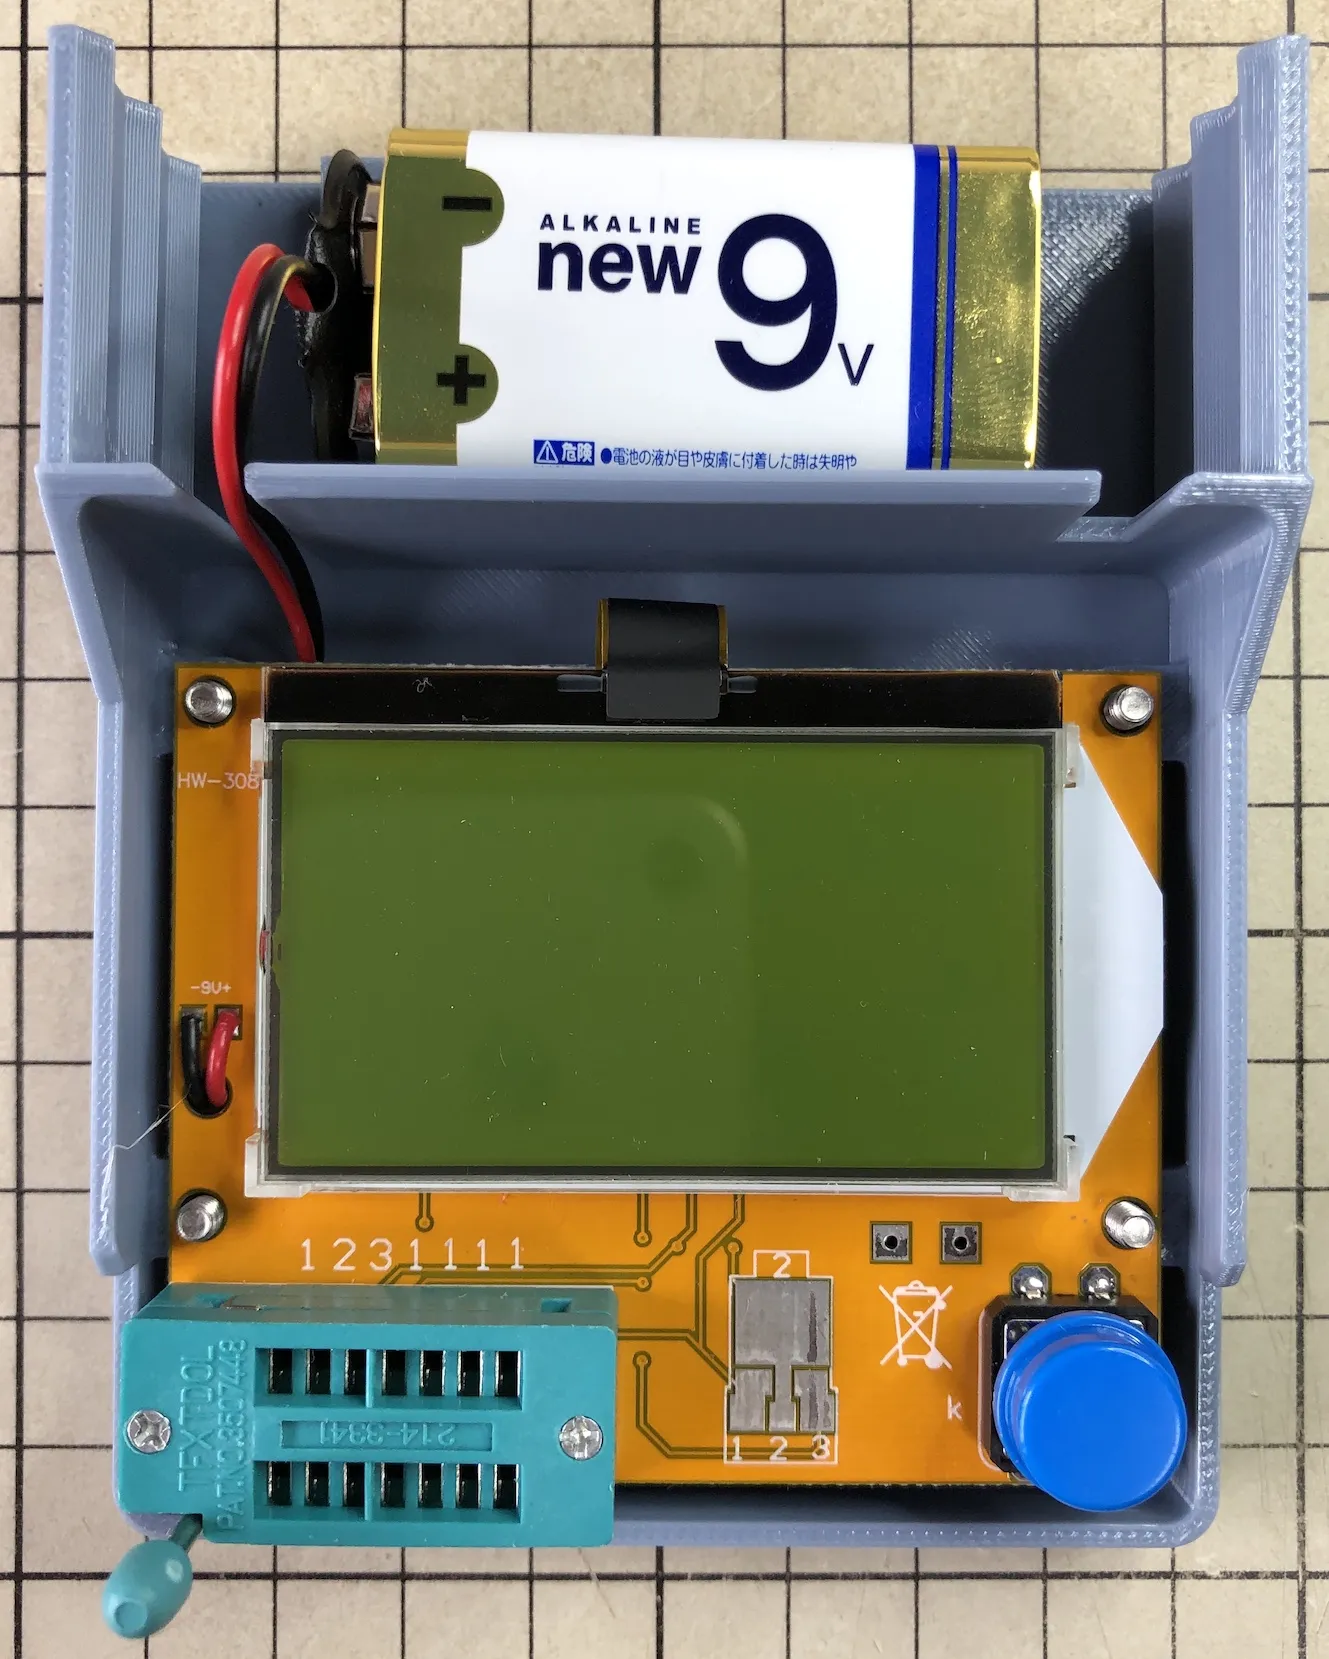
Insert the battery_cover
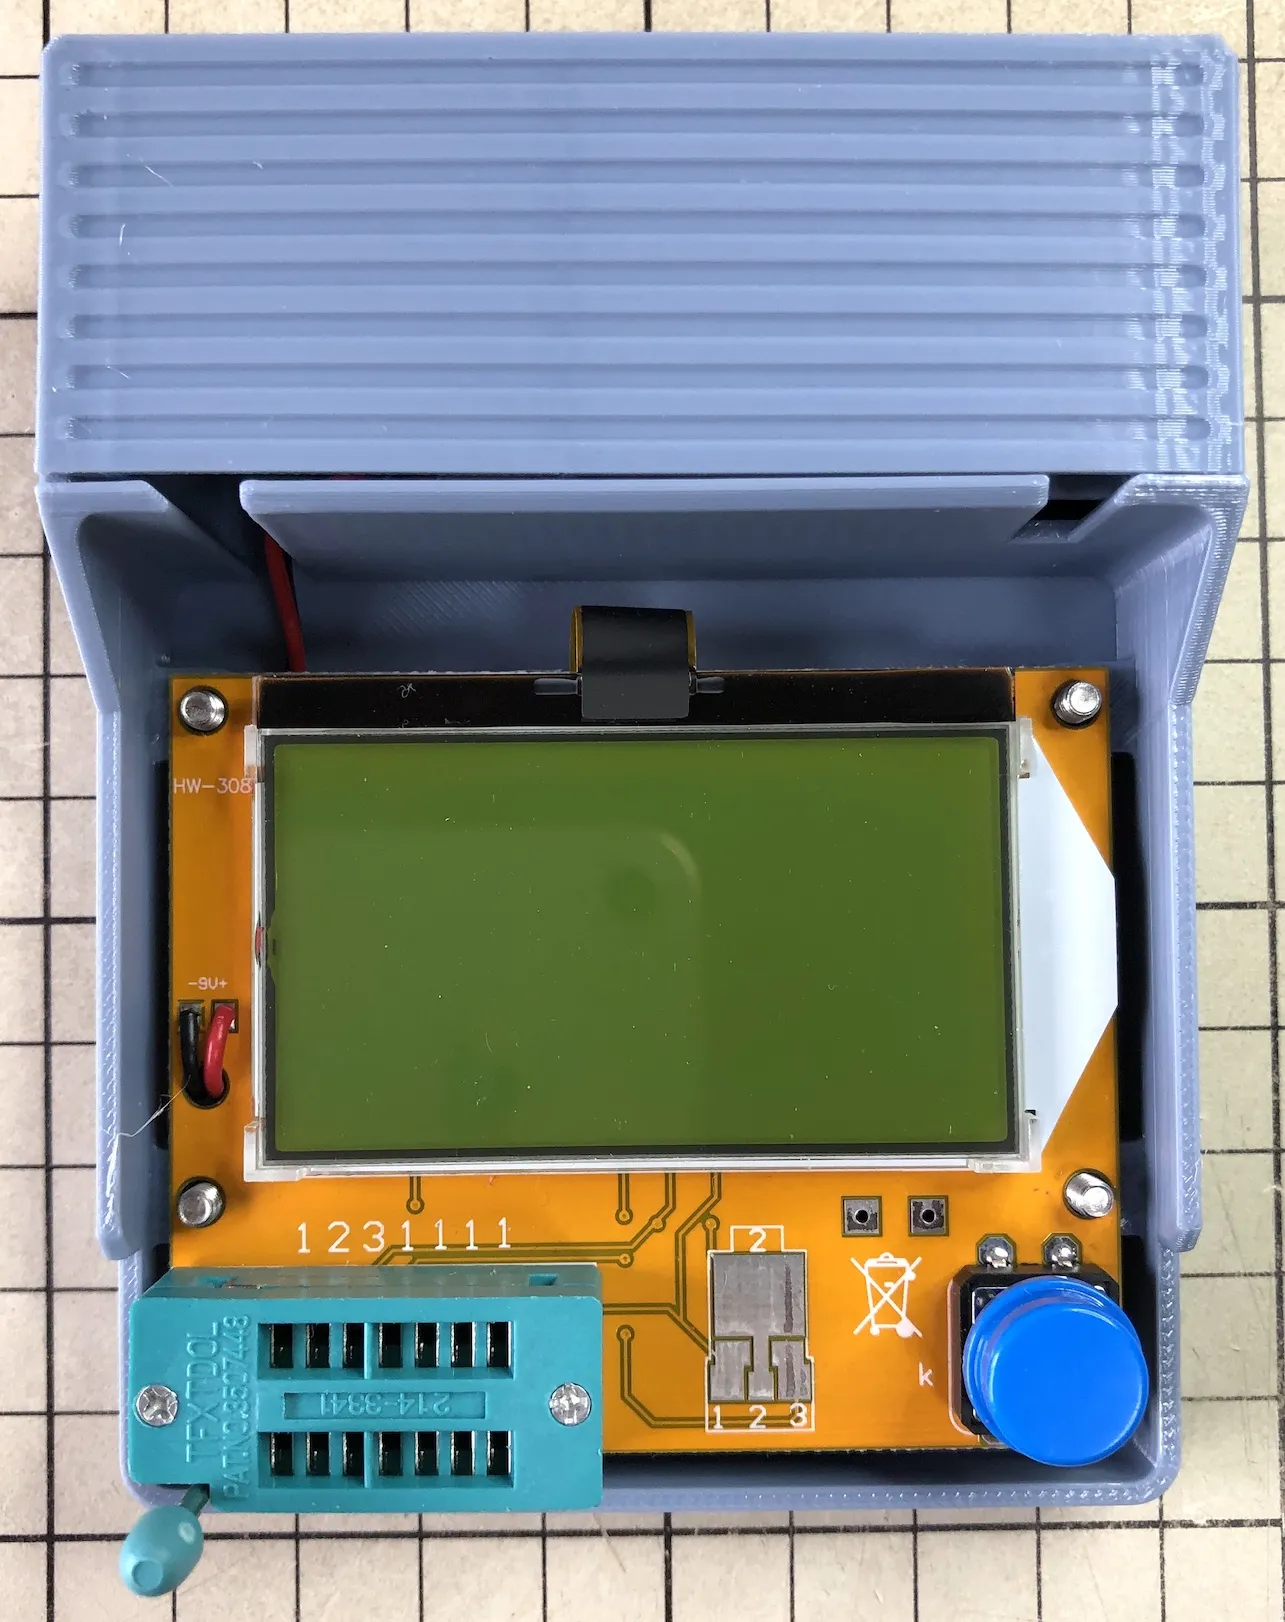
Attach the control_cover
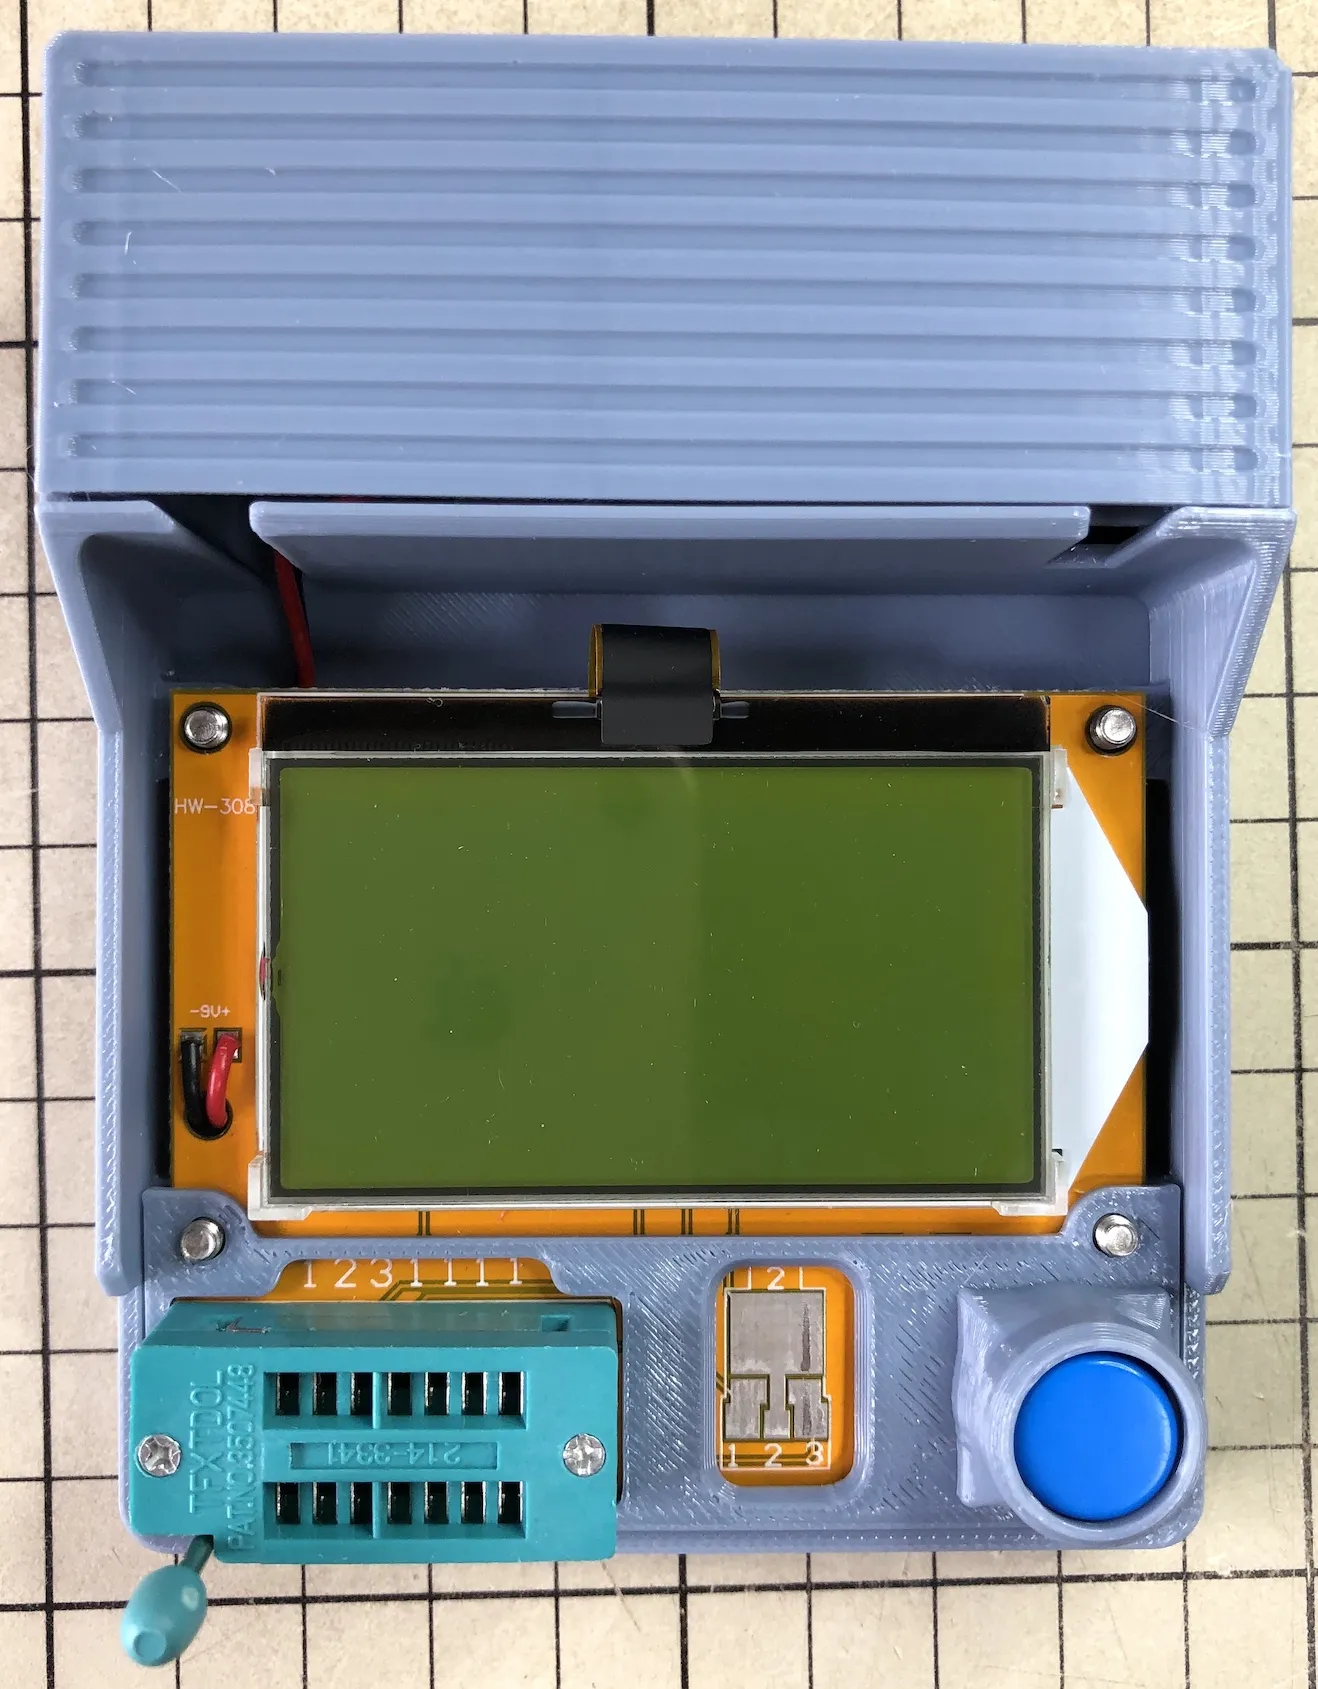
Attach the display_cover and secure it to the control_cover by tightening the screws
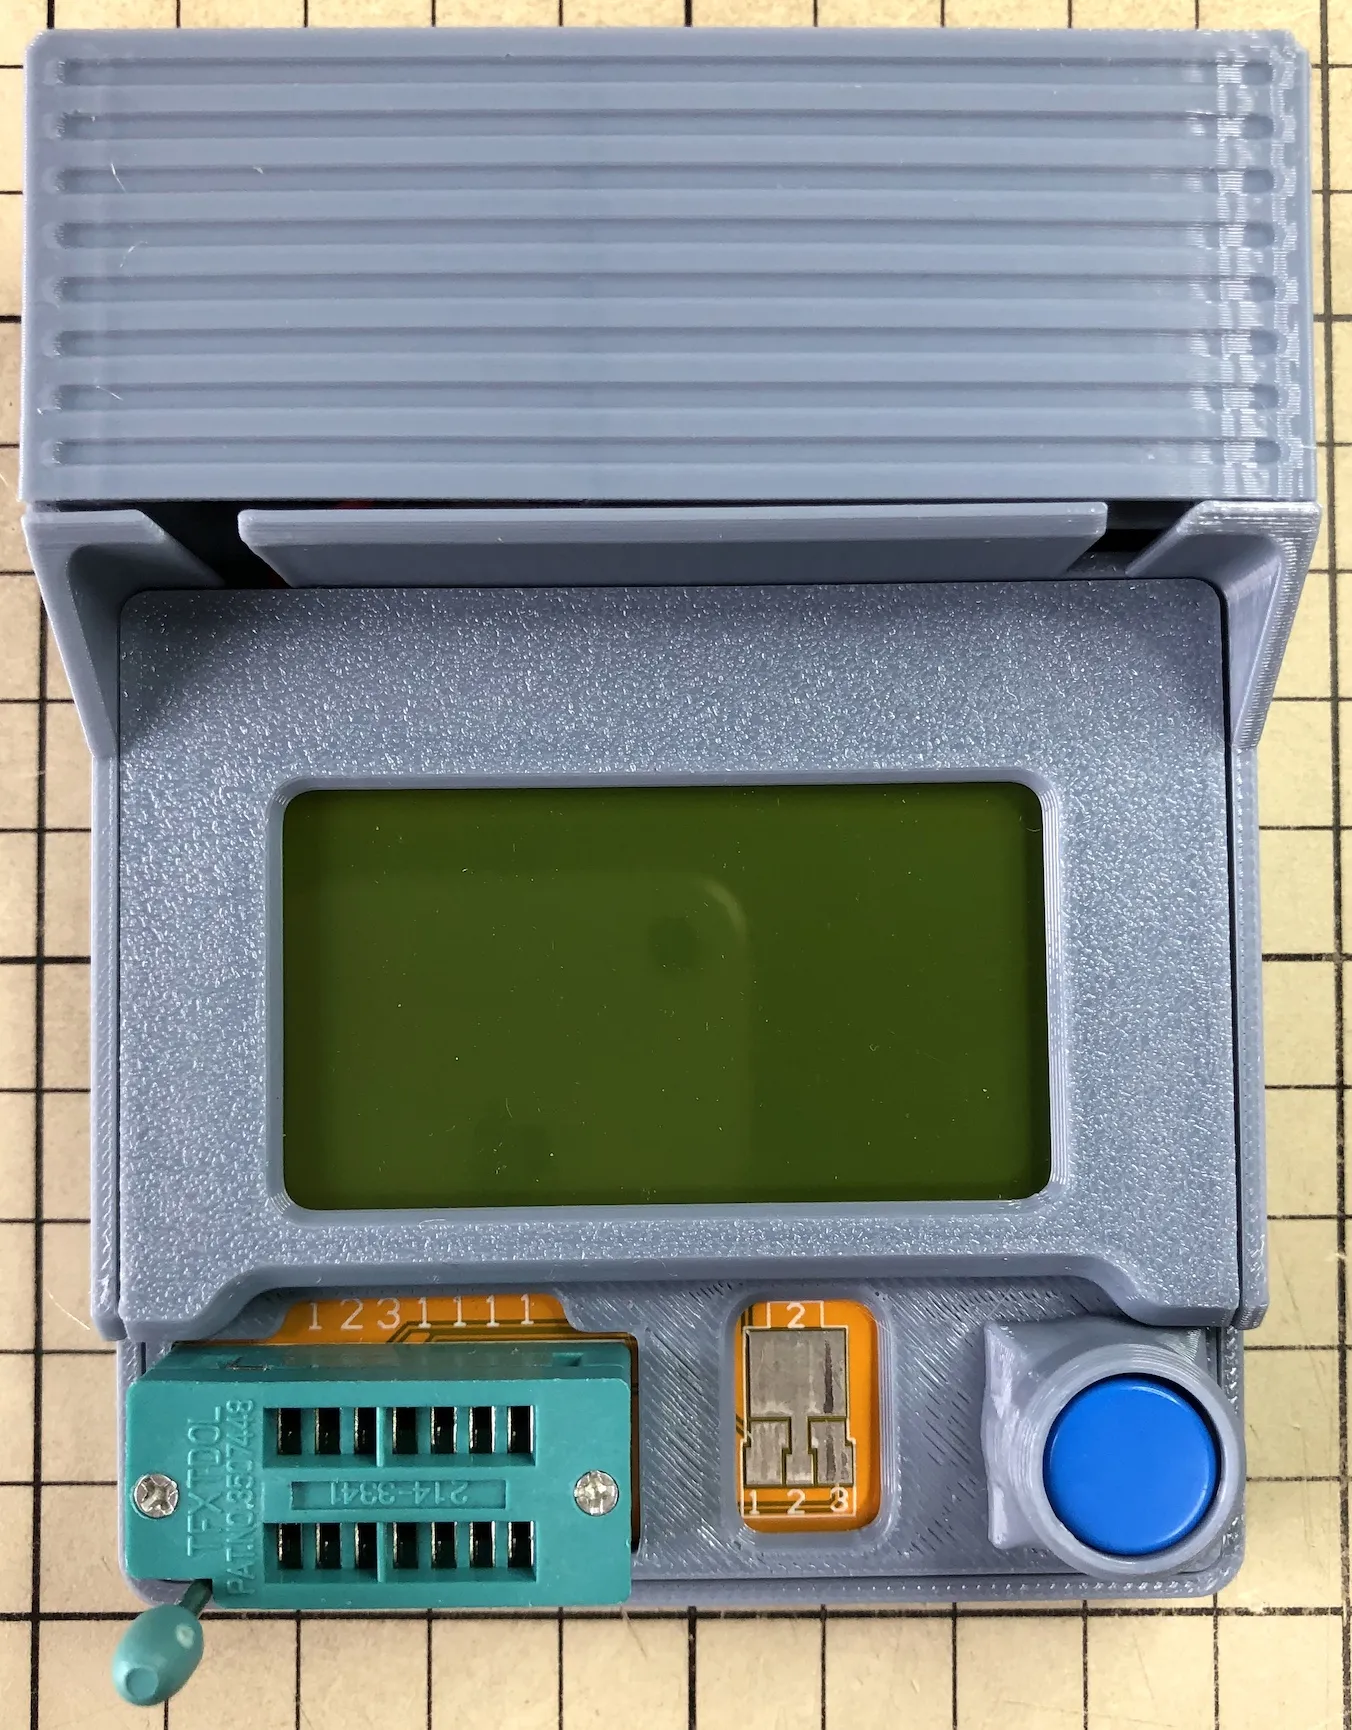
Attach the corner_cover
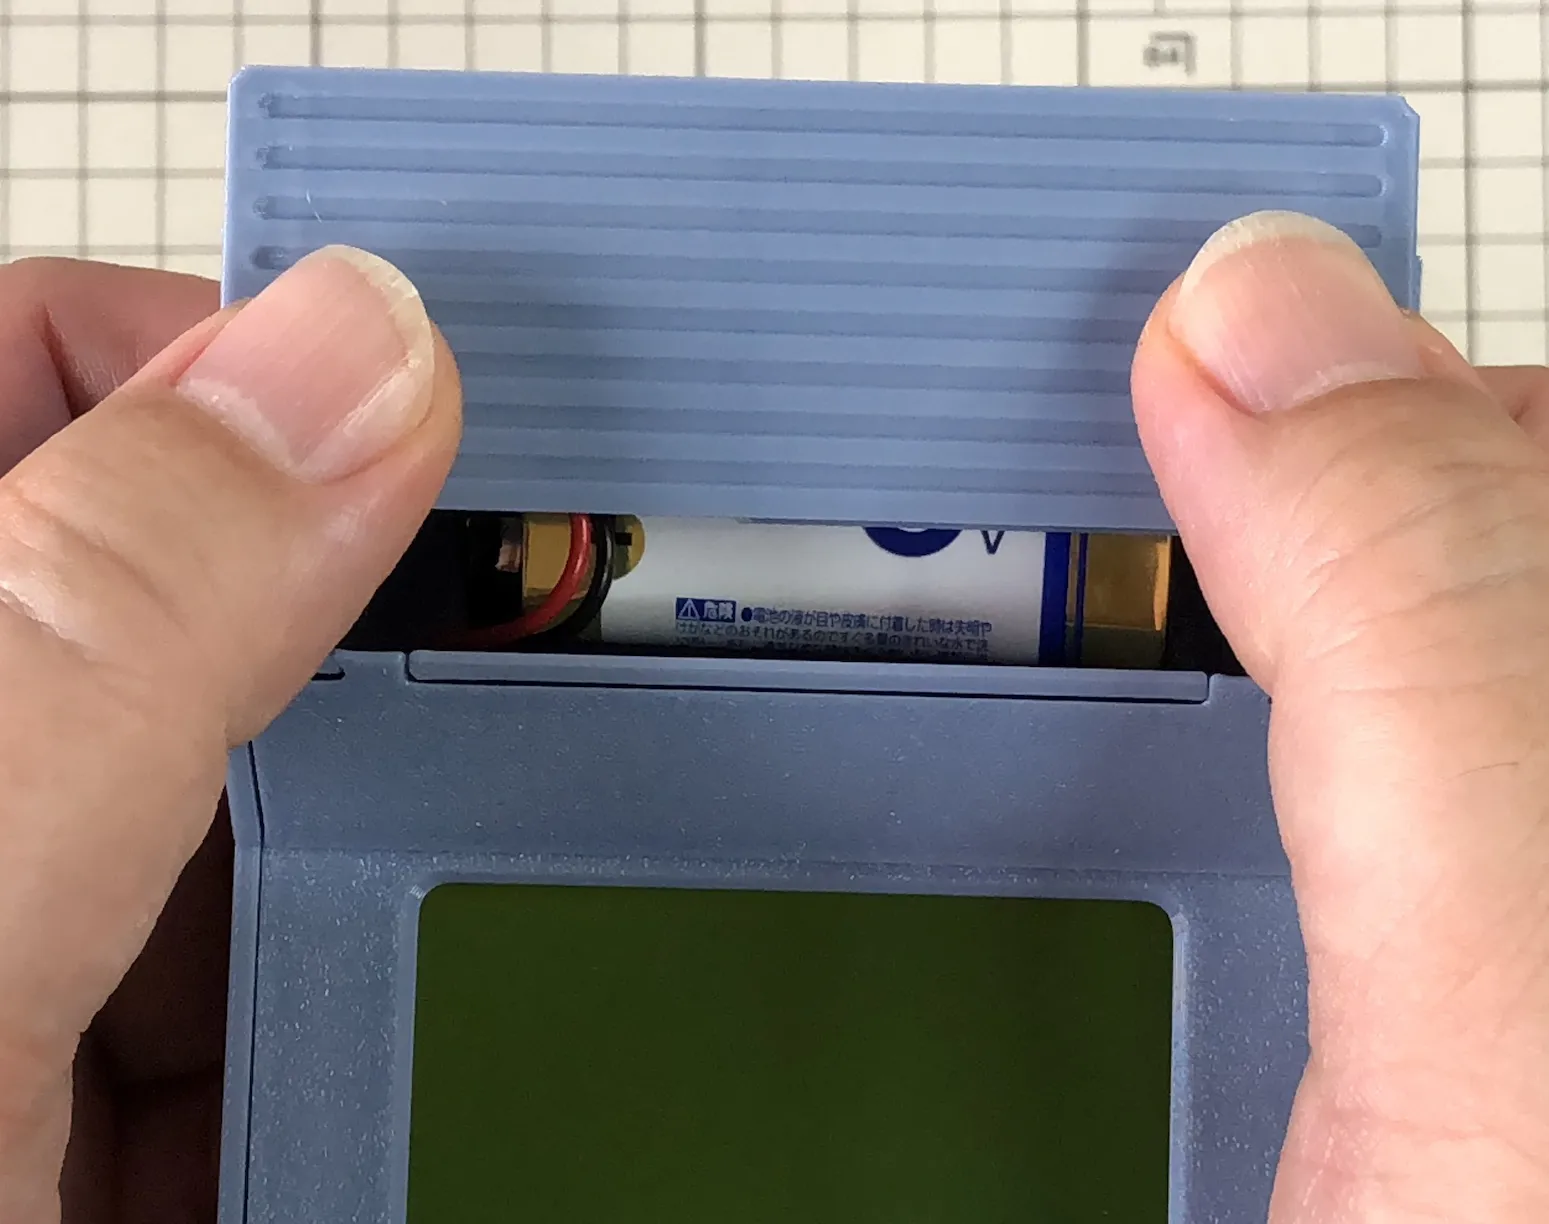
Removing the battery_cover
As shown in the image, it can be removed by pressing with your thumb.
If Dimensions Don't Match
This was created to fit the actual product, so there is a possibility that the dimensions may not match due to product variations or minor changes. In this case, please open the attached f3d file in Autodesk Fusion and modify it.
License

This user content is licensed under a
Creative Commons Attribution-Noncommercial-Share Alike


Comment & Rating (19)