
Servo Mini Arm V2 - CyberBrick
Print Profile(2)


Bill of Materials
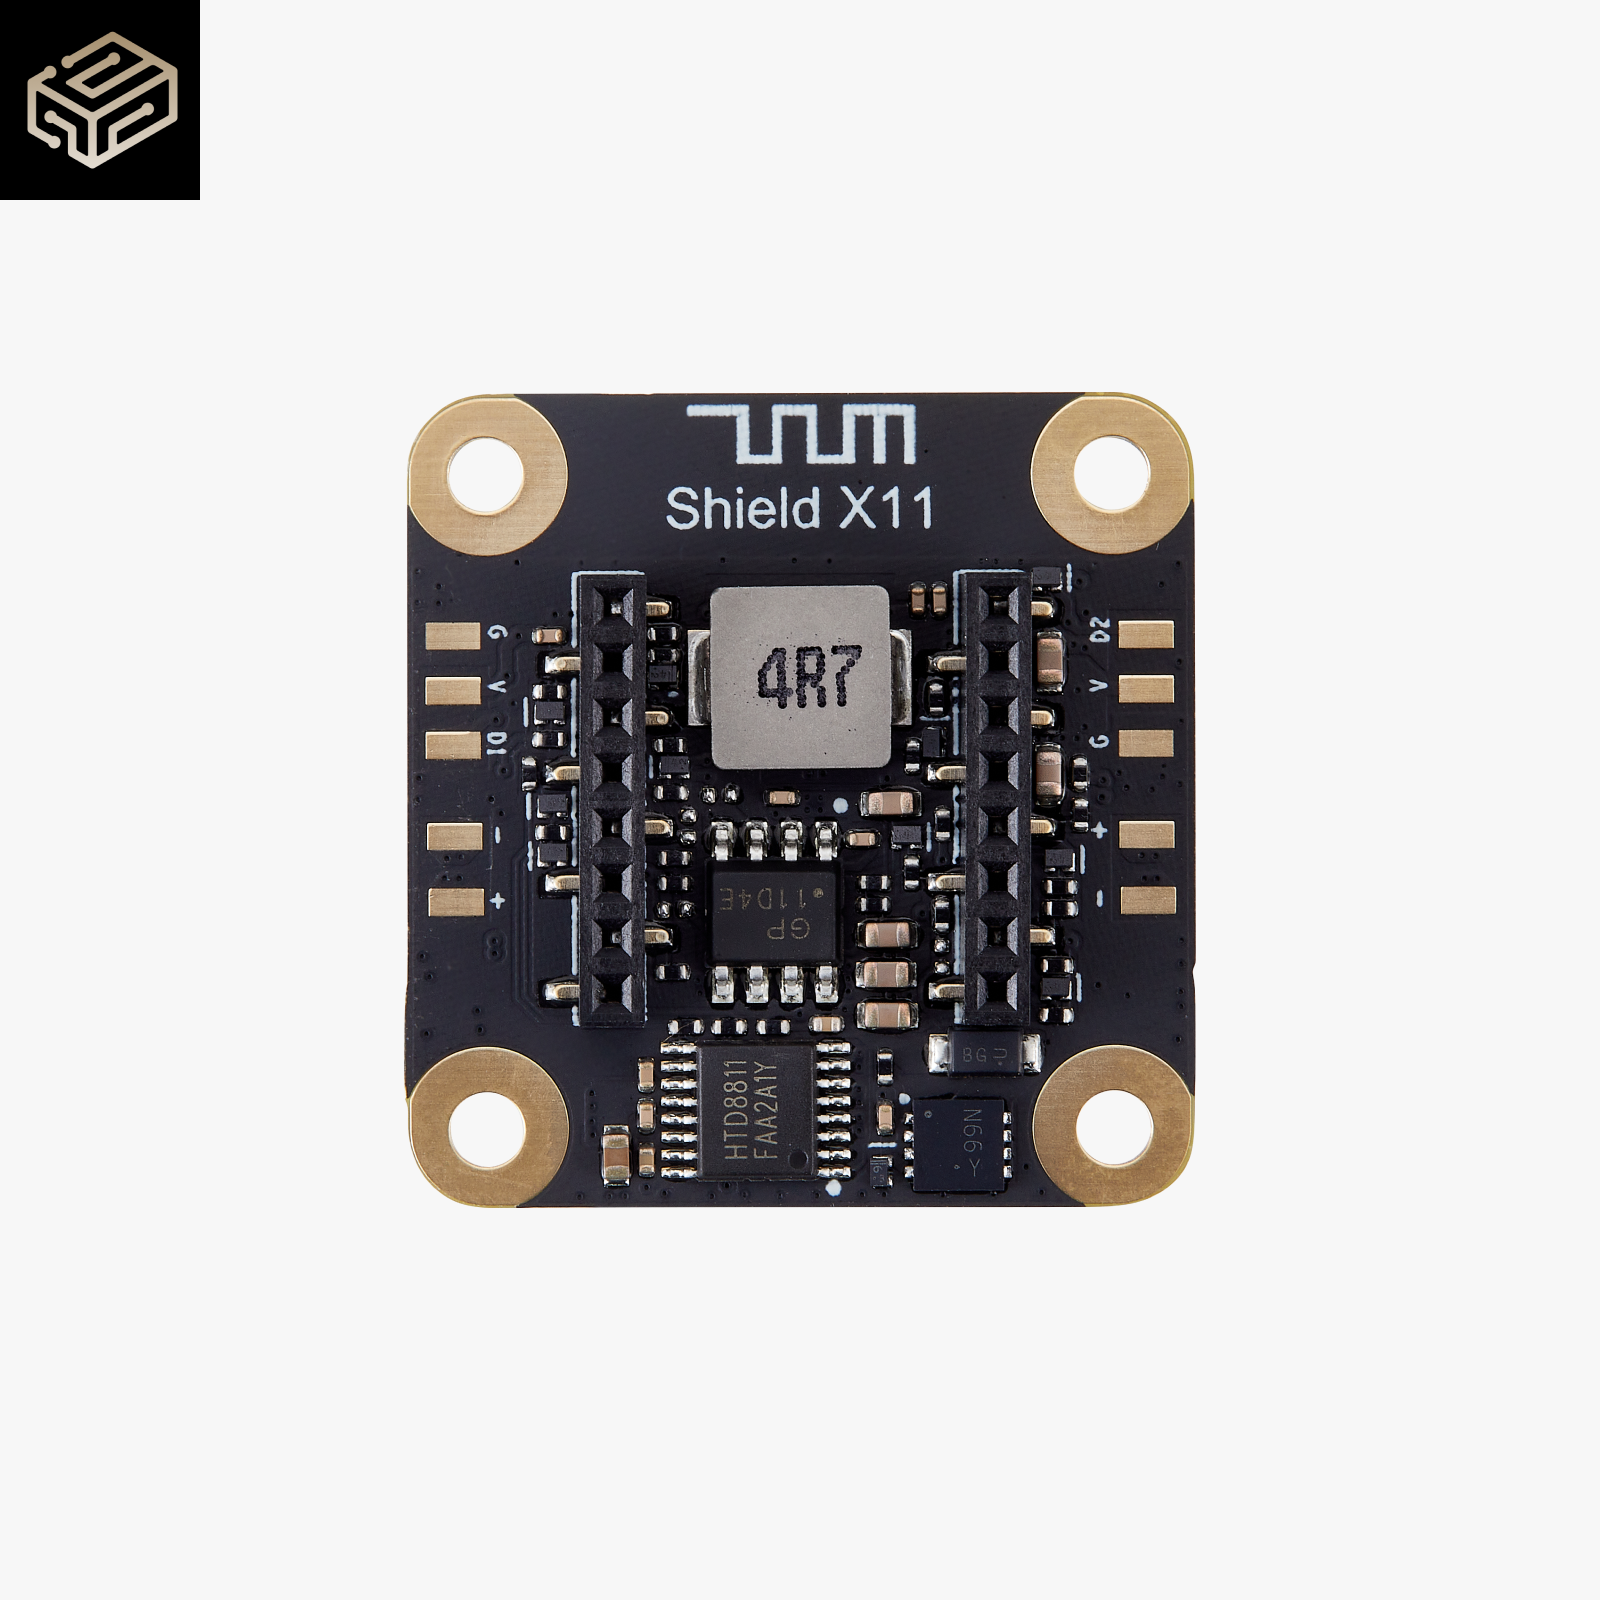
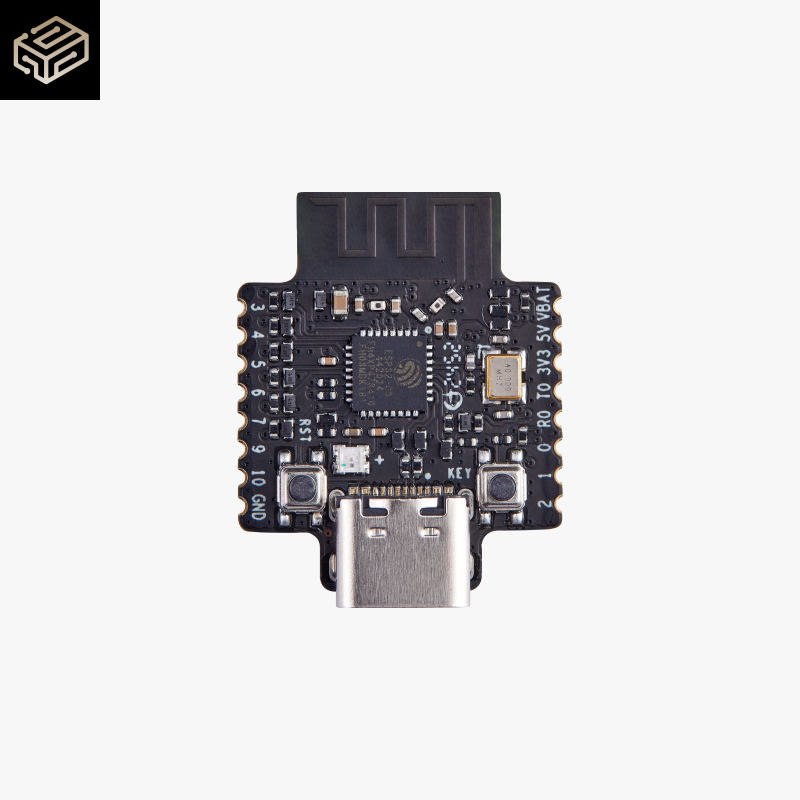


- Instant Glue x 1: Optional
Description
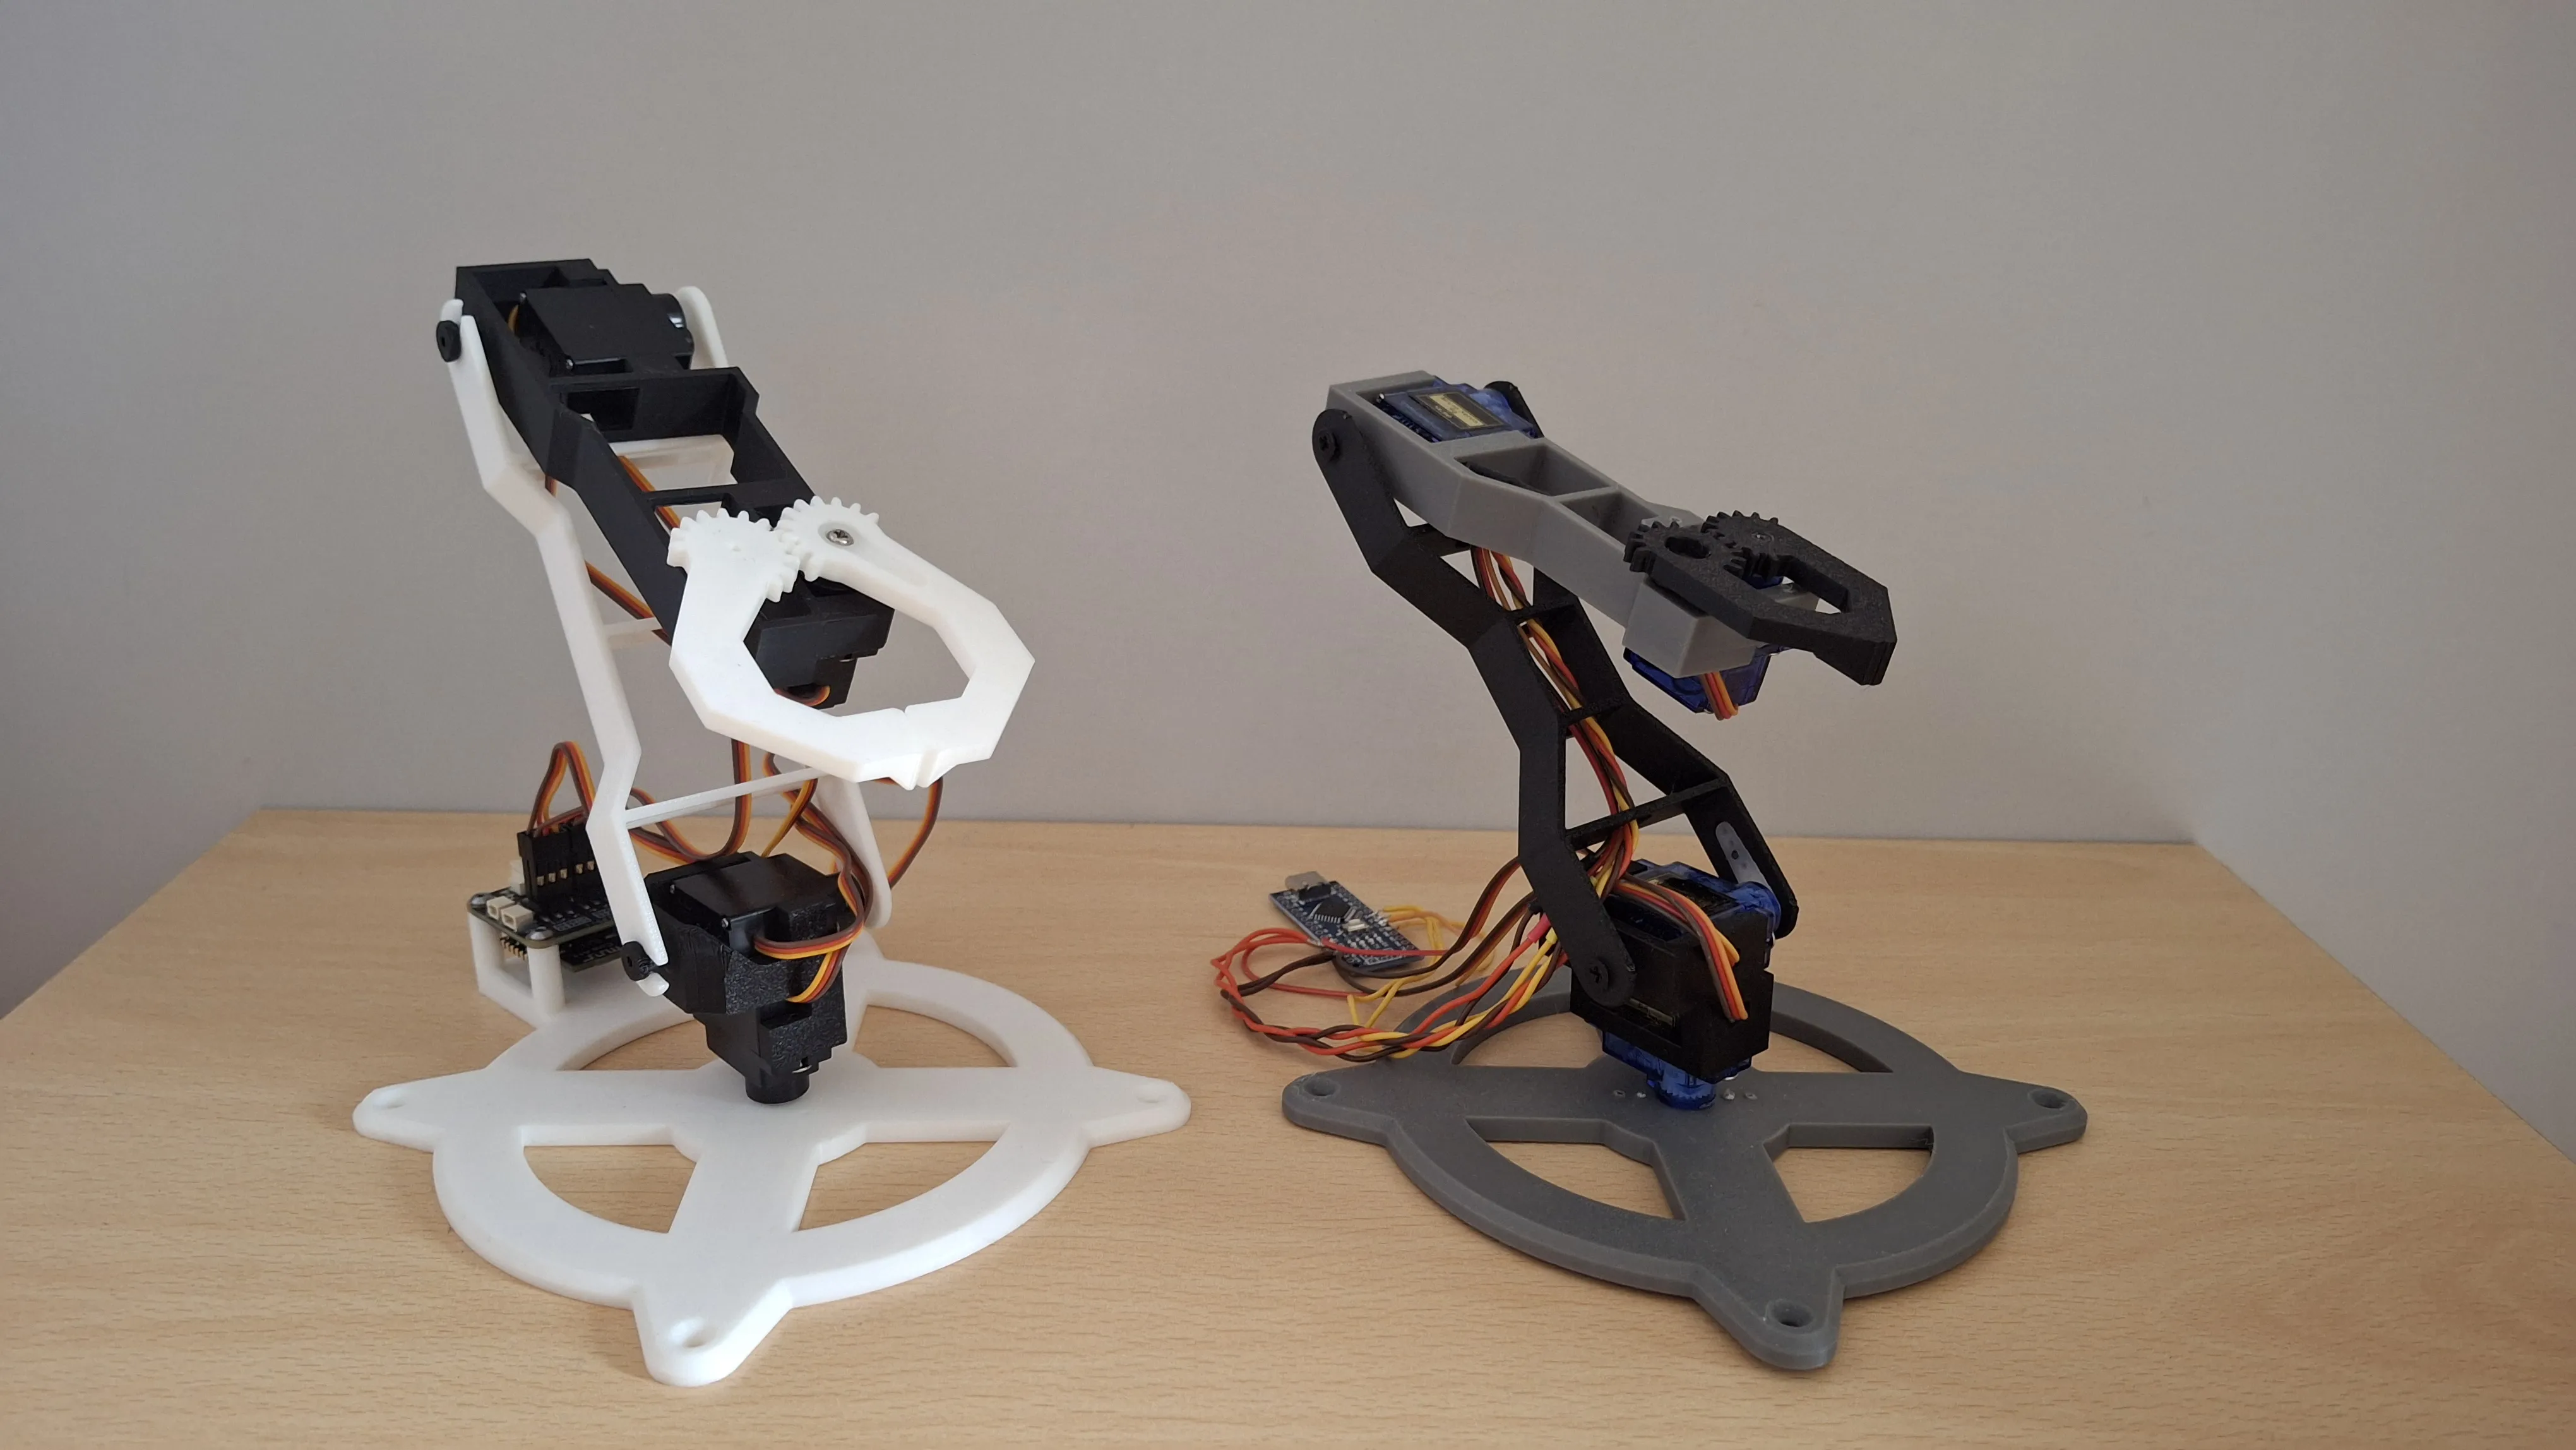
Servo Mini Arm V2 - CyberBrick
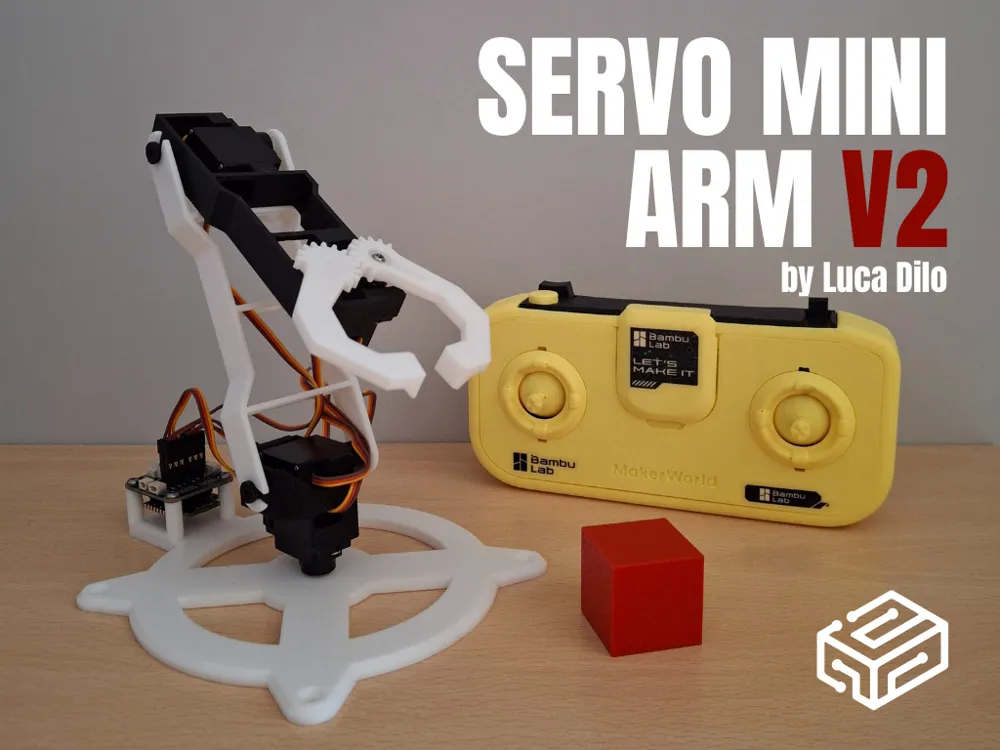

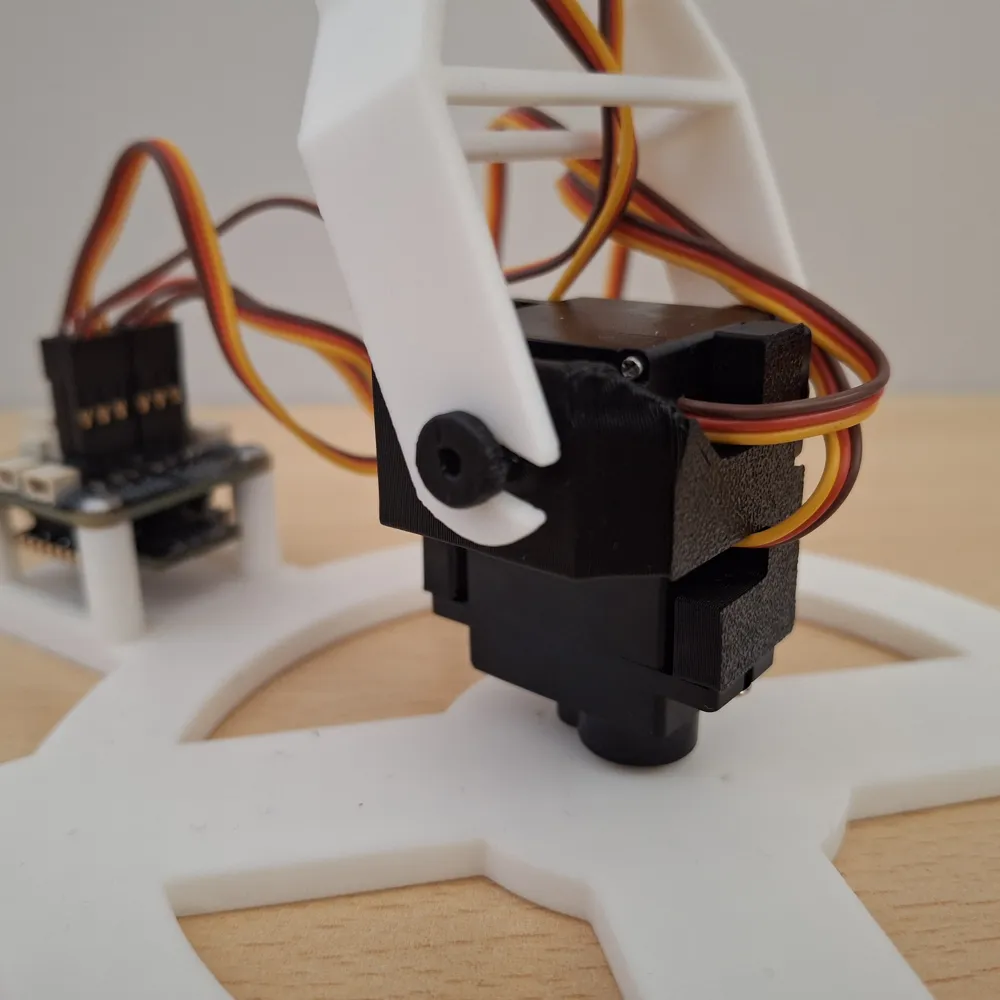
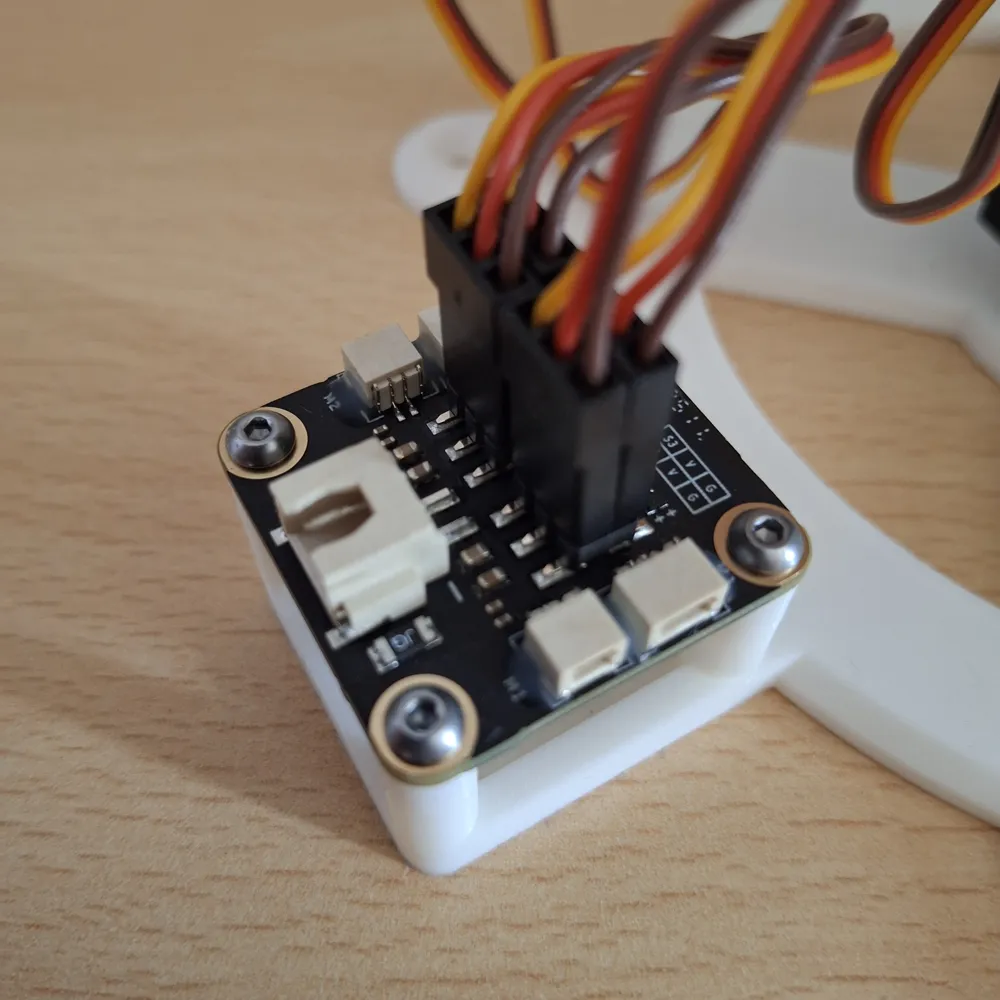
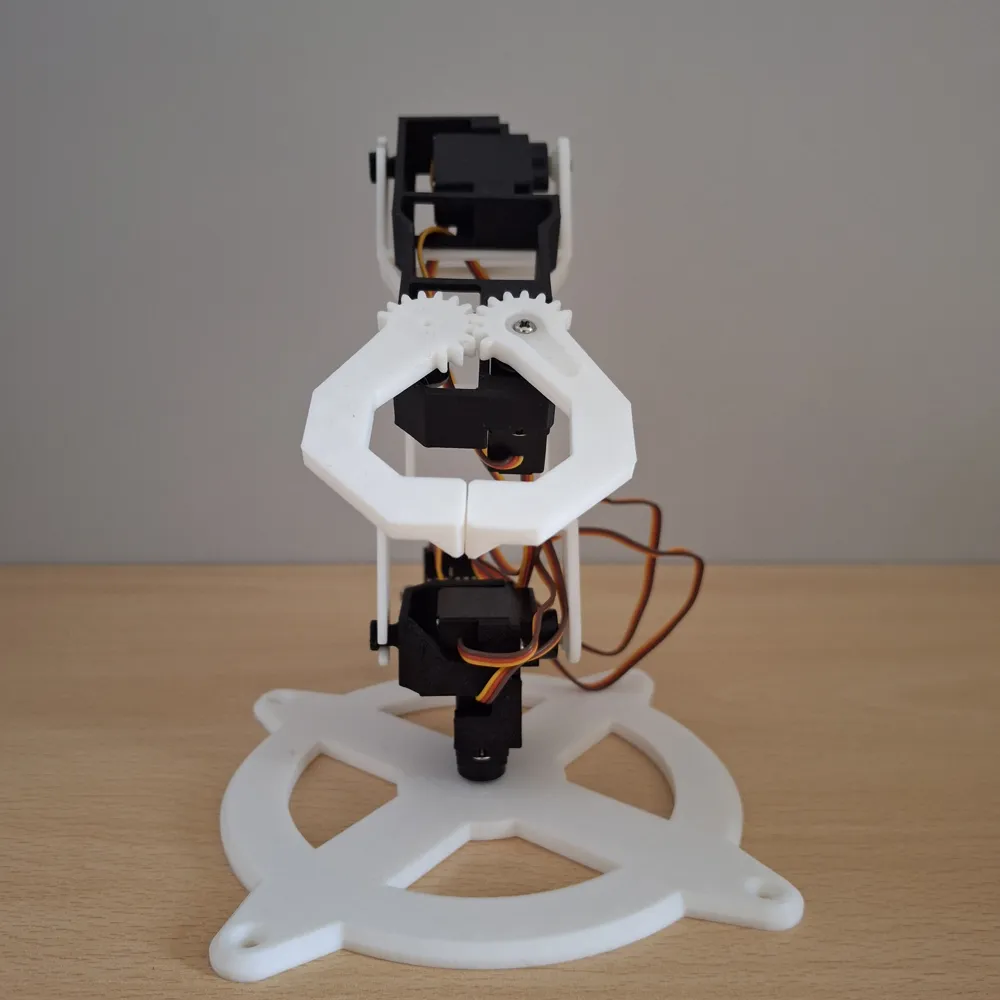
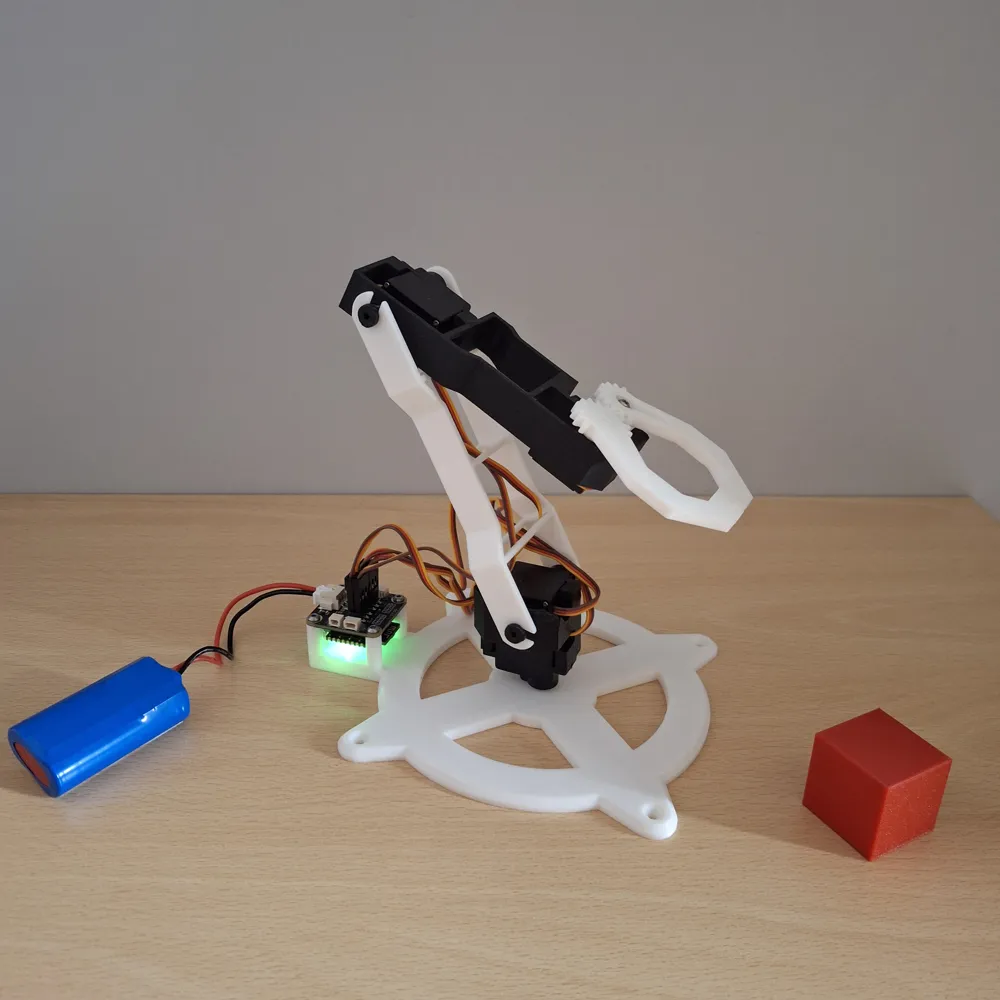
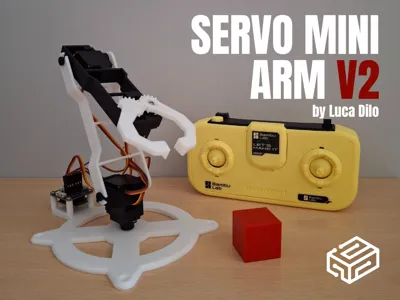
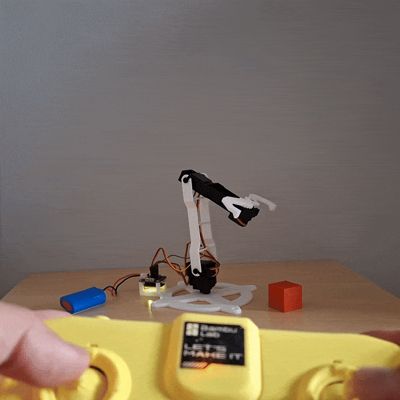
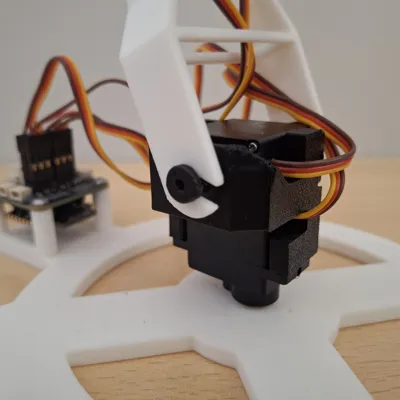
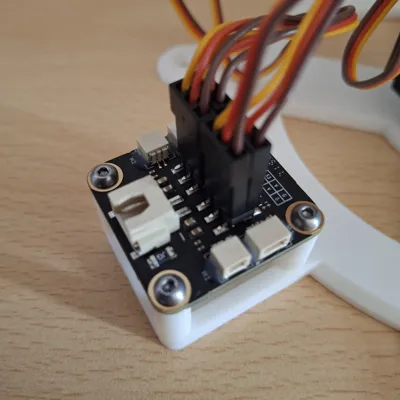
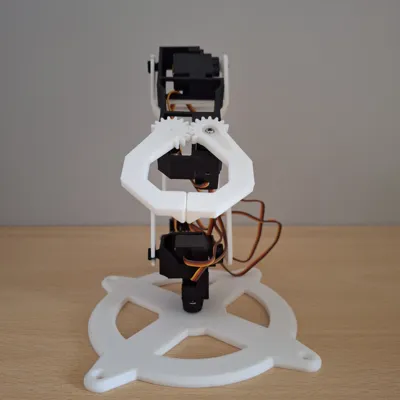
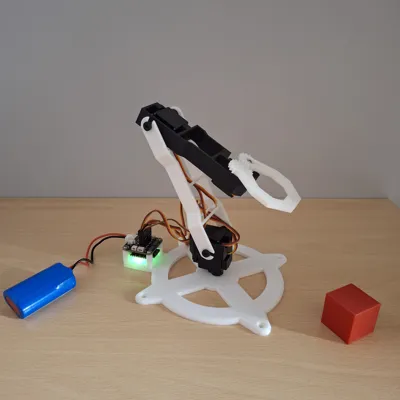
Introducing Servo Mini Arm V2, a servo actuated and remotely controllable robot arm using the CyberBrick. Ideal for those who want to approach the world of robotics in a simple and fun way. You can follow the video tutorial for the assembly, but it is very simple and guided so you also come to it by intuition. I hope you enjoy it and look forward to hearing what you think in the comments.
Need help ? join discord server. Here you can find the official controller
My assembly video tutorial of Cyberbrick Official Controller https://www.youtube.com/watch?v=dLe0a2Hyo7g
Boost Me (for free)
if you like it, boost it 😁❤️
Differences with the previous model
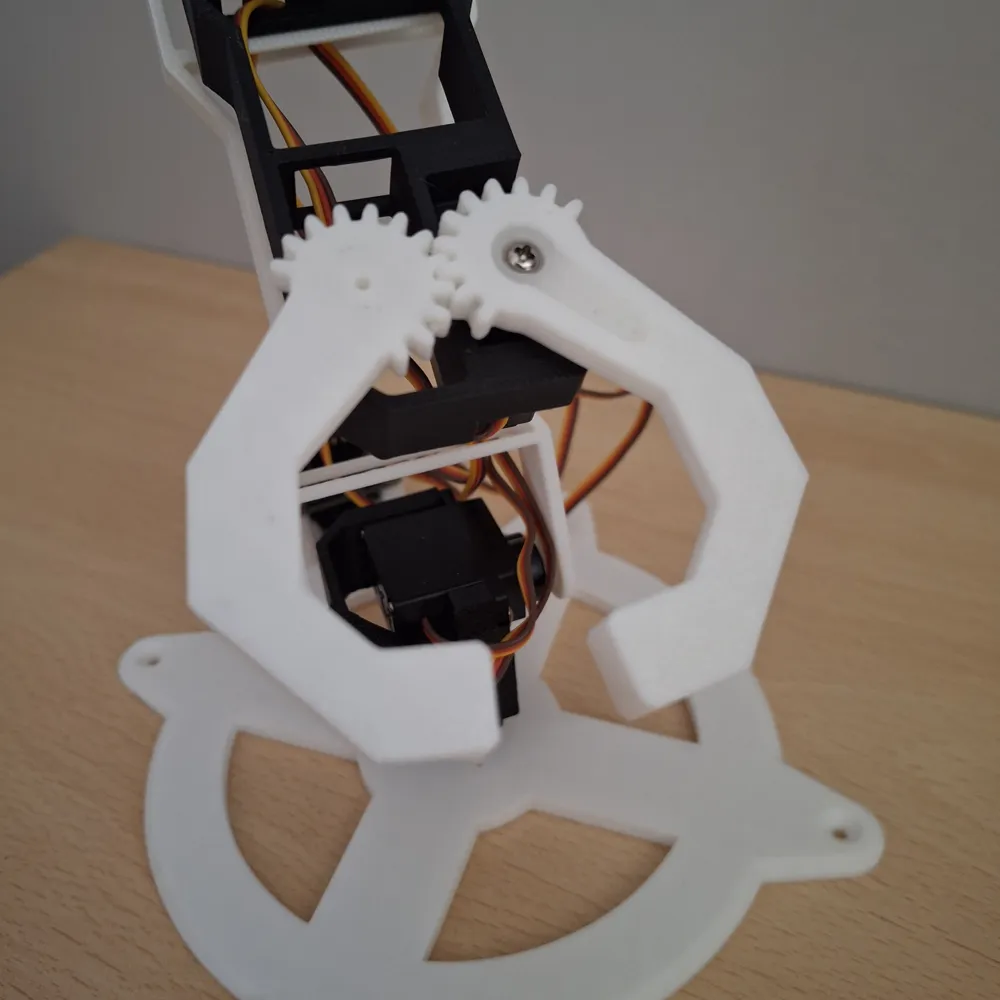
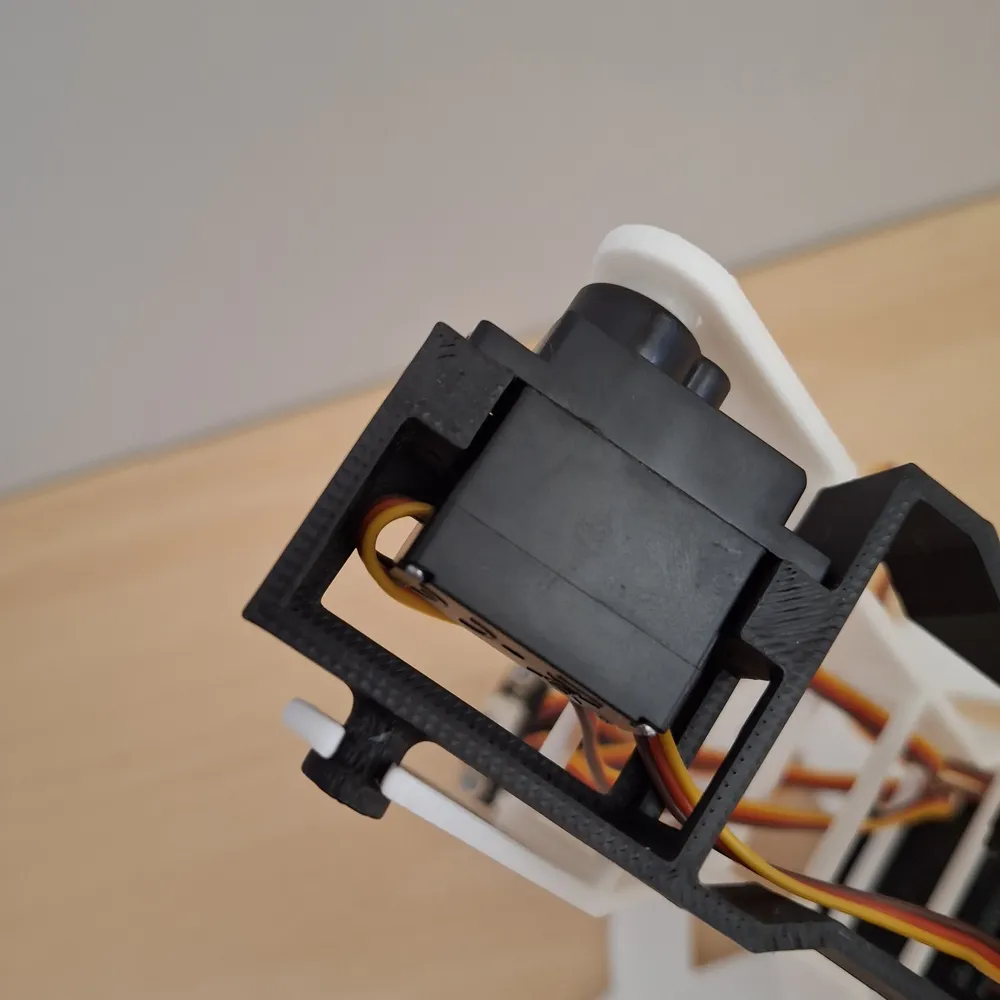
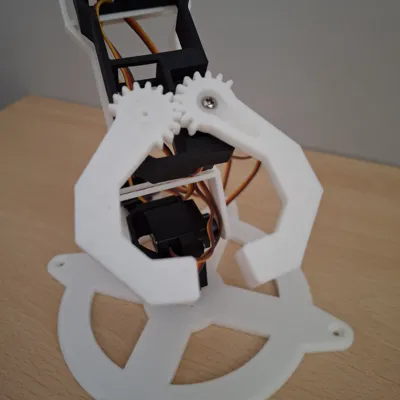
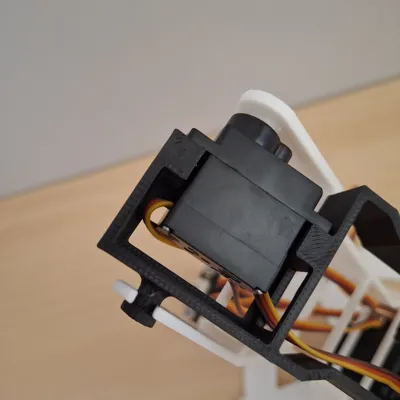
Unlike the previous model this one has far fewer screws to use and uses cyberbrick instead of arduino which allows it to be controlled remotely much more easily. I made an interlocking mechanism on the opposite side of the servo motors so as to reduce the number of screws and at the same time increase stability. You can install the servo motors using the screws that come with the servo motor, and to attach the servo motor mounts you can use instant glue (as I do in the video) or you can use small screws. Also, the structure has been revised in general to make it lighter and make the servo motors strain less.
You can find prev version at https://makerworld.com/it/models/1290483-servo-mini-arm#profileId-1320674
Conclusion
In conclusion, I look forward to your comments with suggestions and/or changes to be implemented even from the software point of view, which I will certainly update to improve. I hope you enjoy it and have fun building it.

License

You shall not share, sub-license, sell, rent, host, transfer, or distribute in any way the digital or 3D printed versions of this object, nor any other derivative work of this object in its digital or physical format (including - but not limited to - remixes of this object, and hosting on other digital platforms). The objects may not be used without permission in any way whatsoever in which you charge money, or collect fees.


Comment & Rating (144)