
Twist & Spin Fidget Gear – Helical Motion Toy
Print Profile(2)


Description
Membership
Do you want to sell physical prints of my models? The commercial membership grants a license for this
Boost Me (for free)
This project took some time and it would help me a lot for future models if you give a boost
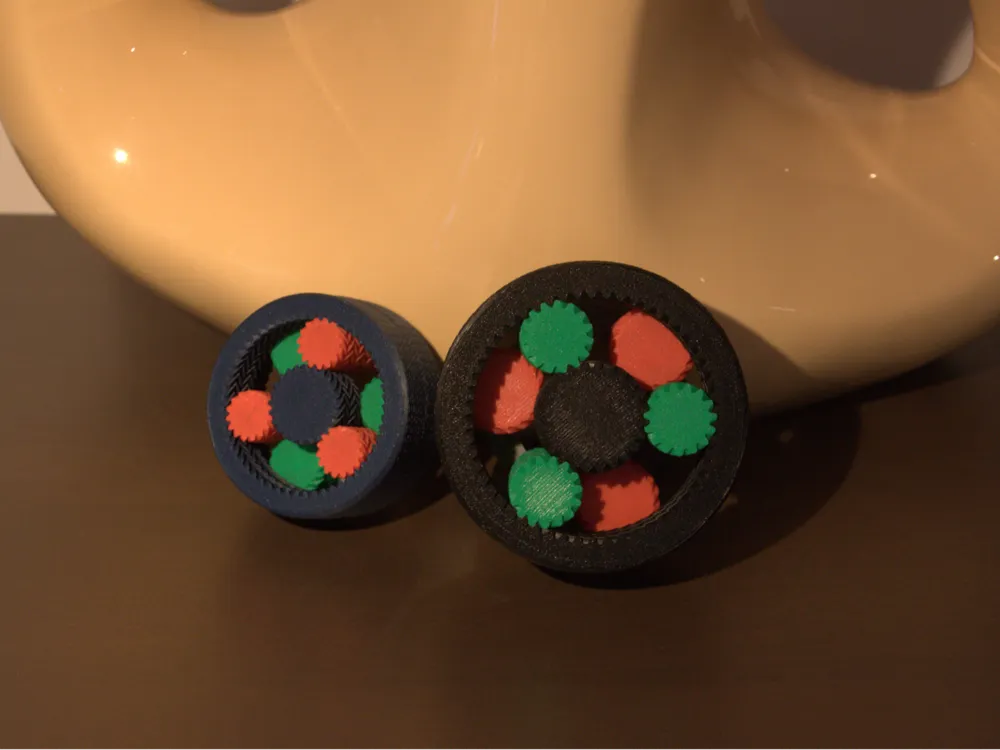
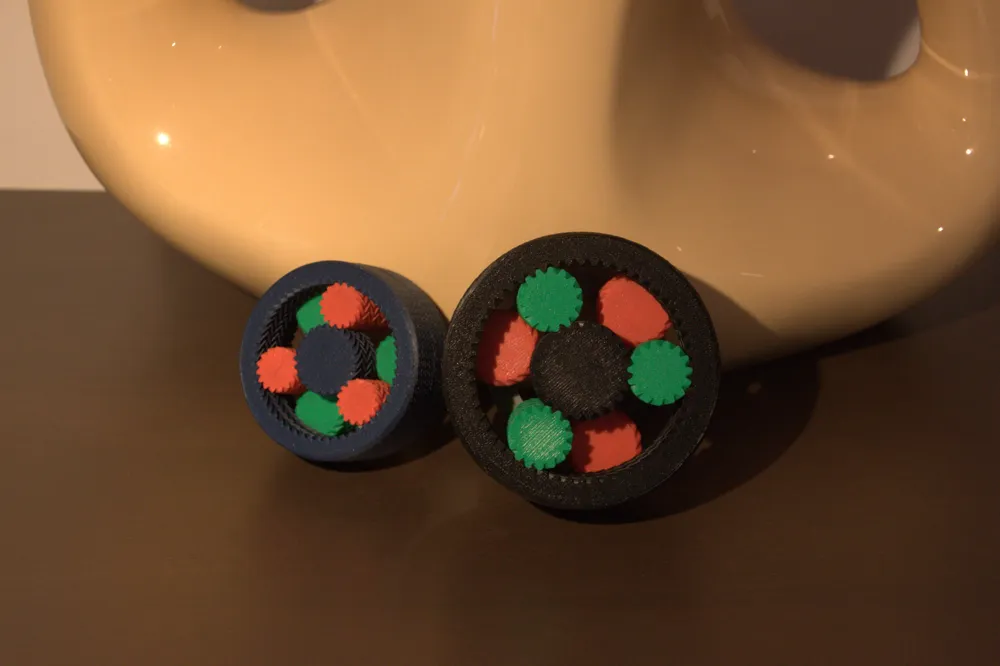
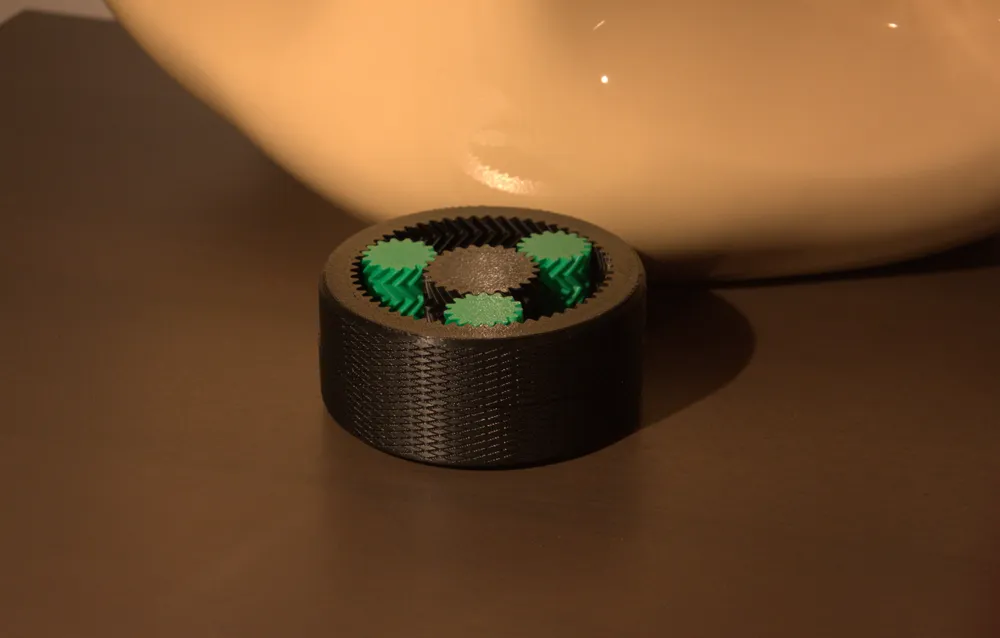
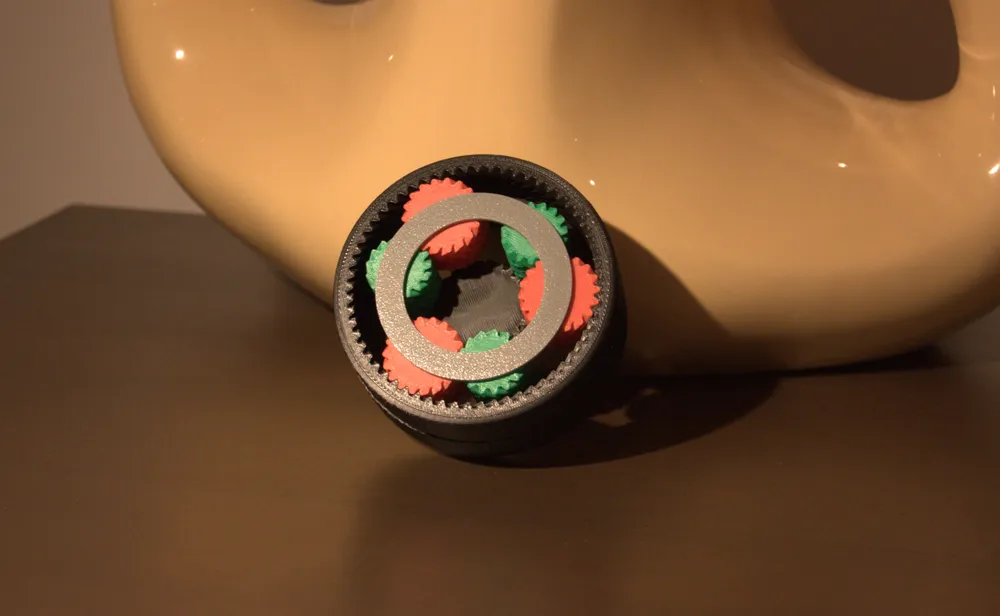
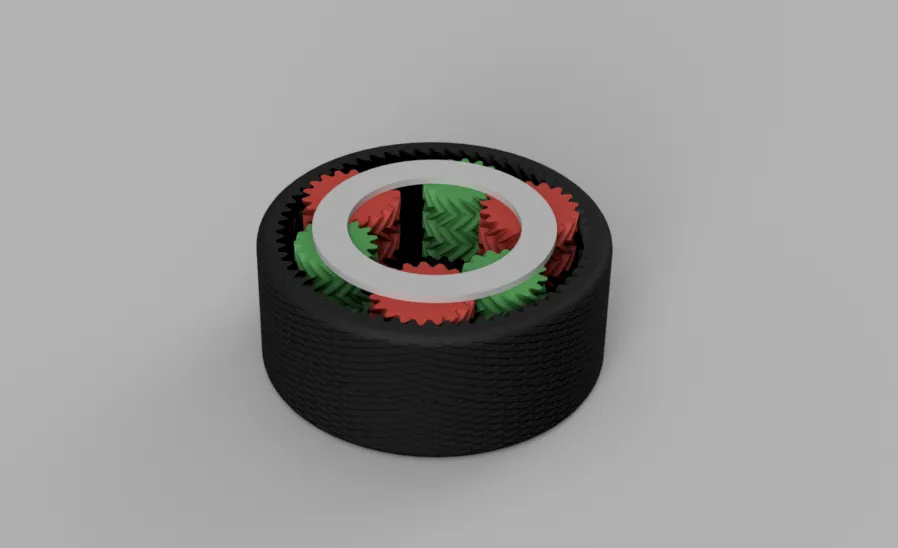
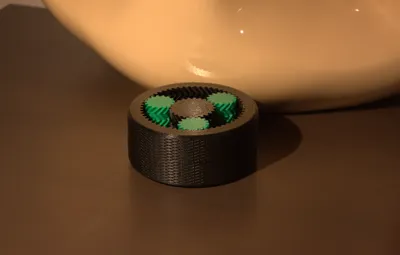
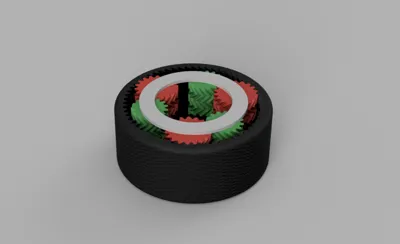
The new Ravigneaux Planetary Fidget Gear is a delight to interact with—both fun and mechanically intriguing. One half is printed in place for convenience, while the other requires some assembly, adding to the hands-on experience. For best results, I recommend printing it in PLA.
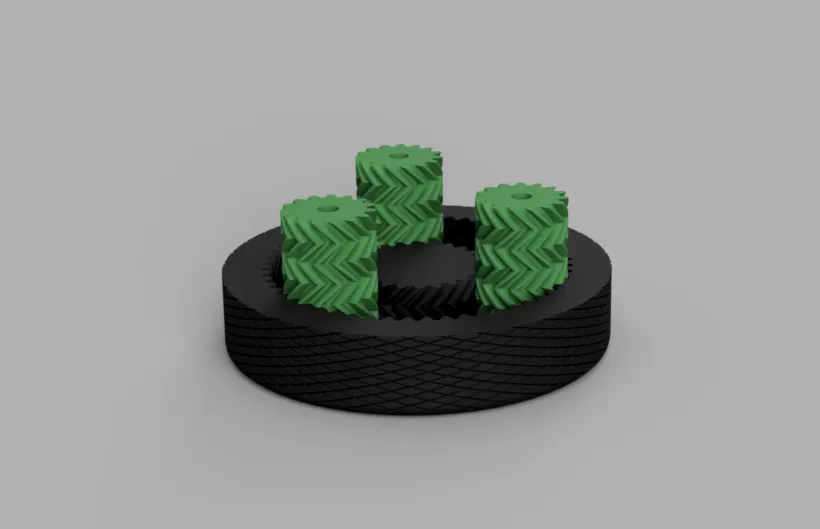
First, ensure that the bottom part spins freely. If a gear appears to be stuck, a gentle application of force should help free it. Once everything moves smoothly, you can proceed to the next step. If it you are not able to print the first stage in one part and get it to spin, you could also just print the parts seperate and then build them together. But be careful because you need to apply some force to fit them in. Then make sure they have the right distance to each other. You can do this using the fitting ring.
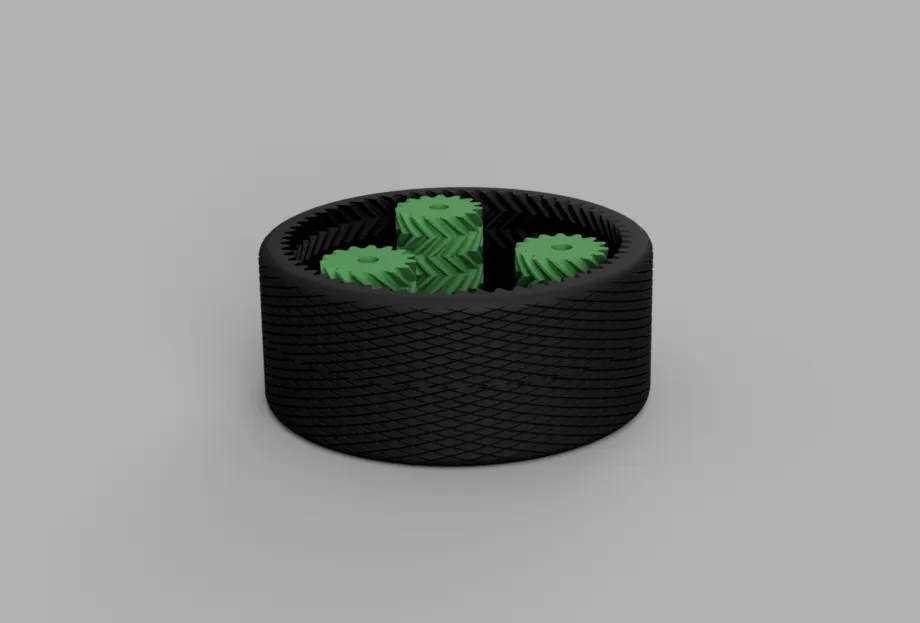
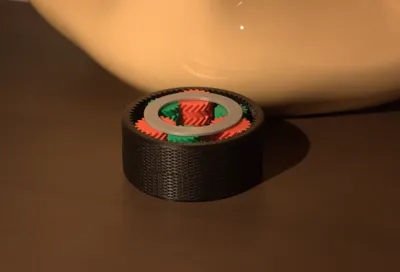
Next, place the top ring over the protruding gears, ensuring it is properly centered for smooth operation.
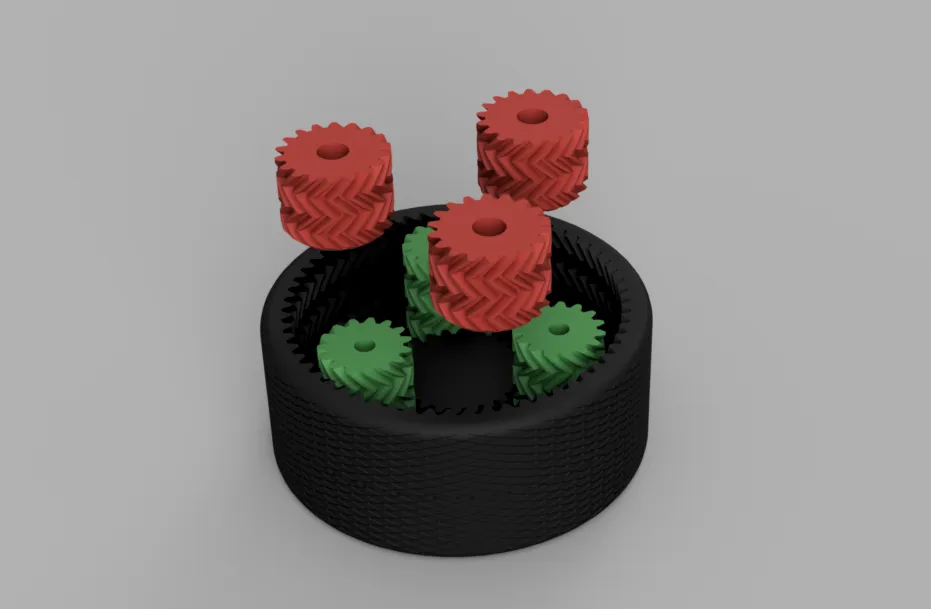

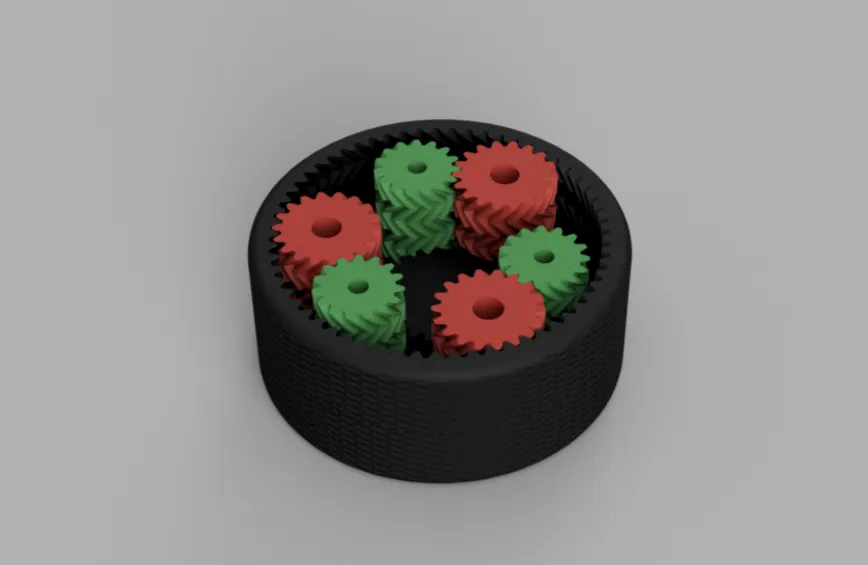
In this step, add the second planet gears. Be sure to position it on the correct side of each existing gear. The teeth should mesh smoothly with both the outer ring and the small gear below—the one with the holes facing upward. Take your time to ensure proper alignment.
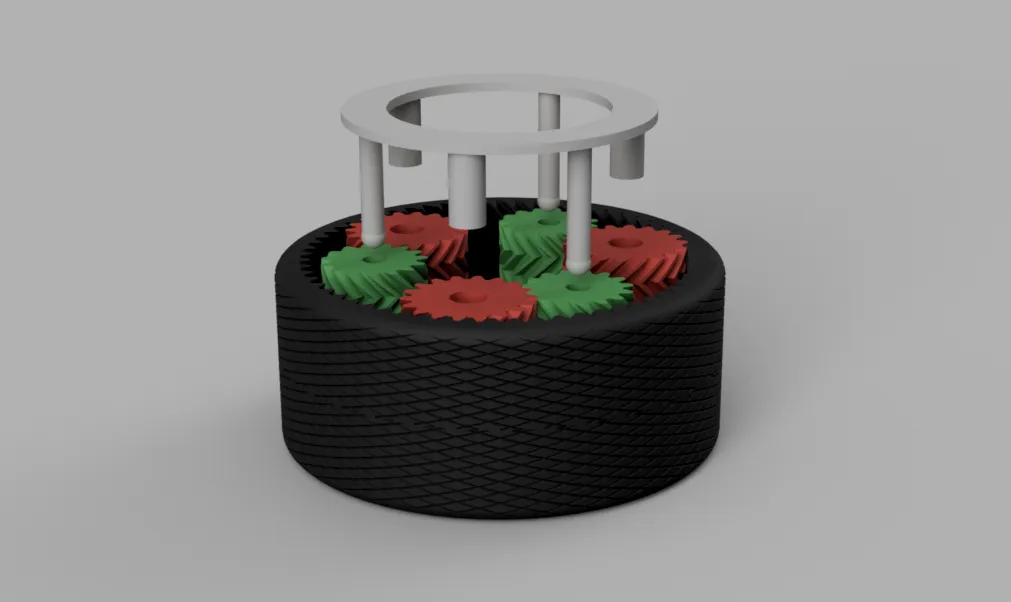

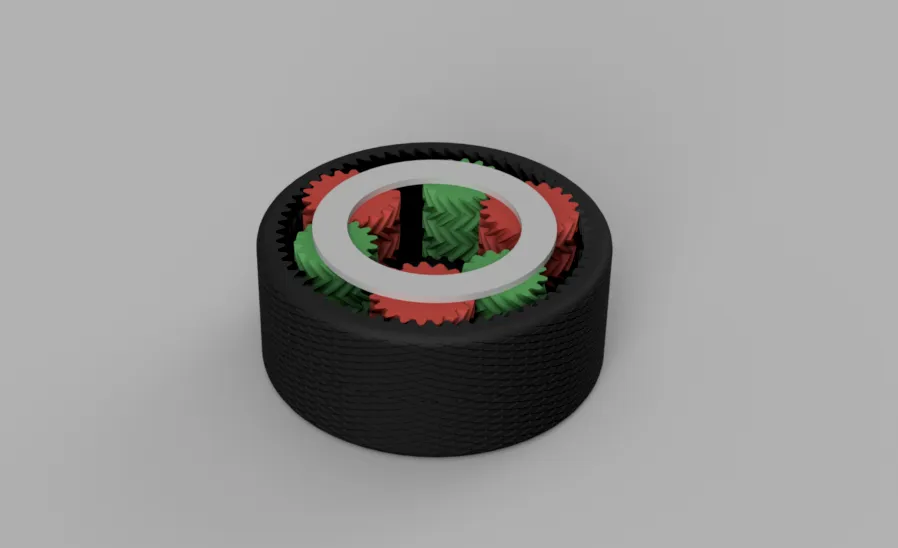
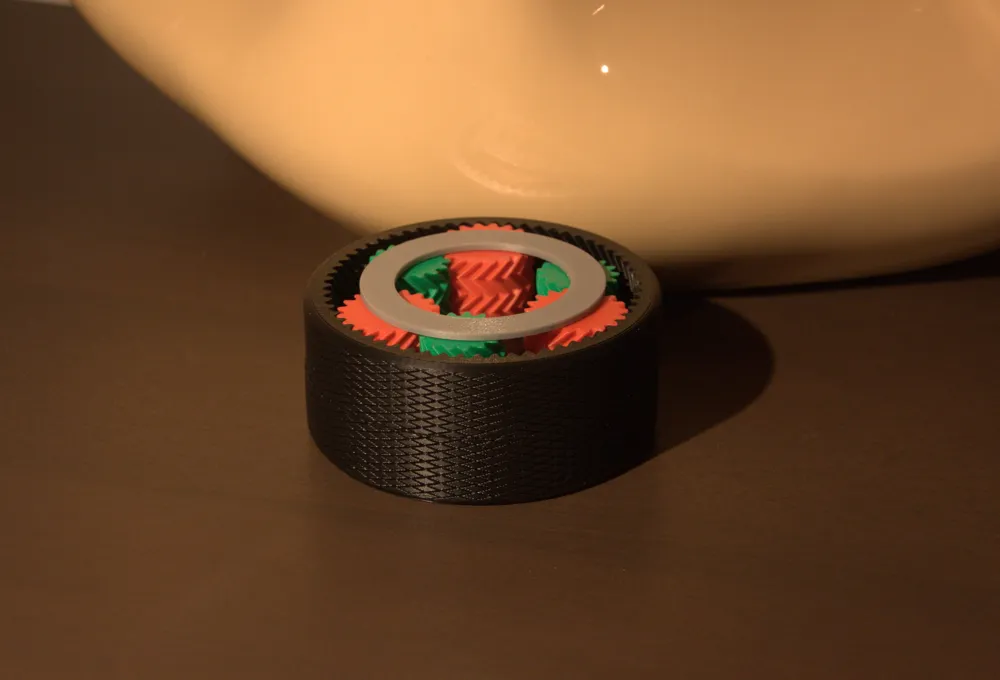
For the final step, align the holding ring above the gears. Begin by gently but firmly pushing the long rods into the corresponding long gear shafts. This part may require a bit of force, but once the rods are fully inserted, they’ll stay securely in place without additional support. Be careful at this step because the ring can break quite easily.
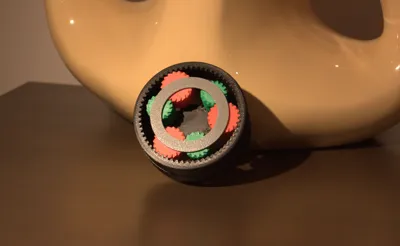
As you insert the rods about halfway, align the large gears so the rods can fit into them properly. This part can be a little tricky at first, but it becomes easier once you get the first rod in. A helpful tip: start by slightly pushing the rod into the red gear—this holds it in place, giving you more control as you align the other gears.
Once everything is assembled, you should be able to spin both rings and enjoy the movement of the gear system. I hope you have fun with it! If you enjoyed the build, leaving a review would mean a lot to me.
License

You shall not share, sub-license, sell, rent, host, transfer, or distribute in any way the digital or 3D printed versions of this object, nor any other derivative work of this object in its digital or physical format (including - but not limited to - remixes of this object, and hosting on other digital platforms). The objects may not be used without permission in any way whatsoever in which you charge money, or collect fees.


Comment & Rating (4)