
Make Professional Time-Lapse Videos with Your P1S
Print Profile(1)

Description

🎥 Make Professional-Looking Time-Lapse Videos with Your Bambu Lab P1S – DSLR Snapshoot Mount
Tired of the low-resolution, built-in chamber camera on your Bambu Lab P1S? This 3D printable limit switch mount allows you to connect a DSLR and capture high-resolution, professional-quality time-lapse videos—perfectly synchronized with your printer’s movements.
🧩 What This Is?
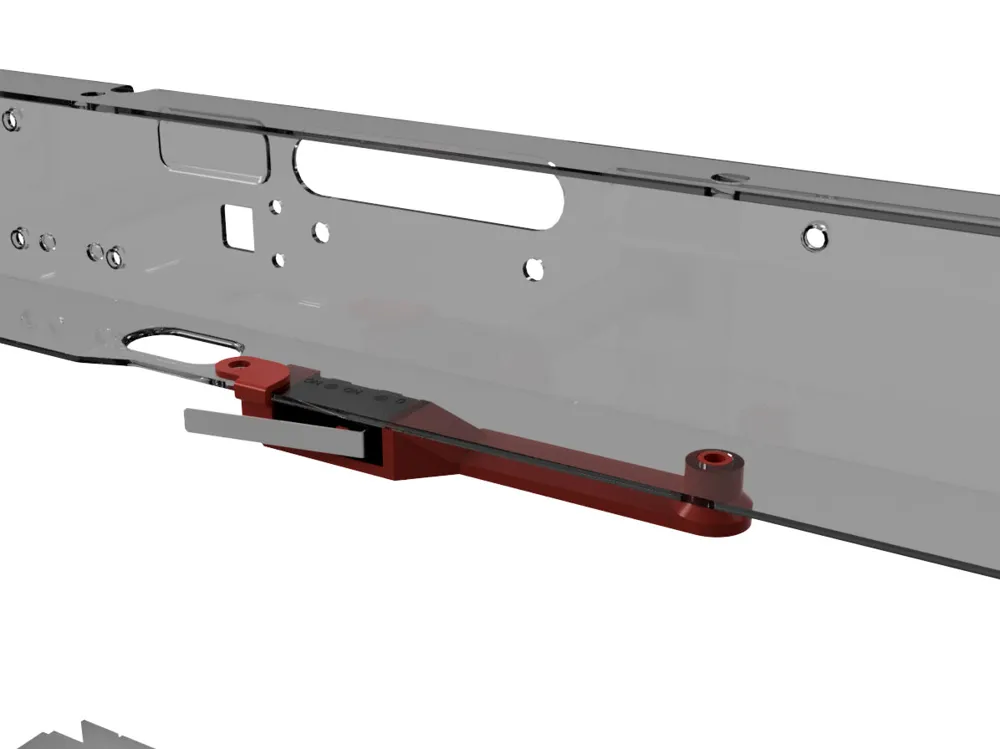
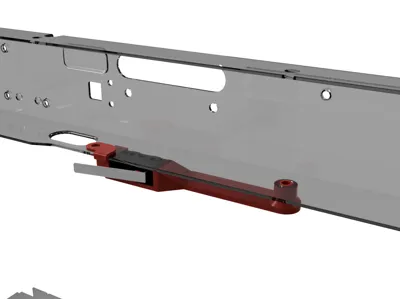
This is a custom-designed limit switch mount for the Bambu Lab P1S, made to hold a micro limit switch (model: 10T85, 27.8mm long lever) in position so that it’s snapshotted every time the toolhead moves to the excess chute - triggered when Smooth Mode is active.
✅ Why Use This?
- High-quality time-lapse using your DSLR or any Smartphone camera.
- No firmware hacks or permanent mods.
- Easy to install and remove.
🛠️ What You Need
- This 3D printed mount
- Micro limit switch: 10T85 (long lever: 27.8mm)
- 1 x M3 screw, 6mm length
- DSLR camera with a remote snapshoot port
- wired Remote Switch for the DSLR camera (like this one) it depends on your camera model!
- Jumper wires (for connecting the switch to the camera)
🖨️ Printing Instructions
- Material: PLA or PETG recommended
- Layer Height: 0.2mm
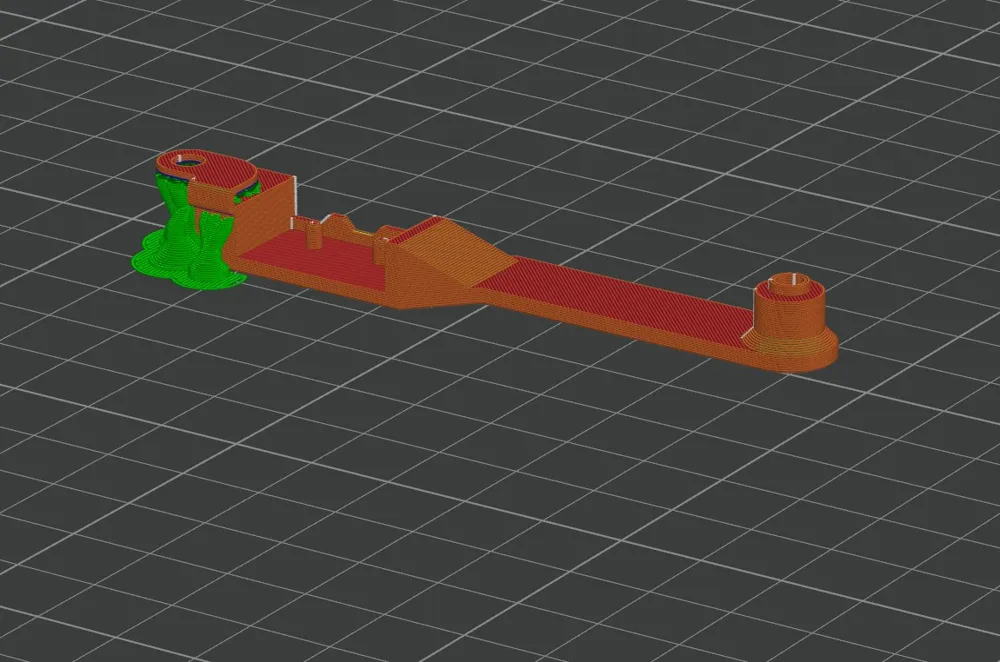
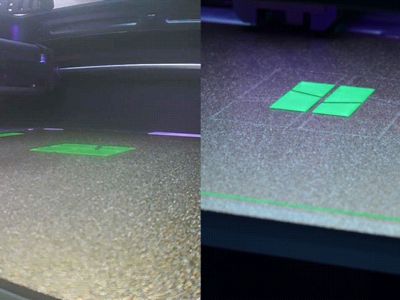
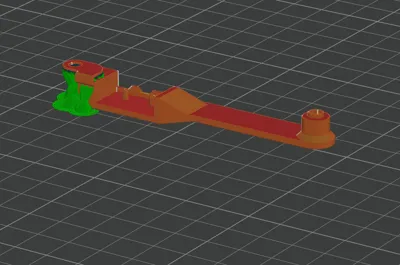
- Supports: Yes
- Infill: 25% or higher
🔌Installation & Setup Guide
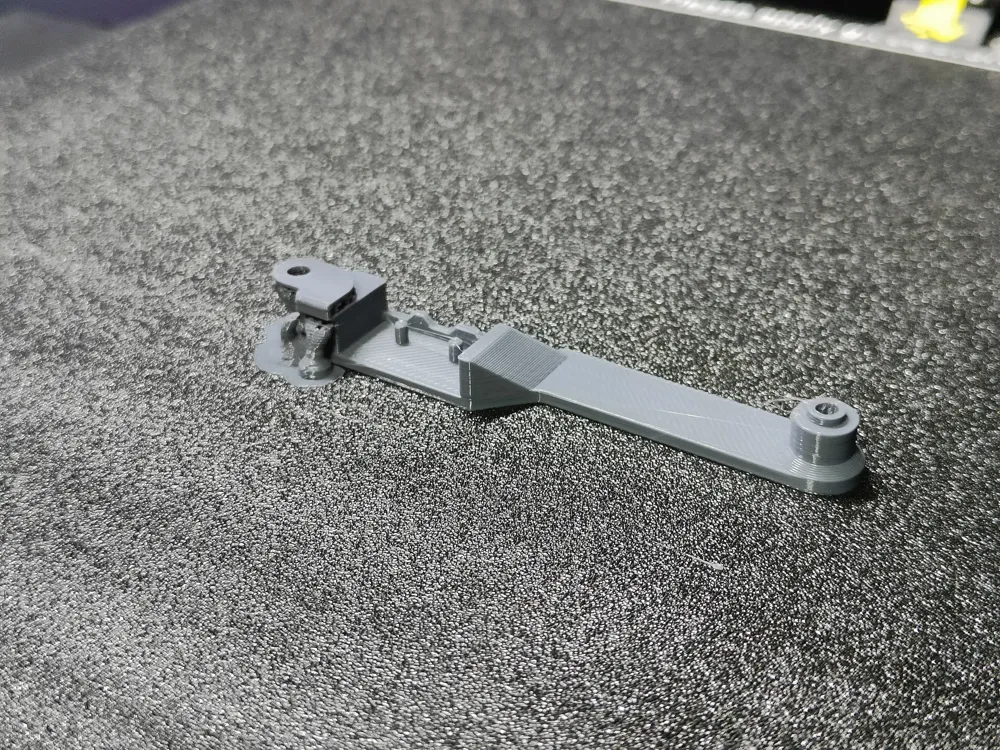
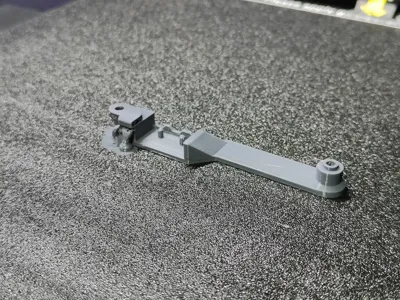
- Print the mount 3d model and remove the supports carefully.
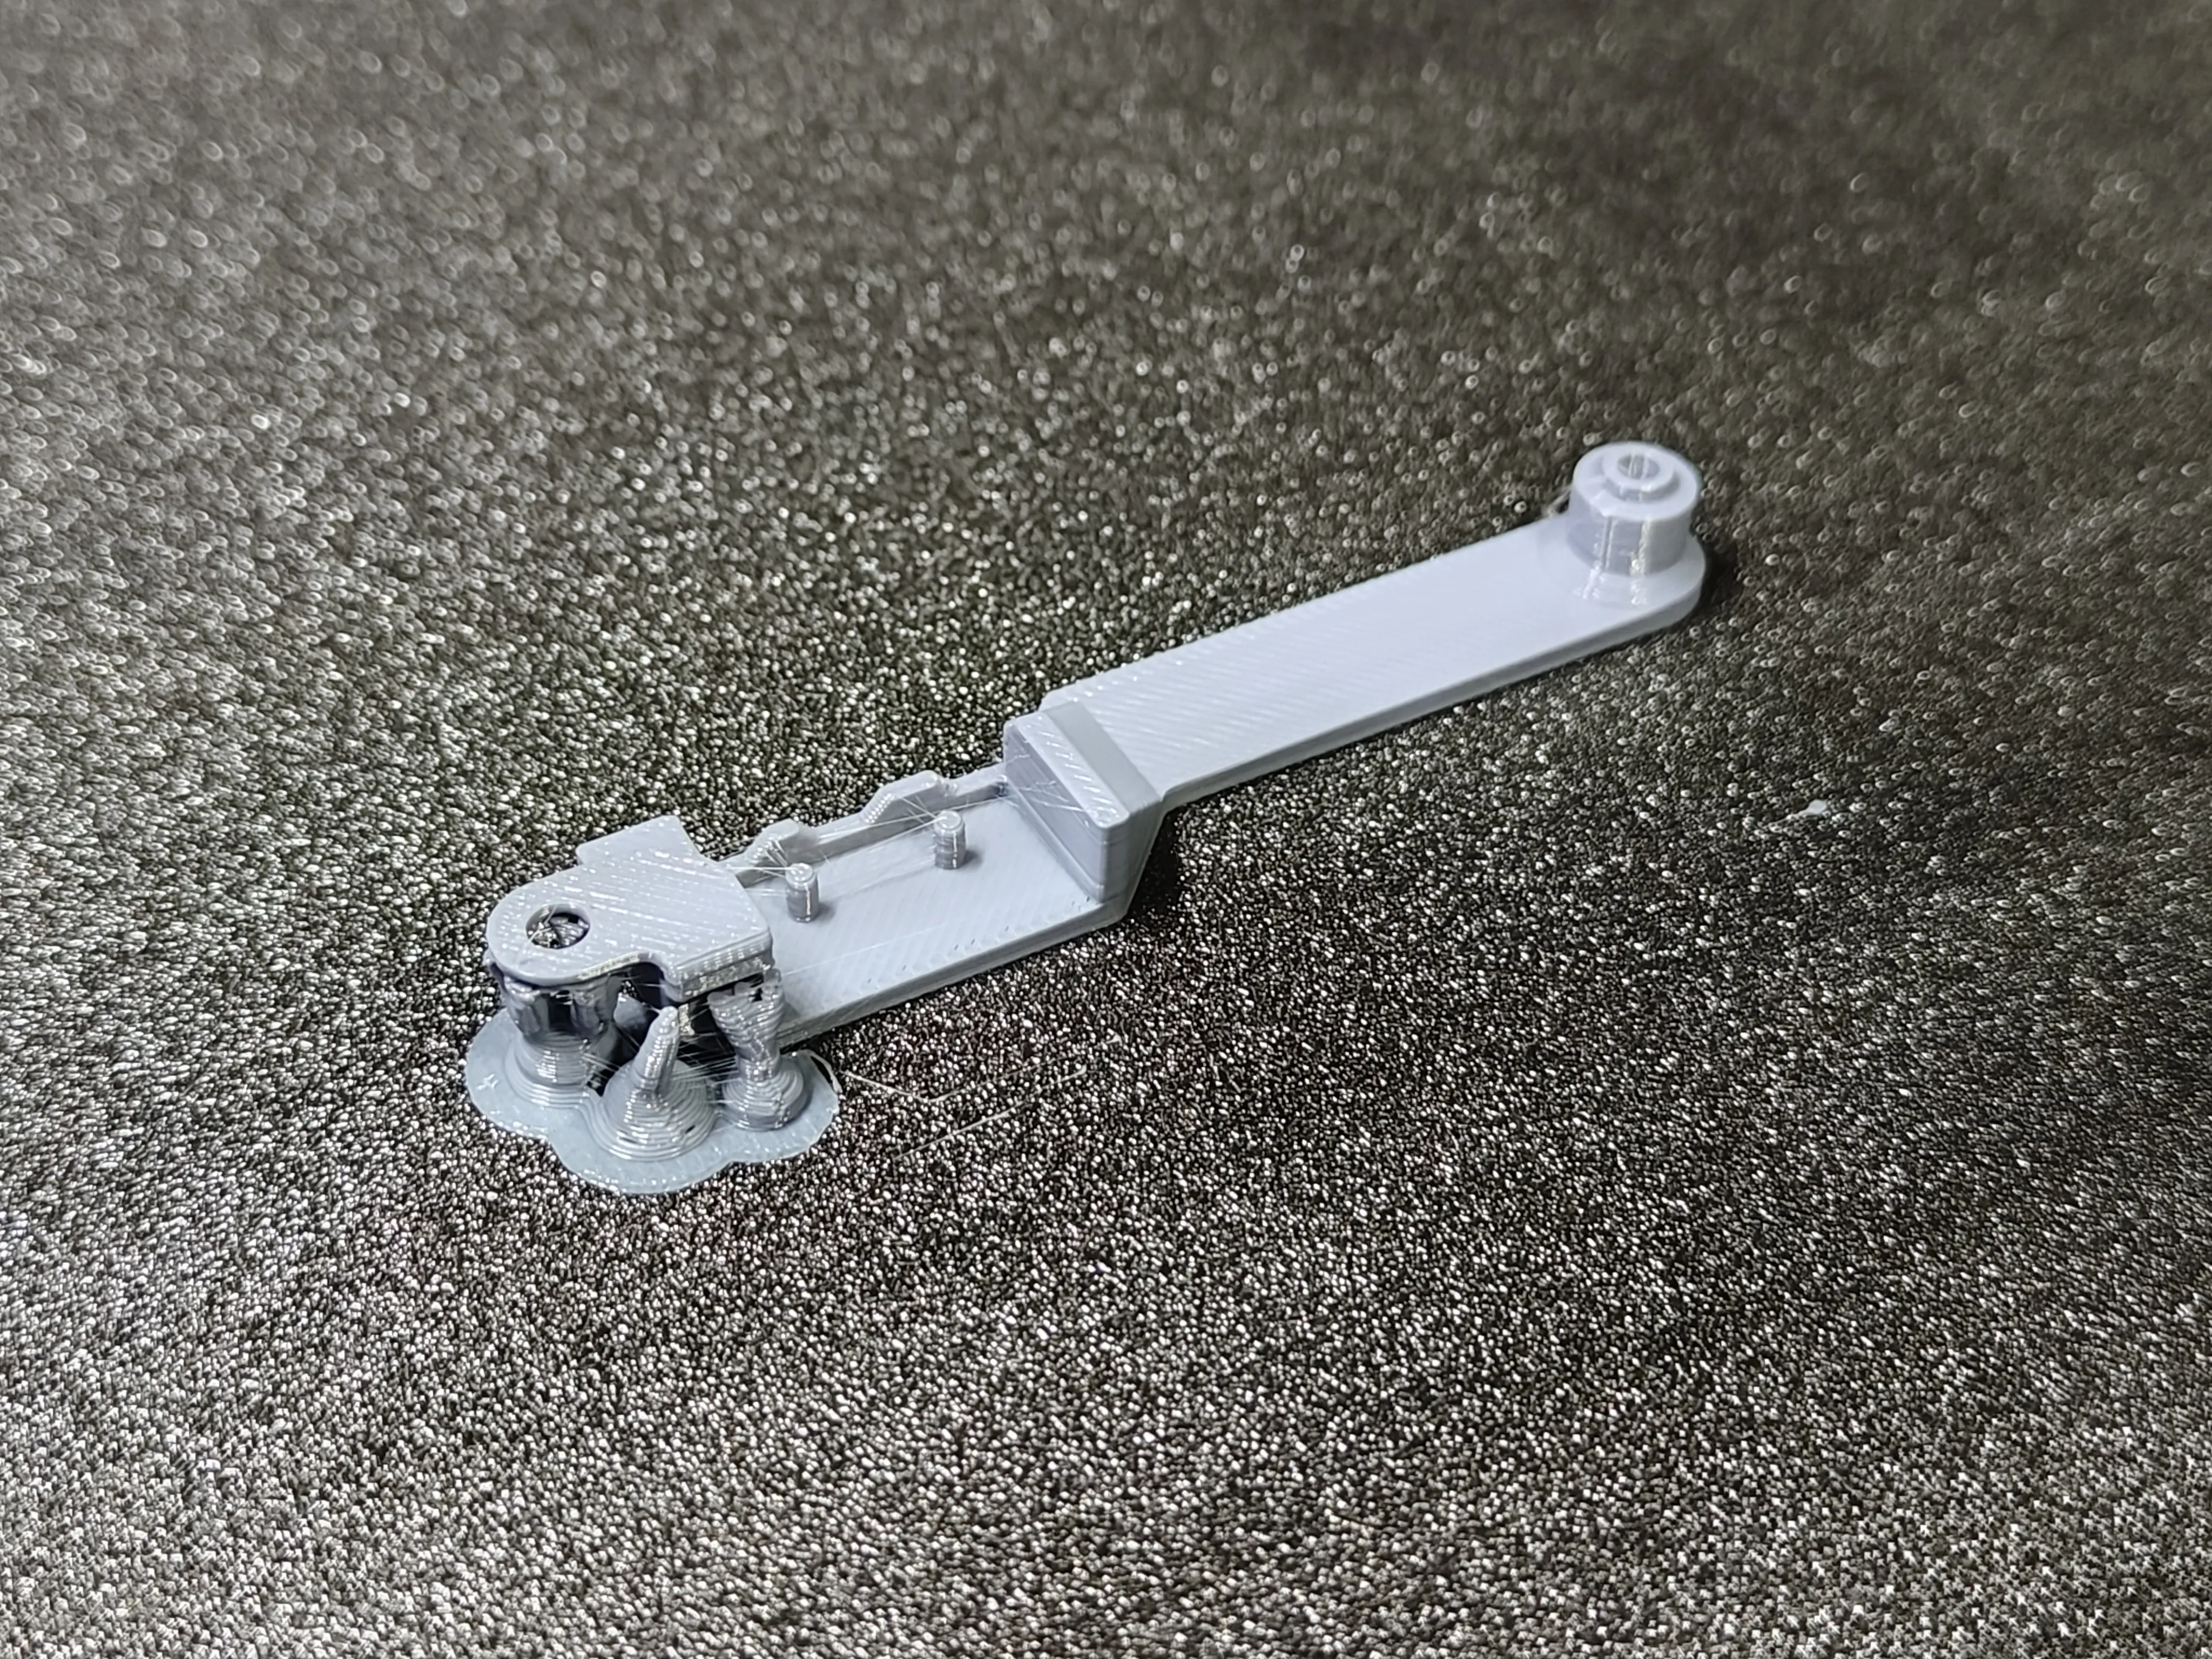
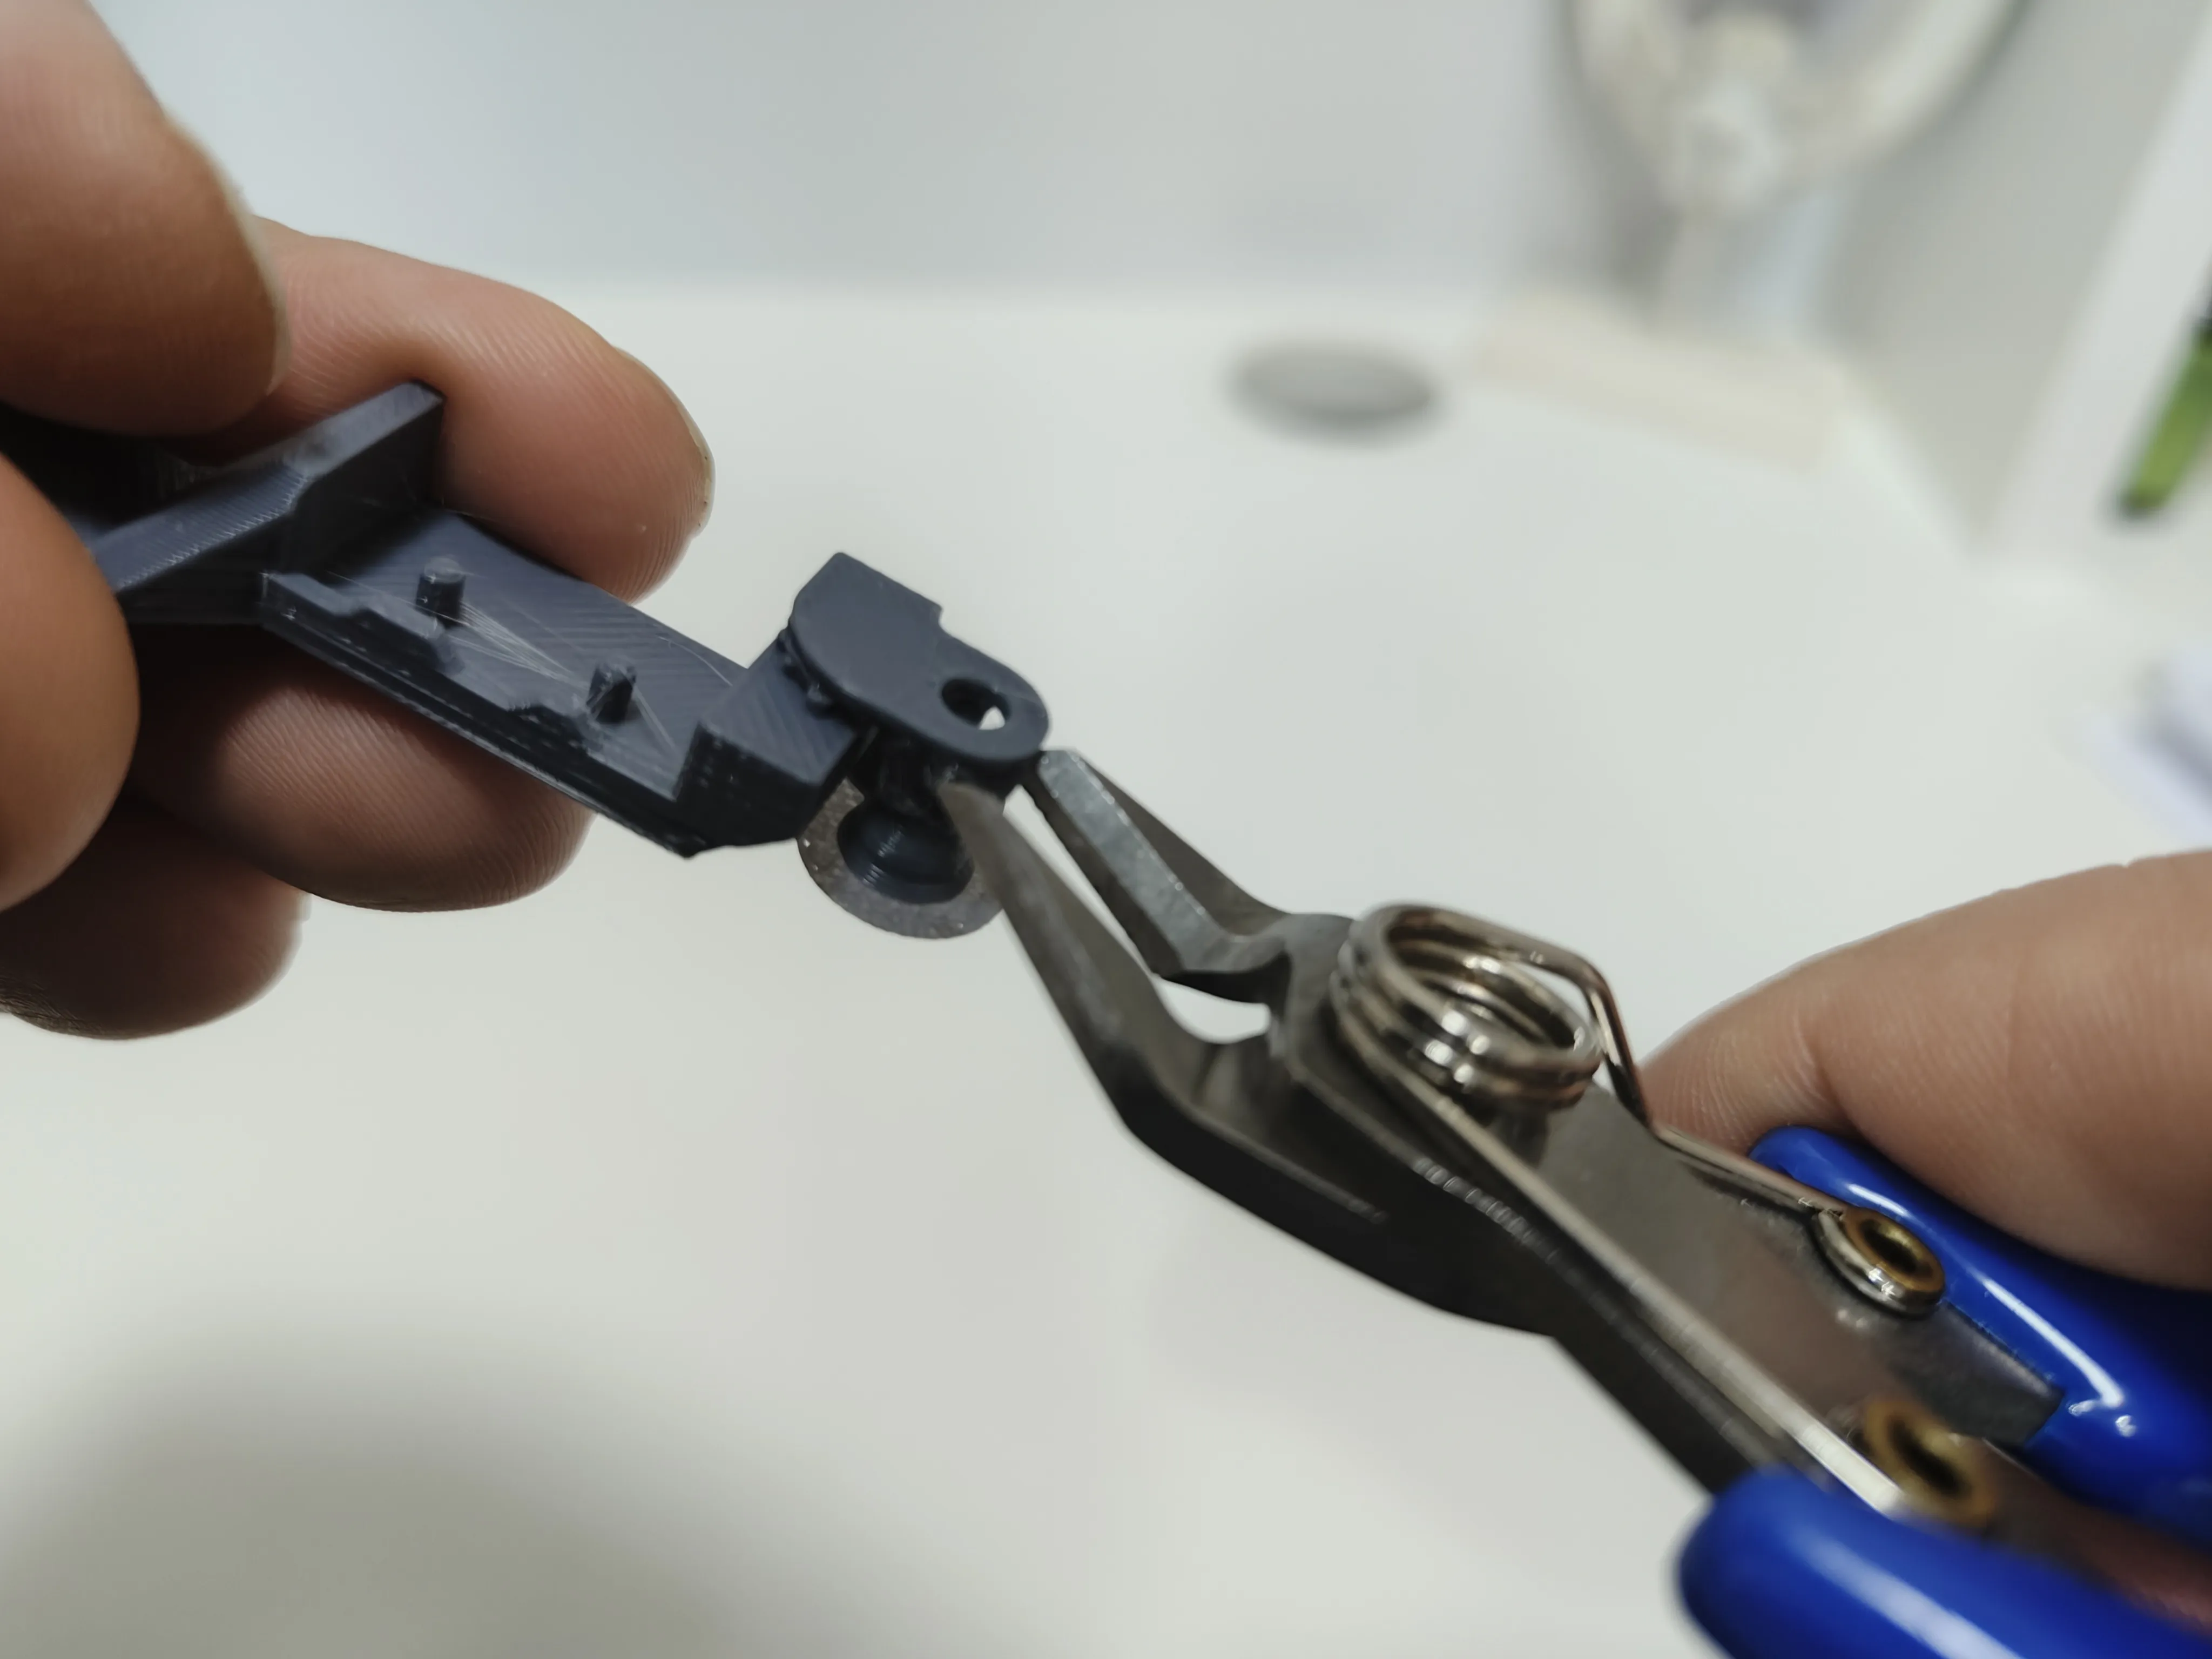
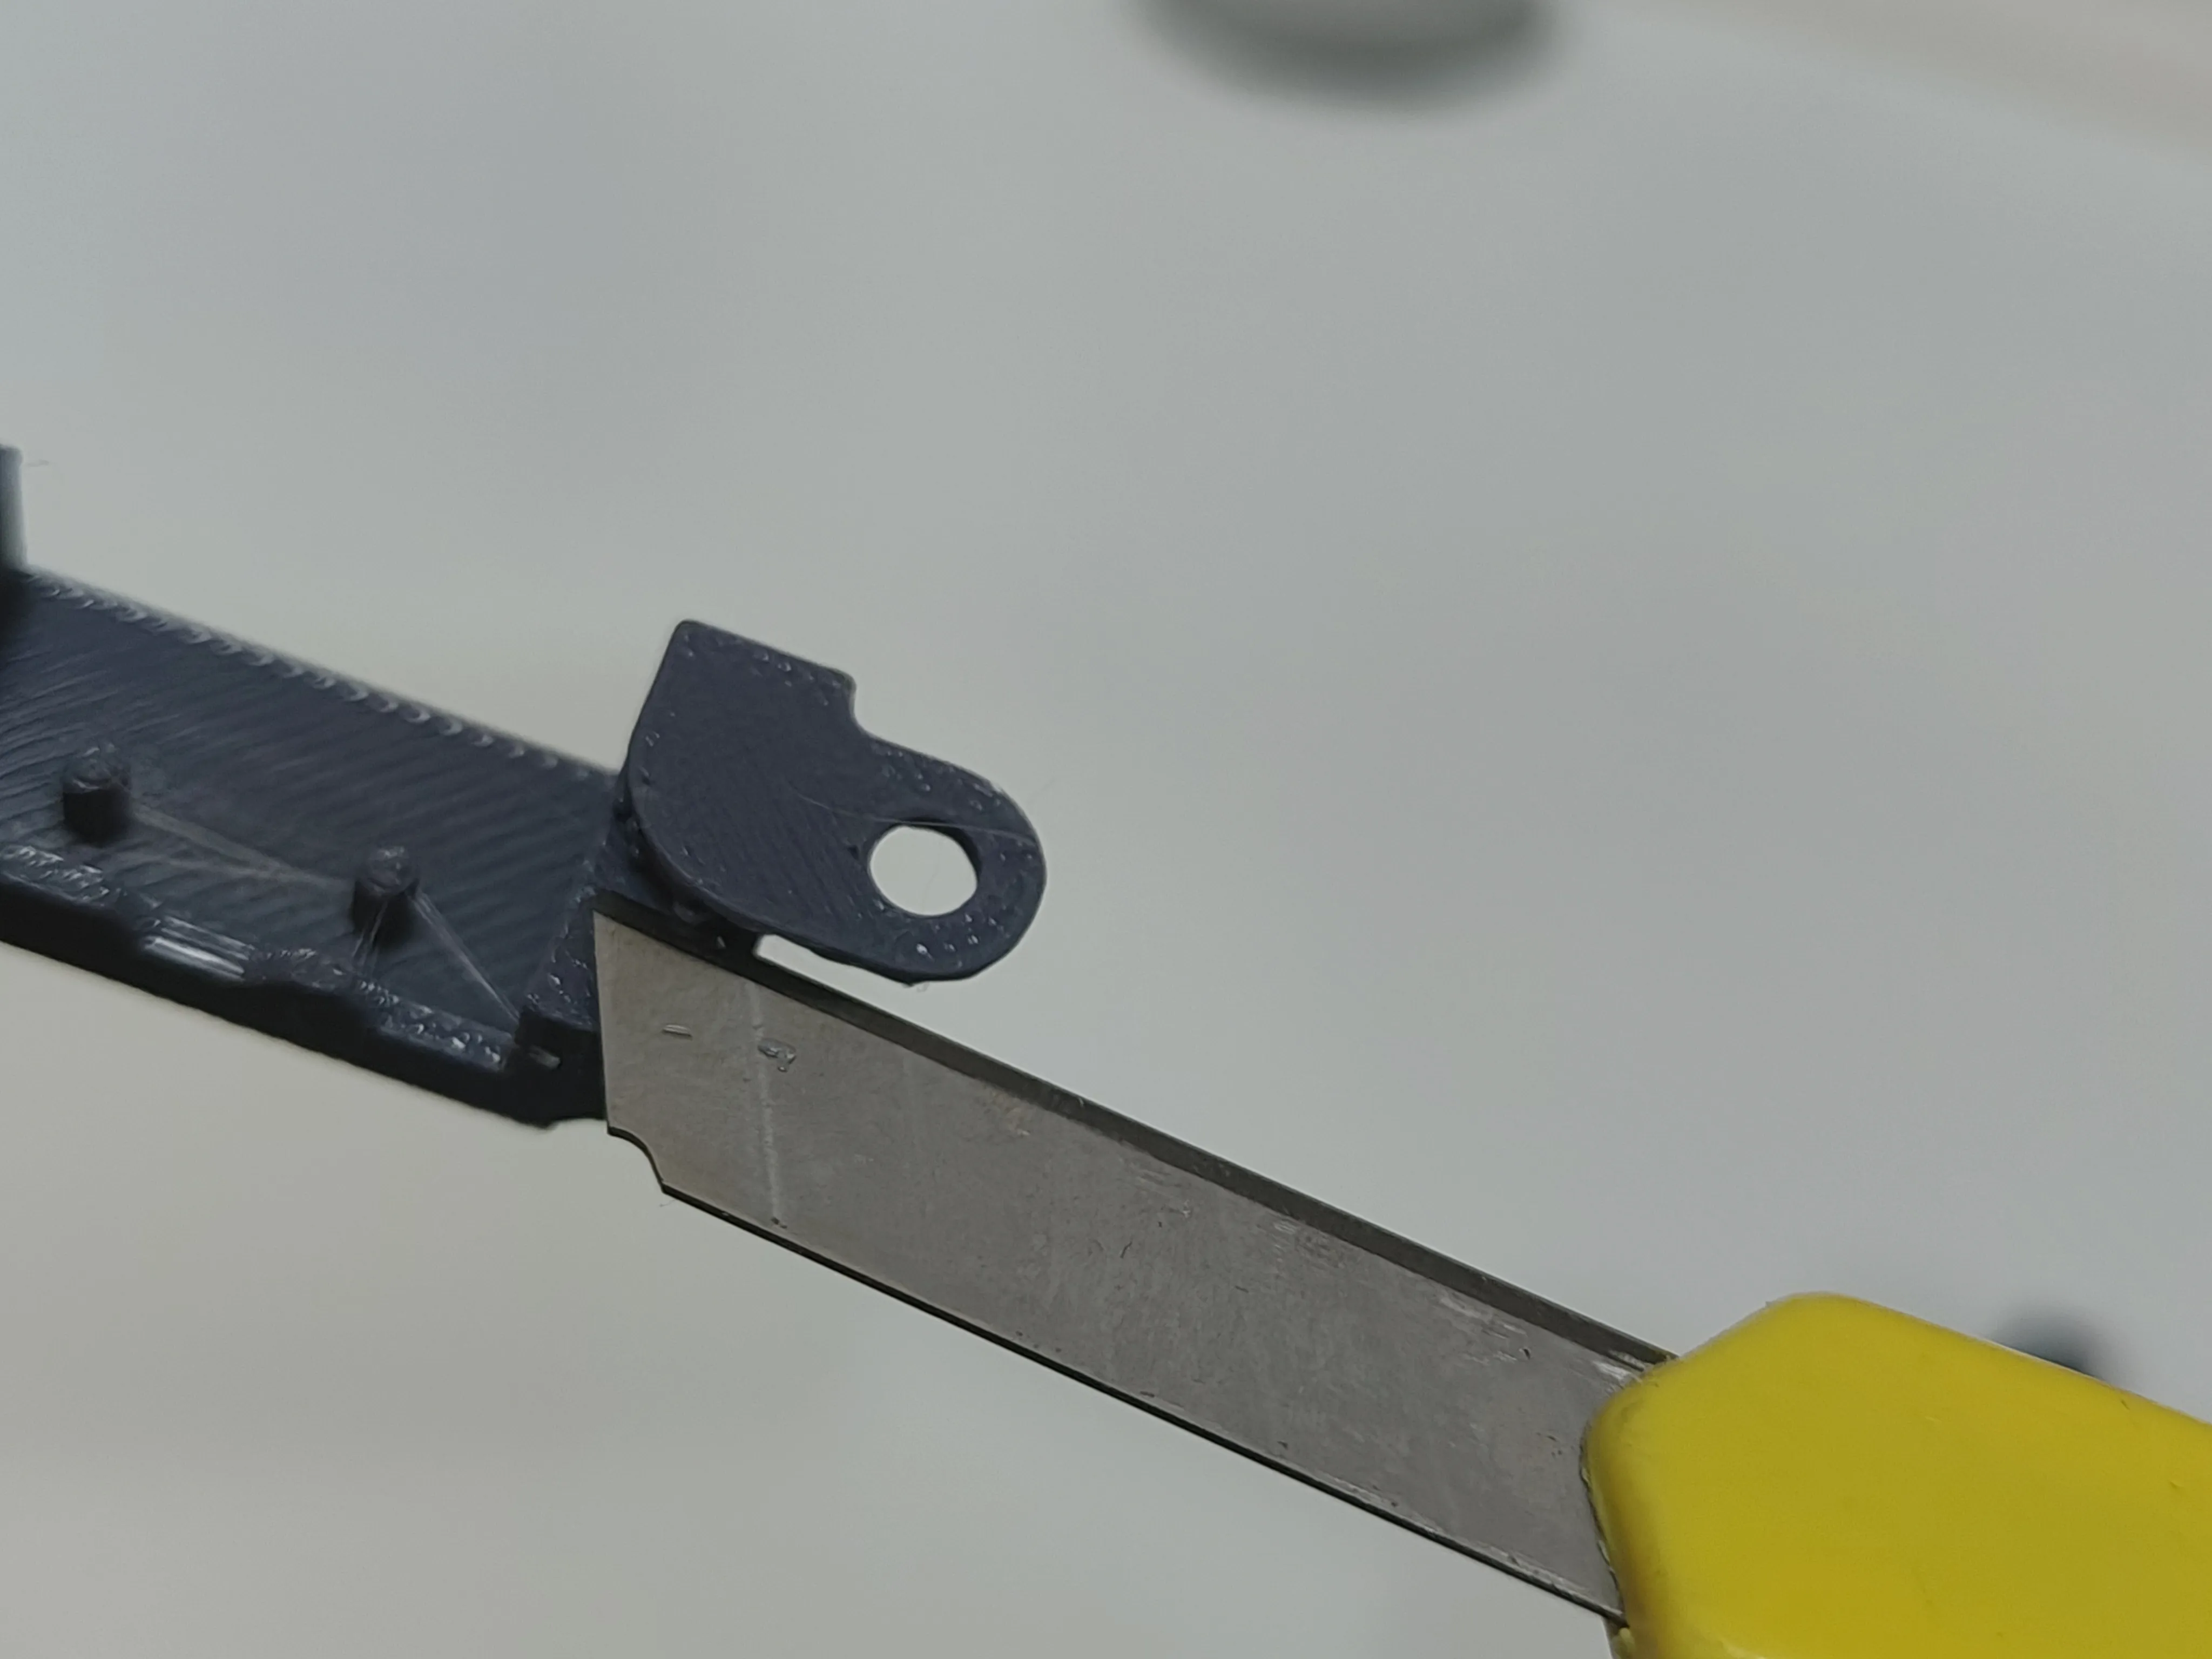
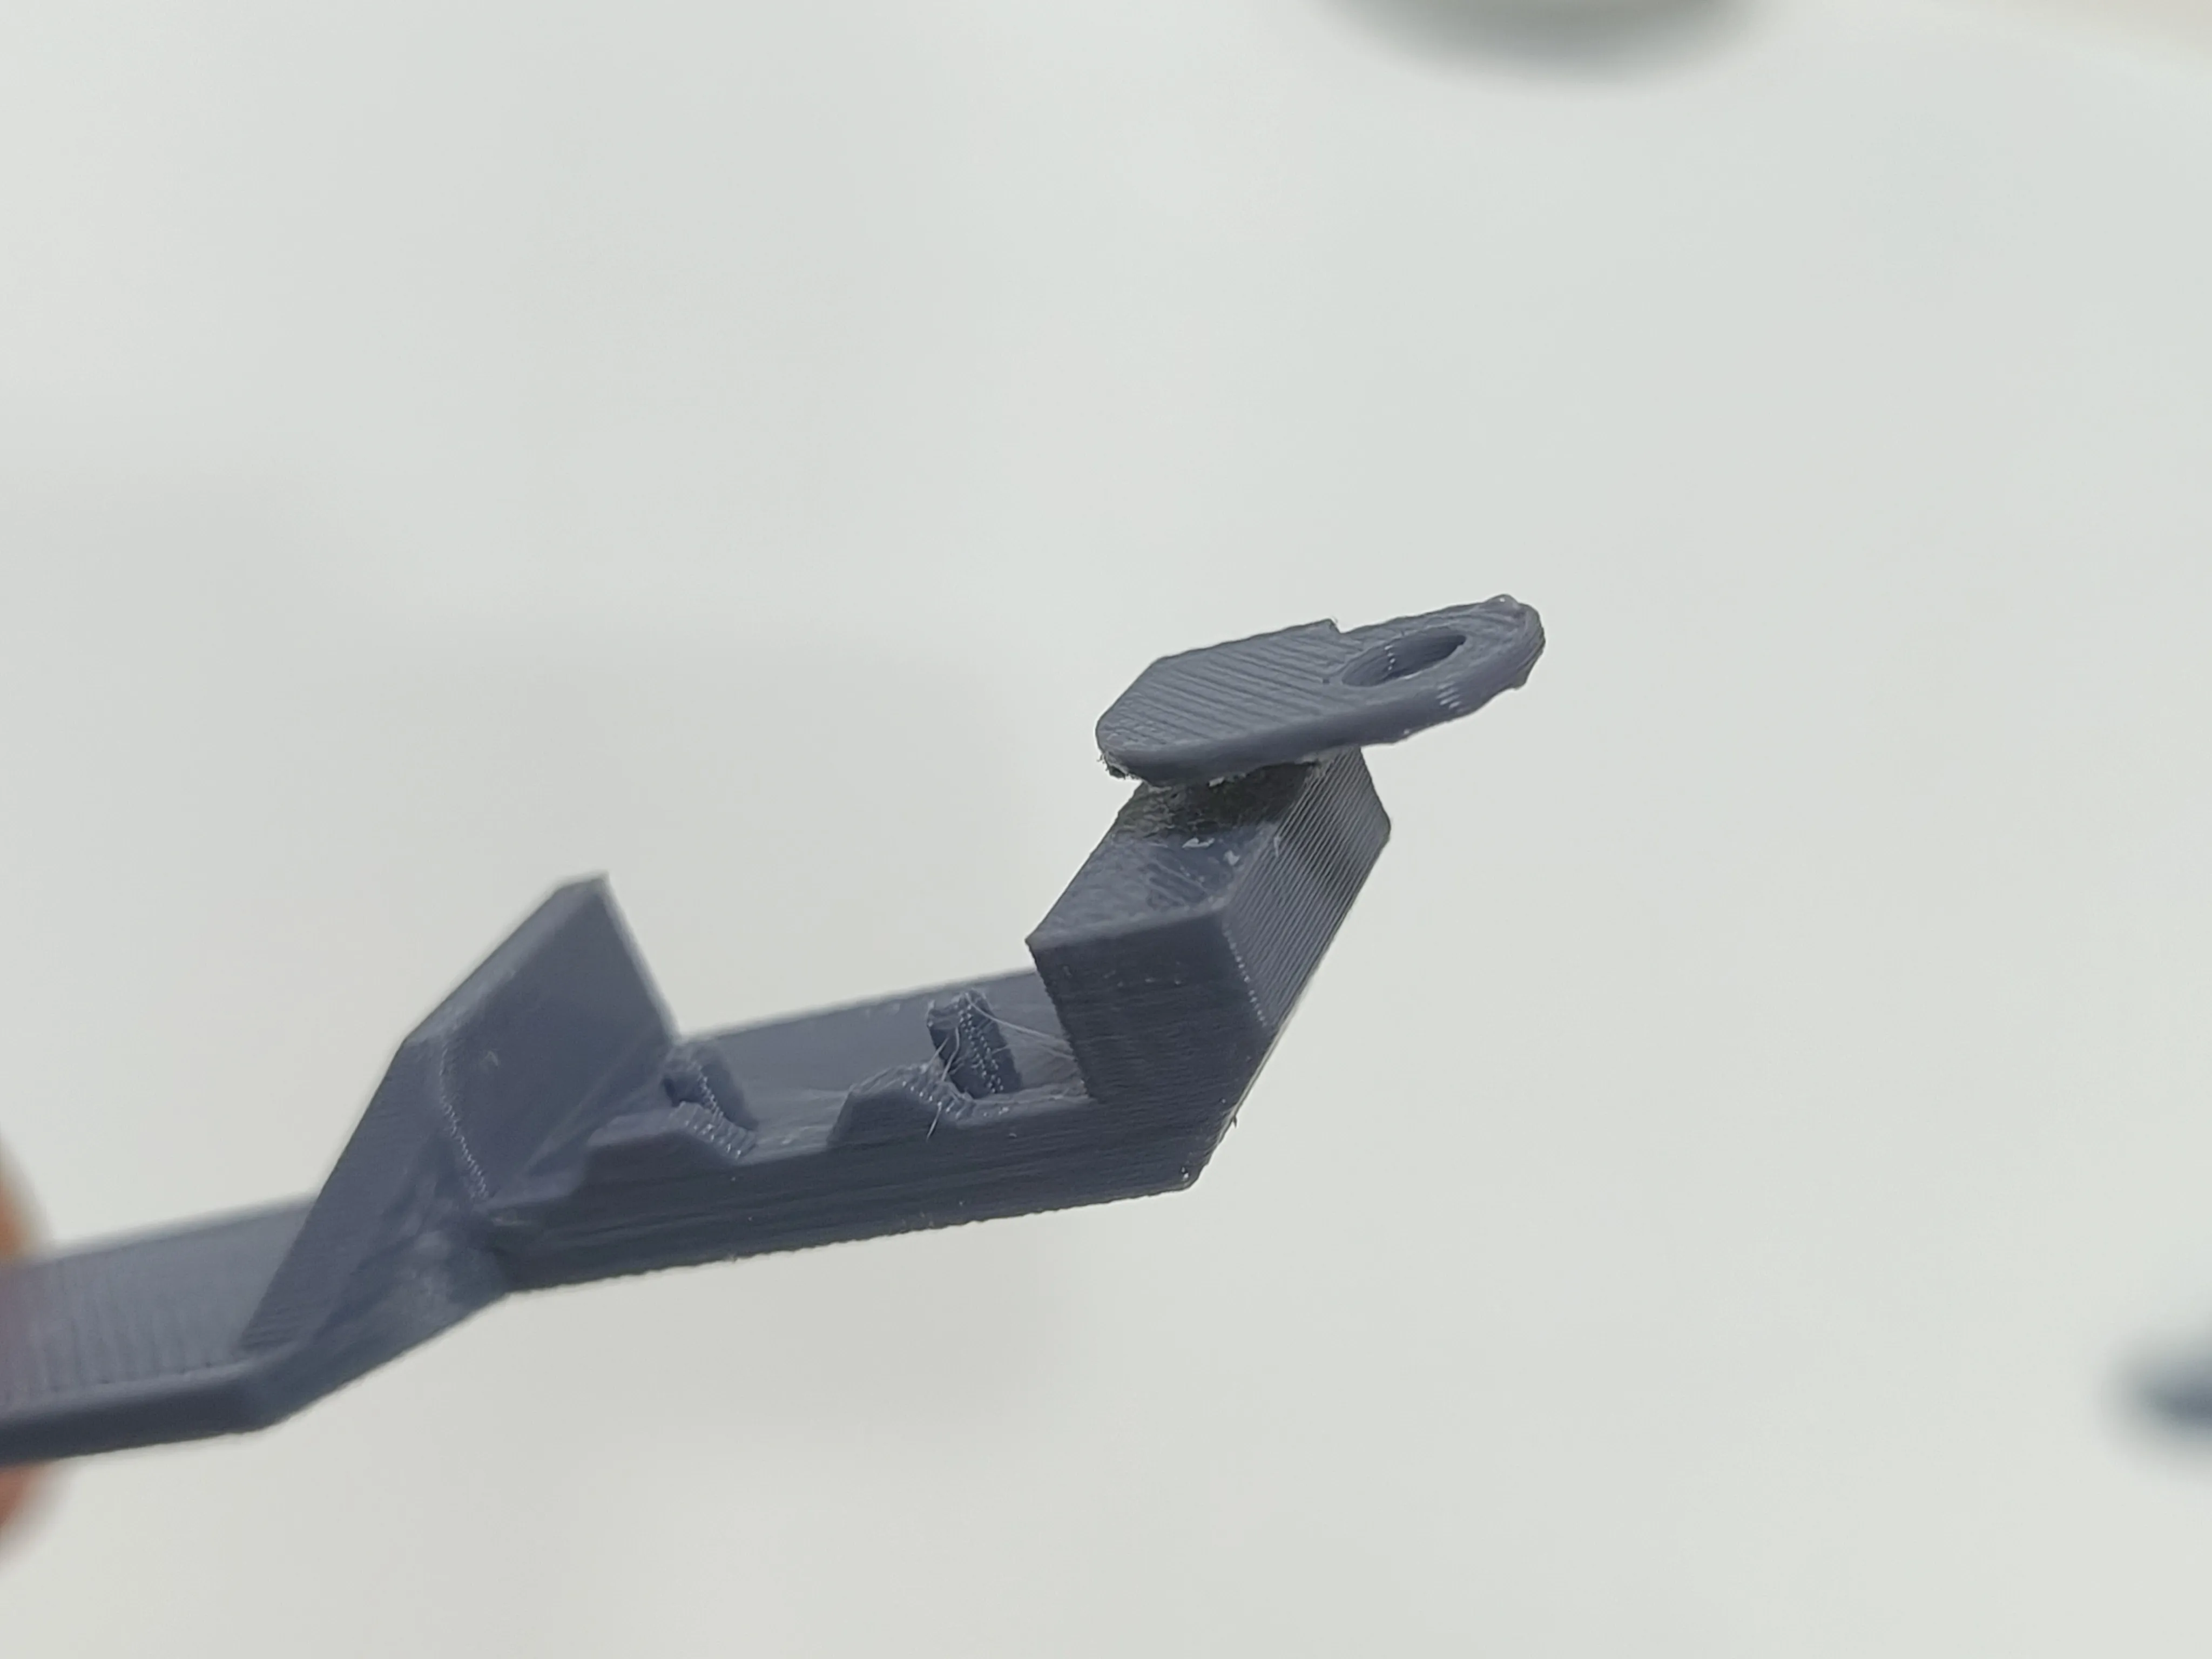
- Connect the Limit Switch wires and Place the Printed Moun. Use thin wires to connect the 10T85 switch to your DSLR’s remote input as shown.
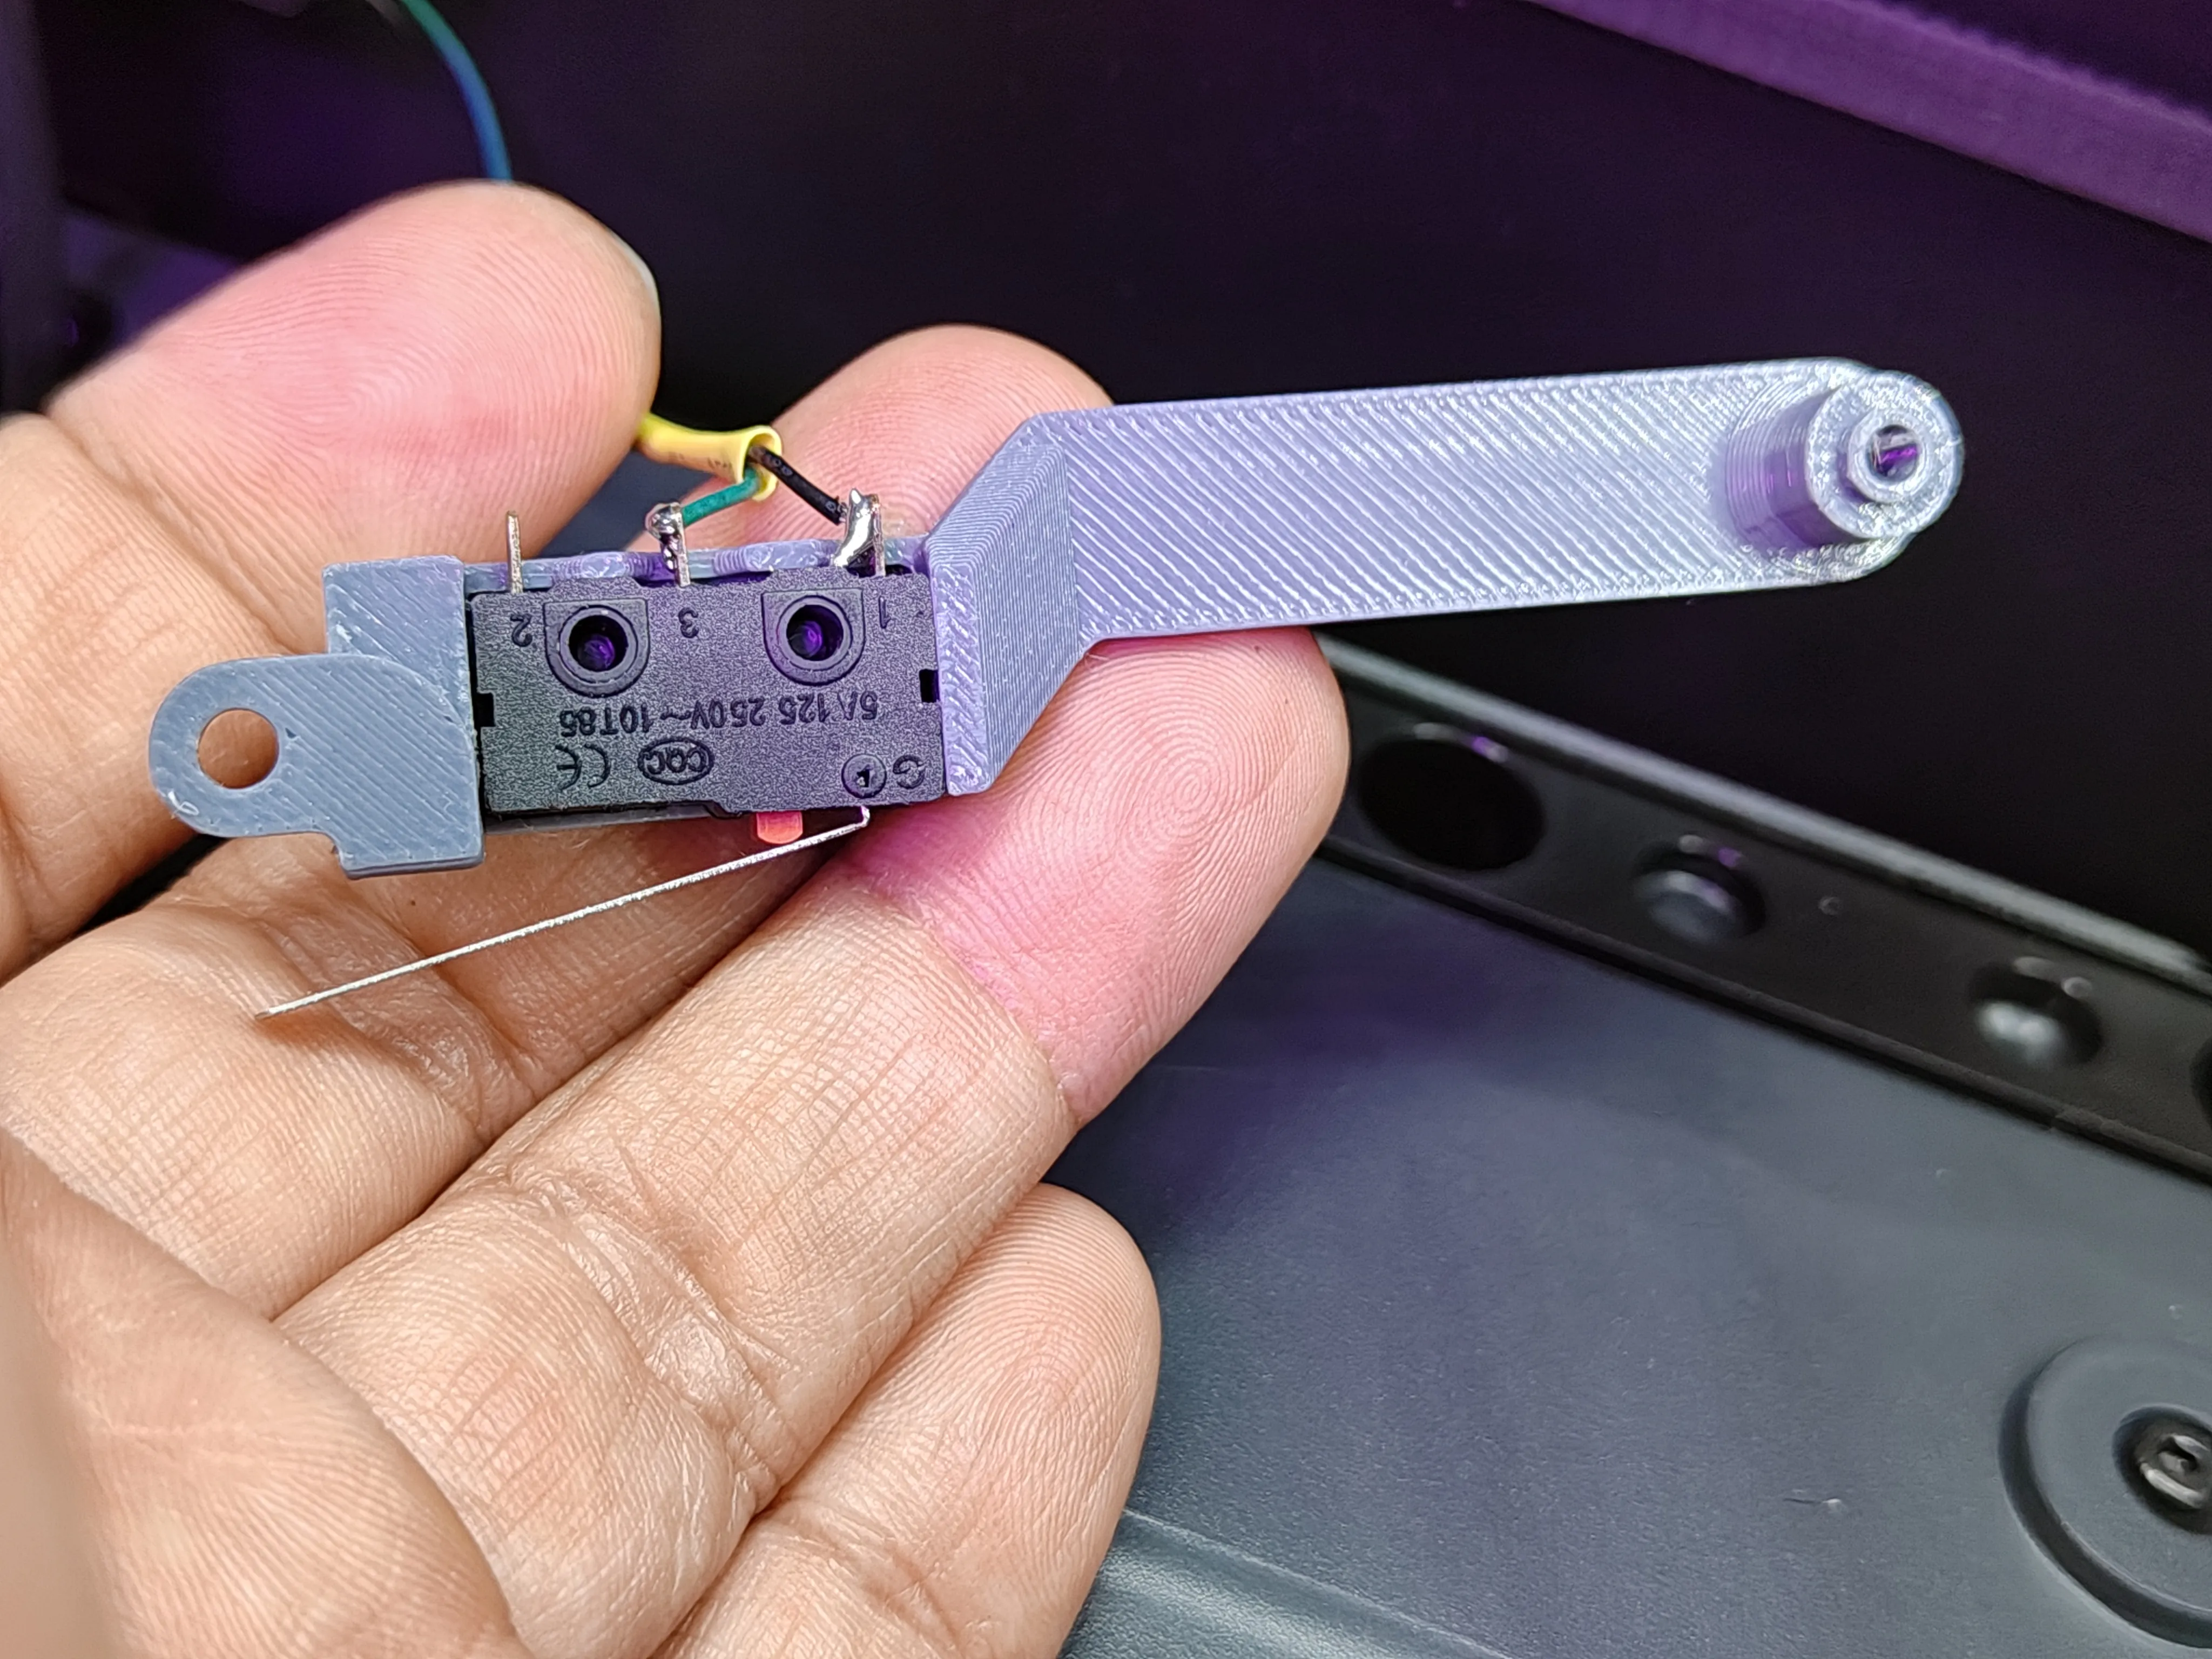
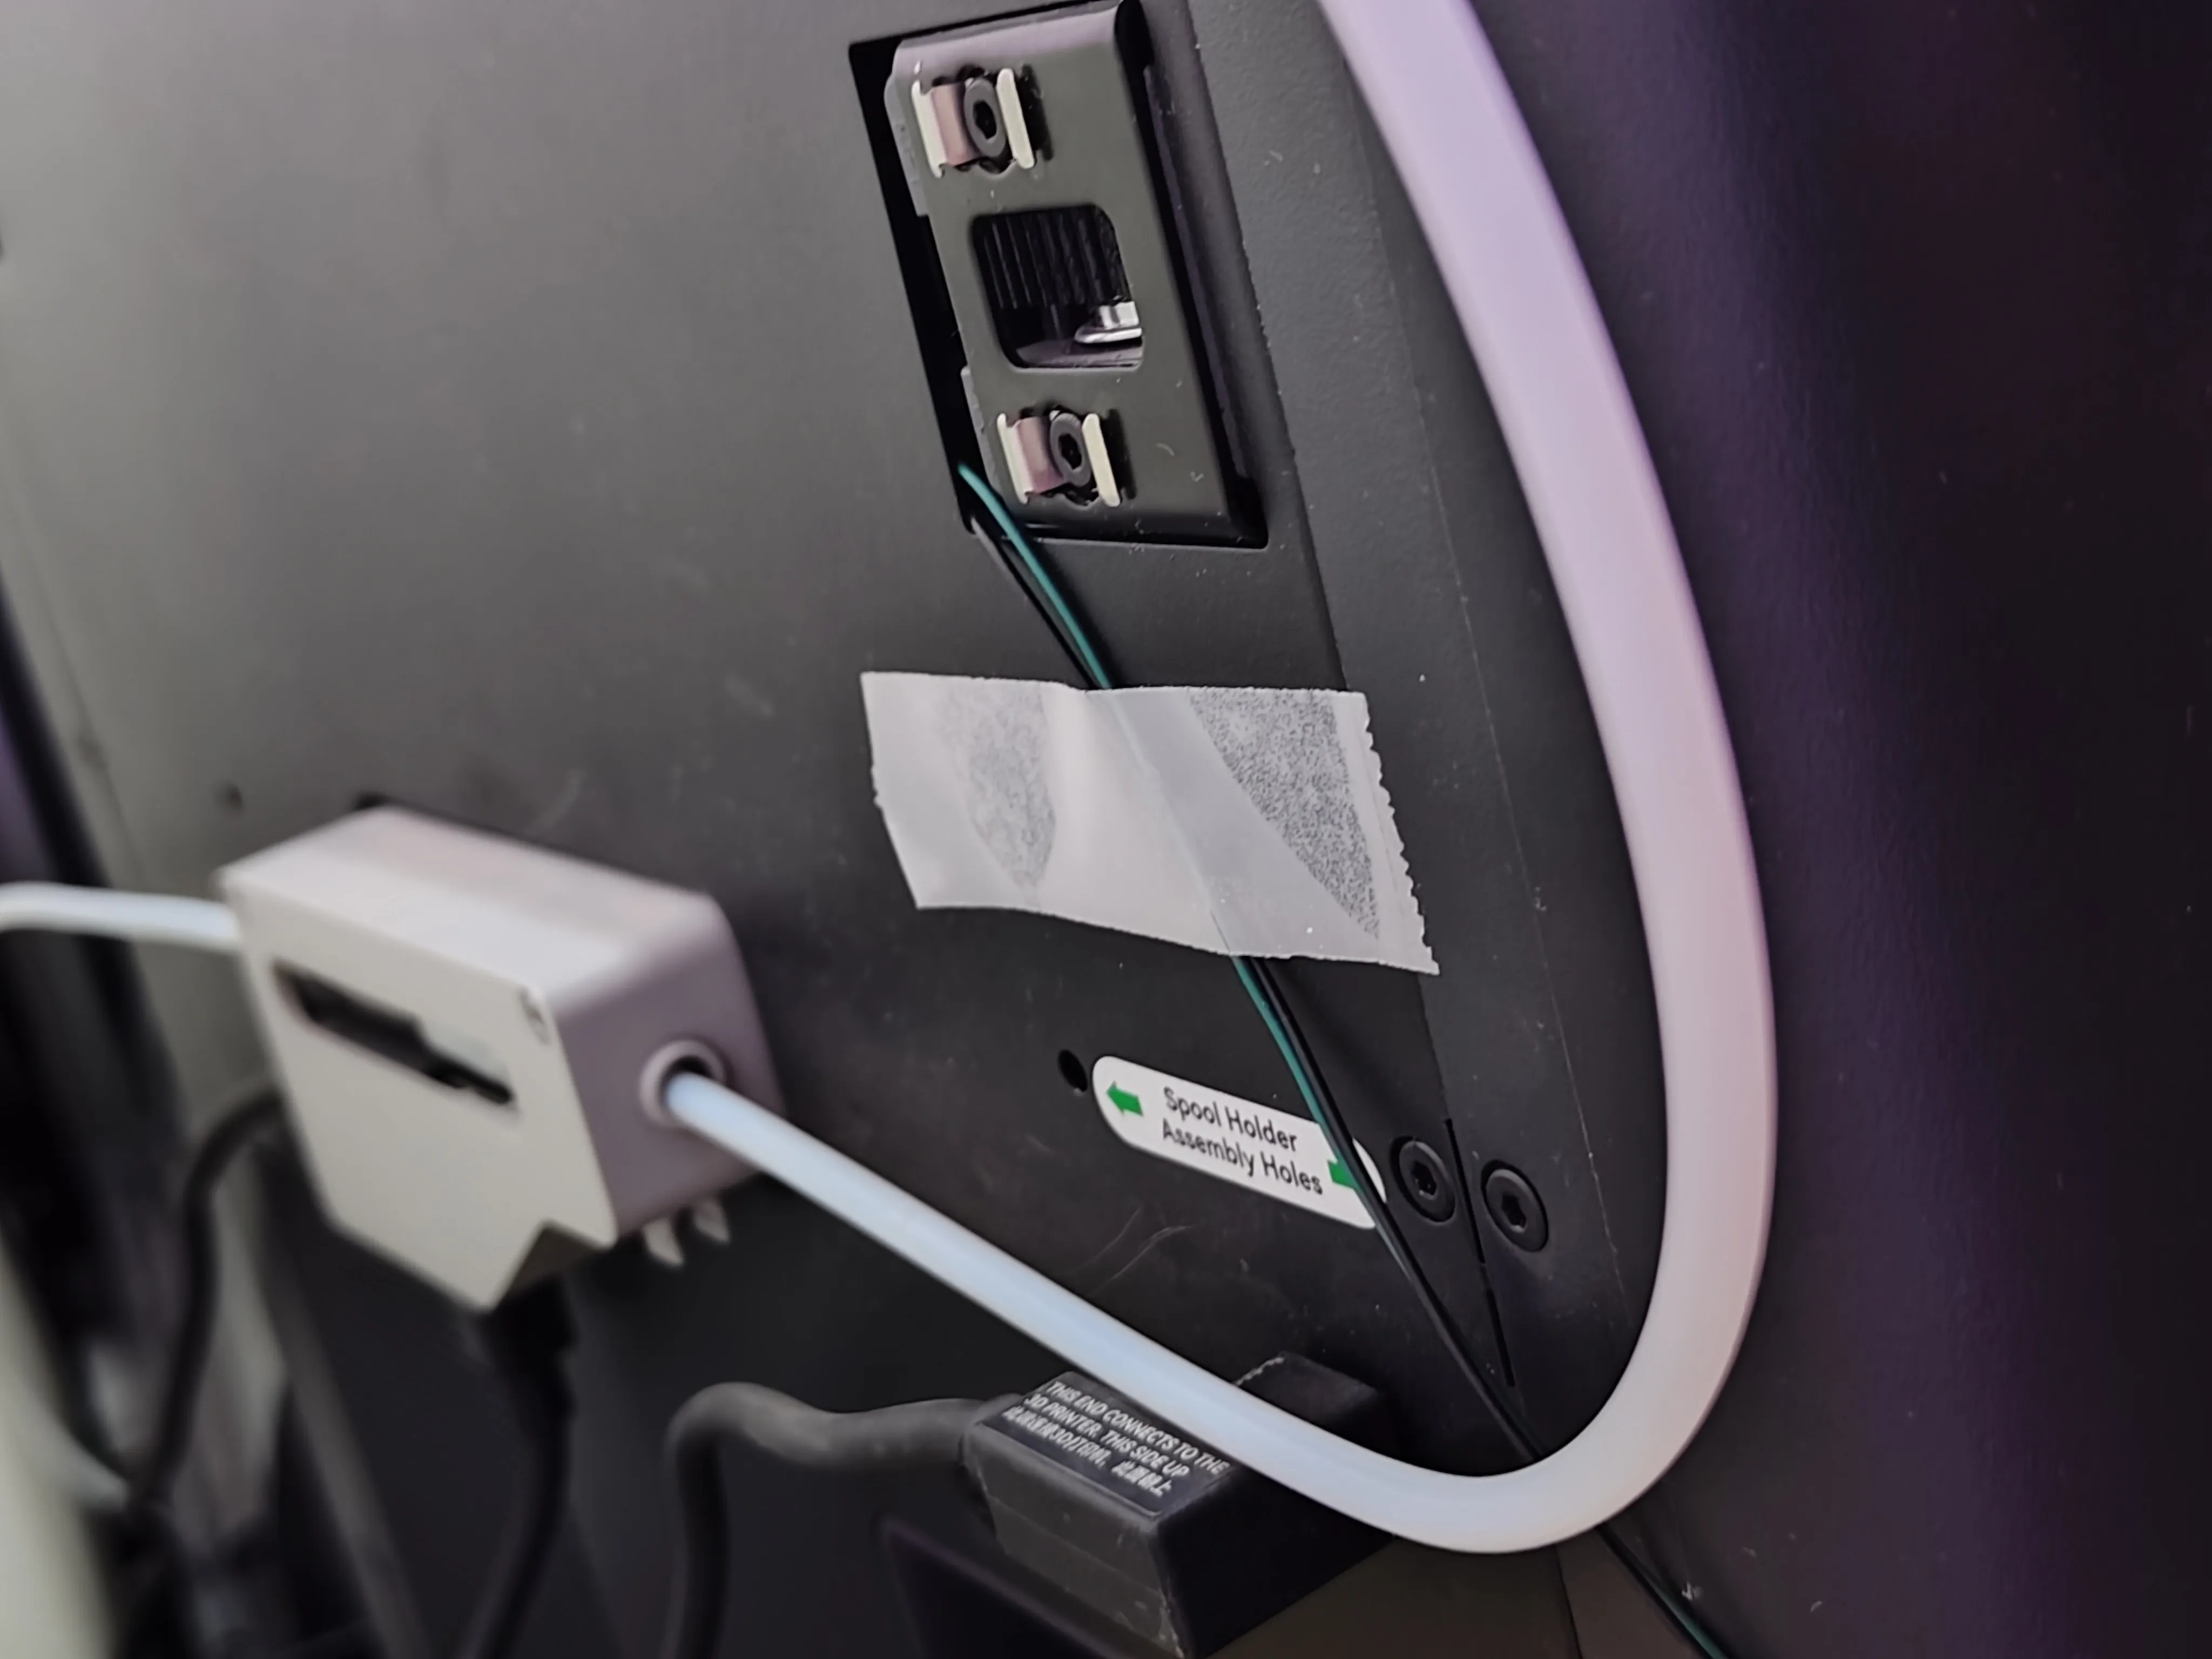
- Route the wires through the small opening in the back panel, ensuring they do not touch any moving parts.
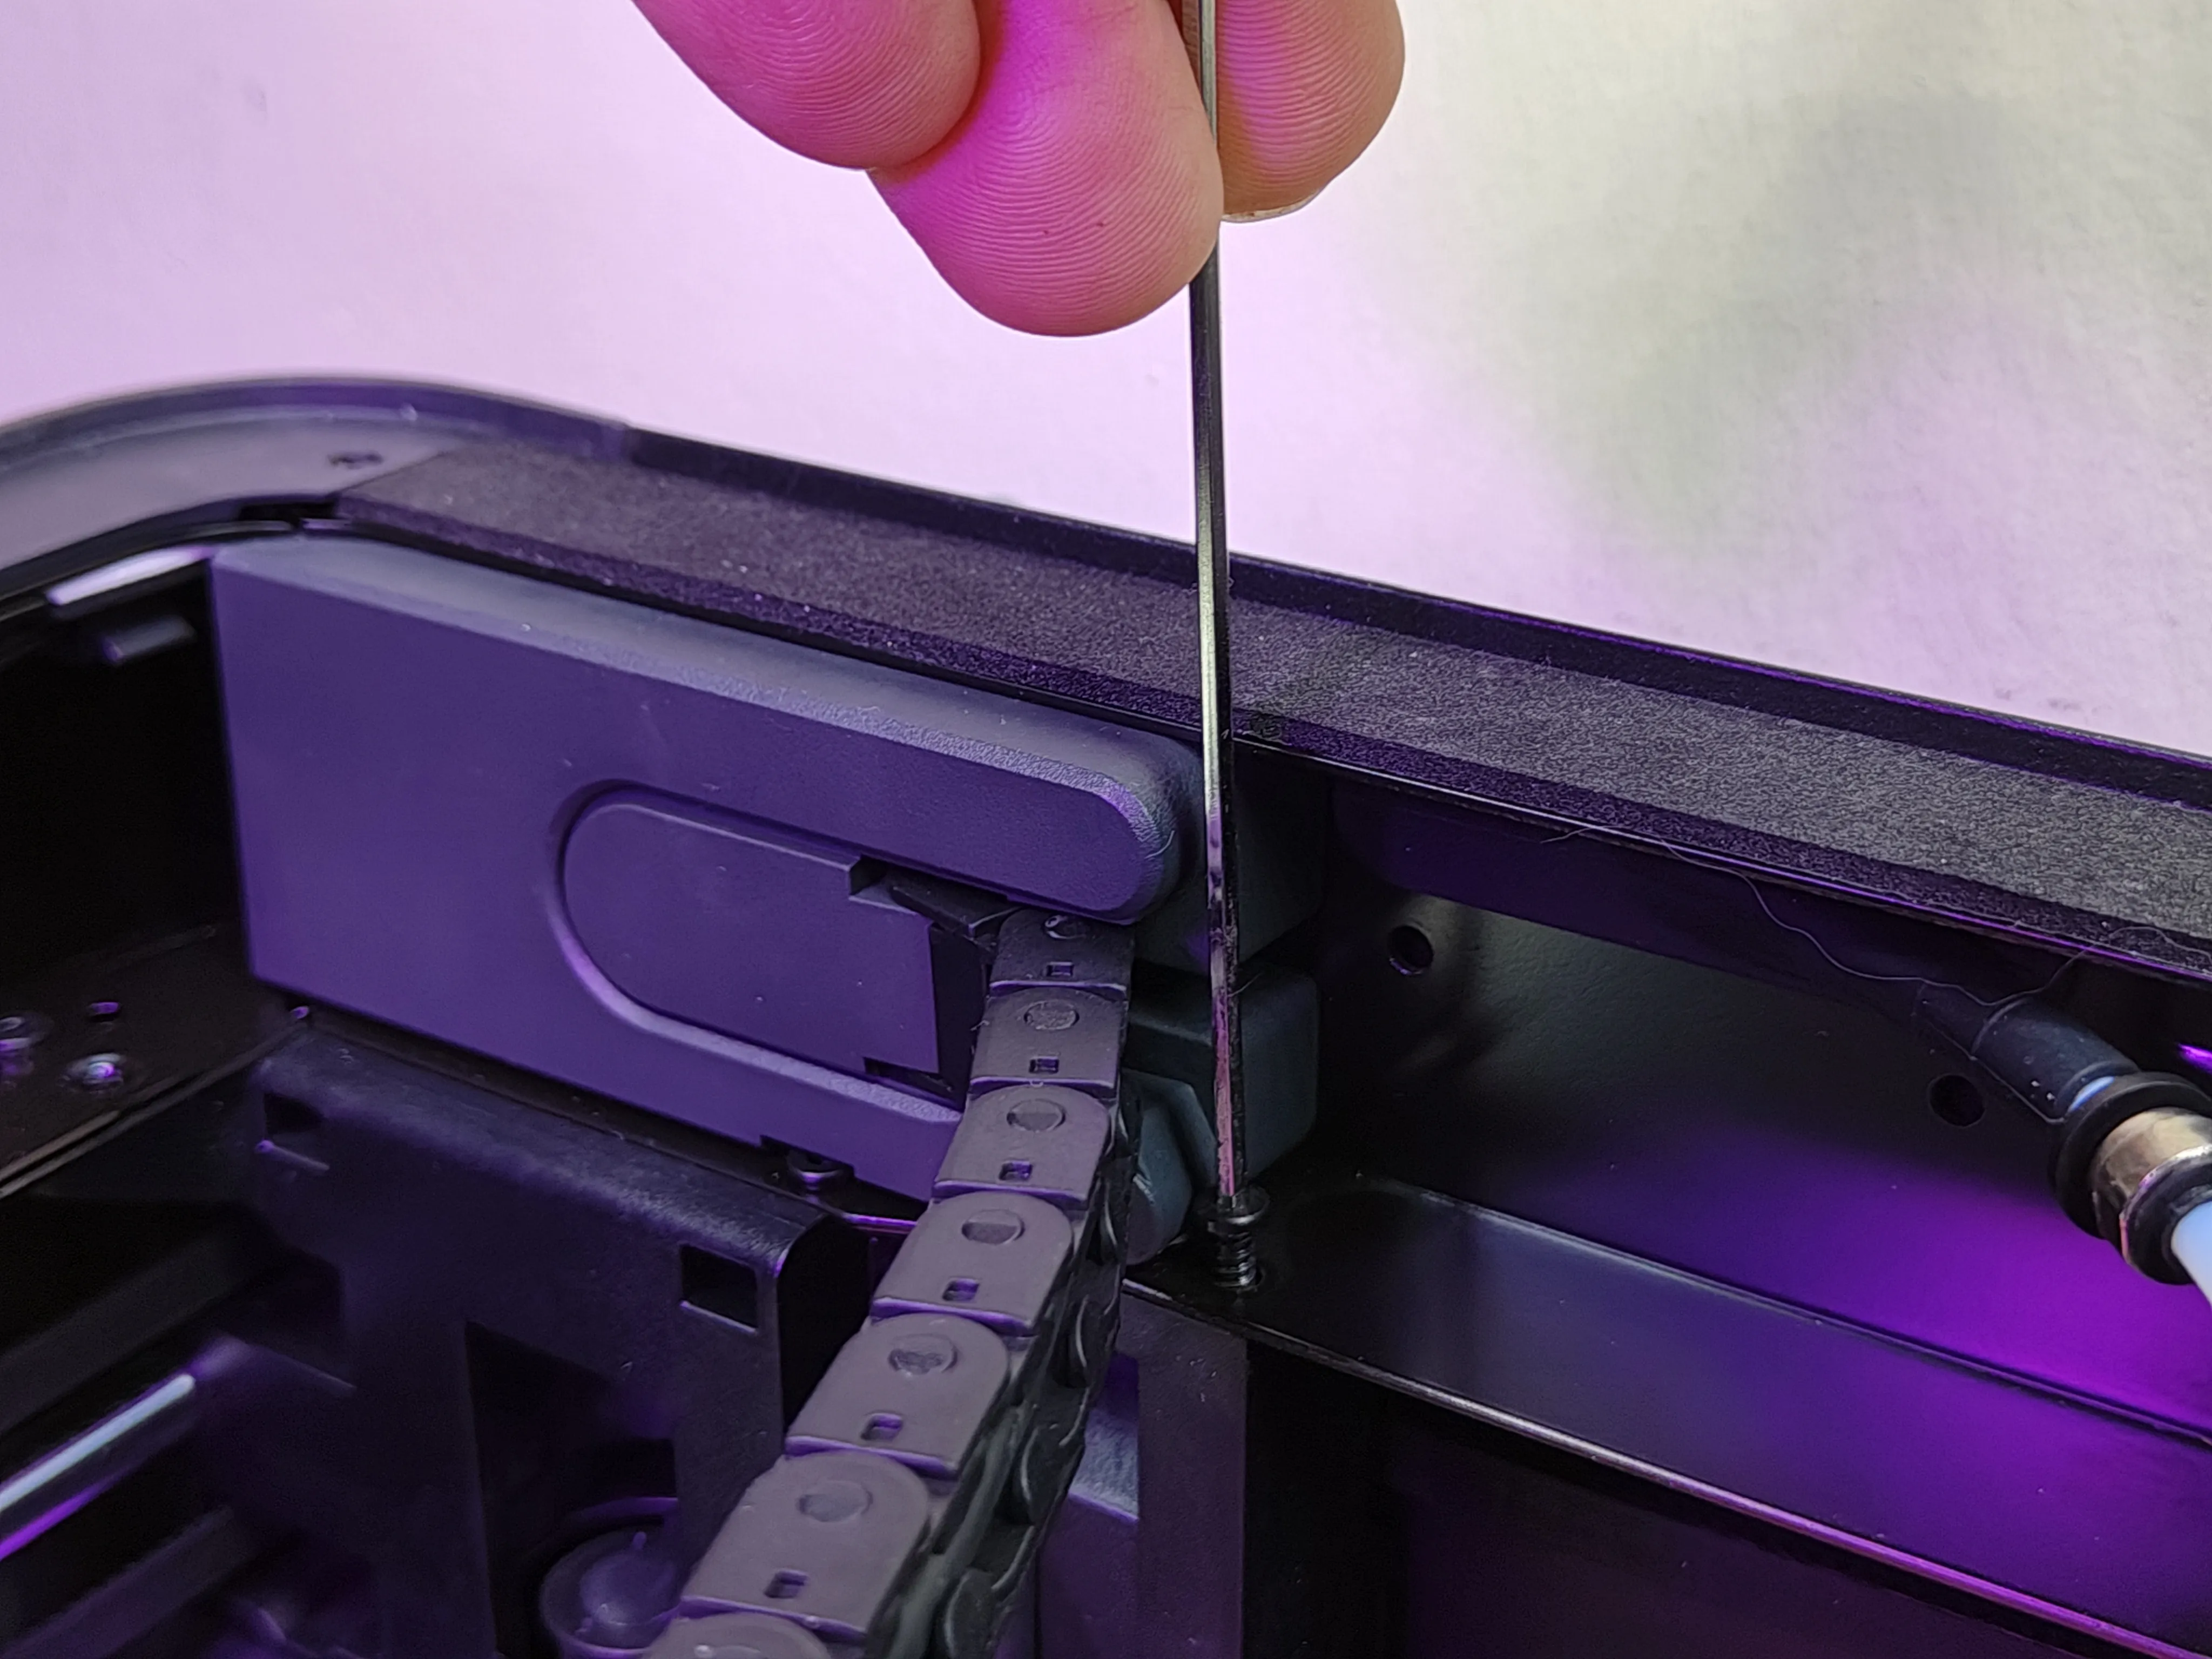
- Remove the screw shown in the photo below and use it to attach the mount near the excess chute. On the other side, use the M3 x 6mm screw to secure it in place.
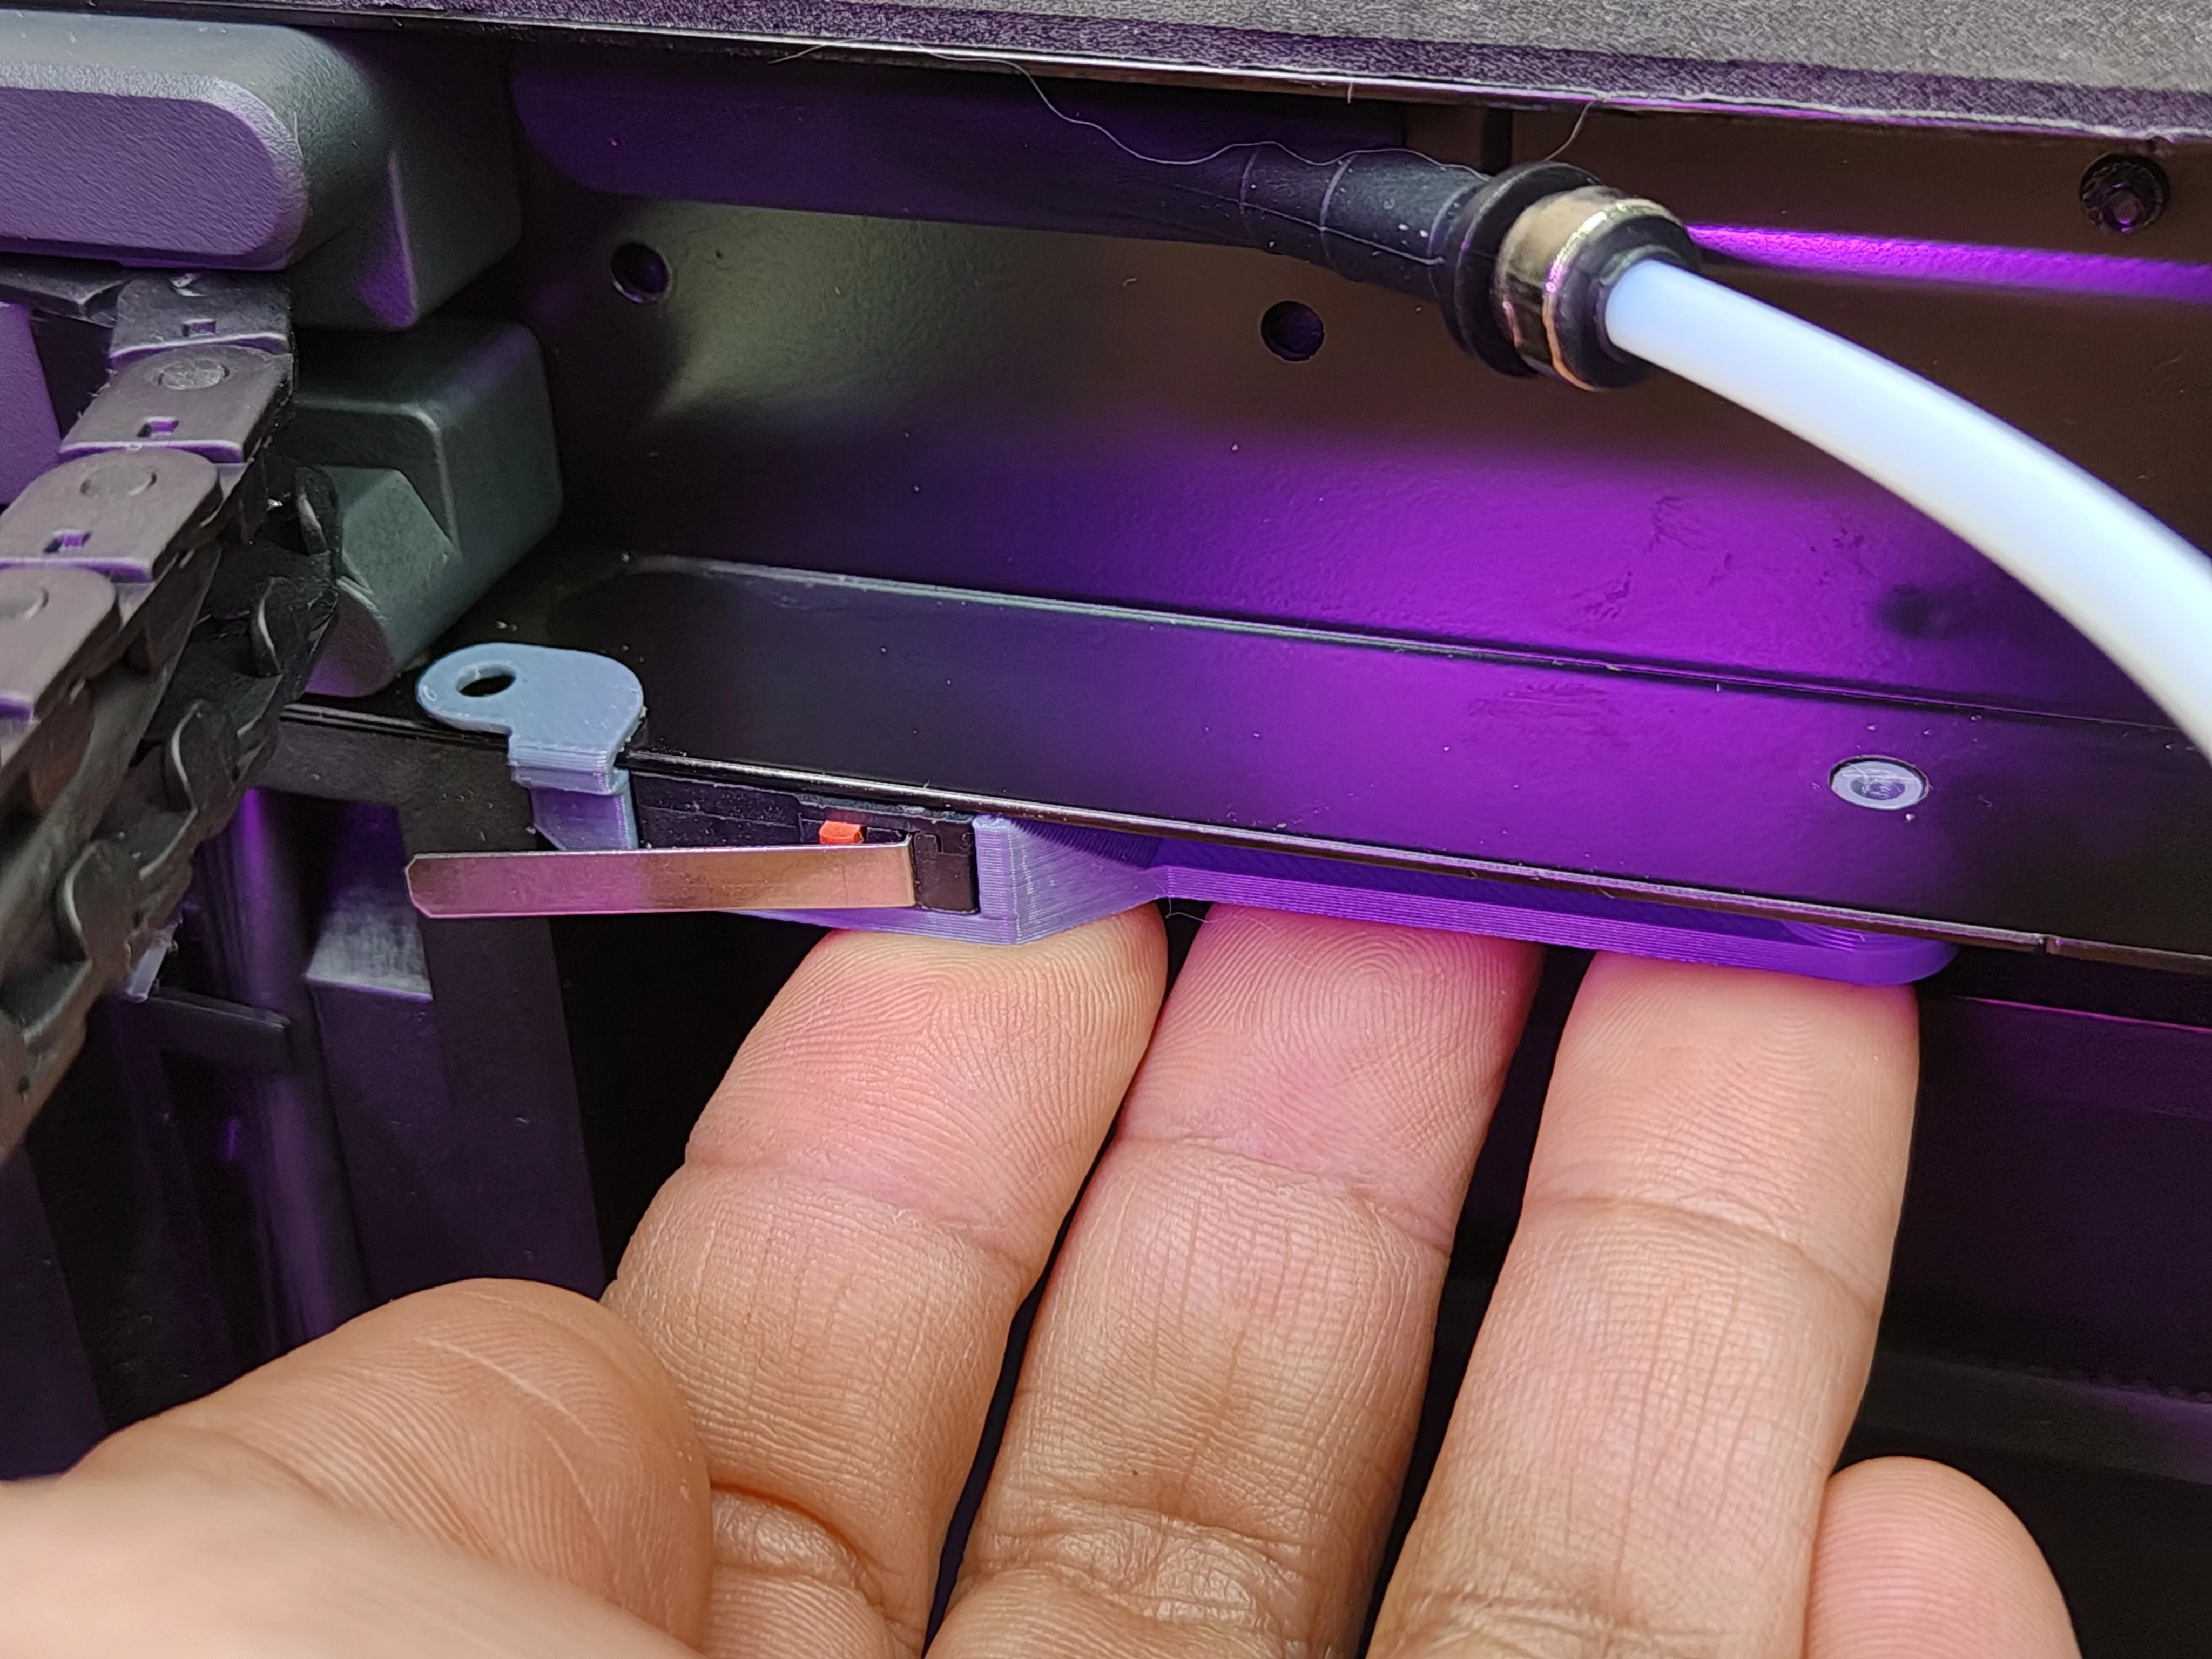
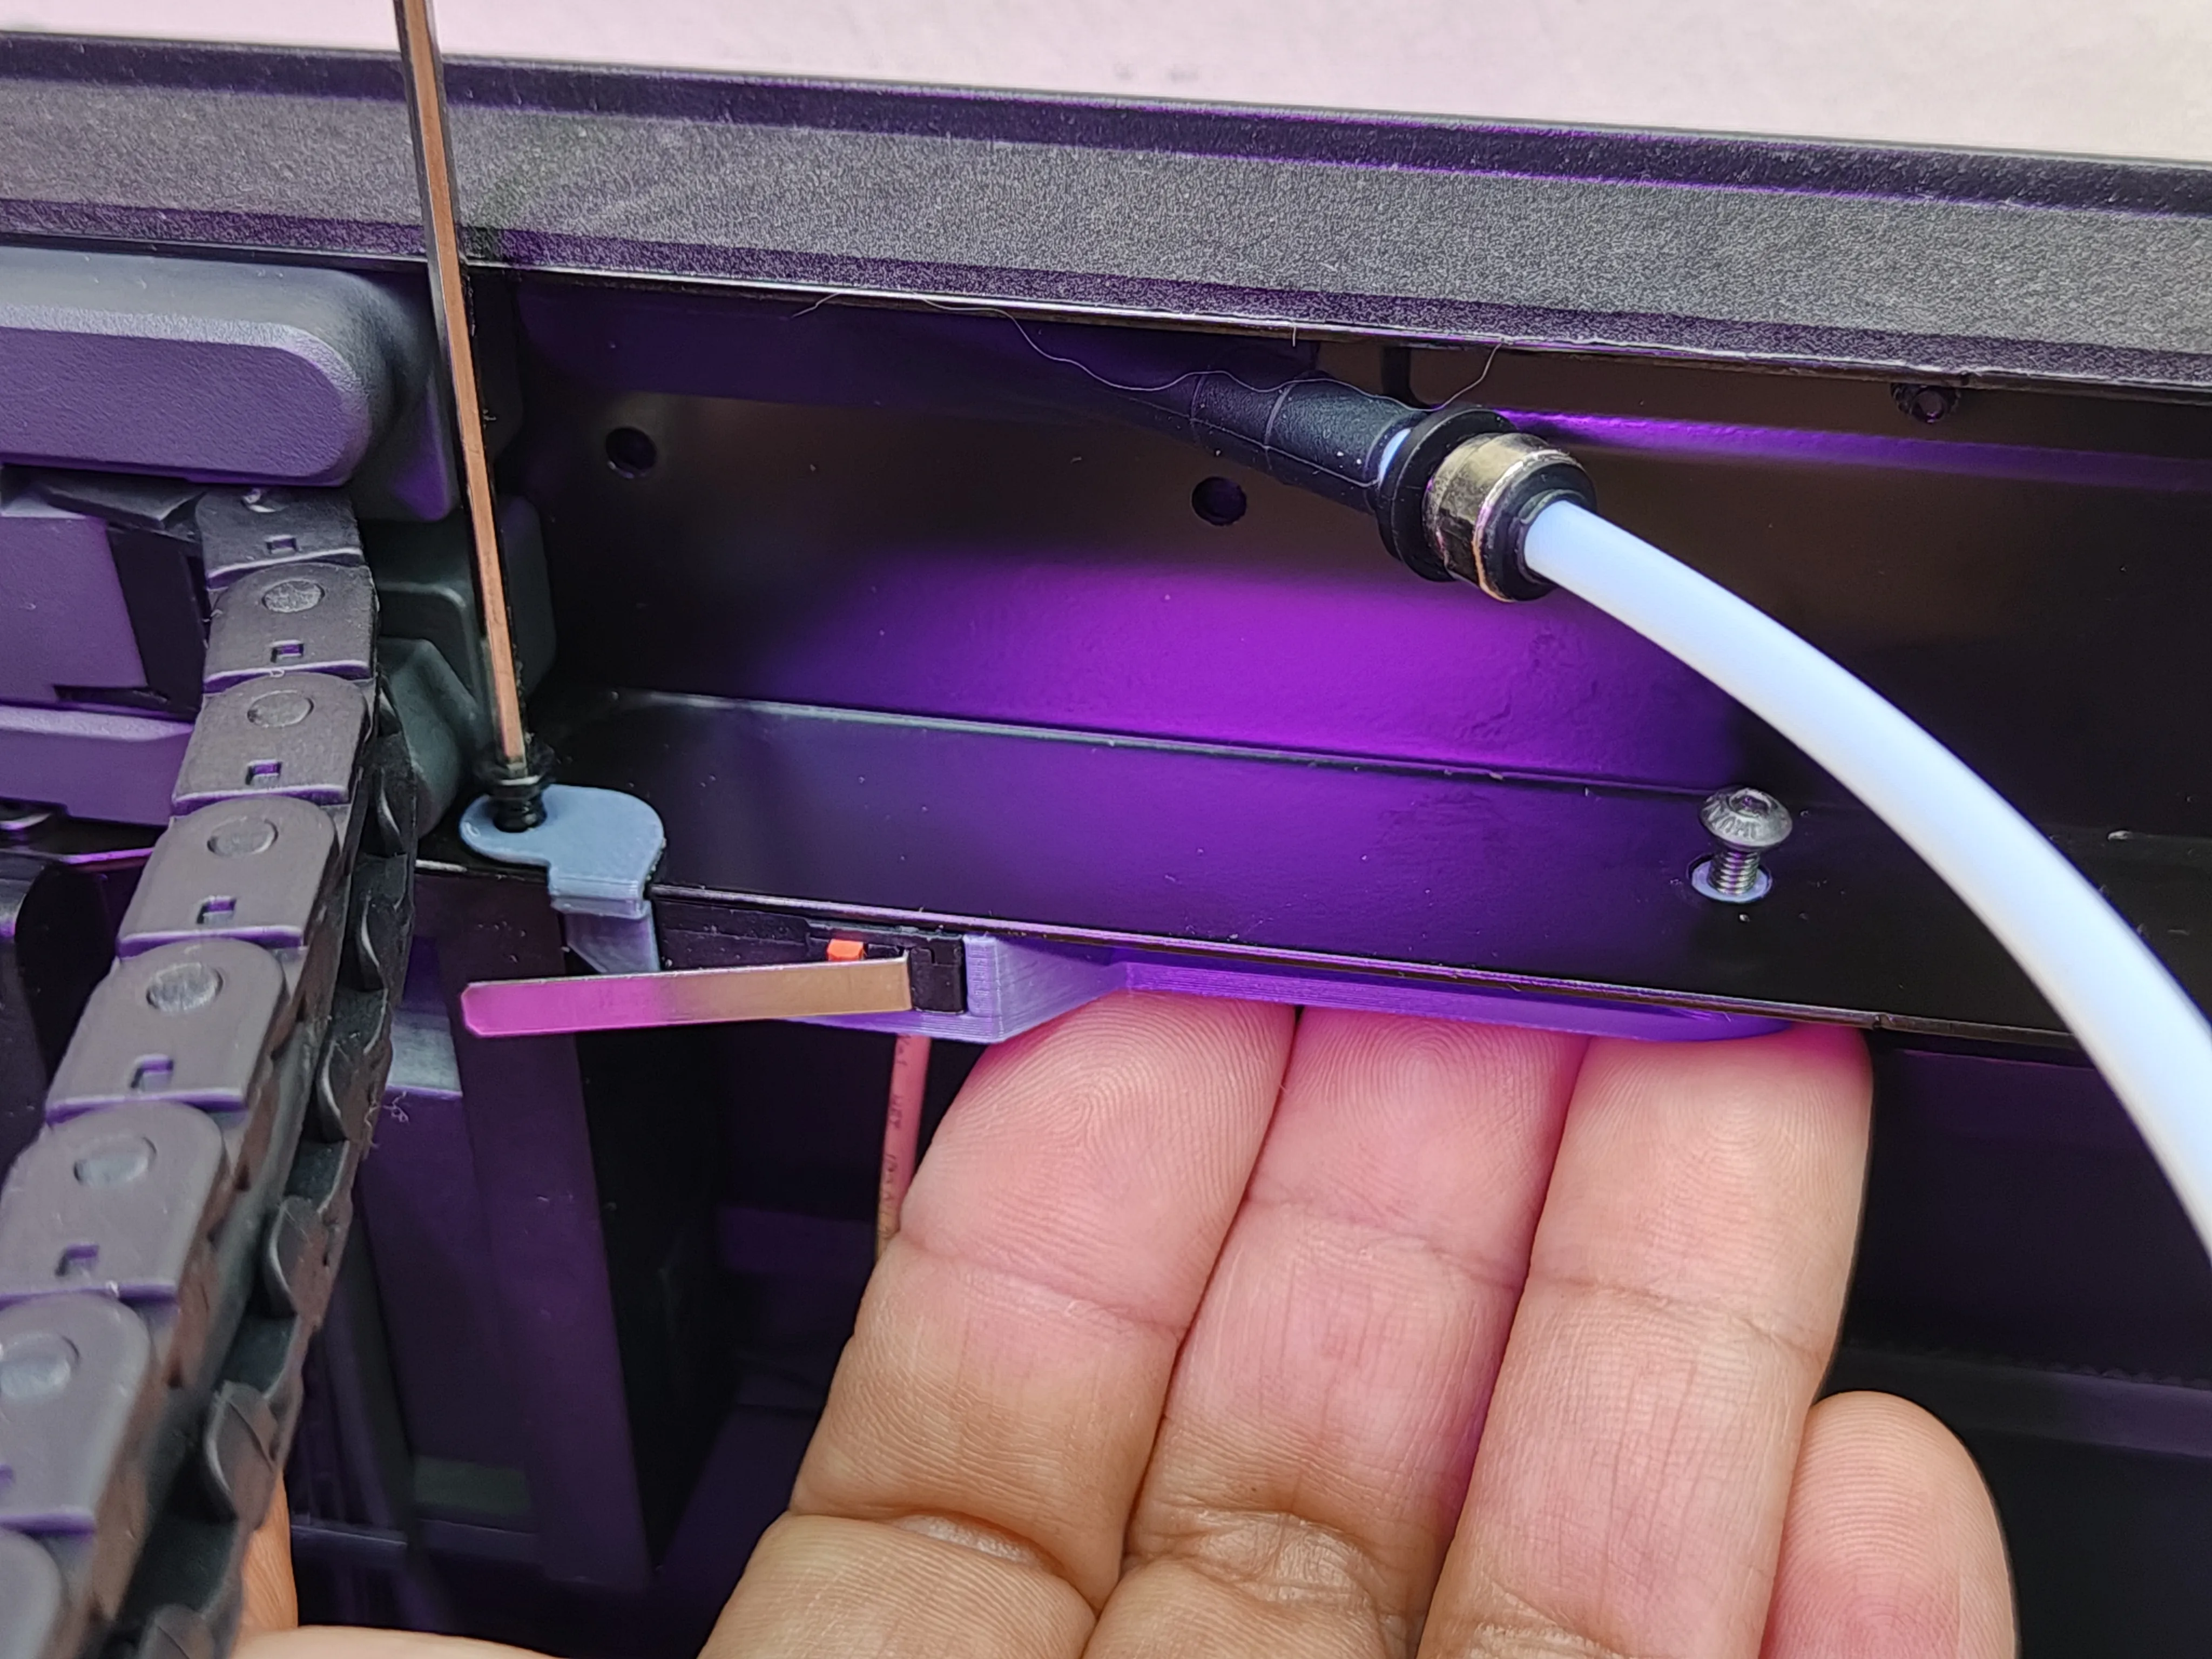
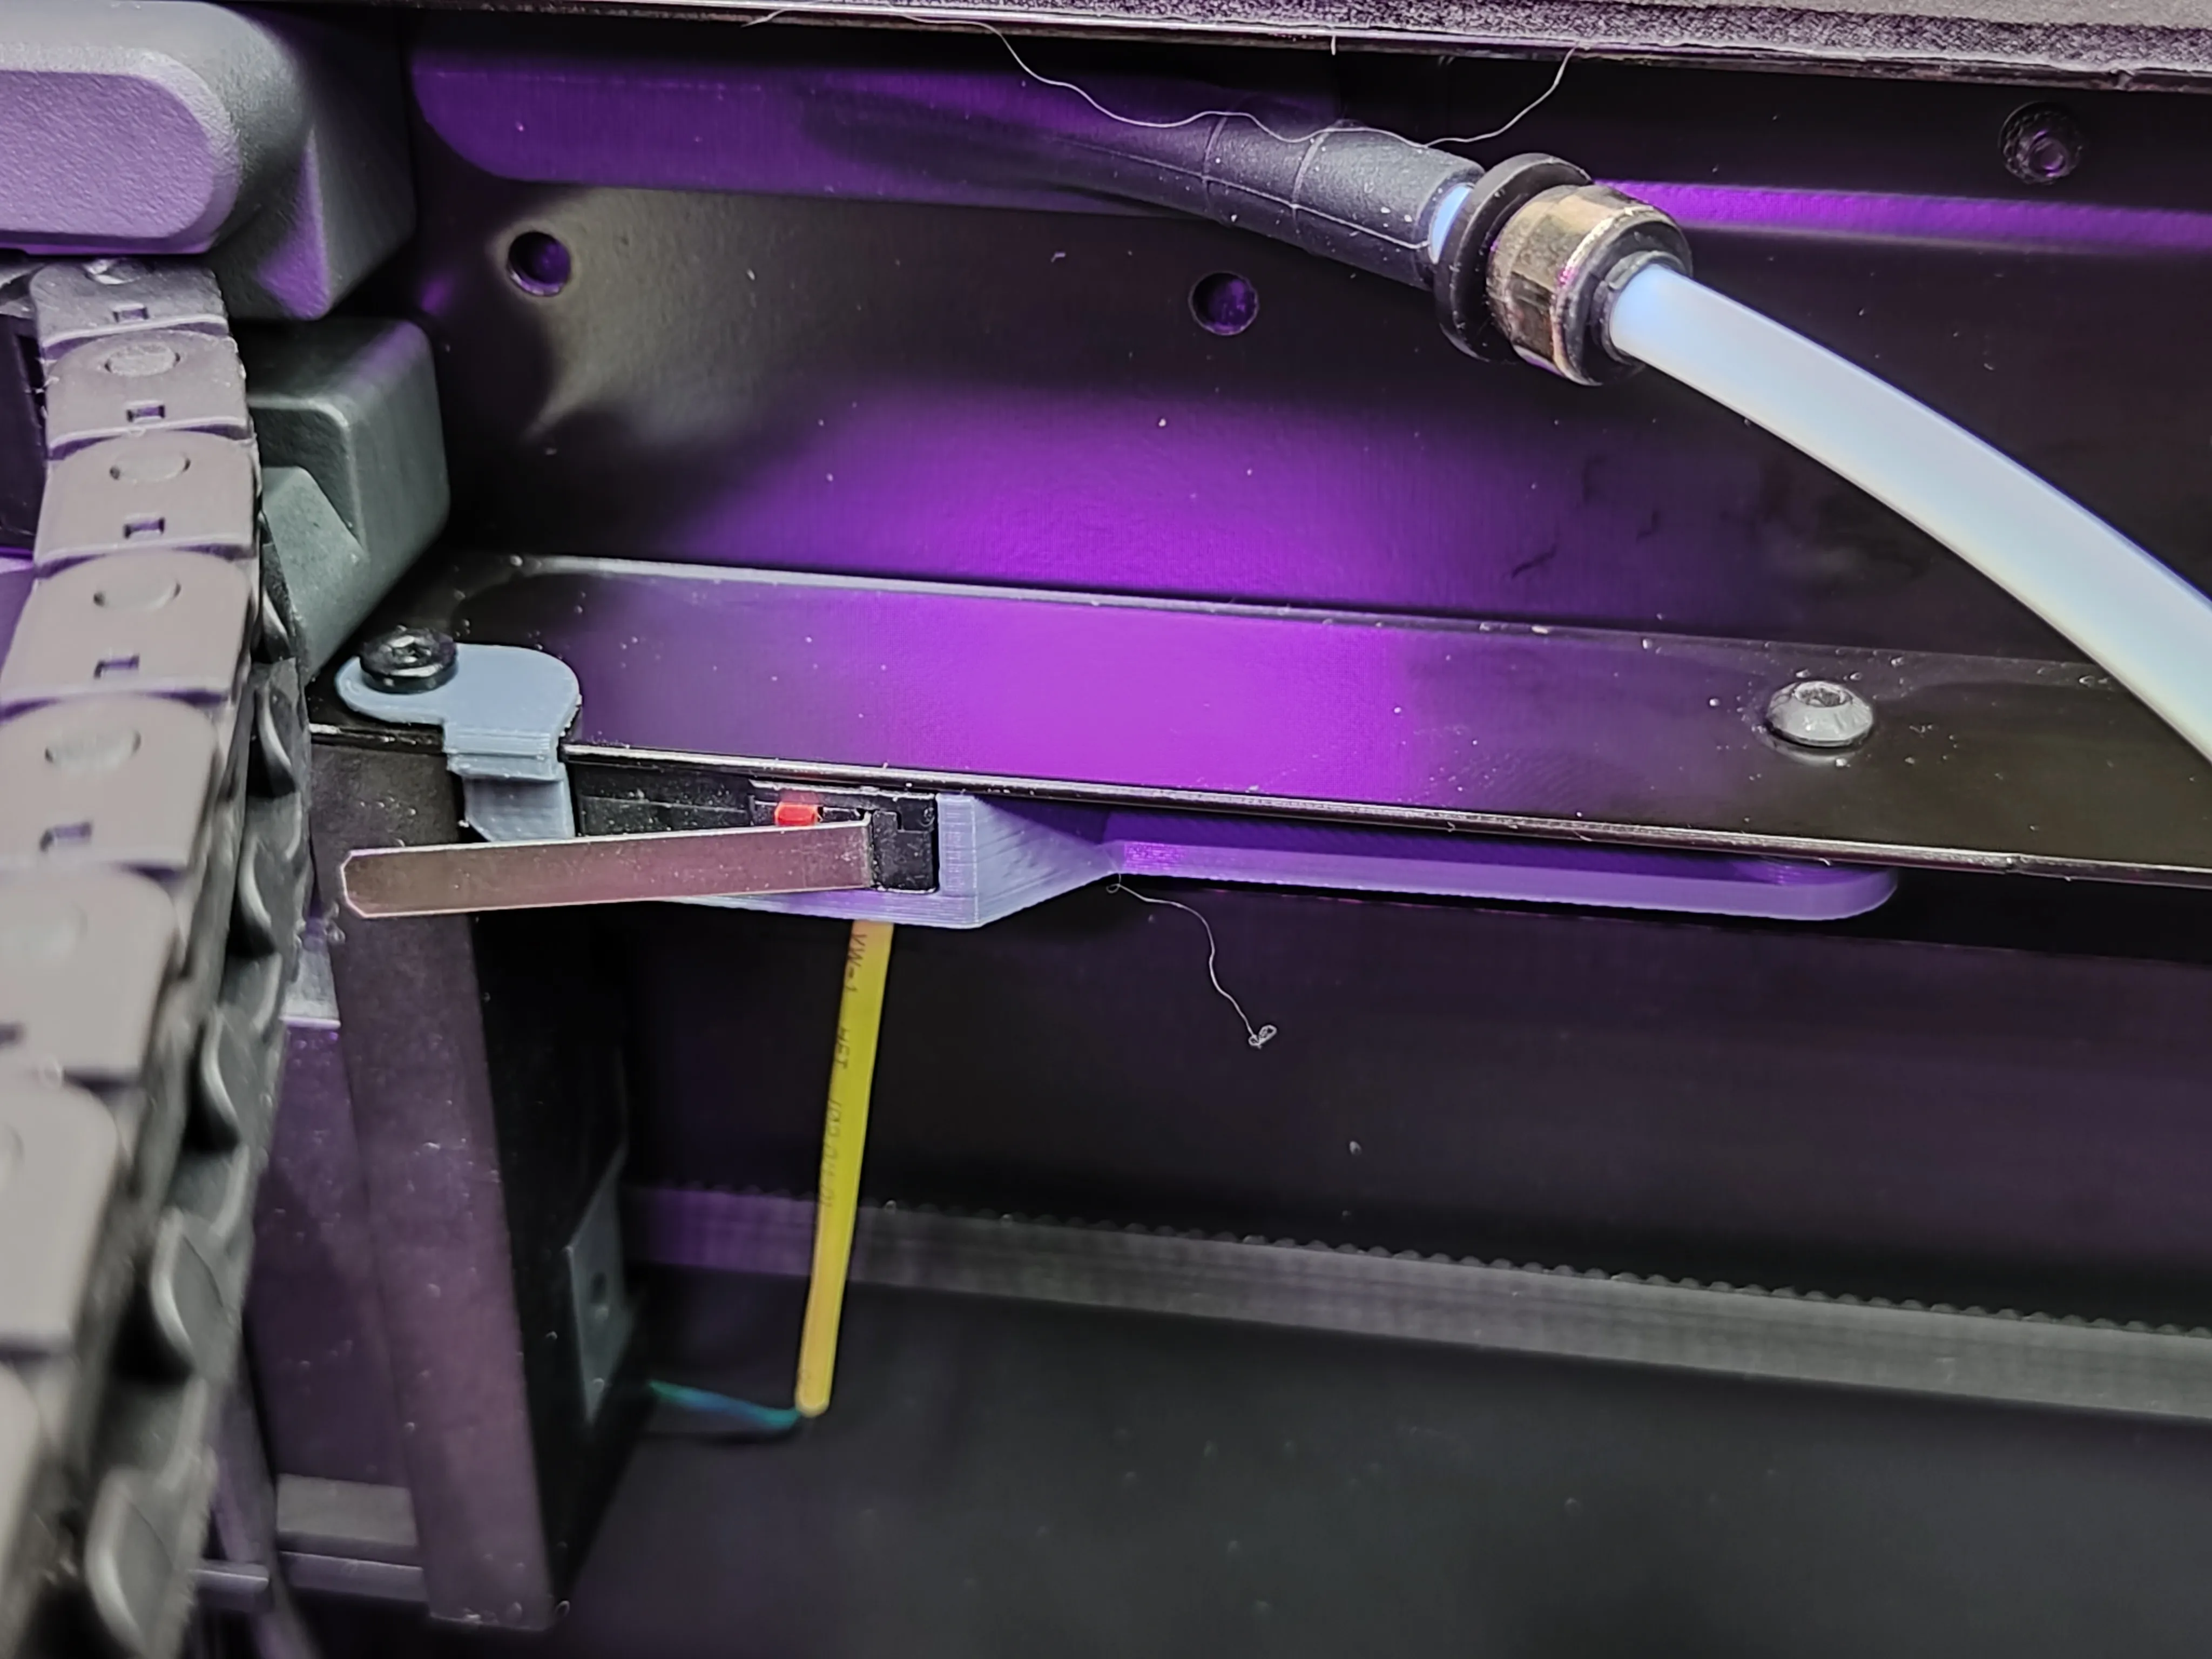

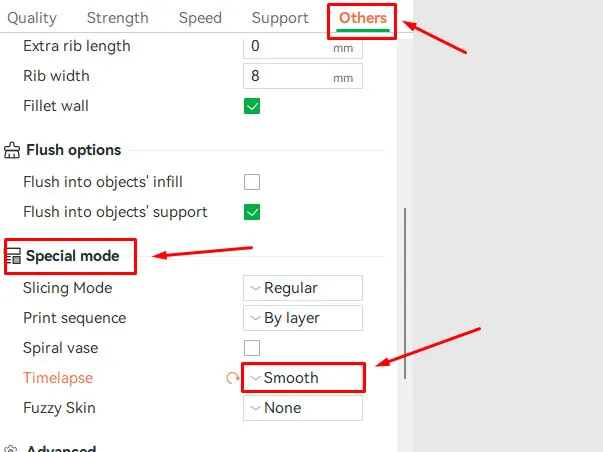
- Open Bambu Studio and go to the "Others" tab. Under the "Special mode" section, change the "Timelapse" setting from Traditional to "Smooth". This ensures the toolhead consistently parks after every layer, allowing the DSLR to take one snapshoot per layer.
- Render Your Video
I use Shotcut (Windows, free and open-source) to convert the captured photos into a smooth time-lapse video. It's easy to use and supports high-quality output. Alternatively, you can use other video editing software like DaVinci Resolve, Adobe Premiere Pro, or iMovie (for macOS), depending on your preference and platform.
🔍 Disclaimer
#### This is a self-designed mount provided as-is for personal use. and works with P1S only. Ensure proper installation and that wiring does not interfere with moving parts. Use at your own risk. The creator is not liable for any damage or injury resulting from its use. ####
💬 Feedback & Remixes Welcome
Feel free to remix this design for other models, switches, or use cases—and please share your results or improvements in the comments!
License

You shall not share, sub-license, sell, rent, host, transfer, or distribute in any way the digital or 3D printed versions of this object, nor any other derivative work of this object in its digital or physical format (including - but not limited to - remixes of this object, and hosting on other digital platforms). The objects may not be used without permission in any way whatsoever in which you charge money, or collect fees.


Comment & Rating (8)