


Print Profile(2)


Bill of Materials


Description
Boost Me (for free)
Support my creative endeavors
NO SCREWS, GLUE, OR COMPLEX ASSEMBLY REQUIRED
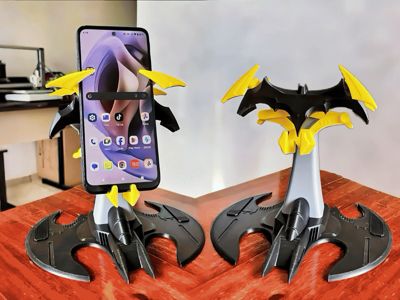
This is undoubtedly the finest cell phone stand I've designed to date: a self-adjusting, single-piece 3D-printed mechanism that is functional, robust, and features an iconic base that elevates any desk. Just add a rubber band, and you're set.
ASSEMBLY INSTRUCTIONS
3 Simple Steps
Assembly is remarkably straightforward; you'll only need two silicone rubber bands (though any type will work, silicone tends to be more durable), and everything connects via a threaded mechanism.
1. To remove the supports from the fully assembled printed mechanism, I recommend making a cross-sectional cut in this support area. All other supports will then detach easily.


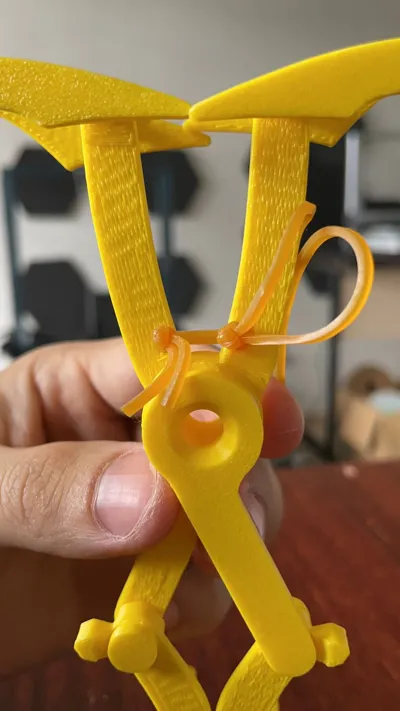
2. The method for inserting the rubber bands is illustrated in this GIF. Simply cut the bands and double-knot them, threading them through the holes with the knots at the rear. Then, simply guide the bands over the stop.


NOTE: Adding a drop of lubricating oil to the central rings can mitigate excessive friction.
This mechanism should reset to its original position upon releasing the weight.
3. Finally, simply screw the bat together with the mechanism and its elegant base. Ensure the scissor (yellow) or mechanism is correctly coupled to the bat.
IMPORTANT
- Gently screw in the symbol, avoiding excessive initial torque.
- Unscrew and repeat 1-2 times: the fit will improve with each attempt, until properly aligned.
- Do not force the part during initial insertion.

This ensures the symbol remains firmly secured without loosening.
And there you have it—the best cell phone stand ever made! Enjoy!


License
You shall not share, sub-license, sell, rent, host, transfer, or distribute in any way the digital or 3D printed versions of this object, nor any other derivative work of this object in its digital or physical format (including - but not limited to - remixes of this object, and hosting on other digital platforms). The objects may not be used without permission in any way whatsoever in which you charge money, or collect fees.
Comment & Rating (81)