
Print Profile(1)
Description
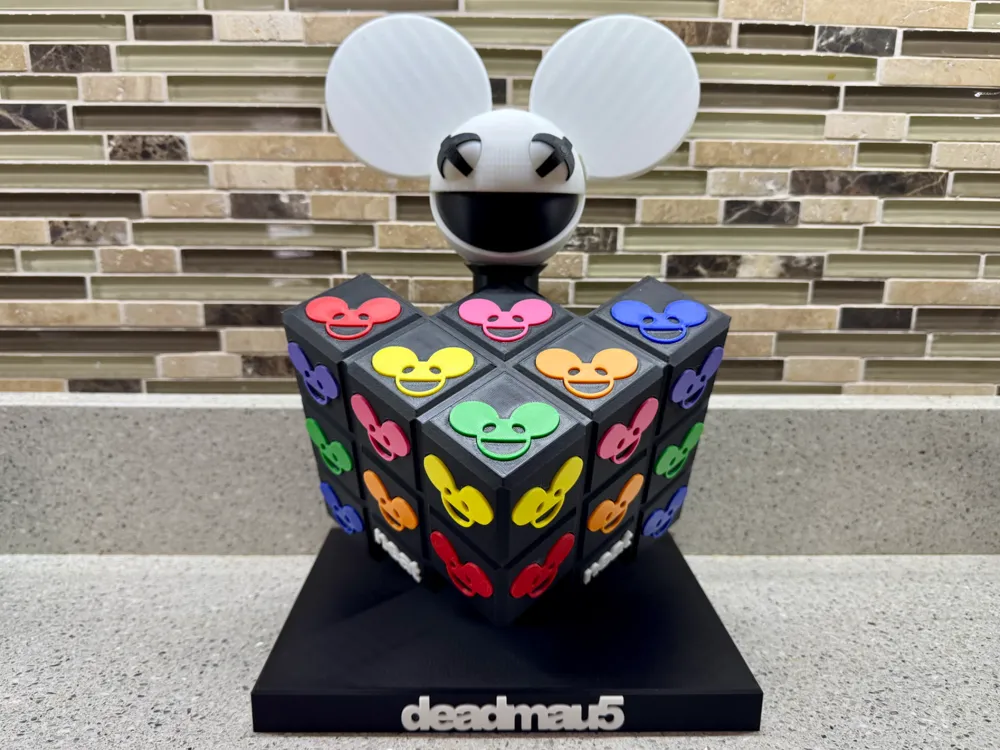
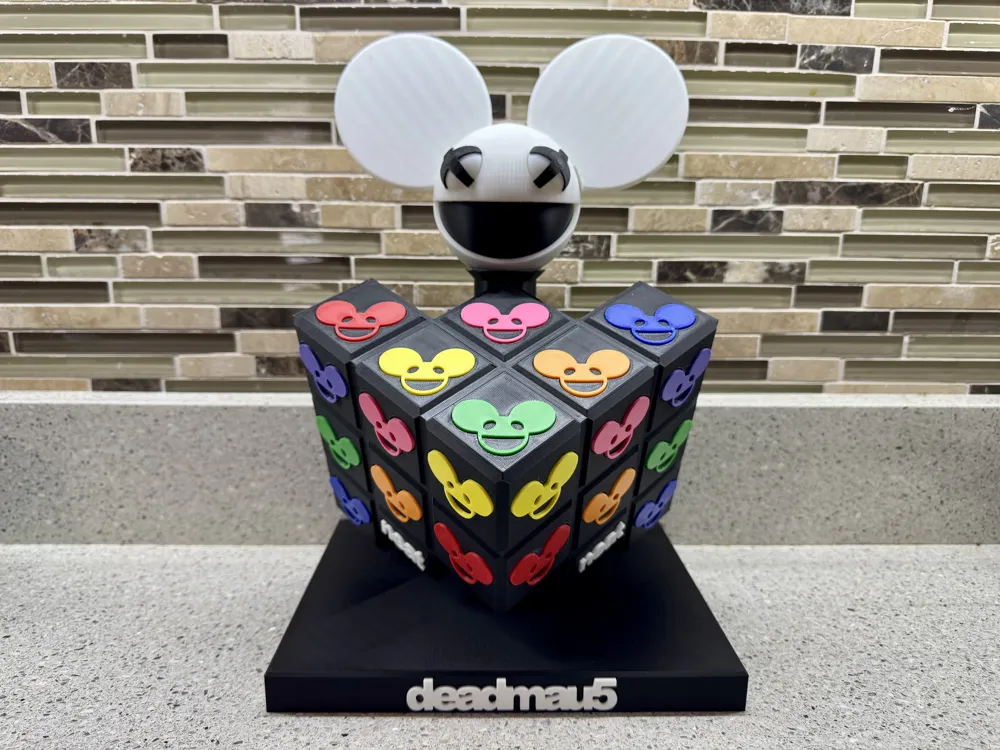
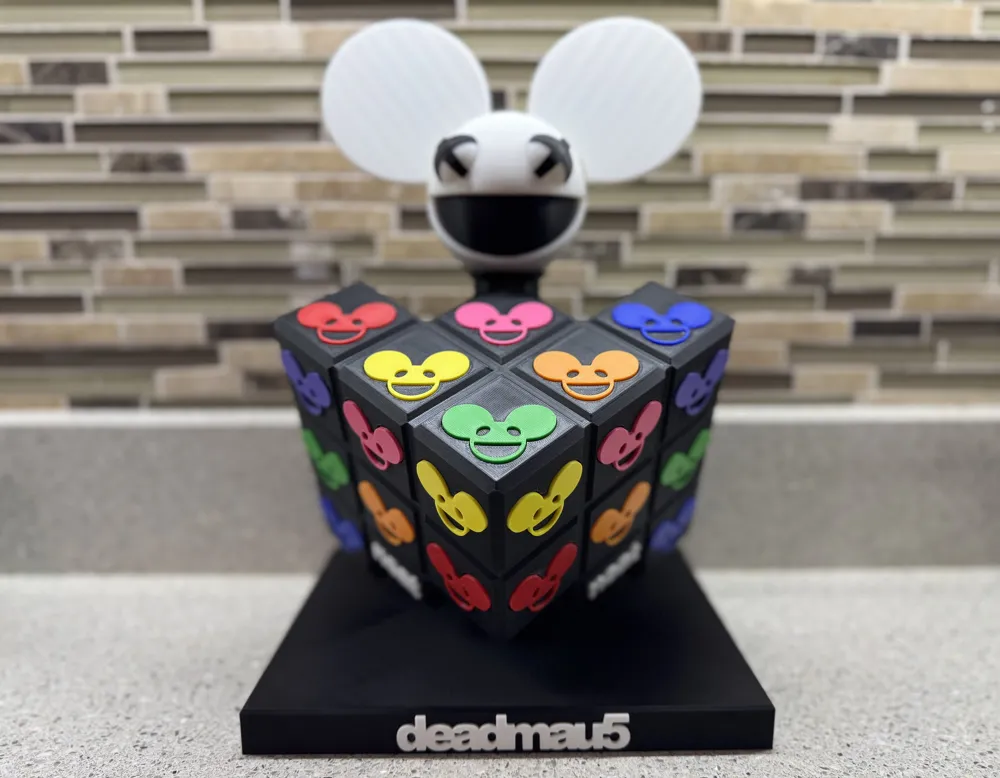
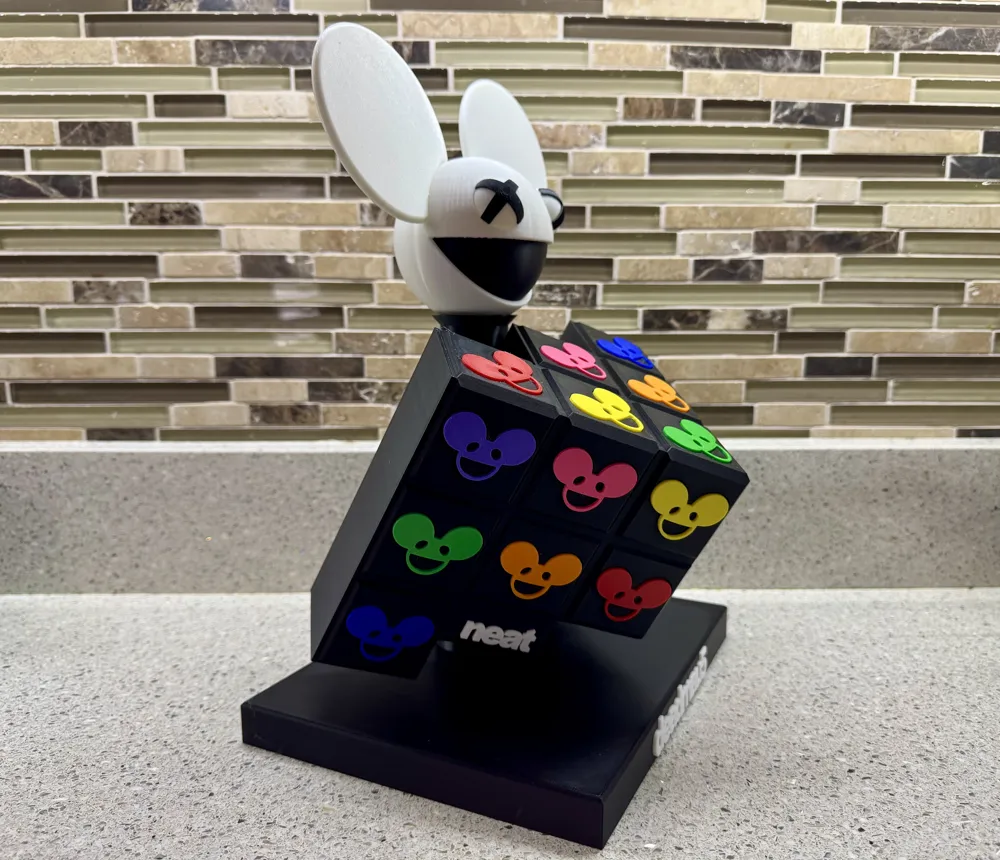
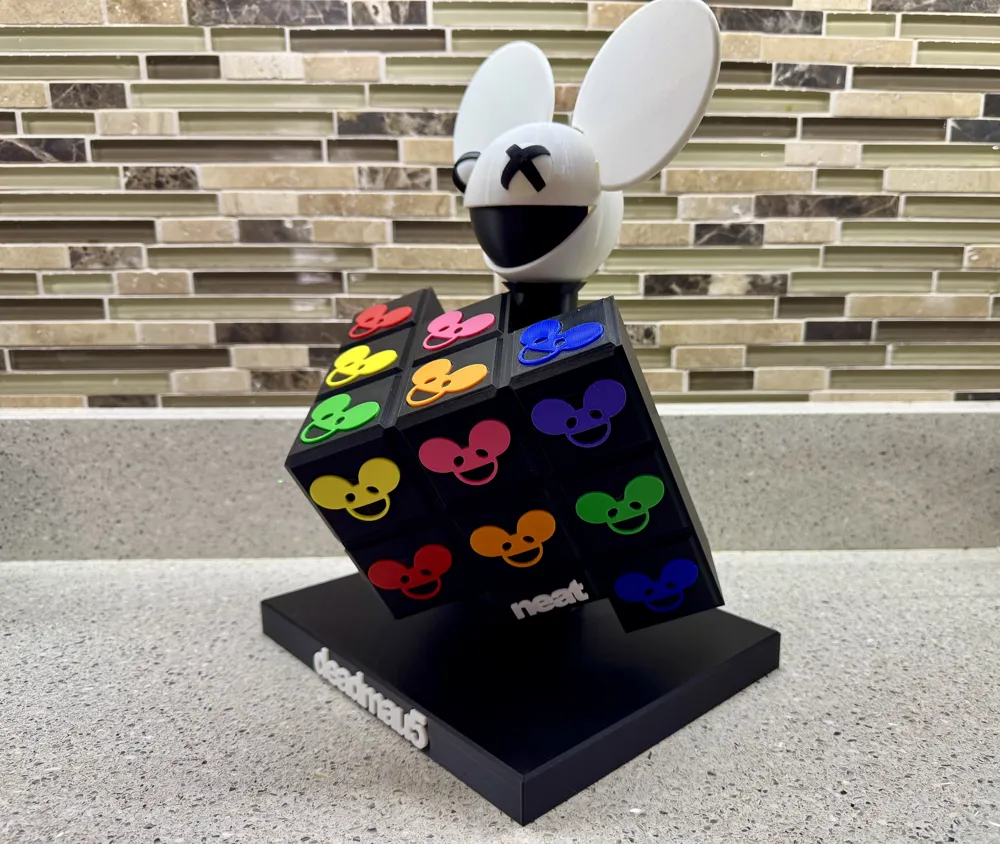
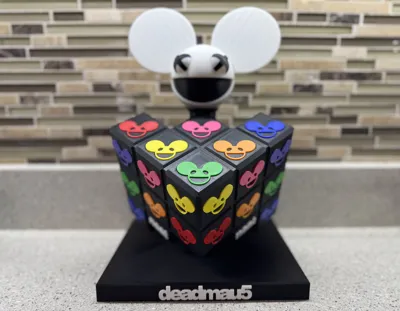
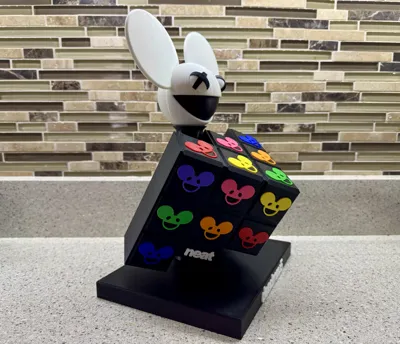
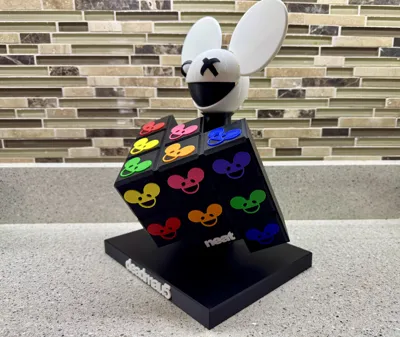
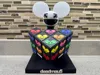
deadmau5 cube_v2 stand! Just paying a tribute to the GOAT!!! I love the cube v2 design and figured I'd create my own 3D printed version to have in my office!
Completed model measures: 8.625” L x 6.0875” W x 12.75” H
This is a multi-part project and will require assembly and glue. Everything can be printed without AMS, with the exception of the eyes. I used Bambu Studio's color painting to create the two-toned eyes. Everything else is printed separately so have fun with the colors!
NOTE: The cube model will use a lot of filament. I designed it to be hollow but there is a lot of surface area on the model. It will need supports.
MAU5HEAD ASSEMBLY:
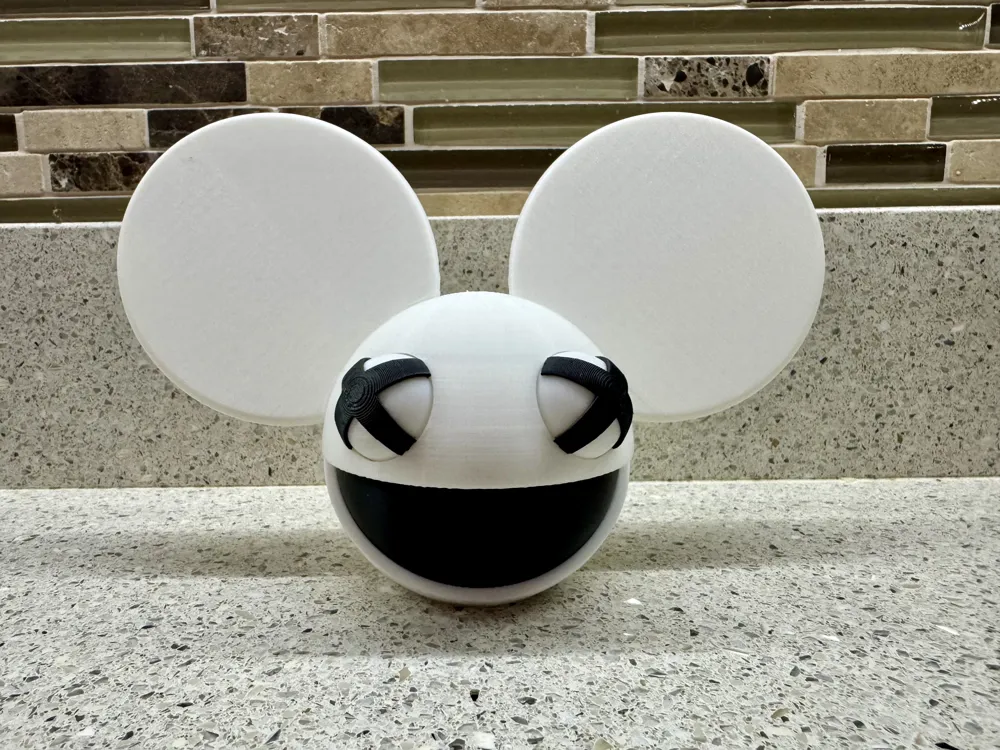
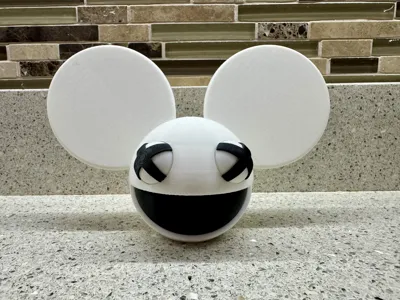
For the mau5head, print the head, both ears (left and right are a little different, but are arranged on the plates accordingly), mouth and eyes (eyes require AMS to print multicolor).
Ears: They just fit into the slots on the head (no glue needed, but can secure if you want).
Eyes: They will snap into the head from the front and will not require any glue (feel free to create different versions of the eyes and switch them out for different occasions!)
Mouth: The mouth can be inserted from the front and will sit against the inside of the head snugly. I didn’t glue mine, but you can secure with glue if you’d like.
CUBE ASSEMBLY:
There are 2 versions of cube mau5heads: TOP and SIDES. You need 6 of the top mau5heads, and 14 of the side mau5heads. They’re different sizes so they will only fit in the correct places. I printed them in various colors, but feel free to print them in whatever colors you prefer! It’s easier to glue all the mau5heads on the cube before assembly onto the base. Once all the mau5heads are glued, you can perform the same steps for the deadmau5 text for the base, and the 2 “neat” texts. Once all the pieces are glued to the cube, you can assembly onto the base.
BASE ASSEMBLY:
There are 2 pieces of the cylinder: Stand cylinder and Stand cylinder base. Fit the stand cylinder into the cube slot from the top first, and then slide on the Stand cylinder base from the bottom cylinder shaft first. Once the cube and stand cylinder base is on the cylinder, you can insert the assembly into the base. Secure with glue. It’s a little tricky to get glue on the stand cylinder base and the cube. There is very little wiggle room to get glue on the shaft, but you only need a few drops in the back to keep it in place.
MAU5HEAD:
Place the fully-assembled mau5head on the top of the Stand cylinder. It will rest on the ledge at the top. You can glue it if you want, but don’t need to. I didn’t glue mine so I can print different colors and switch them out for different moods/occasions!
License

You shall not share, sub-license, sell, rent, host, transfer, or distribute in any way the digital or 3D printed versions of this object, nor any other derivative work of this object in its digital or physical format (including - but not limited to - remixes of this object, and hosting on other digital platforms). The objects may not be used without permission in any way whatsoever in which you charge money, or collect fees.


Comment & Rating (10)