
Switch 2 Grip - V15 (Dockable/Cartridge/Asym/Lite)
Print Profile(11)


Description
6/30/2025 Description:
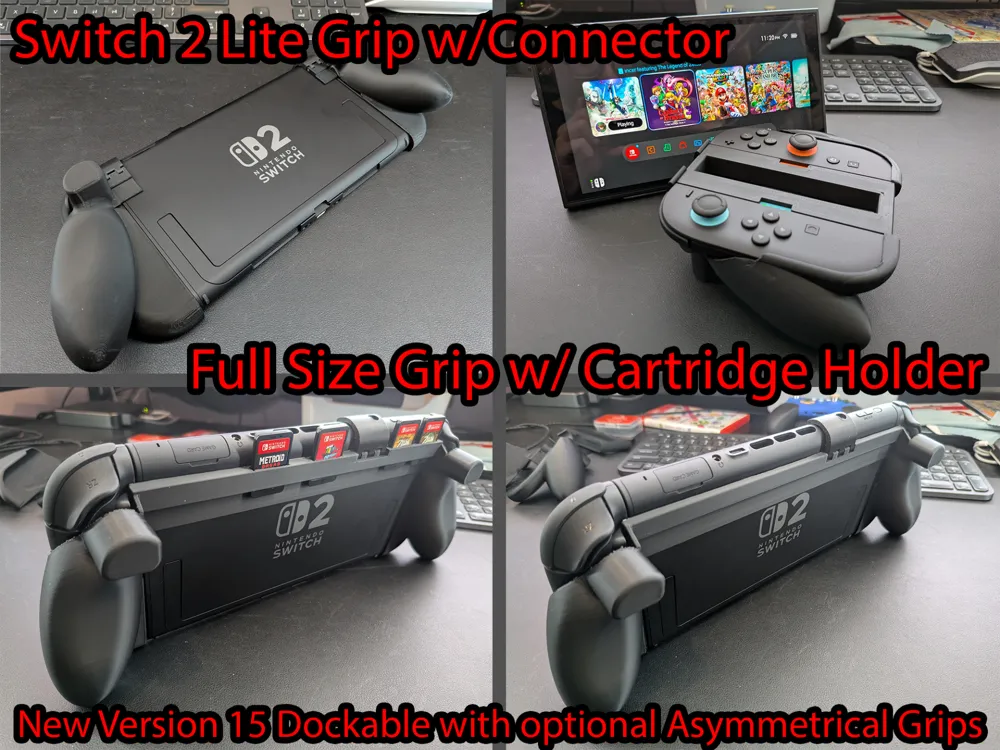
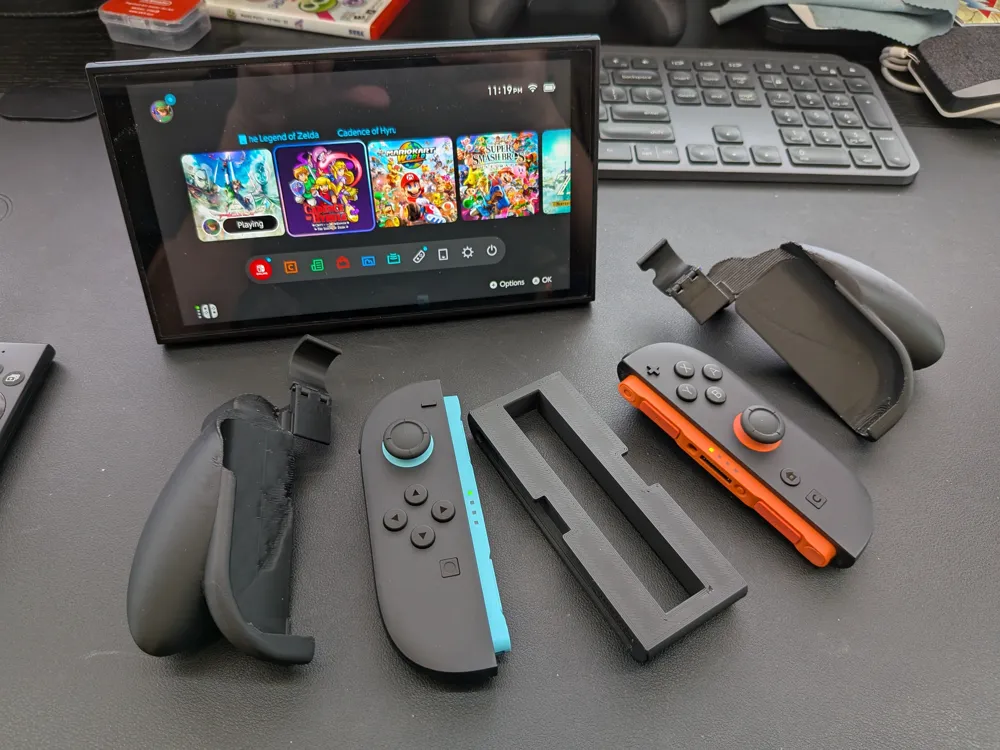
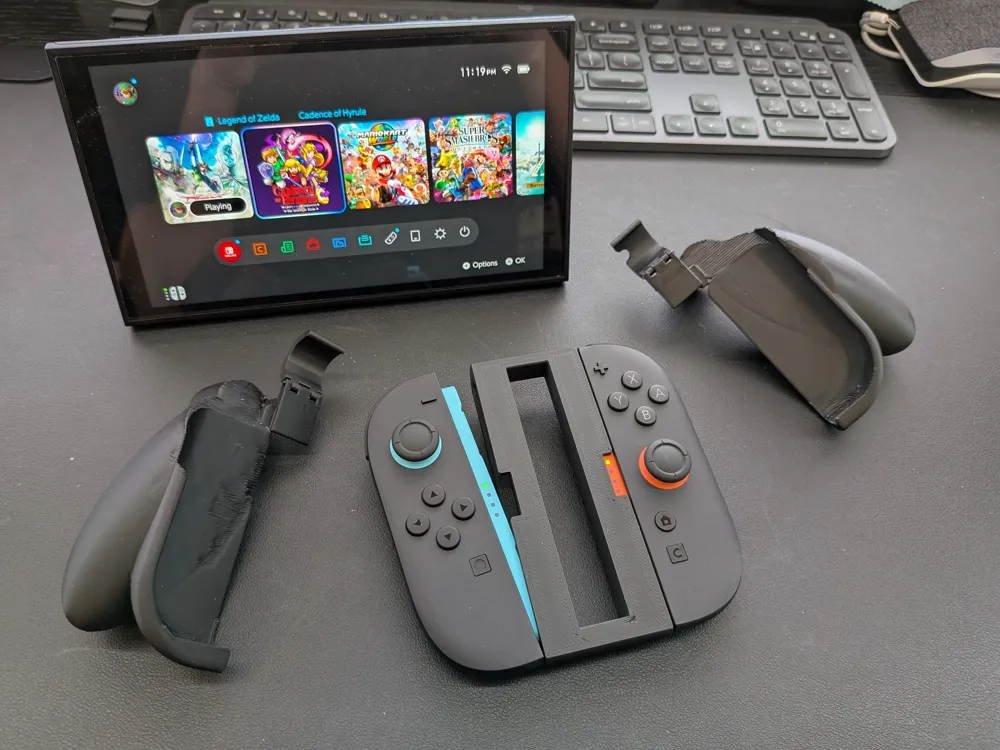
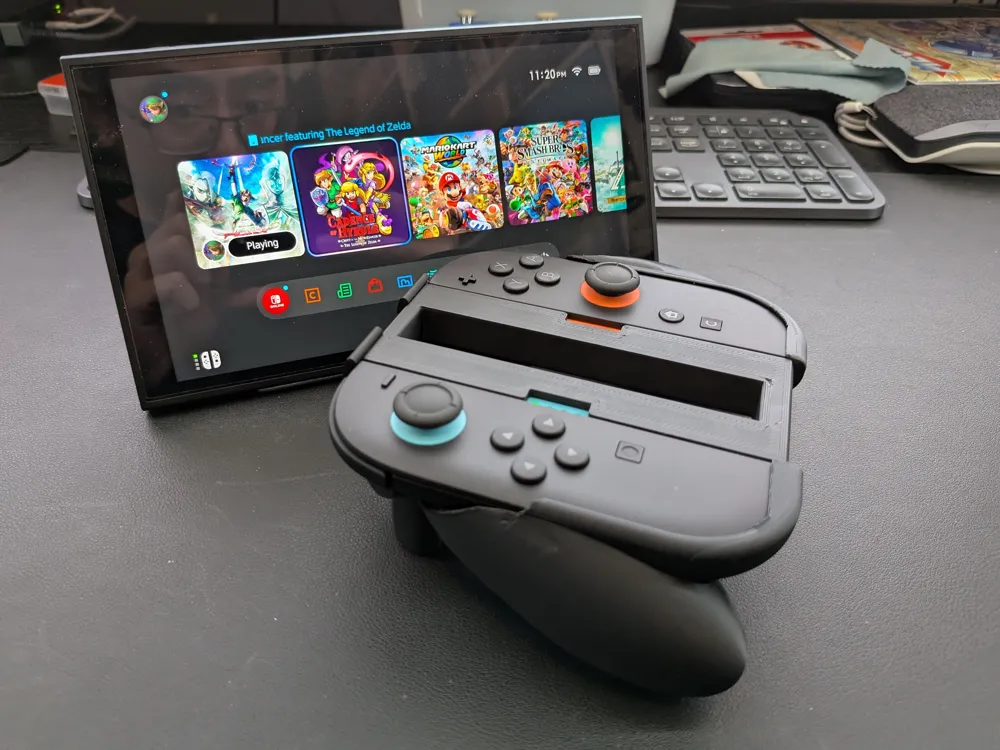
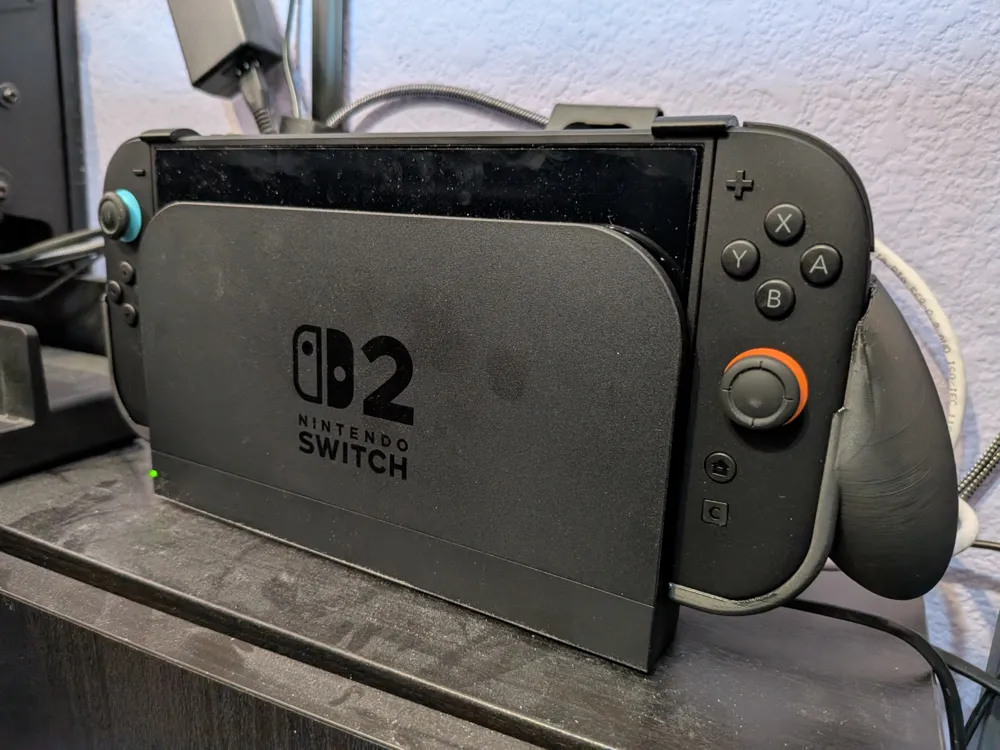
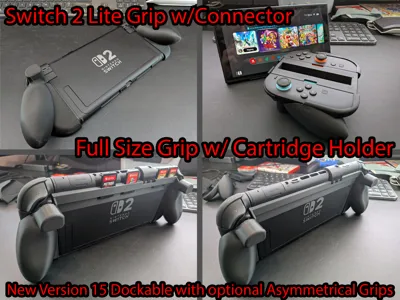
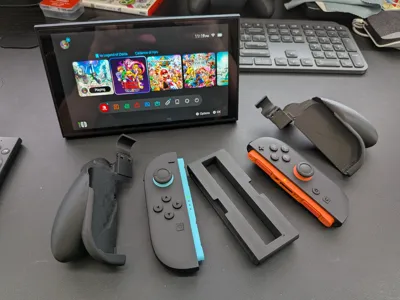
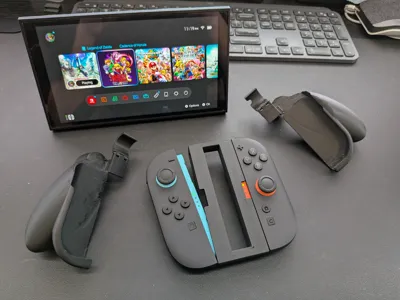
While uploading the full grips with the updated shoulders, I've also added a connector to give the lite grips a secondary purpose.
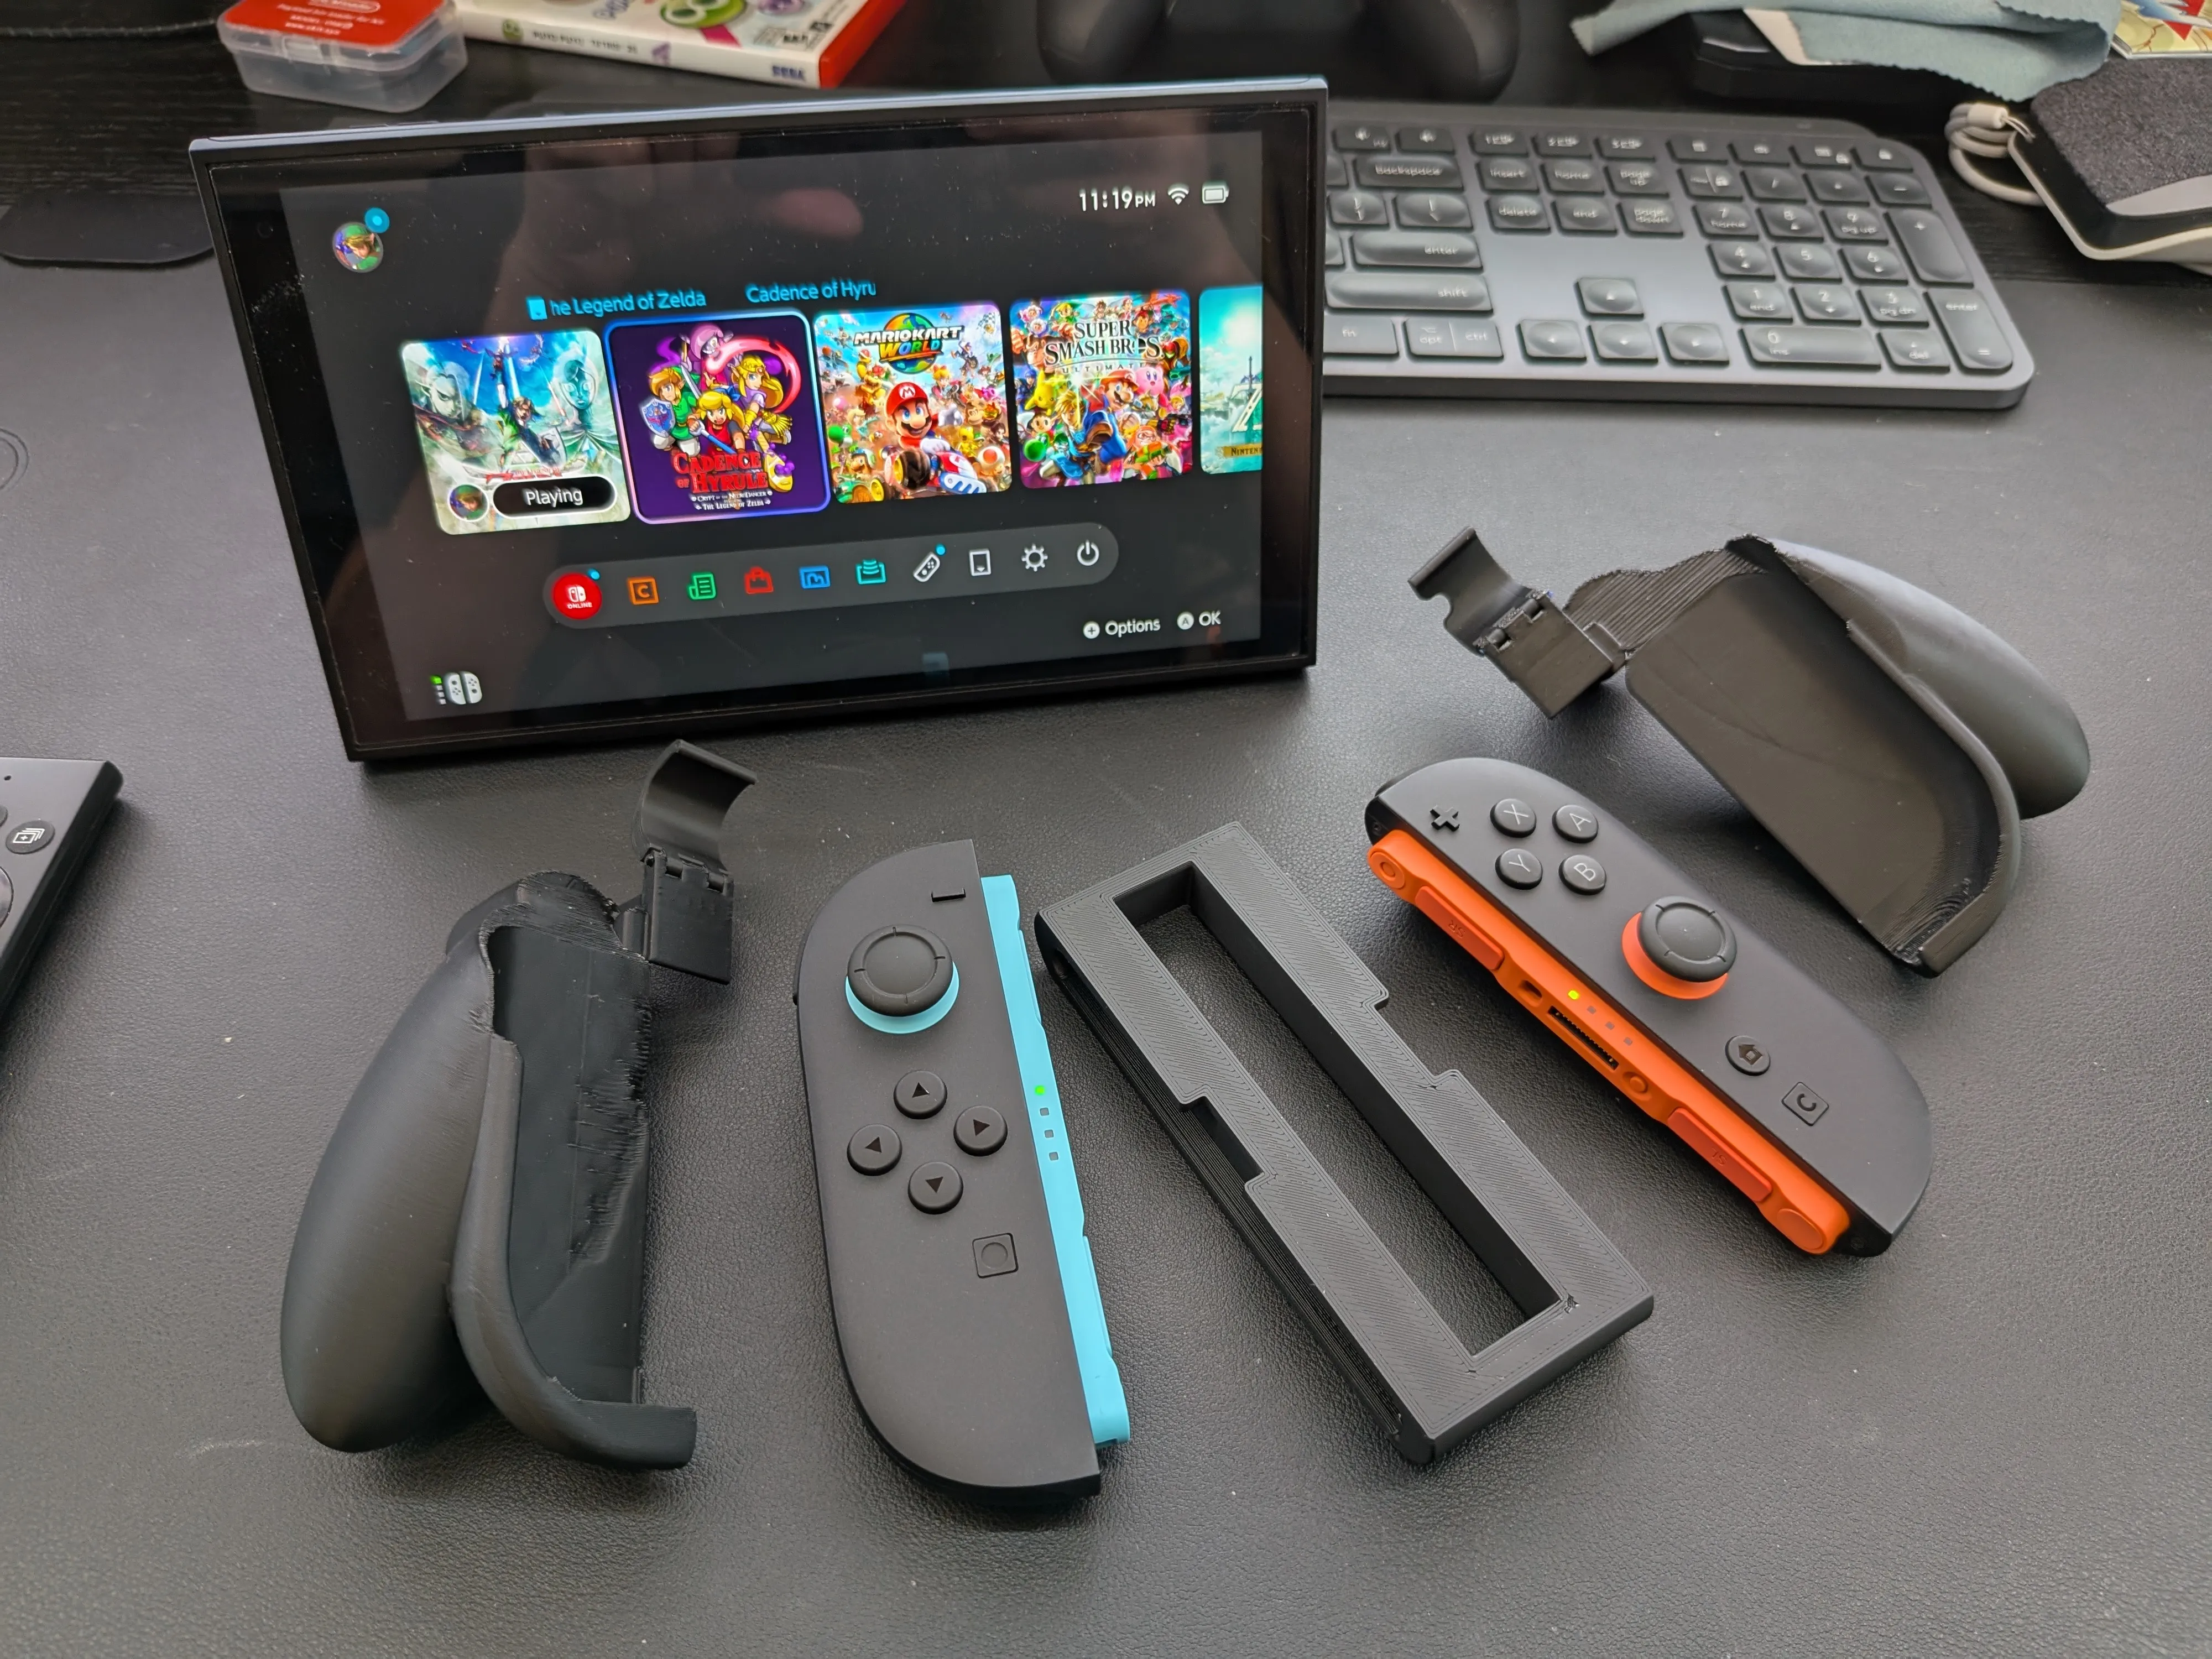
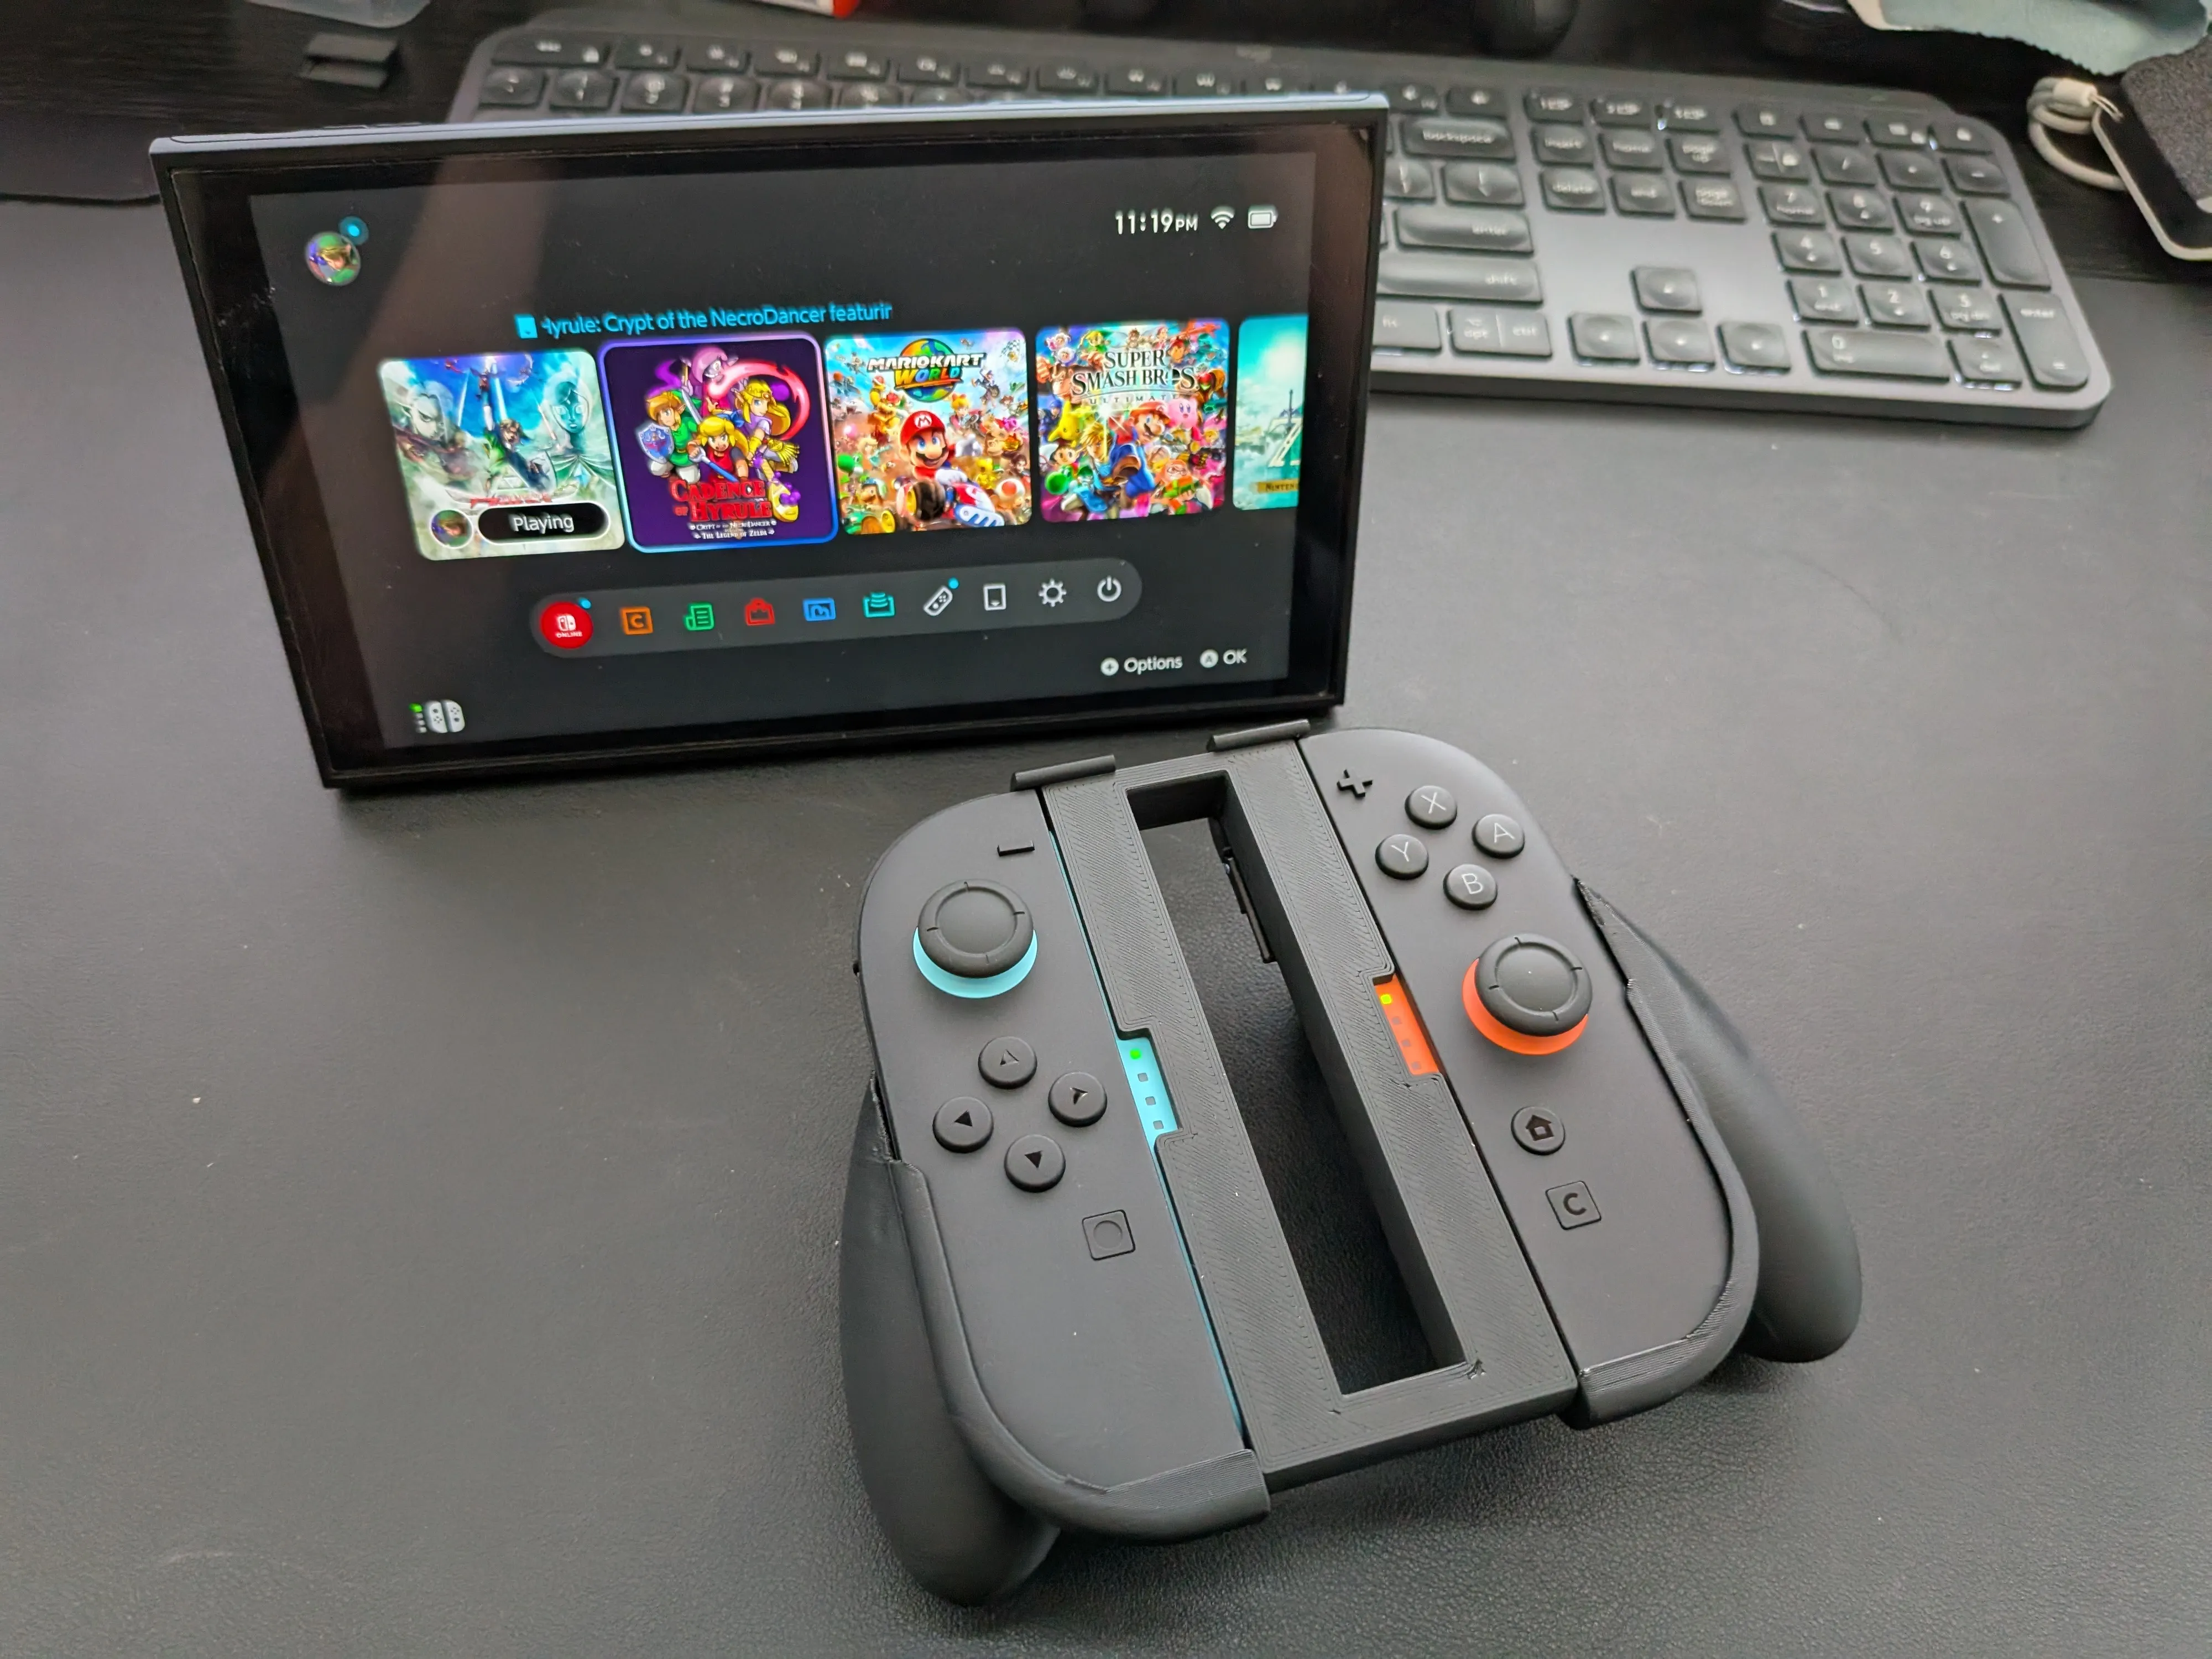
As stated in the earlier update, I'm retiring the deckmate versions as mechanism already released a back clip which can be found on printables
As for the big sized grip, I'm probably going to copy that over to the lite editions since its easier to maintain.
==========
New 6/27/2025 Description:
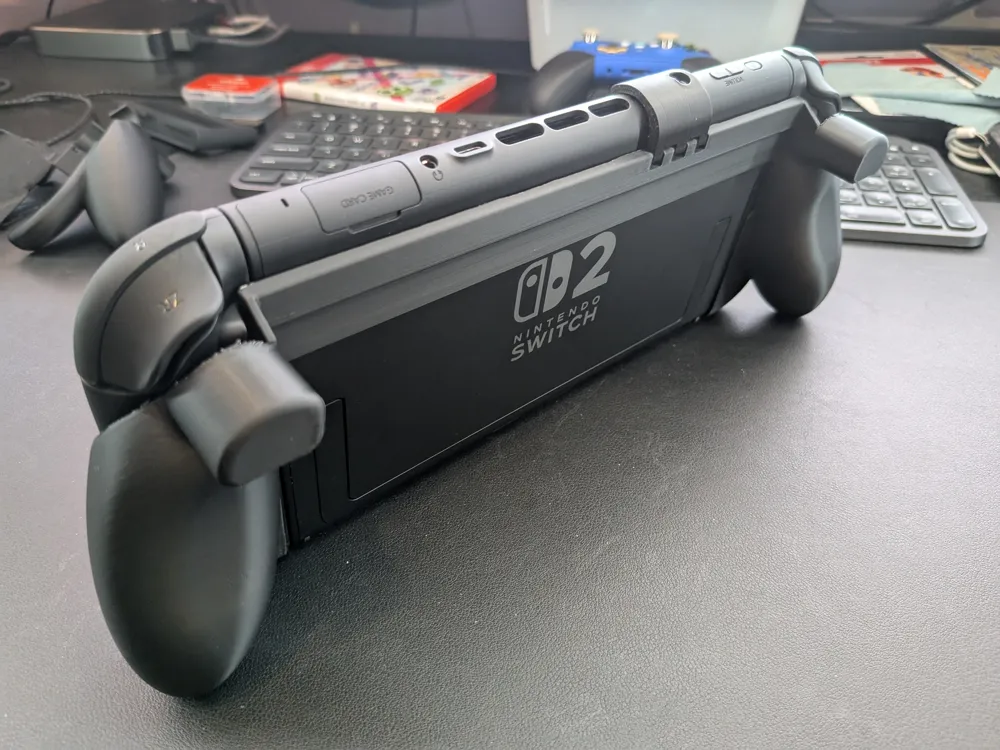
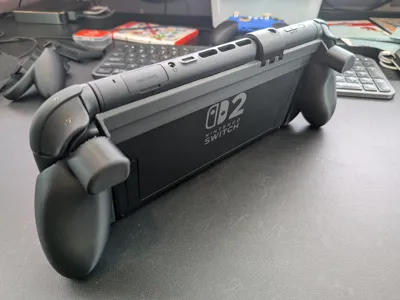
Version 15 lightweight is finally ready.
It makes a few changes and considers a number of feedback:
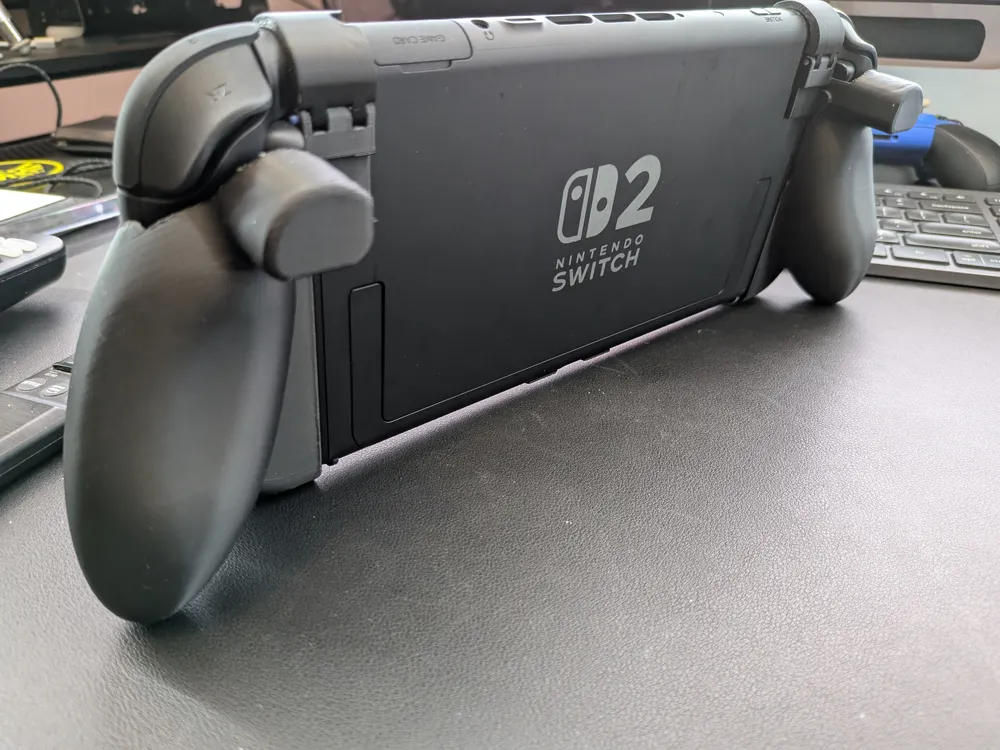
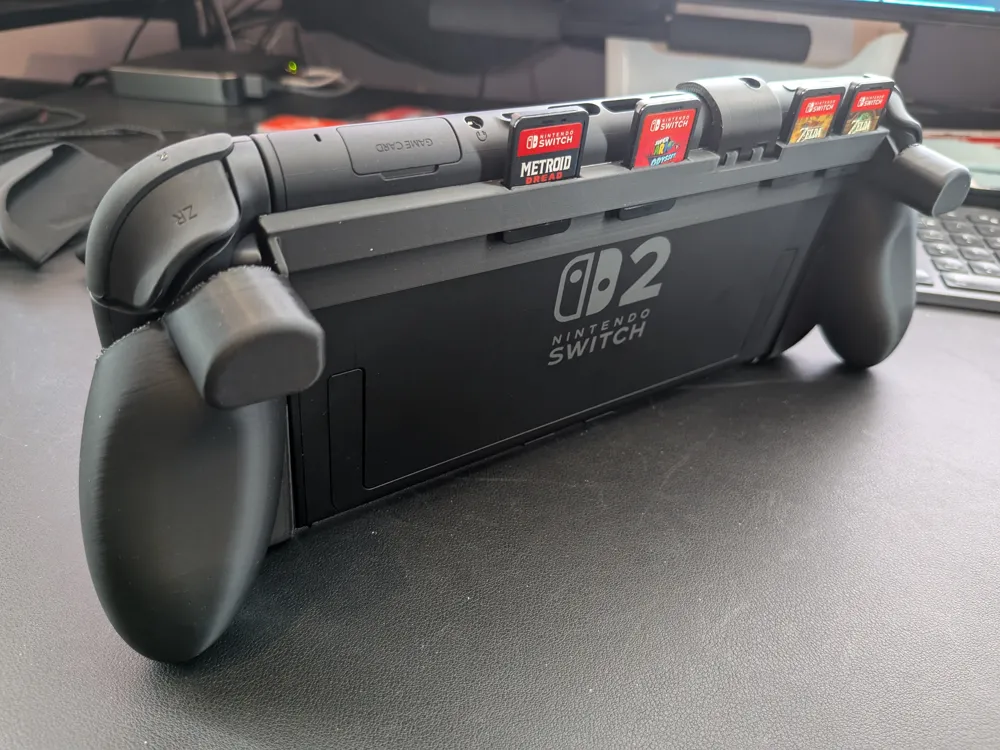
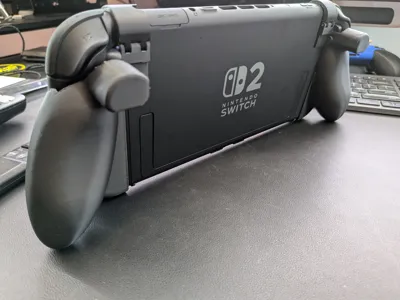
- Makes the fake shoulders “useful”
- Fake shoulders continue to support/stand the console so triggers aren't accidentally triggered when put down
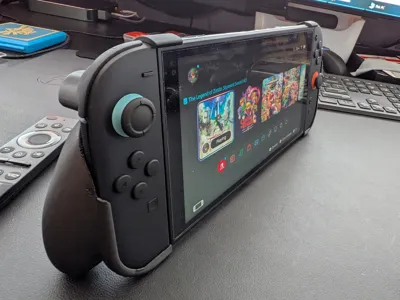
- The triggers now are angled to be supported by the middle/ring fingers so that the console doesn't slip down when being held up vertically
- The hinge thickness was increased on the grip itself so its much sturdier
- Supports are generous so as to ensure adhesion is good for printing
- Reduced the profile of the bottom as it still holds well (passed the shake test)
- Thinned the lip that holds to the bottom of the joycon so that it won't push out the joycon as much
- Testing many printing angles and found this angle results in the most “comfortable” print result
- Printing in other angles resulted in layer lines making the grip “rough” so this turned out the best
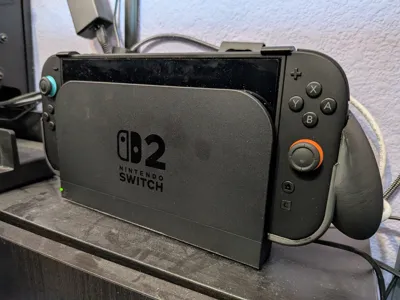
Version 15 will be extended to all the other versions but it takes awhile to update 10 versions and ensure they all print well. Also I'm going to stop making a deckmate version since they've since mechanism has officially released one. Note that the official mechanism dock only works with the lightweight grips and interestingly its still dockable (I've printed and tried it).
============================
New 6/17/2025 Description:
Version 14 is now all dockable.
There are options are:
- cartridge storage (3-4)
- deckmate adapter
- large grips for large hands
- asymmeterical grips
- lightweight grips (clamps to the joycons)
They're all in the Version 14 file. A1 Mini have a dedicated profile which is only the lightweight but the old versions are still available for those who prefer.
=======
Version 14 fixed. There was a problem with the width which is now fixed as well as the position of the light sensor.
=======
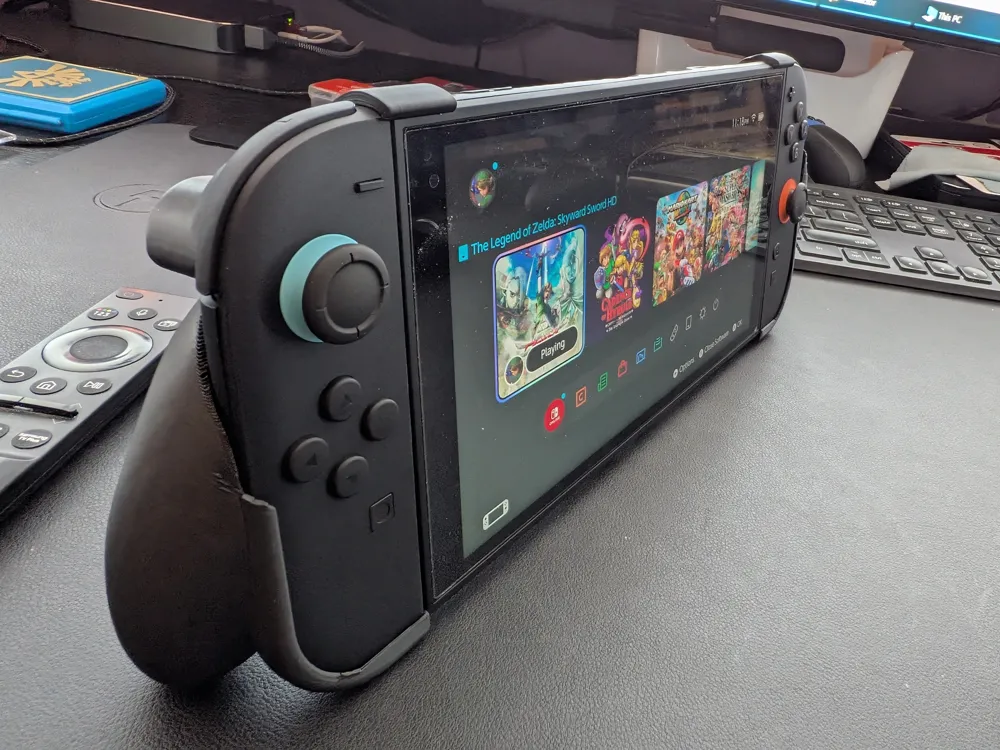
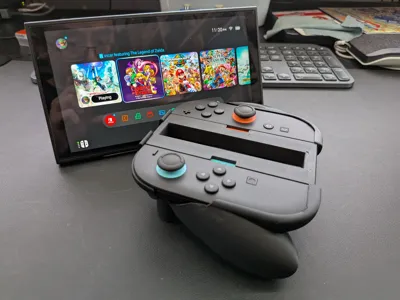
Version 14 Introduces a lightweight version that holds onto the joycon itself. Instead of a separate bar, the new version wraps the bottom of the joycon as many have suggested in their feedback.
These pass the shake test. The lightweight versions lock onto the joycon while you could hold it at an angle one-handed, I wouldn't recommend it as it puts strain on the joycon to switch itself.
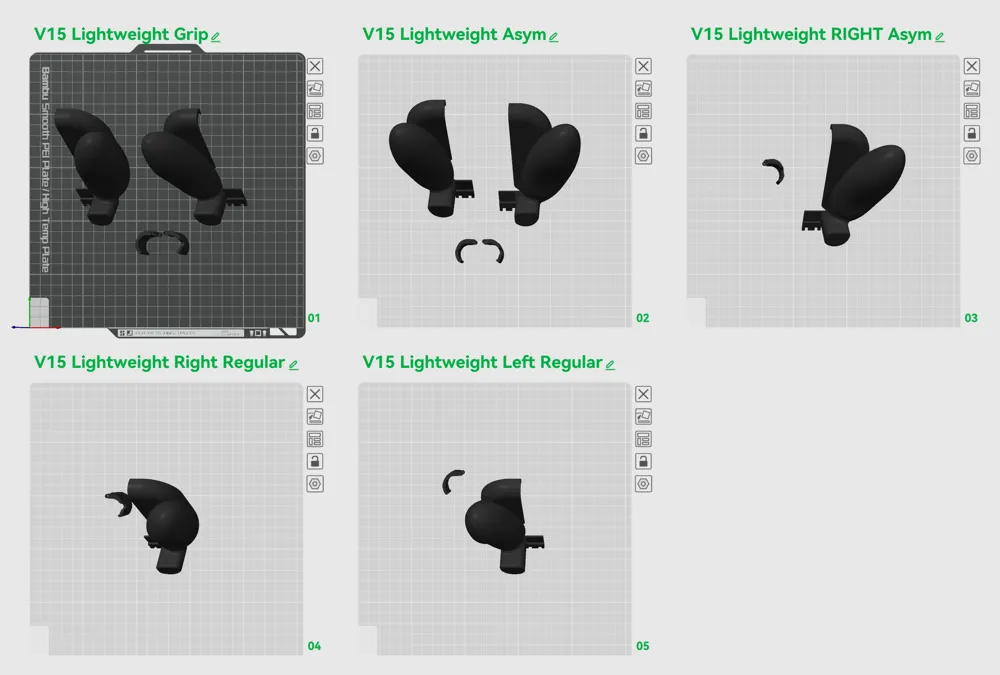
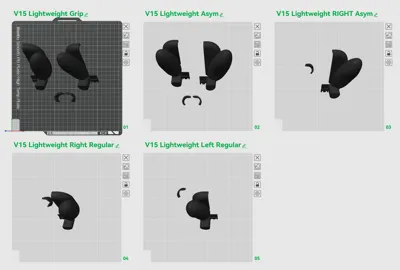
In this profile there are 10 plates of various versions:
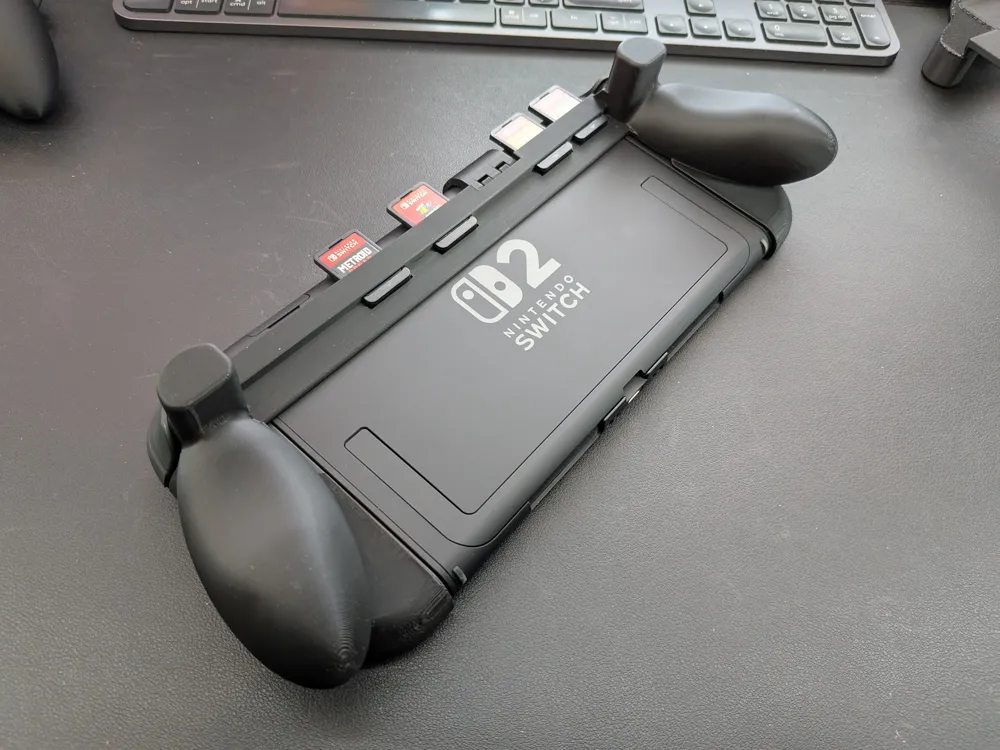
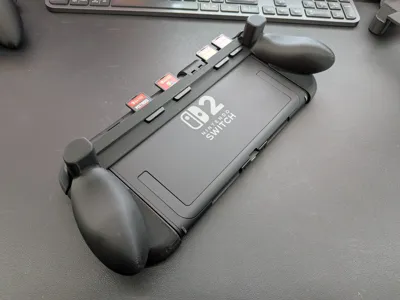
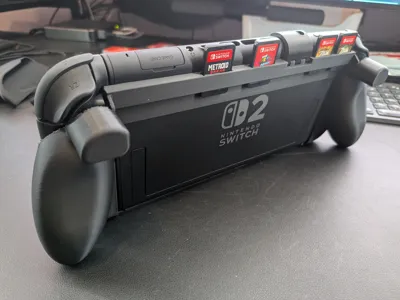
- Dockable Slim w/ Cartridge holder (4 Carts)
- Dockable Slim Large w/ Cartridge holder (4 Carts)
- Dockable Slim
- Dockable Deckmate w/ Cartridge holder (3 Carts) (deckmate takes a slot) - Regular
- Lightweight grip (no cross bar) - Regular Grip
- Lightweight grip (no cross bar) - Asymmetrical Grip
- Right hand Grip only - Asymetrical Grip
- Right hand Grip only - Regular Grip
- Left hand Grip only - Regular Grip
- Dockable Deckmate w/ Cartridge holder (3 carts) - Asymmetrical
Features added:
- Bottom section wraps the joycon
- Full versions don't cover the joycon as less is needed to keep the switch in place
- Lightweight versions required a bottom lip to keep it from rotating off the joycon counter clockwise
- Redesigned to fit an A1 Mini Printer
- Combined Cartridge into the slim versions and still possible to dock
- Added 10mm of brim to reduce support/adhesion issues (please still clean your build plate and calibrate prior to printing)
There are still a few bits of feedback I haven't gotten to but I think this is a good version to share.
======
Minor tweaks made to the print profiles to ensure there are no support issues and better bed adhesion
Separately added an A1 Mini Profile and an Asymmetric Grip Profile
Brim has been added for adhesion. More support has been added as well.
=====
Updated to Version 12 - Release Version
After several more iterations, this is version 12 based on the feedback I received.
Version 12 utilizes 30-40g less filament as it cuts away waste. Some features couldn't be combined so I made 3 separate versions.
- Standard Version with 4 slots for 4 game cartridges
- Large Version for big hands with cartridge slots
- Latch only which now prints with 2 of the hinges in place. The third is a filament hinge but it now is friction fit
- Slim dockable version that also uses a different hinge entirely.
- The tolerances are now snug so this is a new hinge version as well.
- Deckmate/Mechanism edition (for my personal use)
- Slim dockable version for big hands
=====
Updated to Version 8 - Release Version
- Resized the latch several times in order to make it lock
- Resized so it is a snug fit (did a shake test to verify it holds)
- Latch now releases and locks comfortably
======
Updated to Version 5
- Moved the latch/hinge to the top because gravity
- Moved the bottom bracket to the sides so the kickstand clears
- Revised the latch in several versions
- This still needs more work, there will be a version 6 to make the latch “snap lock” but its holding now
======
Updated to Version 2 which adds clearance for the kickstand. Switch 2 arrives tomorrow and will test fit and adjust accordingly.
======
I had a pre-order for the Switch 2 and I wanted to make an ergonomic grip for it. I found 3d models for the switch 2 everywhere including here on Makerworld so I decided to just download the model and try making a grip for it.
What I eventually figured out is making a controller grip is extremely hard so I took another controller grip on another file and modified it to work for the Switch 2.
Obviously the Switch 2 isn't out yet so I don't know if this fits but I will adjust it when I get the pre-order. I've printed it to see if the design would work and overall its pretty decent. Currently its set to “extra draft” with supports for the controller. My goal was to reduce the amount of supports needed (save filament) hence its angled the way it is. That does mean some clean up of supports is needed but mine came off easily.
Assembly Instructions (Version 14 & 15)
For the full grips, the hinge will snap on.
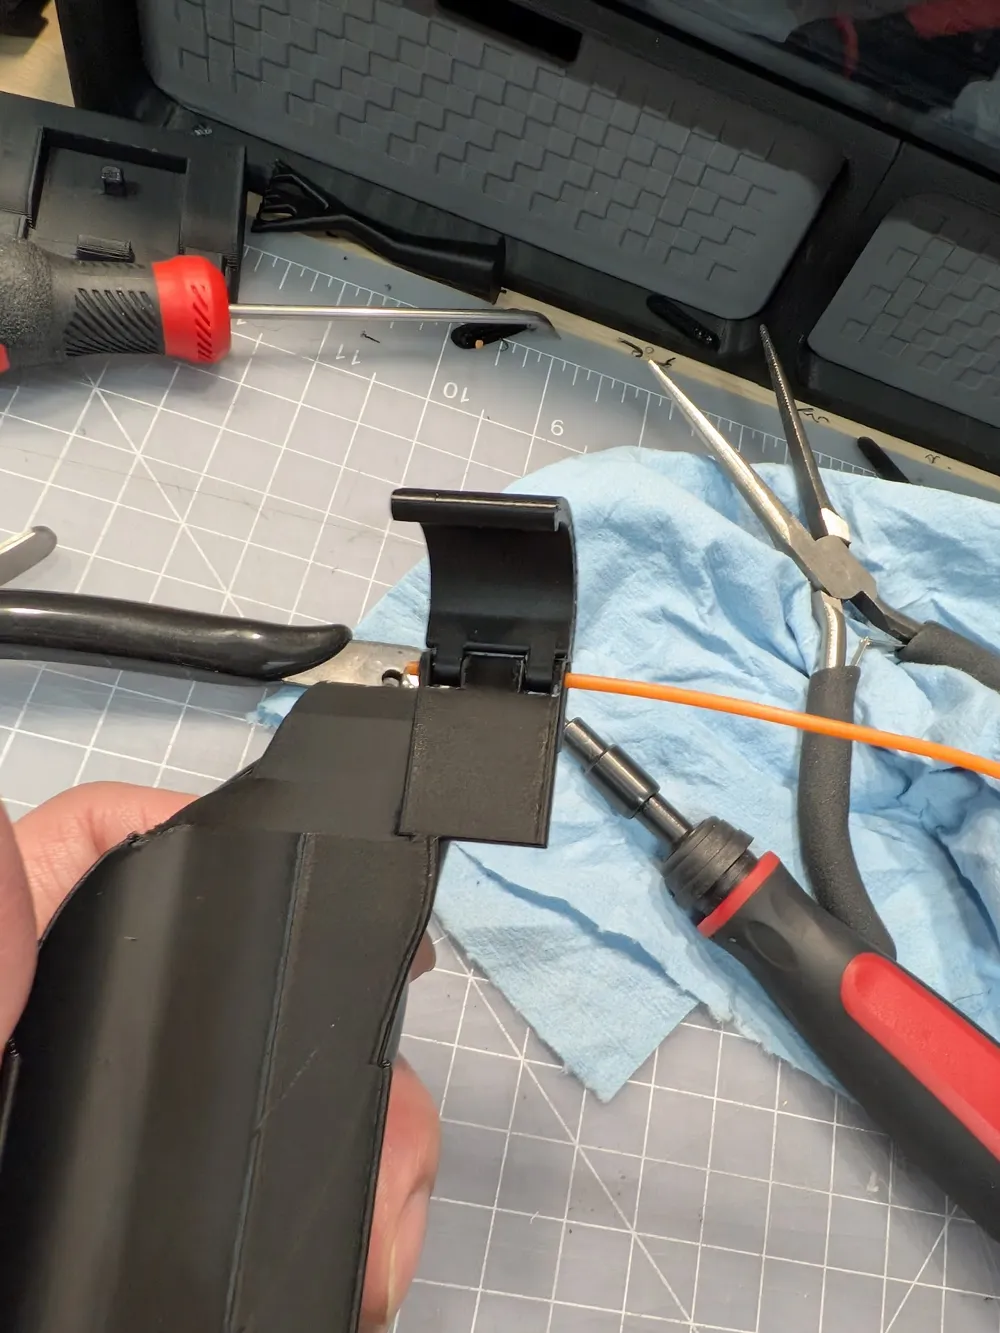
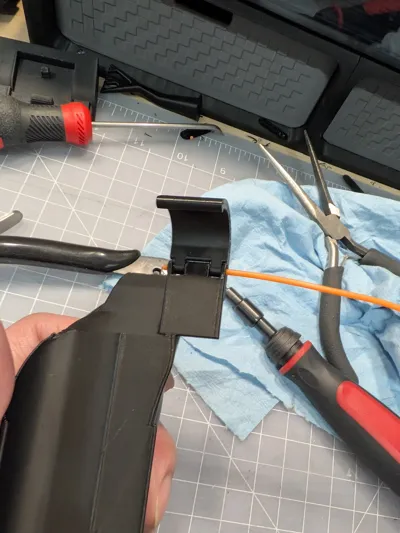
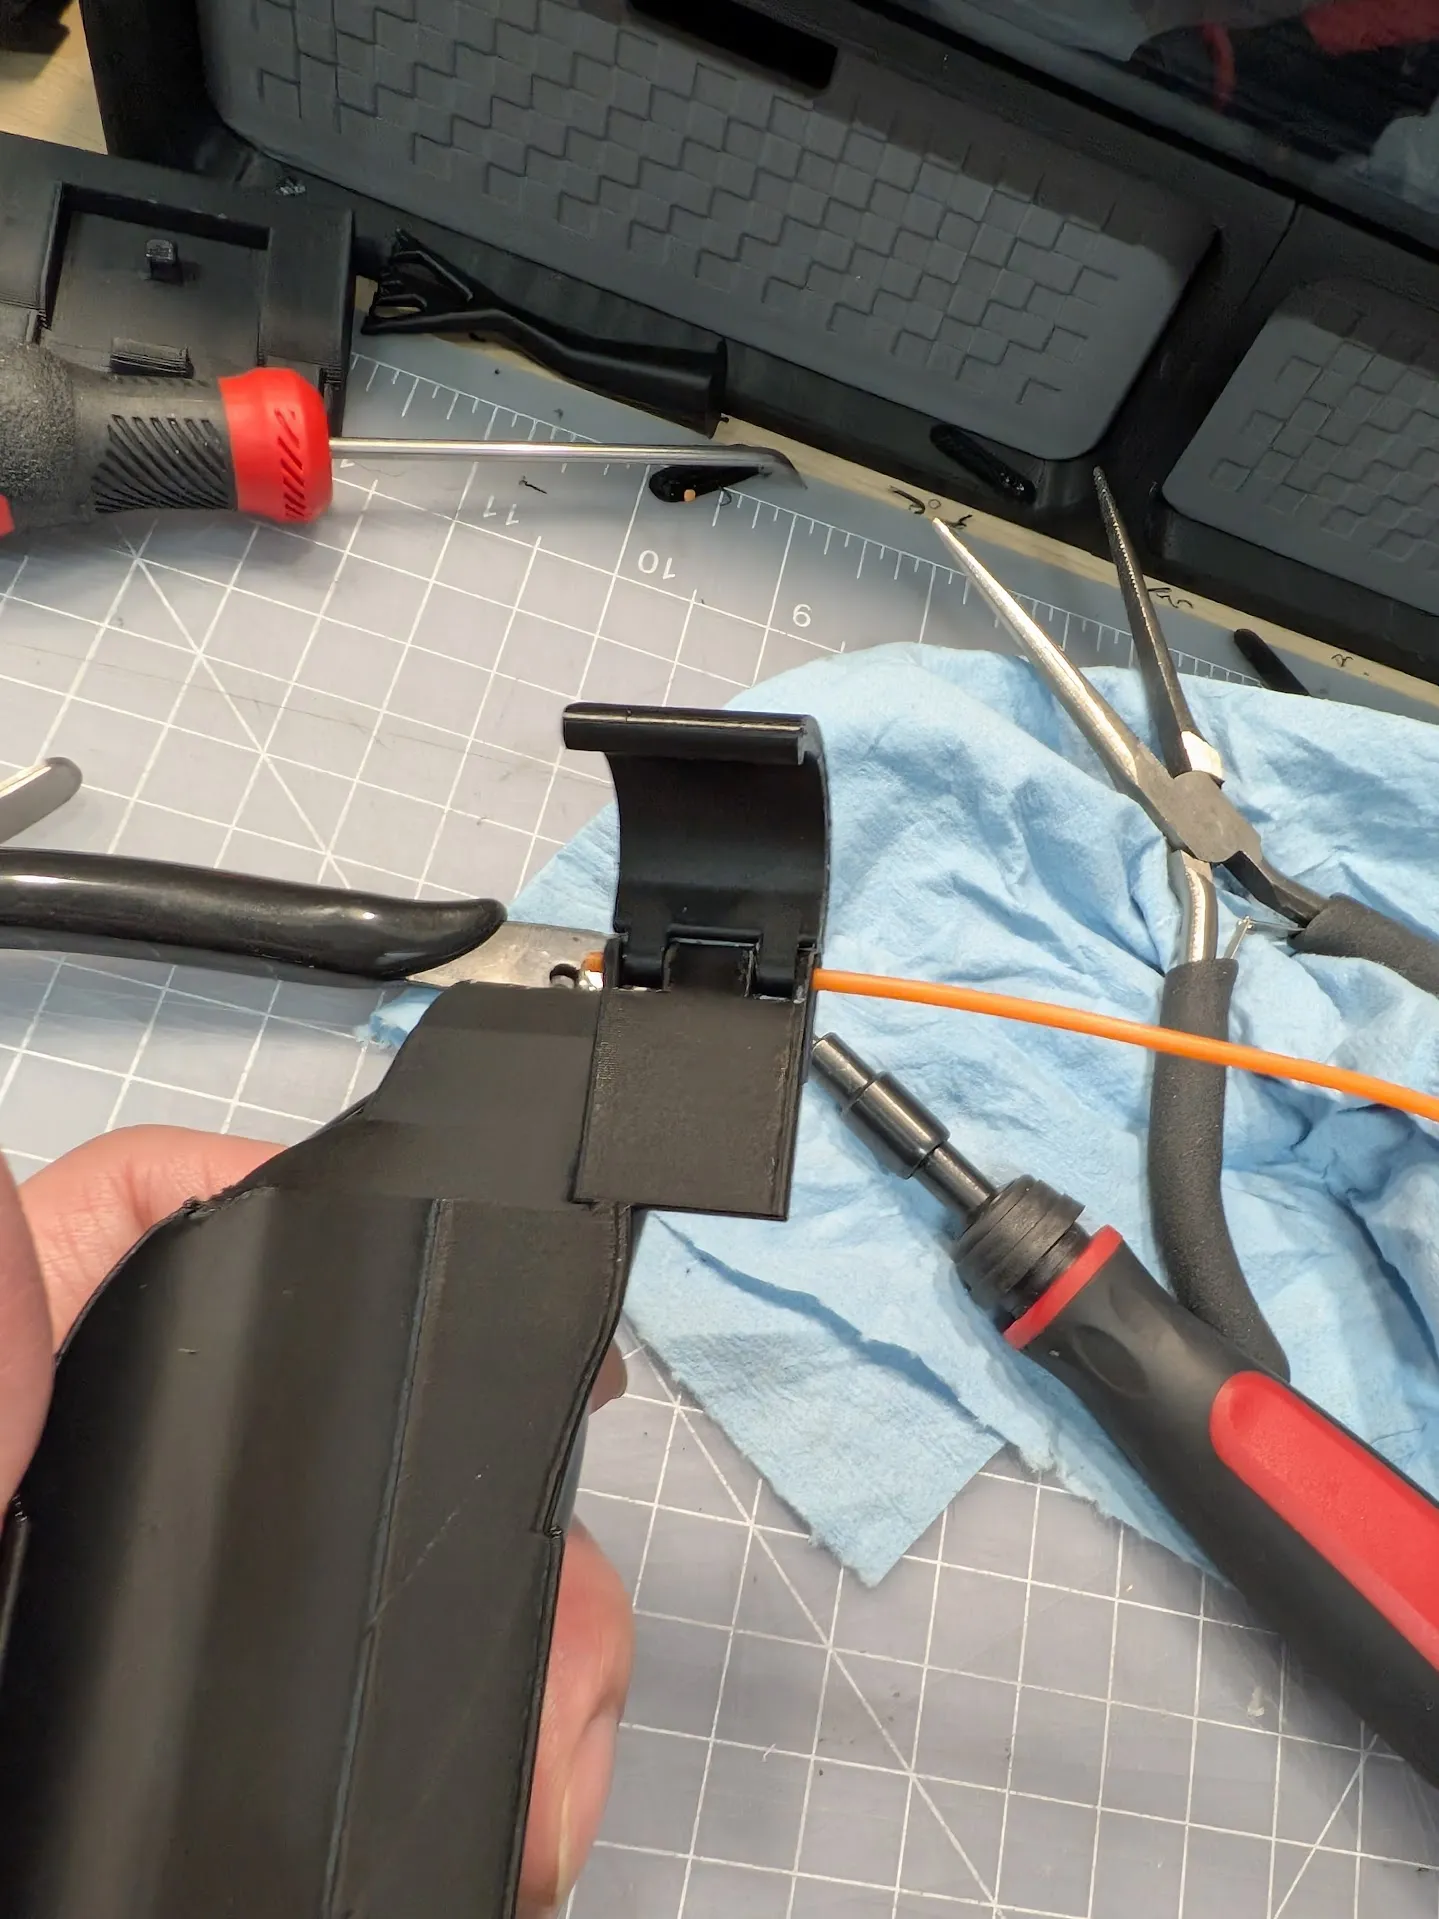
For the lightweight grips, the hinge requires a filament which is friction fit and hold. No soldering required.
Joycon Connector Assembly
Use pliers to pull out the supports as they're very tight fit to ensure accurate sizing.
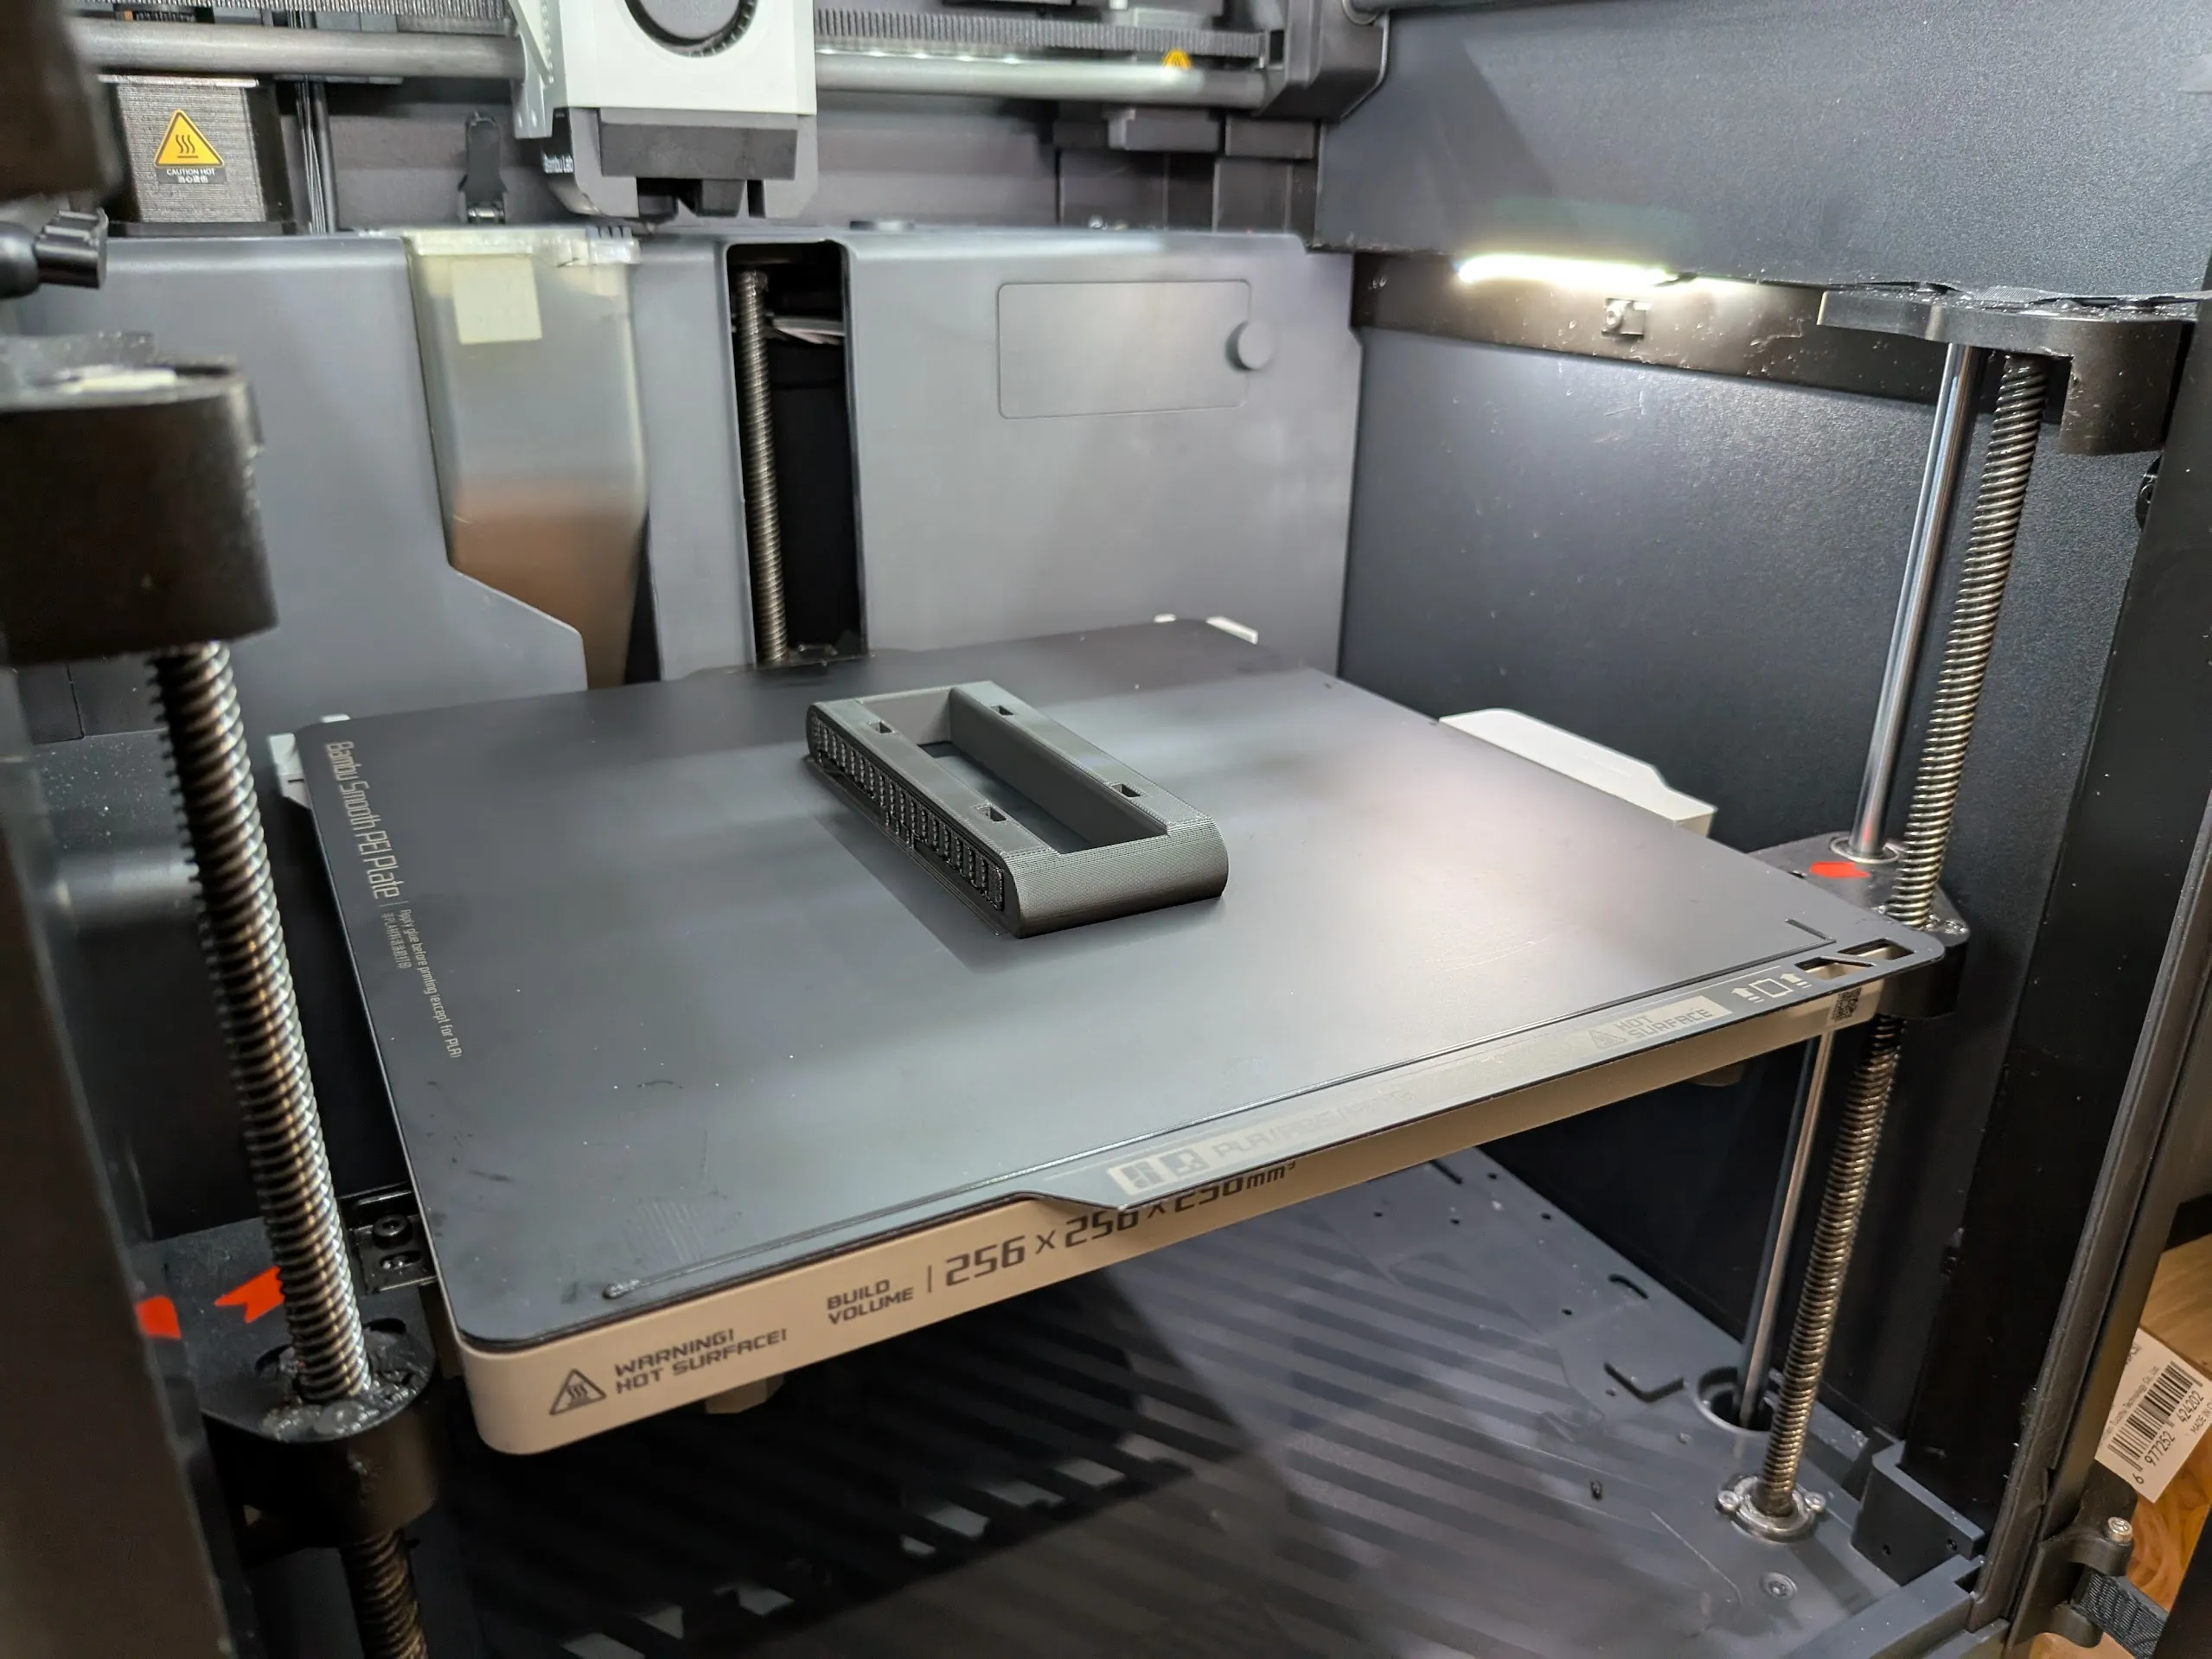
The rear uses four 8x3mm magnets, on each side. Caps are included to push in the magnets as well as cover them.
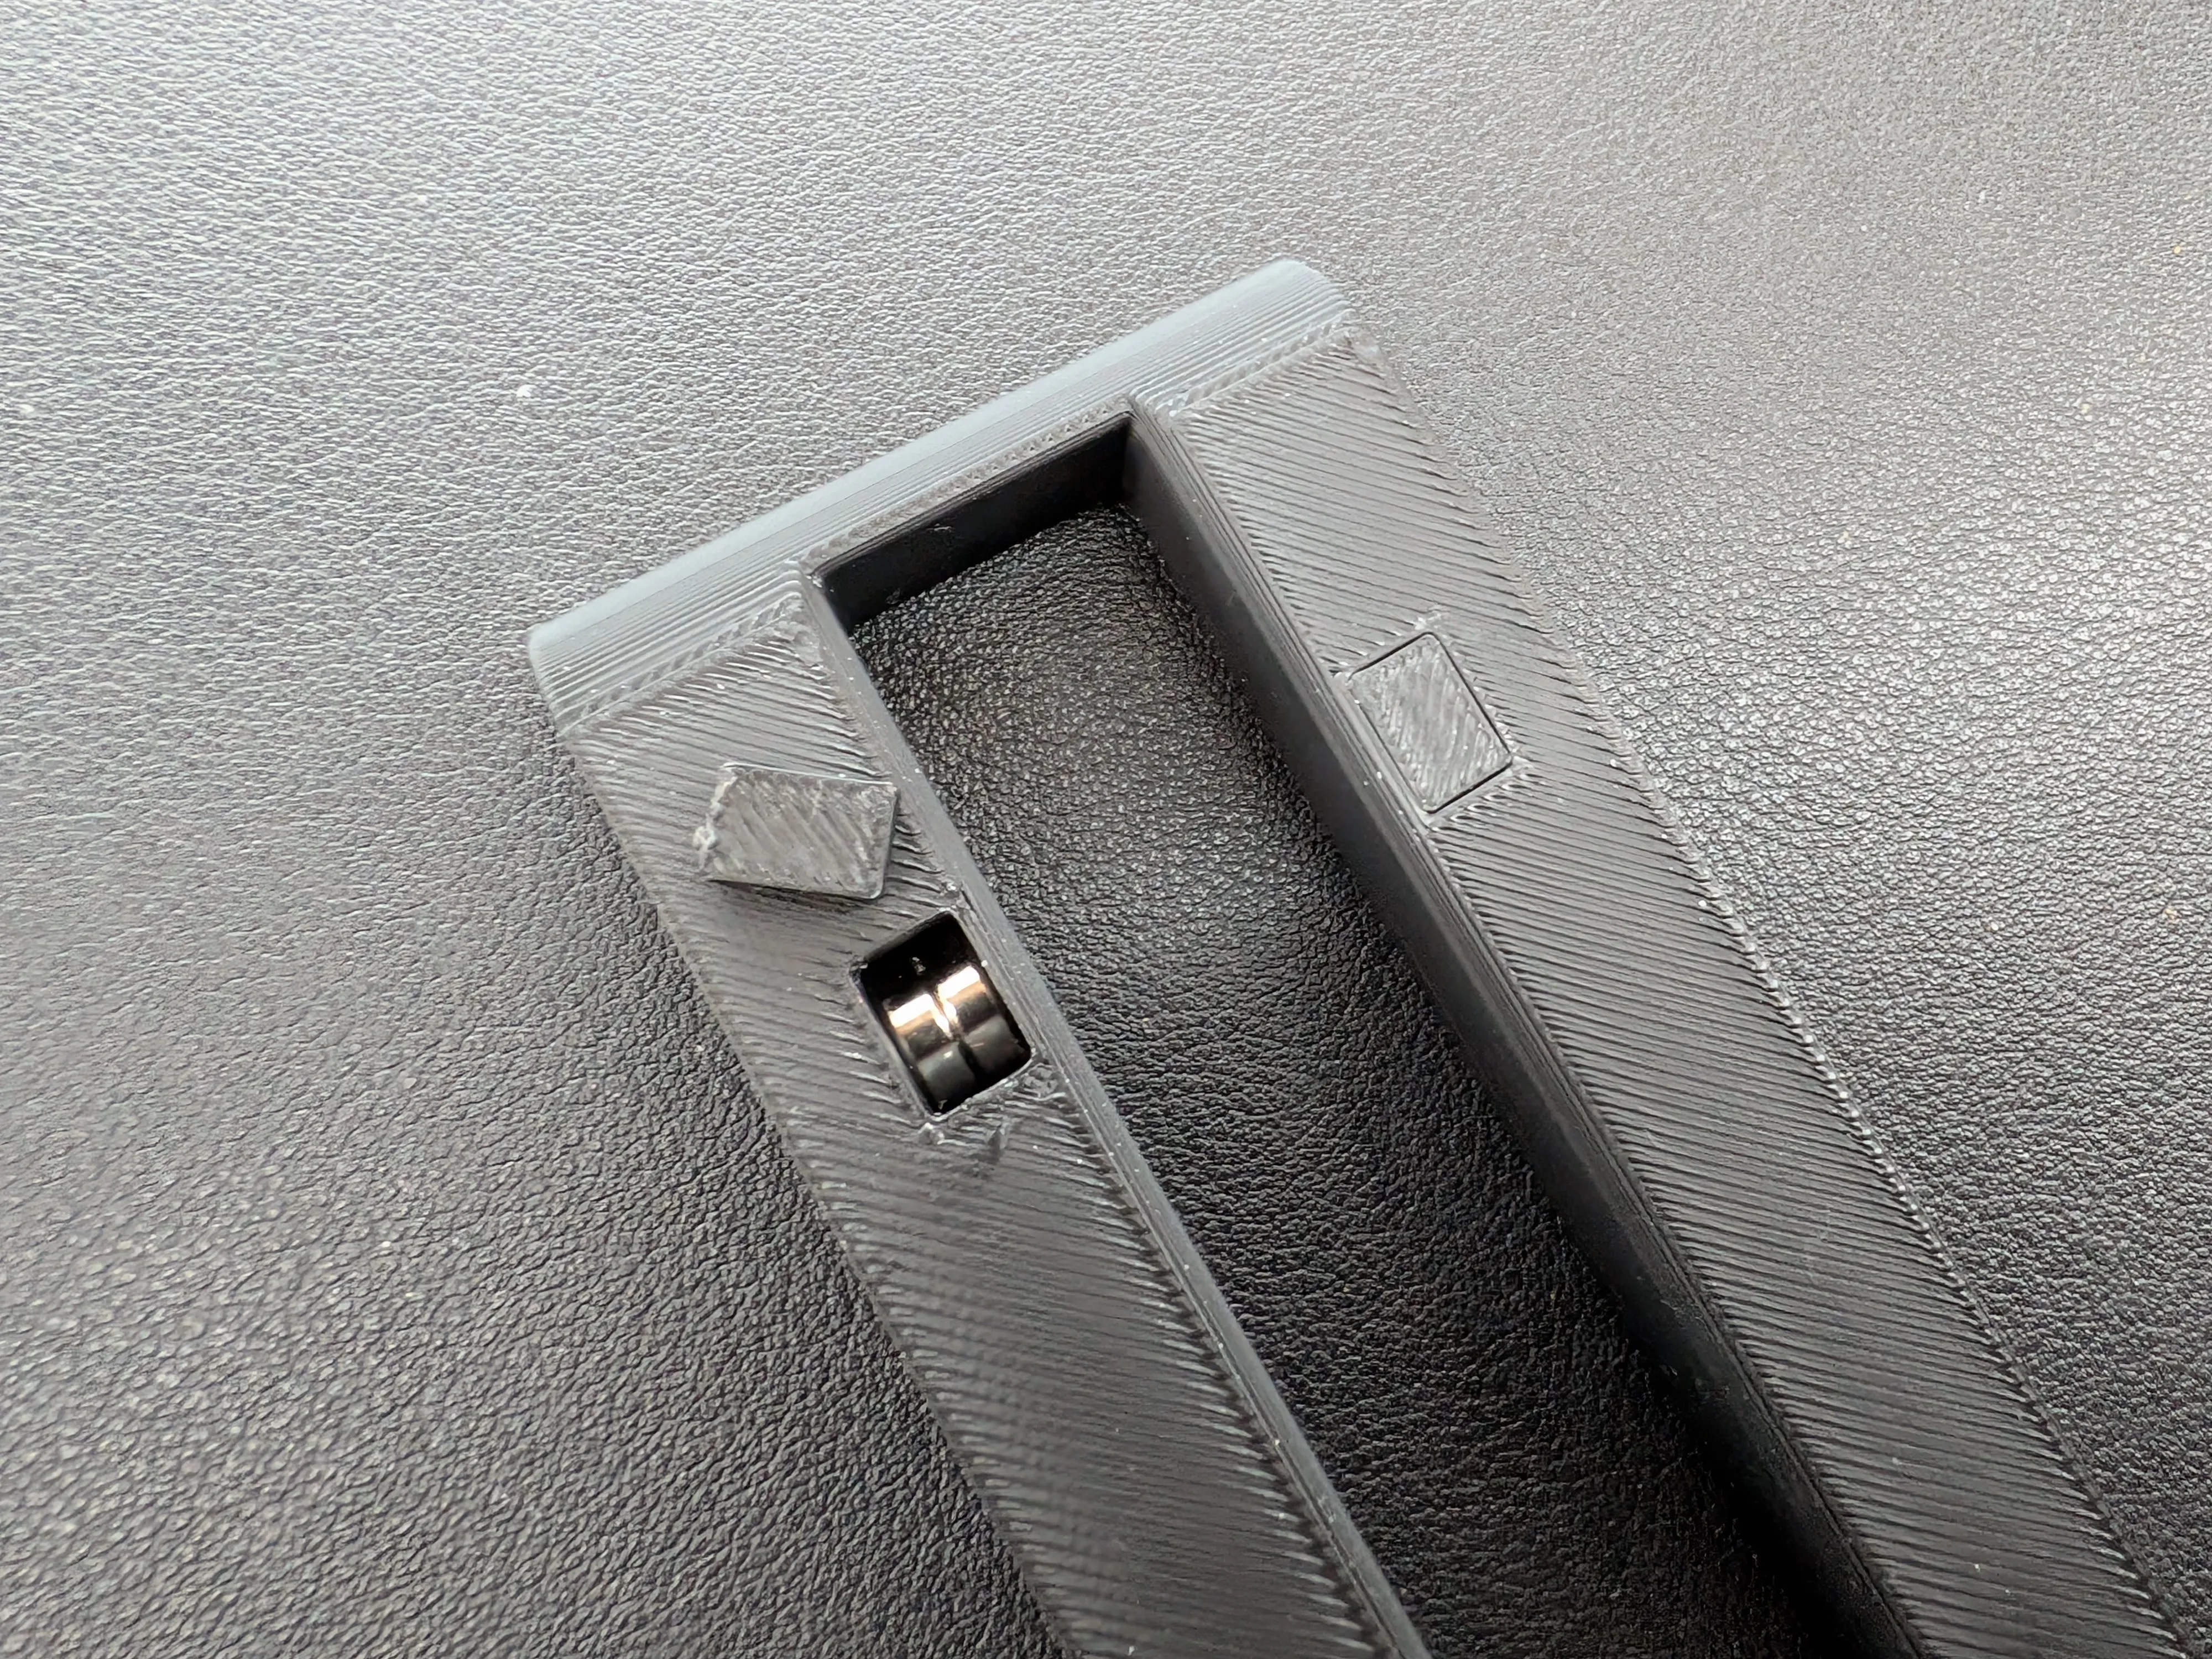
Bottom uses the same latch mechanism that the oem grips and wrist straps use.
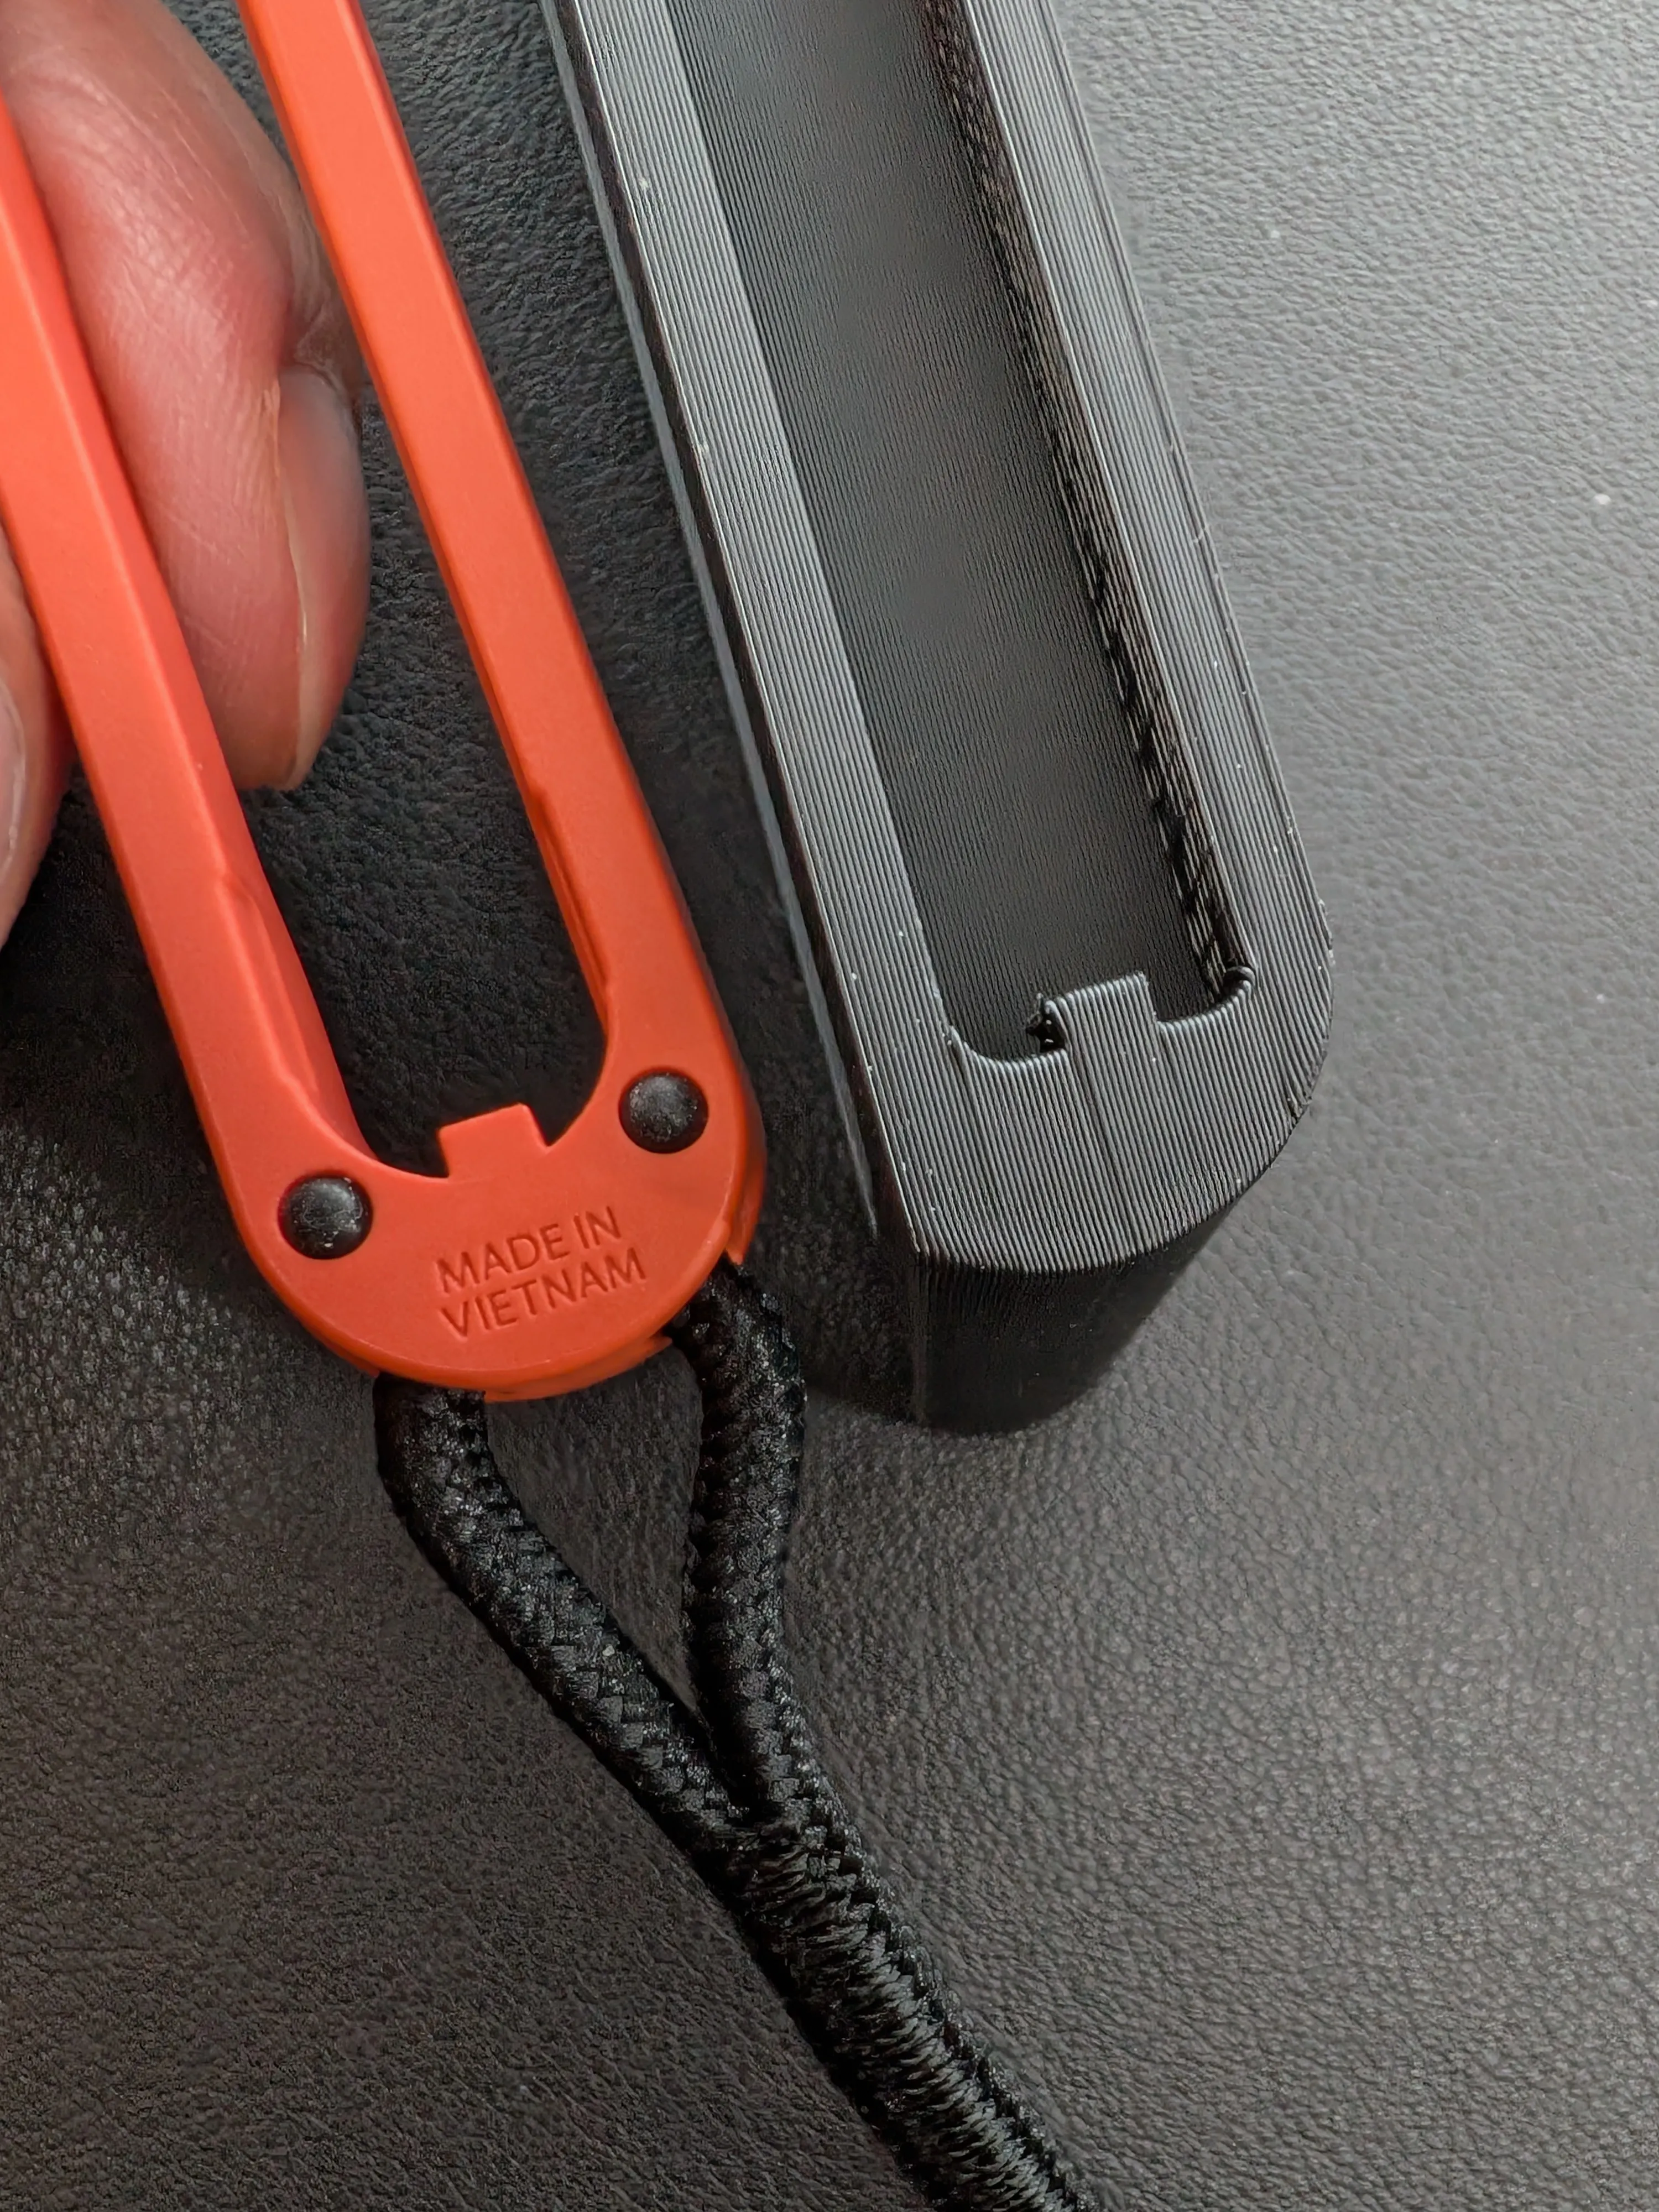
Assembly Instructions (Version 8)
I also used the filament hinge approach so just take a piece of filament and use it as the bar for the hinges and latch. The ends will need to be melted. Matching colors will probably look better but this made it easier for the photo.
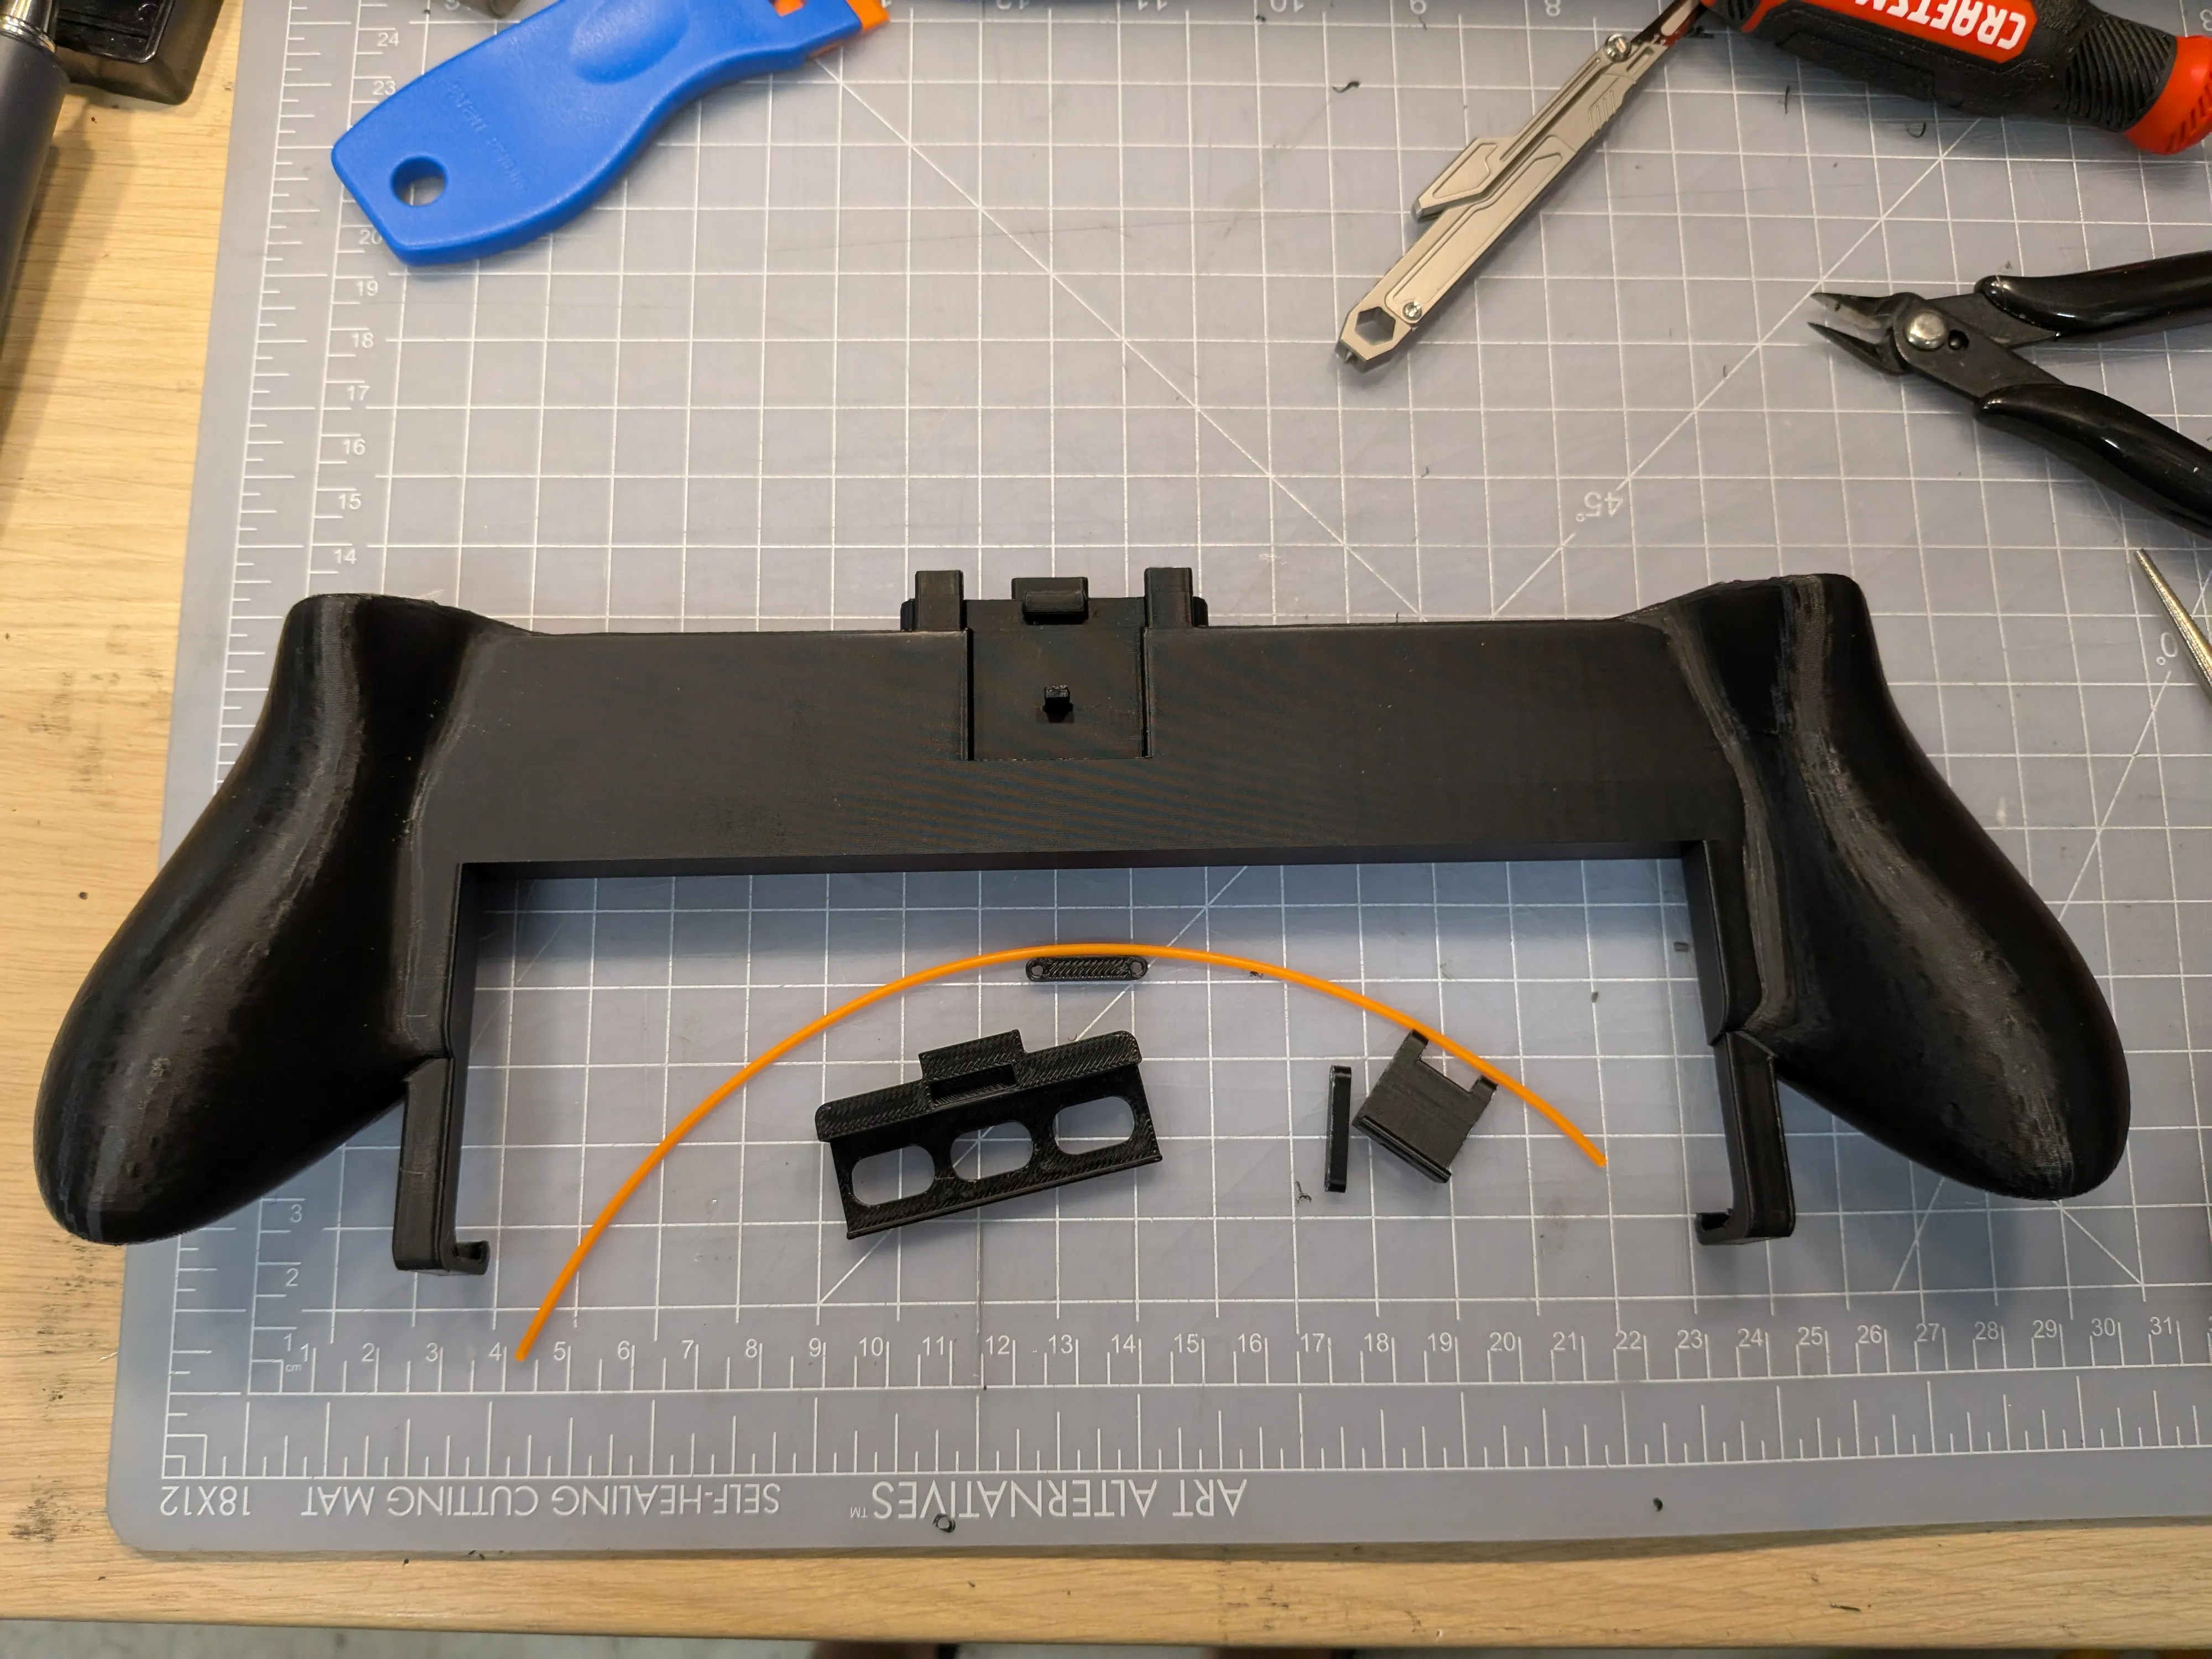
For sequence, assemble the following clamp and latch separately. Its easier this way. Pay attention to the direction of the latch and do a soft assembly prior to melting any filament.
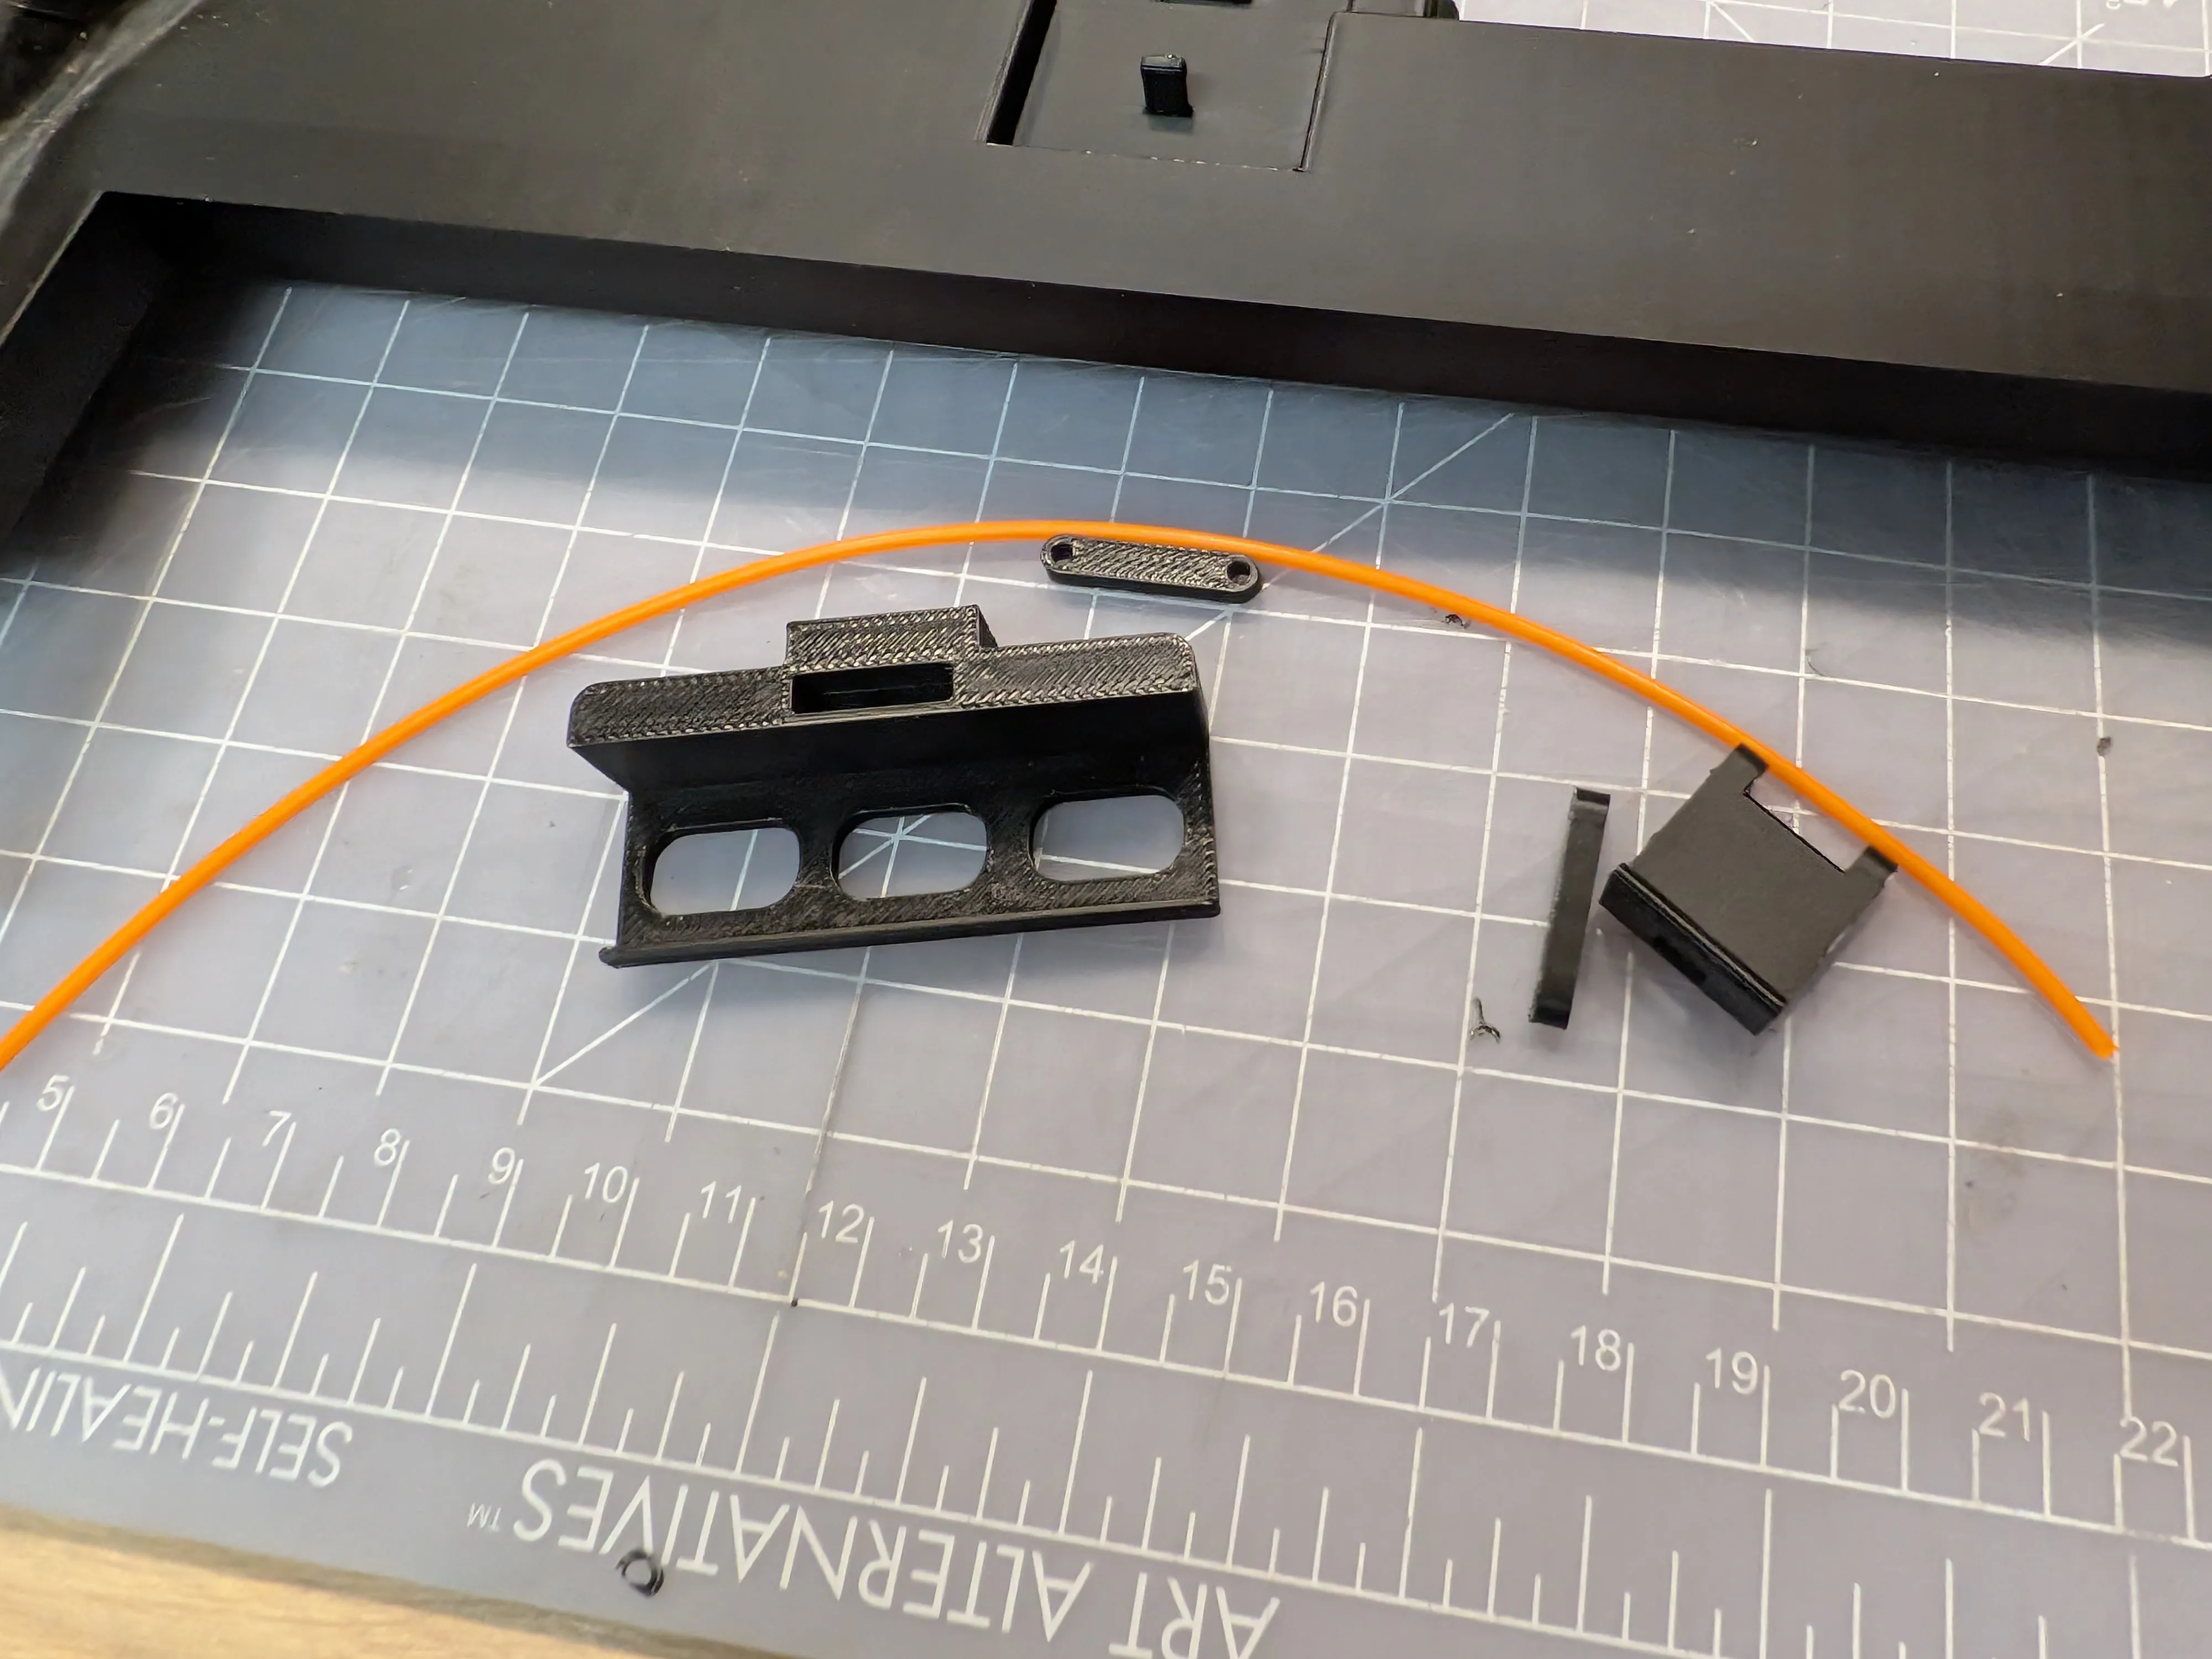
Feel free to give feedback, suggestions, or requests. This is just a casual personal project.
License



Comment & Rating (683)