
Capybara Pendant (Beginner-Friendly 3D Modeling Tutorial)
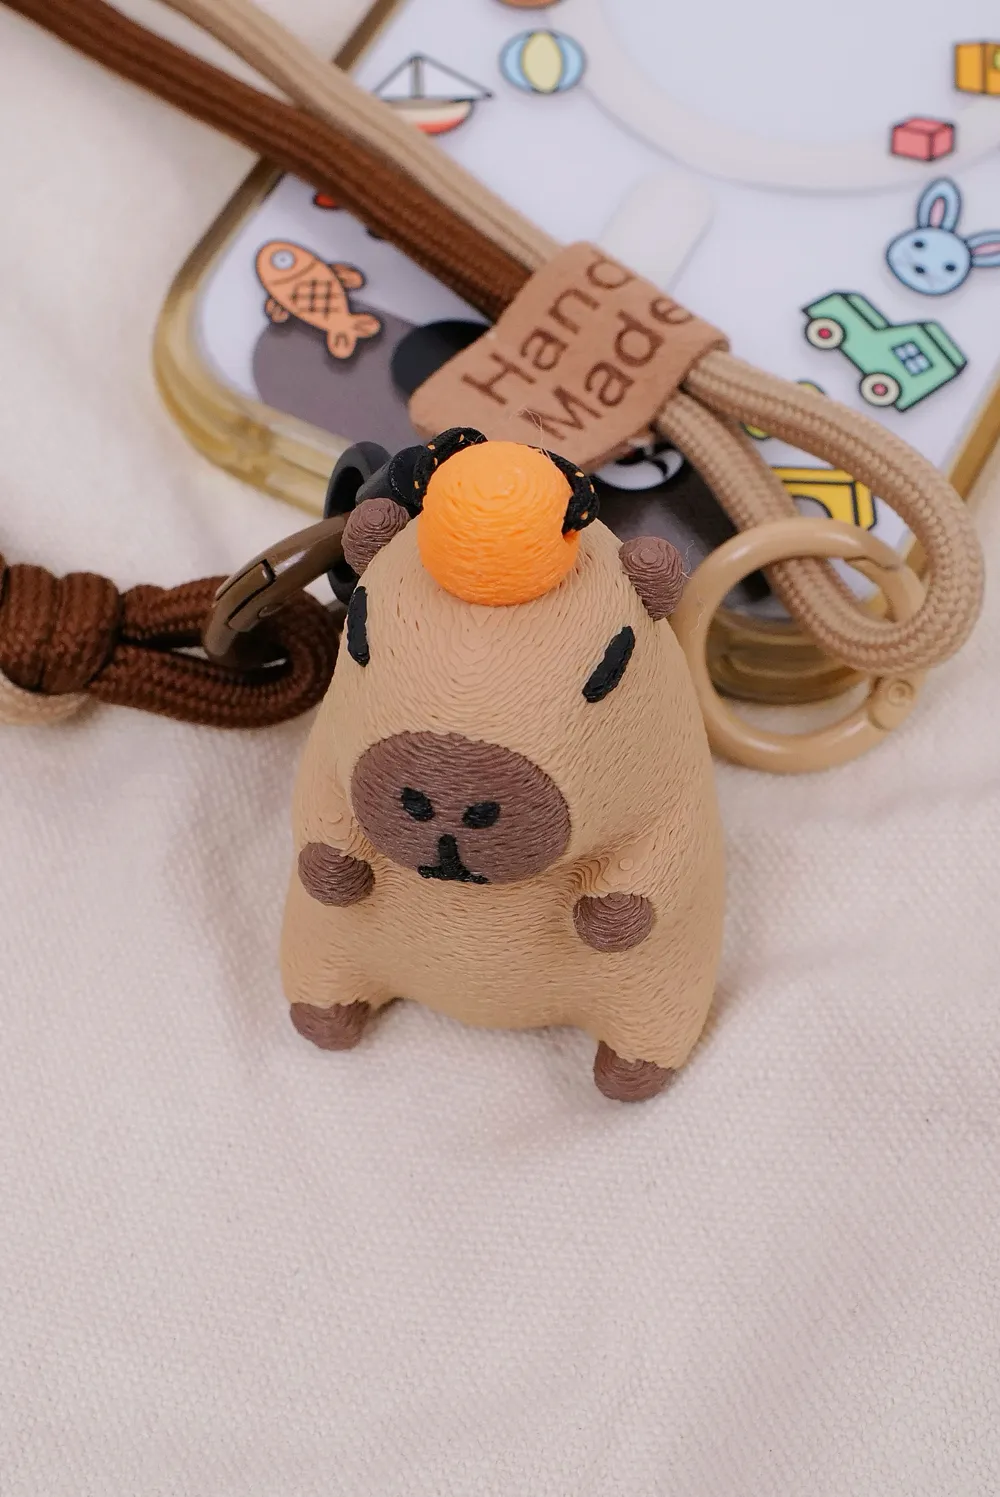
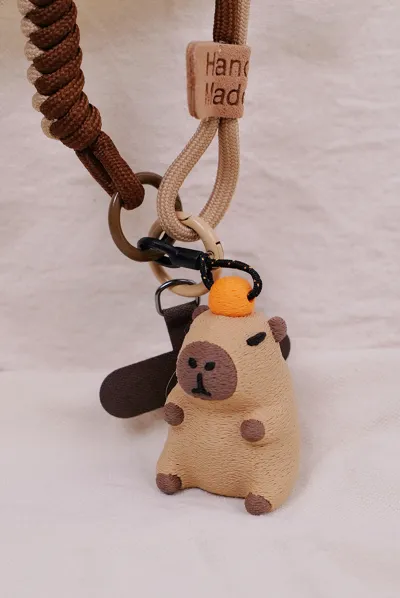
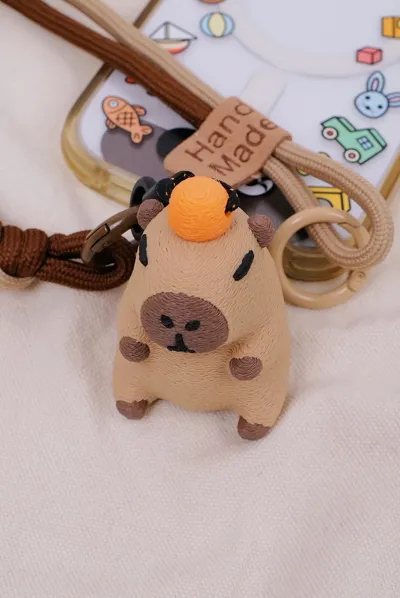
Print Profile(1)

Description
Boost Me (for free)
Follow my accounts on Xiaohongshu, Douyin, Bilibili, and Video Number, all under the same name @sheldon无限热爱
Watch my comprehensive series of video tutorials, “3D Printing Design Manual”,
which will guide you from novice to expert in 3D printing design!
*This model serves as a finished reference file for the video tutorial, “Beginner’s Guide to 3D Modeling: Designing and Printing a Capybara Pendant Using Blender”
Follow and watch on Xiaohongshu, Douyin, Bilibili, and Video Number, all under the same name @sheldon无限热爱!
Even without prior modeling experience, this tutorial will teach you:
-The complete workflow for designing and printing figurines
-Fundamental Blender operations
-How to model an adorable capybara
-Part optimization techniques for 3D printing
-Detailed 3D printing parameter settings
More detailed and professional 3D printing design tutorials will be released subsequently. Stay tuned and don't miss the updates~~~
Model Introduction:
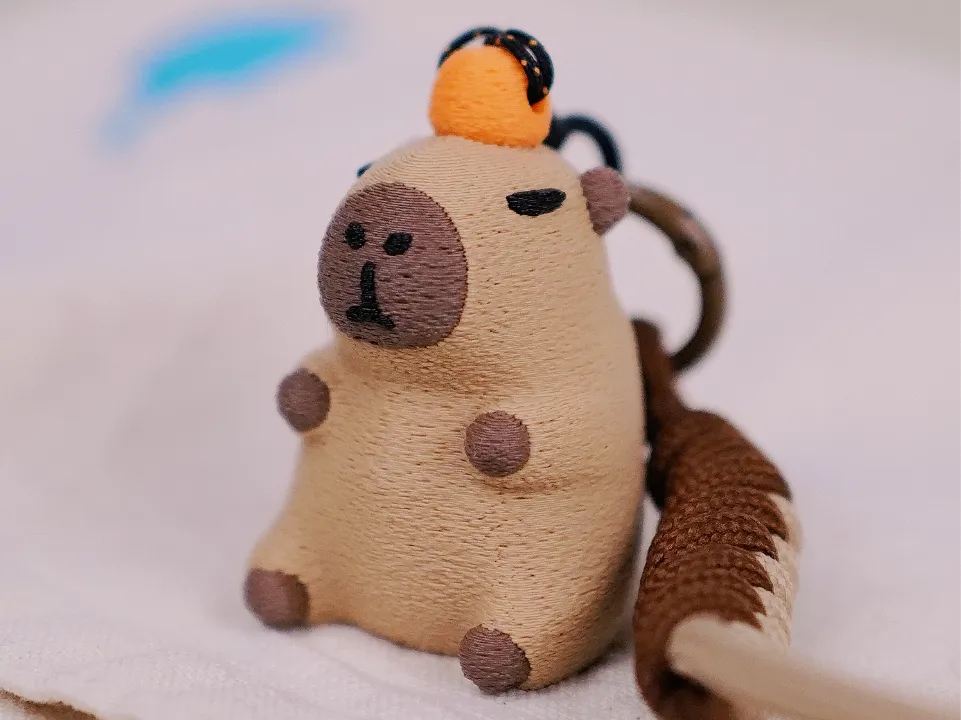
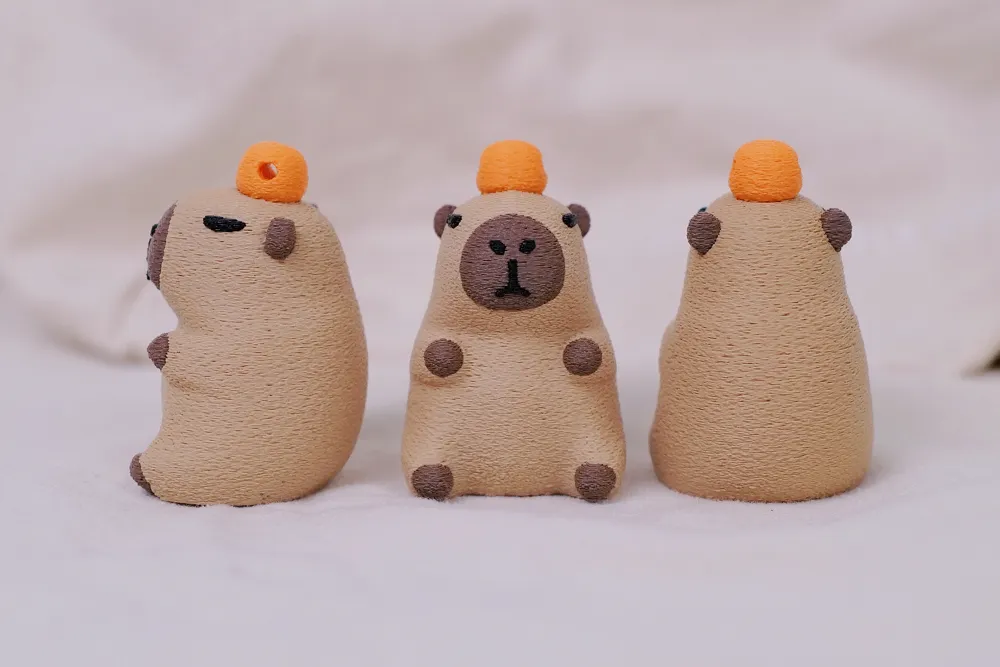
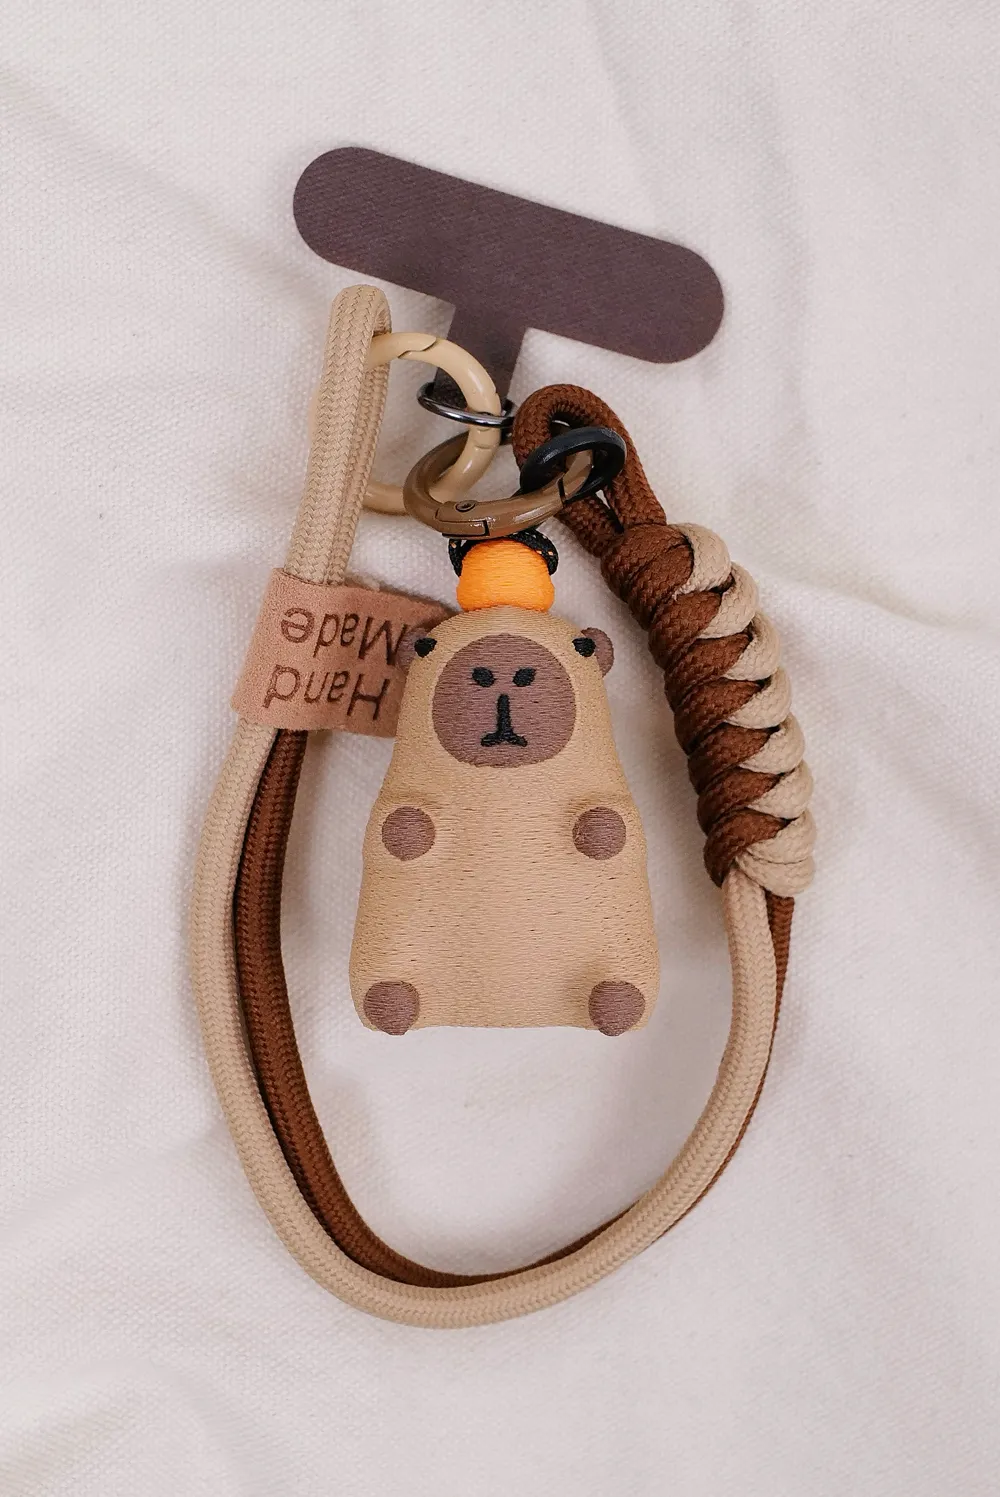
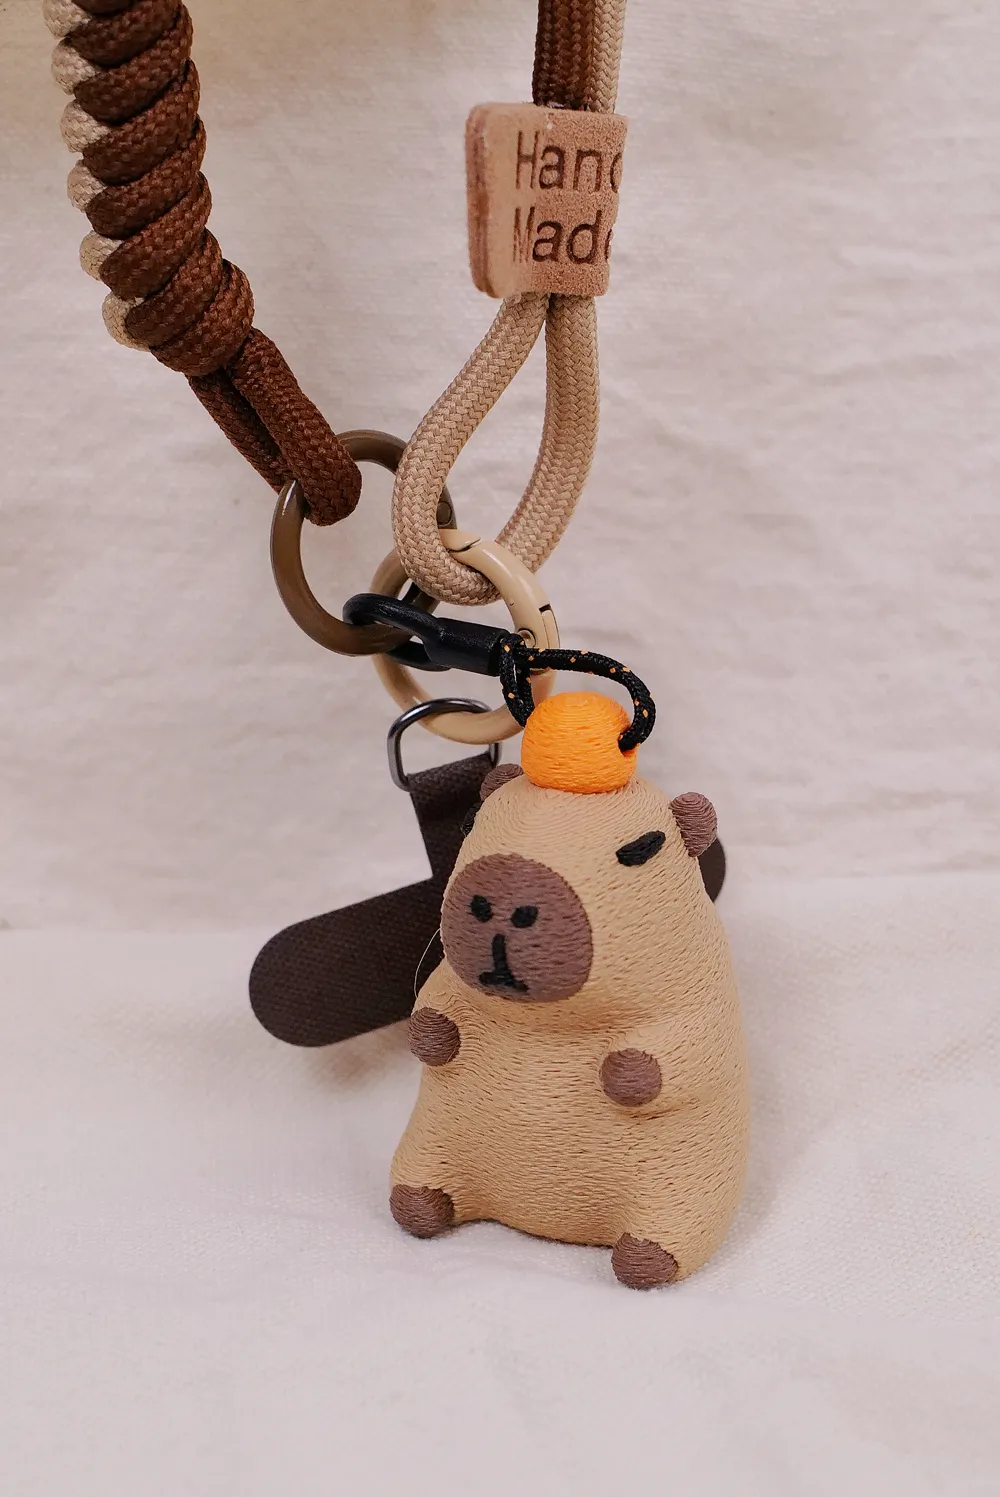
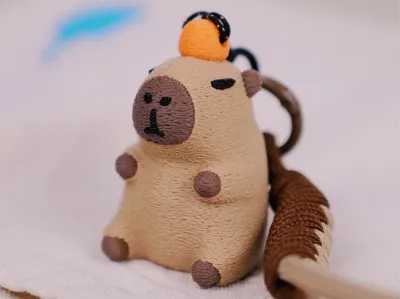
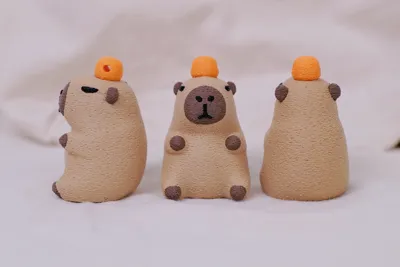
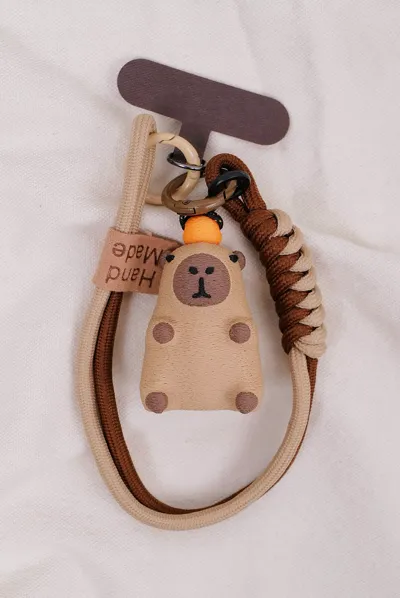
This model is a capybara-shaped pendant with a hole in the center of its orange-topped head for attaching a cord.
The model utilizes four filament colors: desert yellow, dark brown, black, and orange.
It can be printed as a single piece using AMS, or printed in parts for assembly.
Model Design:
Designed using Blender software’s polygonal modeling capabilities, based on reference images.
Design and Modeling Tutorial Introduction:
The tutorial is divided into six chapters, guiding you step-by-step from beginner to creating your own figurine.
Prologue: Introduction to the Blender software interface and basic operations
Chapter 1, Preparation: Explaining model size determination and reference image import
Chapter 2, Design and Modeling: Creating a complete 3D model based on reference images
Chapter 3, Part Optimization: Optimizing the designed model for 3D printing
Chapter 4, Coloring and Export: Coloring the model and exporting it in a format suitable for color printing
Chapter 5, 3D Printing: Importing the file into slicing software, setting parameters, and printing and assembling
Upon completion of the video and mastery of these techniques, you will be able to design and create your own character toys!
License

You shall not share, sub-license, sell, rent, host, transfer, or distribute in any way the digital or 3D printed versions of this object, nor any other derivative work of this object in its digital or physical format (including - but not limited to - remixes of this object, and hosting on other digital platforms). The objects may not be used without permission in any way whatsoever in which you charge money, or collect fees.


Comment & Rating (0)