

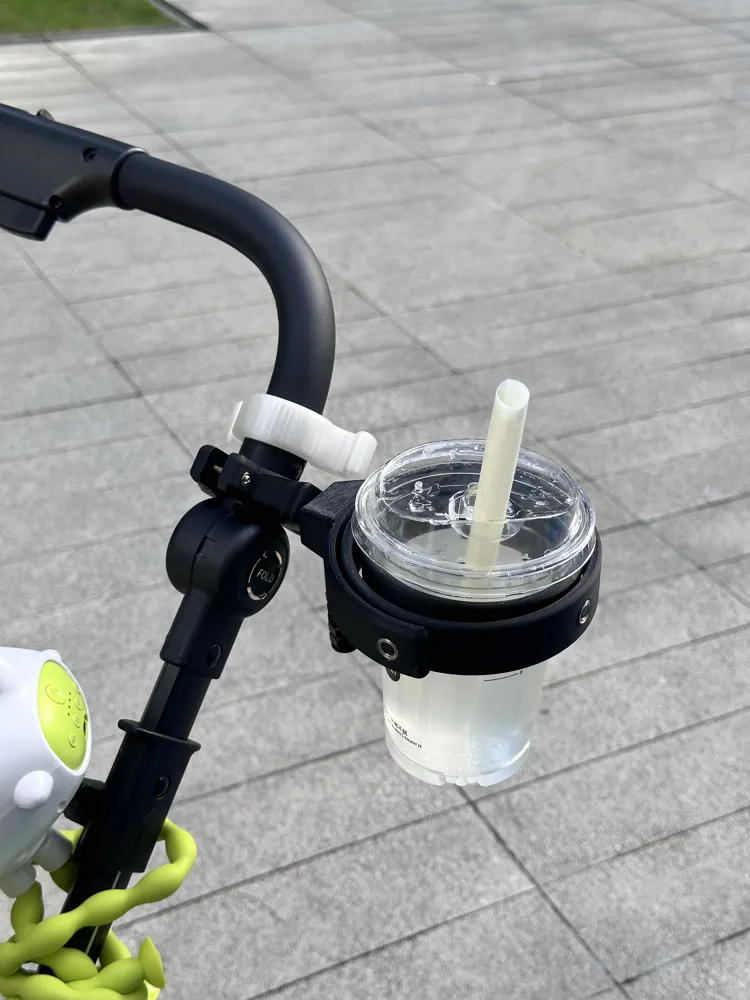
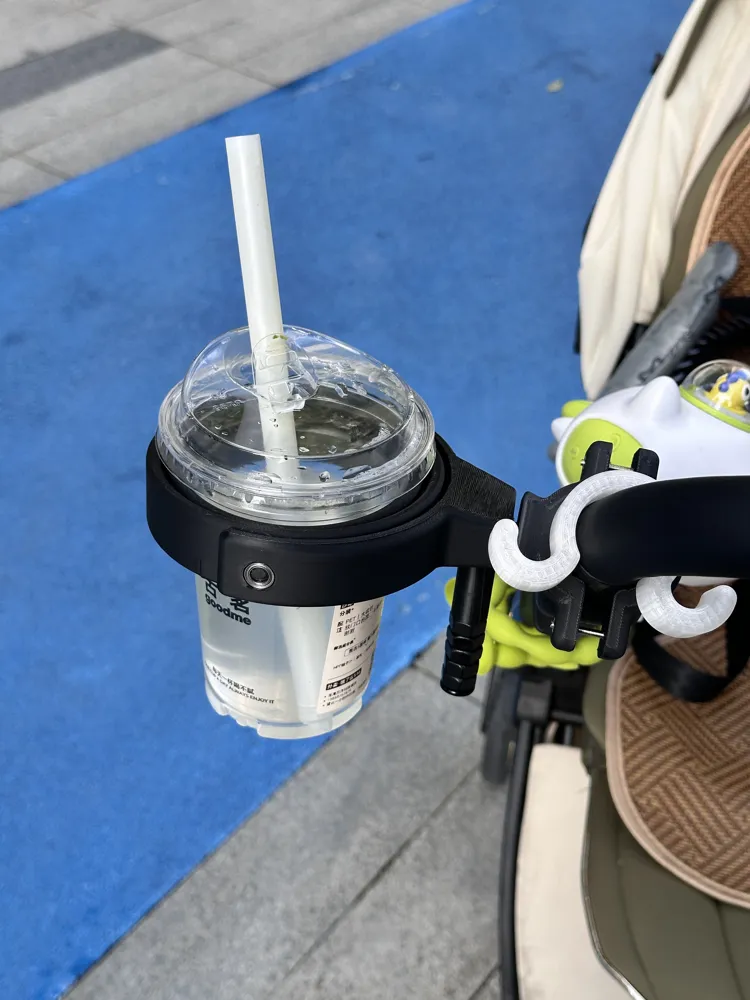
Universal Beverage Holder for Bicycles and Strollers
Print Profile(2)

Description
Boost Me (for free)
If you find this model helpful, please give me a boost to motivate me to share more useful and interesting models



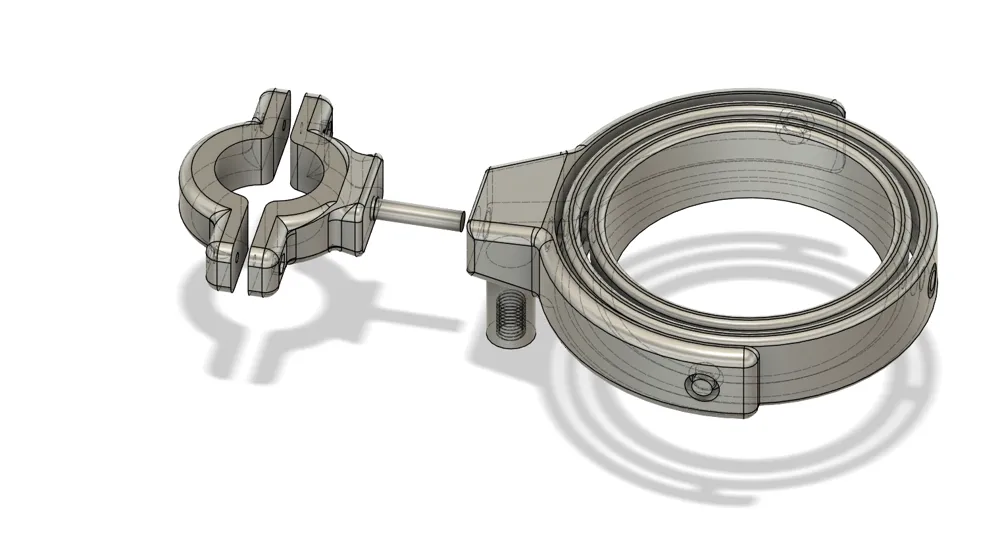
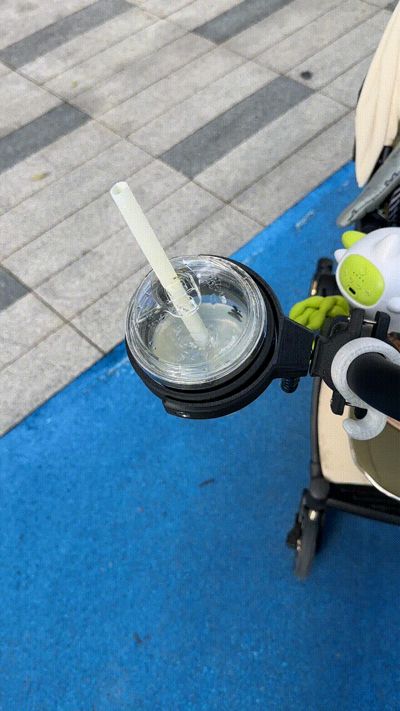
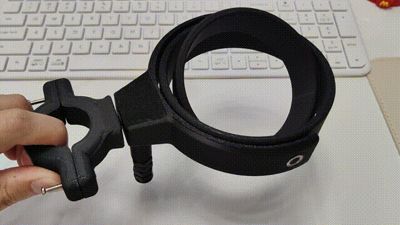
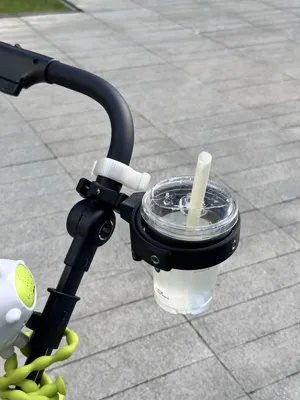
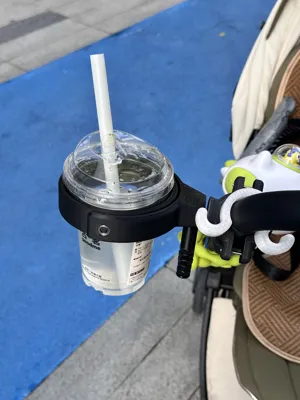
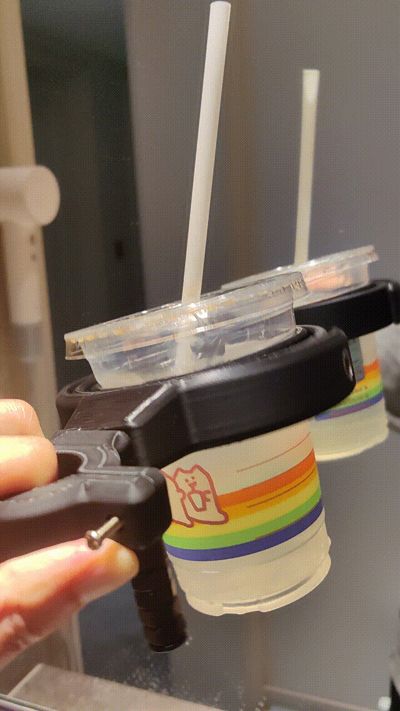
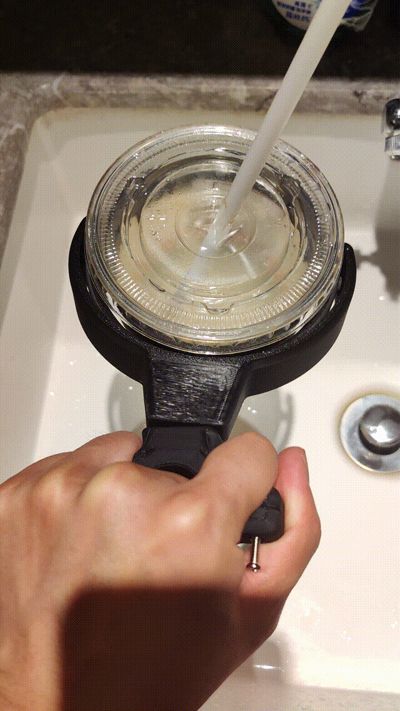
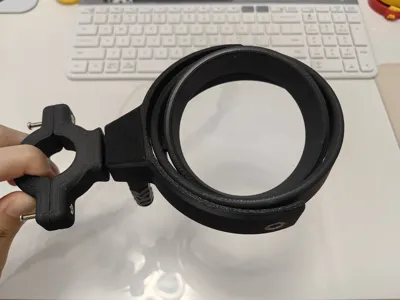
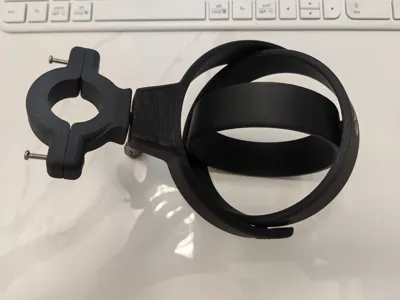
Background: When I take my baby out for a stroll, I often grab a coffee, so I wanted to create a cup holder for the stroller handle However, after looking around, I couldn't find a satisfactory design (The ideal model should have a self-leveling section for the cup and allow installation on the handle without angle restrictions) Therefore, I designed and tested this model, and I'm sharing it with anyone who needs it (It's not limited to stroller handles; it can be installed on any pole at any angle, usable in any scenario where you need the cup to stay level)
Materials:
1. MR106ZZ bearings x4
2. 6701ZZ bearings x2
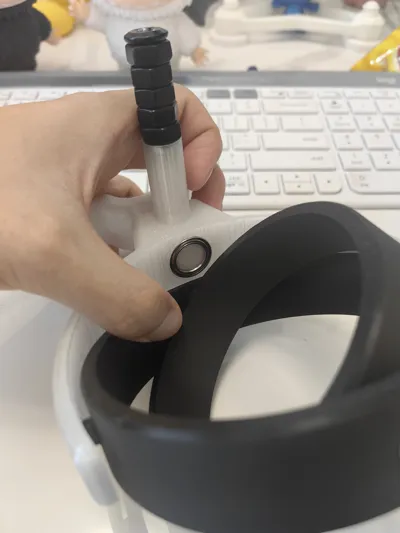
3. M8x40 flat head chamfered Phillips screw x1
4. M8 nuts x5
5. M3x25 round head screws x2
6. M3 hex nuts x2
Installation Instructions:
1. Applicable Dimensions: This model is designed for handles with a 26mm diameter, though it should also fit 50mm diameter handles If the diameter is less than 26mm, consider adding some padding
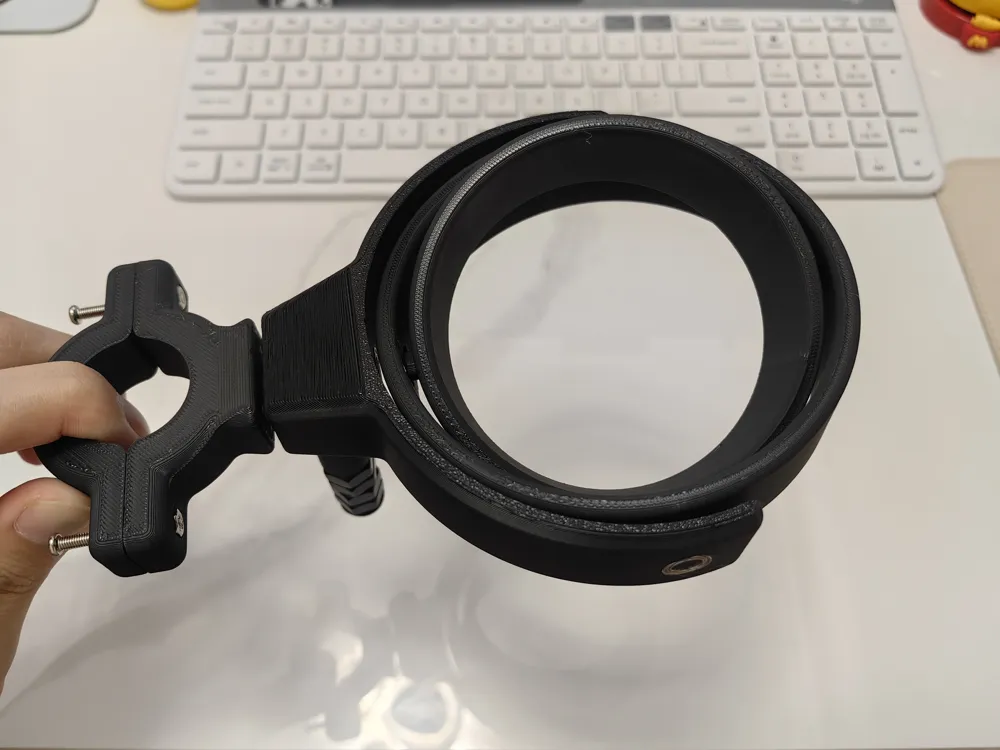
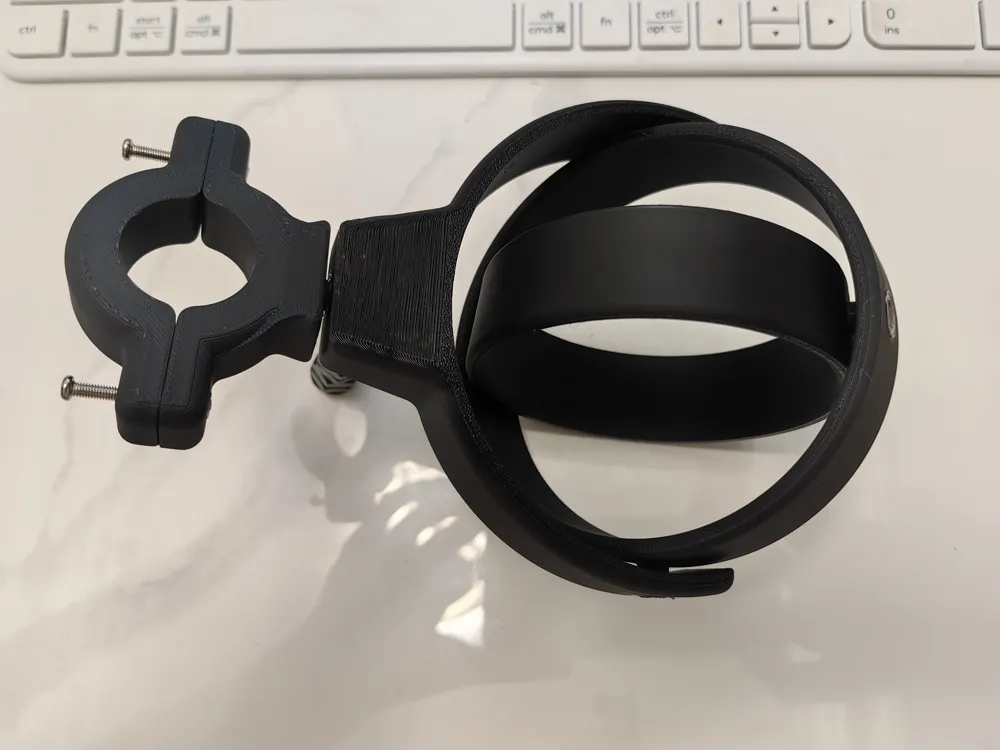
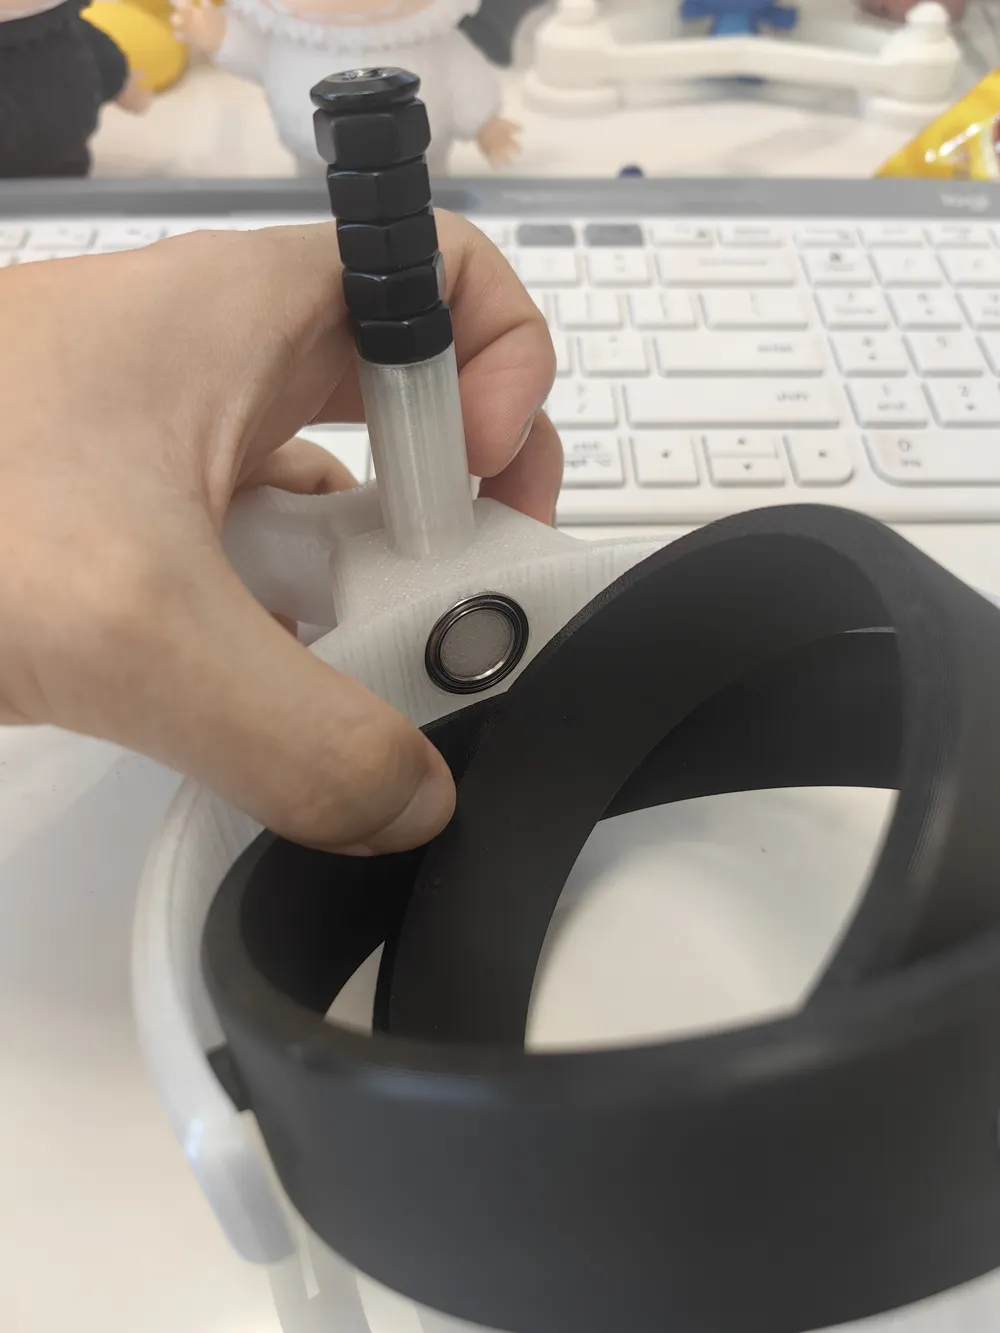
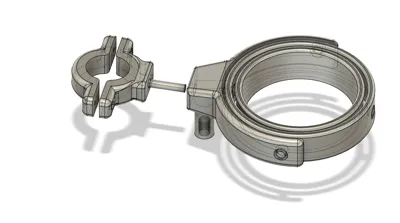
2. Bearing Installation: The model consists of three rings, with each pair connected by two MR106ZZ bearings Before installation, you might want to slightly widen the holes by rotating a pair of pliers or similar tool inside to facilitate installation When installing each ring, first insert the bearings into the holes, then embed the cylindrical part of the ring
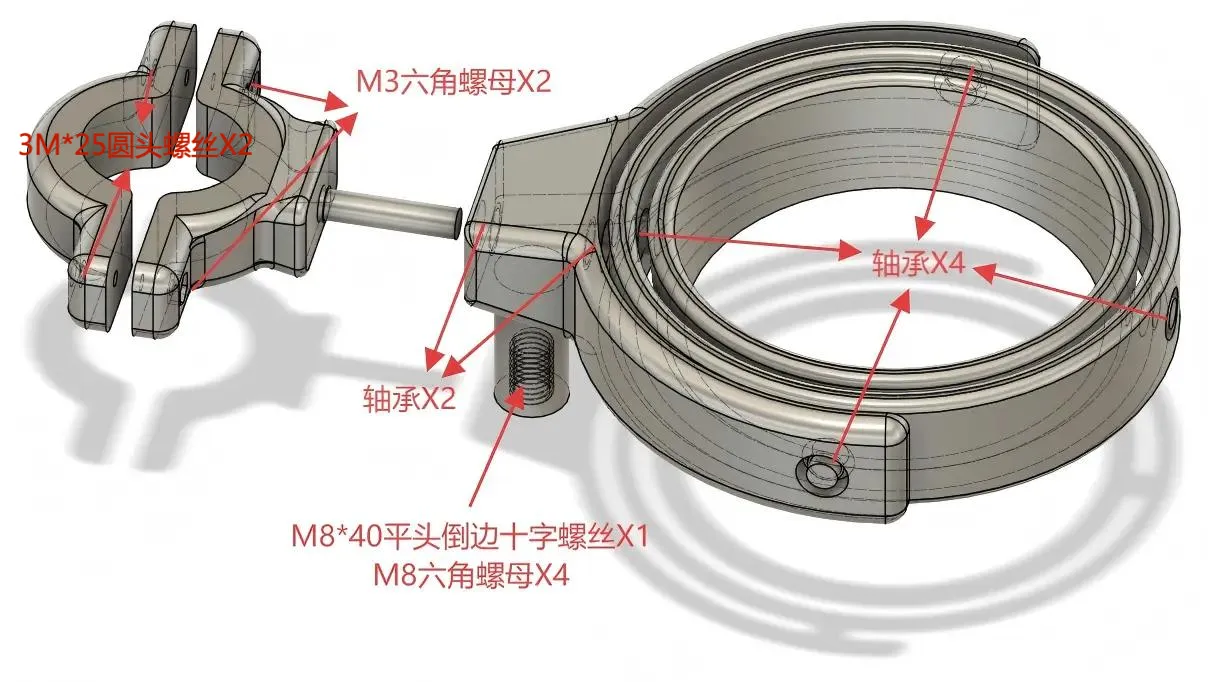
3. The left fixing ring and the right three-ring part are connected by two bearings First, secure the bearings in the holes, then insert the cylindrical part into the two bearings You may need to slightly pinch the cylindrical part on the printed piece with pliers to make it as regular as possible for easier installation
TIPS: For the two semicircular fixing rings on the left side, it is recommended to print with PETG or ABS to improve strength
Update:
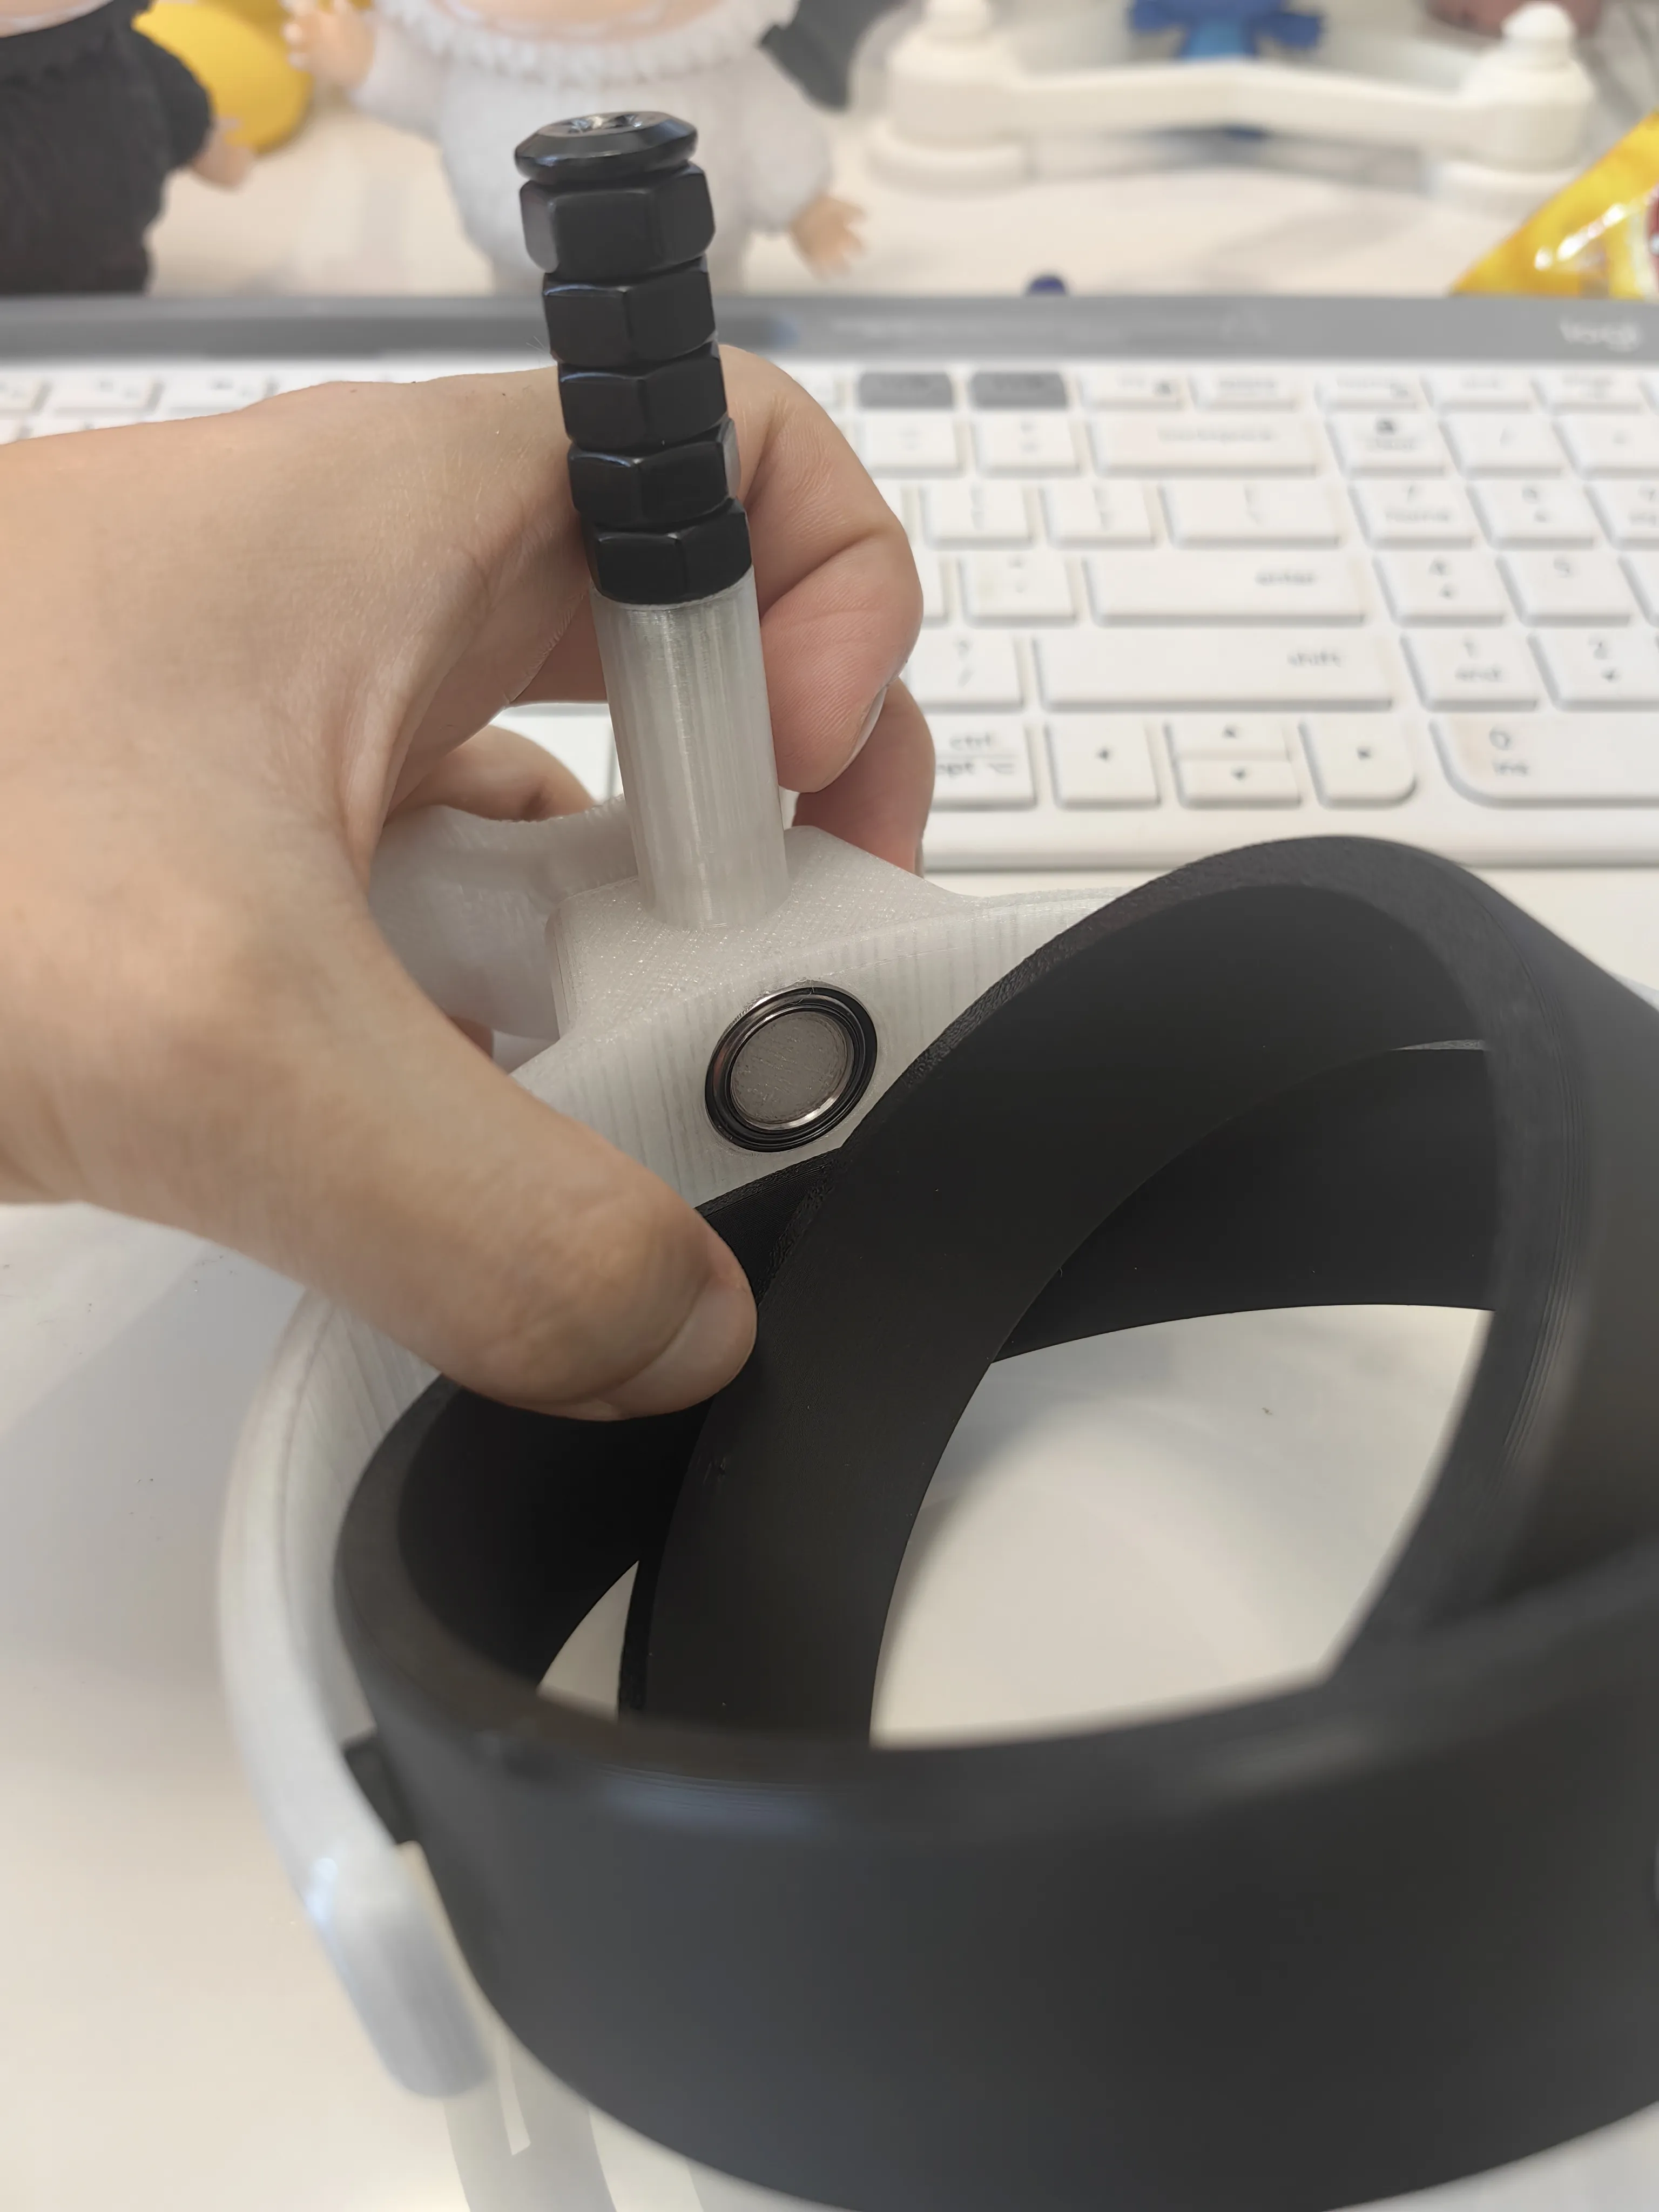
Adjusted the diameter of the rotating shaft for increased stability
License

You shall not share, sub-license, sell, rent, host, transfer, or distribute in any way the digital or 3D printed versions of this object, nor any other derivative work of this object in its digital or physical format (including - but not limited to - remixes of this object, and hosting on other digital platforms). The objects may not be used without permission in any way whatsoever in which you charge money, or collect fees.


Comment & Rating (2)