
Print Profile(5)



![[Narrow Edge] [Low Profile] PoseLight](https://makerworld.bblmw.com/makerworld/model/US404717febcf8c4/356813000/instance/2025-07-19_a8a9baa406b328.jpg?x-oss-process=image%2Fresize%2Cw_100%2Fformat%2Cwebp)

Bill of Materials


Description
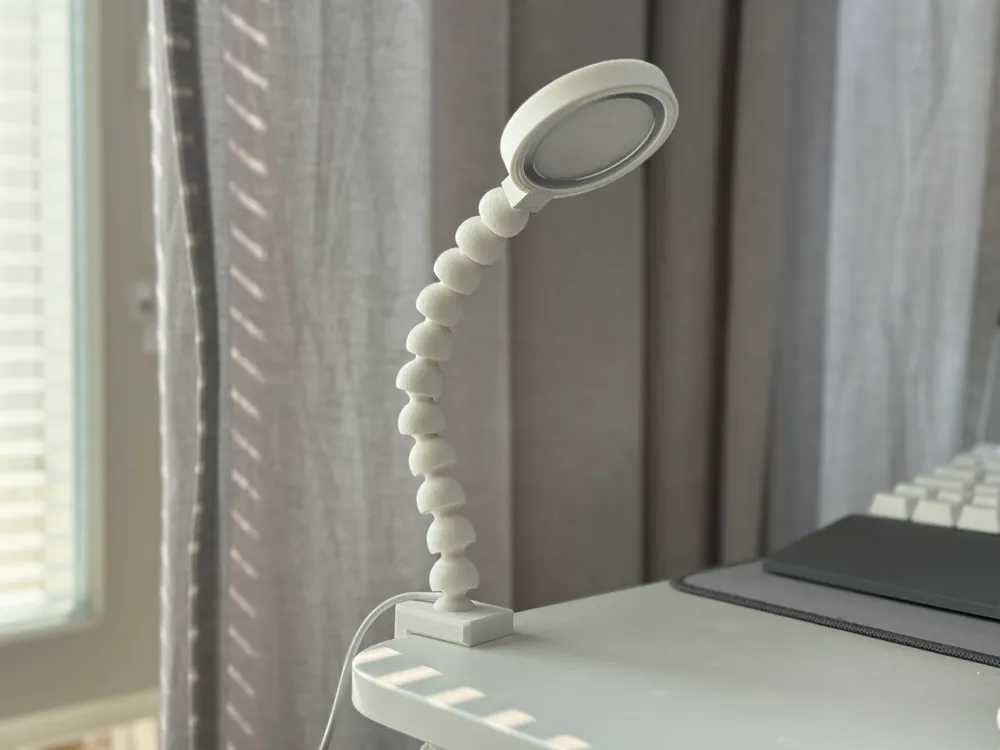
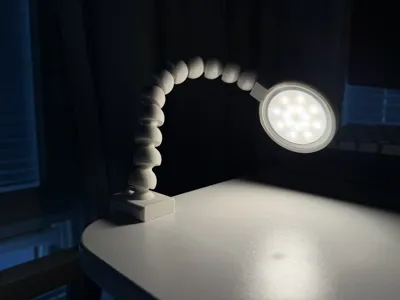
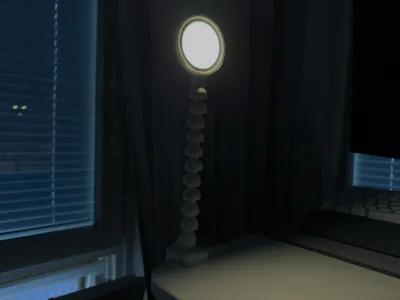
POSELIGHT
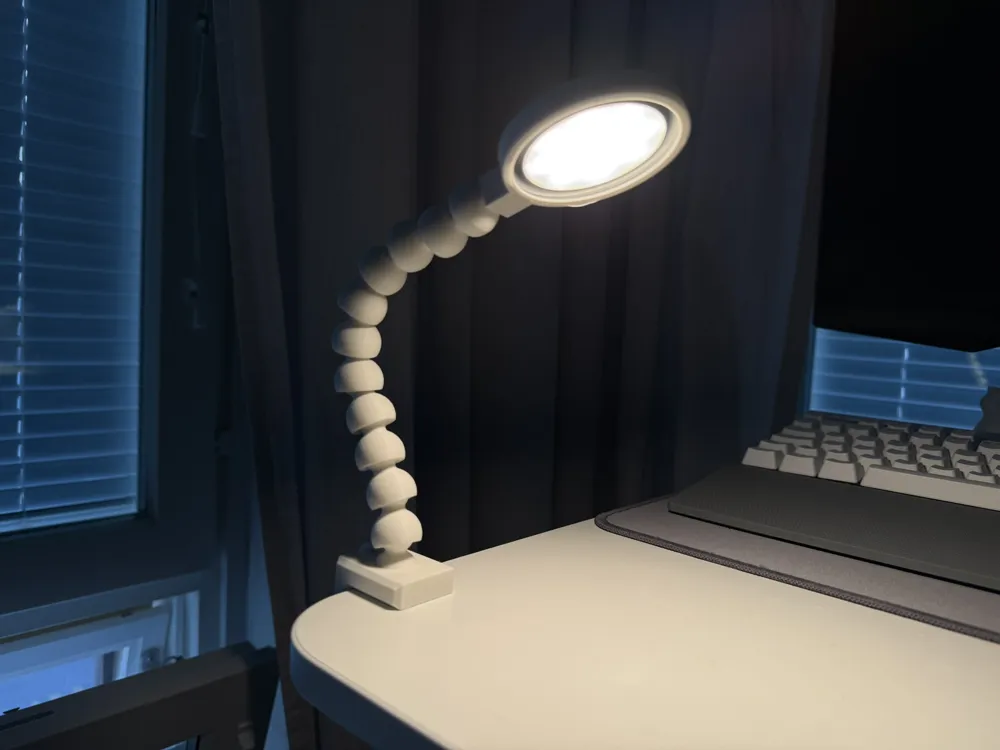
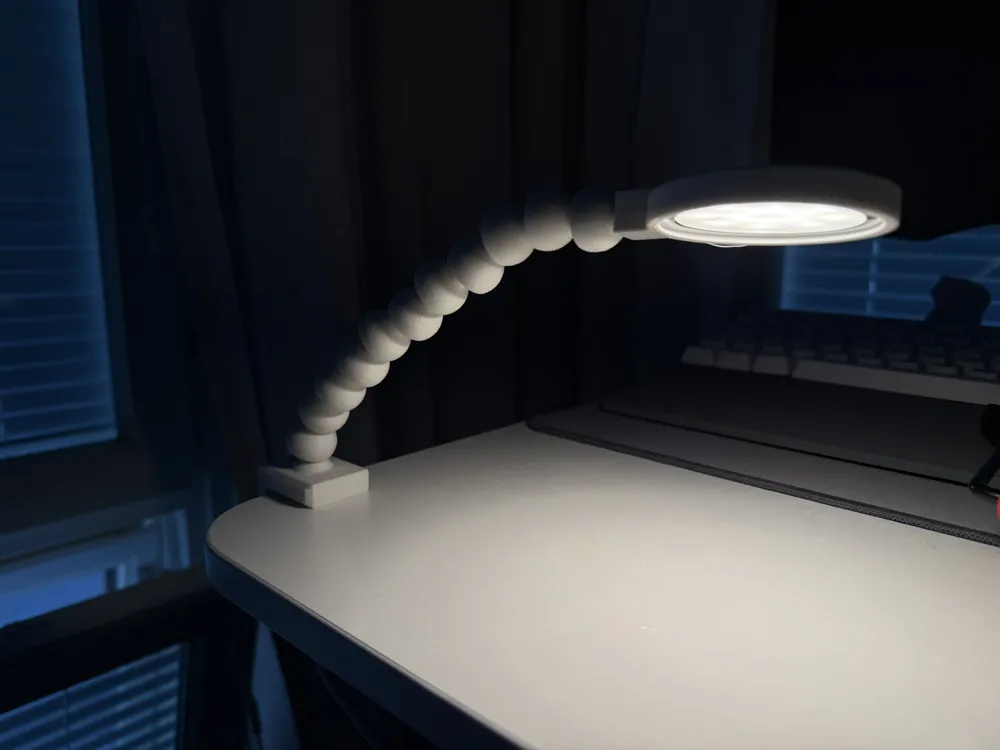
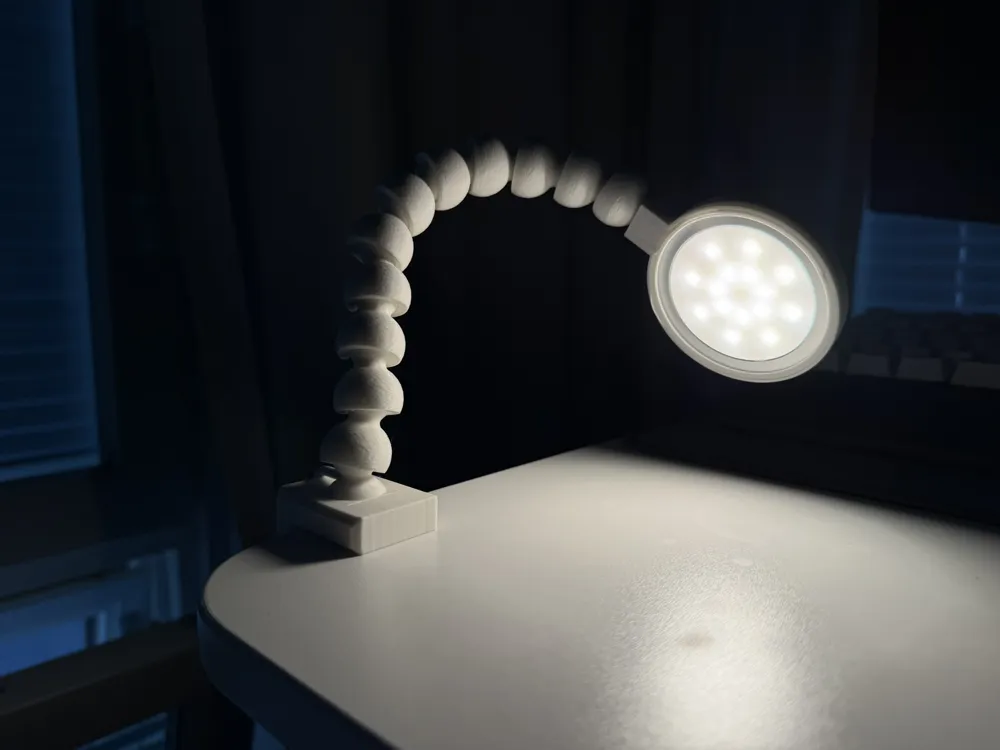
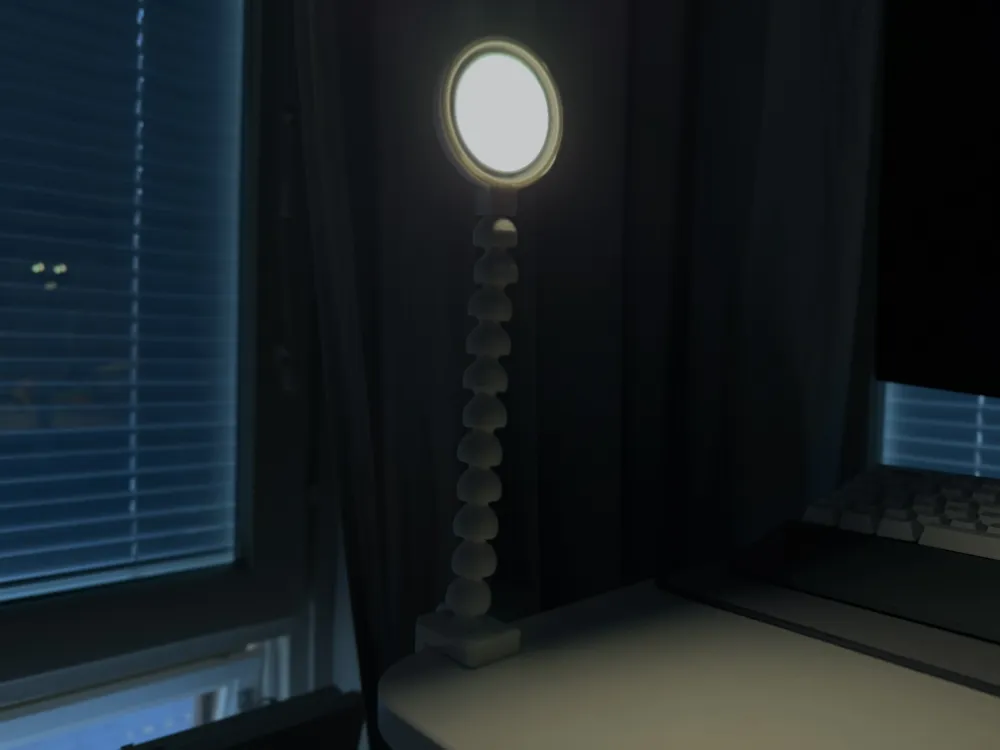
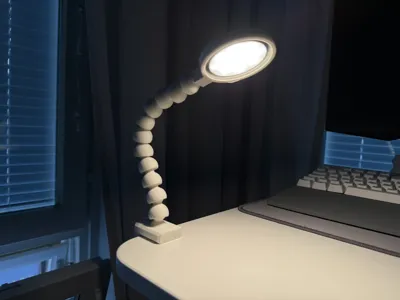
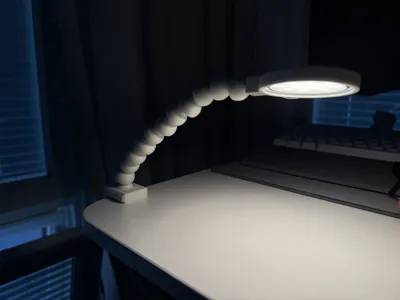
…The posable light.
Had a LED lamp kit laying around and needed a light i could adjust and bend to my tinkering needs, but couldn't find any that was exactly what i wanted.
So i just made my own. Isn't that what 3D printing is all about?
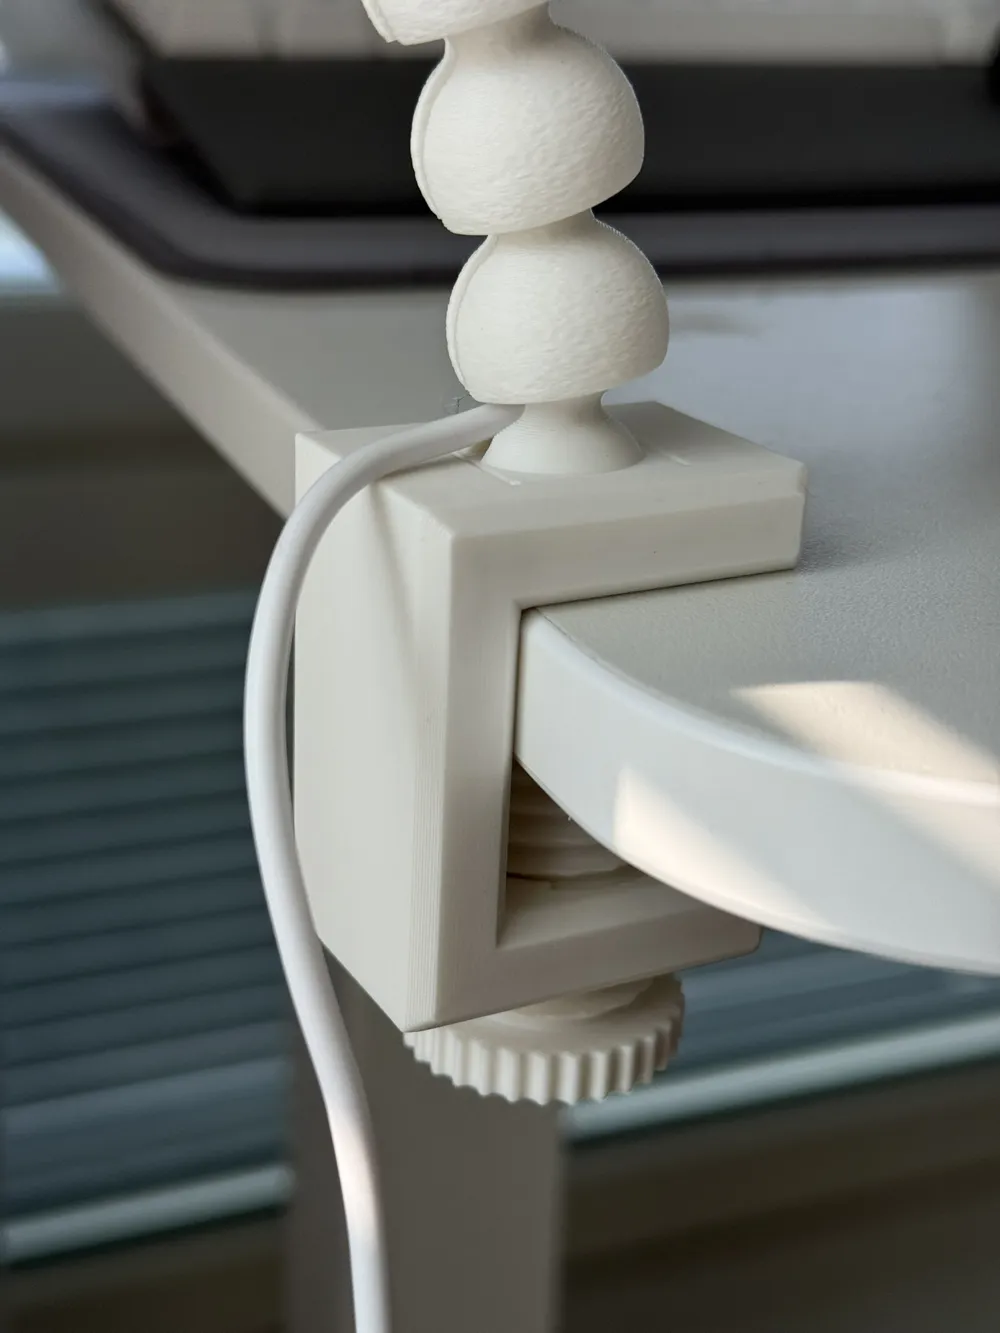
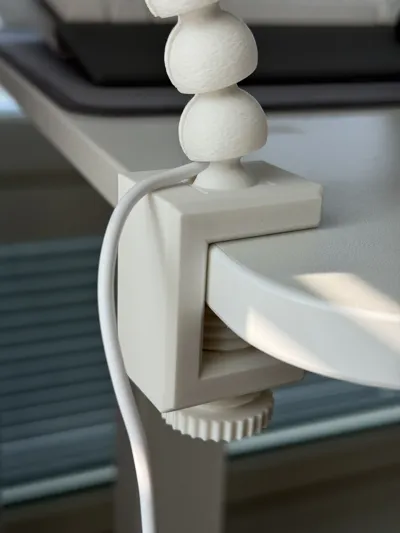
The model consist of ball joints fixed to a table clamp. The will fit table from 8mm all the way up to 30mm.
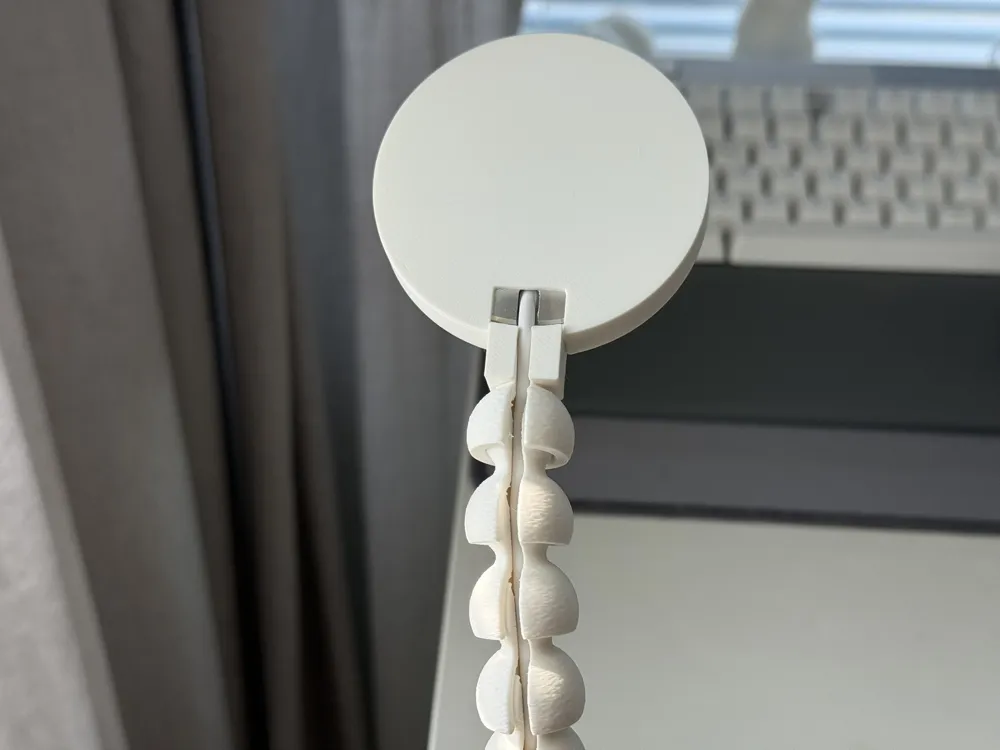
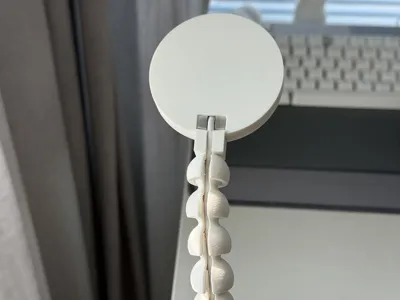
The middle segments have a groove to allow you to hide the cable inside the assembled “stem”. For this i might make a tool, but personally just used a non sharp piece of metal i had laying around on my desk.
Its a rather straight forward affair, but i will add instructions & tips once i get the time.
Assembly instructions:
Gather your printed pieces + the LED kit
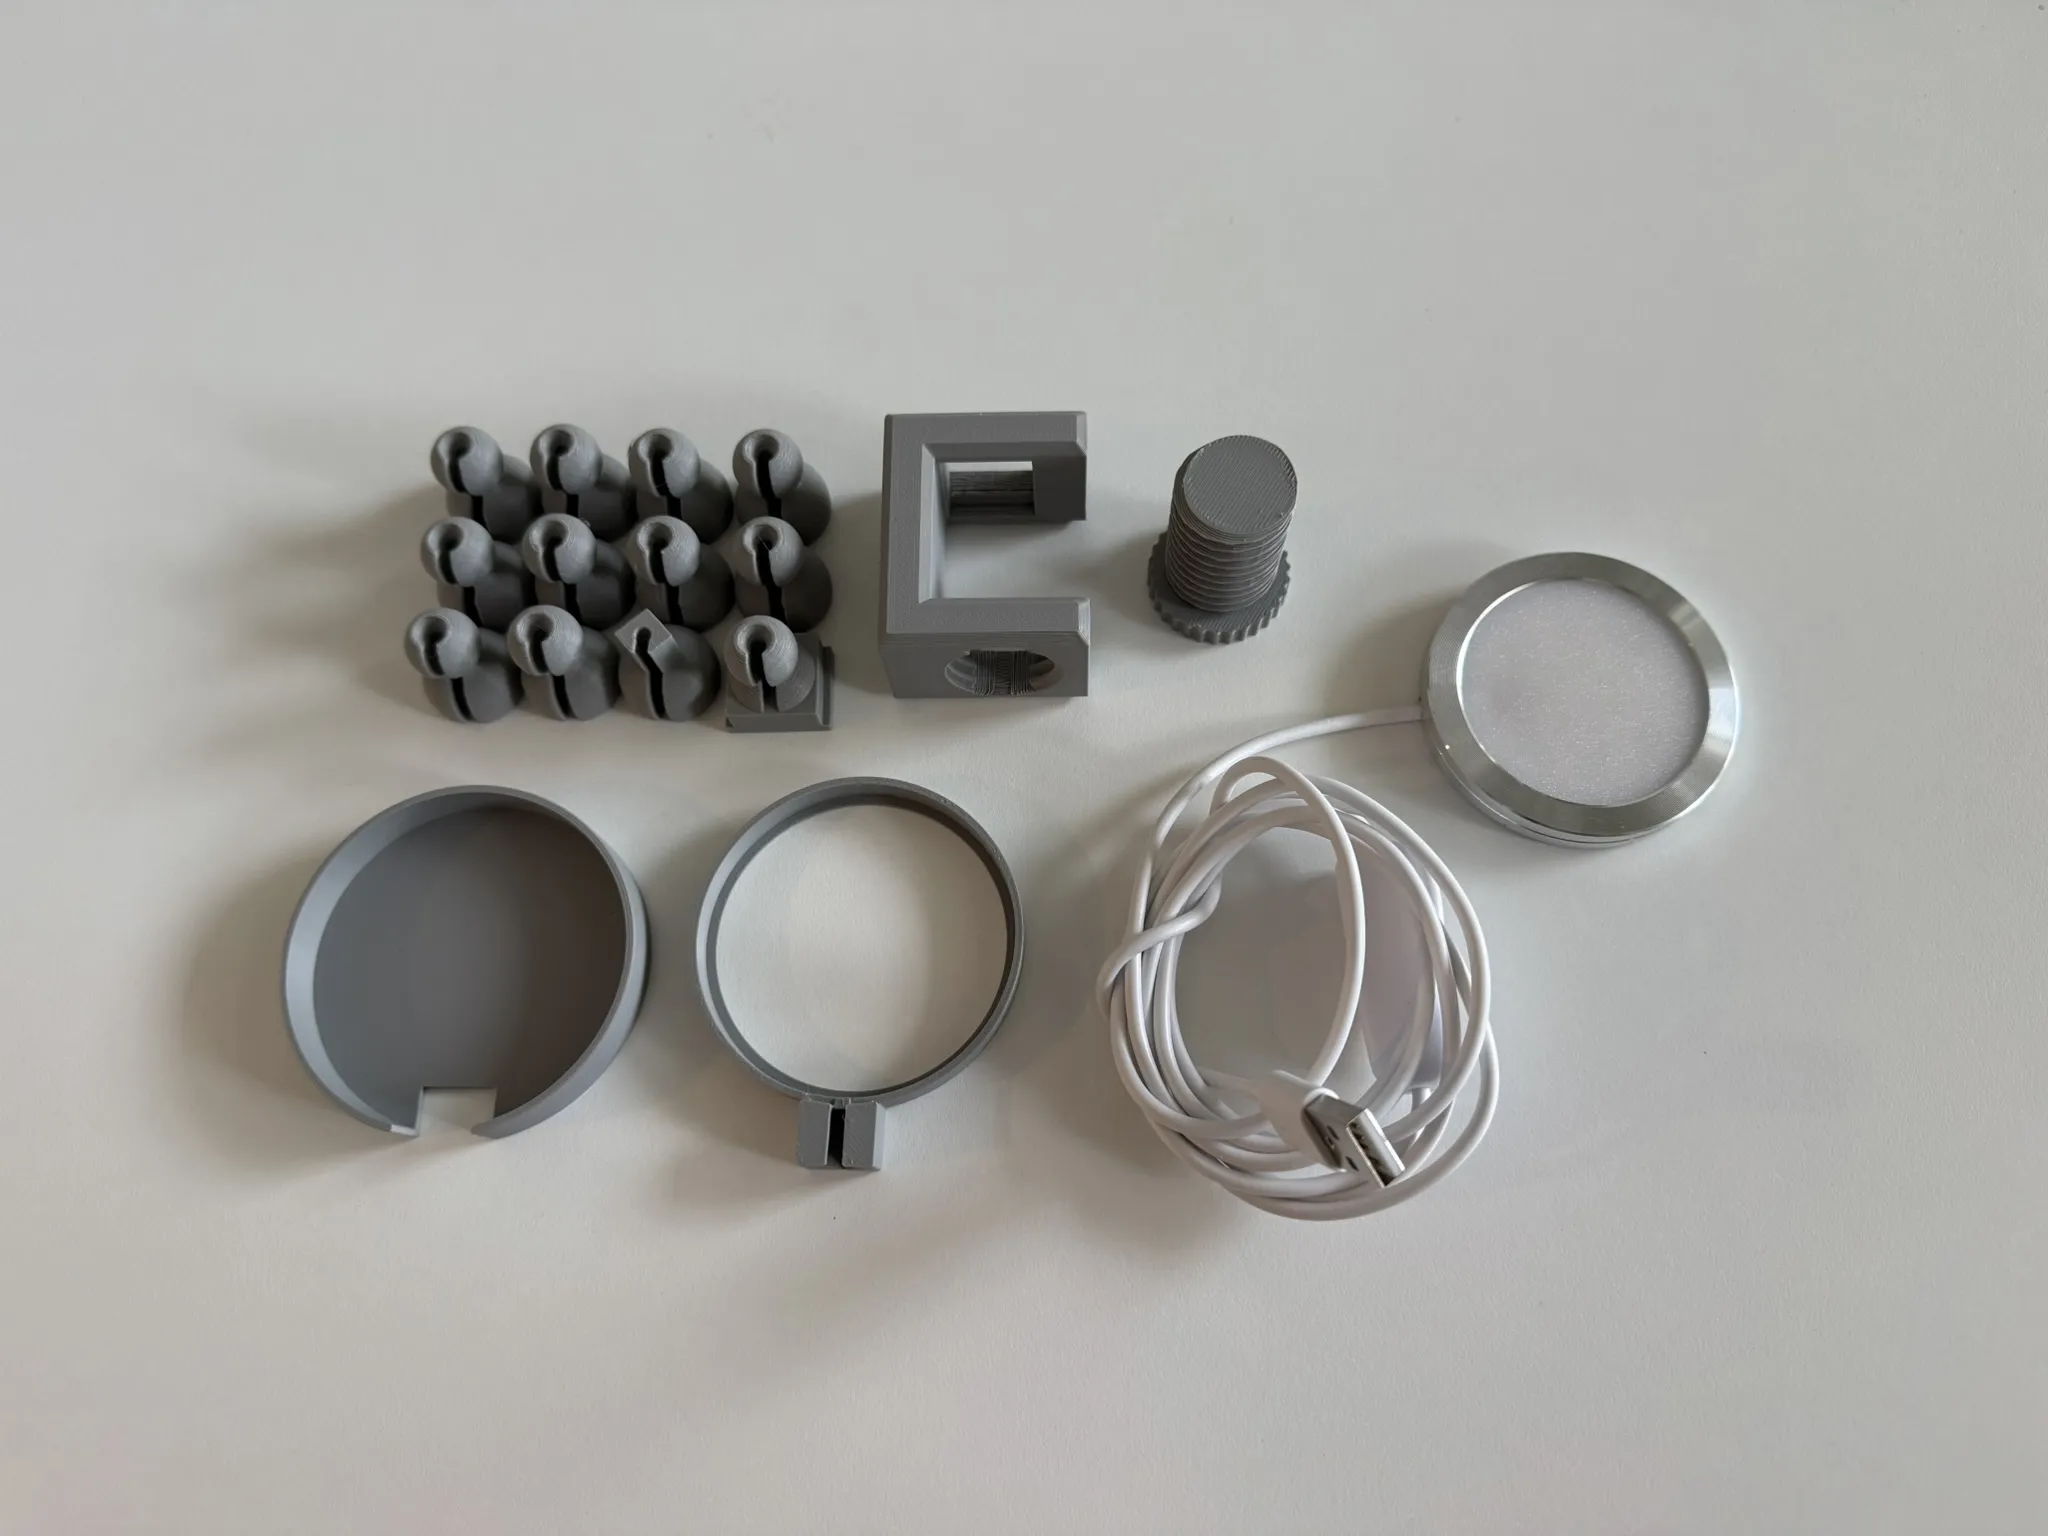
2. First assemble the shaft
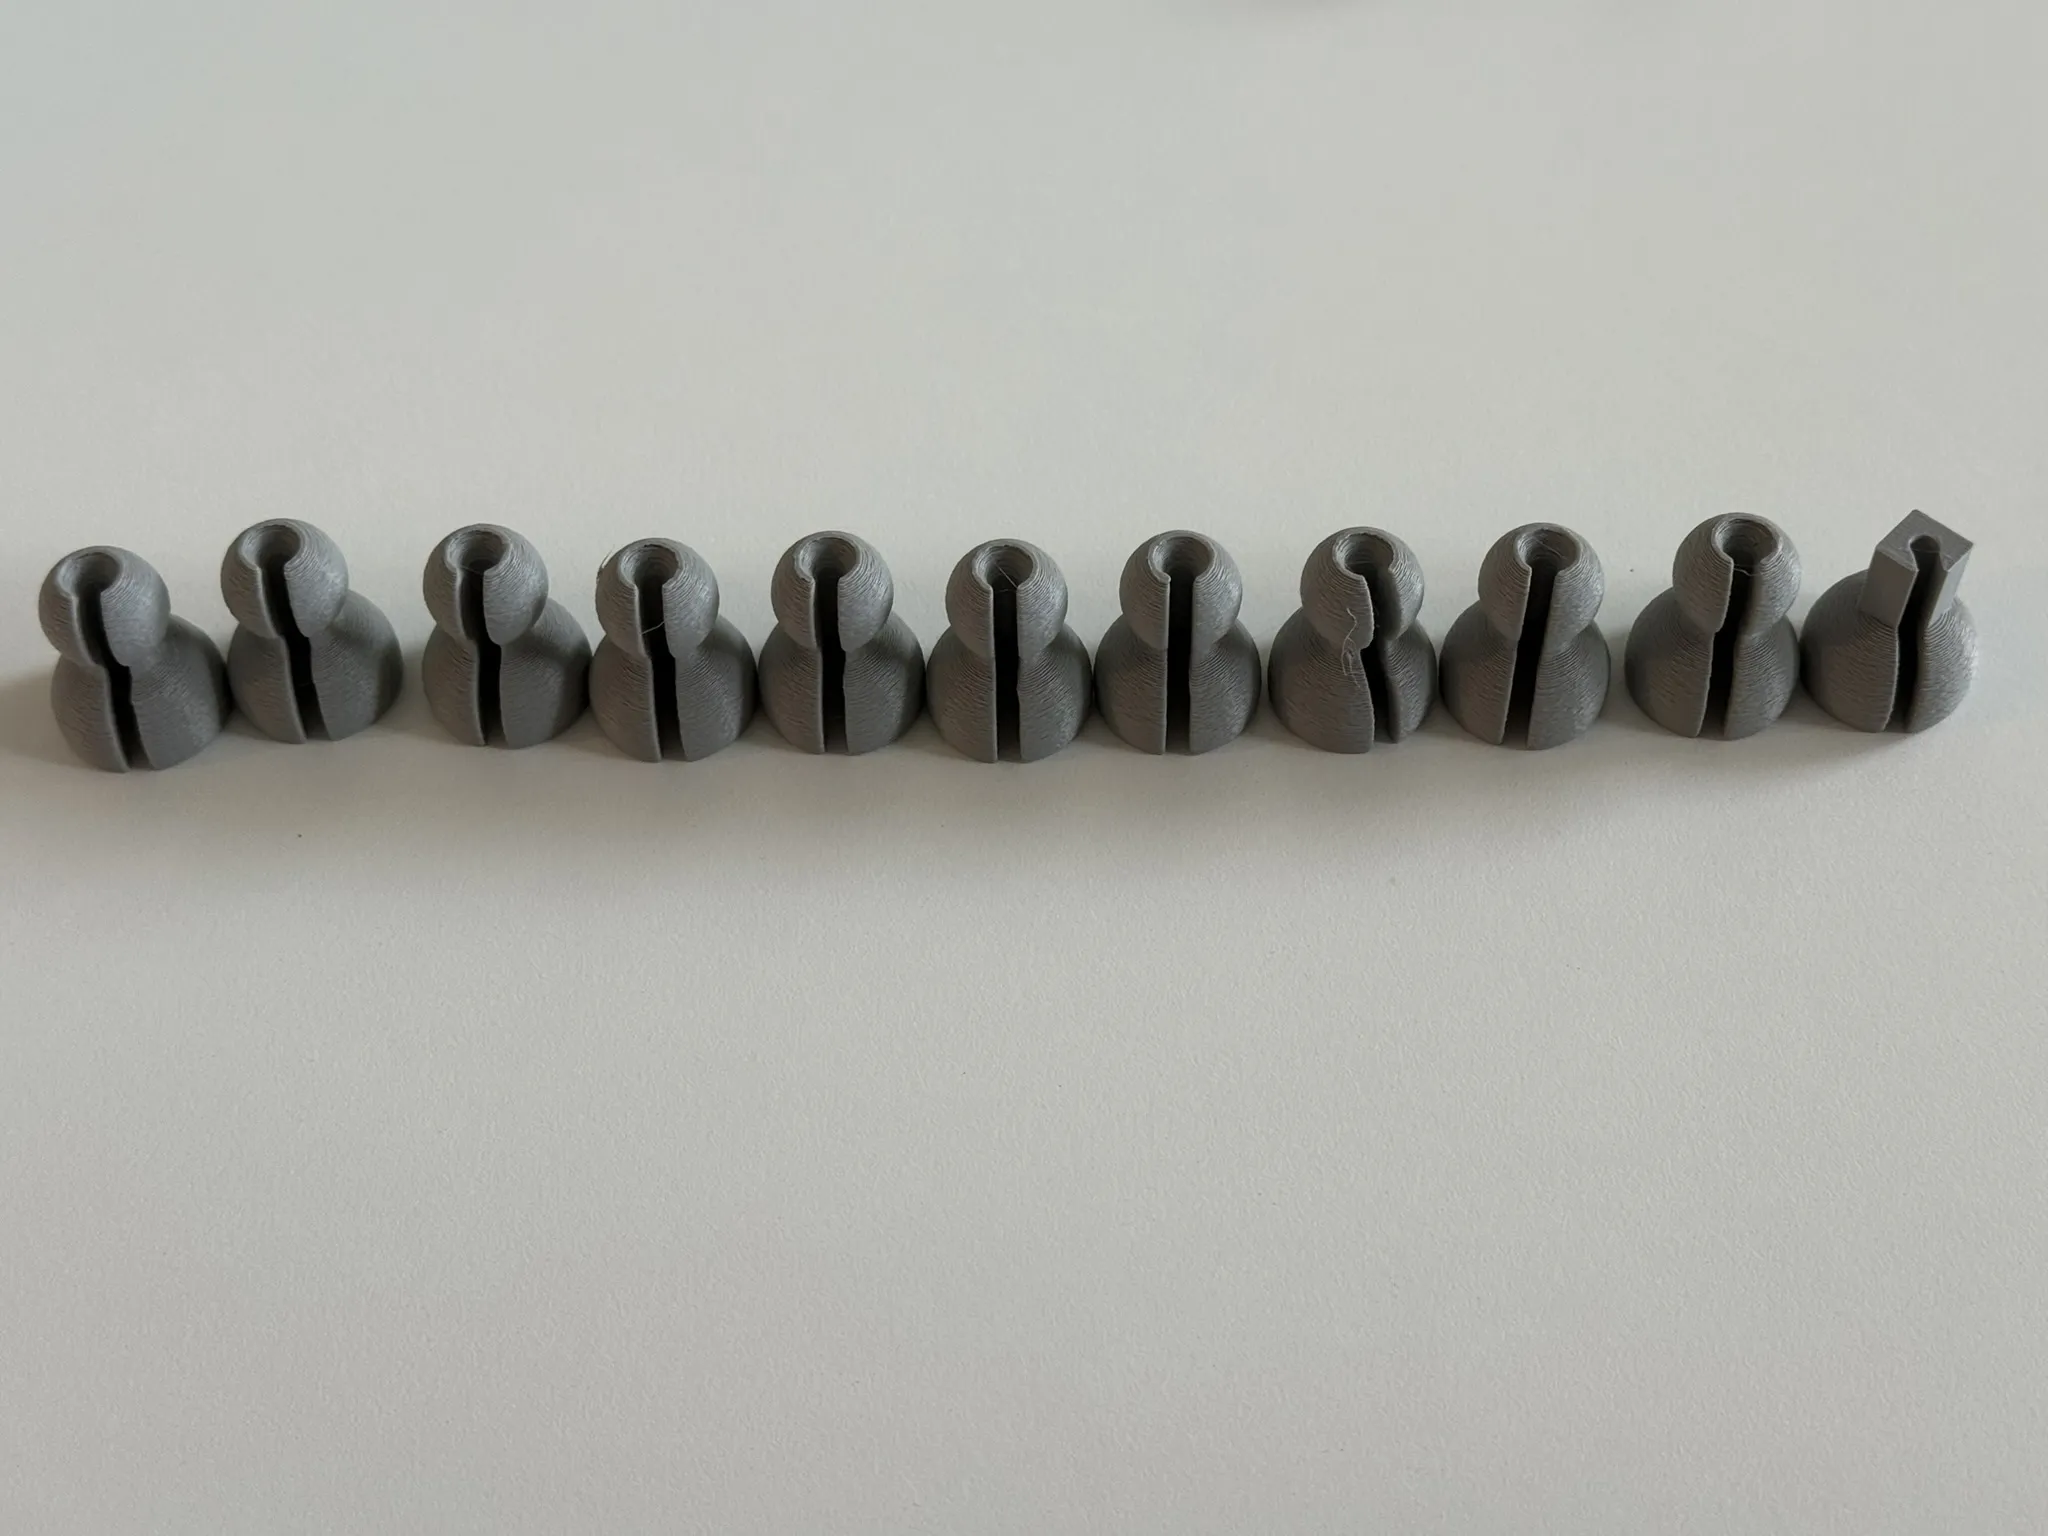
This may take some force, i personally just pressed them in using my thumb and guiding the pieces with my other hand
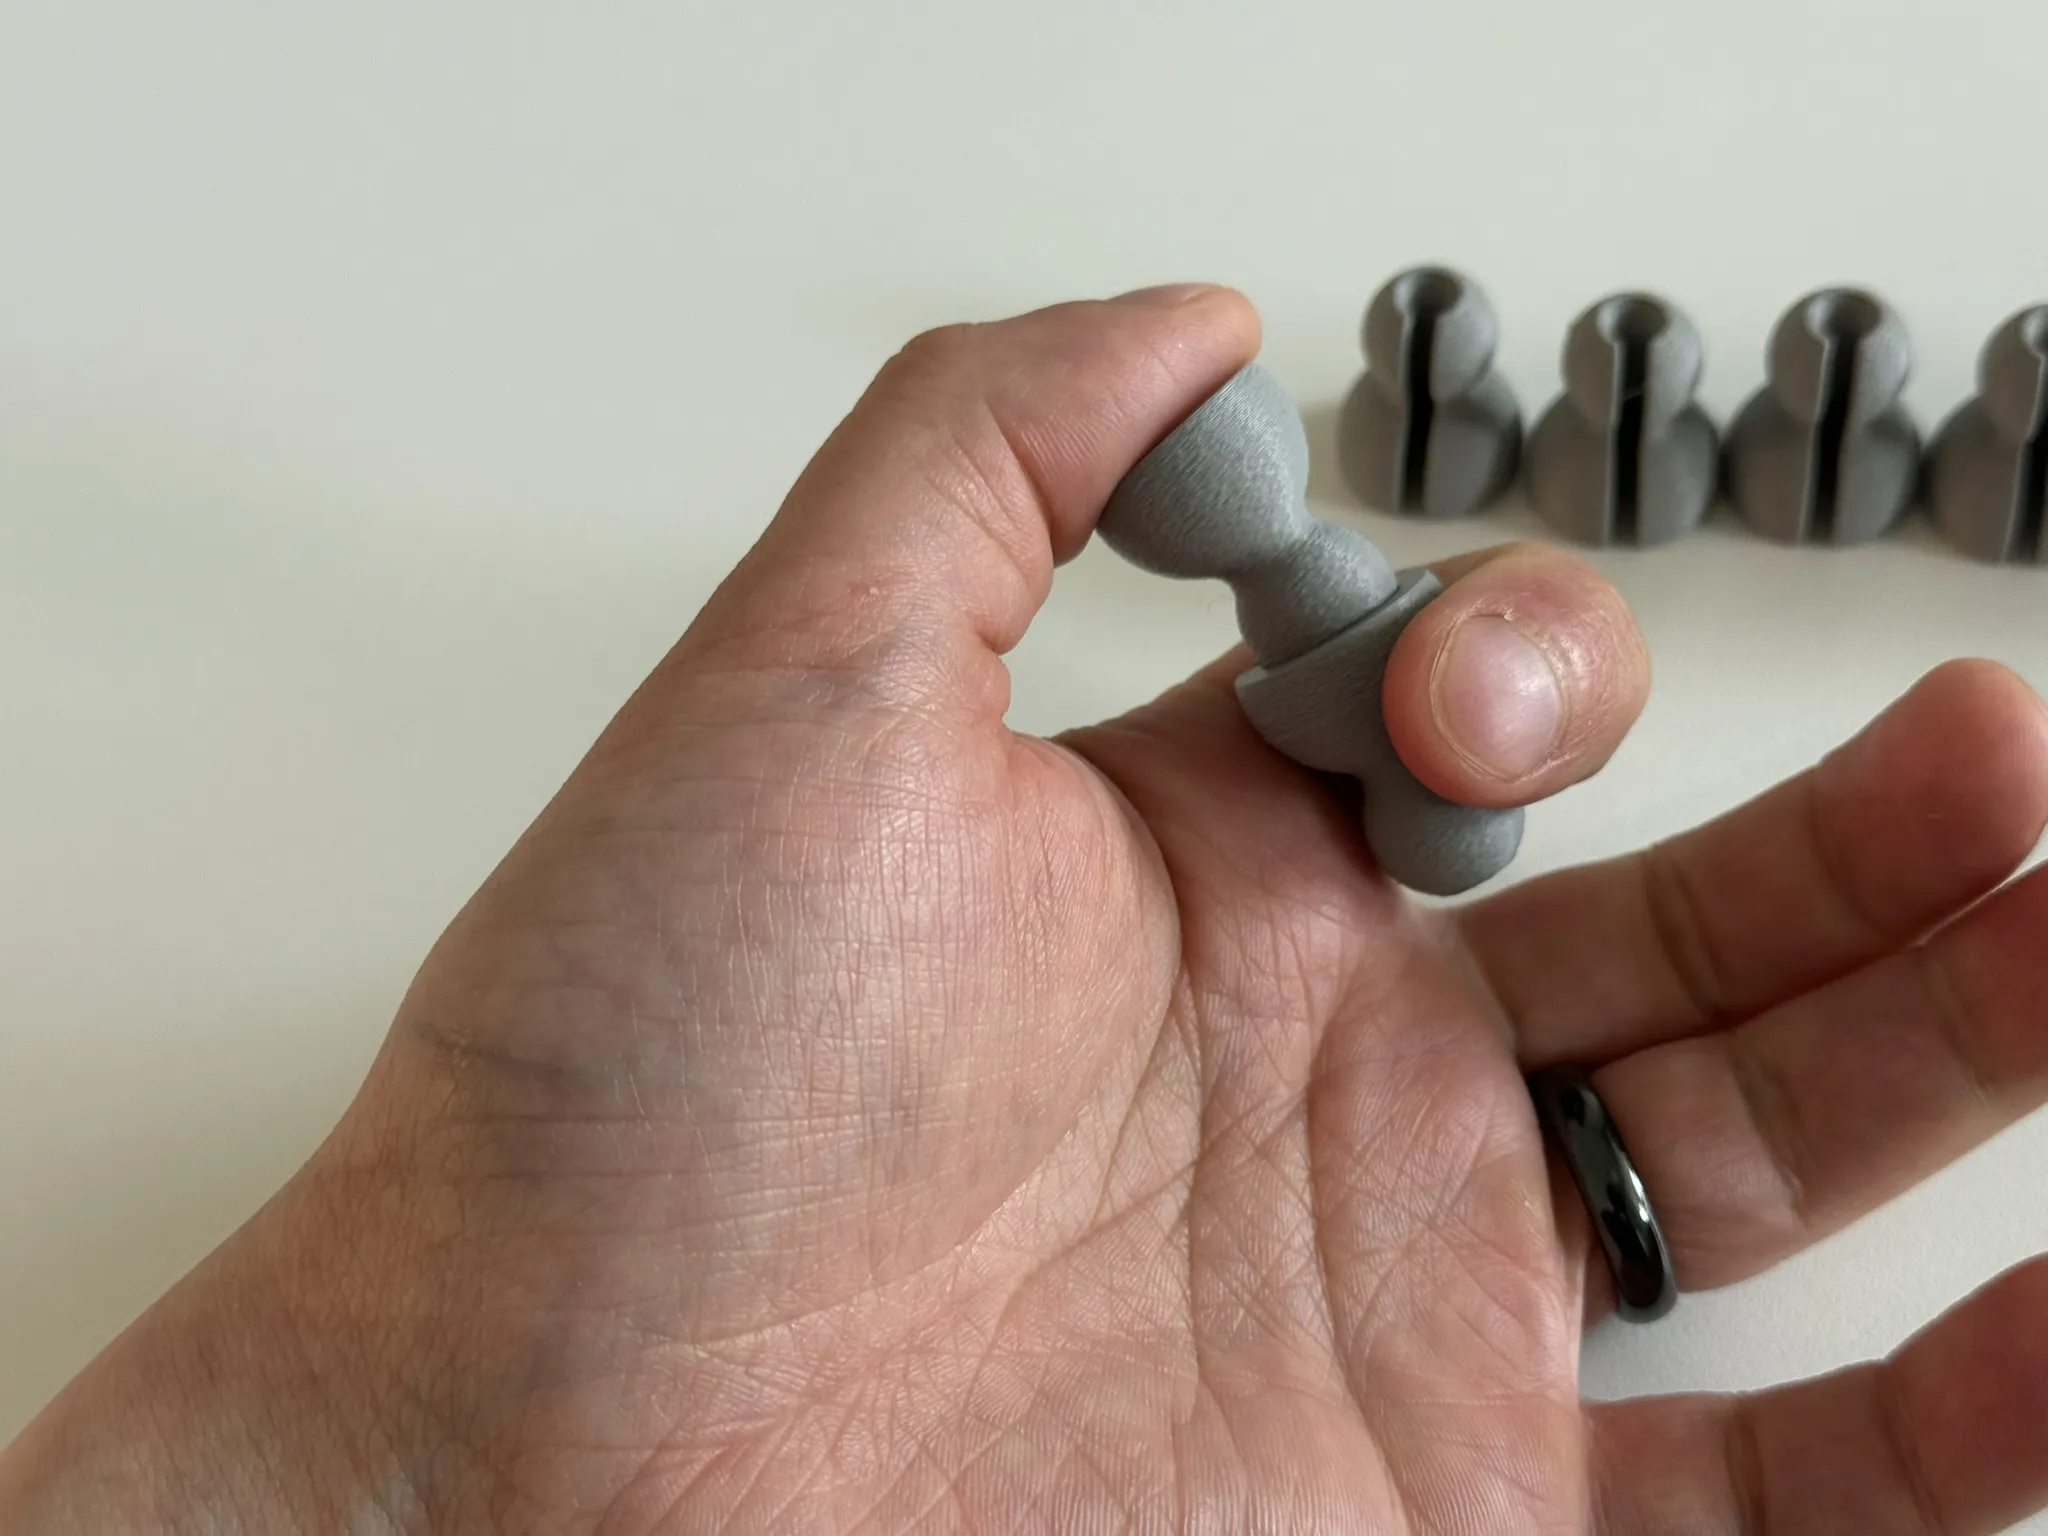
3. Attach the top most joint (the one with the square top)
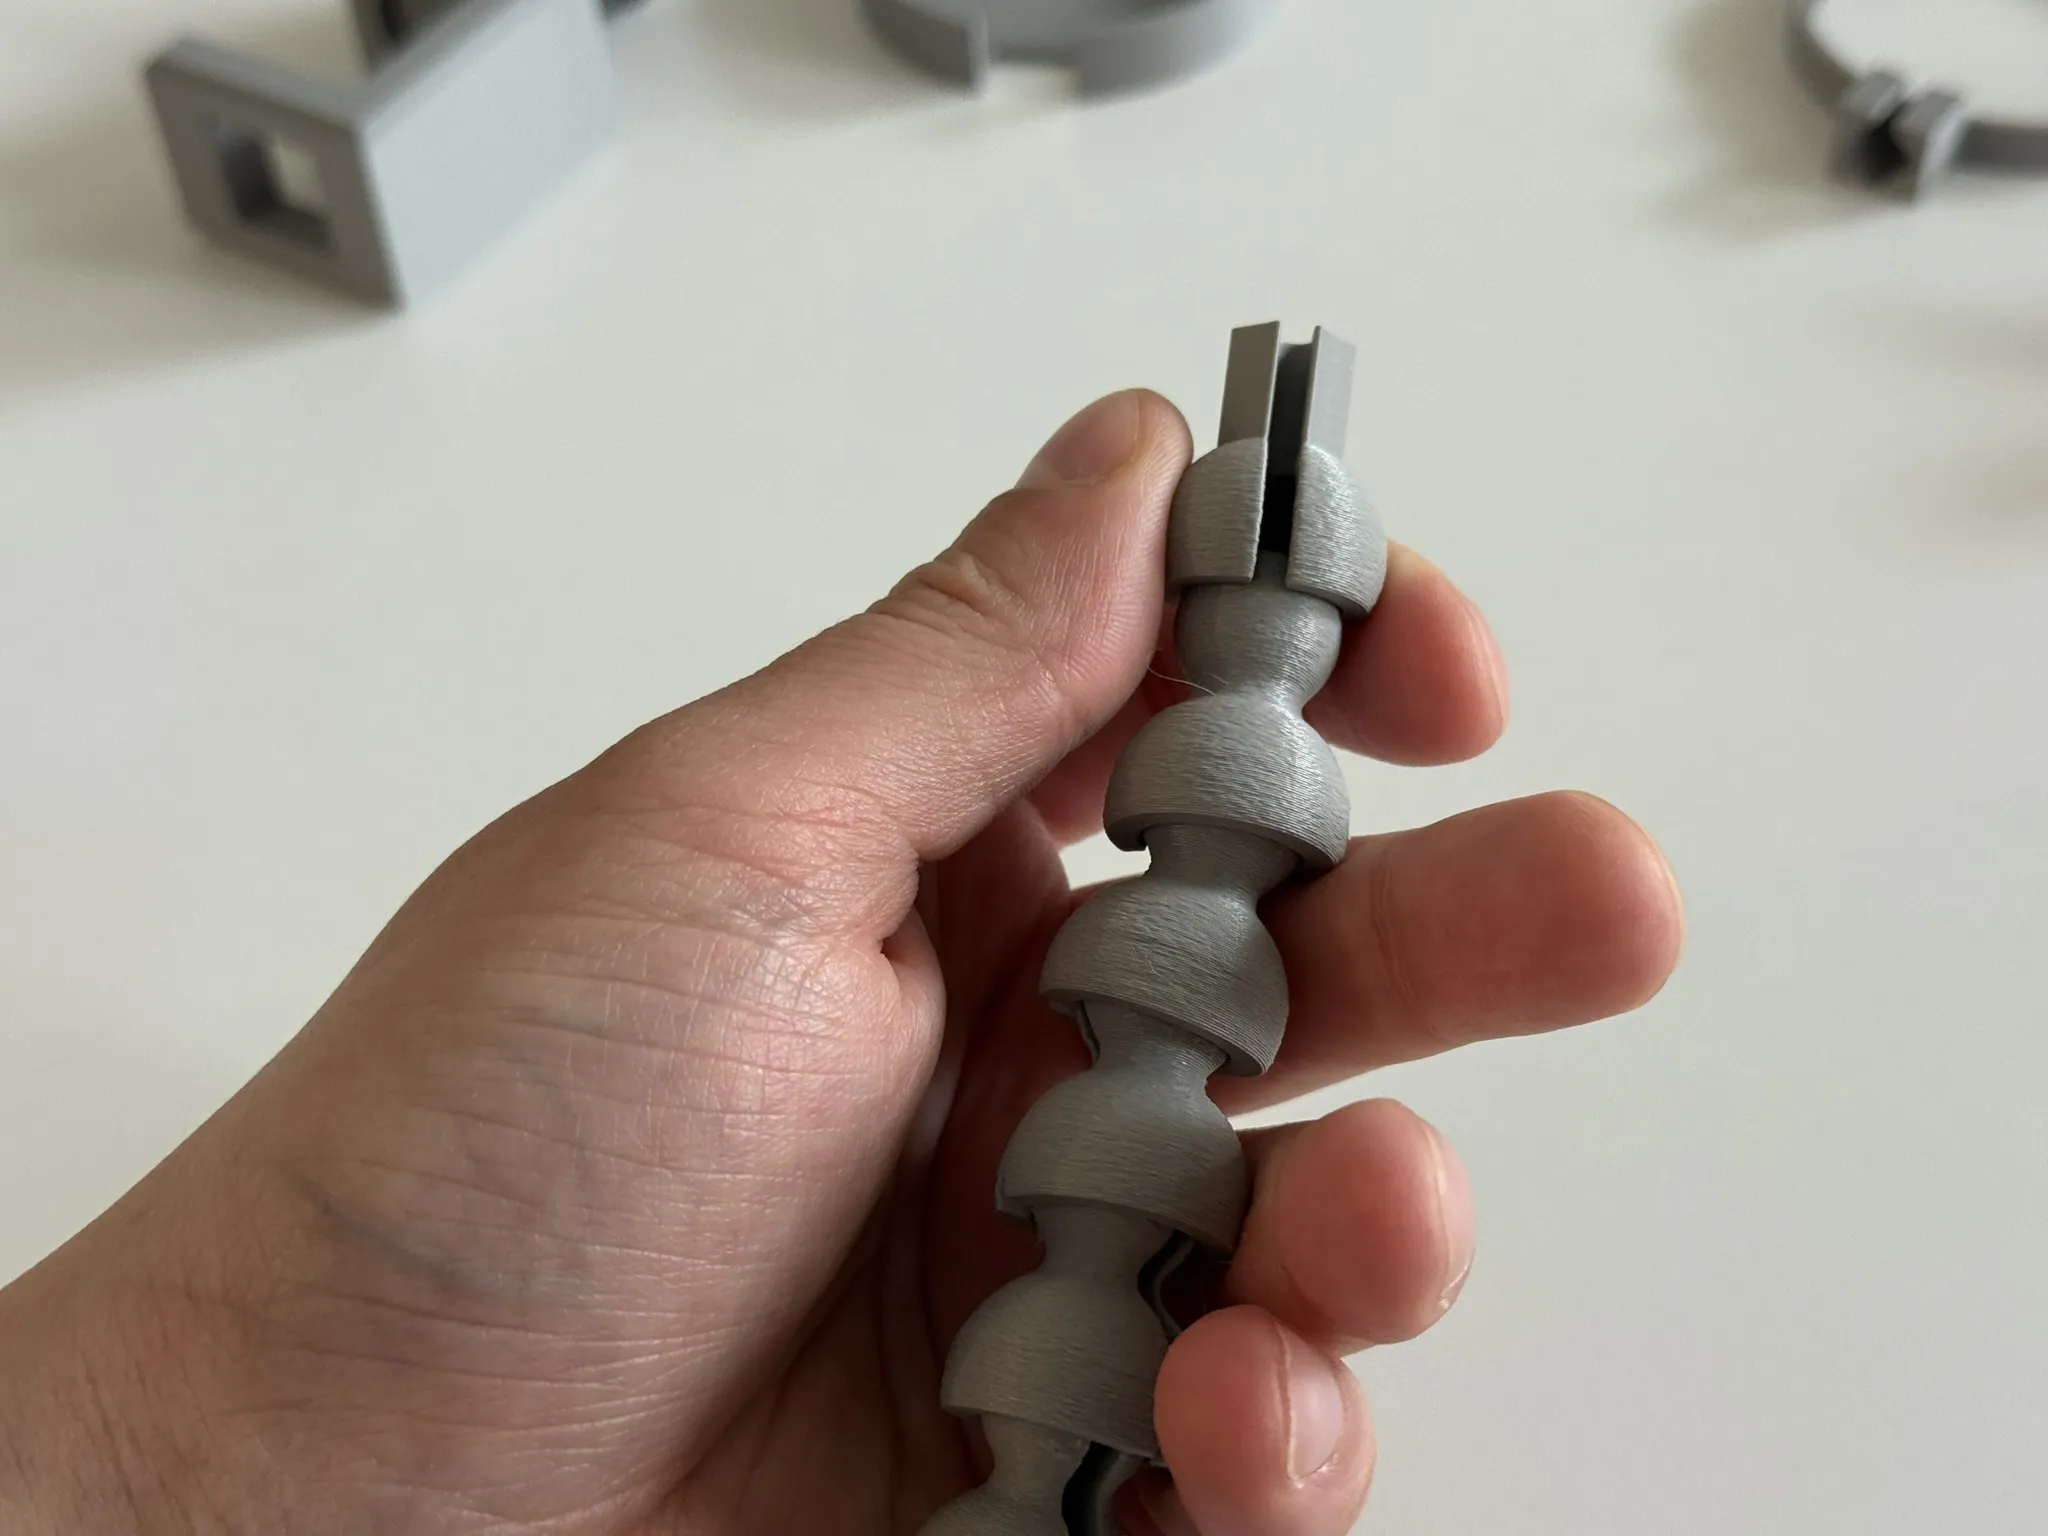
I pressed this in place using a flat hard surface
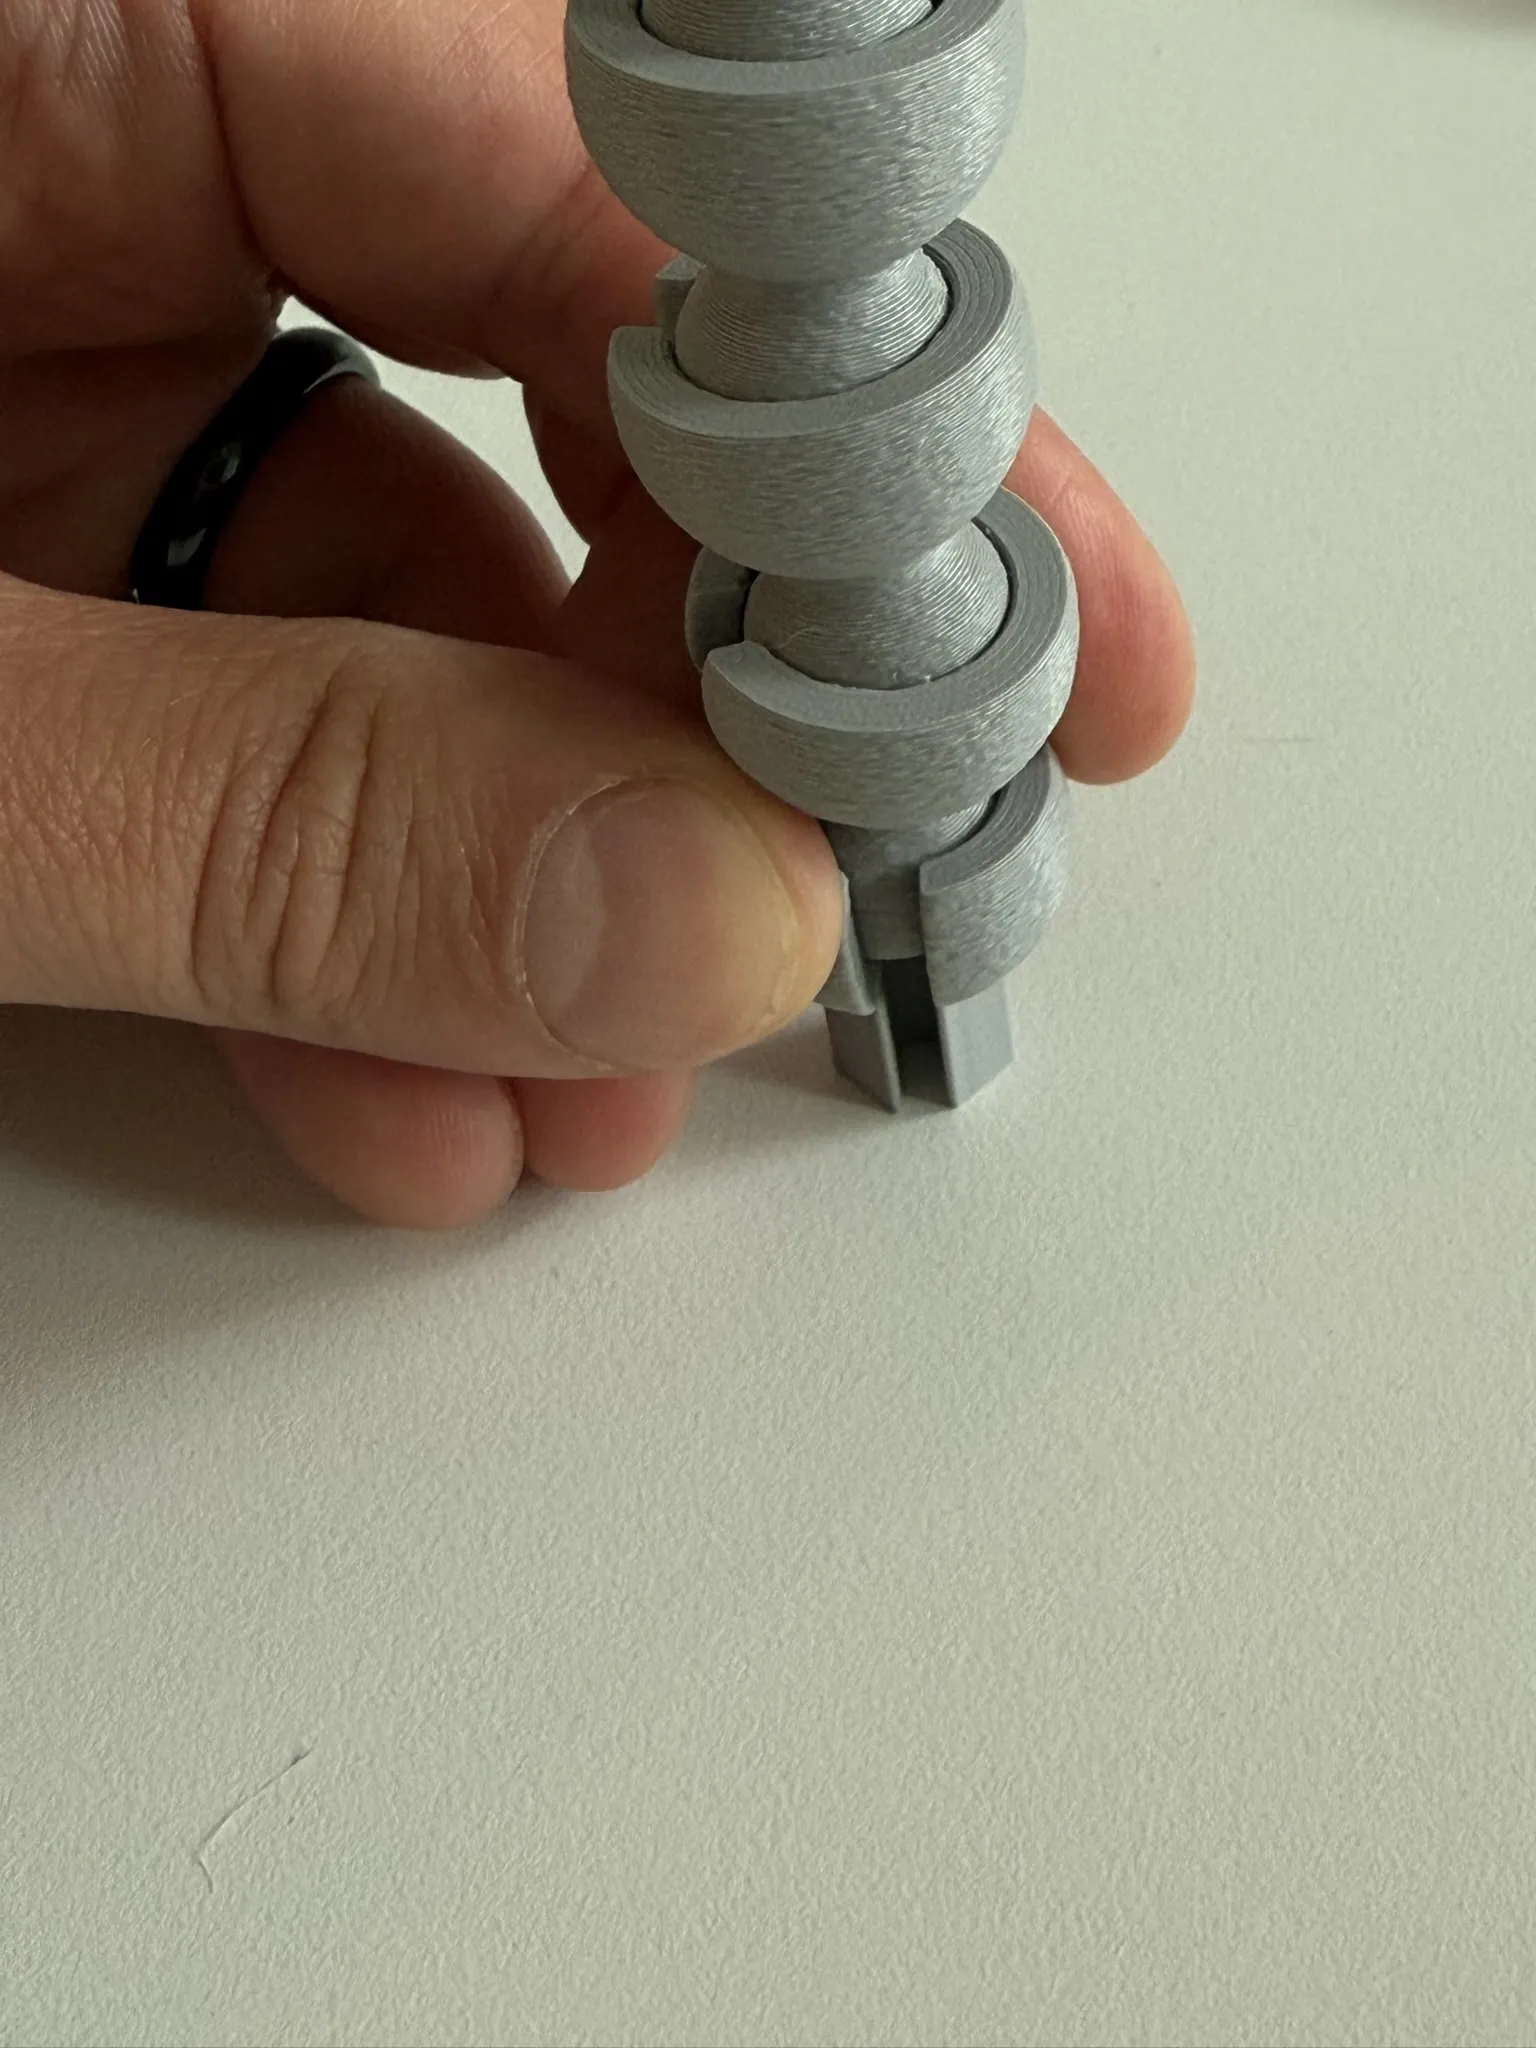
align all the slots on the assembled piece!
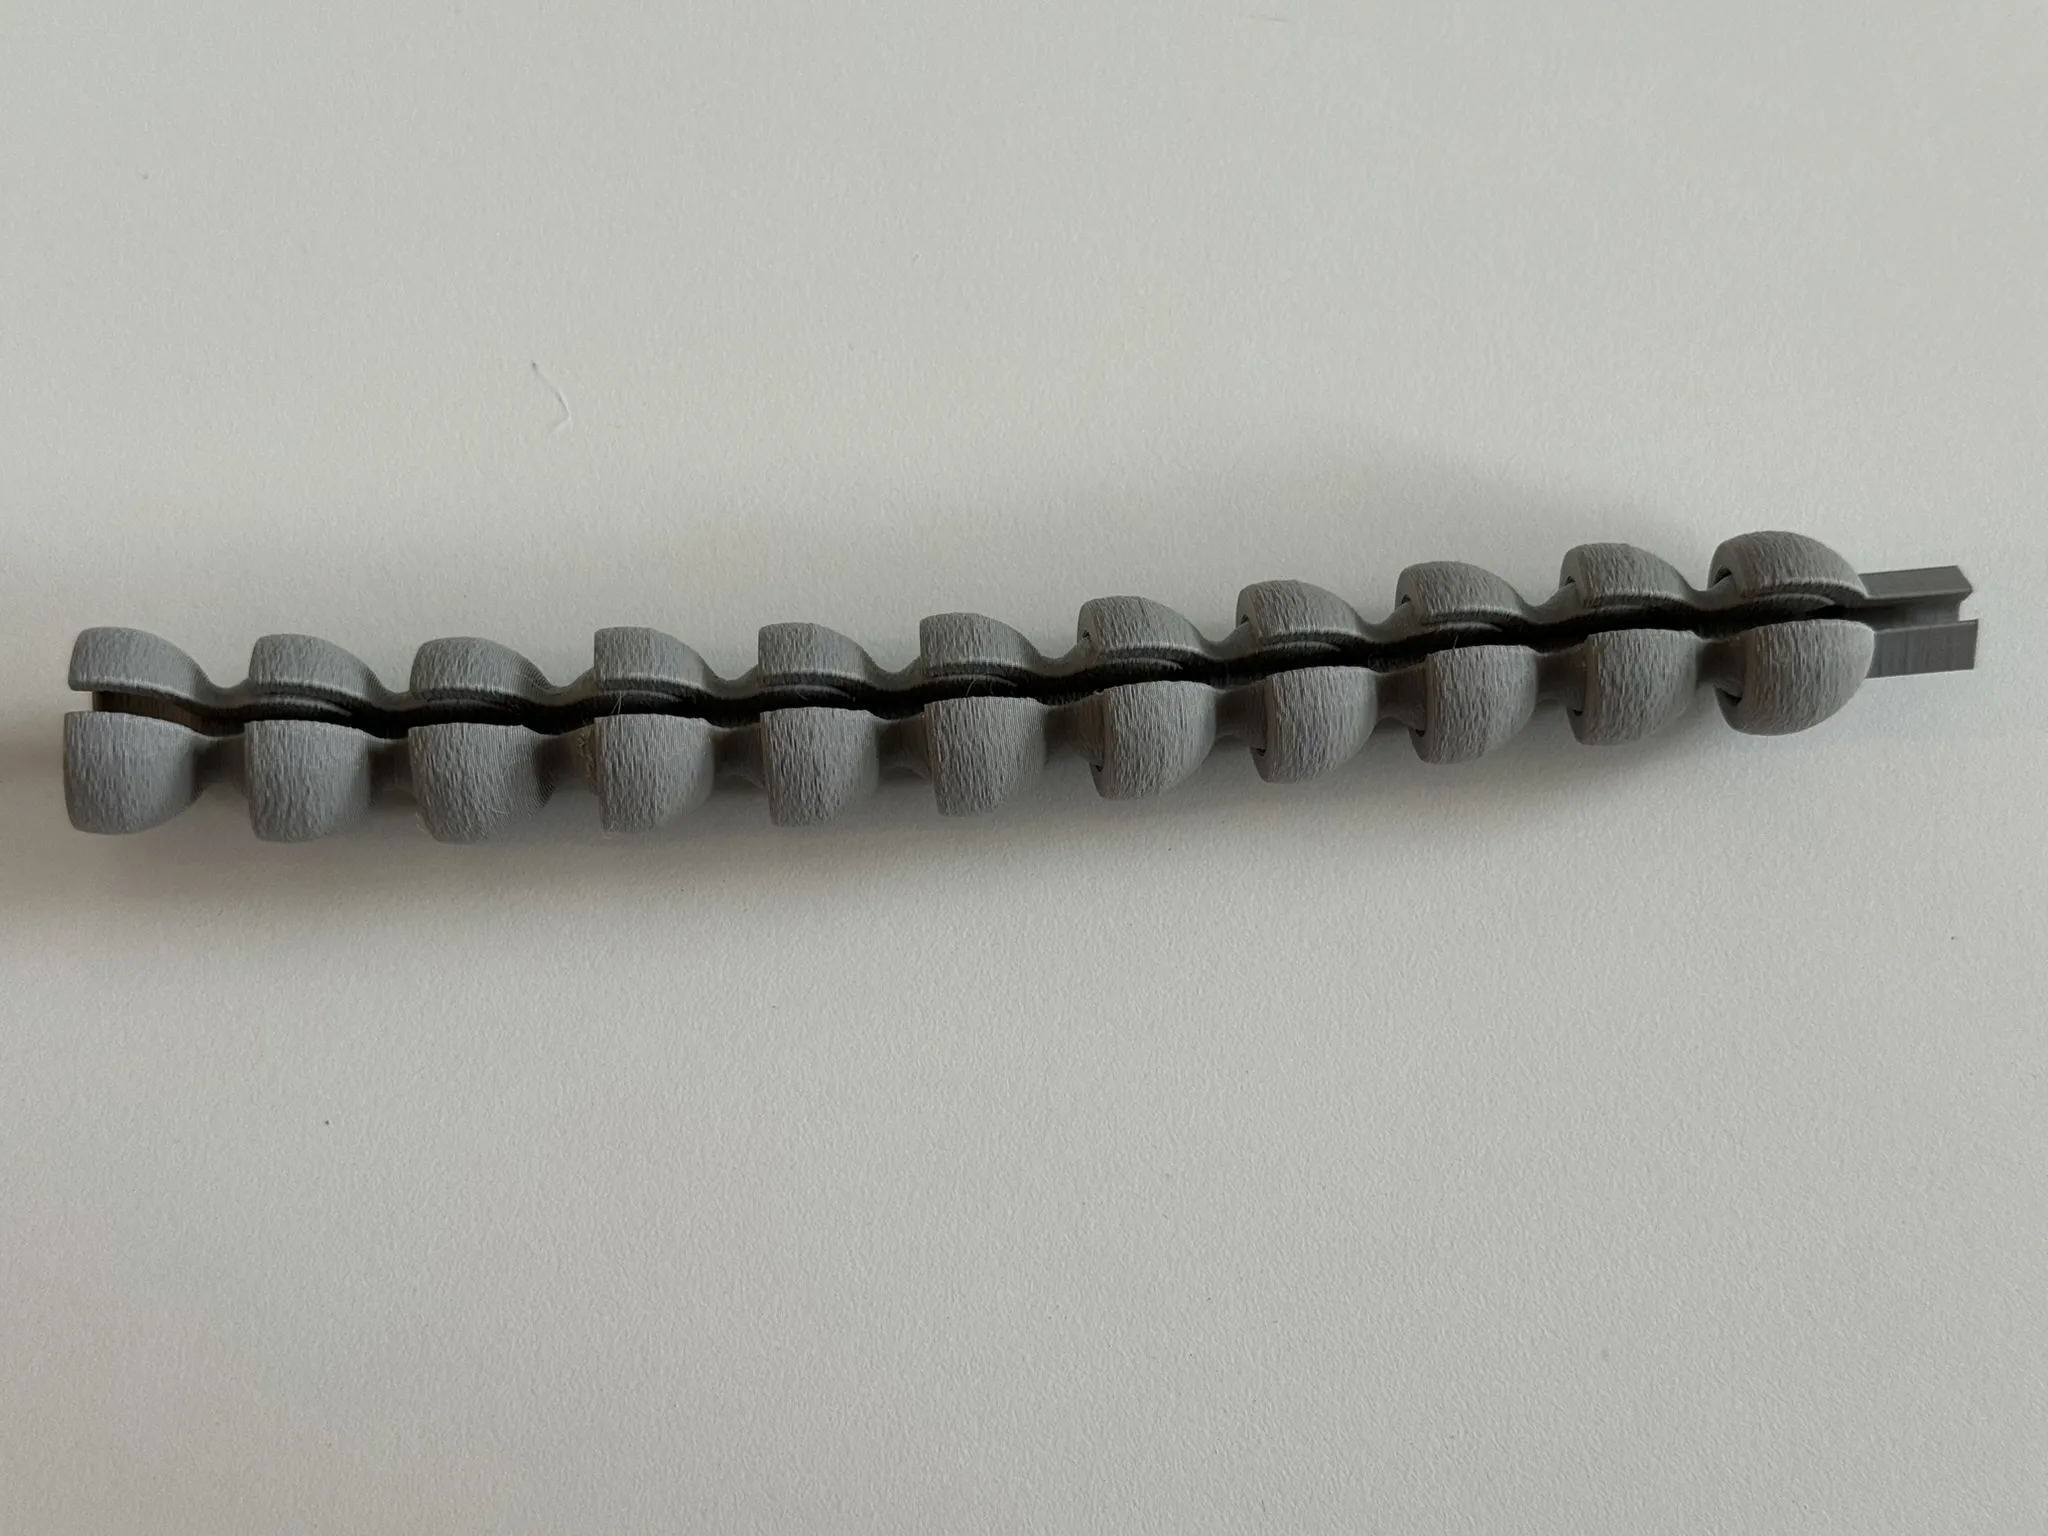
4. Insert the led module into its housing
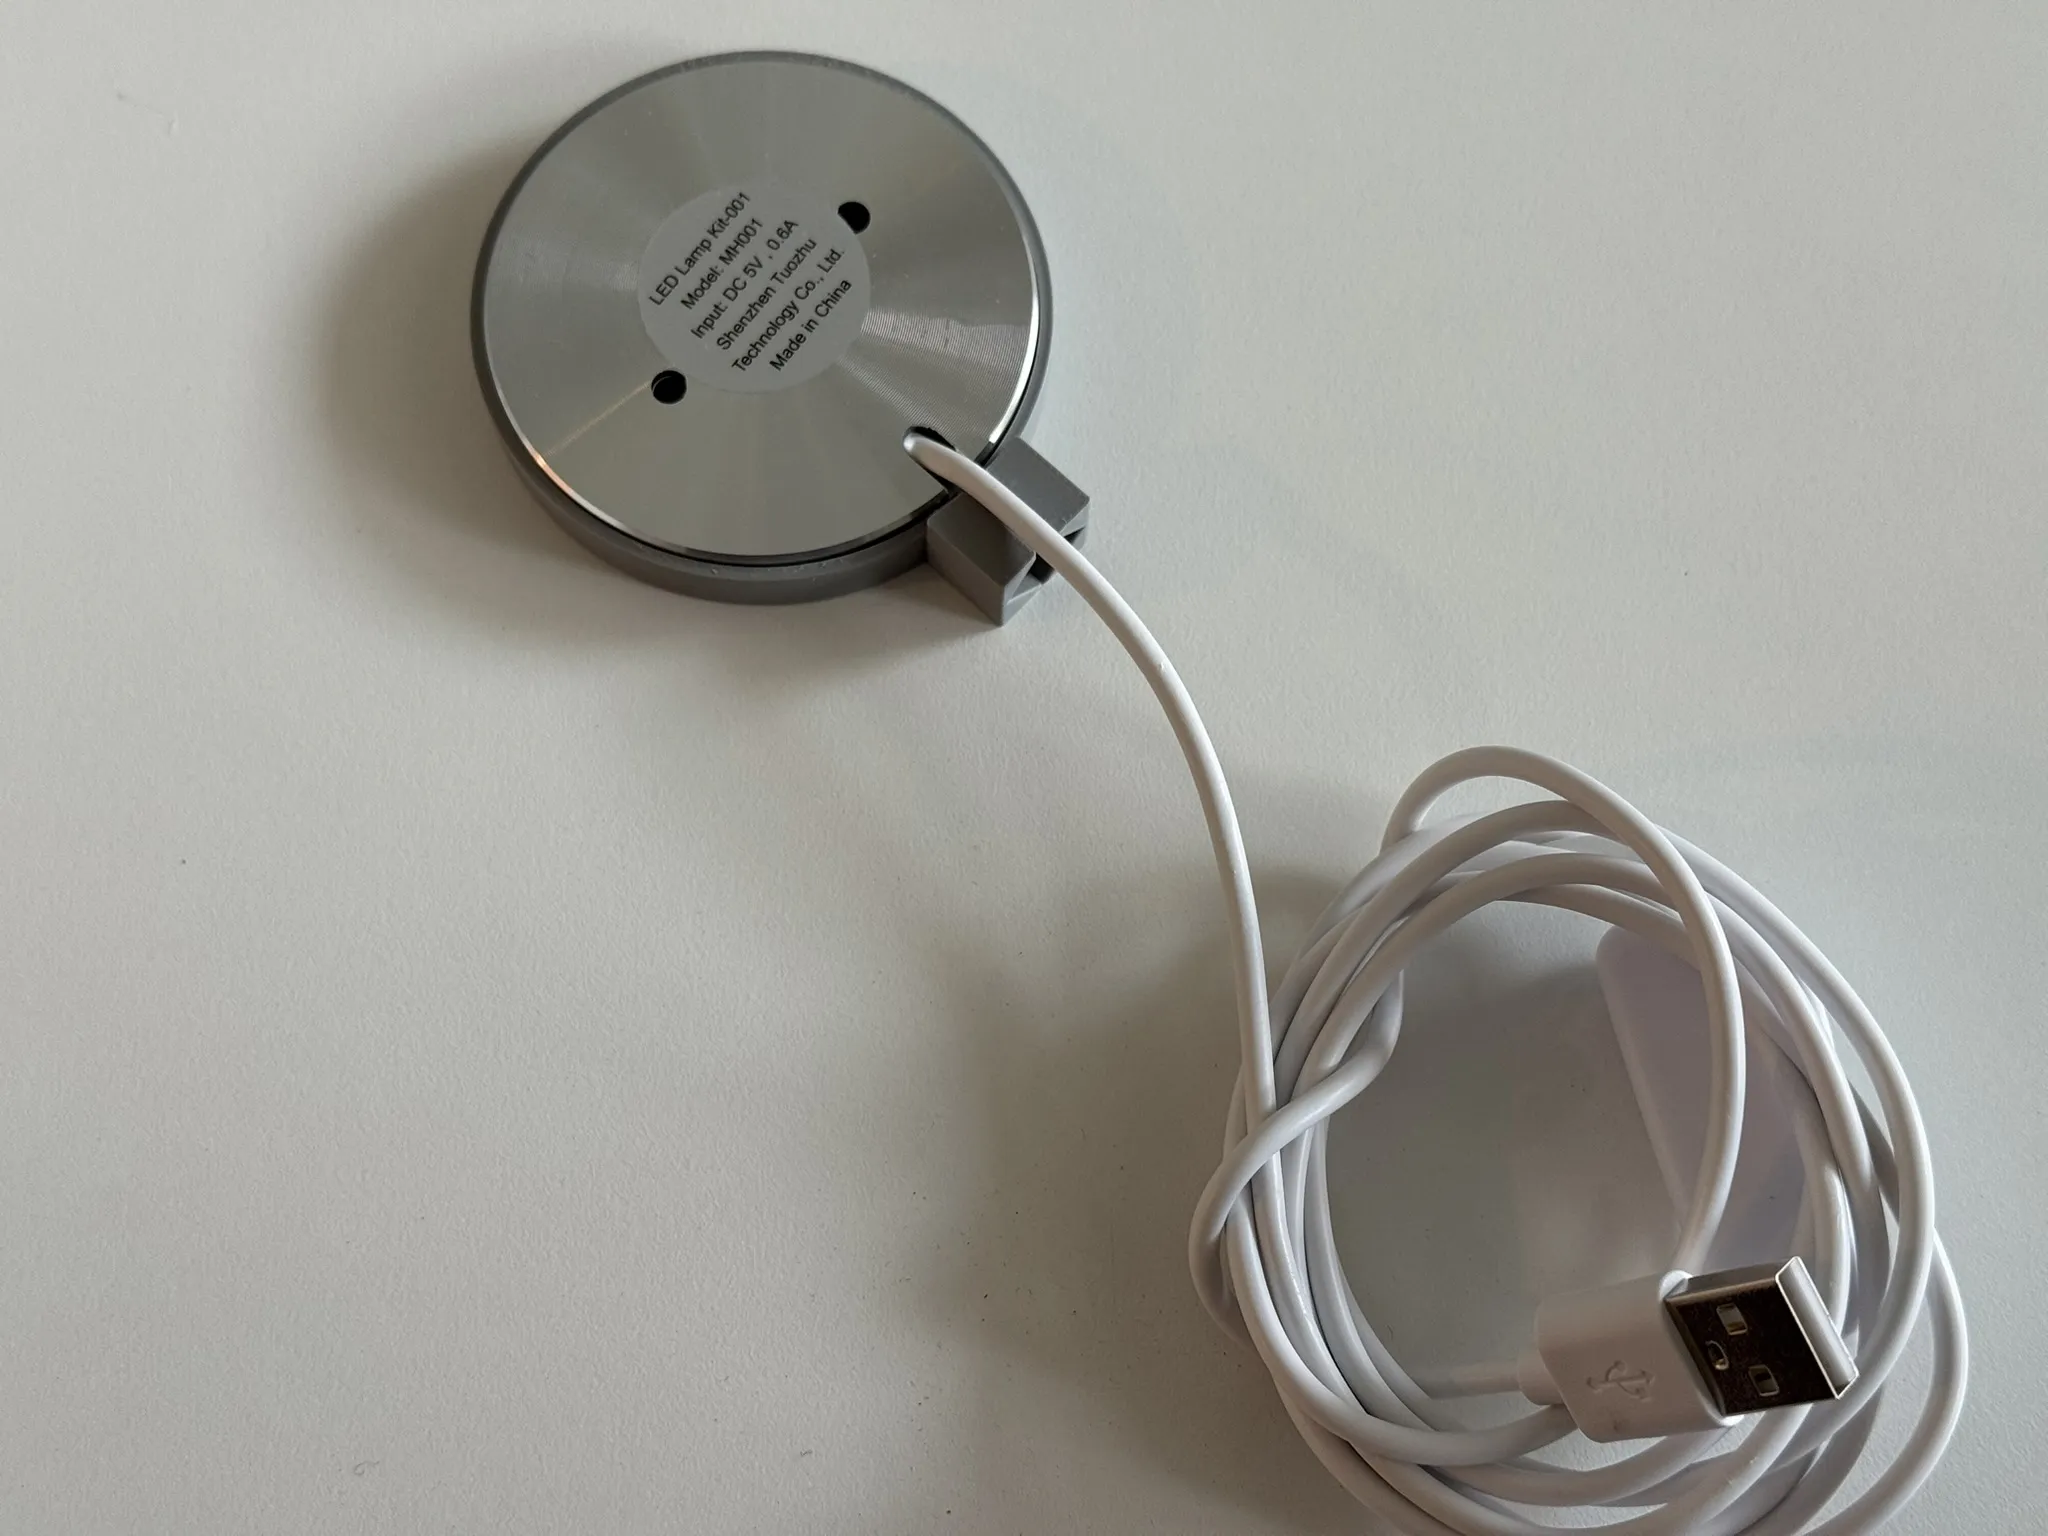
5. Connect it to the stem
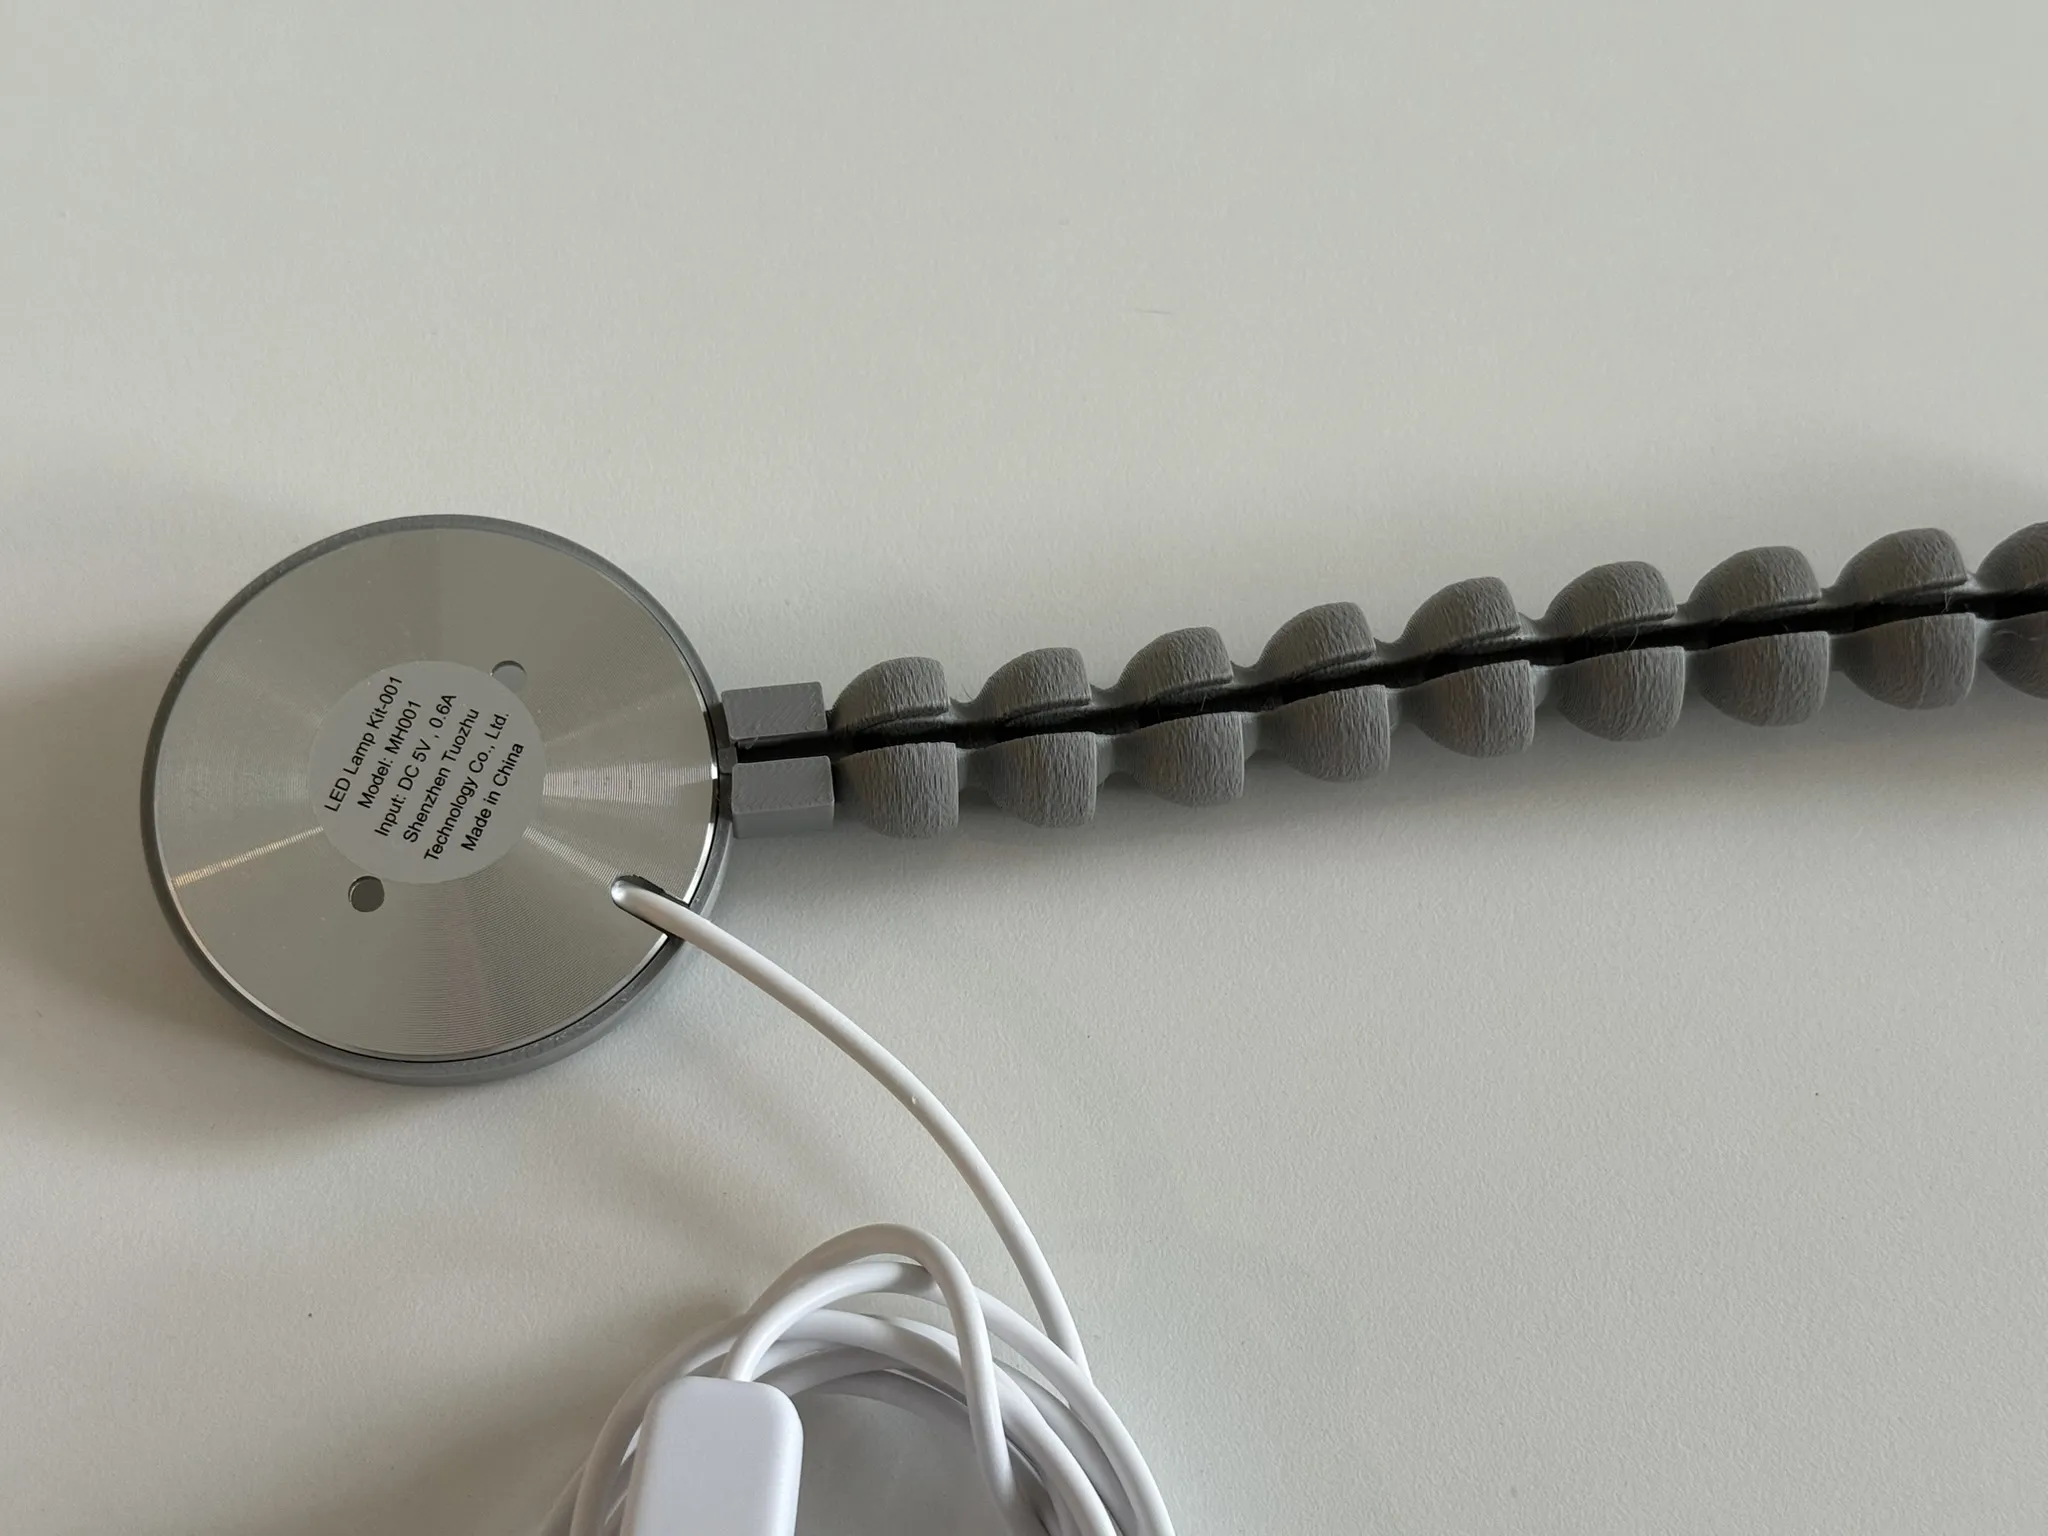
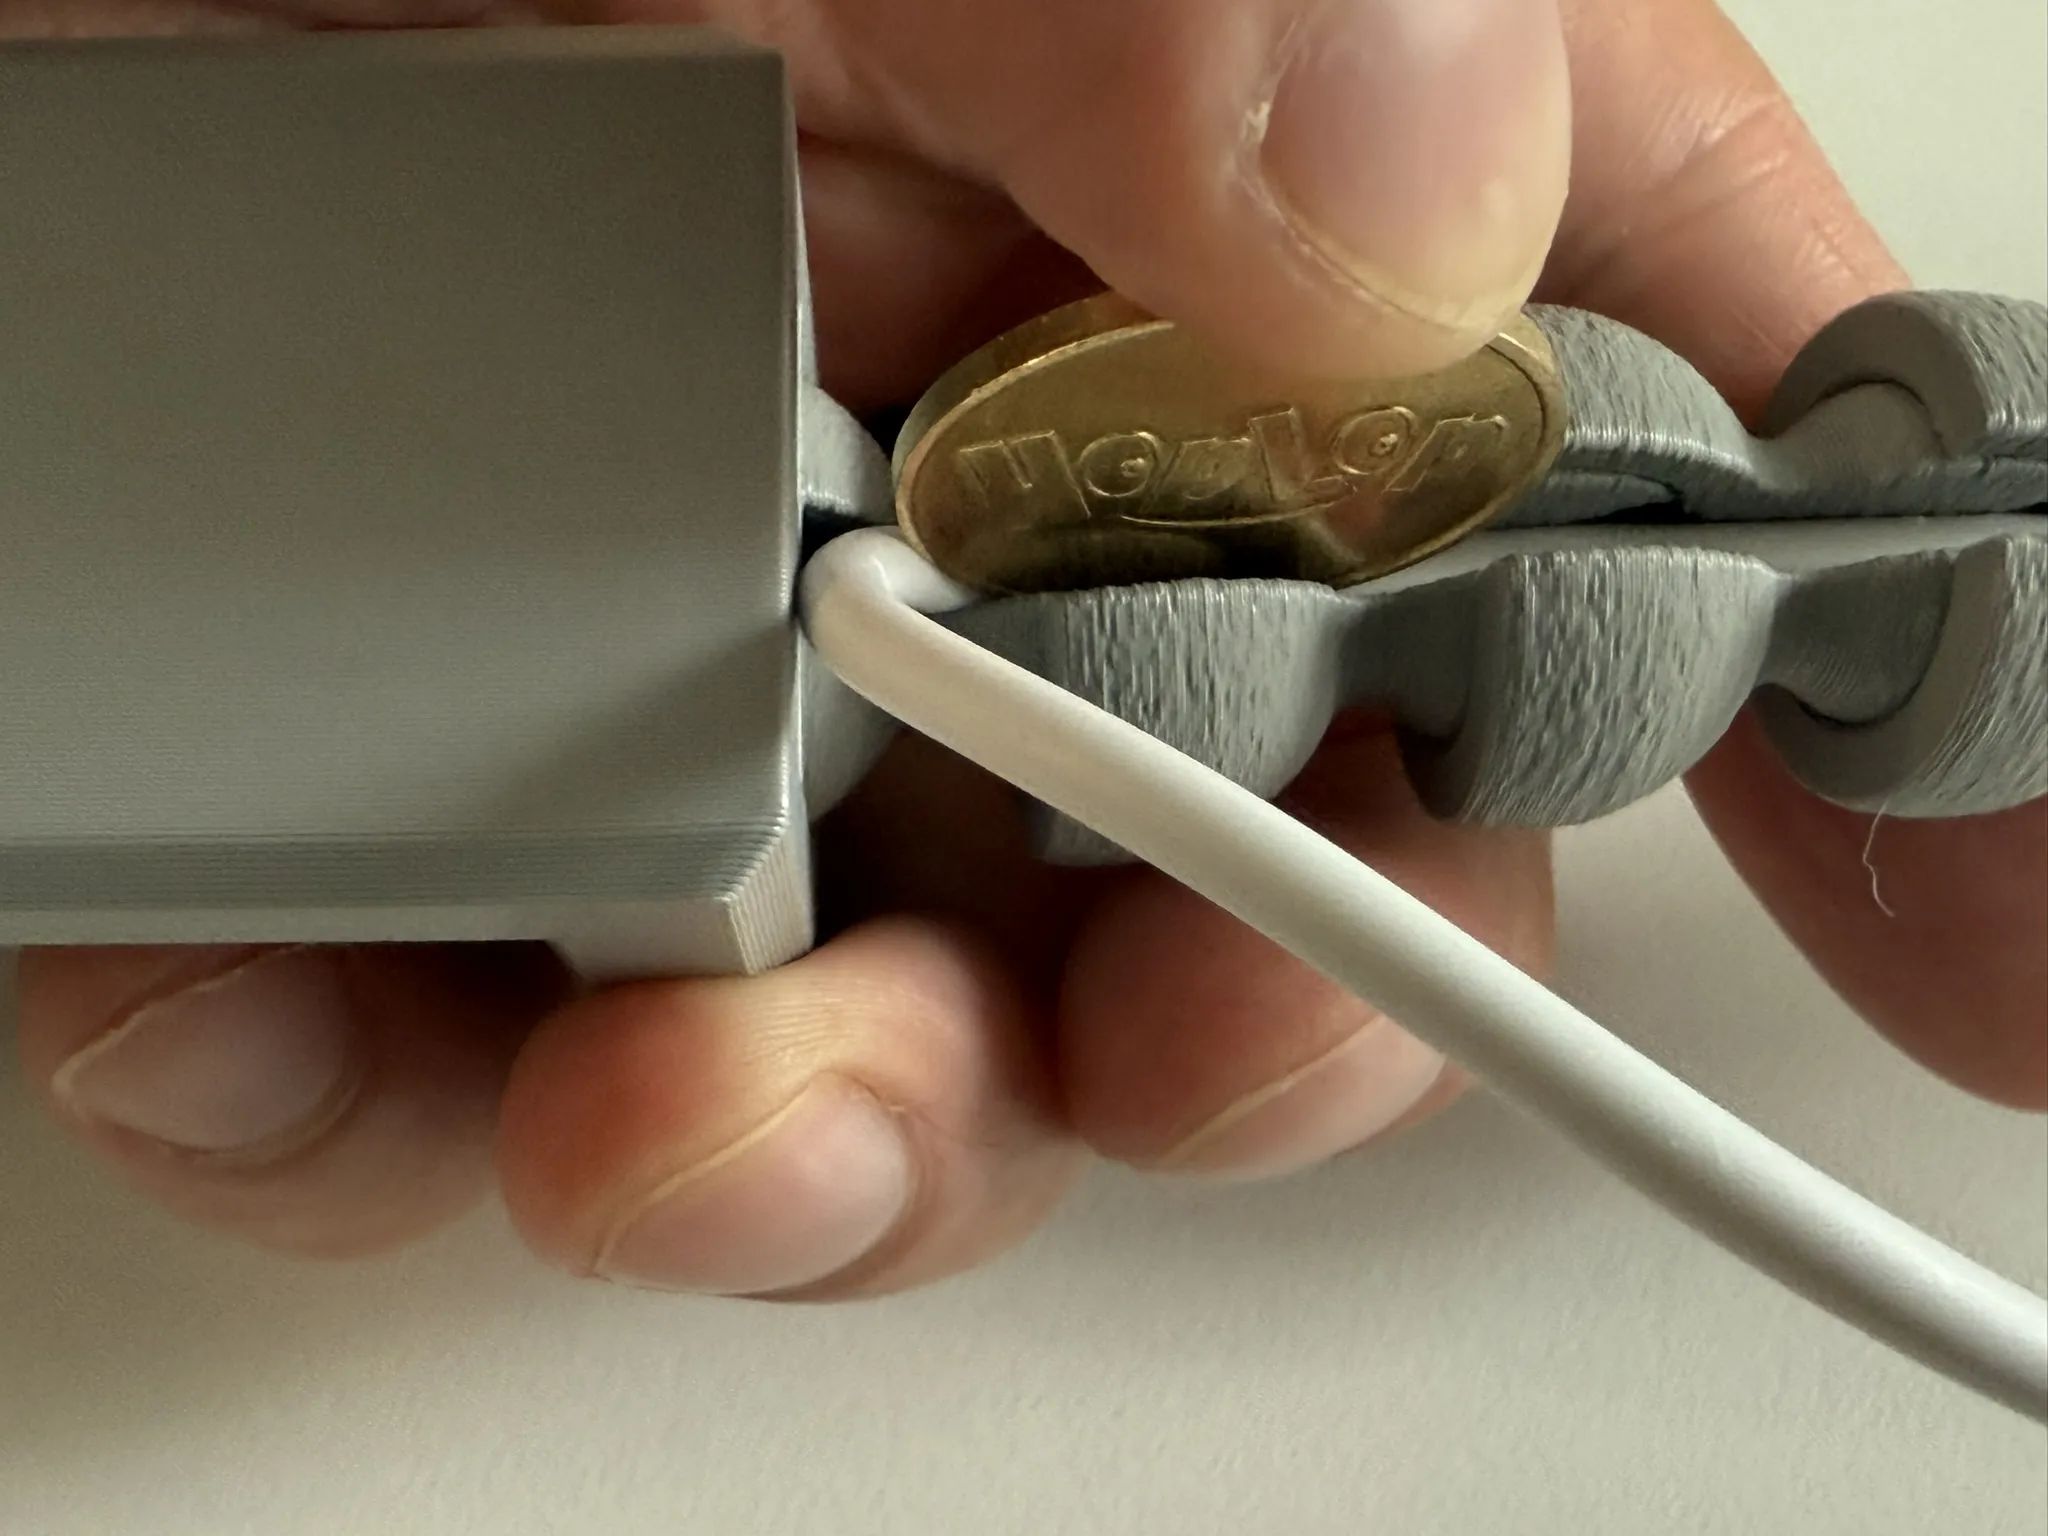
6. Next, ease the cable into the groove. Be sure to align the pieces before this!
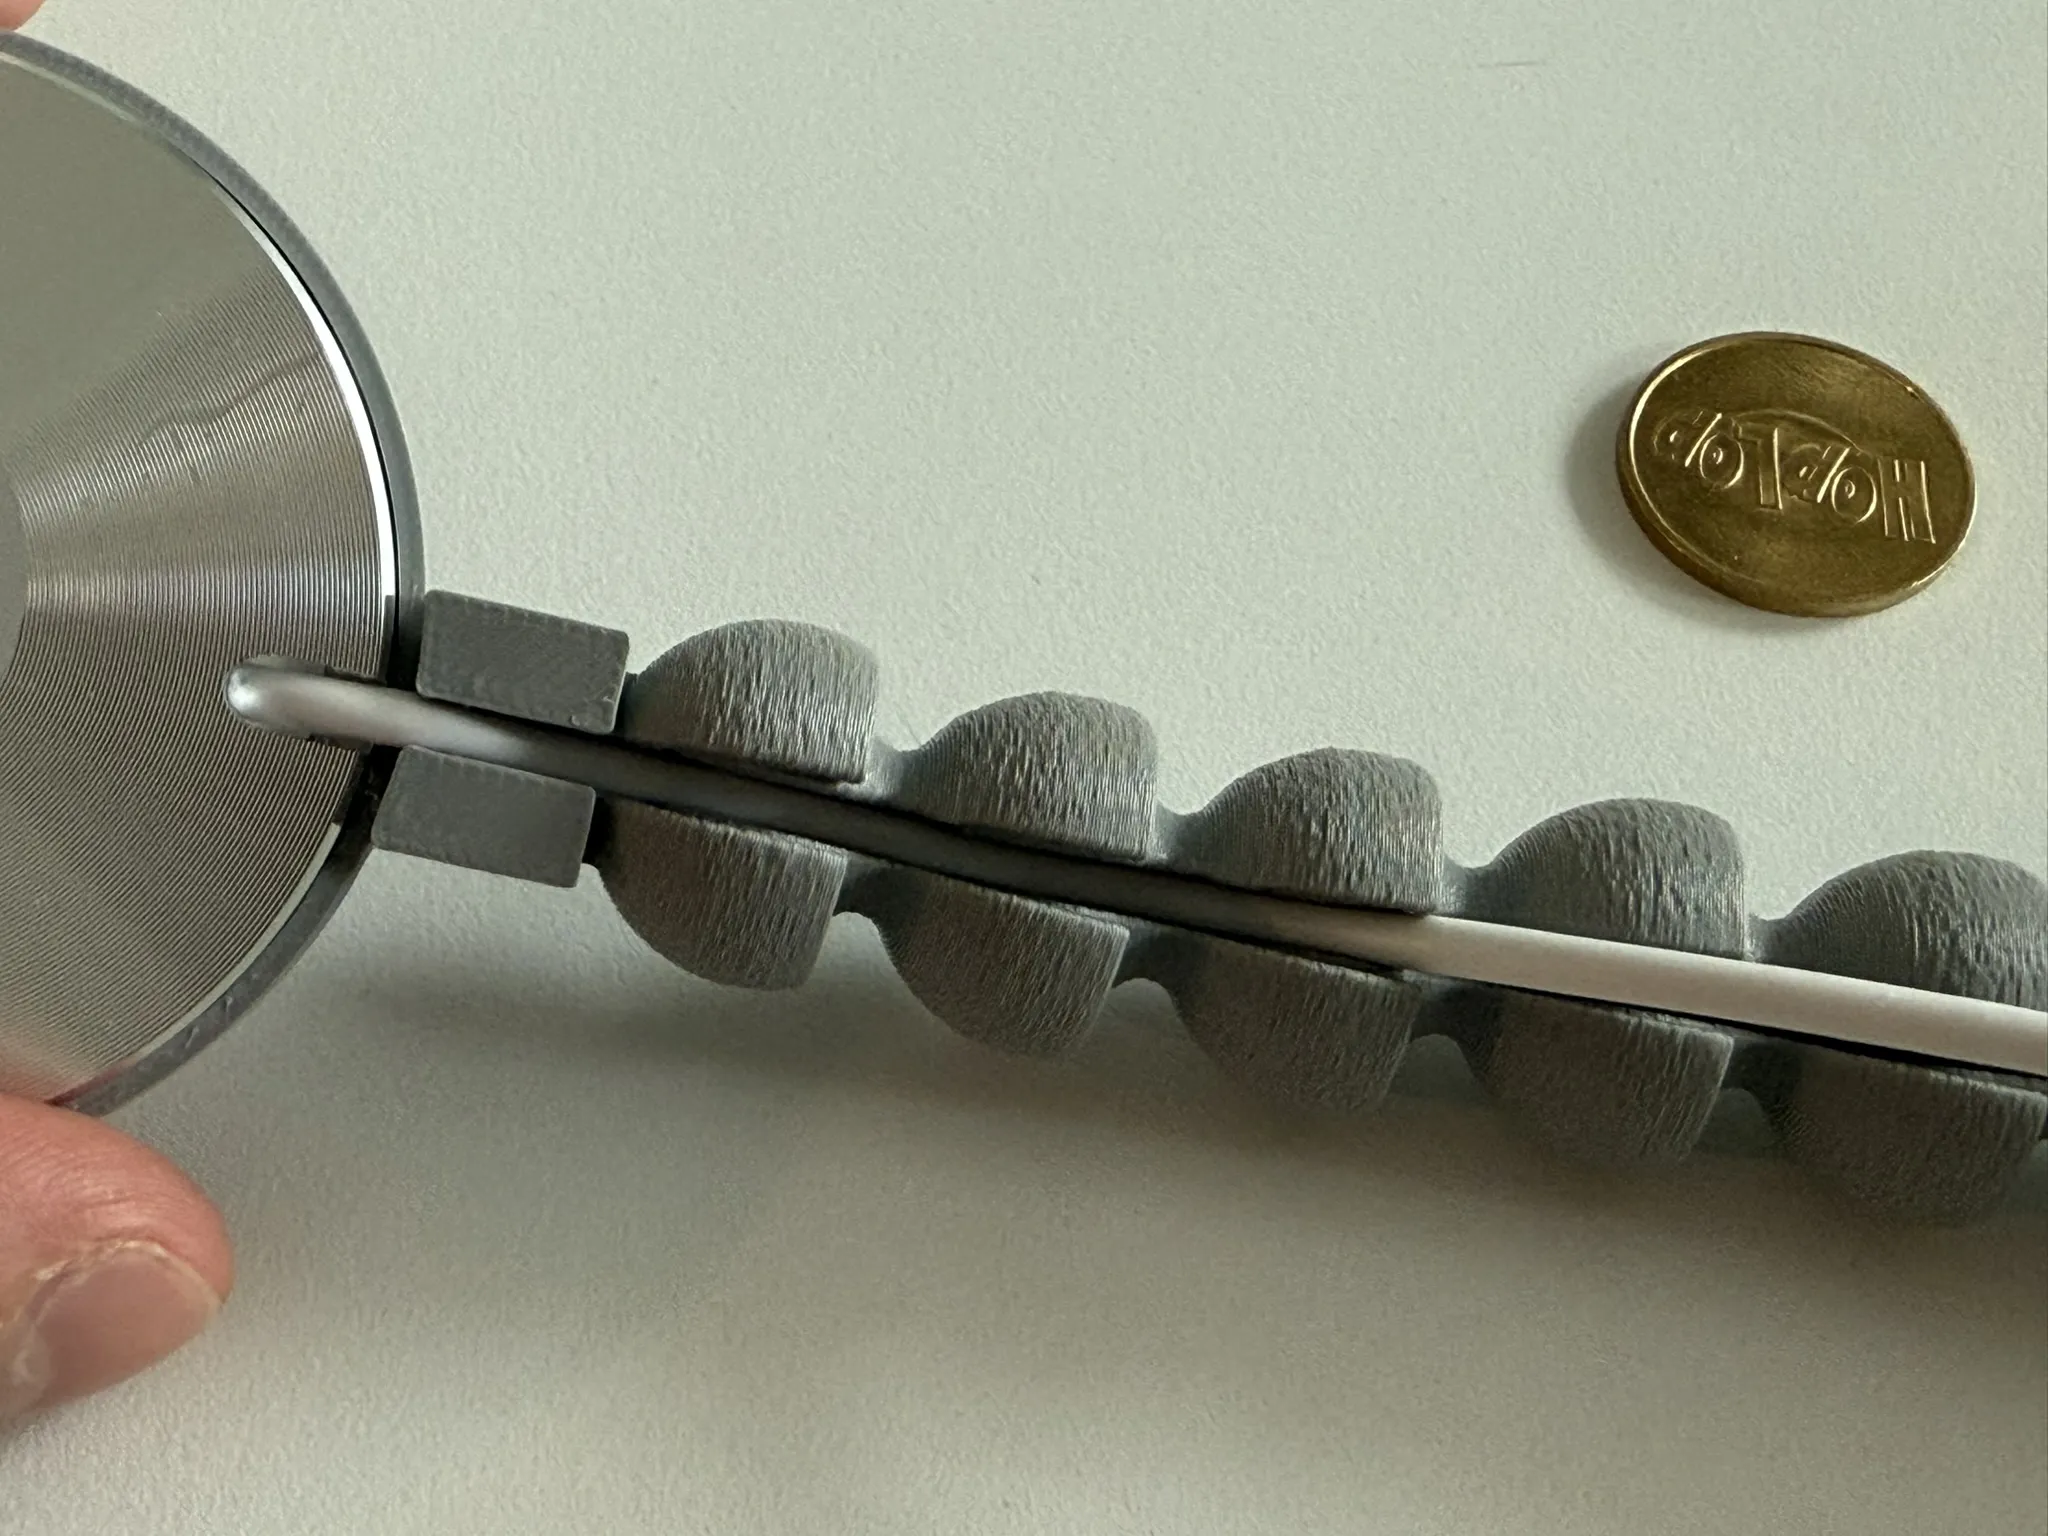
For this is used a coin i picked up from a conflict zone. Be sure to leave the last 1-2 joints at the end!
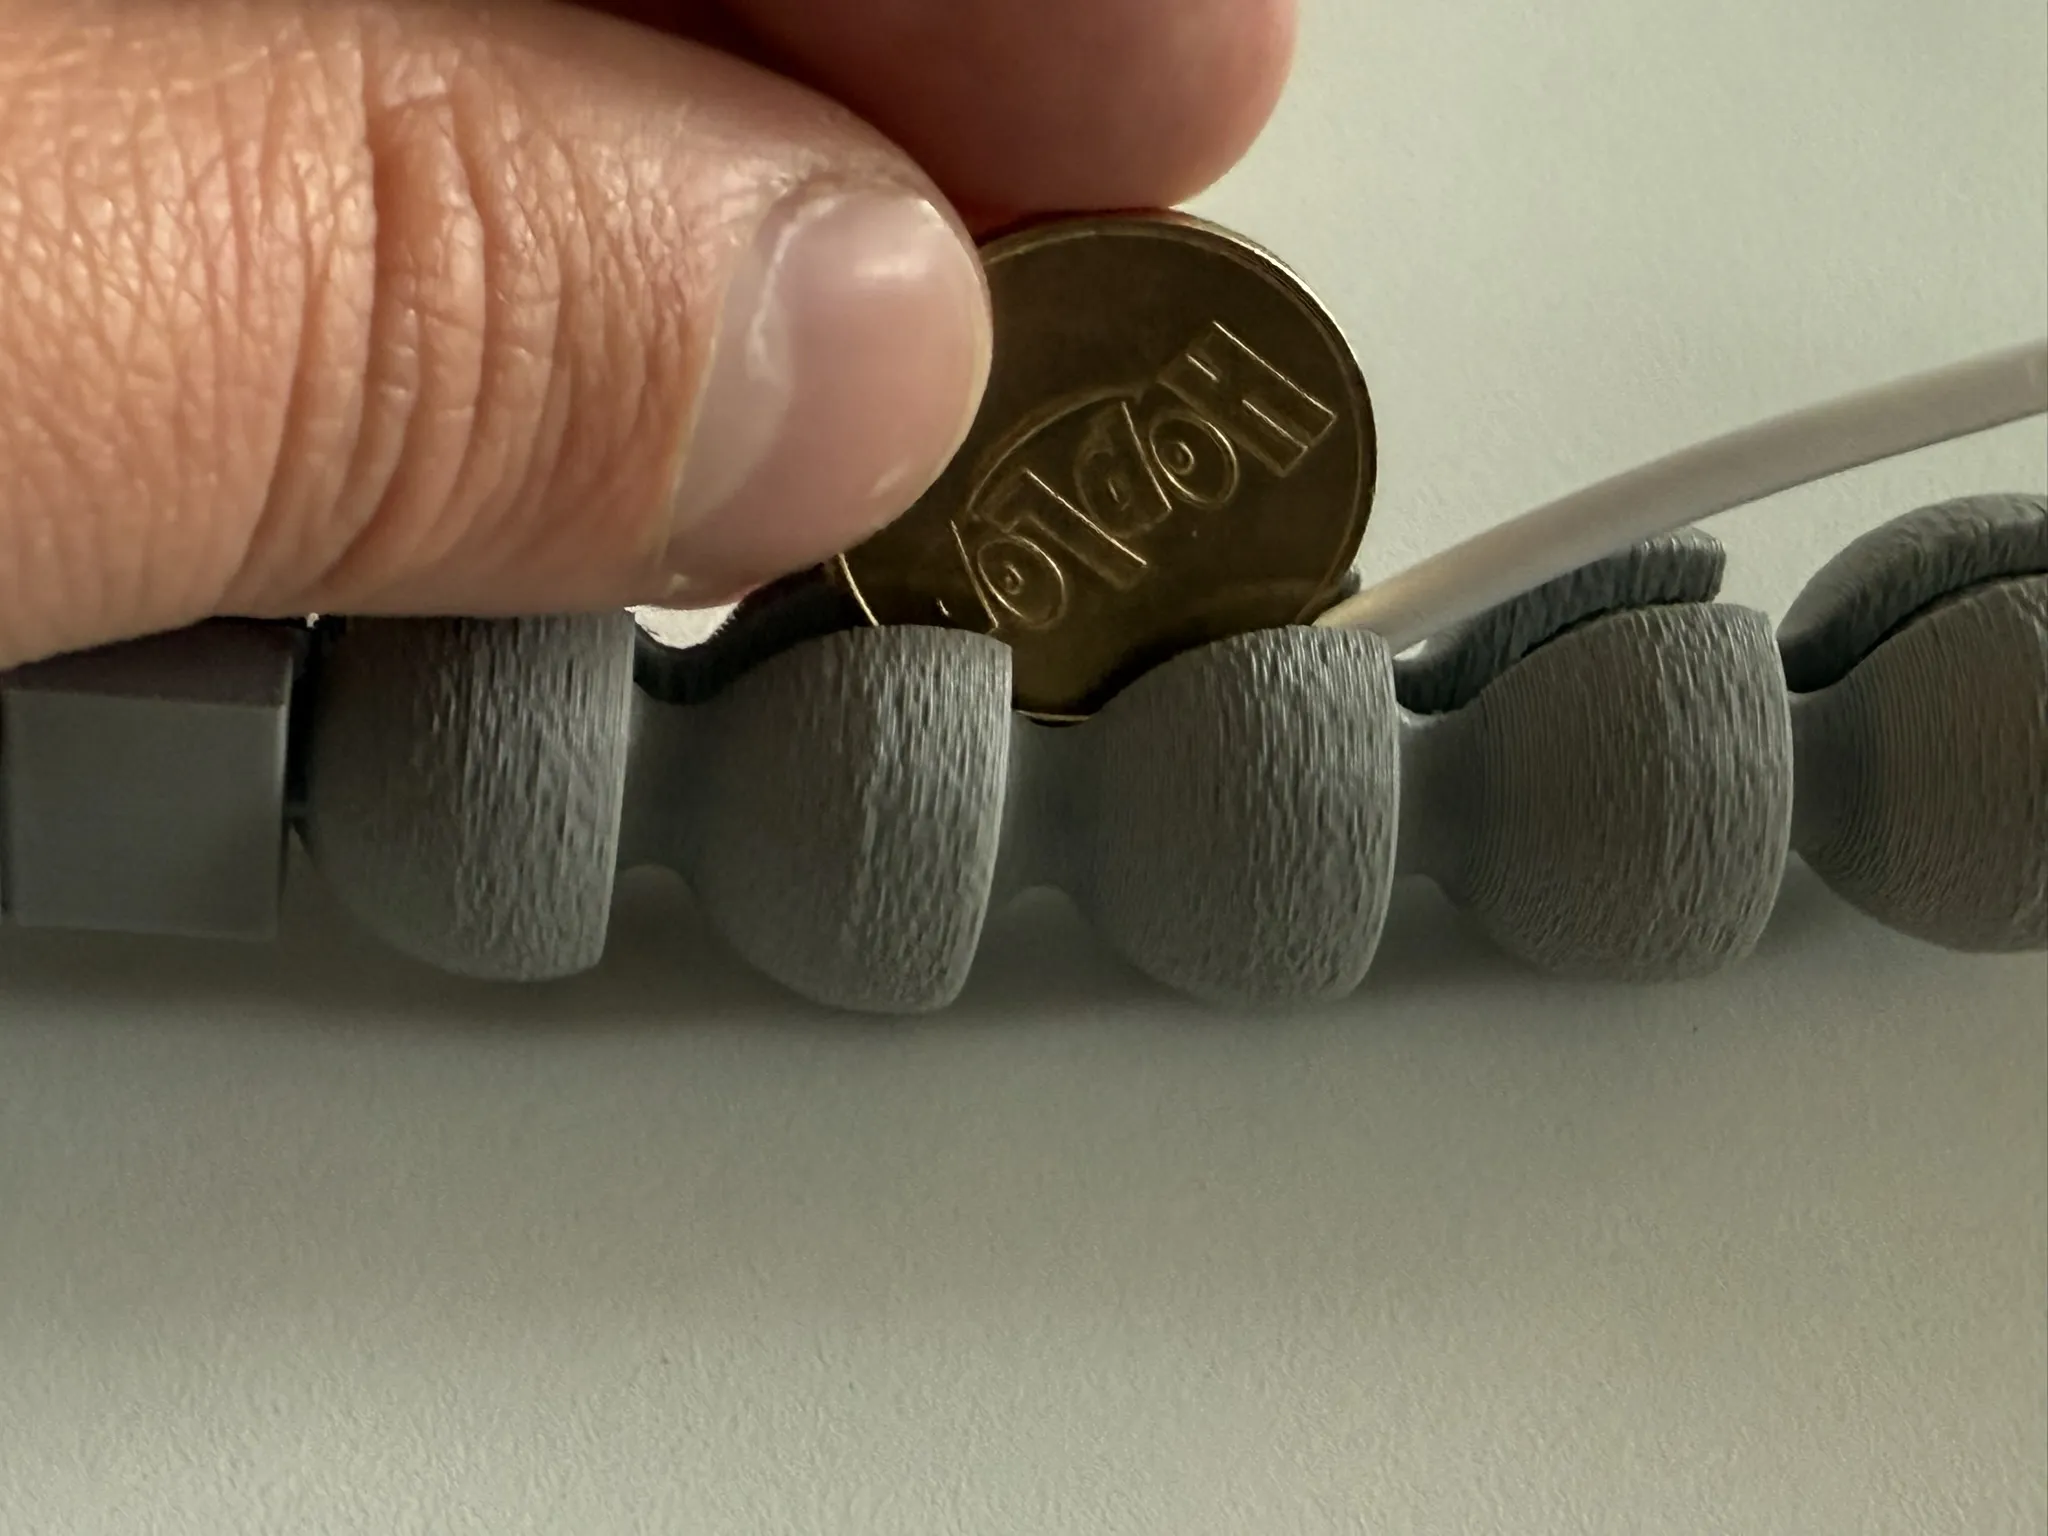
Attach the back housing of the led. Also in view, the last join unsnaked.
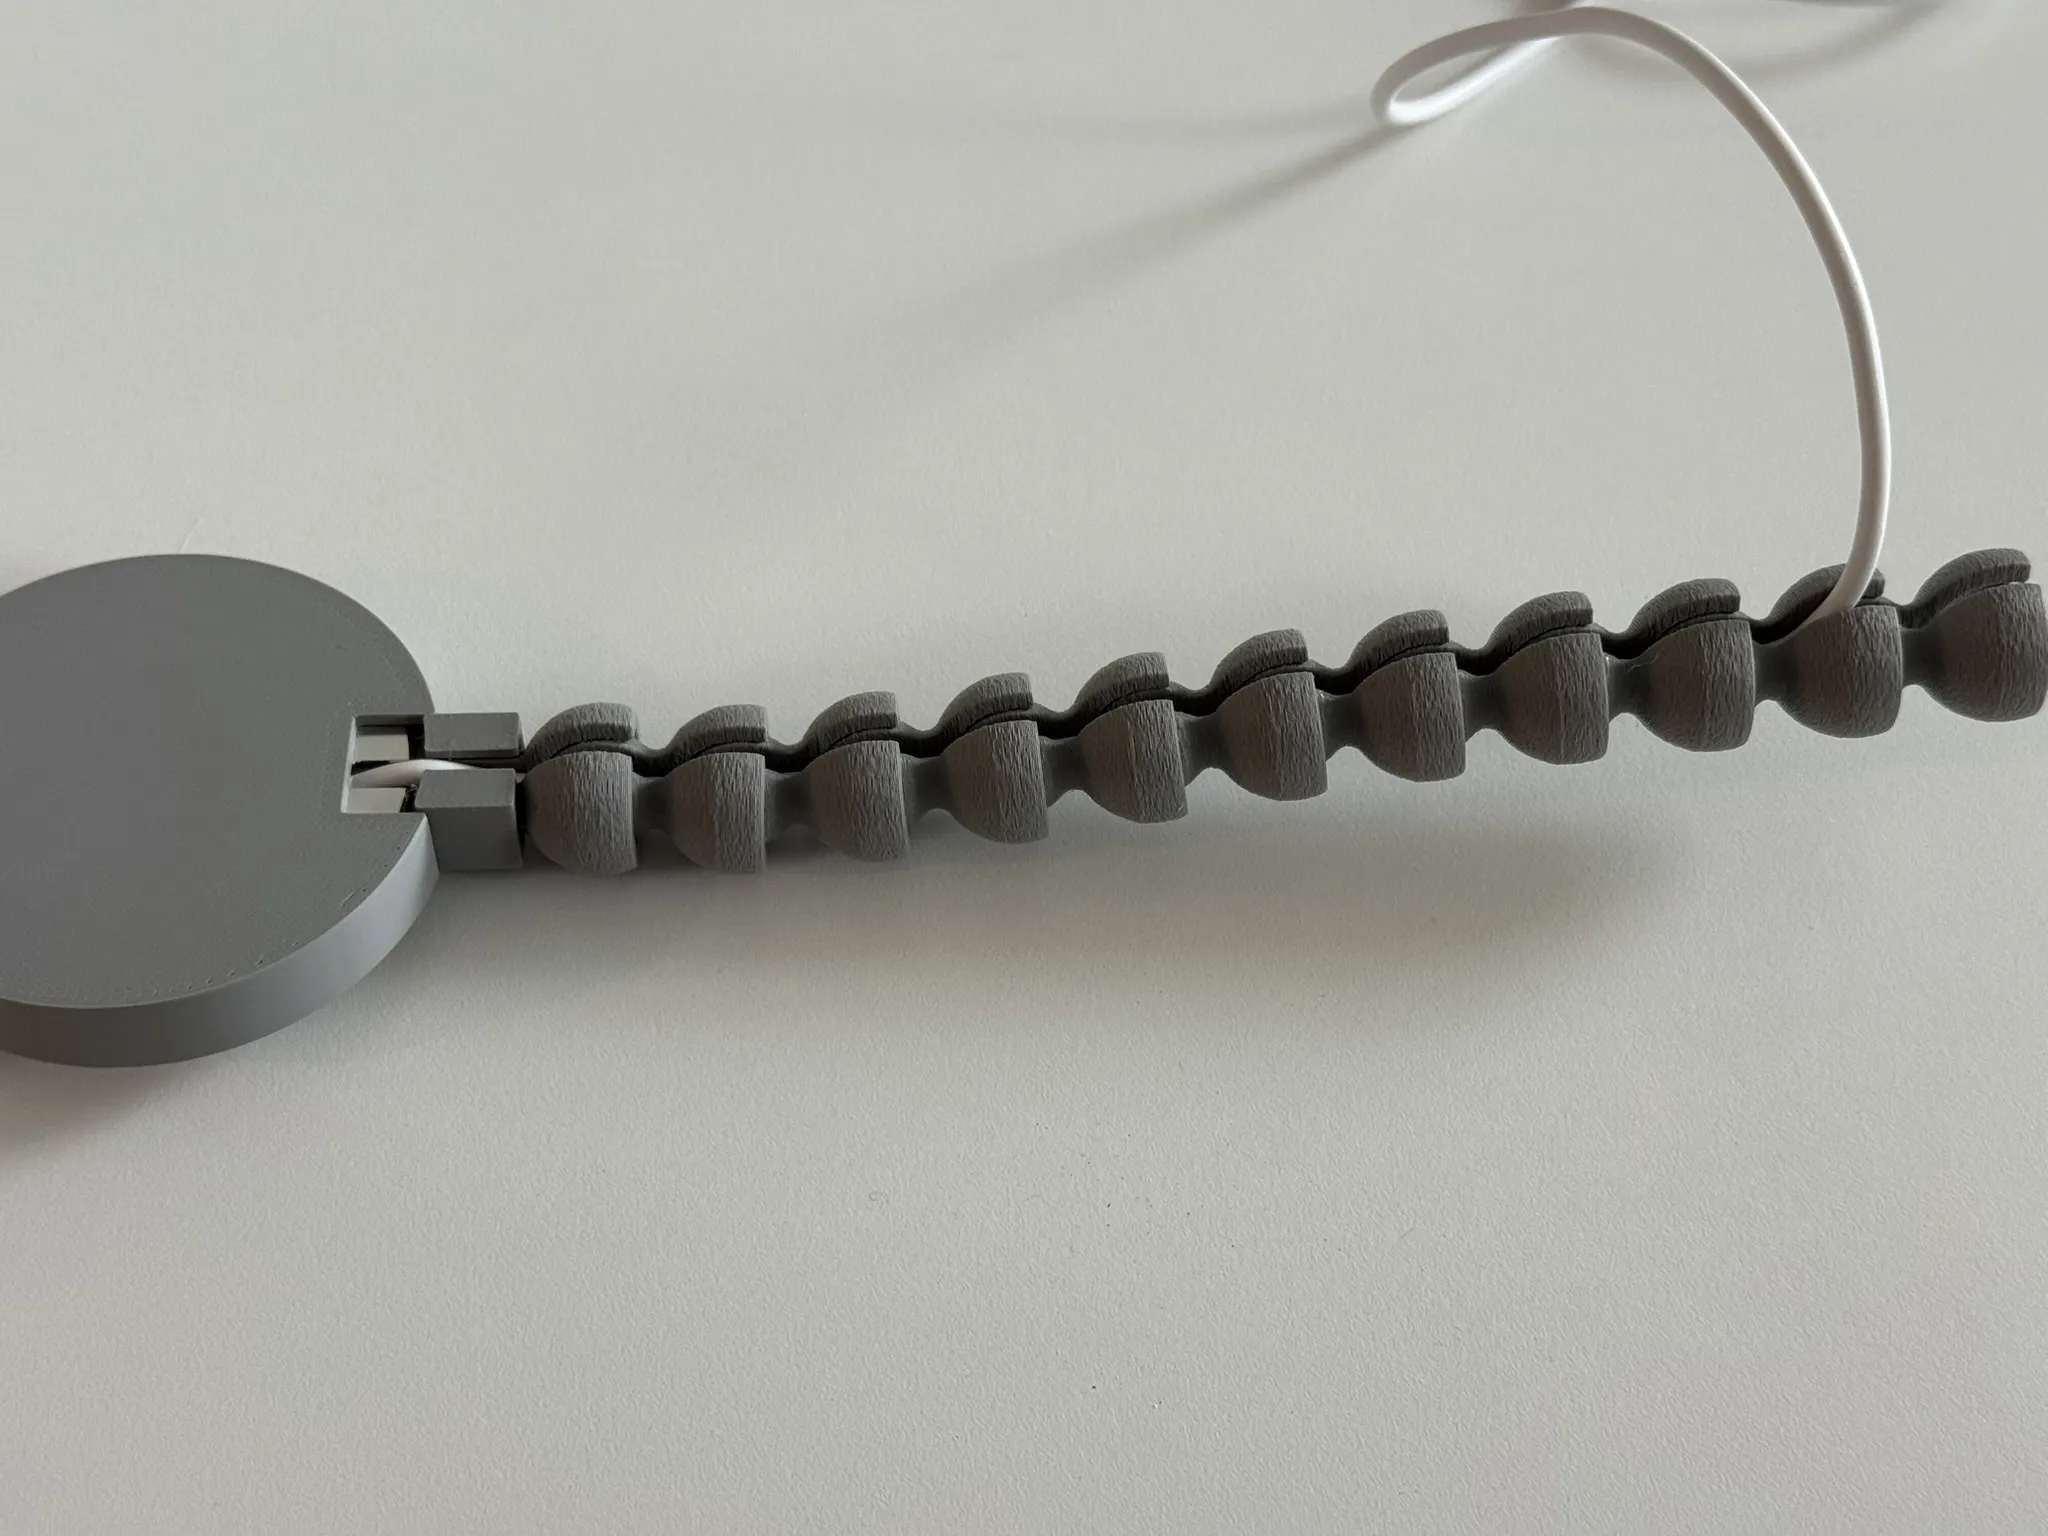
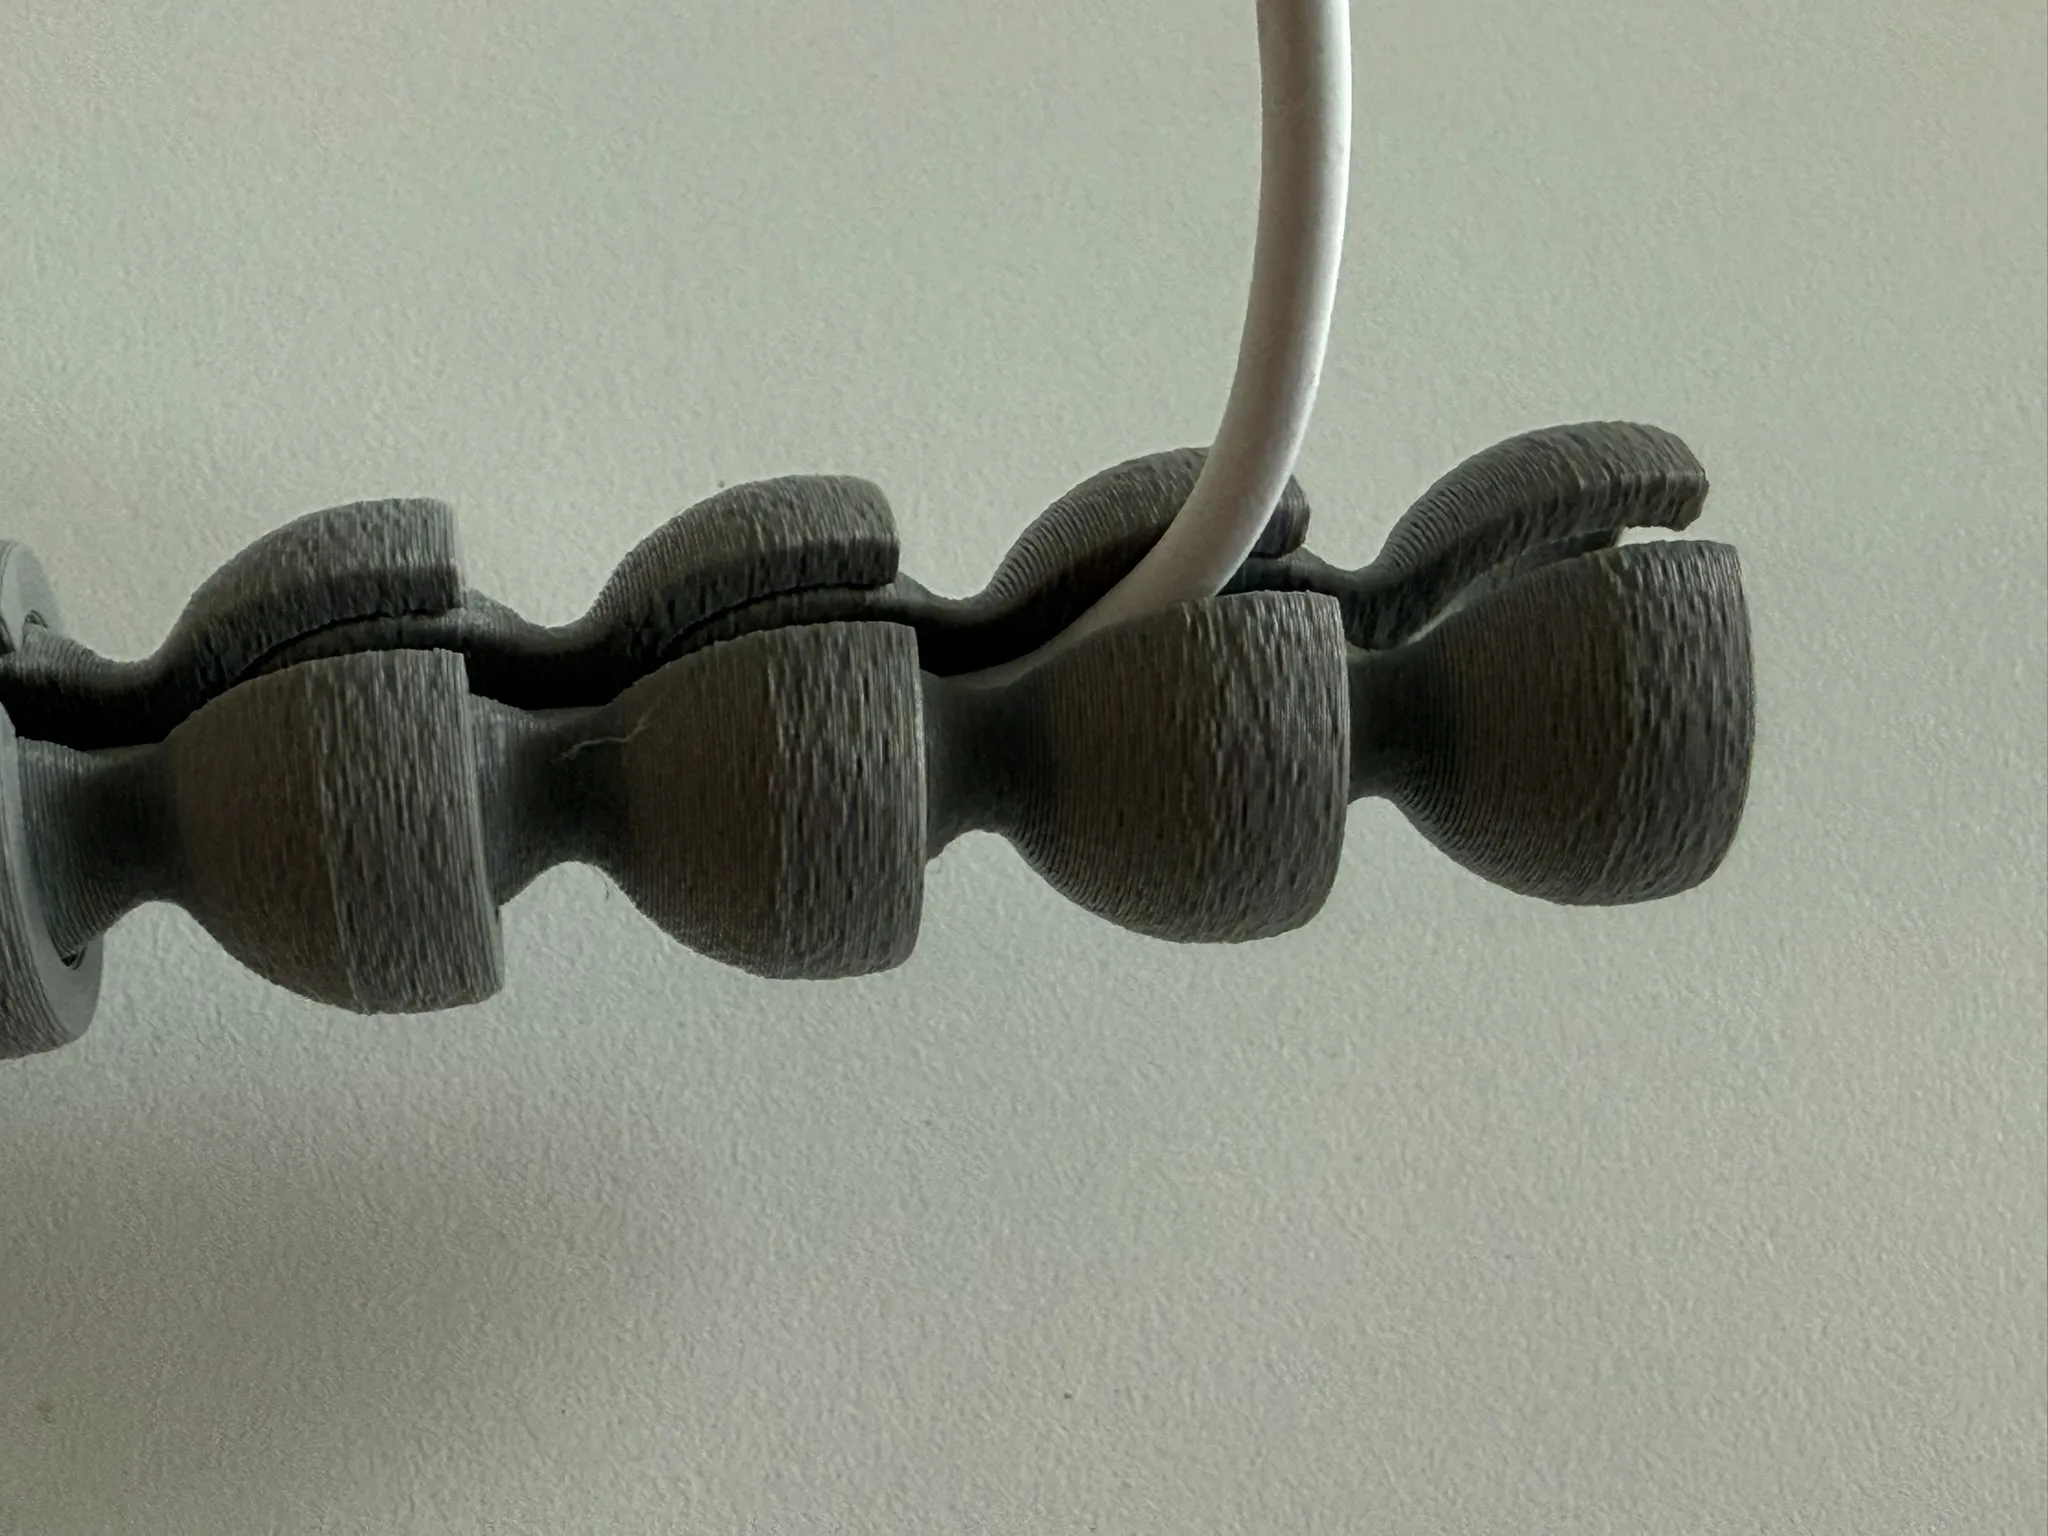
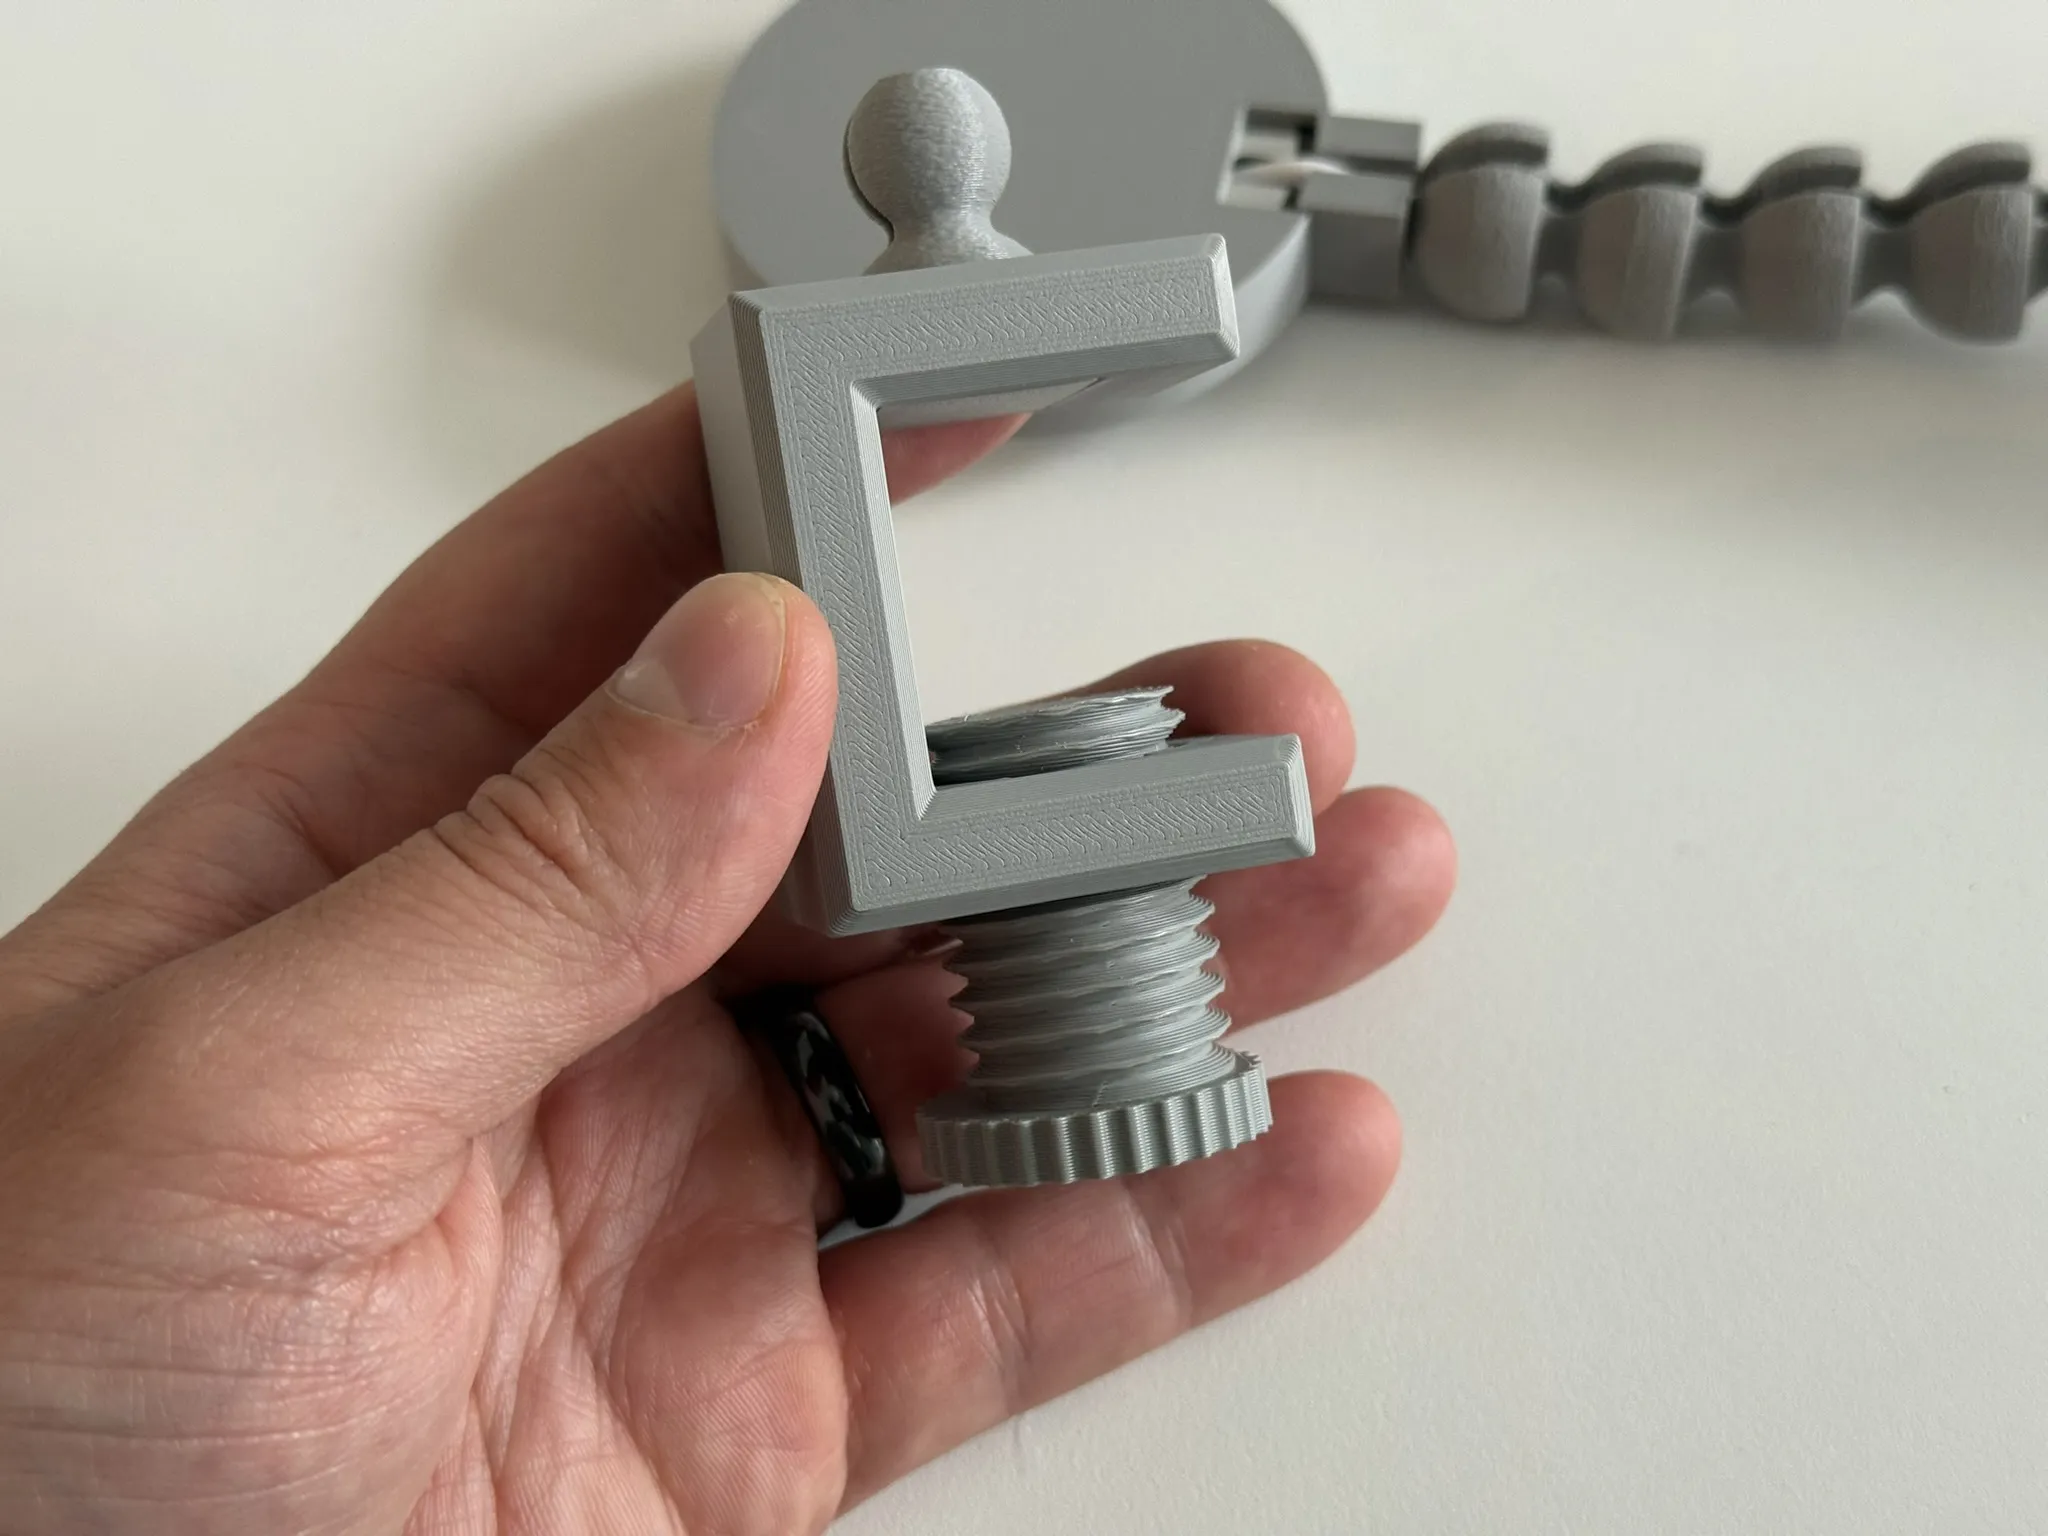
7. Take the clamp piece and insert the clamp join.
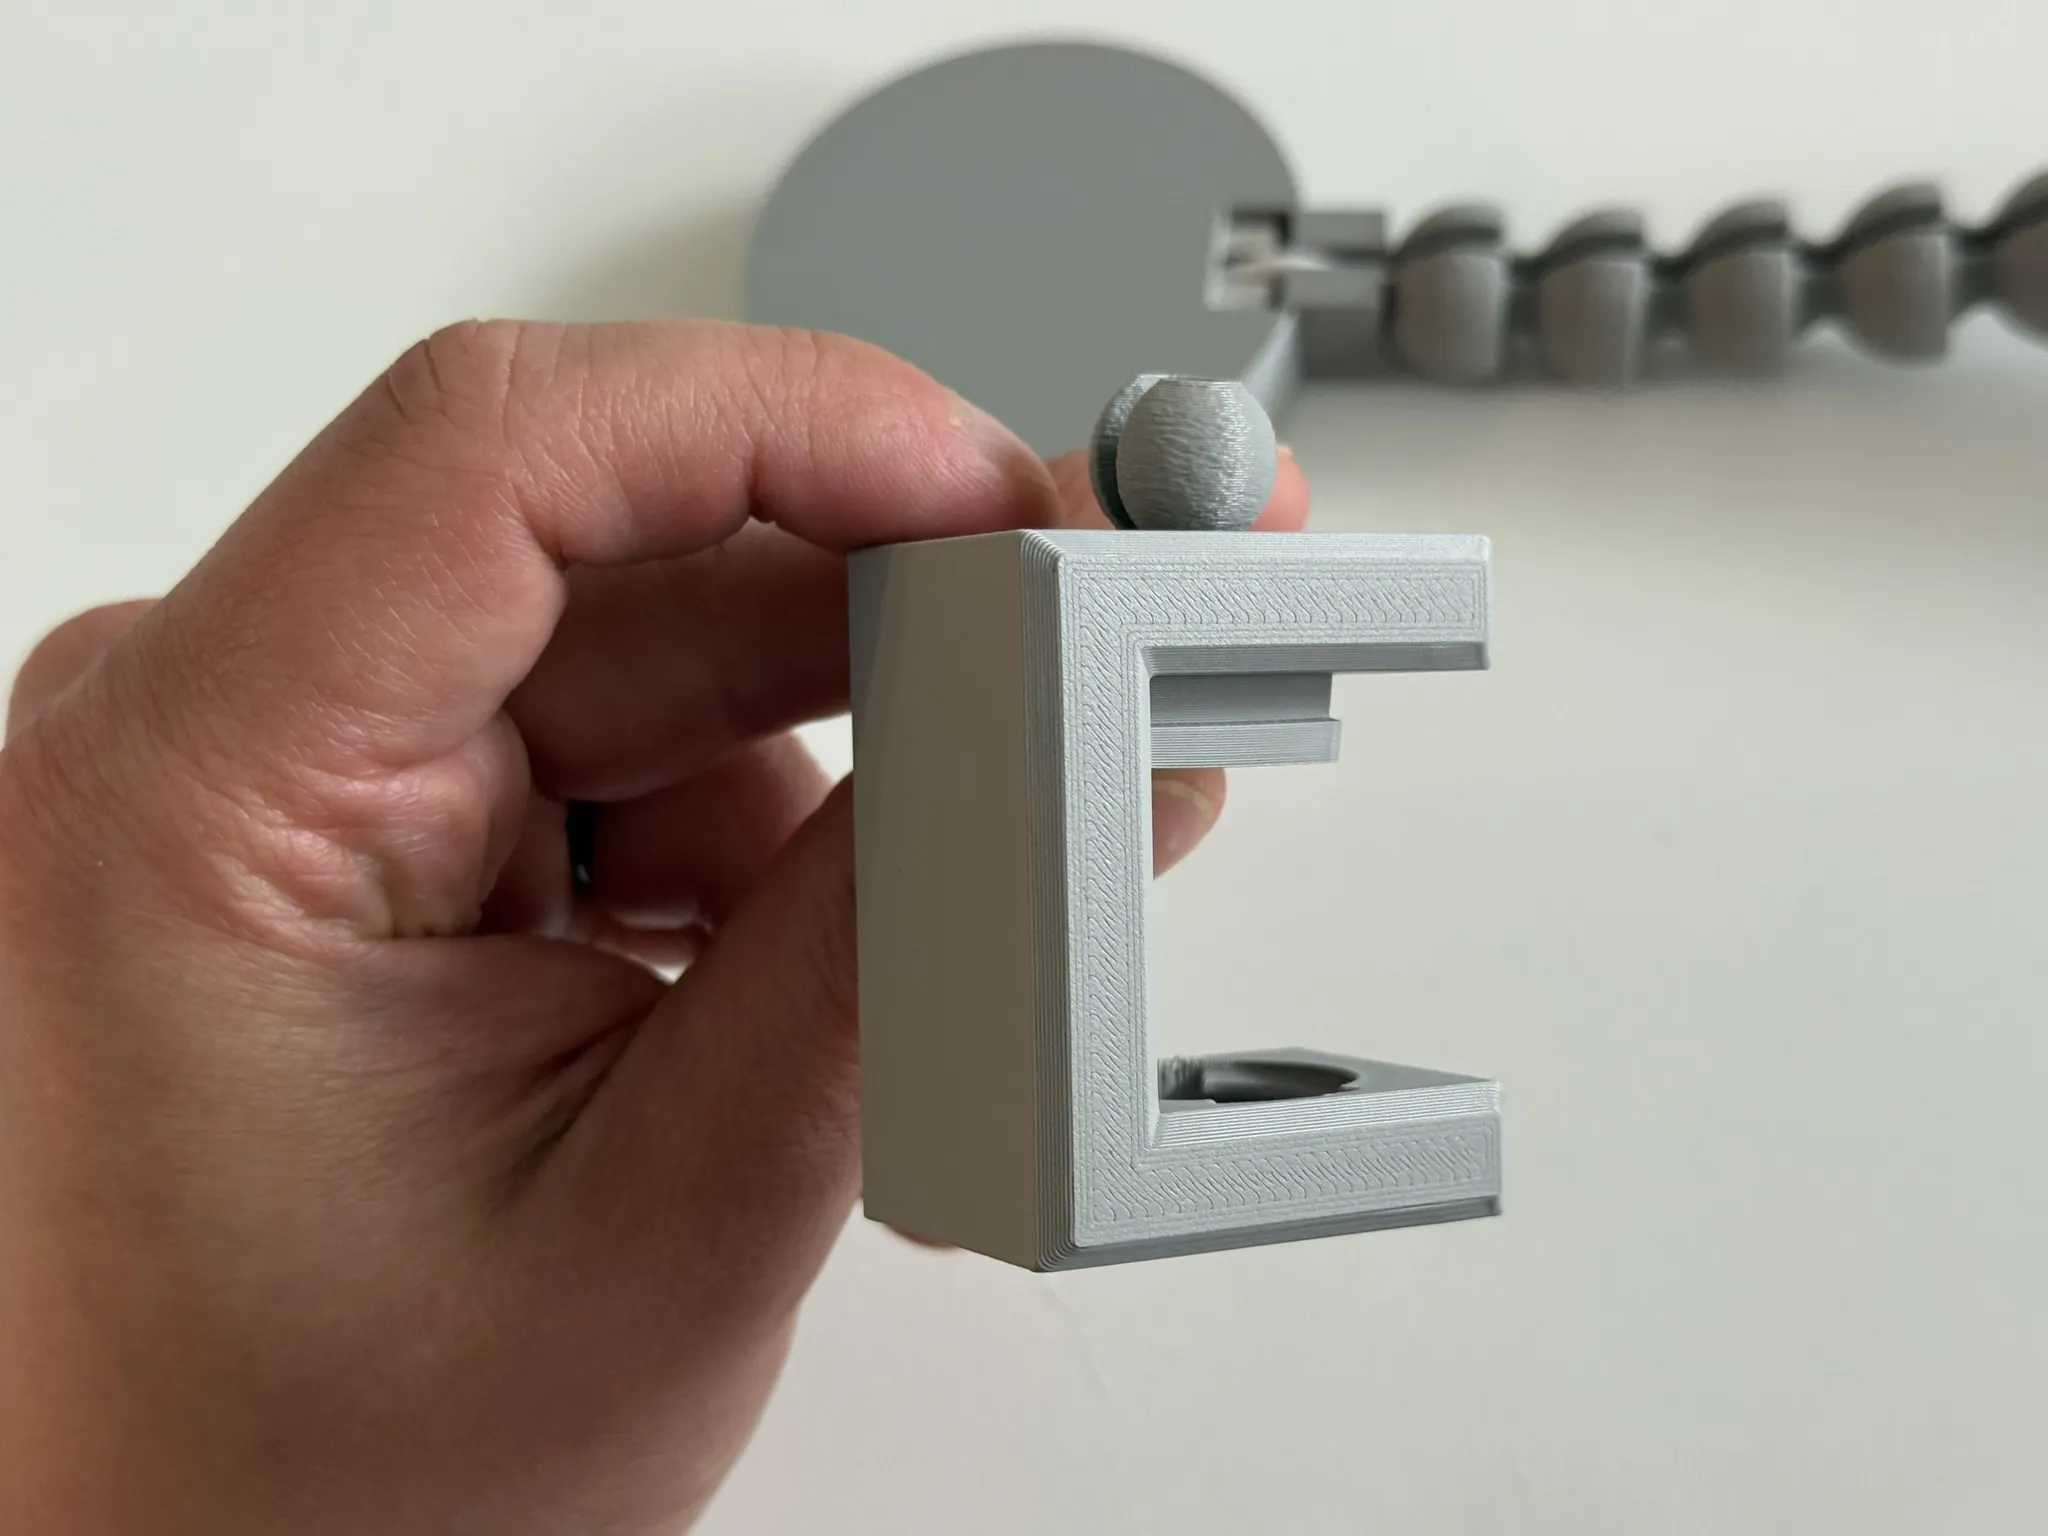
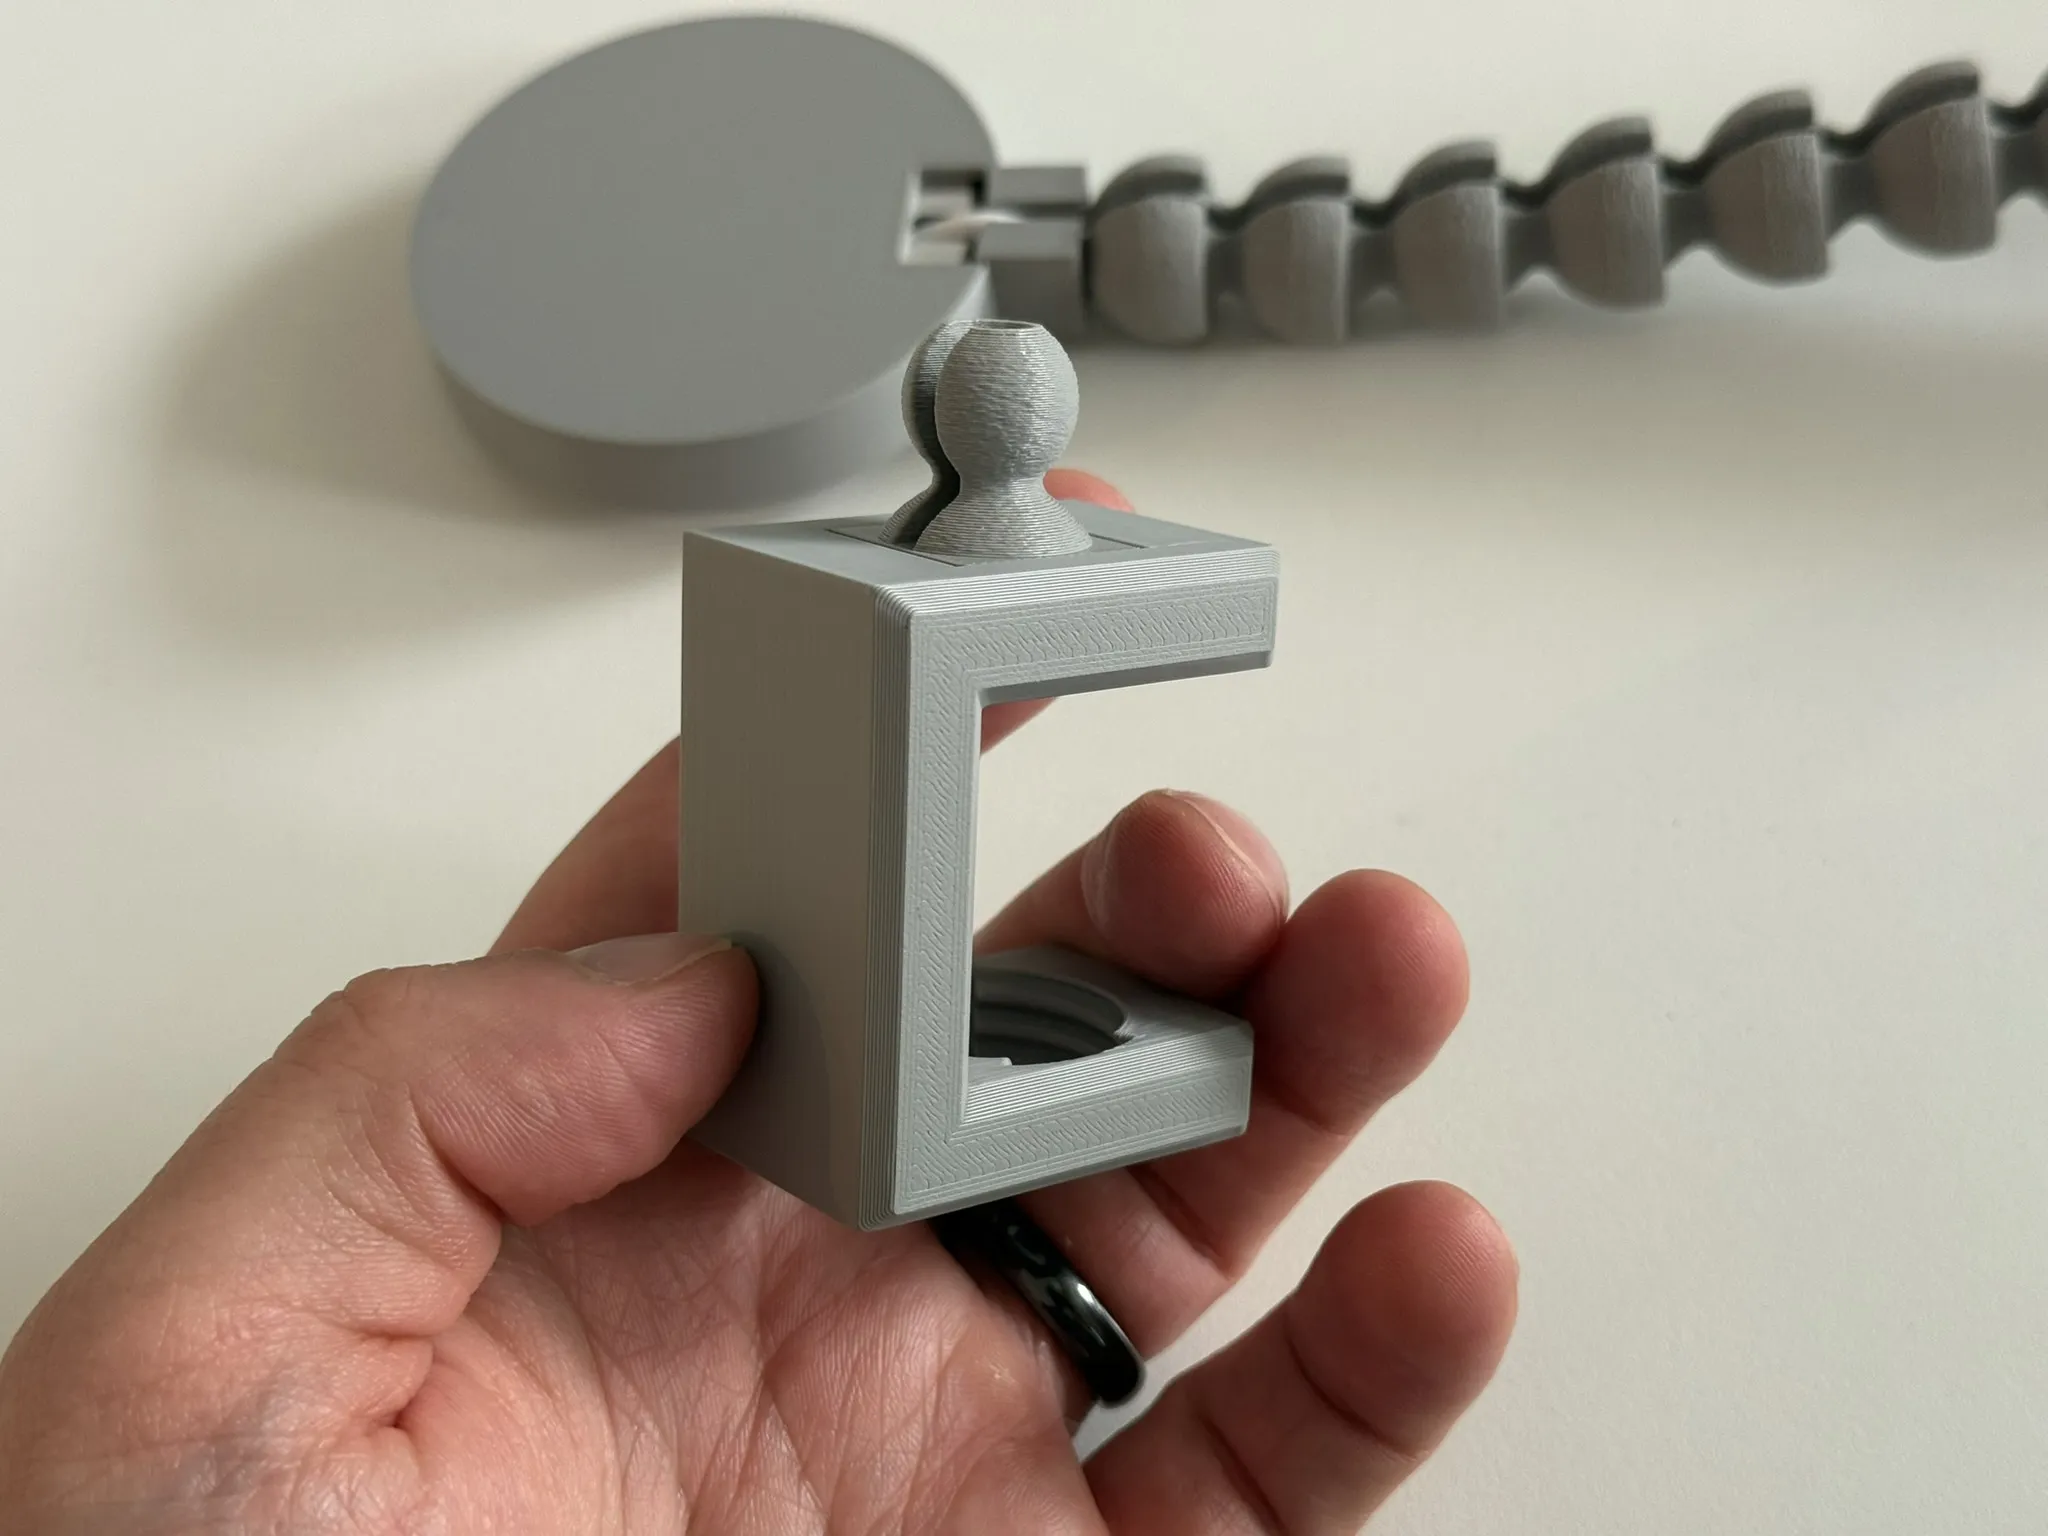
screw on the screw part.
8. Attach the assailed stem and led to the clamp. I mounted the clamp on a table for easy(ish) installation.
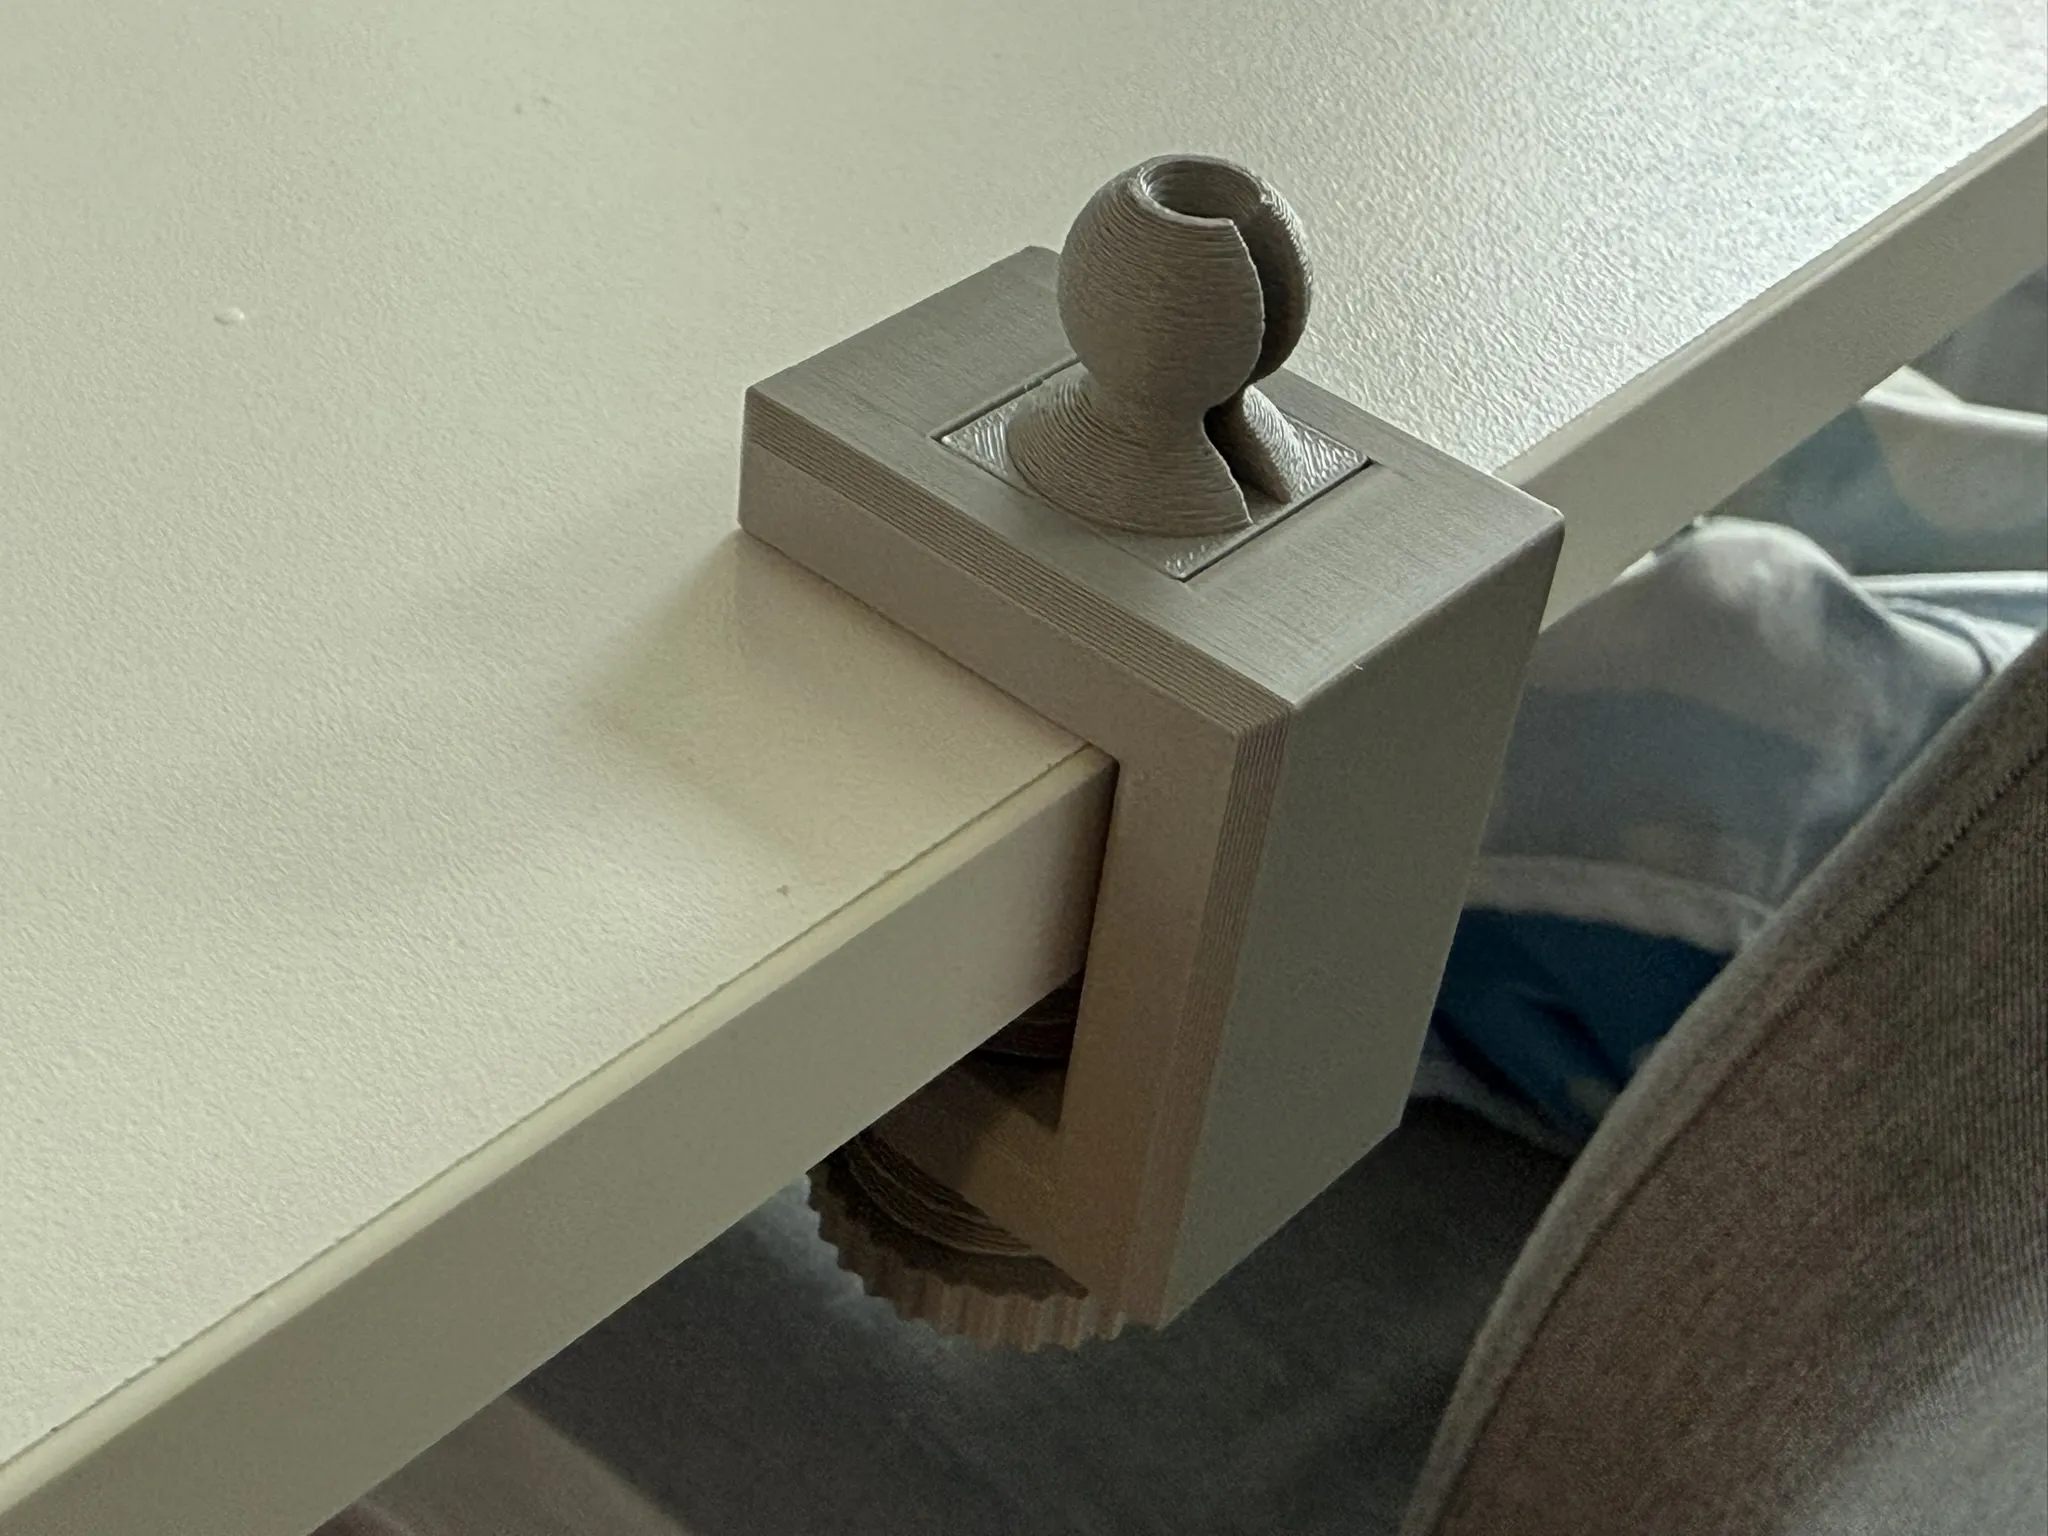
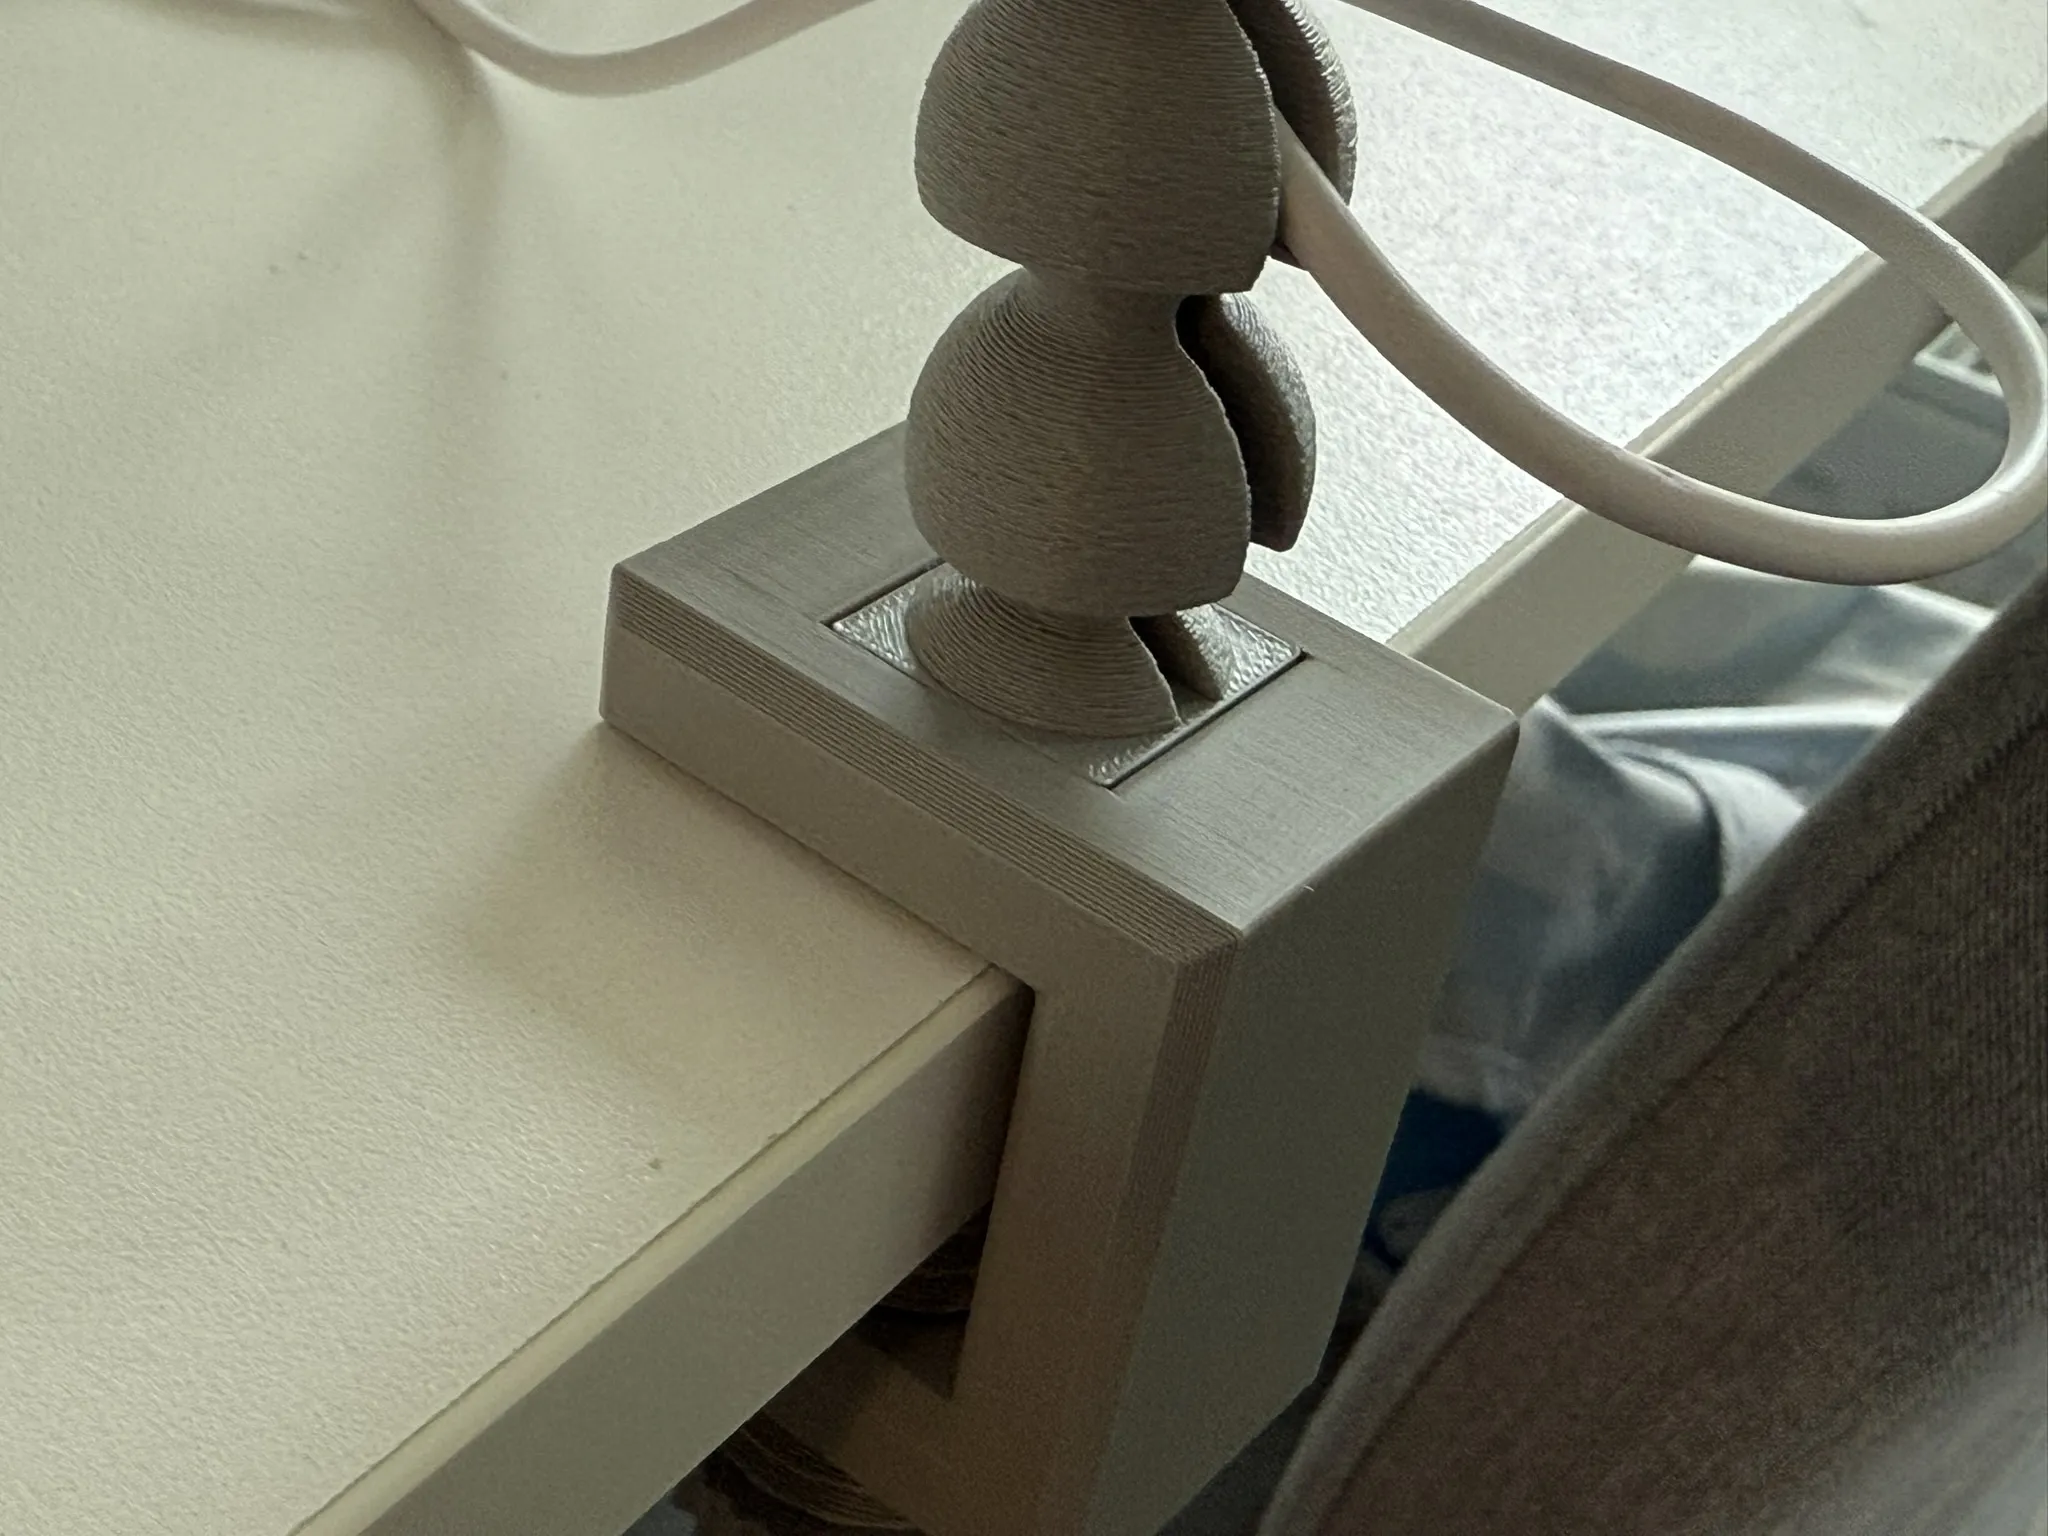
Finnish up by snaking the cable rest of the way
9. Bask in the glory of your assembly prowess!
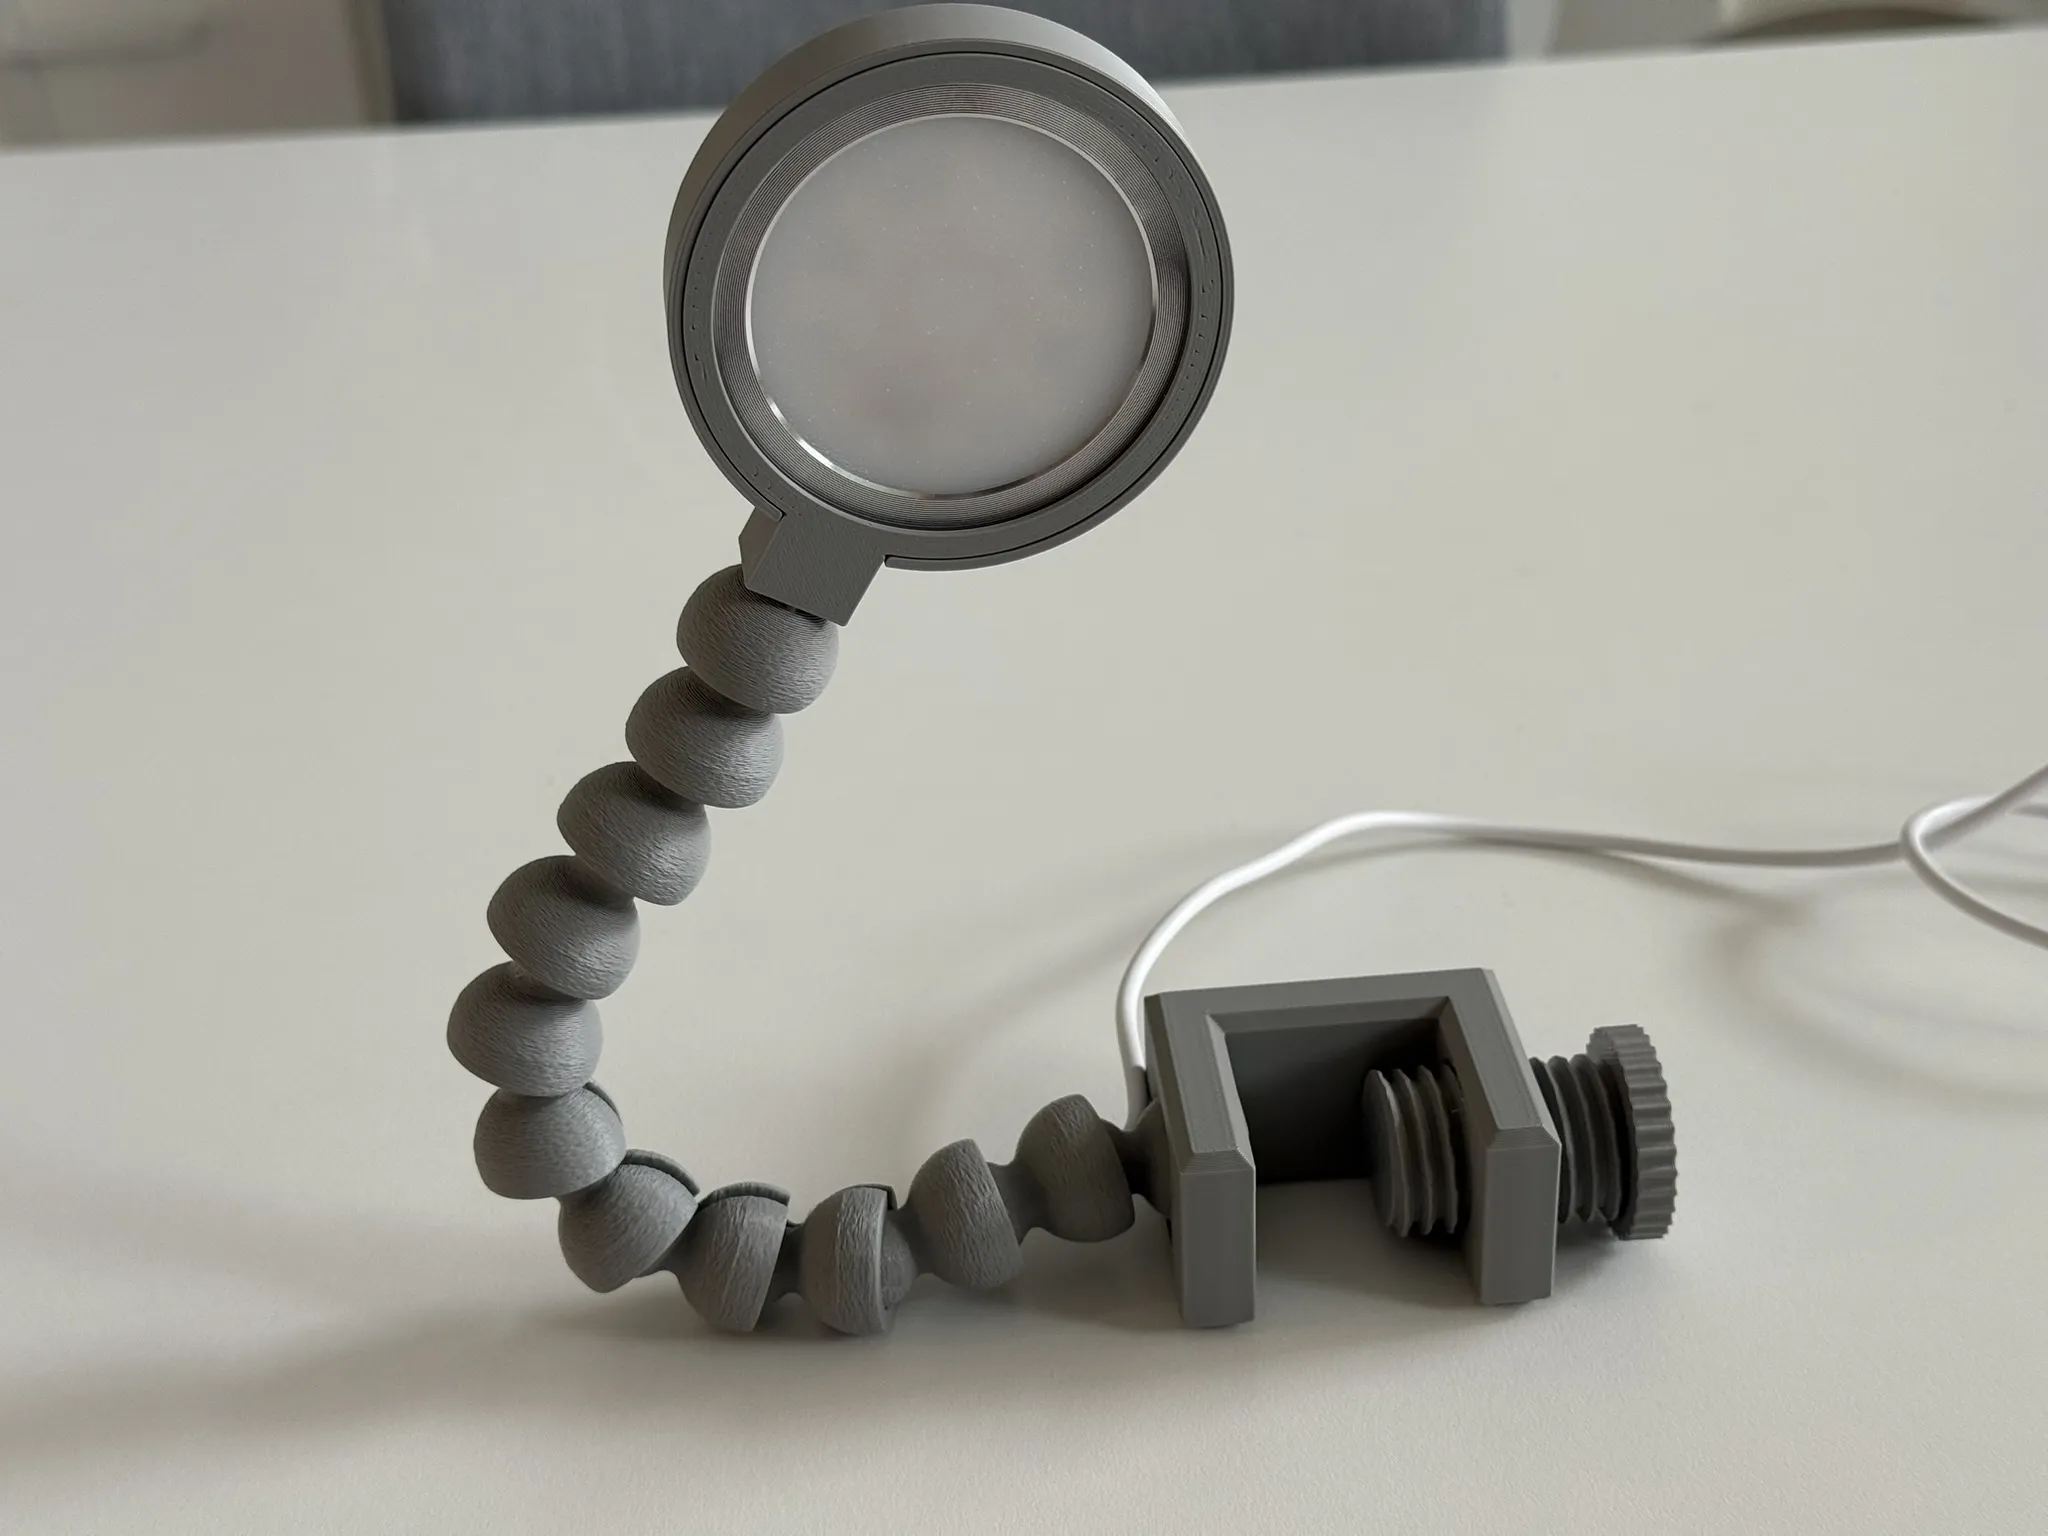
The tolerances are quite tight and some force is required (nobody wants a soggy light), if someone is struggling with the assembly fear not, i am brainstorming to make this more accessible.
Printed in PLA Matte, not tested on other filaments as of now.
Ta Ta
Boost Me (for free)
Hit me with your rhythm stick
License

You shall not share, sub-license, sell, rent, host, transfer, or distribute in any way the digital or 3D printed versions of this object, nor any other derivative work of this object in its digital or physical format (including - but not limited to - remixes of this object, and hosting on other digital platforms). The objects may not be used without permission in any way whatsoever in which you charge money, or collect fees.


Comment & Rating (516)