
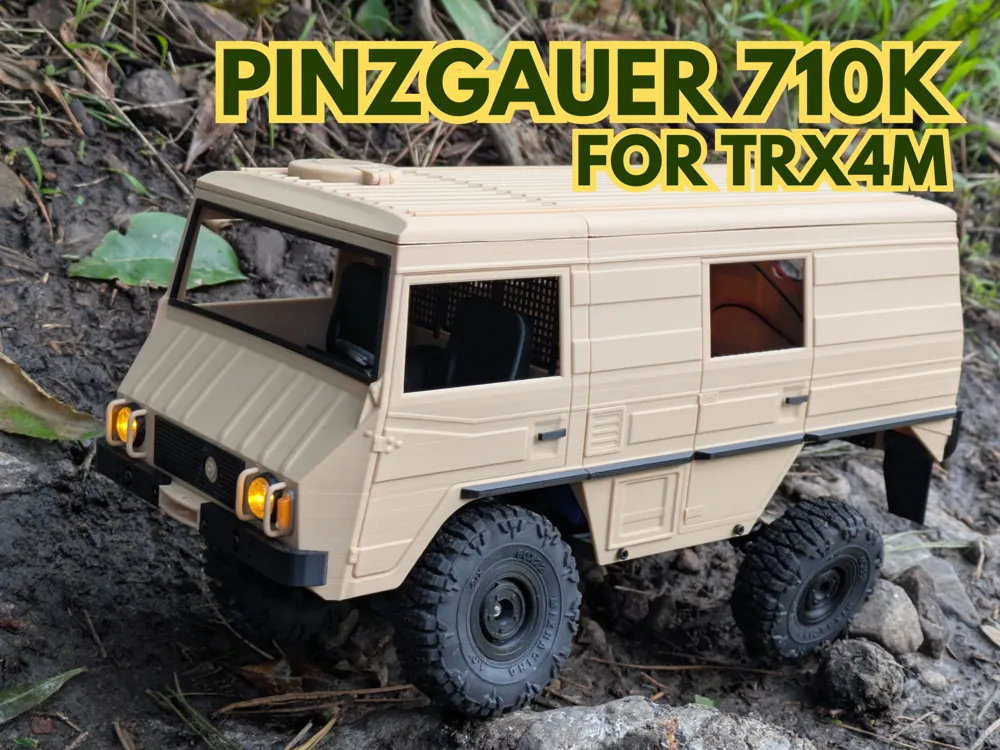
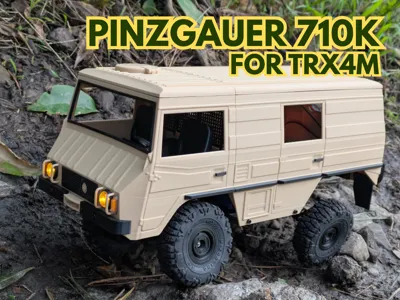
Pinzgauer 710K for TRX4M
Print Profile(1)

Description
Boost Me (for free)
Leave a boost if you like this model and would like to support me creating more like this, thanks!
*** If you'd like to help me out even further, you can Buy Me A Coffee too! ***
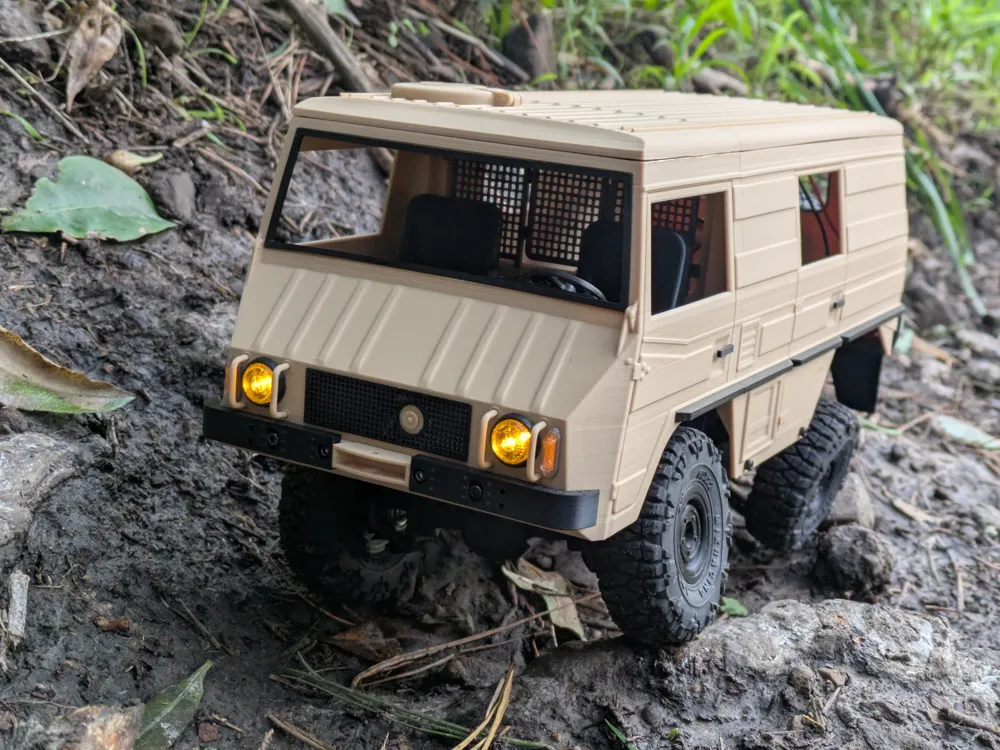
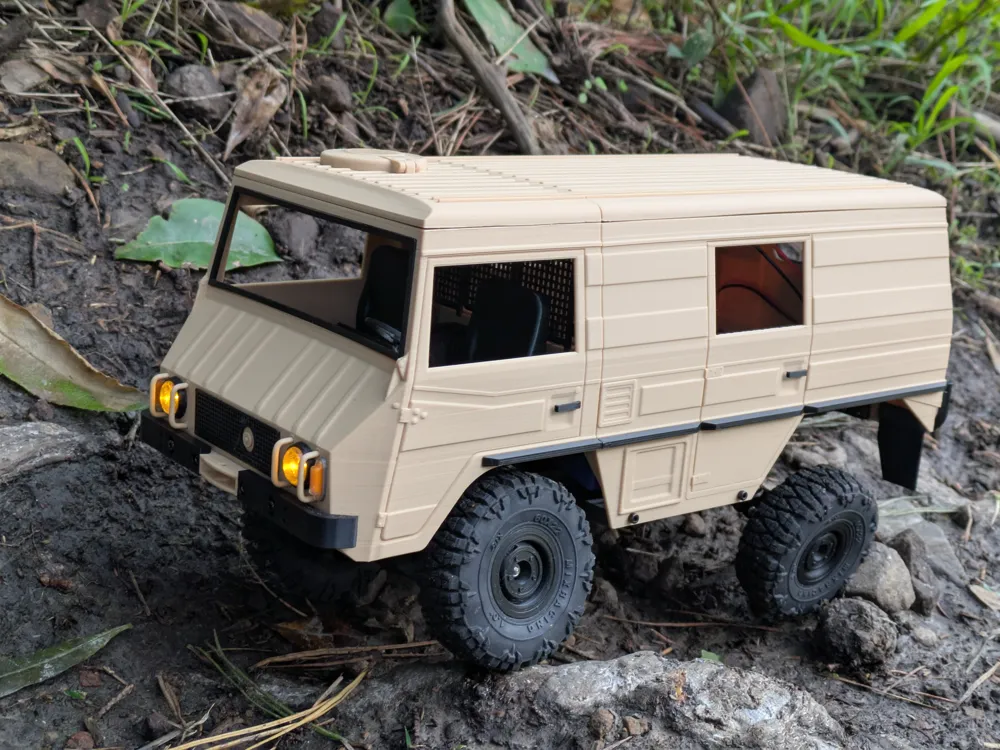
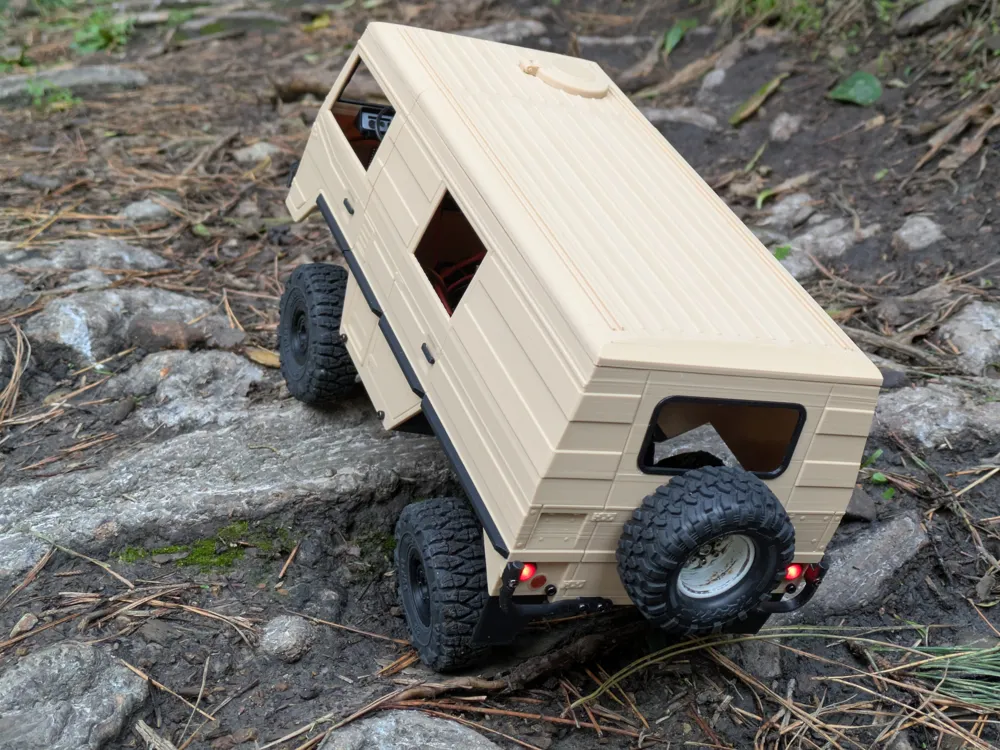
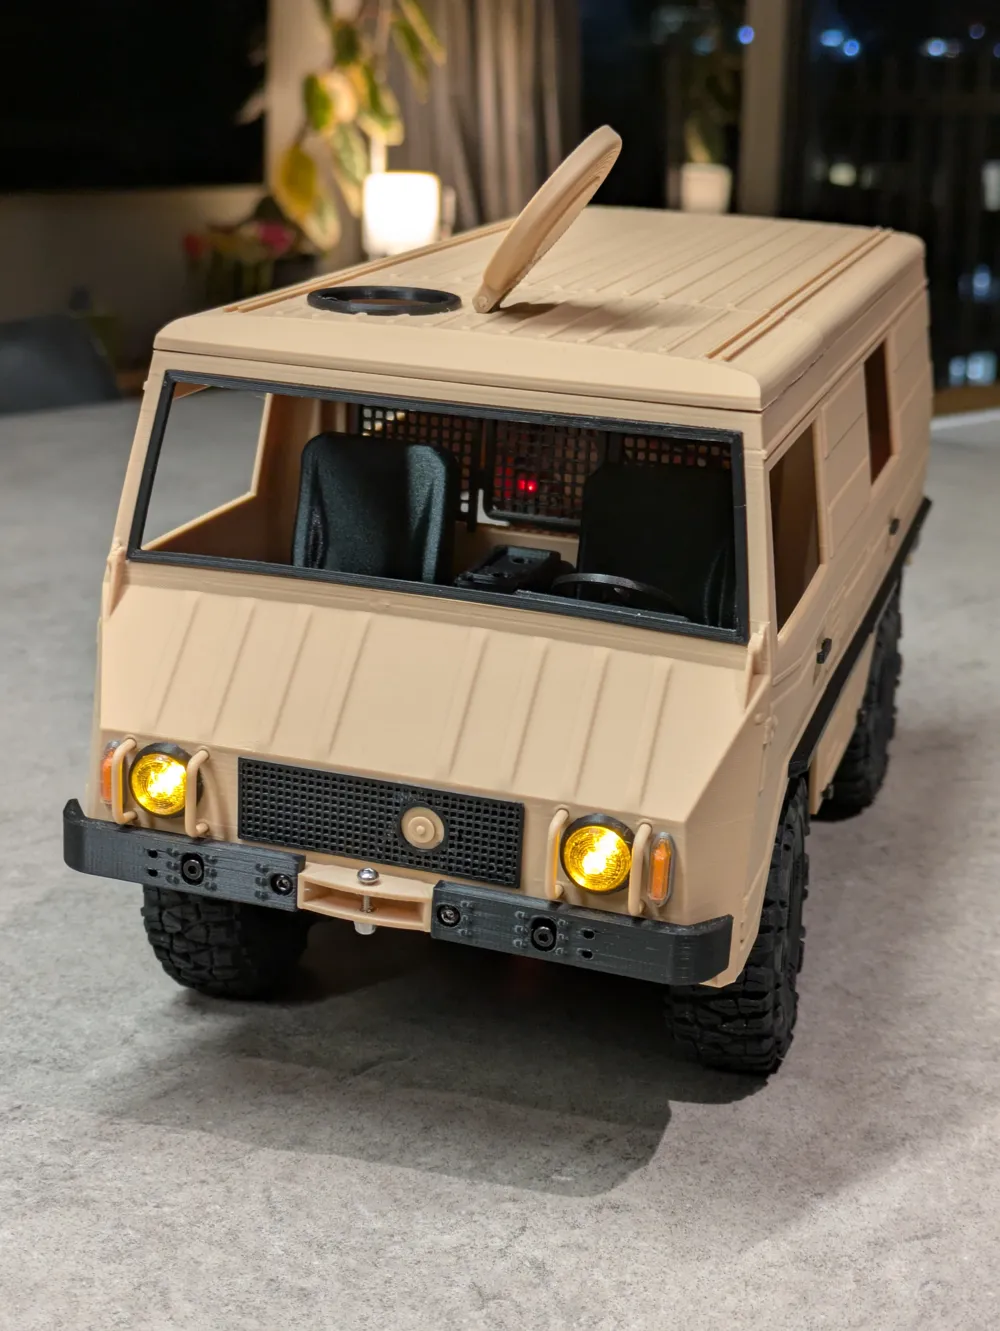
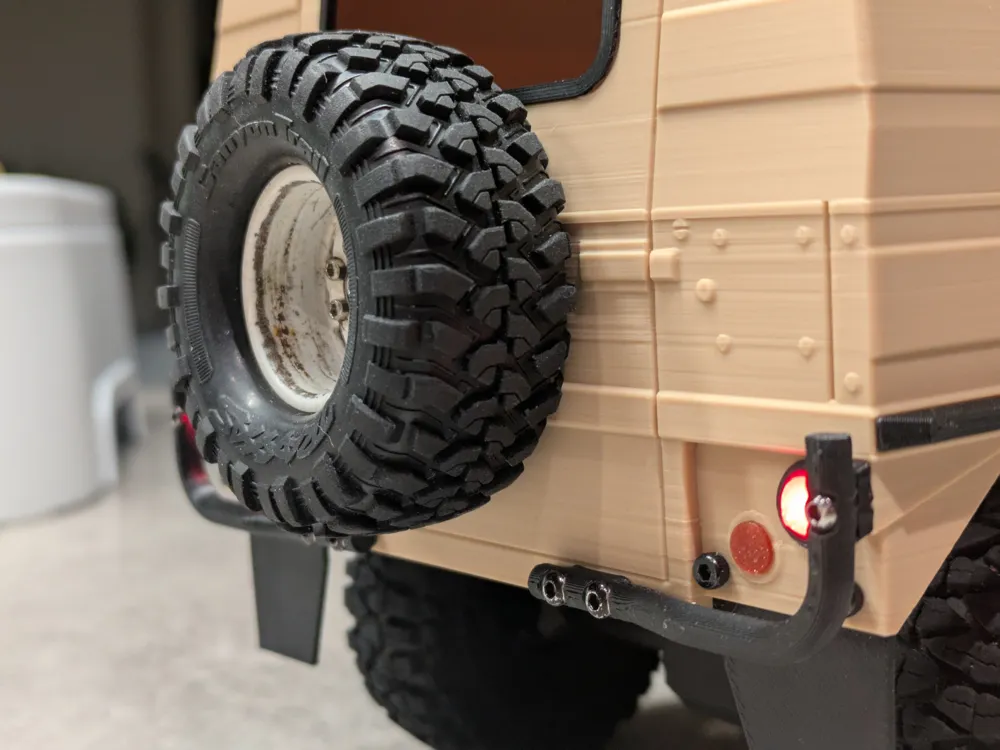
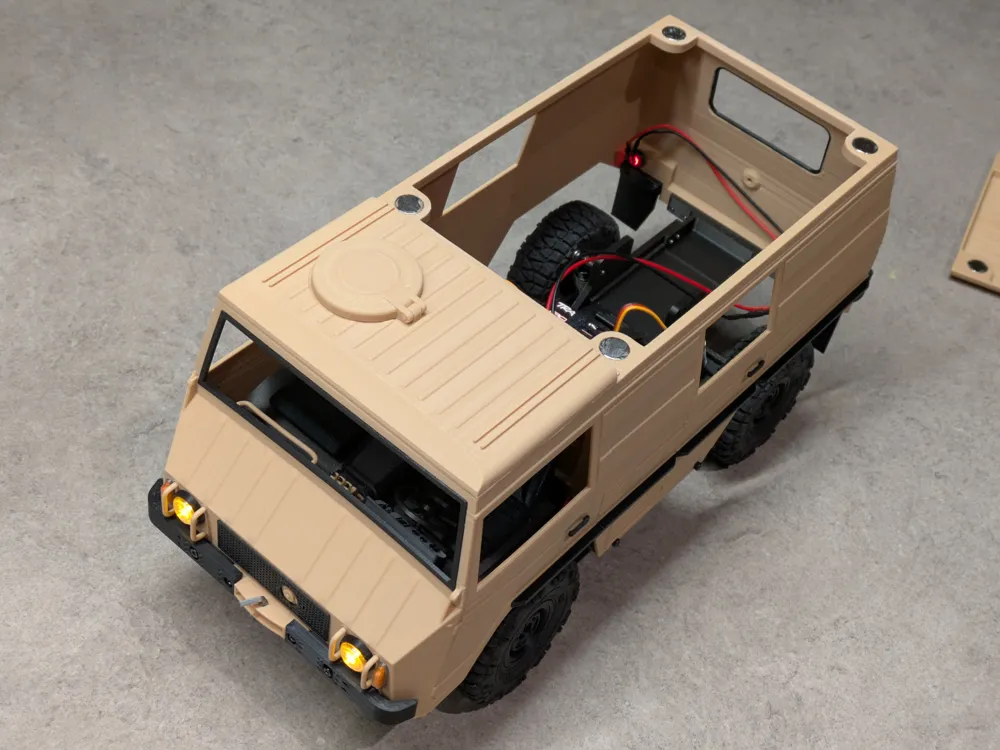
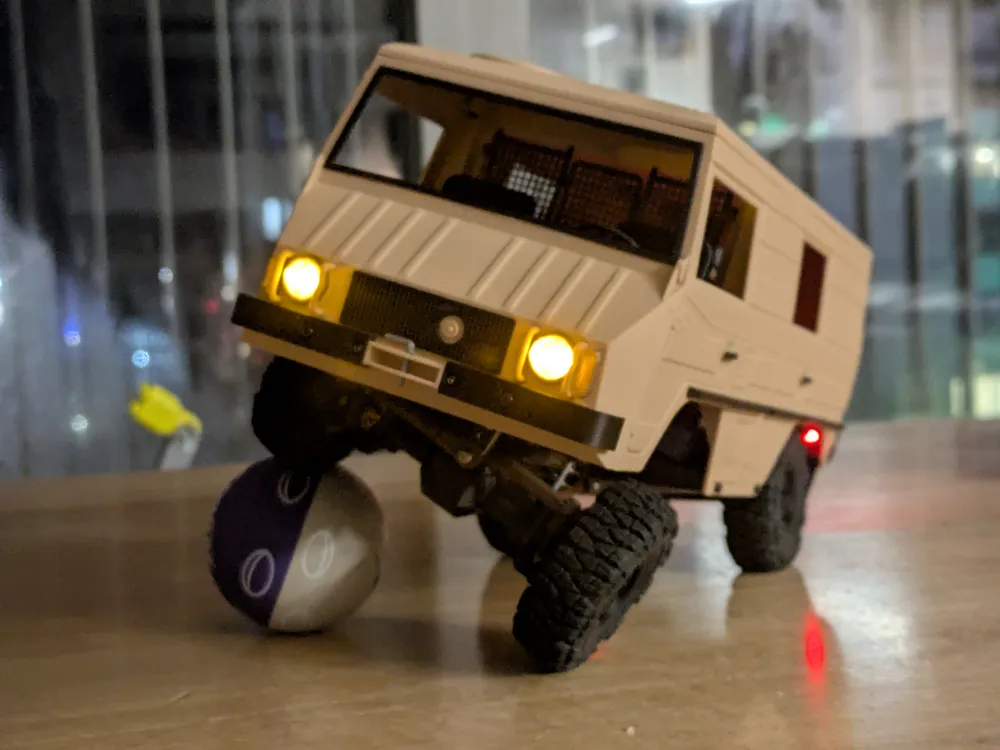
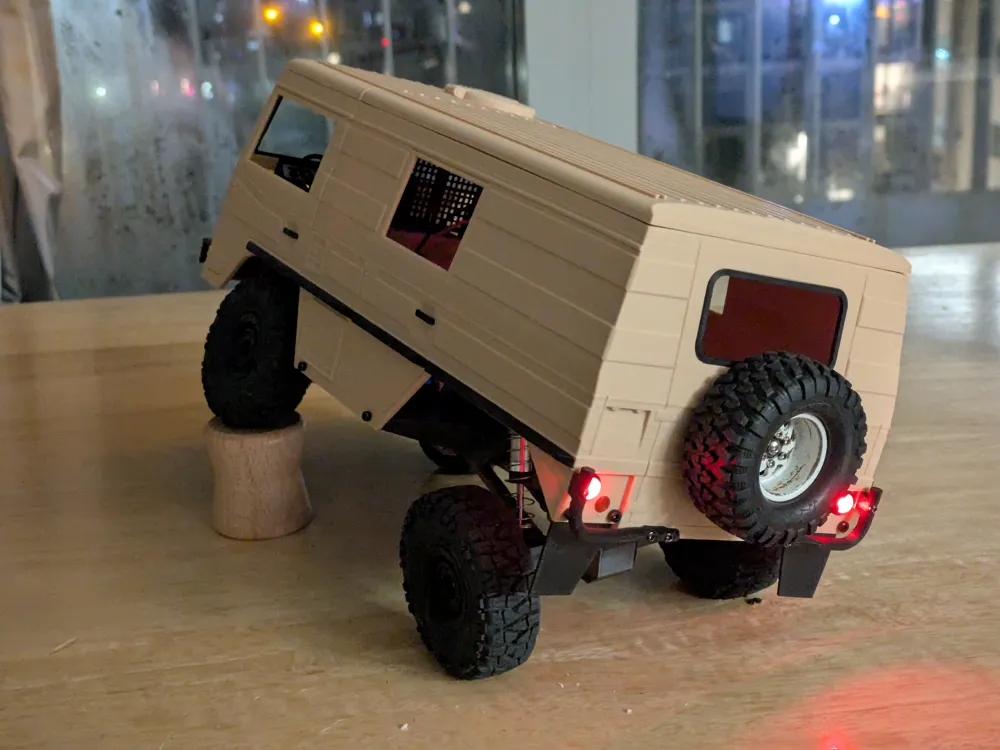
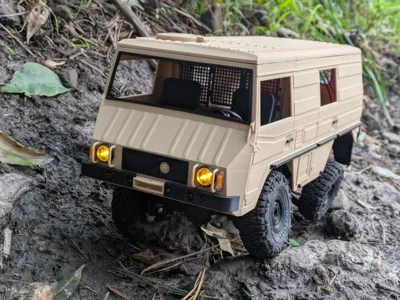
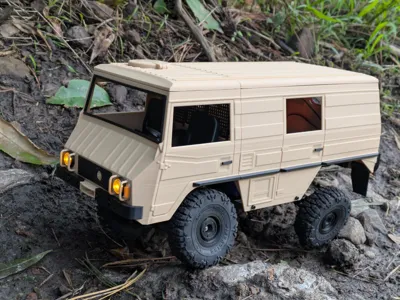
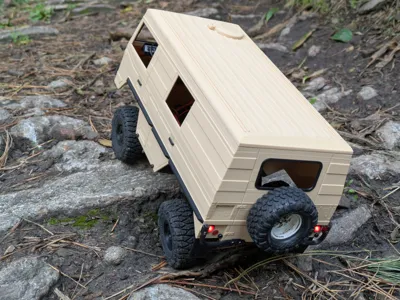
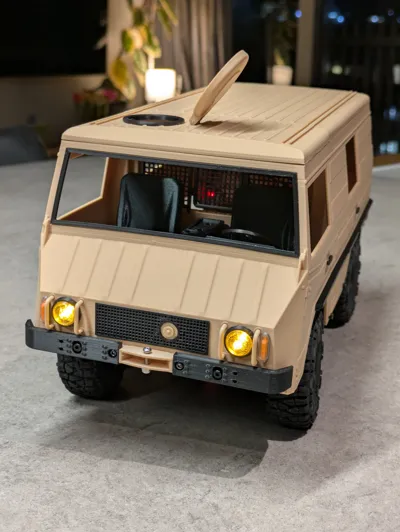
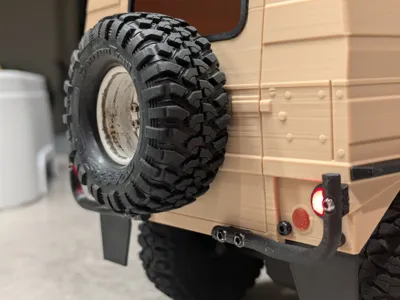
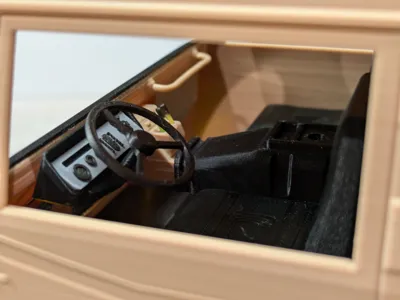
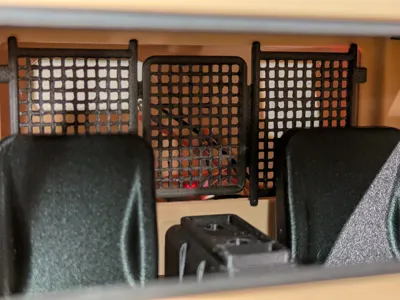
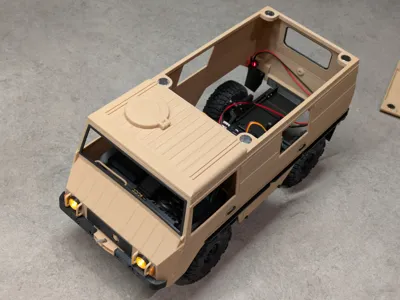
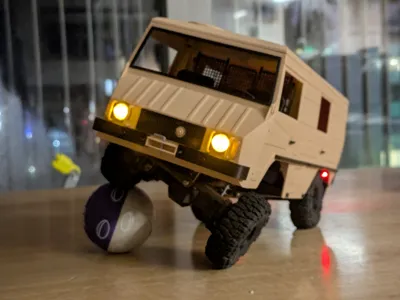
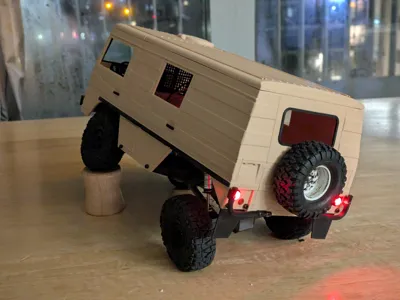
This is a recreation of the Steyr-Puch Pinzgauer 710K, to suit the TRX4M. The Pinzgauer is primarily a military vehicle (though is a popular civilian vehicle too) and is still in use in many countries. The 710K is one of the most common of the Pinzgauer models; a hard top, 5 door, 4x4, developed in Austria in the 1960's.
I've tried to keep this as scale as possible, it's pretty much right on 1:14 scale to suit the standard TRX4M wheelbase. 1.0 inch beadlock wheels with roughly 60mm diameter and 20mm width tires are also very close to the same 1:14 scale and look in proportion if paired with standard width axles and wheels with minimal offset.
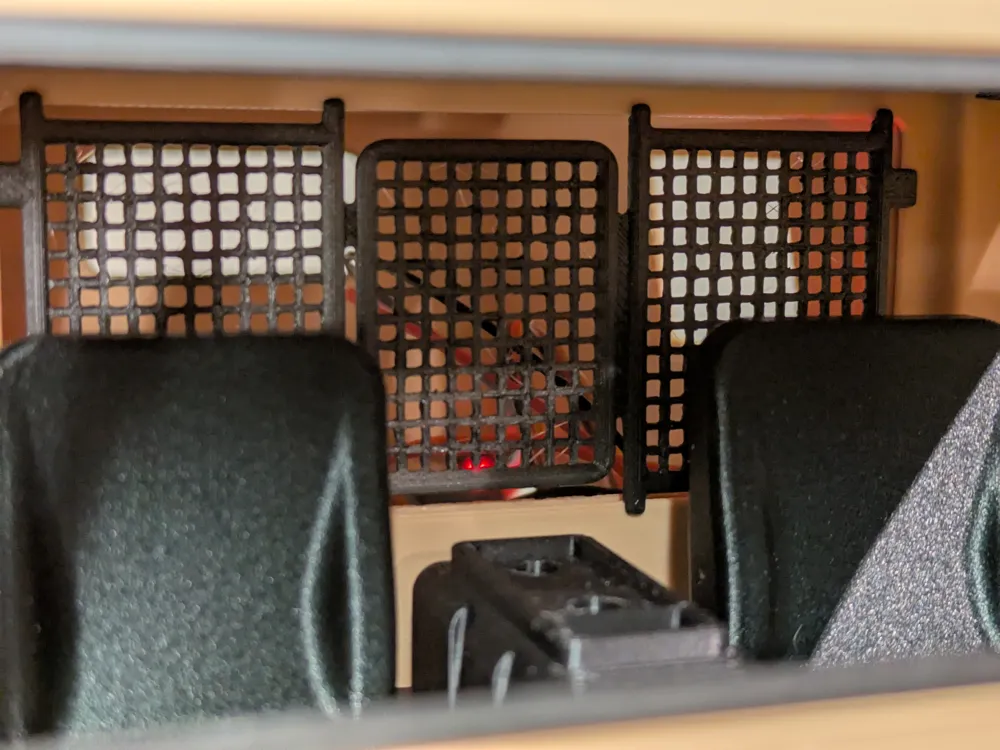
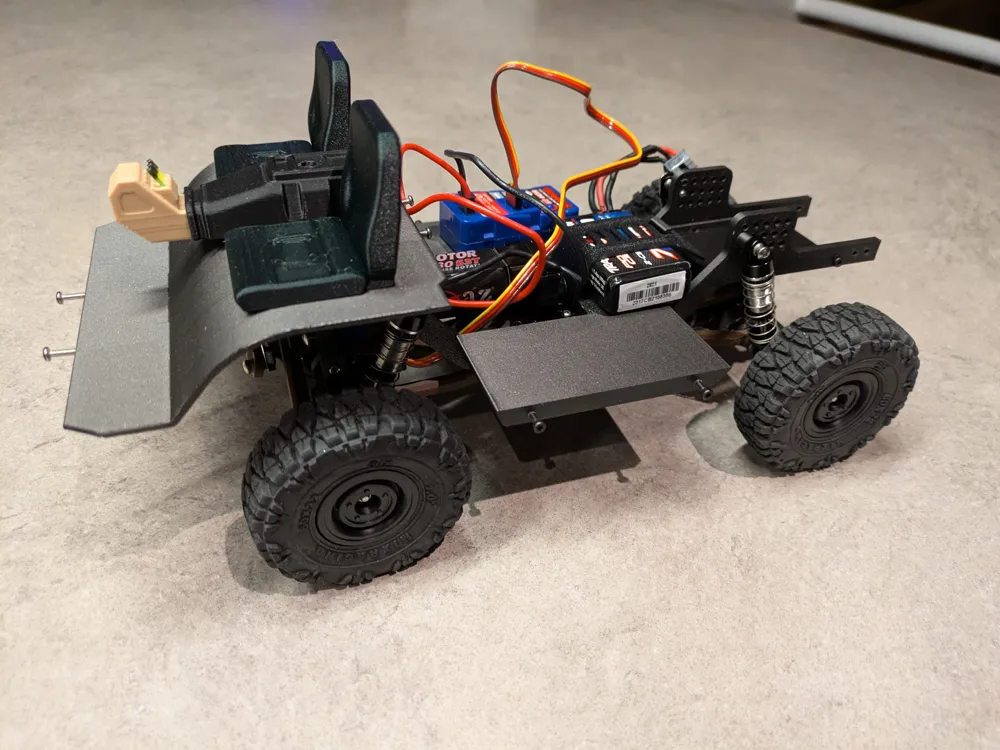
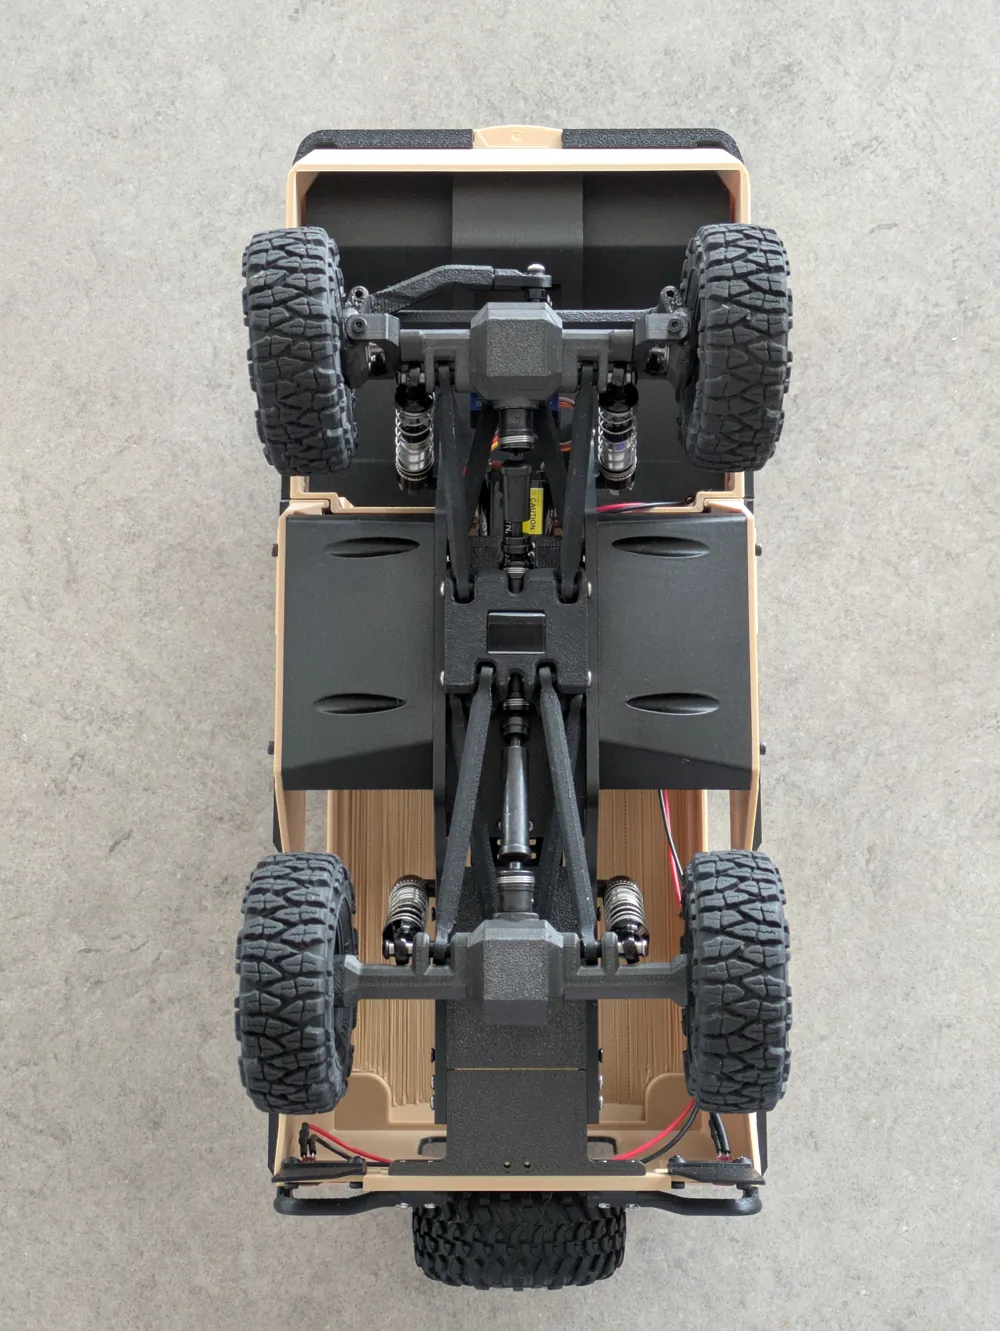
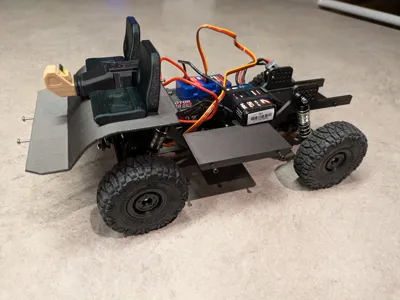
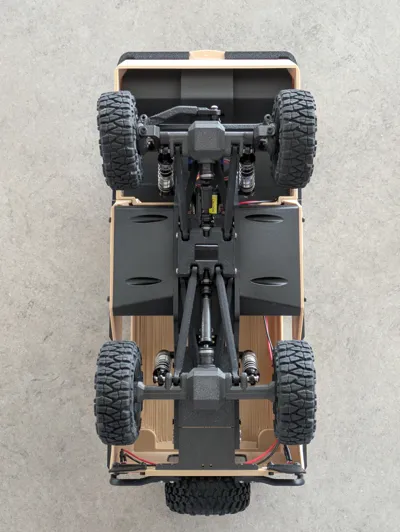
If you've already printed my 4x4 van/truck model, the Pinzgauer utilises the same chassis, skid & battery tray assembly, but all other parts on this model are designed from new. Printing should be relatively easy, though a little time consuming. Assembly isn't complicated but the smaller parts may be more difficult, I've prioritised the finished look over ease of assembly, so there are some very small and fiddly parts included.
Assembly guide and newly added parts list are available to download below
PRINTING
Make sure you have your filament well calibrated, your printer is working well and your printing plate is CLEAN. There are some large parts that will be prone to warping if you're not careful.
Tolerances are very tight, which may cause issues with fitting some components, some post processing (i.e. opening up holes with drill bits or careful trimming with a sharp knife) may be necessary.
NOTES:
- For the larger parts: glue stick on the stock PEI textured plate works well to eliminate warping, BIQU Cryogrip Frostbite plates work even better - I highly recommend this for the cab/body and roof sections
- The cab was particularly problematic to print, so instead of including an outer brim, I have modelled the brim as part of the cab, which provides better bed adhesion and makes a successful first layer much easier, but you will need to cut the outer brim from the cab, it will not peel off like a typical brim. I have now added the same on the corners of each of the cab and roof sections
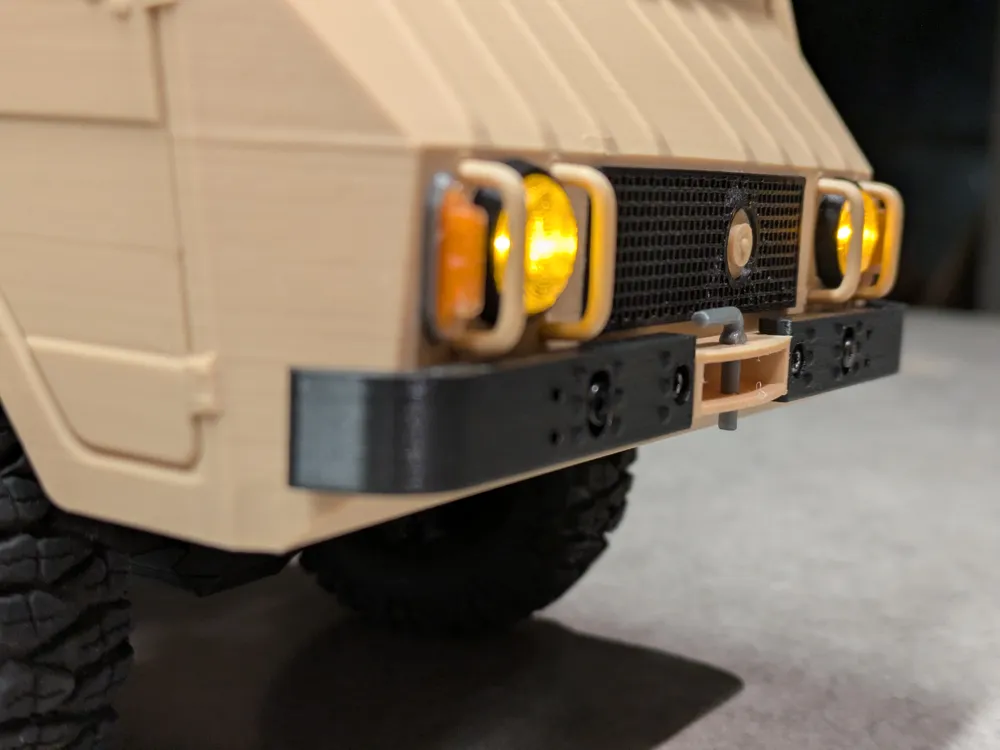
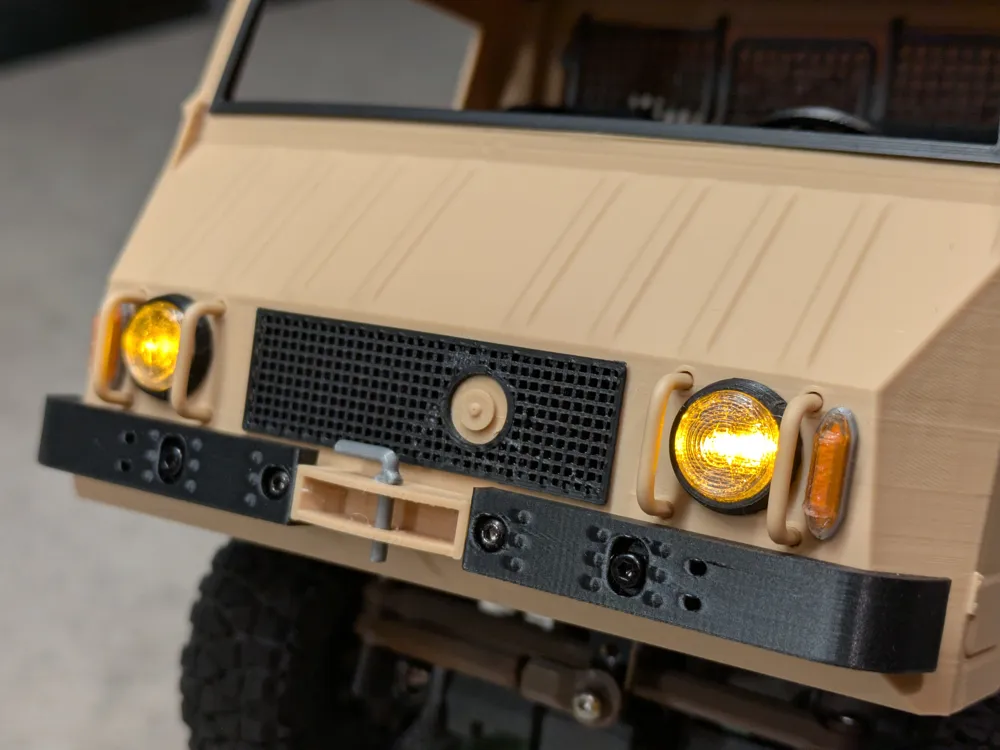
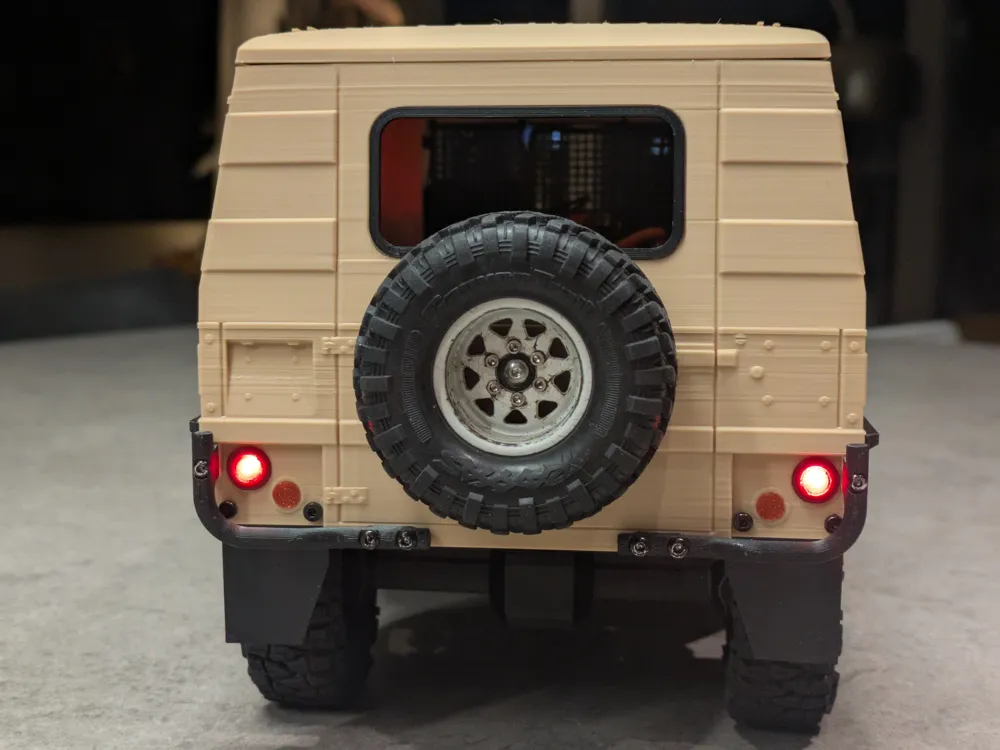
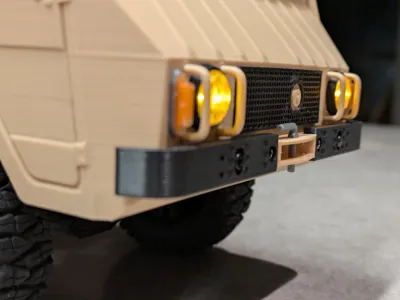
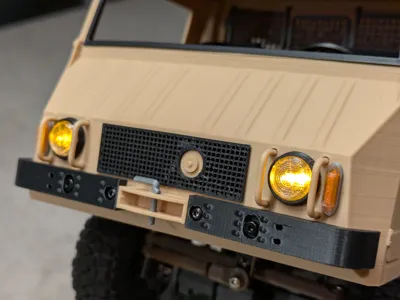
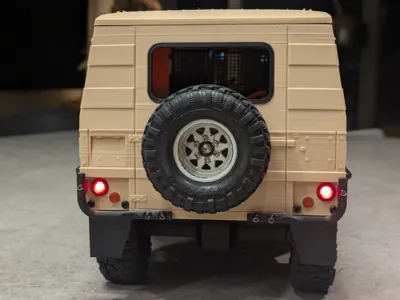
- Headlights and tail lights are designed to friction fit 3mm led's. You may need to use a 3mm drill bit it widen the holes slightly
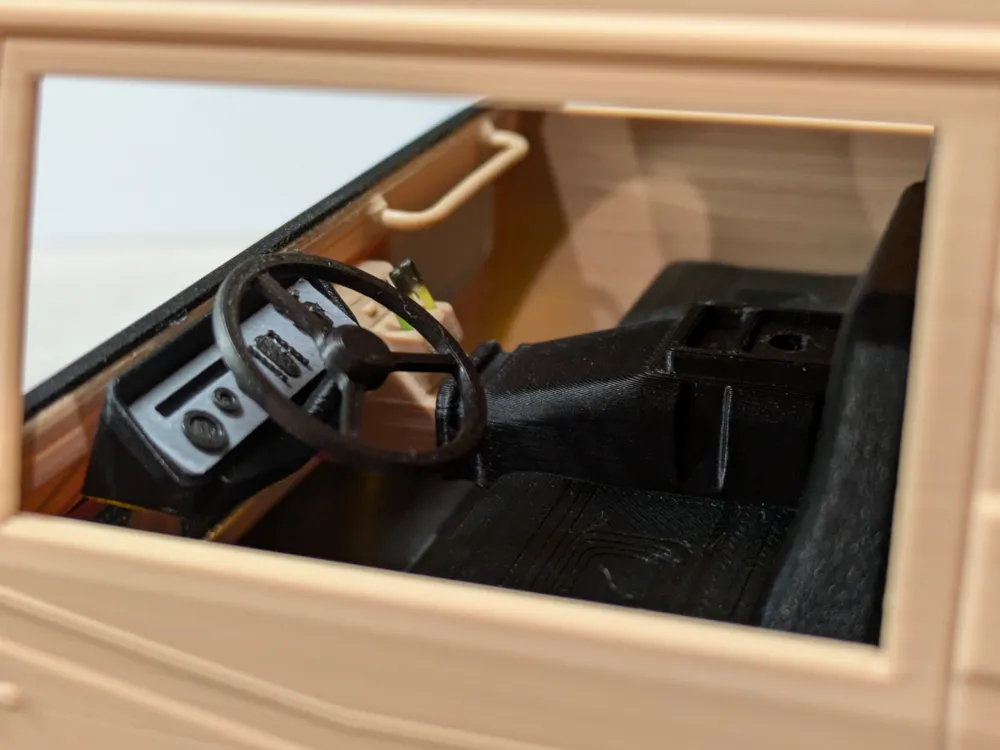
- The guards around the headlights and the handrail inside the cab are lengths of filament bent into shape to suit - for this I have included two printed tools/molds to help shape the parts
- heat the print bed up to approx 70 degrees and lay a length of PLA filament on the bed
- wait a few minutes until the filament becomes a little floppy
- lay it on the smaller side of the tool and press the larger side over it, forming the PLA in to the required shape
- wait a few minutes for it to cool before removing the mold and trimming to length
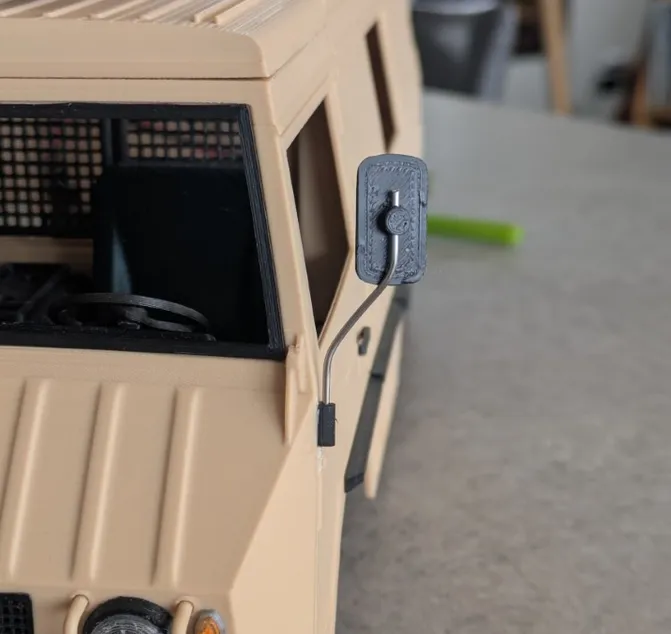
- Wing mirrors are now included - if you plan to use this for crawling and expect to be rolling over a bit, then advise leaving these off as they could be delicate. I used 1mm spring steel as the support for the wing mirror. The included wing mirror support is printed only as a rough bending/cutting guide for the 1mm steel rod
WHAT YOU NEED
See parts list PDF below for complete list of parts
- super glue or PLA glue
- Assortment of M2 (for body) & M2.5 bolts (for mounting skid, links & shocks to chassis)
- 8 - 10x3mm magnets
- you can use smaller if you model an insert to suit the smaller magnet - hit me up in the comments if you have issues and I should be able to add this to suit your size of magnet
- 1mm spring steel rod - to assemble wing mirrors (optional)
To build the entire vehicle:
- 4 x 53mm shocks
- This is the size I've designed around but shorter or longer should work too
- Stock length links from defender/bronco - if you want to print the links, I have added a plate to each of the profiles HERE
- 2 x 53mm
- 2 x 48mm (or 46mm)
- 4 x 68mm
- Drive train & electronics
- Complete axle assemblies (front and rear) - either stock, 3rd party, or download axles housings HERE & build your own
- drive shafts - standard front and rear from defender/bronco
- Gearbox & motor
- Electronics/battery
ASSEMBLY
Assembly guide is attached to this project as a PDF. If you have any issues please let me know in the comments.
UPDATES
26 June 2025 - updated print profile to include side window frames - these are designed to be installed from the inside of the body to provide a low profile frame around the window, however they can be installed from the outside also for a more prominent look
19 September 2025 - updated print profile to include wing mirrors
23 February 2026 -
- various changes to parts for improved strength and ease of printing
- improved/more robust steering wheel design
- updated installation manual
- newly added parts list
Documentation (2)
License

You shall not share, sub-license, sell, rent, host, transfer, or distribute in any way the digital or 3D printed versions of this object, nor any other derivative work of this object in its digital or physical format (including - but not limited to - remixes of this object, and hosting on other digital platforms). The objects may not be used without permission in any way whatsoever in which you charge money, or collect fees.


Comment & Rating (71)